
Thermostat housing

Thread Starter
|
Senior Member
Joined: Mar 2010
Posts: 309
Likes: 84
From: Collingwood, Ontario
Well, it's almost time for Mr. J Junior to come out of hibernation; in the past couple of seasons I've dealt with secondary tensioners, ABS Module cold solder joints, and the infamous 'green shower'. This spring's target is to replace the thermostat and housing, as I'm pretty sure mine is the plastic version. It's kinda hard to tell for sure from tapping it, but I want to replace the thermostat, and I don't want the car 'down' if my guess on the housing is correct (the Dealer is at least an hour away). Is the improved (metal) housing part # different from the original? Any pointers or suggestions?
Thanks, People!
Thanks, People!
Last edited by Robert Scott Neilly; Apr 6, 2013 at 09:06 AM. Reason: Punctuation

Senior Member
Joined: Feb 2012
Posts: 573
Likes: 140
From: Fort Myers Florida/Lichfield UK
Before you fit the aluminium housing check that the top cap(with the inset hex) seals properly - I did mine a couple of weeks ago, didn't check and only found out once fitted that it was machined about 2mm out - leaked badly. I had to make up a thicker rubber gasket plus use the O ring supplied to get it to seal. There are other threads on here about the poor quality of some of these aluminium replacements.
BTW I found it impossible to remove the old housing even with a good crow foot wrench - ended up removing the inlet manifold which isn't too much of a job - replaced the two heater hoses underneath at the same time.
BTW I found it impossible to remove the old housing even with a good crow foot wrench - ended up removing the inlet manifold which isn't too much of a job - replaced the two heater hoses underneath at the same time.


Joined: Dec 2011
Posts: 120,439
Likes: 17,014
From: Durham, UK
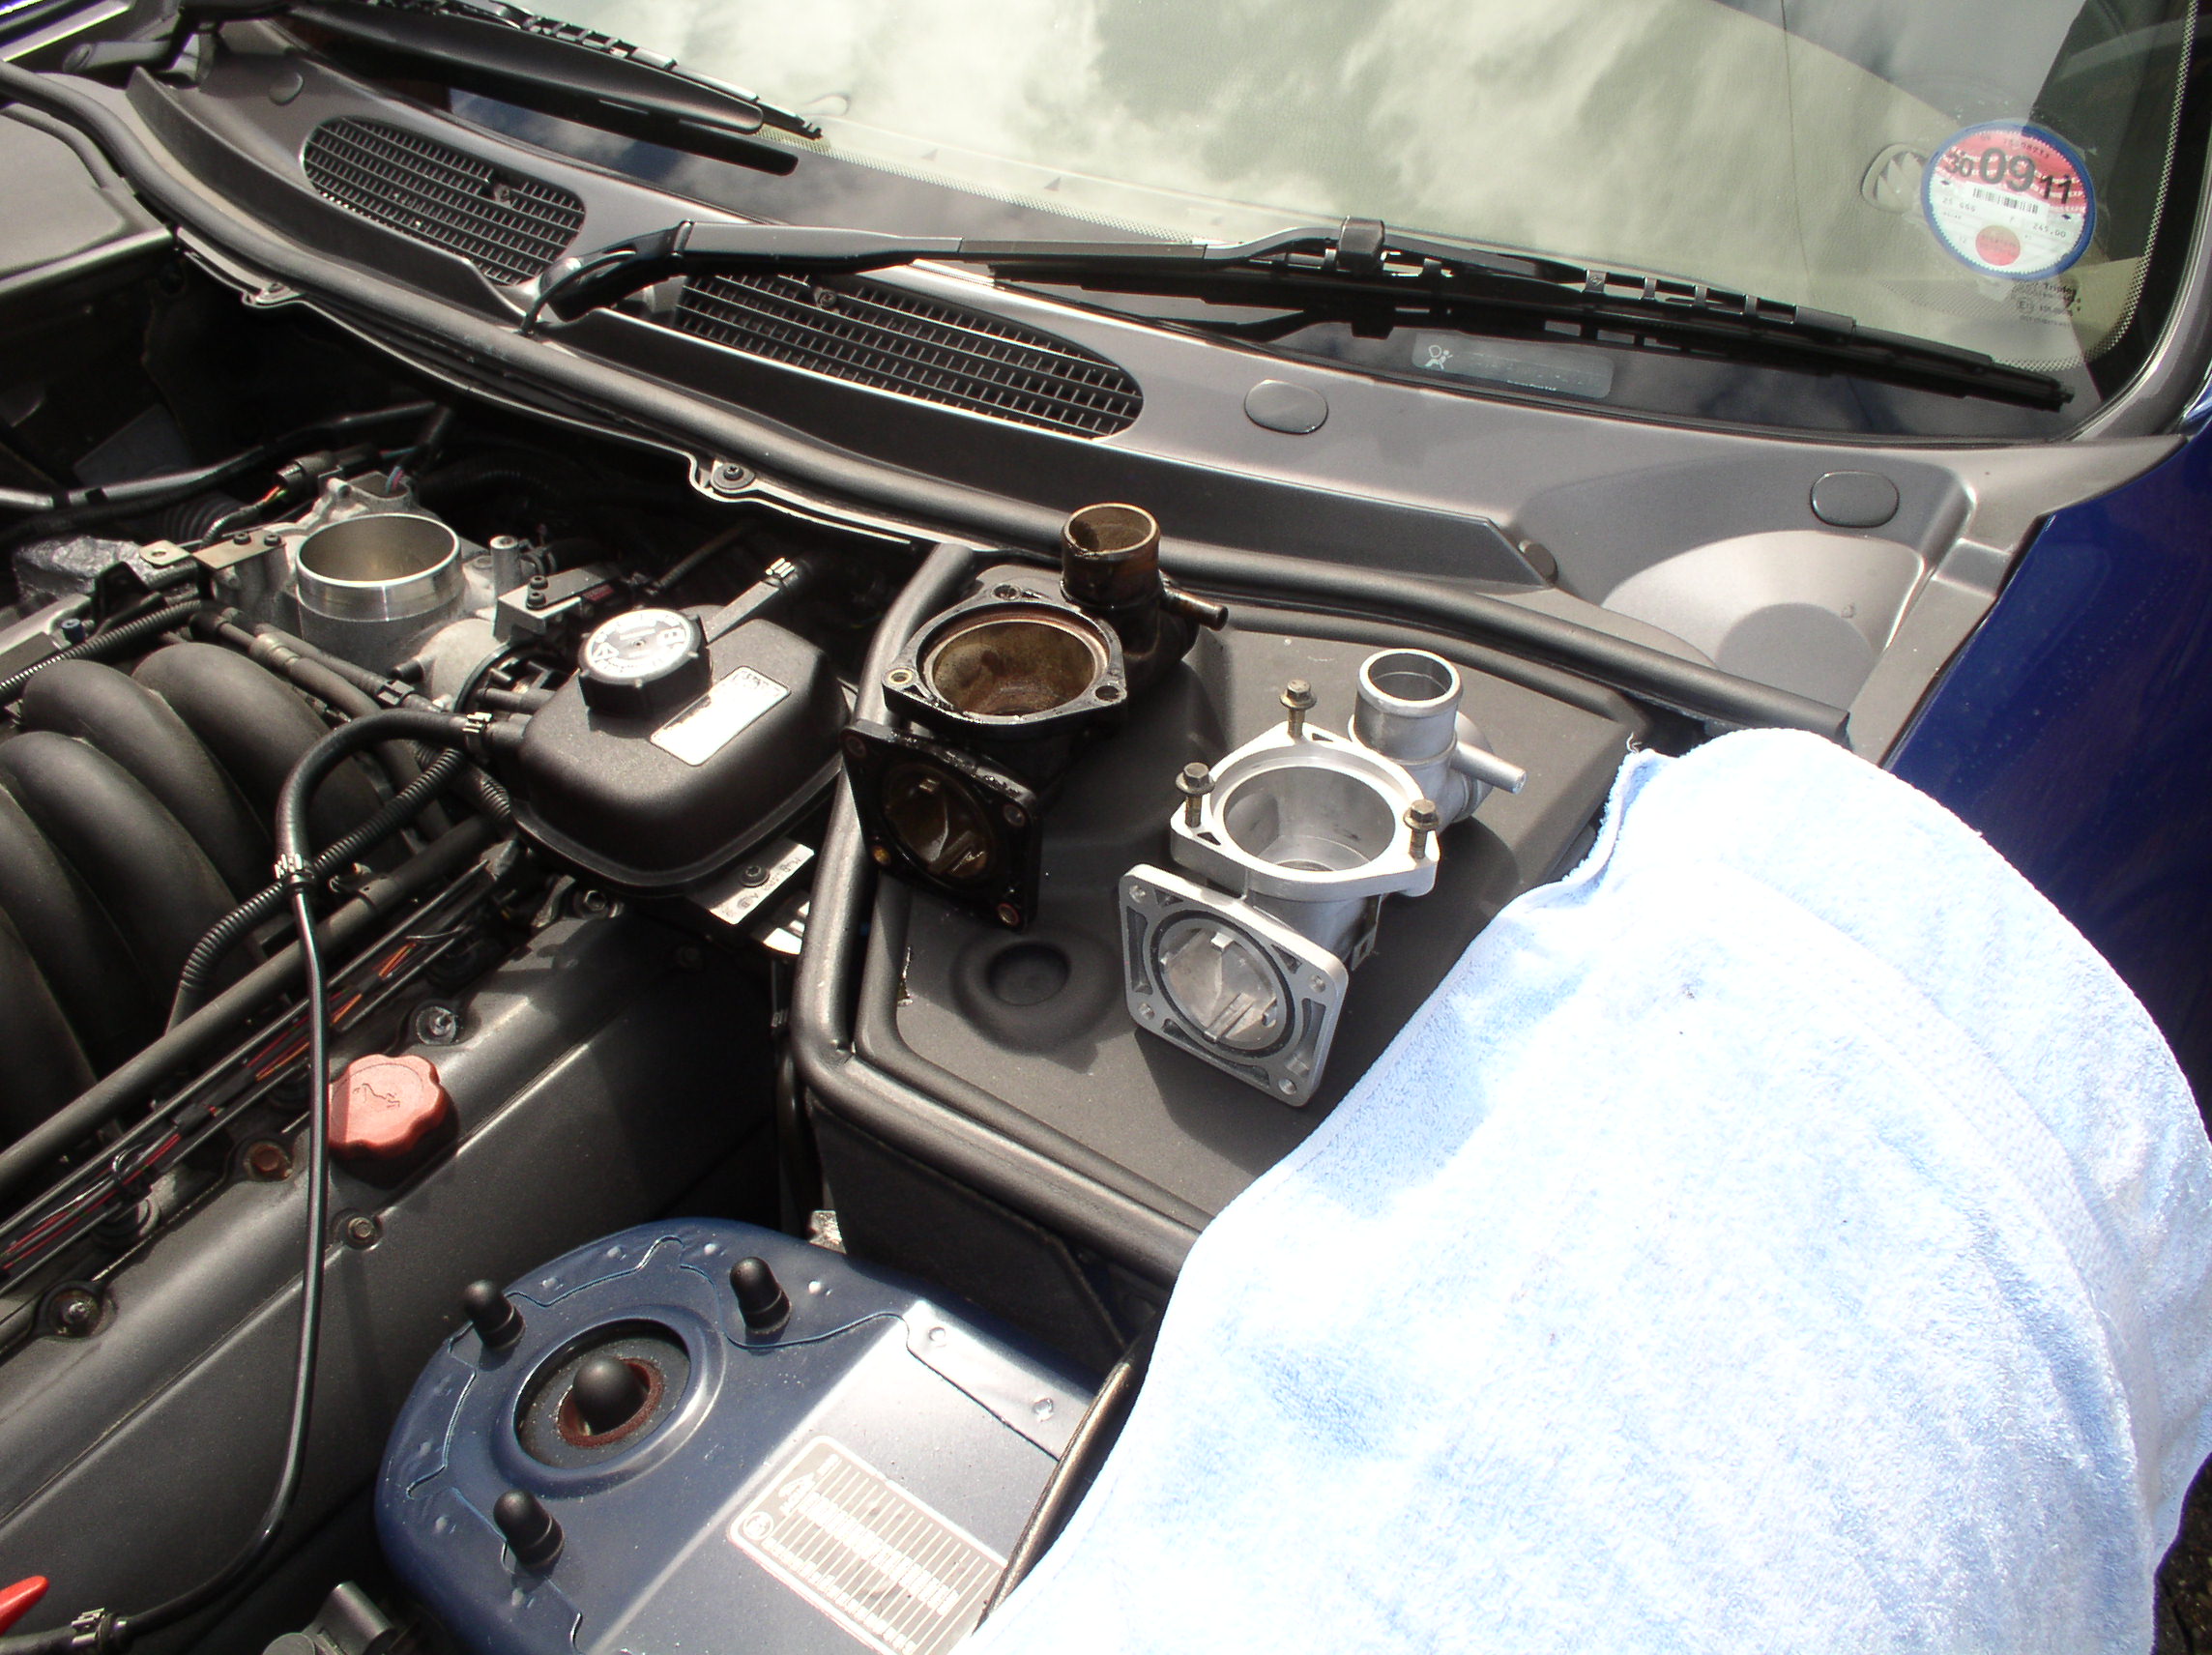
Jaguar black plastic OE on the left and aluminium aftermarket replacement on the right:

Buy a crows foot wrench to access the rear bolts before you start. Breaking the original housing leaves you no way back if things go wrong. There was a report here recently of an aftermarket housing having the bolt holes drilled incorrectly and it wouldn't fit.
Graham
Buy a crows foot wrench to access the rear bolts before you start. Breaking the original housing leaves you no way back if things go wrong. There was a report here recently of an aftermarket housing having the bolt holes drilled incorrectly and it wouldn't fit.
Graham
Senior Member
Joined: Jan 2010
Posts: 643
Likes: 85
From: NH, USA
Yes, it is usually not an upgrade but a new problem. Most shops I've talked to do not recommend these as they leak more often than the stock version. I would avoid this switch.
Trending Topics

Veteran Member

Joined: Dec 2010
Posts: 8,836
Likes: 2,924
From: Douglasville Ga.
I broke my housing up to remove it. It's not my only car and if laid up for a few days no big deal. Bought the aluminum housing from Welsh, thermostat included, and replaced the rear bolts with socket head screws tightened with ball end hex driver. Replace that short connecting hose while you're at it.

Senior Member
Joined: Aug 2012
Posts: 298
Likes: 124
From: Chandler, AZ
RJ237 has a good idea in using the socket head screws rather than the originals. I typically take the rear bolts and cut a slot into the heads so I can easily drive them in with a thin screwdriver before tightening them. I have probably replaced a dozen of these with the aluminum type, and only had one that was defective. The quality isn't the "finest", but they do work!

Just a foot note make sure that the thermostat is set correctly. There is a hole on the thermo, make sure that it is pointing in the up position. It is designed to allow the air to get out of the system. When I replaced mine GGG (Graham had a great pic of the of the radiator drain plug and the position of the thermo) Jim
Veteran Member
Joined: Dec 2010
Posts: 8,836
Likes: 2,924
From: Douglasville Ga.
That's an important point. I checked the one I got from Welsh before I installed it and found that the thermostat could only fit if the jiggle valve was up and the spring in the right direction.

Veteran Member
Joined: Mar 2008
Posts: 5,390
Likes: 1,116
From: Ellijay
You might also consider that the bright aluminum is going to look a little out of place at the top front of an otherwise all black engine. I would suggest that you paint it black to match before installation. After all, the plastic housing was just painted plastic.
Breaking up the old plastic housing eliminates most of the access problems. You really don't want to remove the intake manifold unless the hoses underneath need work.
Breaking up the old plastic housing eliminates most of the access problems. You really don't want to remove the intake manifold unless the hoses underneath need work.
Senior Member
Joined: Feb 2012
Posts: 573
Likes: 140
From: Fort Myers Florida/Lichfield UK
I was changing mine because the previously fitted aftermarket aluminium one was leaking - of course that also meant that the option of breaking off the old one to remove the back bolts was not available to me.

Senior Member
Joined: Feb 2010
Posts: 830
Likes: 141
From: Daytona, USA
And on the thermostat pin, I believe Brutal said he removed them before installing the thermostat. I did (more of a small ball than a pin on mine) and positioned the hole at 12:00 o'clock. Seems to work fine.

Thread
Thread Starter
Forum
Replies
Last Post
mikiep
XK8 / XKR ( X100 )
14
Dec 20, 2019 07:37 PM
Currently Active Users Viewing This Thread: 1 (0 members and 1 guests)