When you click on links to various merchants on this site and make a purchase, this can result in this site earning a commission. Affiliate programs and affiliations include, but are not limited to, the eBay Partner Network.
Does anyone have a lead on replacement j-gate shifter plate trim? I have looked at all the previous threads on this and it seems the person manufacturing the aluminum trim is no longer making them. Suggestions? I know there is no way to get an original one except from the occasional wrecked vehicle, so am I stuck with my busted trim?
He currently has the 5 - speed aluminum shifter trim plate for sale. If you contact him, he can manufacture a batch of 6-speed versions and list them up. He may take a few days to reply, but as soon as he has them available he will message you to make sure you can ****** one up. I have already done this process with him before.
He has not stopped manufacturing them. He just doesn't make a listing until he's made a batch of them, which usually takes him a few months. You can either check in on his ebay profile or message him.
UPDATE - I messaged the gentleman in Canada via ebay about his j-gate aluminum trim plates a few days ago. Today I received a reply that he had listed three more 6-speed plates, so I immediately ordered one of them. Will report how it goes once I receive it. Again, giandanielxk8, thanks for the updated information.
Received the J-gate aluminum trim piece last week - will endeavor to install it today and will post later on how it went. It looks excellent in every way.
I am glad to report success with the installation of my new j-gate aluminum trim plate. I could not find a how-to video specifically for this job, but I had previously viewed and used similar videos and pictures to get this one done. I will include some sequence of pictures to illustrate. Firstly, I have to say that the job is a little intimidating since you're getting down several layers of stuff around the gear shift lever. Patience and a well stocked tool box is required (plus a little bravery and luck).
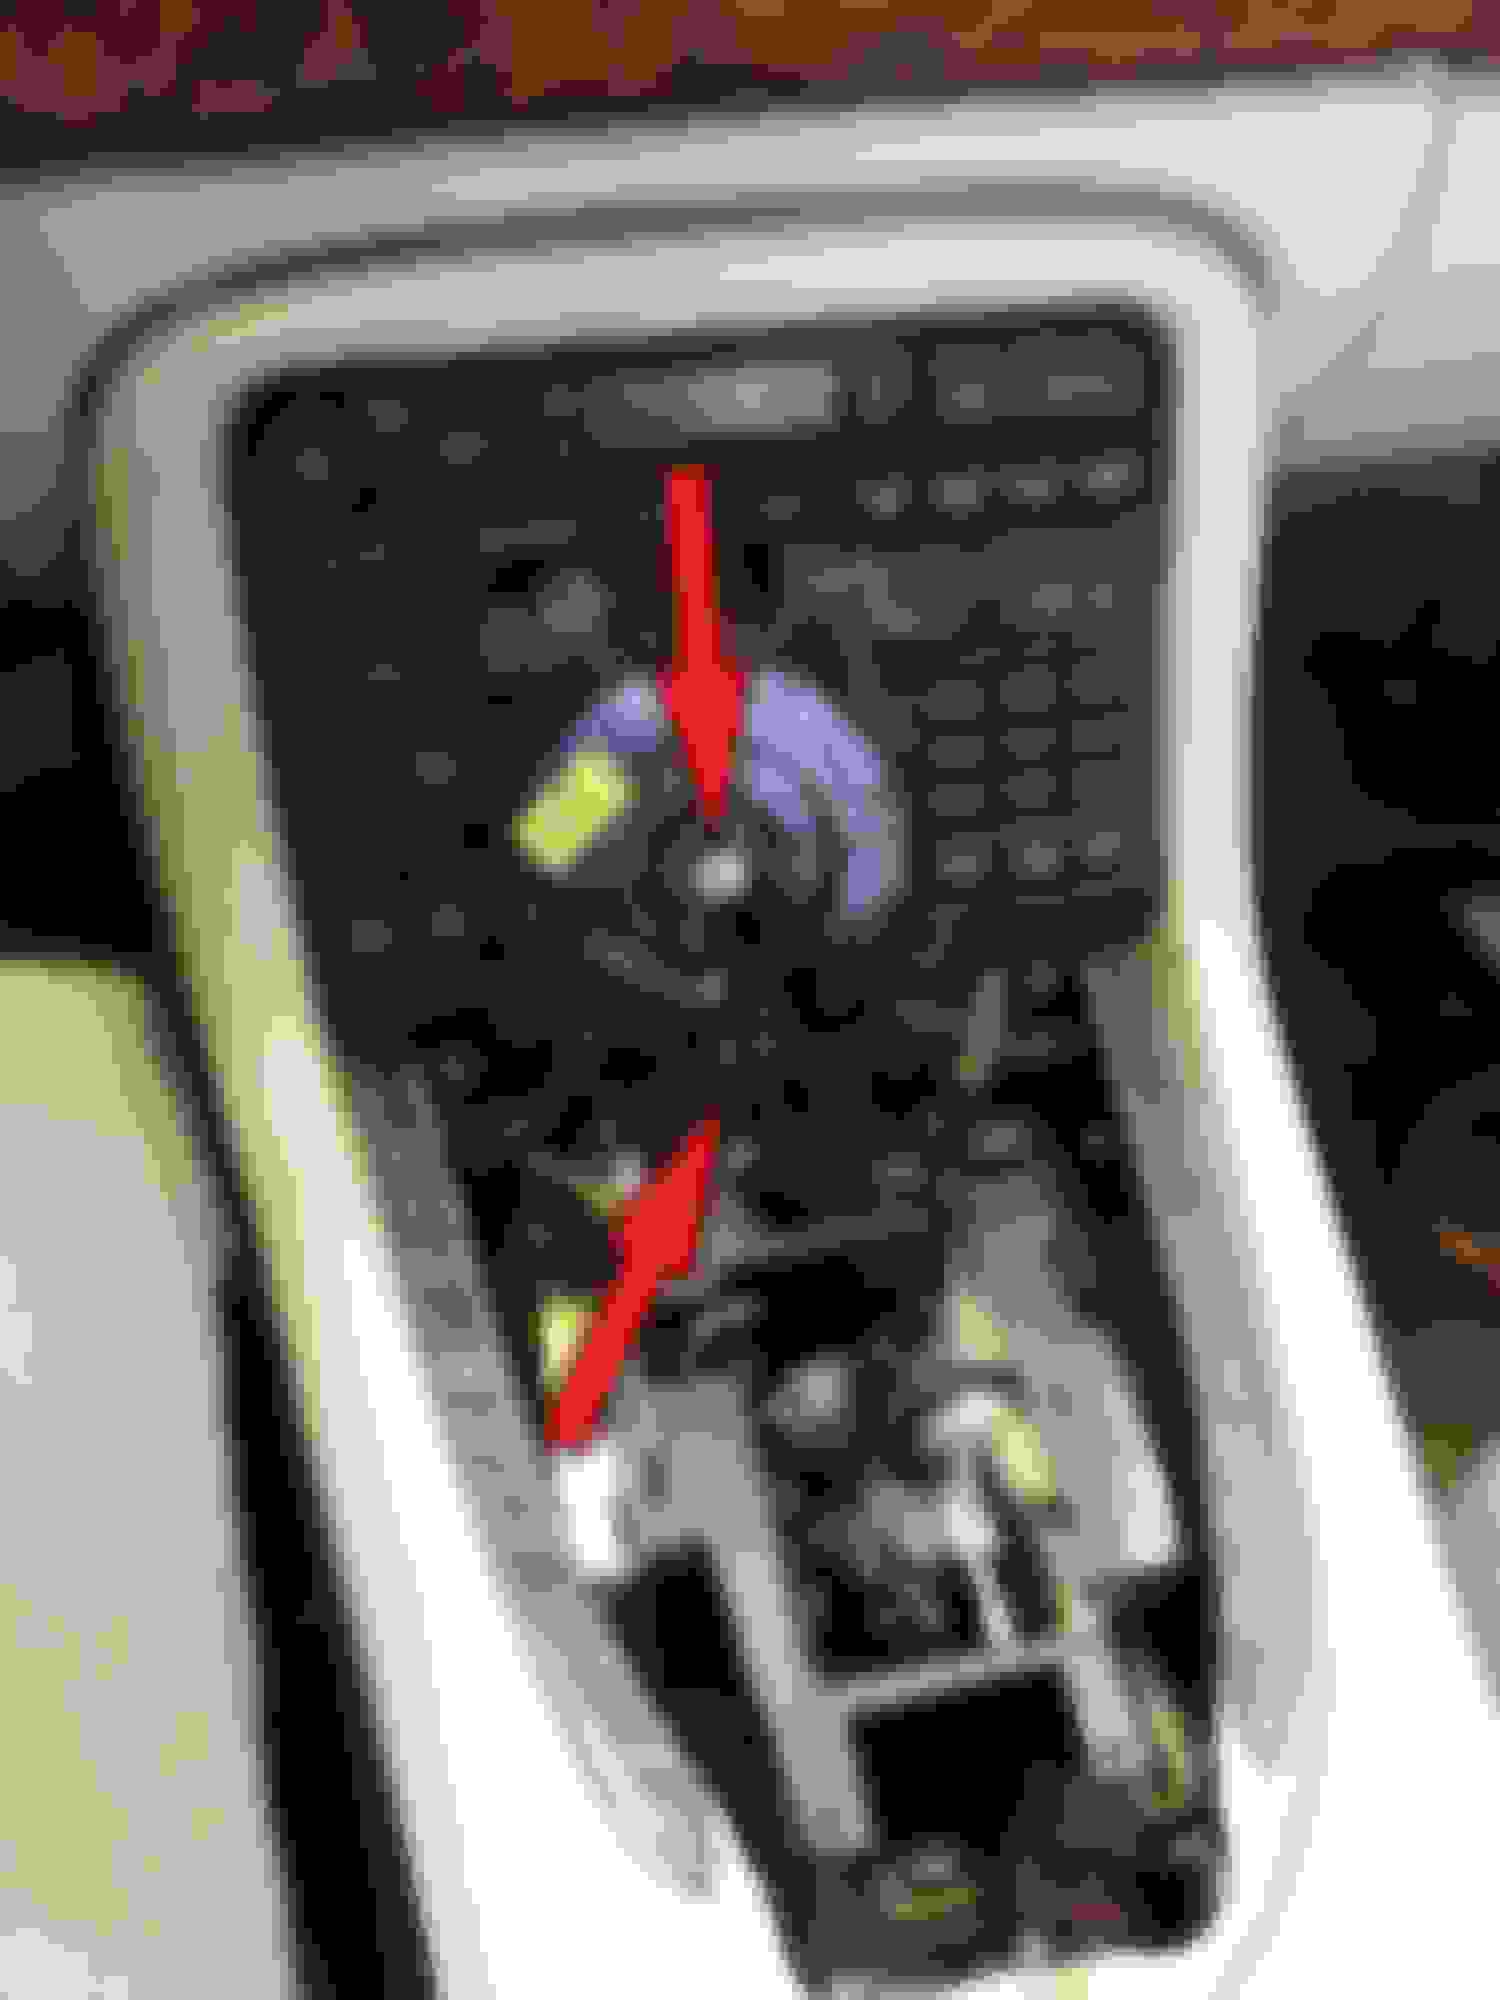
First, here is why I am putting in a new J-gate trim surround, as provided by the gentleman in Canada via ebay: the plastic has fractured in three different places-
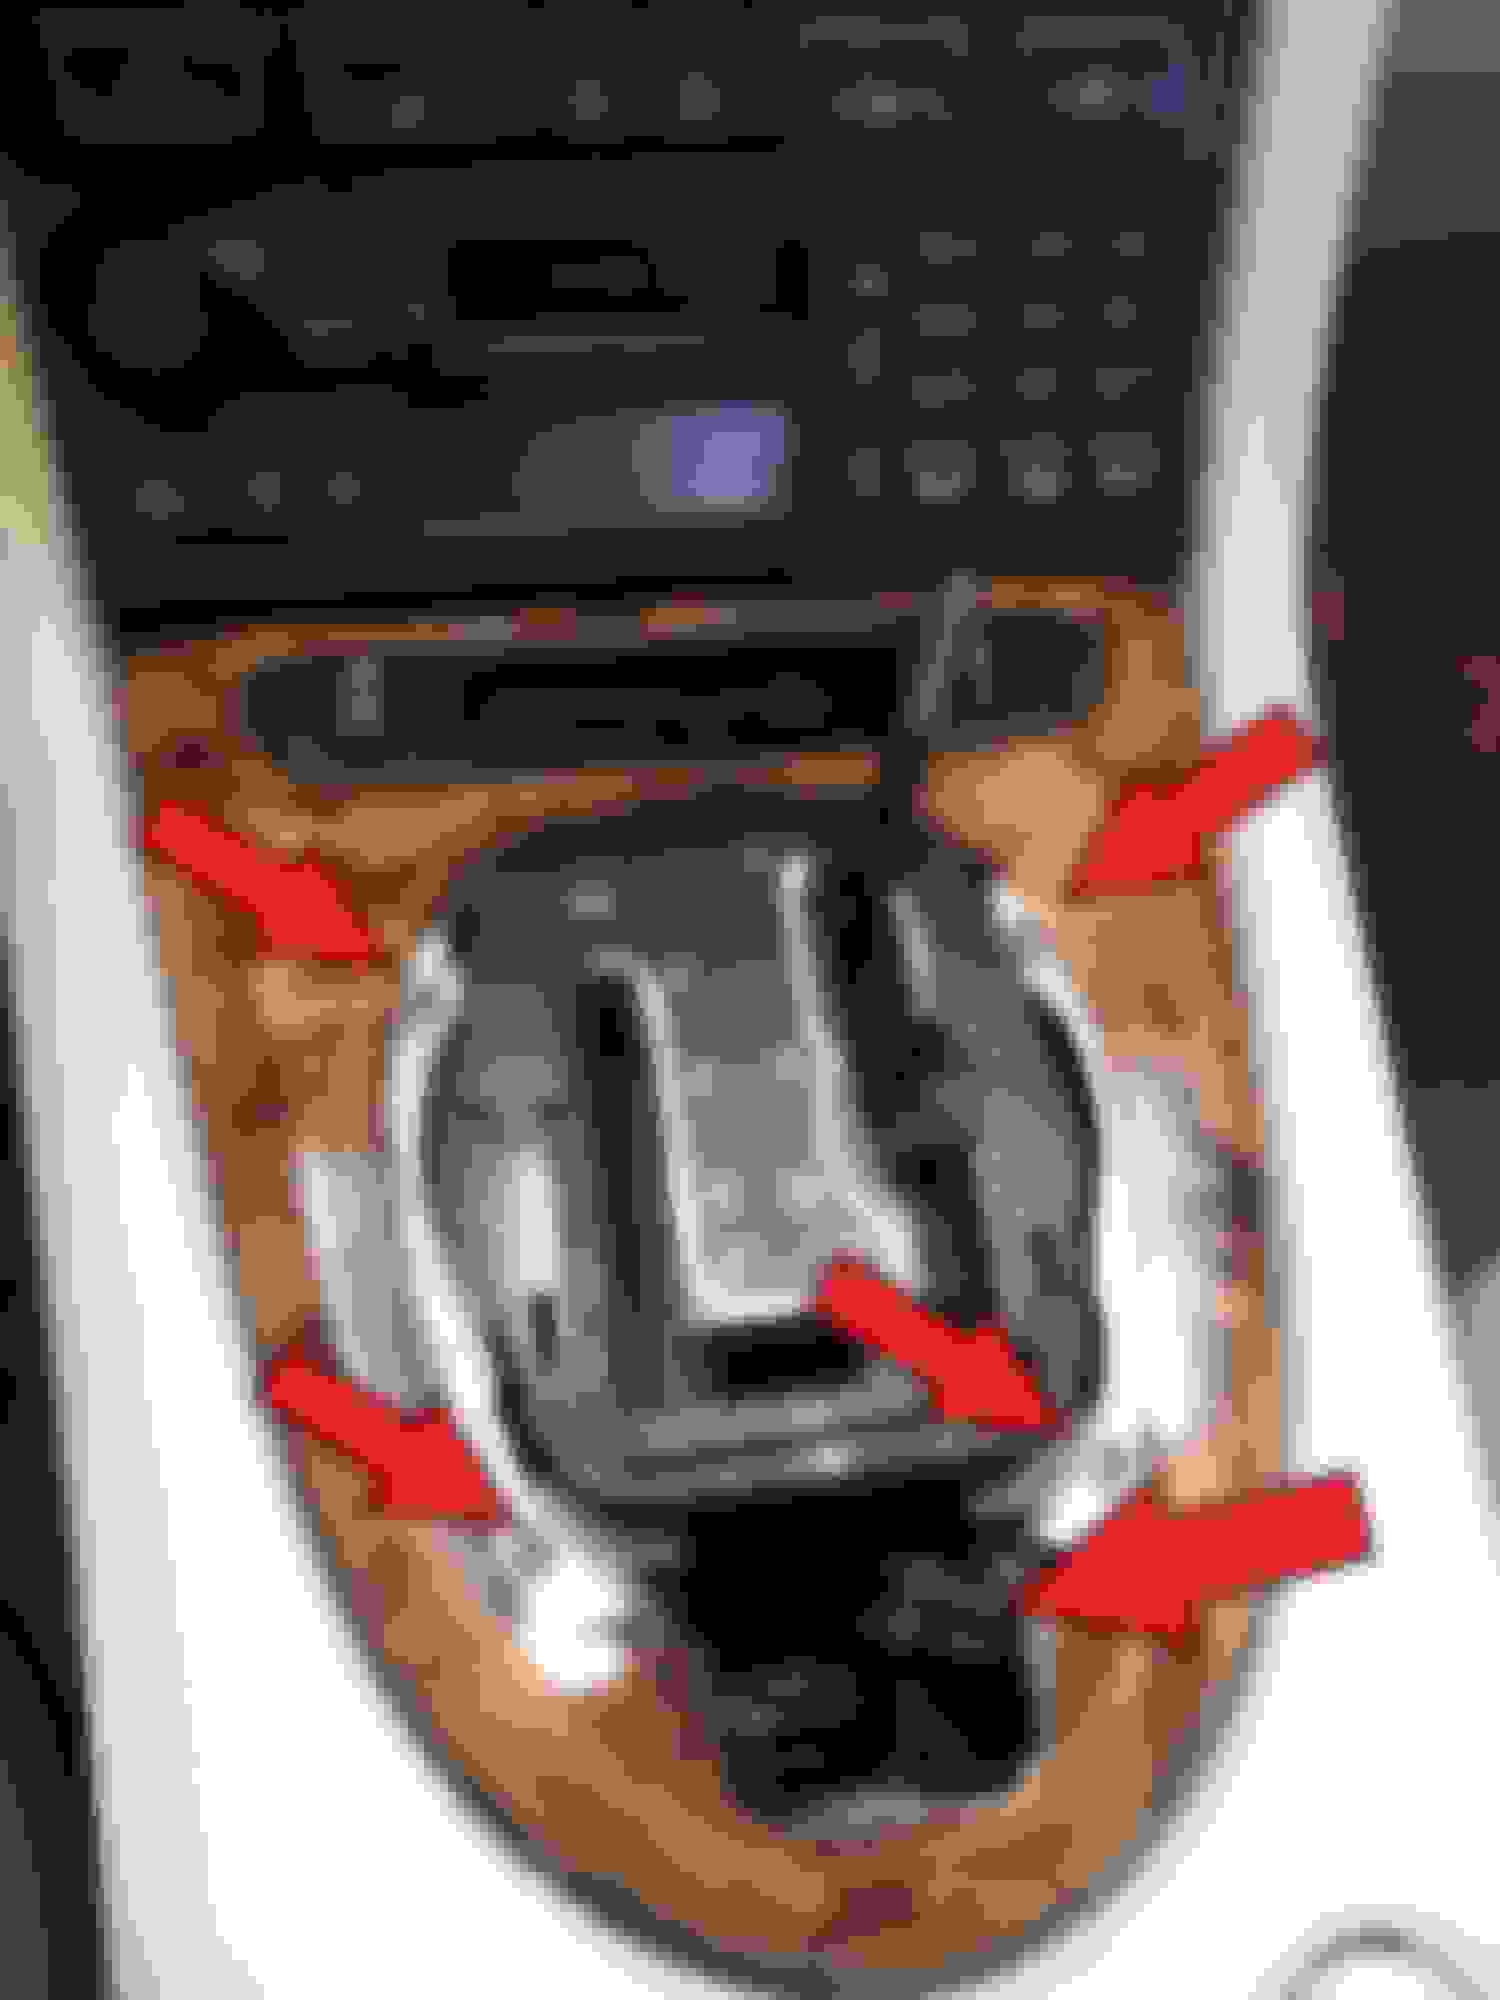
Unscrewed the shift knob, then the knob collar stop (with adjustable wrench), then used the well known "credit card" method to remove the outer trim bezel (remember to unplug the "sport" switch cannon plug). This reveals the hold-down flanges and (4) screws that fasten the wood trim to the console.
After removing the screws and flanges, I carefully removed the wood trim by tipping up from the back and pulling it off after removing the cannon plug for the top control switch in the front. Now one can see the four screws that hold the J-gate surround on. Removed those and also the trans interlock bypass screw. The whole thing can now be tipped up and over the shift lever, exposing the underside of the shifter plate disk. To remove the disk, first remove a microswitch assembly by gently but firmly pushing the plastic guide pins with which it is attached (I used needle-nosed pliers); now you can remove the hold-down screw and washer (torx or allen wrench will work).
With the disk removed one now has access to the screws (torx) retaining the trim to the base; there was also a small phillips screw at the very rear; after all screws are removed, actuate the forward-side clips and ease the old trim piece off the base. It will reveal a white plastic "light-box" which sits atop the circuit board containing the backlighting bulbs and shift-point backlight led's (if you have any out, this might be a good time to replace them, if you are technically able). I left the "light box" loosely installed (it should be snug once all parts are back together) and installed the aluminum trim plate with the two provided bolts and nuts.
Once the new plate was snugly in place I could reverse course and reassemble all the components - reinstalled the transmission interlock bolt (it will now sit slightly raised, not flush as before), the shifter disk plate and screw, then re-attached the microswitch assemby; now the whole thing could be lowered over the shift lever and fastened with its four screws. Next, re-attached the wood trim (didn't forget the top control switch cannon plug), hold-down flanges and screws, then lastly the plastic trim surround (and reattached the "sport" switch cannon plug). Lastly, shift lever knob collar and knob were re-installed.
I hope this helps any of you contemplating to do the same or similar job. The whole thing took about three hours and I used the chance to do some deep cleaning in all the nooks and crannies that were exposed. I may have left out a few minor steps but these will be self-evident when you do some to them. Good luck!
Thanks for the working process, ziet er goed uit.
I like the concept and look of the alloy cover, but I am a bit disappointed how the surround alligns with it.
I will see if I can get that a bit better next week.
Thanks for the working process, ziet er goed uit.
I like the concept and look of the alloy cover, but I am a bit disappointed how the surround alligns with it.
I will see if I can get that a bit better next week.
Bedankt, meneer. - Eric, yes the fit is not perfect but it still looks very much better than the broken part before. The overall look is very nice though if you look close, the front of the plate is a couple of millimeters low and the rear does not 100% match the shape of the surround; also, the center inside the J is not 100% flush (maybe 98%). I also realized (too late) that I should have applied some sort of diffuser or thin clear plastic sheet on the underside of the trim plate to seal the backlighting space from dust and moisture intrusion through the gear number cutouts - I may address that at a later date. In the end, though, I think it is a good looking product and am pleased.
For those who prefer the original black plastic surround plate (such as myself), a seller in the U.K. has around 10 of them listed on eBay at the moment. All 5-speed. Here.
For those who prefer the original black plastic surround plate (such as myself), a seller in the U.K. has around 10 of them listed on eBay at the moment. All 5-speed. Here.
Now find one stocking 10 for the 6-speed, seems a whole lot harder ...
I am glad to report success with the installation of my new j-gate aluminum trim plate.
Bart,
One question if you don't mind;
I received my cover yesterday (although damaged, but that is an other story).
I was wondering if you disconnected the 2 blue lights underneath?
They do nothing for this new arrangement, and they might just shine sideways at some places?
What's your experience?
Hi Eric!
I also did the conversion to the alu shifter-trim-plate on my 6-speed some time ago. If you refer to the backround illumination bulbs, these are not useless, as you see the white light through the cut-out numbers in the plate. The selected gear-nr. is then additional illuminated by the corresponding red LED on the PCB, so lighting on this nr. switches from white to red, clearly visible. BTW, if you have the J-Gate taken apart, it's a good idea to check these bulbs or even replace them, as these are Lamps and not LED, so prone to wear. They are not available as a spare, but you can use common T1-Lamps, 12V ~40mA 6x3mm, slightly bigger doesen't matter You just have to transfer the blue 'condom' from the old parts...
For some strange reason I never thought the back lighting reaches the indicators, that will be neater than thought.
The shifter and its parts came out more broken than expected, and the underlying seal was in a million pieces, so waiting for a new one to arrive.
Gives me time to fix up that little white divider, which was also effected by a previous shady glue job.
Above, and with the new alloy cover arriving damaged, does not make me too happy on this one, but I am sure all will be sorted in the coming weeks.
Thanks again.
By the seal do you mean the felted edge around the J-gate opening? If so, what is the part # & where did you find one?
I was able to shim under some of the 4 screws that secure the main J-gate assembly to level the new trim plate assembly in the surround with some washers, it worked well and caused no problems...
Yeah, that's the one.
It was laying in a hundred pieces in the plastic assembly, you see the pile of pieces on the pic above.
It seems they are not sold individually for the XK's, but after a long search, I found one for the X308.
I am a bit taking a gamble, but comparing my XJ8 5-speed with the XK8 6-speed assembly, I think the underlying housing is the same, they just re-spaced the gears over the same length on the left side of the J.
And if not, I figured that I can probably make something out of the new seal with some ingenuity.
I do not expect to receive the seal before the Chinese New Year here, so you got to wait a bit, but I will let you know if it fits or not.
The XJ8 part number is LNC6197AA - Gear gasket.
If you google, it will show up on some sites, although most list it as "out of stock".
I bought mine in Germany for 25 euro, the last one.
And yes, I will space out the height of the assembly as you did, using some spacers if needed, thanks for the reminder.
Today I received the shifter gear gasket specified for the X308, and as hoped for, it is a direct fit.
Finally able to finish up one thing on the long list.
Hi - Beauty is in the eye of the beholder. For my 1999 Gen1, I kept it the same matt black as original. As a touch point, I had to do the renewal of the J-Gate module so I advise anyone to replace the gasket at the same time as the cover replacement . Easy to do and there's a good YouTube video from the guru Sam1174
For my 1999 Gen1, I kept it the same matt black as original.
I know what you mean, but they are not easy to find for the 6 speed versions, certainly not if you live far away like me ....
Of course an OEM one showed up after I received this one, and I bought it as well, so I have my options open.
Just installed everything, must say it looks better than expected, especially after a bit of wiggling and spacing to get the cover evenly recessed in the surround.


 ...
...