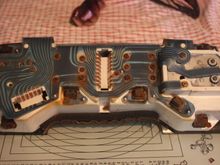
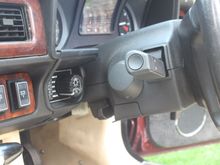
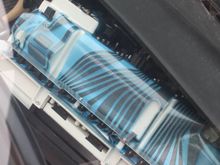
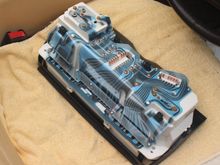
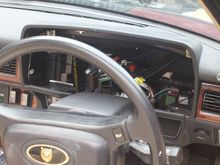
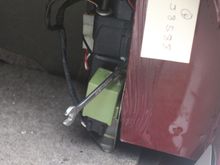
This is where you have to be so Careful, if you damage that Printed Circuit, its 'Game Over!'
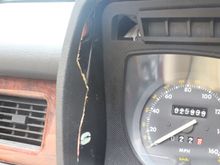
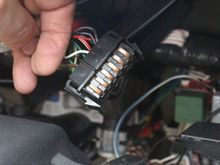
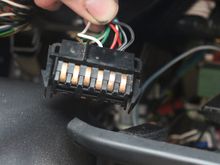
Though in order to pull the Binnacle out, you also have to remove Two Multi Plugs
Which are also plugged in to the Printed Circuit where there is just about enough room to be able to get your hands in without too much of a problem