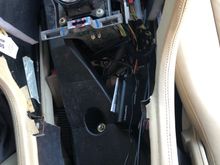
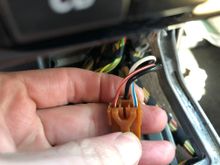
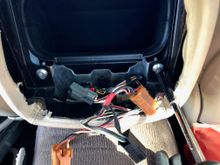
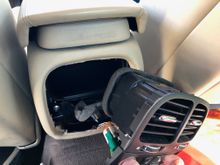
This is the connector to the cigarette lighter / power outlet in the ashtray. It's a great place to tap into for power. The unit needs a constant 12v feed, a switched 12v feed, ground, and an illumination signal to dim the display at night.
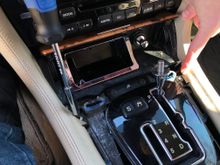
The illumination signal and be found from the red/white wire on the left, and switched 12v from the blue/white wire on the right. Constant 12v can be found in the radio harness, and ground from a place of your choosing.