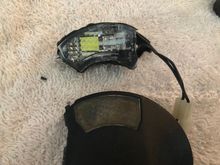
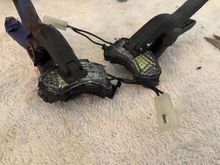
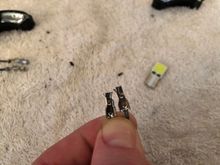
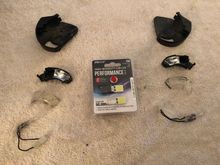
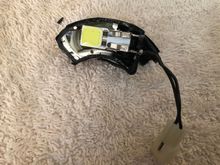
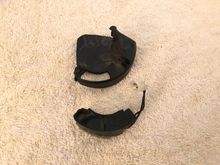
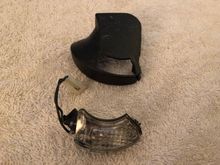
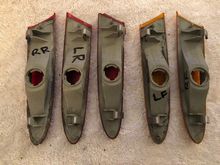
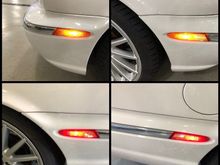
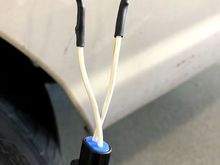
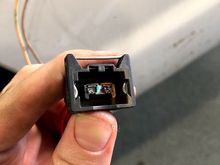
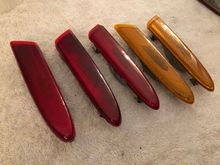
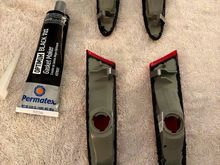
The LEDs I chose are made by Pilot, size 194. Also fits 168 and 2825 applications. These particular ones work well as they are incredibly thin, and fit inside this very confined space perfectly. Removing the clear lenses from the housings is by far the biggest challenge. Using a small flat screwdriver, gently, but firmly pry the lens from the housing. It is almost guaranteed it will not come off in one clean, neat piece. These are not designed to ever be taken apart. Expect some cracking noises.