Programable Seat Module Repair
#1


Anyone who has tried to solder the broken/burnt printed circuit track in their seat module, or other modules, might be interested in this repair. You don't need the steadiest of hands or eagle eyes to perform this time/cost effective fix to get their seat warmers and adjusters going again. Instead of trying to create a new track with a filament the size of a hair to a broken track so close to another track also about the size of a hair, it is possible to short out the 2, or create another break to fix. This repair is mechanical as well as electrical in nature, so it should last.
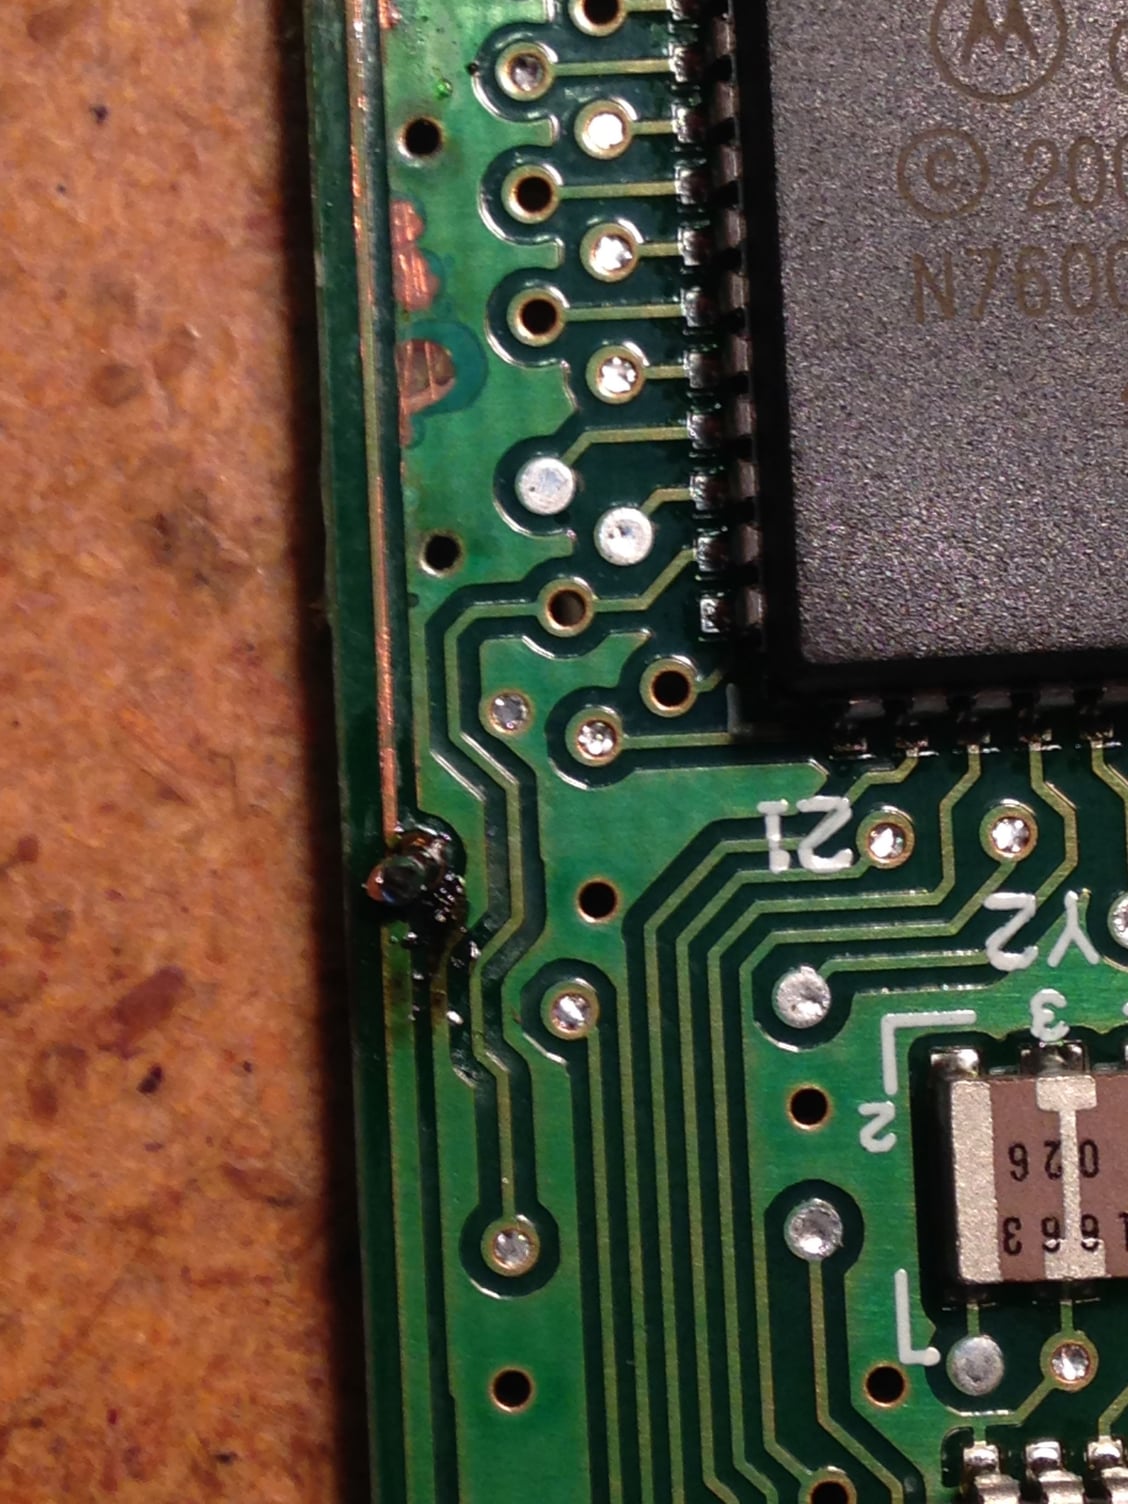
This repair is much easier in comparison to re-joining a thin film, I am ashamed I didn't do it this way to begin with. Using your magnifying glasses, follow the broken track to the nearest punch holes in the PC board that mate with the broken film track. In the event there are no holes meeting this criterion, you could evaluate creating them yourself with a tiny drill bit the approx size of the wire you will be using.
Use a pen knife to remove the shellac from these 2 holes. A small drill bit bigger than the hole would also work to remove any coatings down to the bare film. Remember you are working with a super thin layer of copper. You only want to clean it enough so the solder will stick to it.
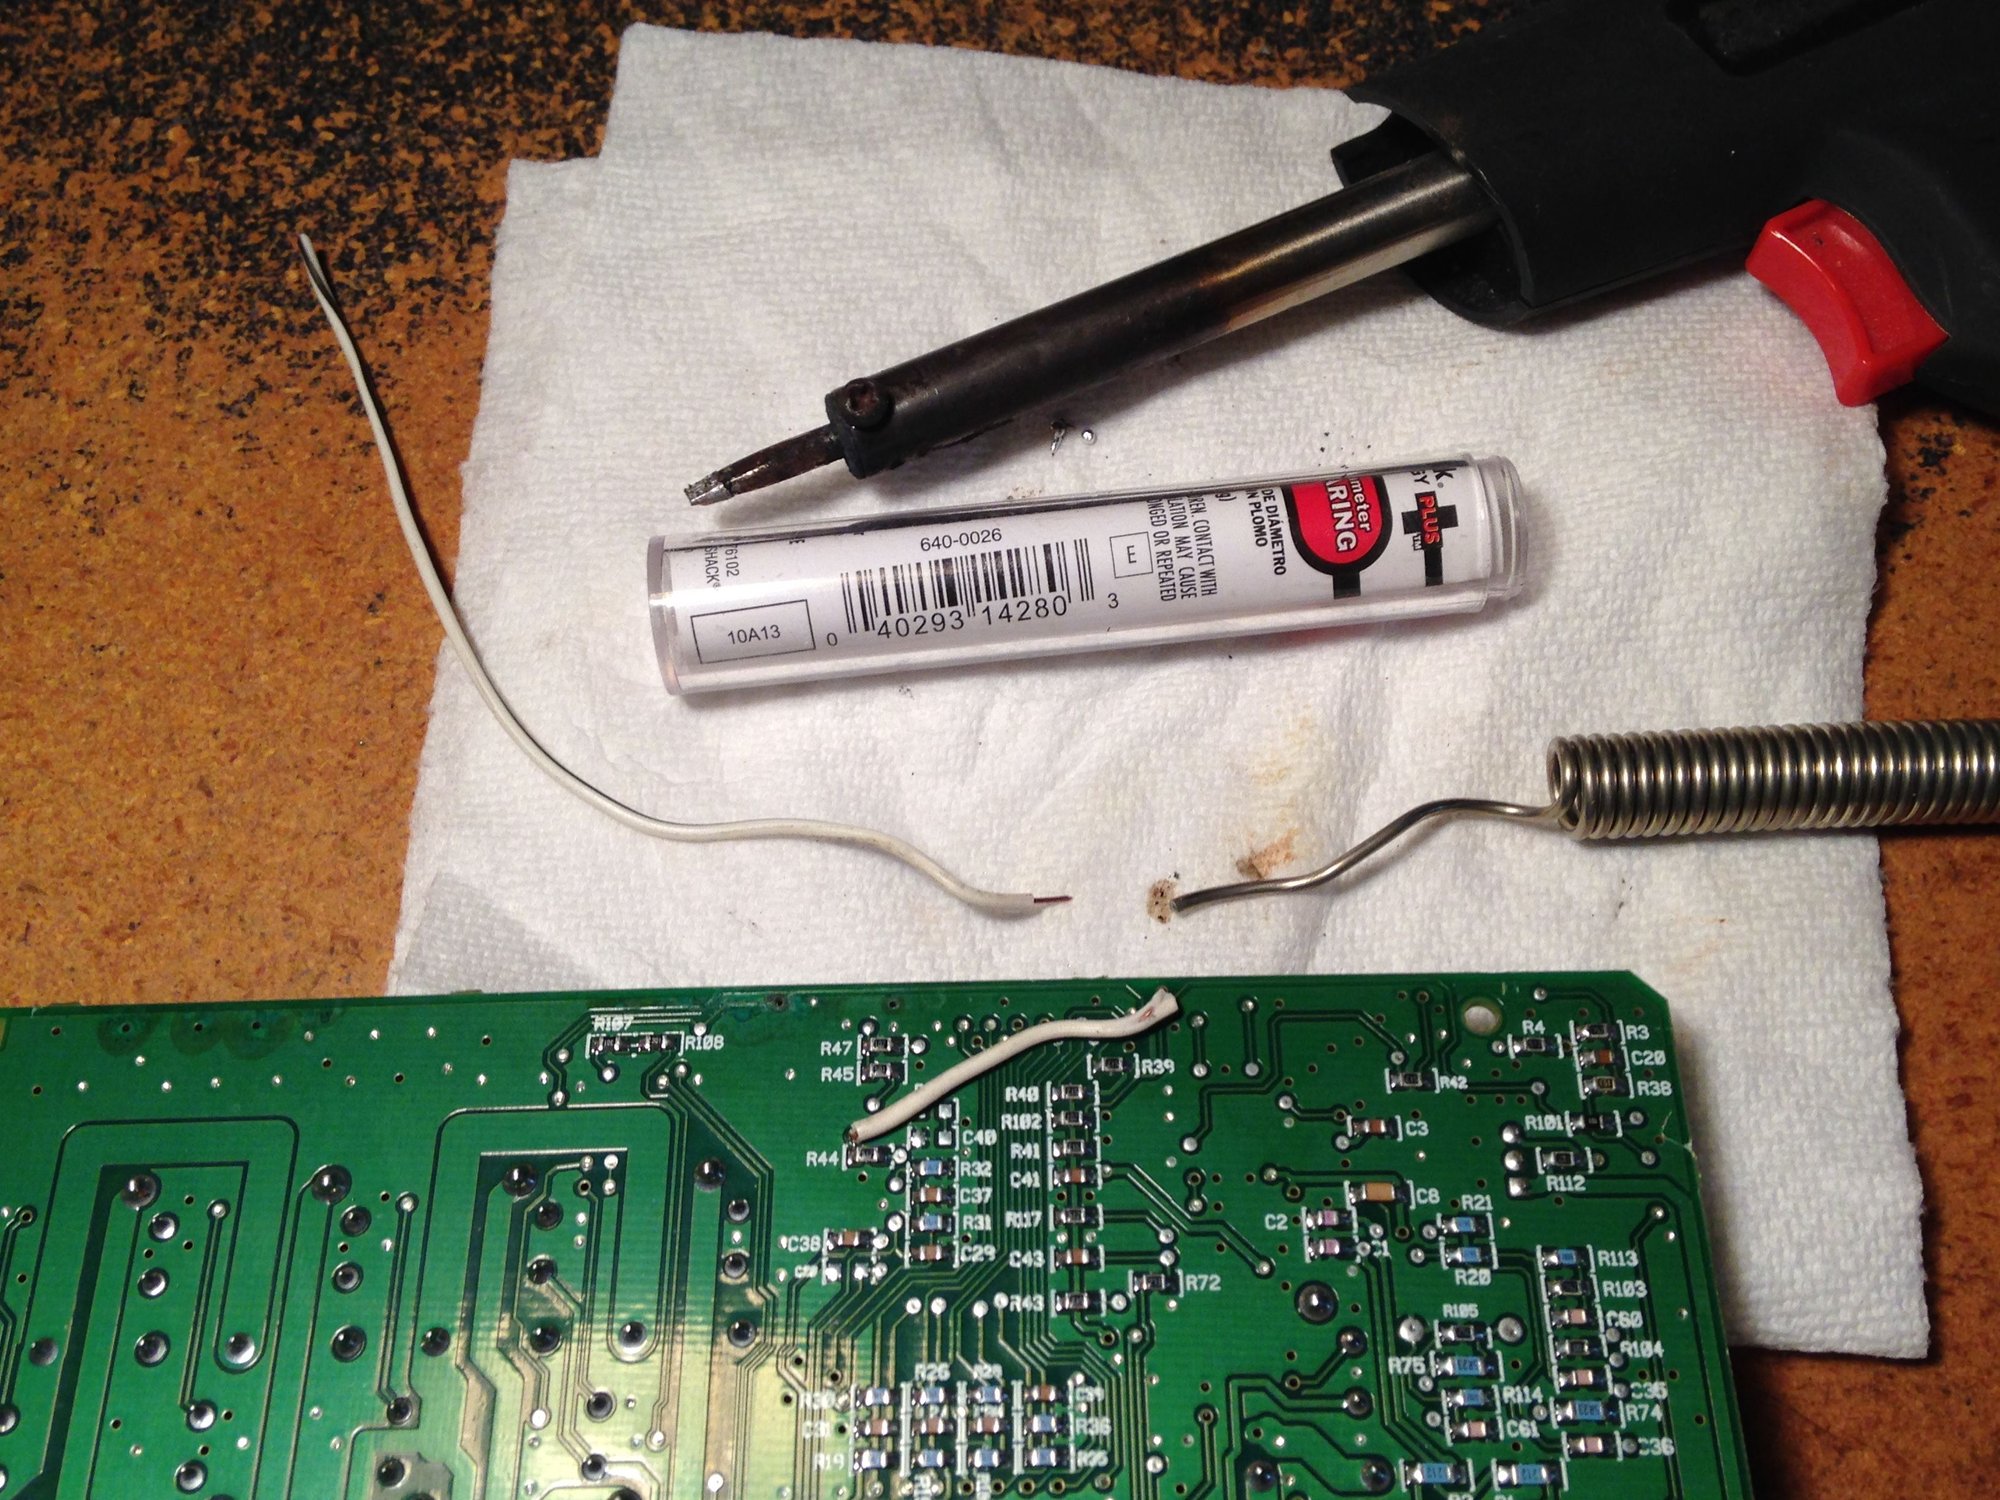
Find a suitable solid wire that fits tight in the hole but not have to force it. I used an old solid strand fog lamp wire. I thought about using a stranded wire, but went with this because it fit so well, and holds it's shape much better. Barely strip off the end enough to solder once it's inserted into the hole from the opposite side you scraped. You want to solder this onto where you scraped the holes shiny. The pics will help explain what I am trying to say hopefully.
Heat the end of the wire you have inserted with your solder pencil for a few seconds, then touch the solder to the pencil till it melts. Don't over do it. As soon as you see the solder melt down to the tip of your iron, get off of it. That should be enough to make a tight grip.
Give a good tug to make sure it has welded, then proceed to trim the other end of the wire and repeat the process in the other hole. You just saved a bundle. Happy soldering, and may your buns be warm.
The following users liked this post:
sklimii (01-03-2015)
Thread
Thread Starter
Forum
Replies
Last Post
trosty
XJ XJ6 / XJ8 / XJR ( X350 & X358 )
26
12-18-2022 06:40 PM
al_roethlisberger
XJ XJ6 / XJR6 ( X300 )
0
09-07-2015 10:53 PM
Currently Active Users Viewing This Thread: 1 (0 members and 1 guests)


