
'12 XKR Paint Correction

Thread Starter
|
Senior Member


Joined: Nov 2011
Posts: 290
Likes: 42
From: Northern New Jersey, USA
After a disappointing experience with a local "detailing shop" I was referred to an independent detailer by OTD (thanks Franki). I was so happy with the results I wanted to share my experience with the other forum members:
Hey all,
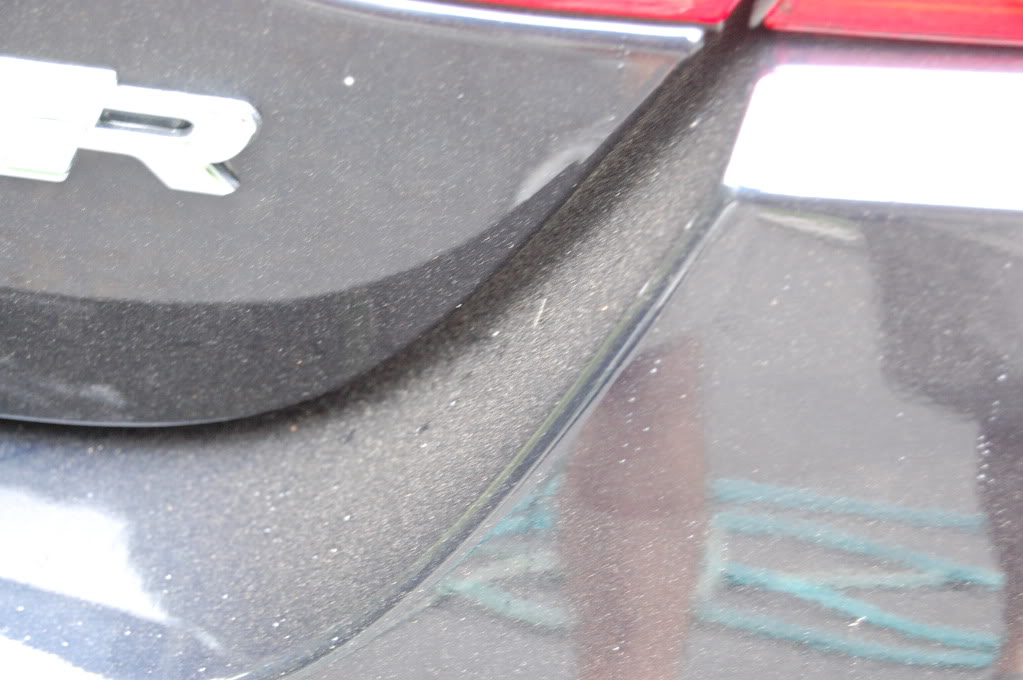
I was contacted by the gentleman whom owns this brand new 2012 Jaguar XKR about removing the fine line (and some deep!) swirls and defects left by a "detail" shop whom obviously washed and dried the car incorrectly.- broom/ dirty towels used? They originally had "detailed" it shortly after he purchased this XKR- I'm thankful there were no buffer trails or any other damage done from improper machine use. Thanks to Franki as well for the referral!
After meeting with the owner and discussing the options we went ahead and chose to perform a new car prep with some moderate to significant correction as some of the defects were quite bad.
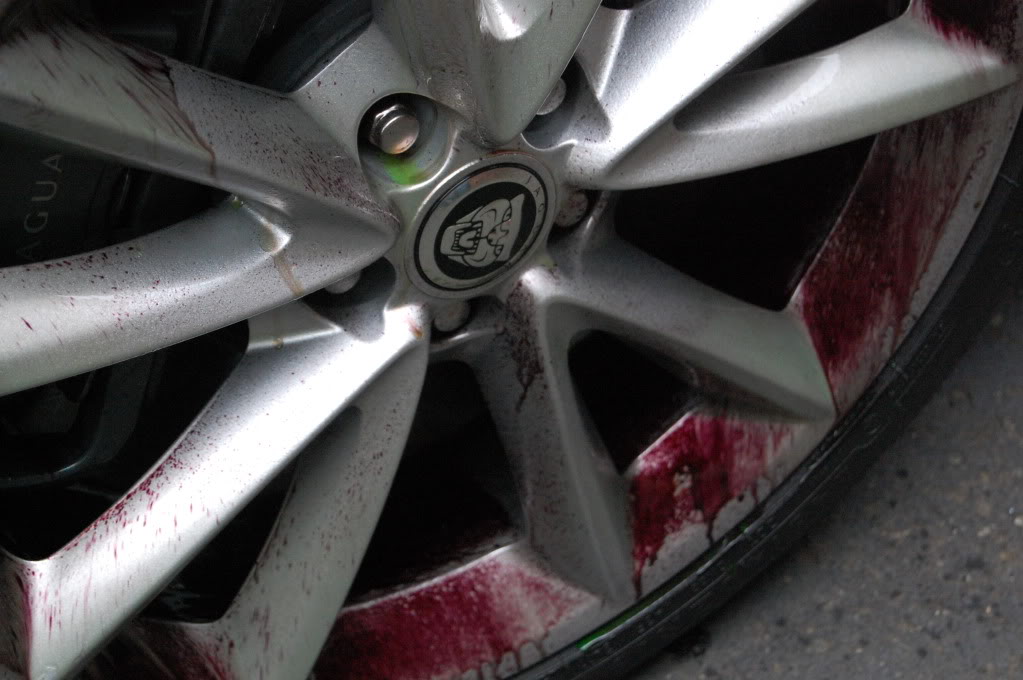
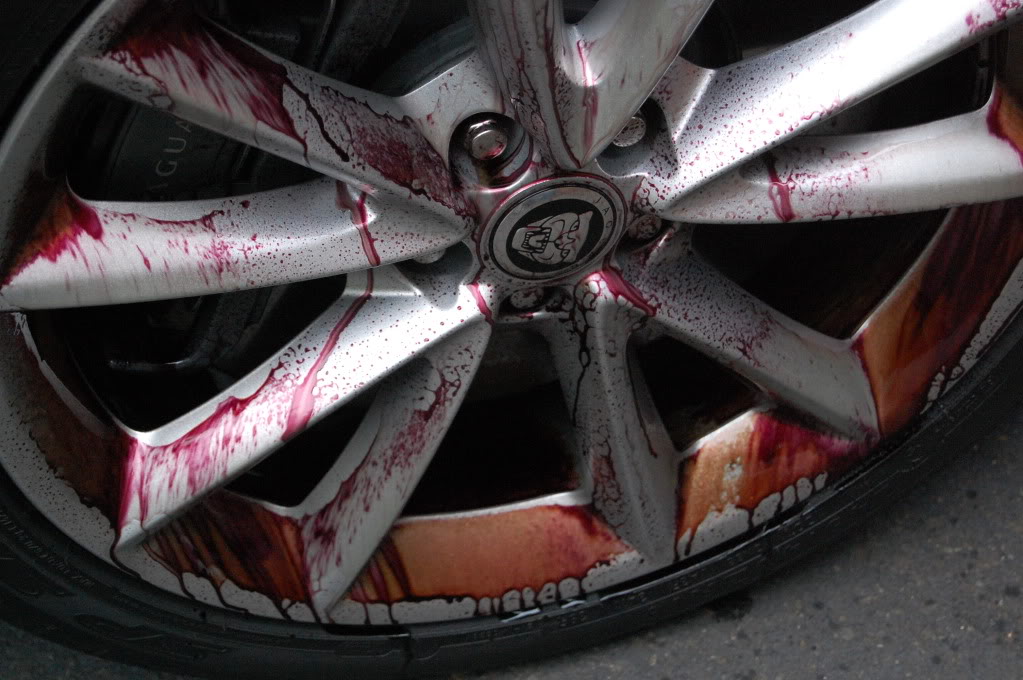
To begin, the car was pulled into the shade, pre-sprayed with Megs APC, wheels hit with Sonax FE, agitated with my Uber Spoke Brush as well as my Swissvax brush.
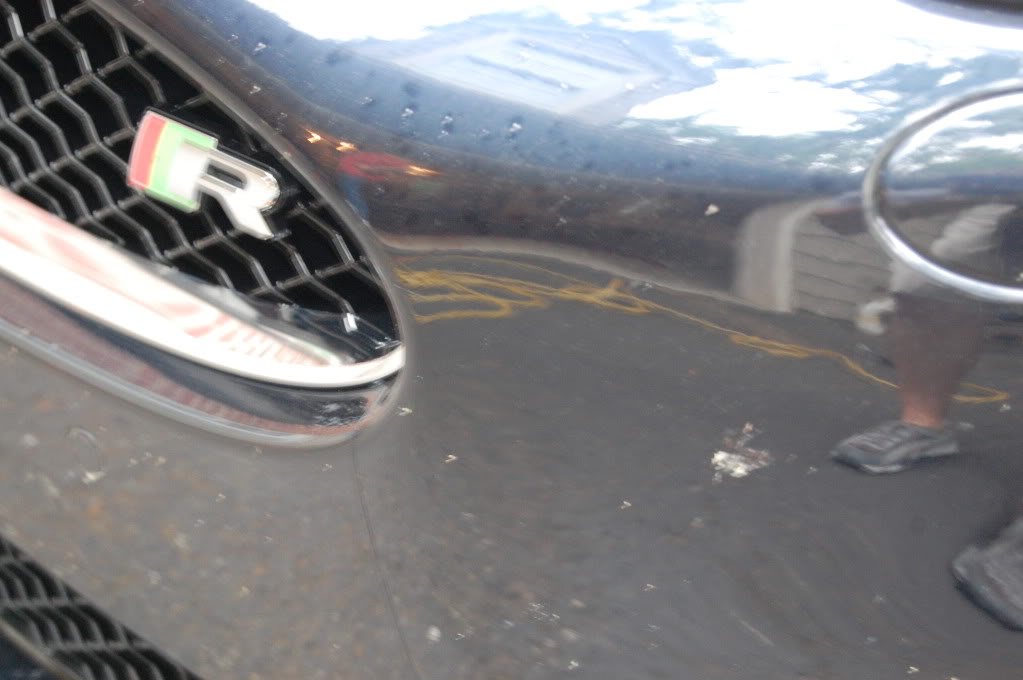
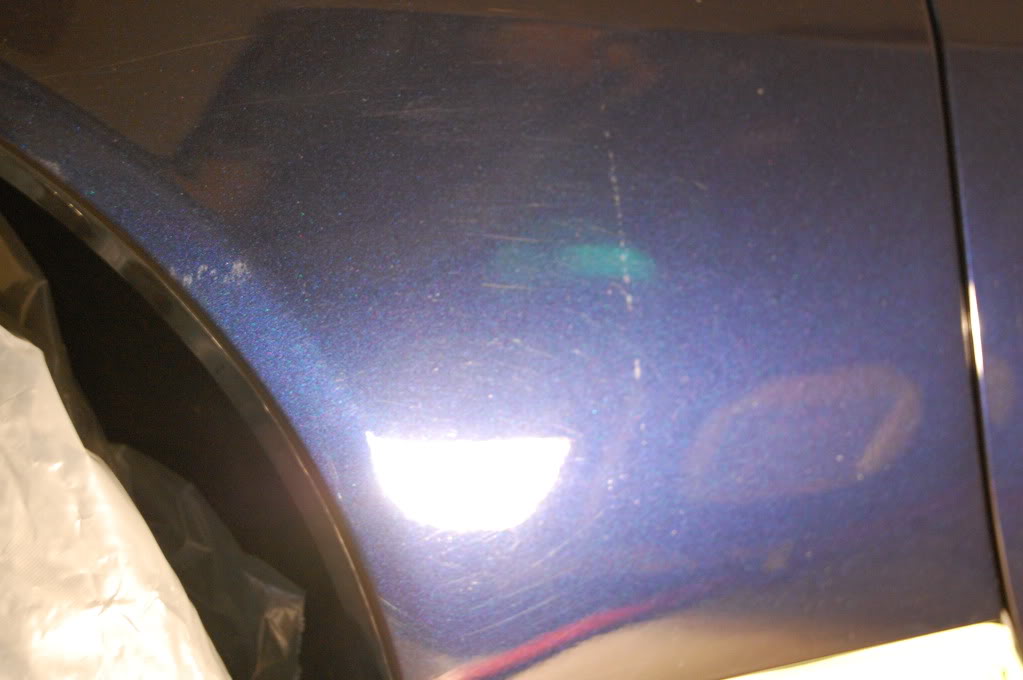
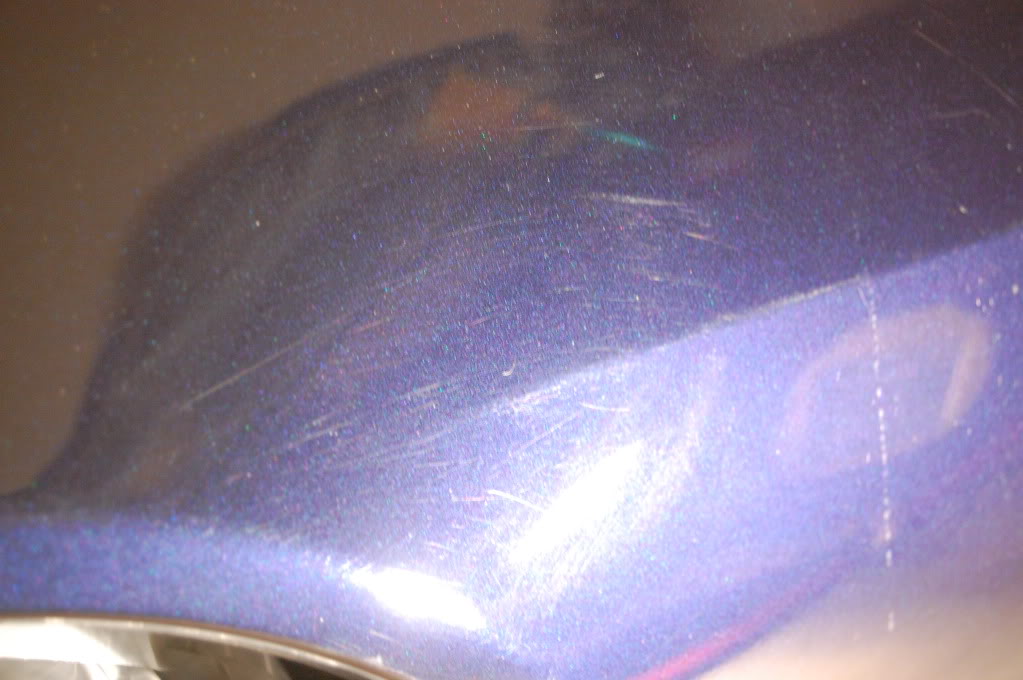
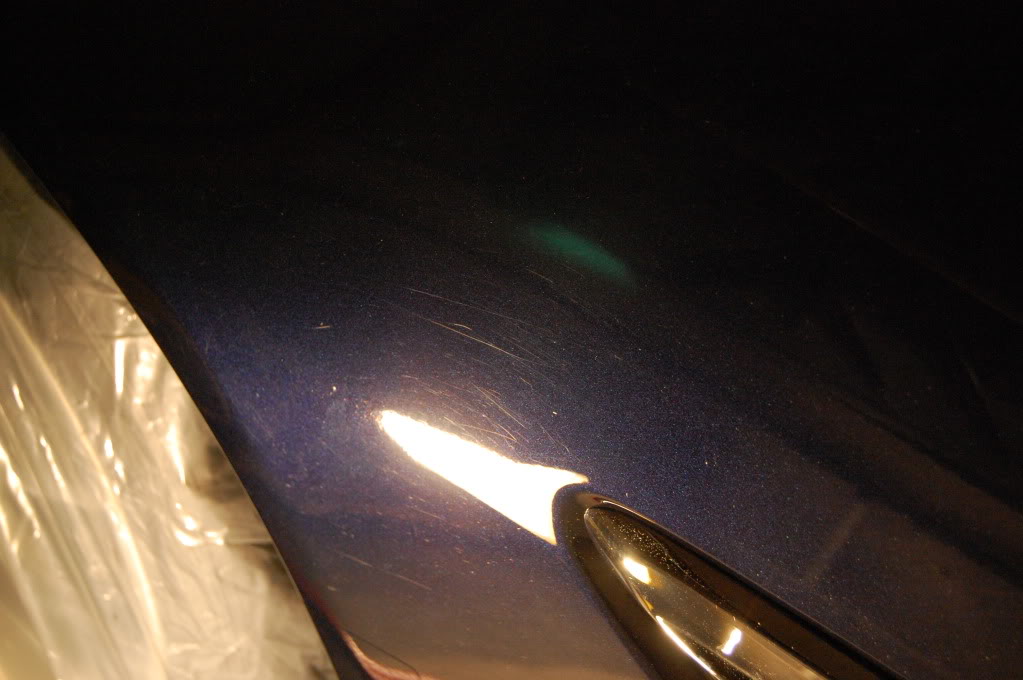
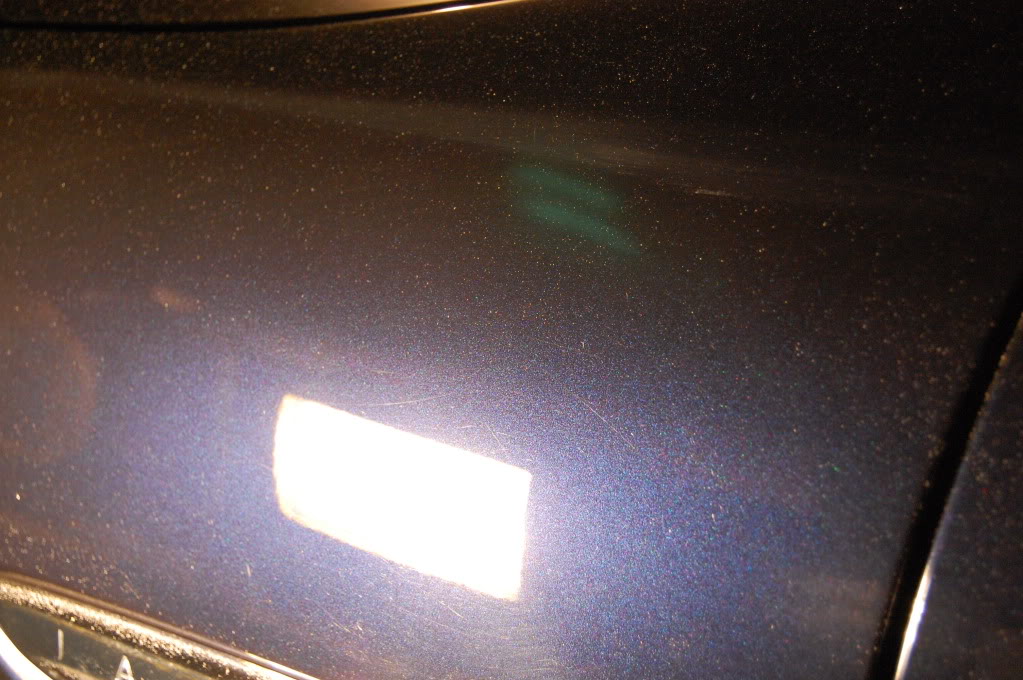
Befores:
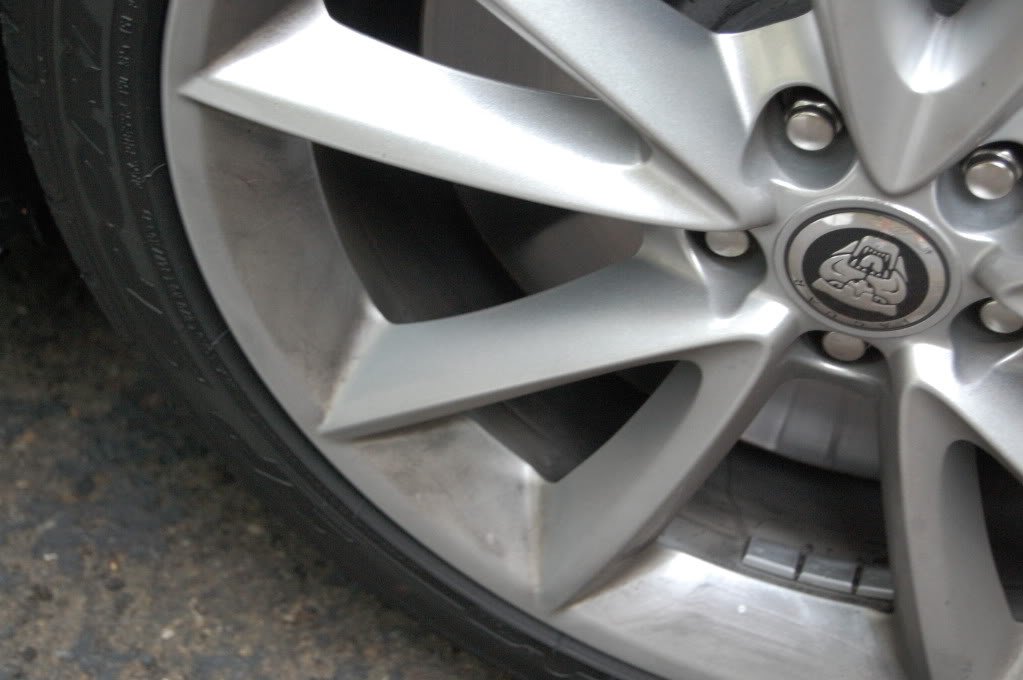
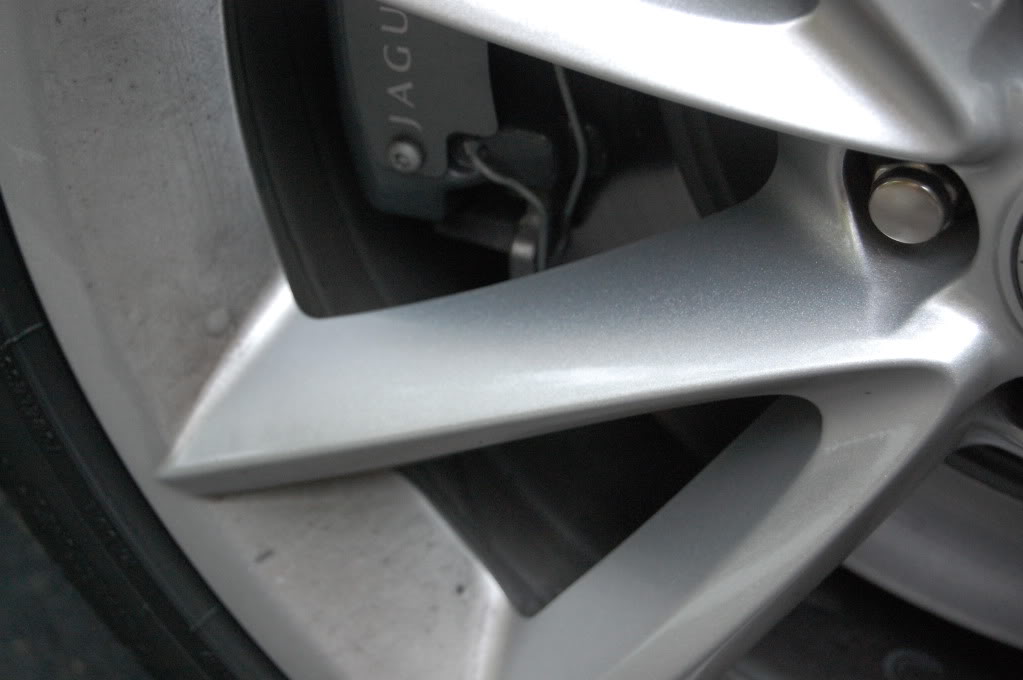
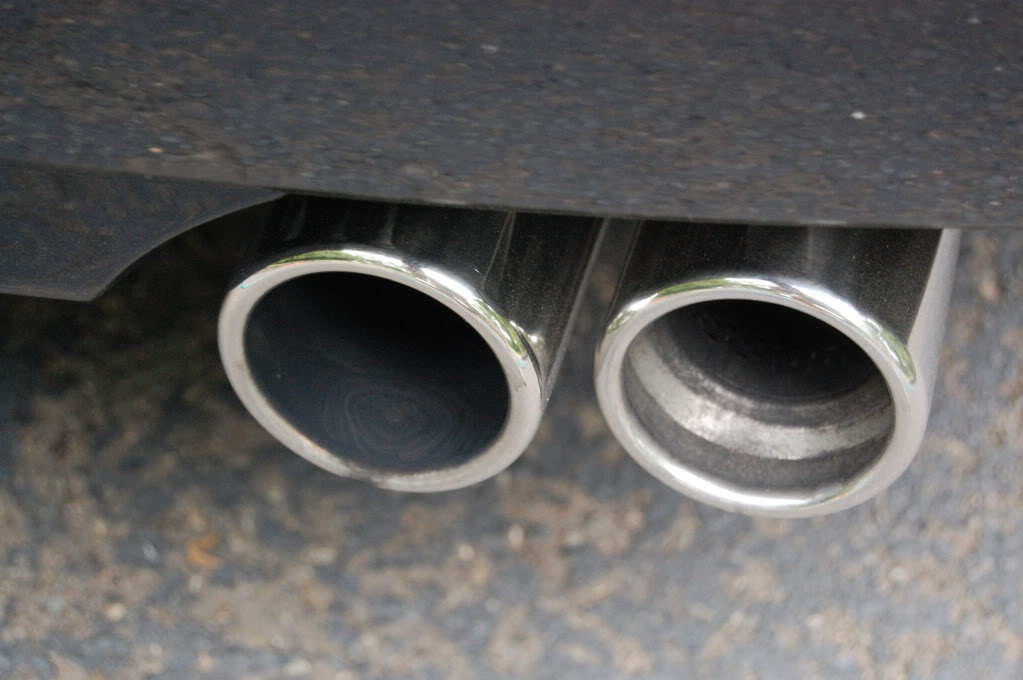
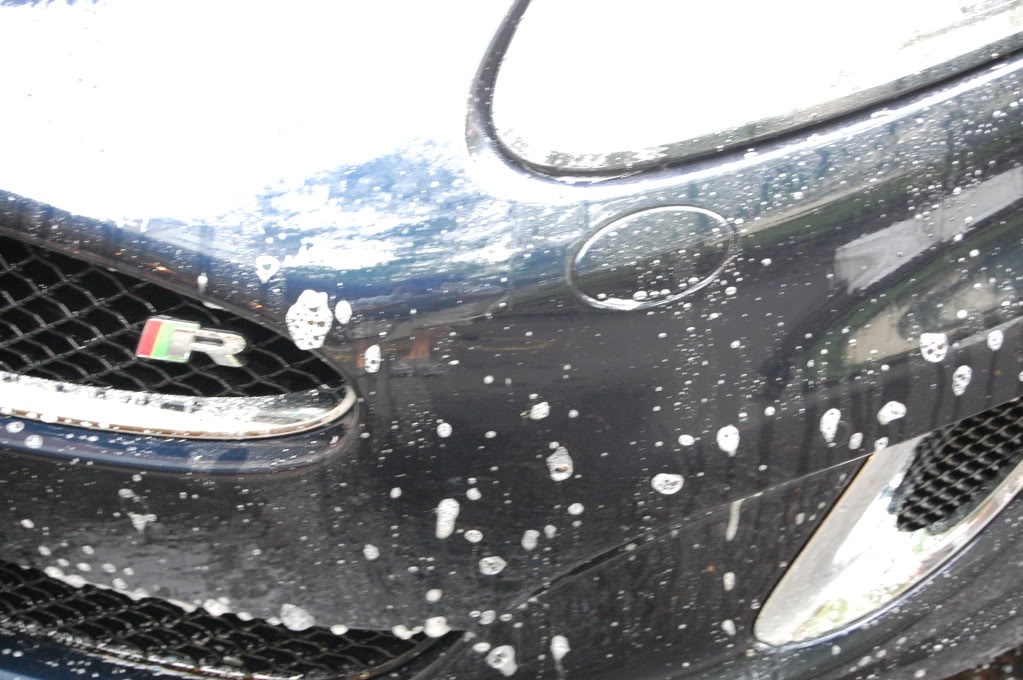
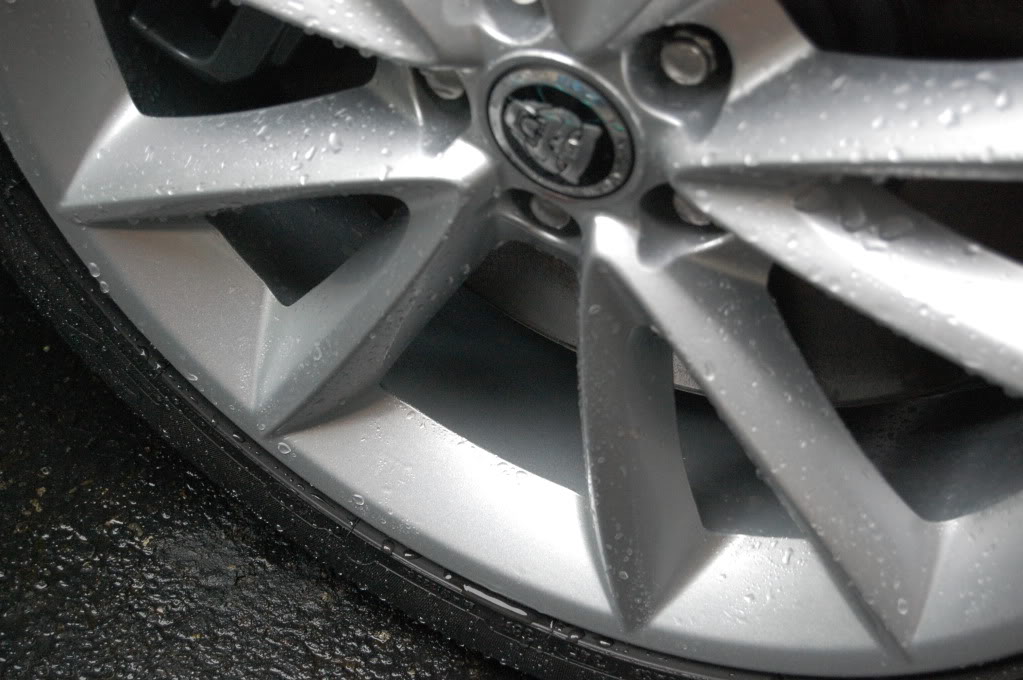
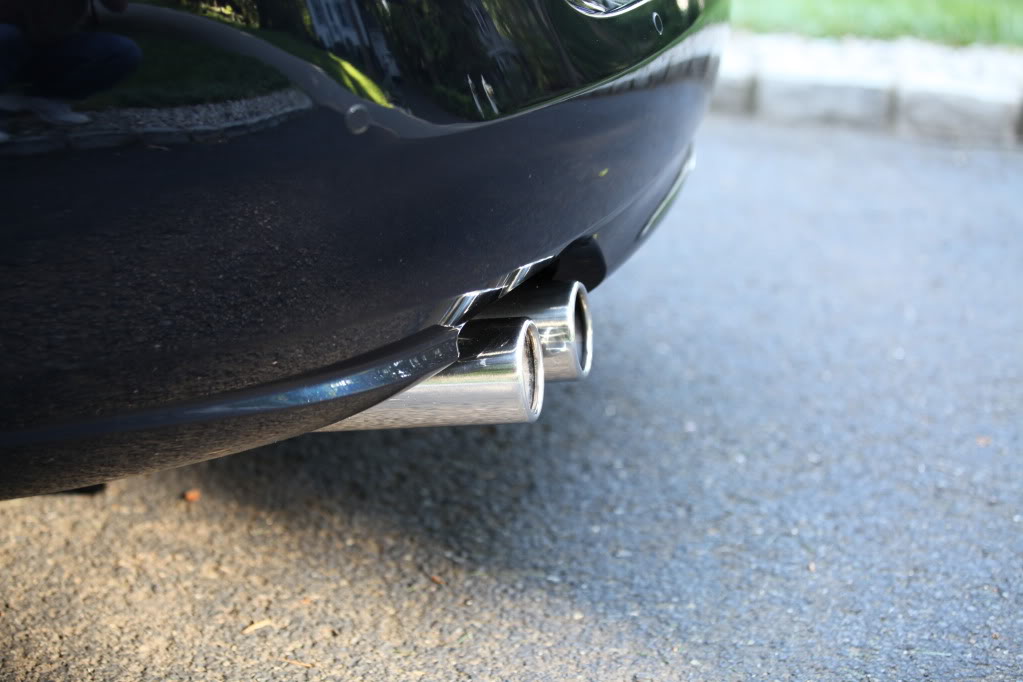
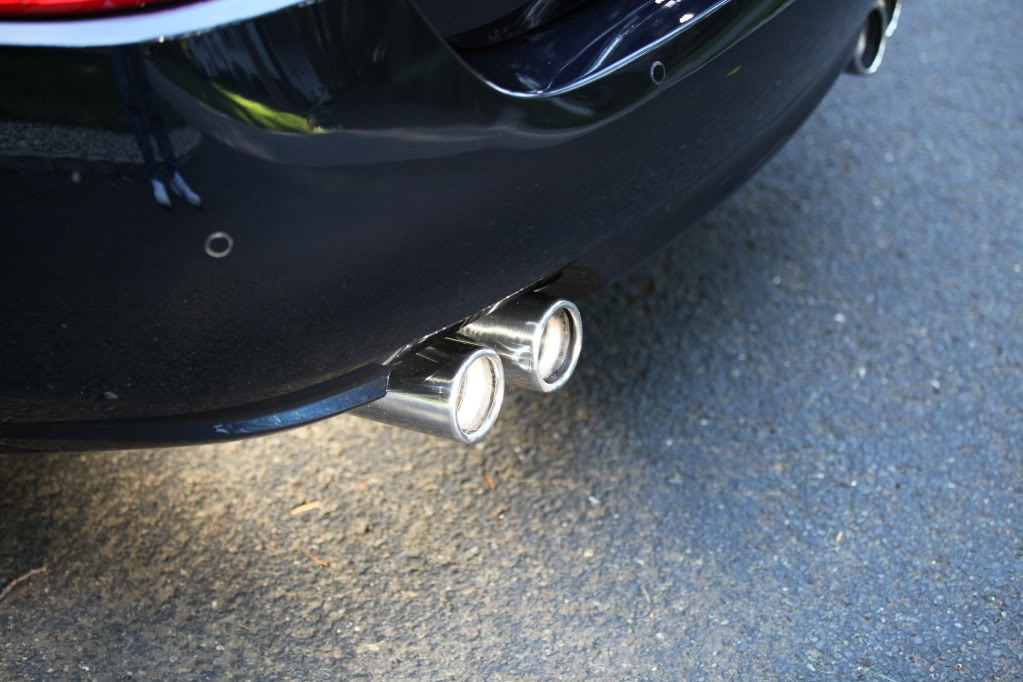
Slight film of dust and dirt present on the body- wheels needed a gentle cleansing- the exhaust was quite caked with soot.
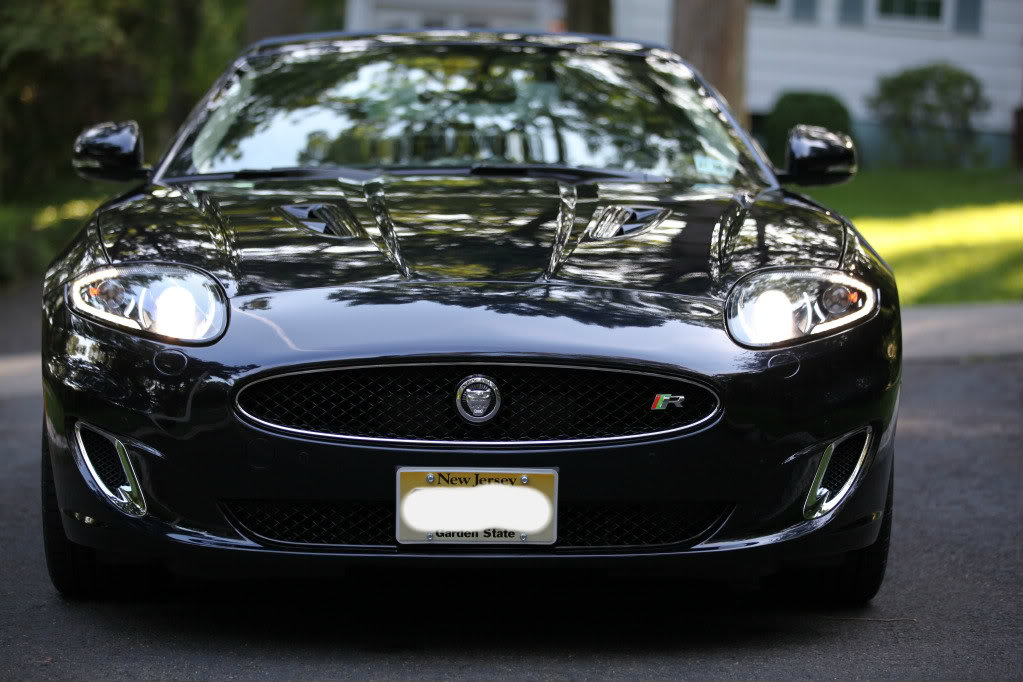
Bug splatter on the front
Sonax doing its thing
The Car was washed via 2 bucket method with a mix of Dawn and CG Citrus Wash and Clean- Lambswool mitts used, MF mitts for lower areas.
Dried via leaf blower and blot dried shortly after with my plush MF towels
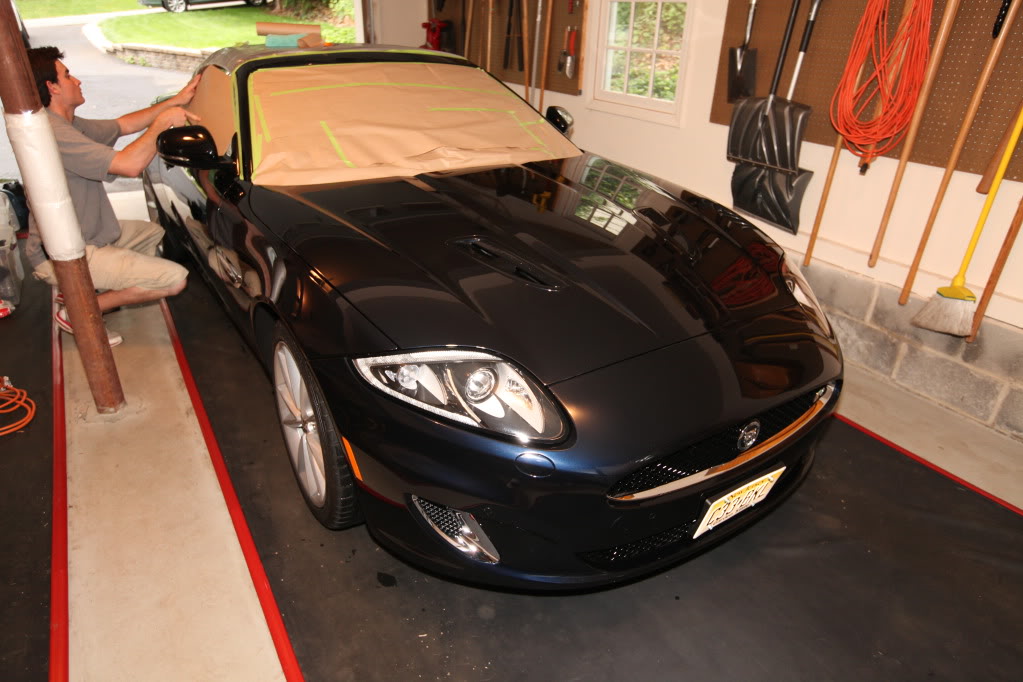
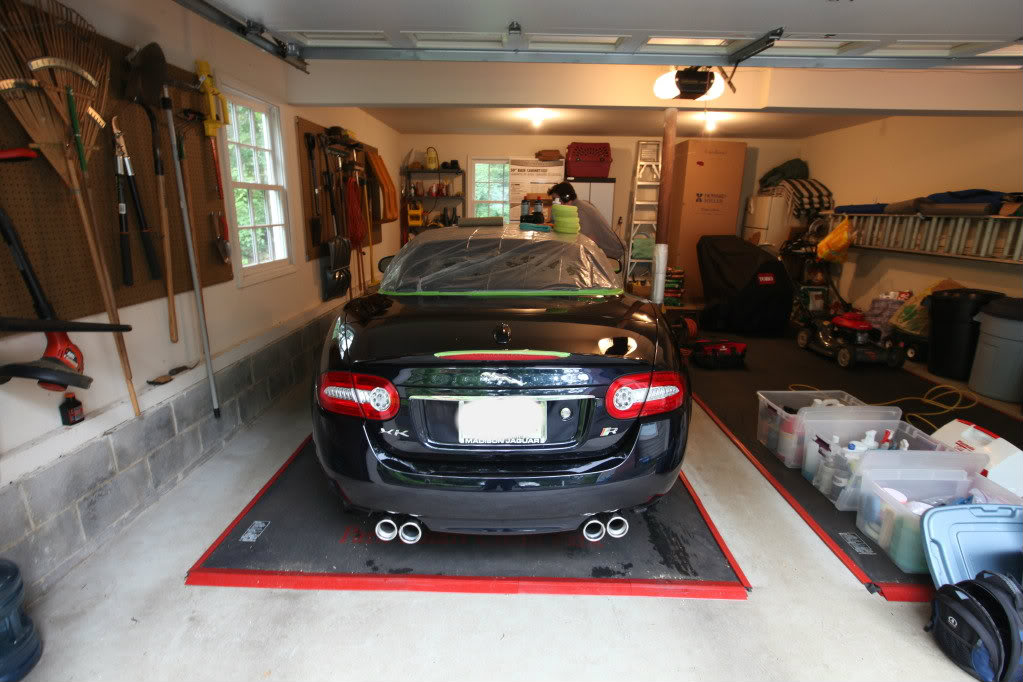
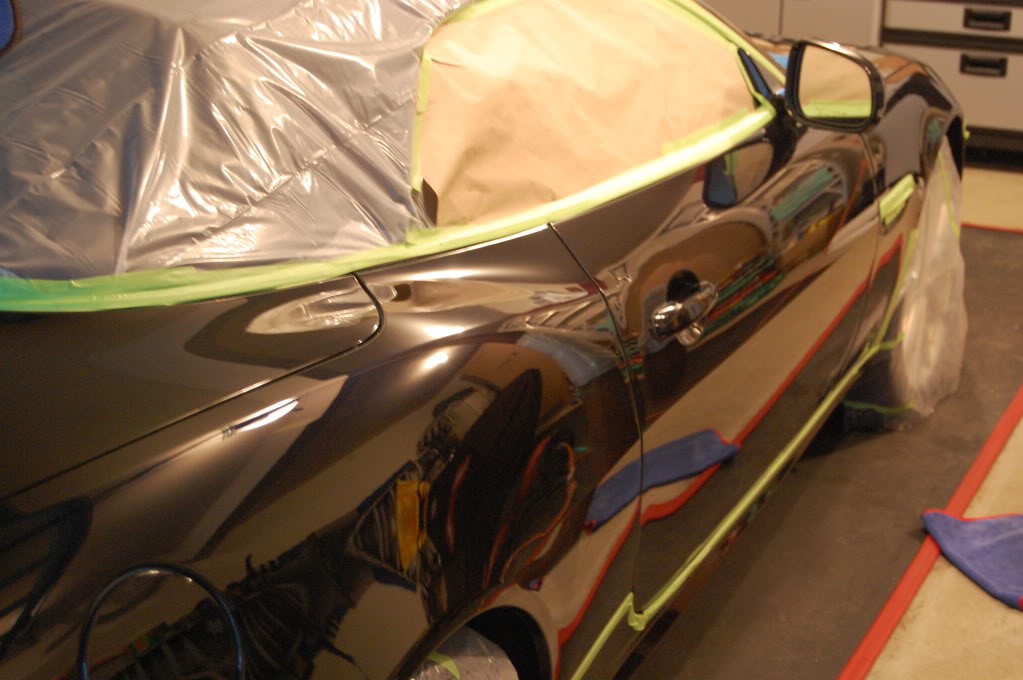
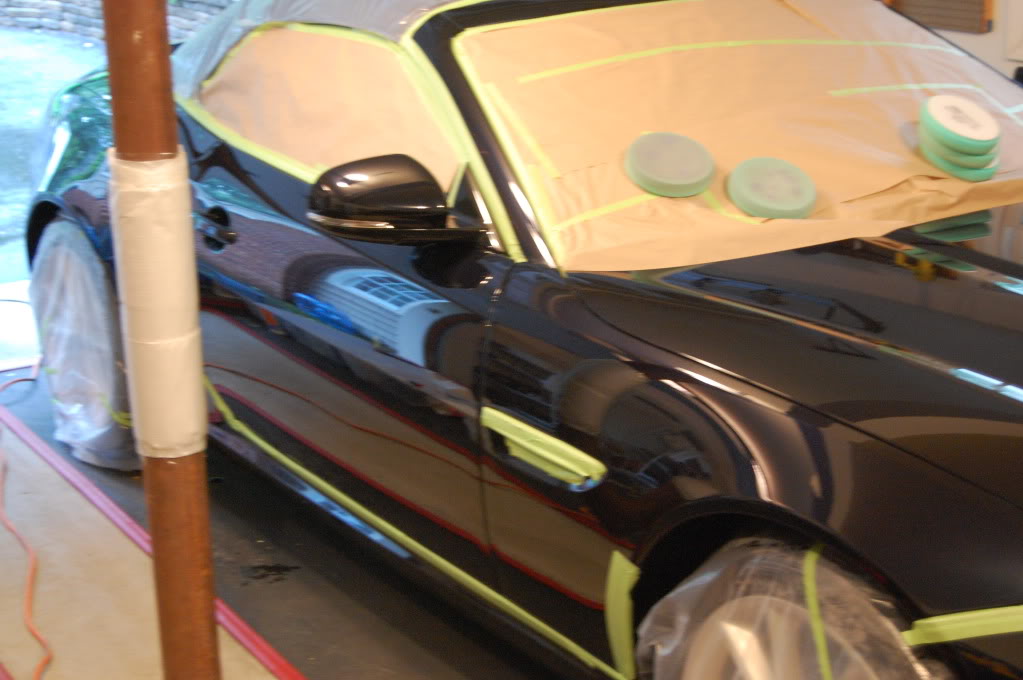
Pulled into the owners nicely done garage!
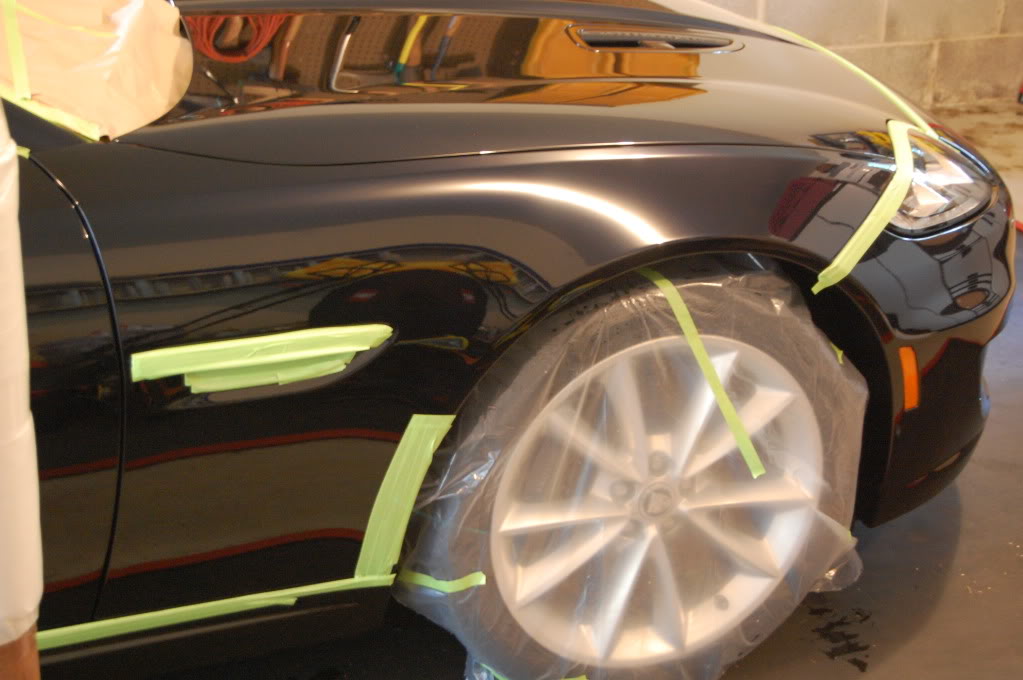
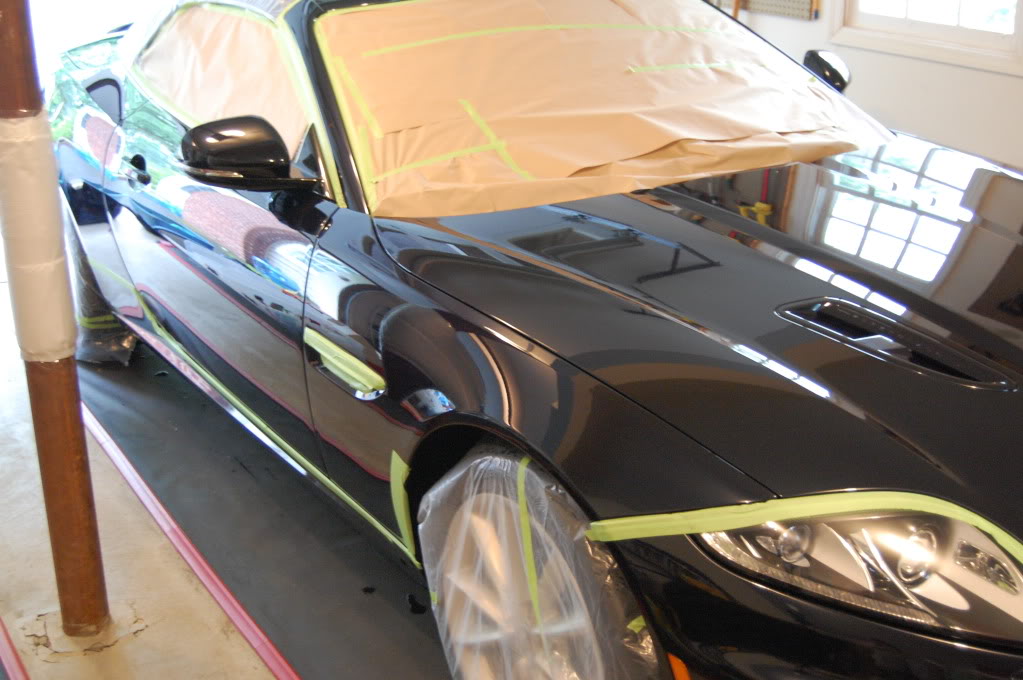
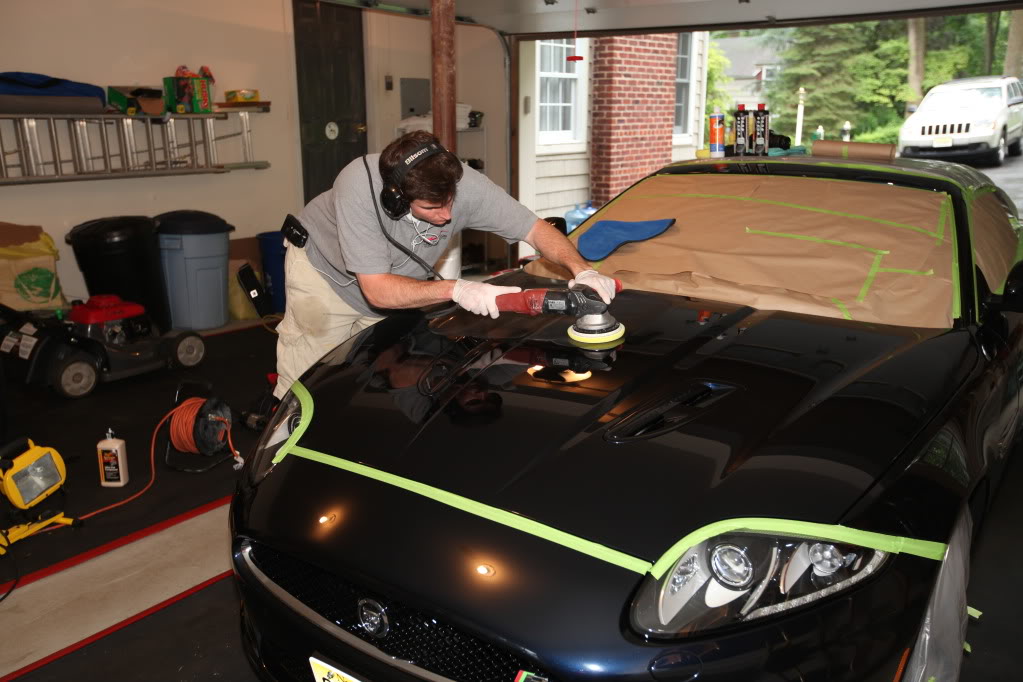
Me spending a little more than hour taping, masking and properly prepping before correcting:
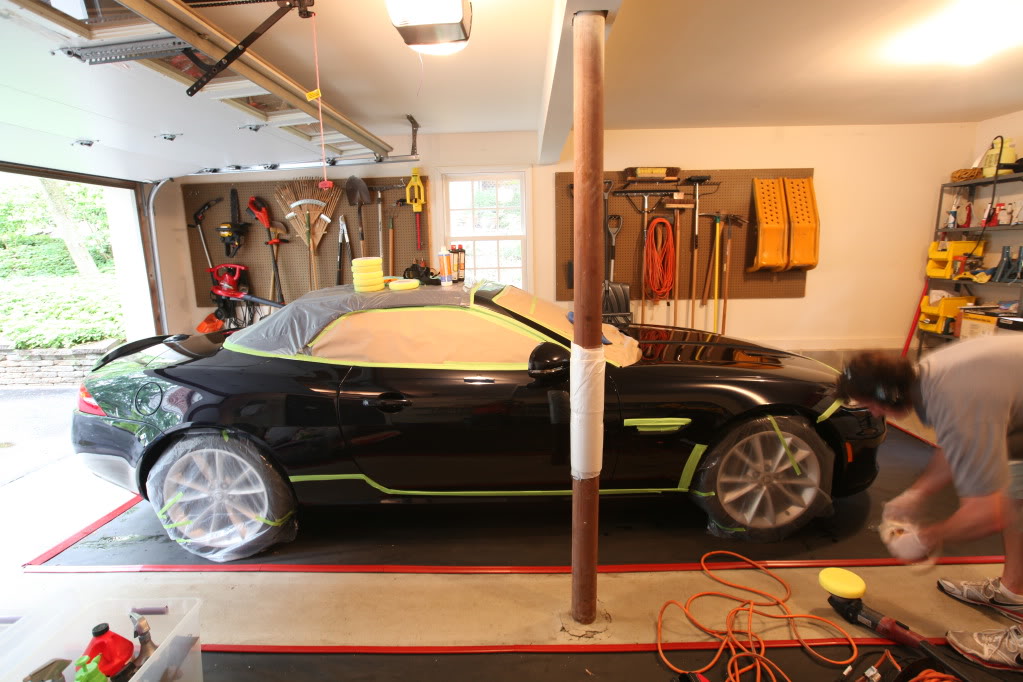
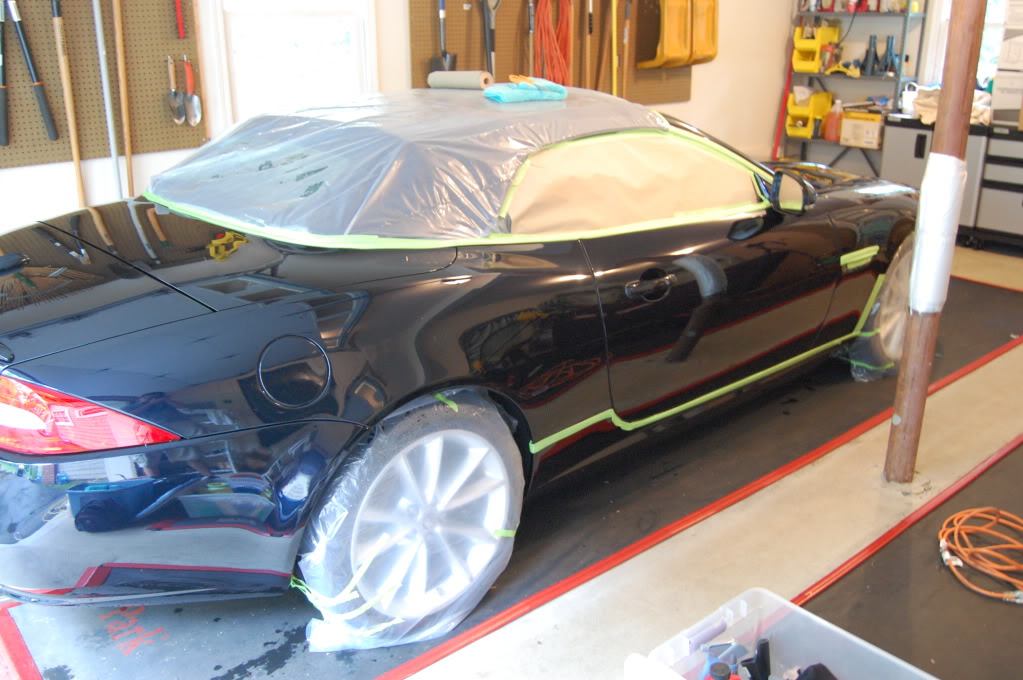
Continued in the next post...
Hey all,
I was contacted by the gentleman whom owns this brand new 2012 Jaguar XKR about removing the fine line (and some deep!) swirls and defects left by a "detail" shop whom obviously washed and dried the car incorrectly.- broom/ dirty towels used? They originally had "detailed" it shortly after he purchased this XKR- I'm thankful there were no buffer trails or any other damage done from improper machine use. Thanks to Franki as well for the referral!
After meeting with the owner and discussing the options we went ahead and chose to perform a new car prep with some moderate to significant correction as some of the defects were quite bad.
To begin, the car was pulled into the shade, pre-sprayed with Megs APC, wheels hit with Sonax FE, agitated with my Uber Spoke Brush as well as my Swissvax brush.
Befores:
Slight film of dust and dirt present on the body- wheels needed a gentle cleansing- the exhaust was quite caked with soot.
Bug splatter on the front
Sonax doing its thing
The Car was washed via 2 bucket method with a mix of Dawn and CG Citrus Wash and Clean- Lambswool mitts used, MF mitts for lower areas.
Dried via leaf blower and blot dried shortly after with my plush MF towels
Pulled into the owners nicely done garage!
Me spending a little more than hour taping, masking and properly prepping before correcting:
Continued in the next post...
Thread Starter
|
Senior Member
Joined: Nov 2011
Posts: 290
Likes: 42
From: Northern New Jersey, USA
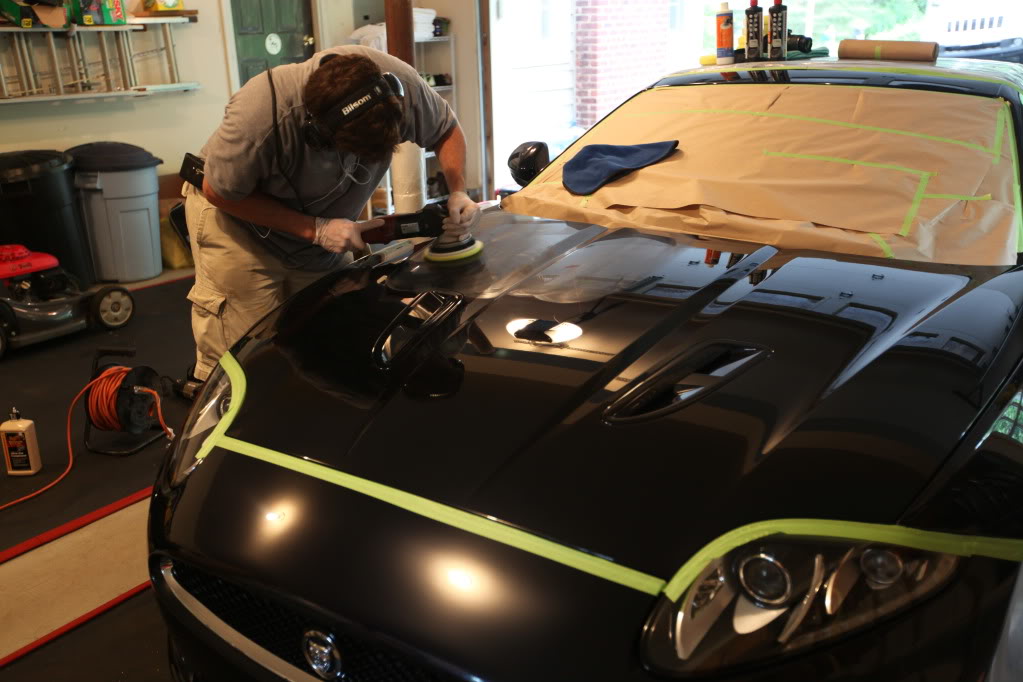
Correction:
Flex and PC DA- various backing plate sizes/pads
I first tried Menz SIP on an orange pad however I wasn't happy with the results and the humidity was affecting SIP from breaking down properly.
Final steps:
M105 On Uber Orange/ Yellow
Menz 106Fa on a green pad- ran mostly on speed 4/ 4.5
IPA wipedowns performed in-between steps and after of course
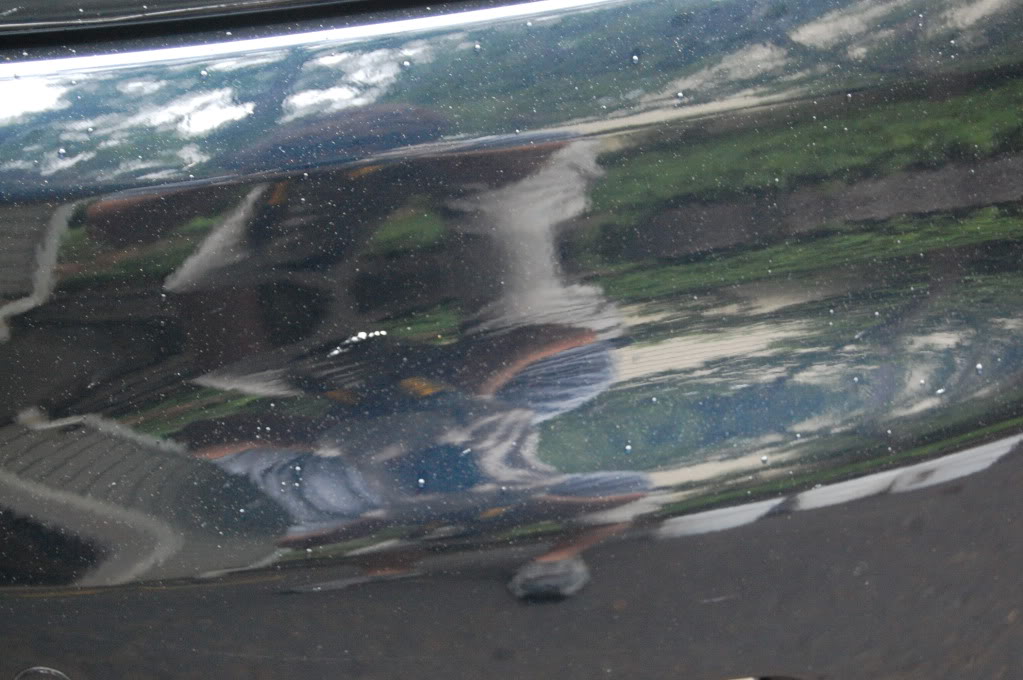
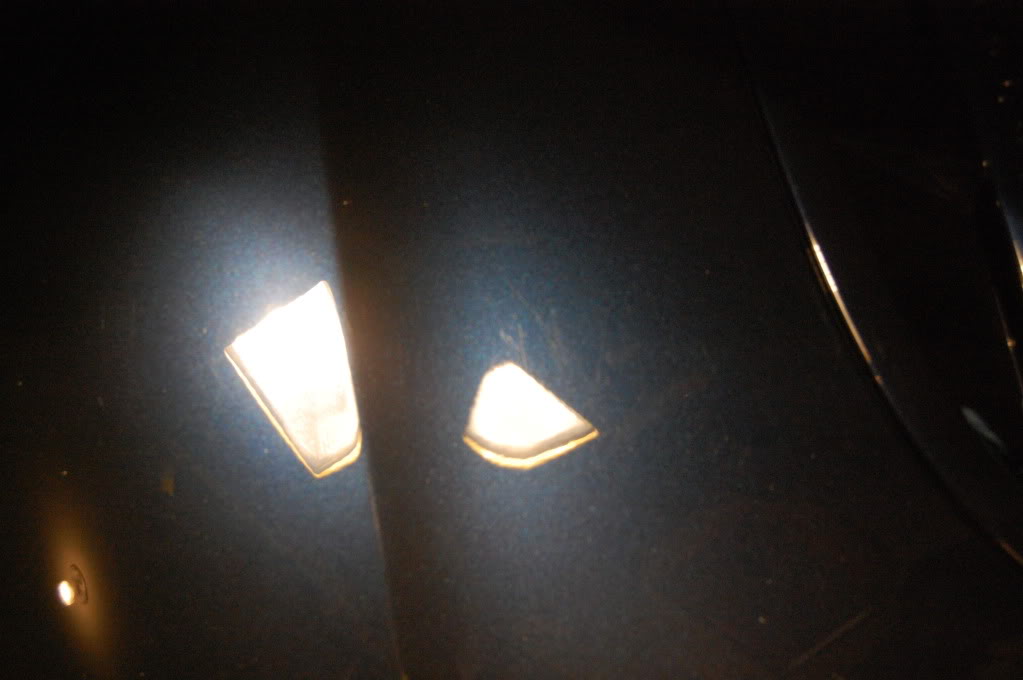
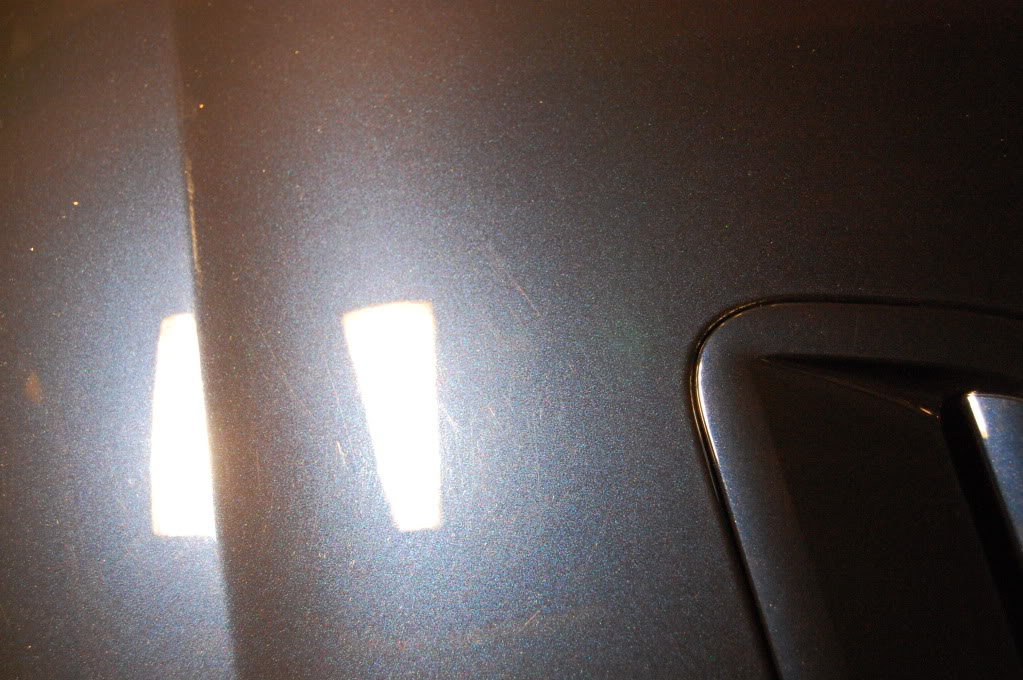
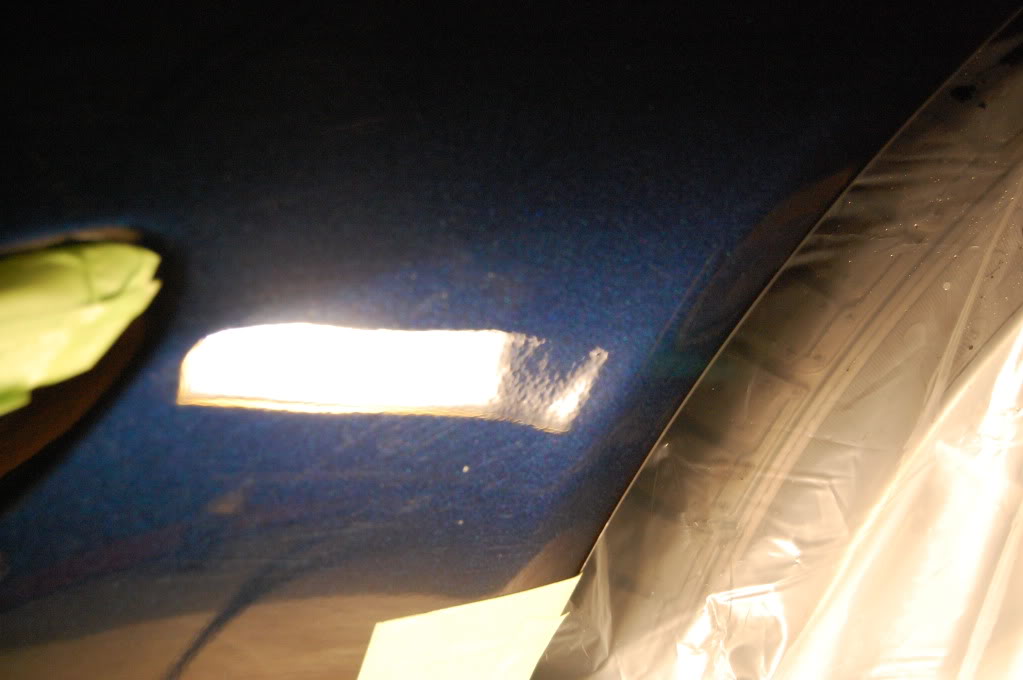
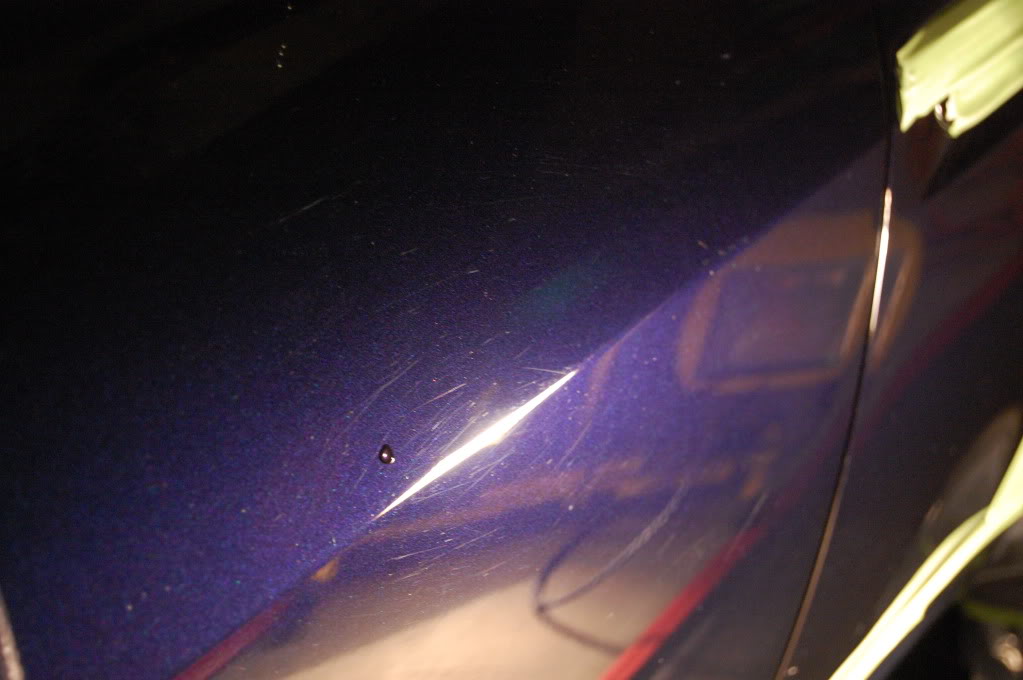
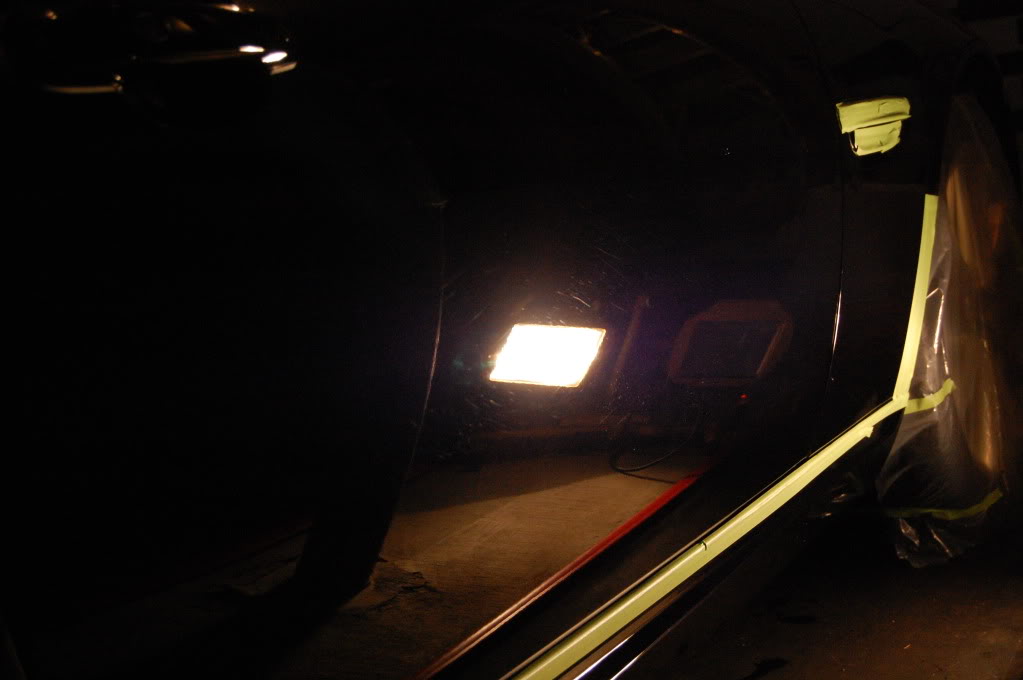
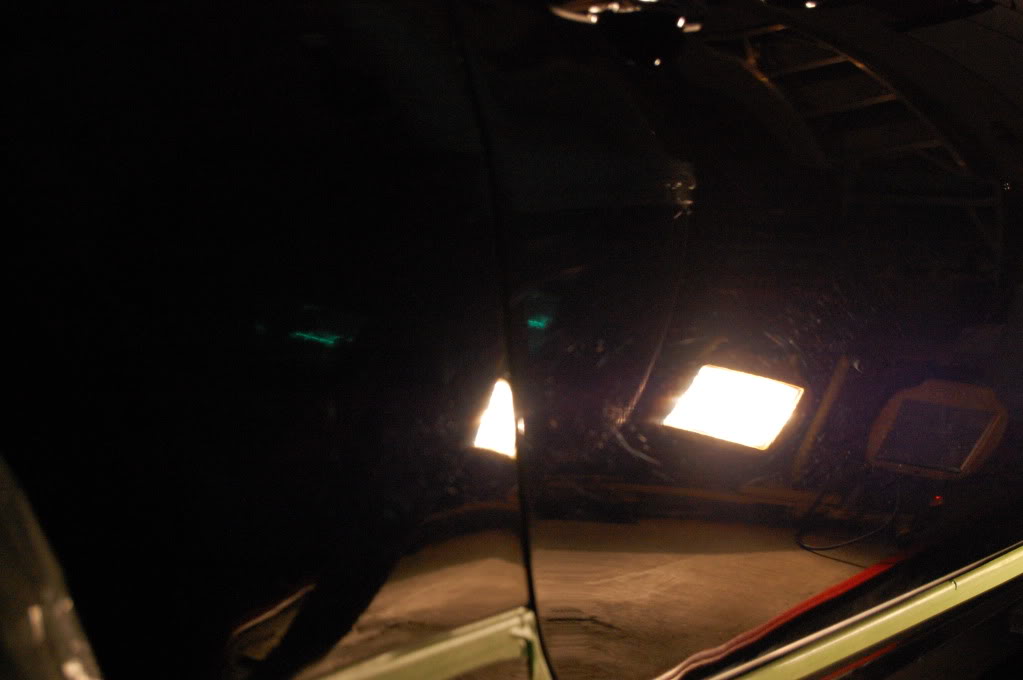
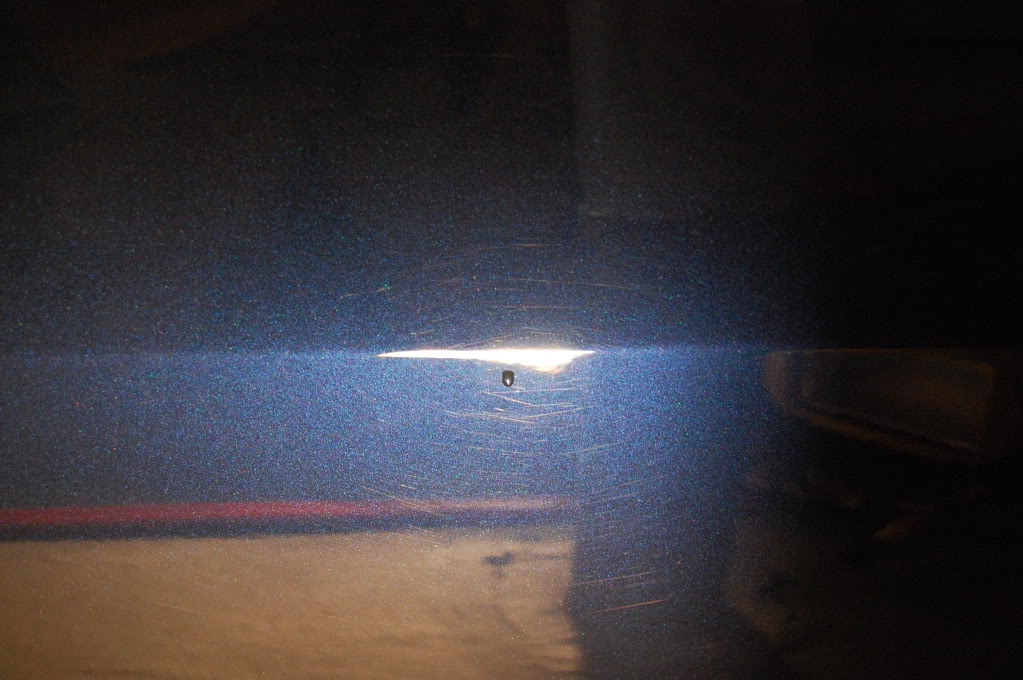
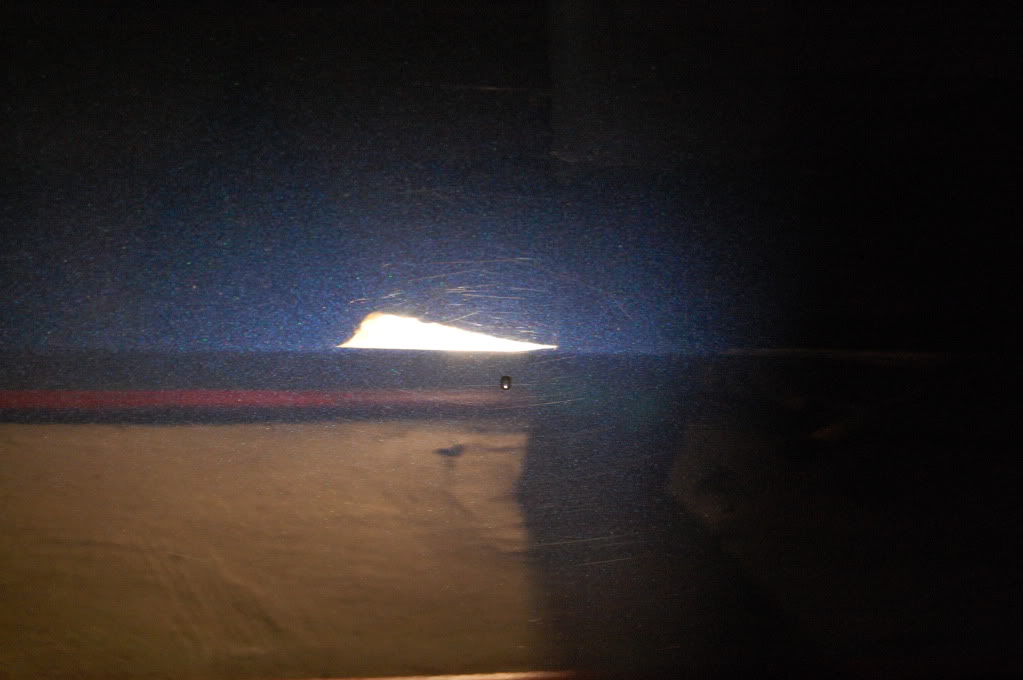
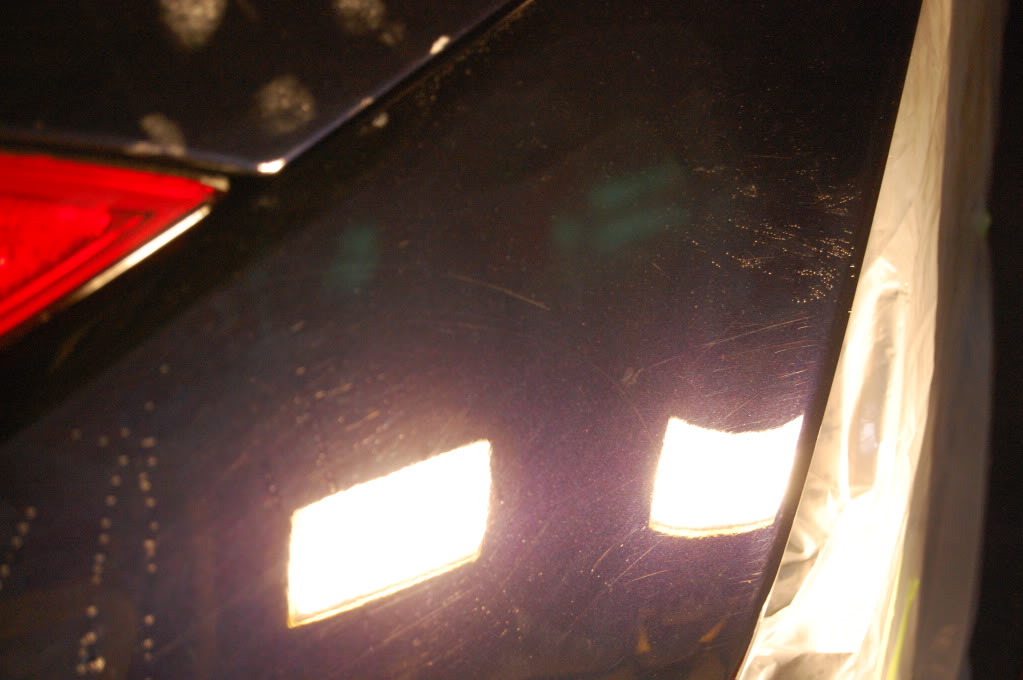
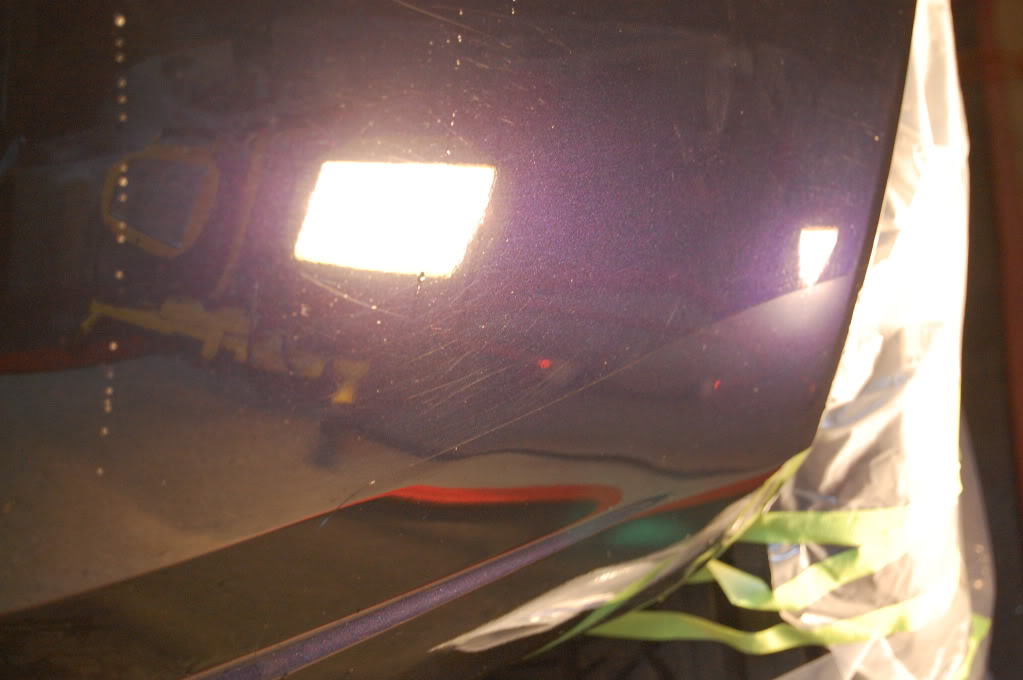
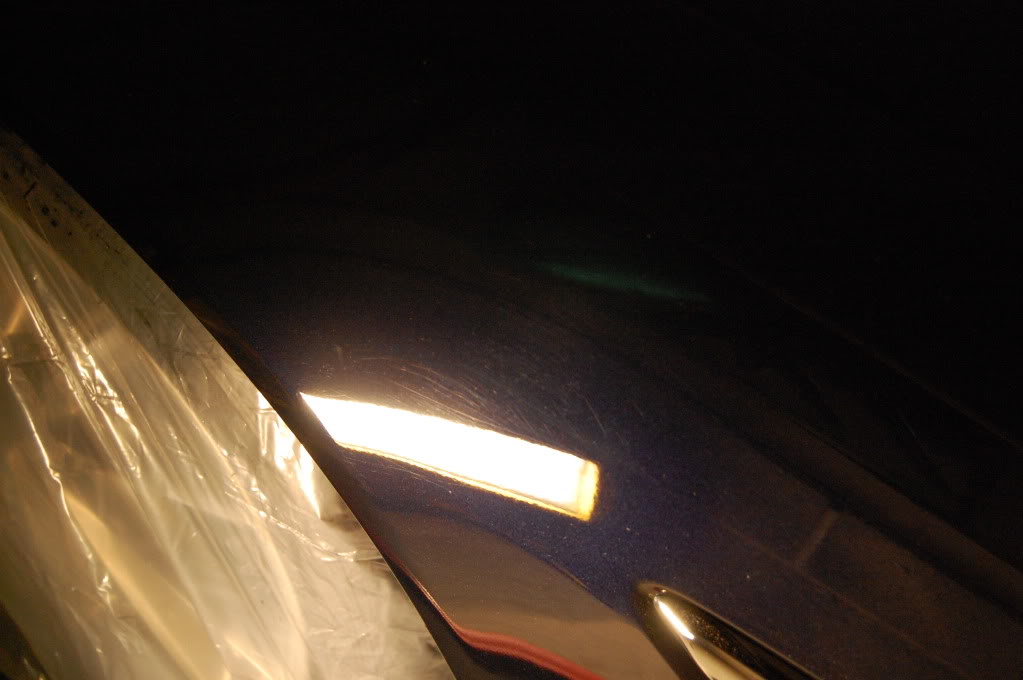
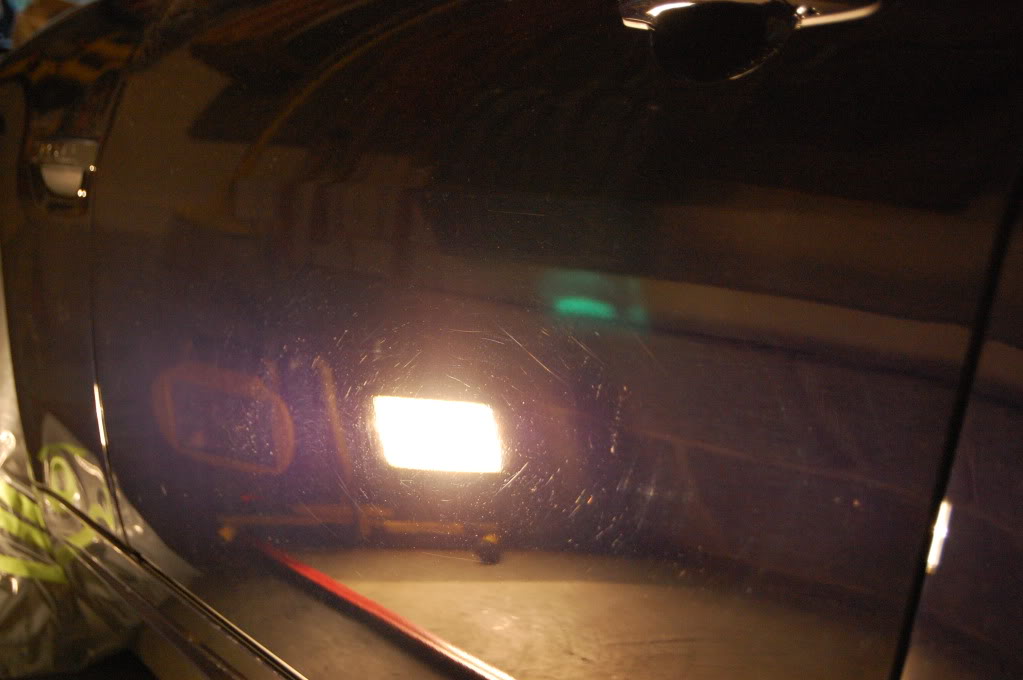
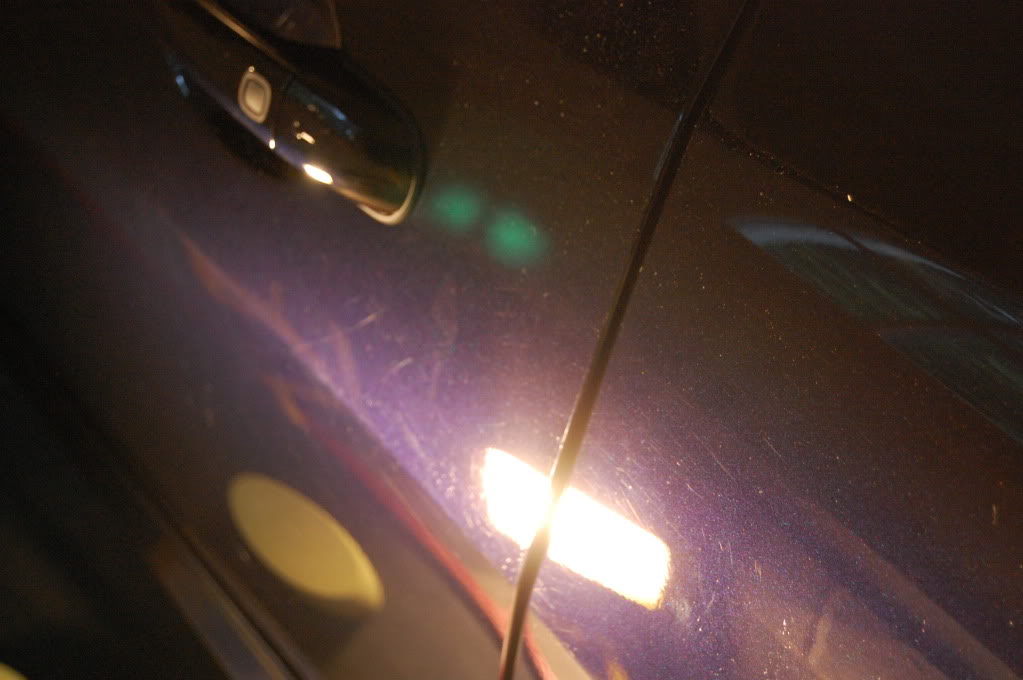
Befores: showing the defects...
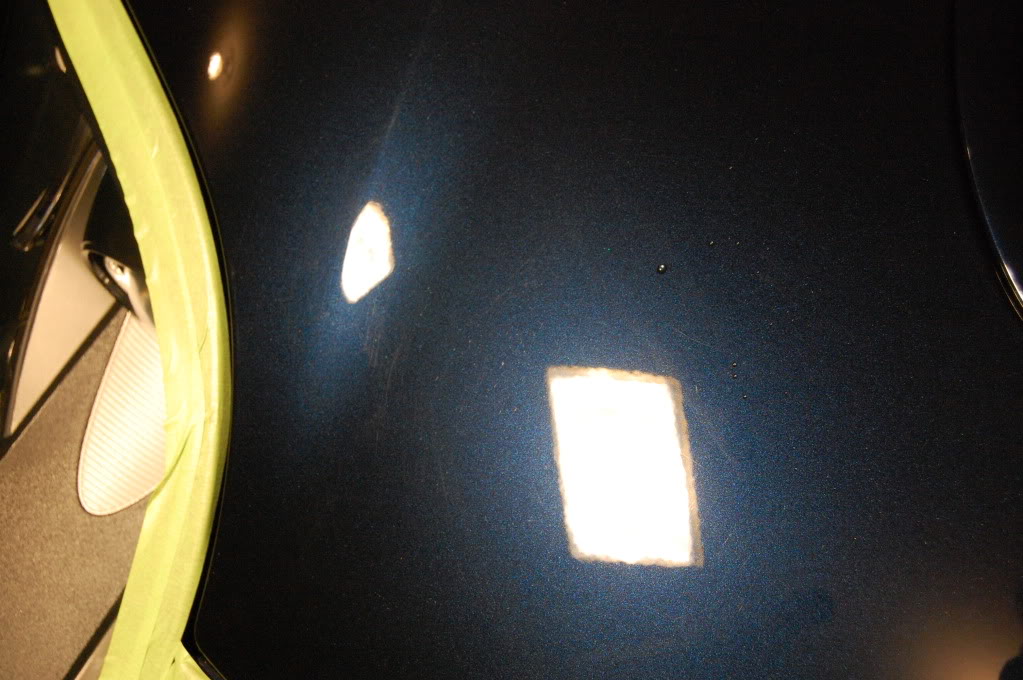
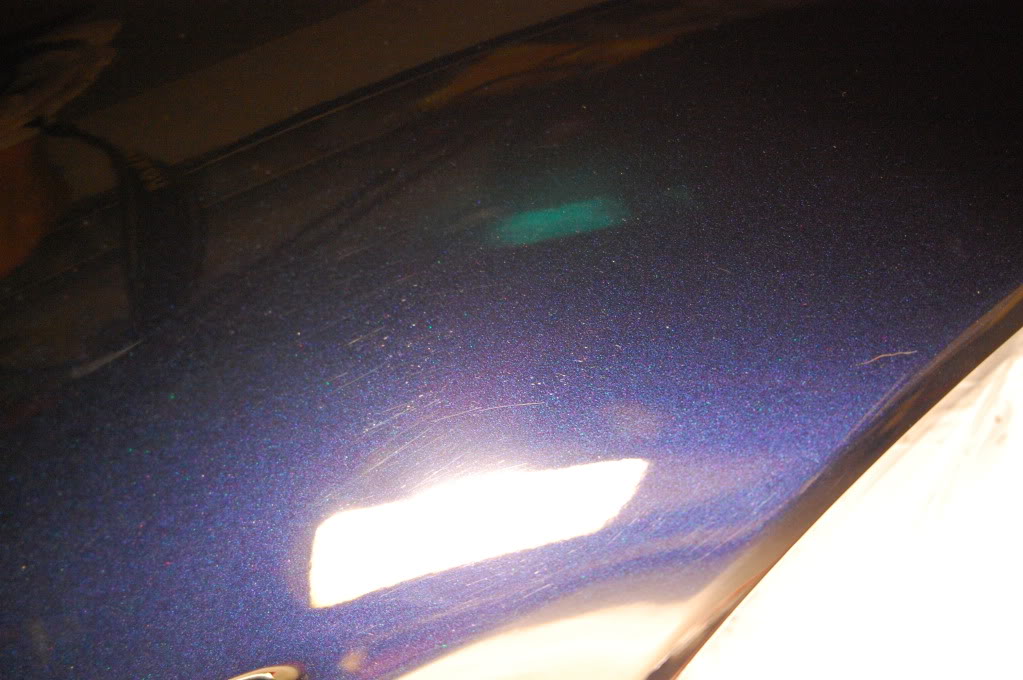
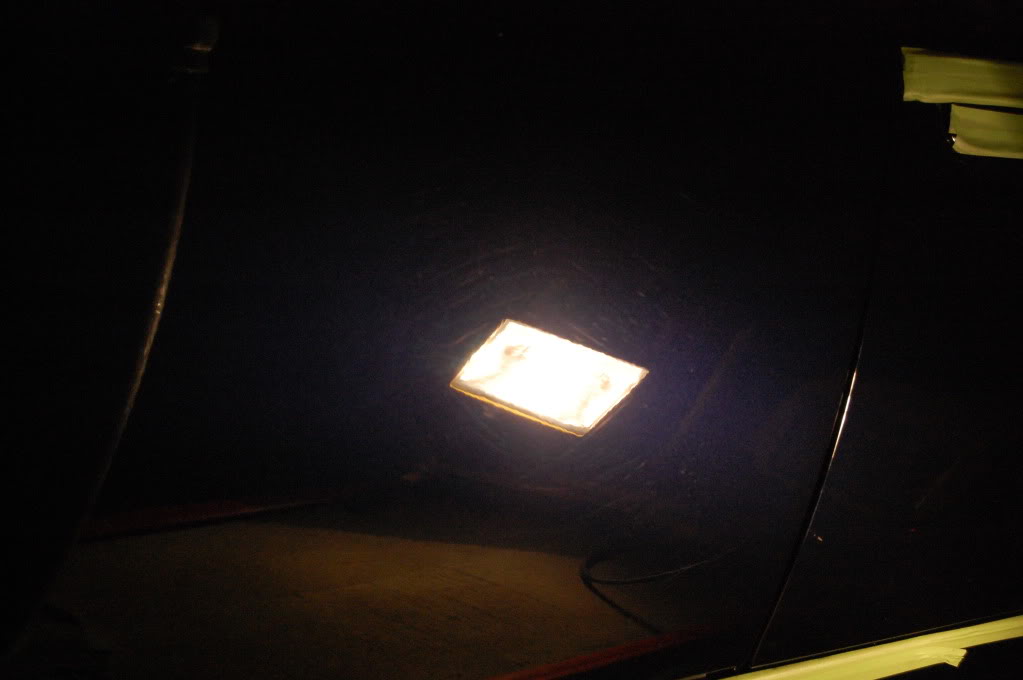
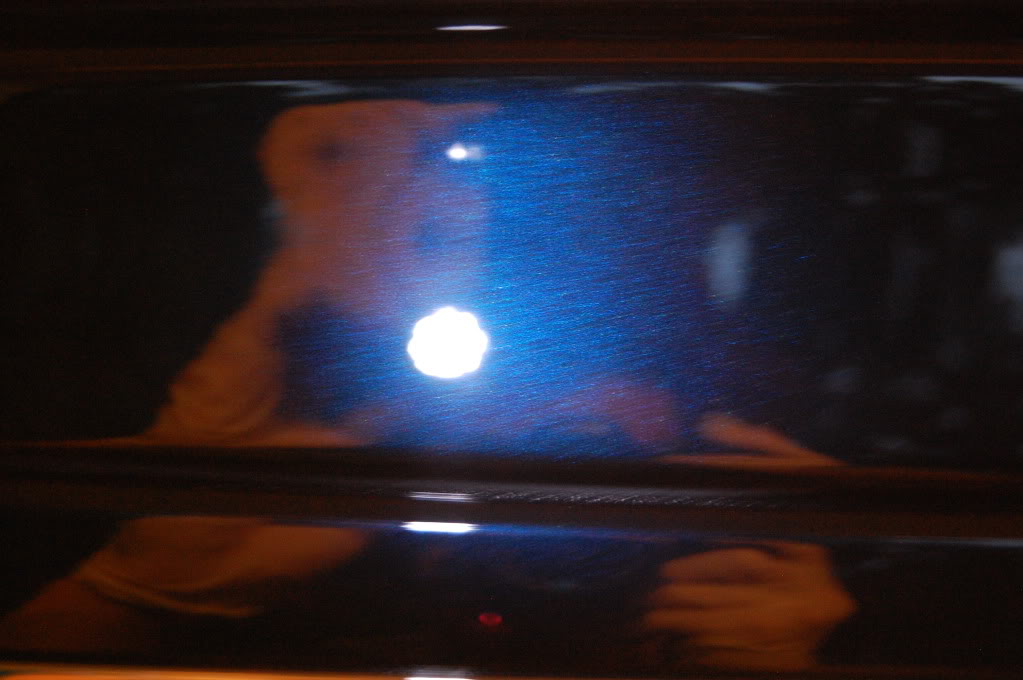
Split 50/50 After M105
After M105
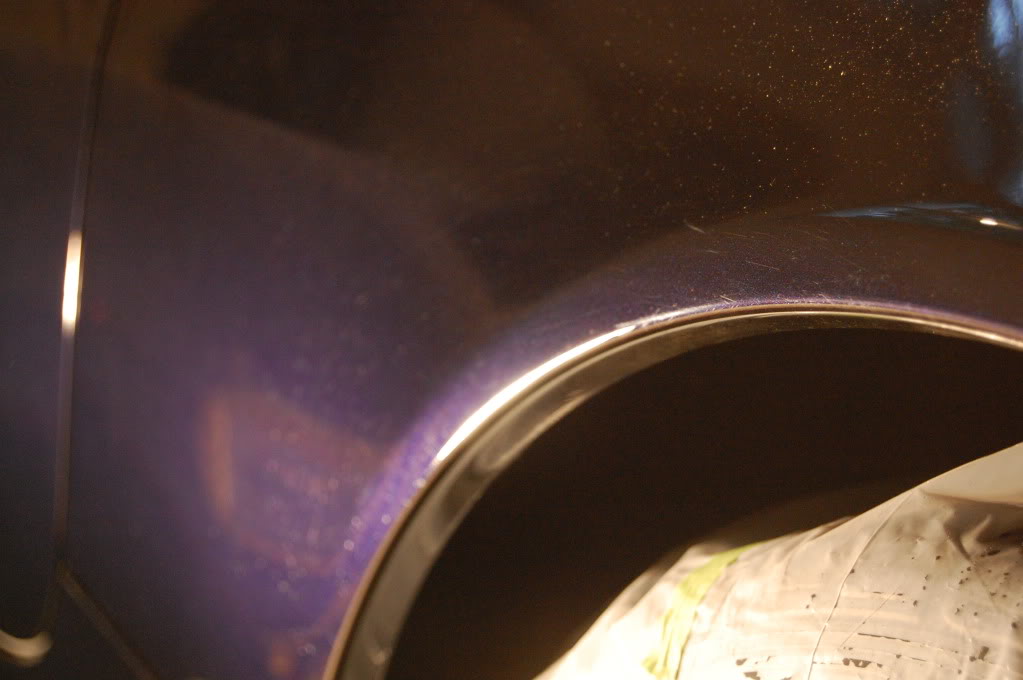
Showing some more of the defects on the rear bumper area- gentle correction done here- panel heated up VERY quick...don't want to take a chance of finding out how much clear Jag puts on this area
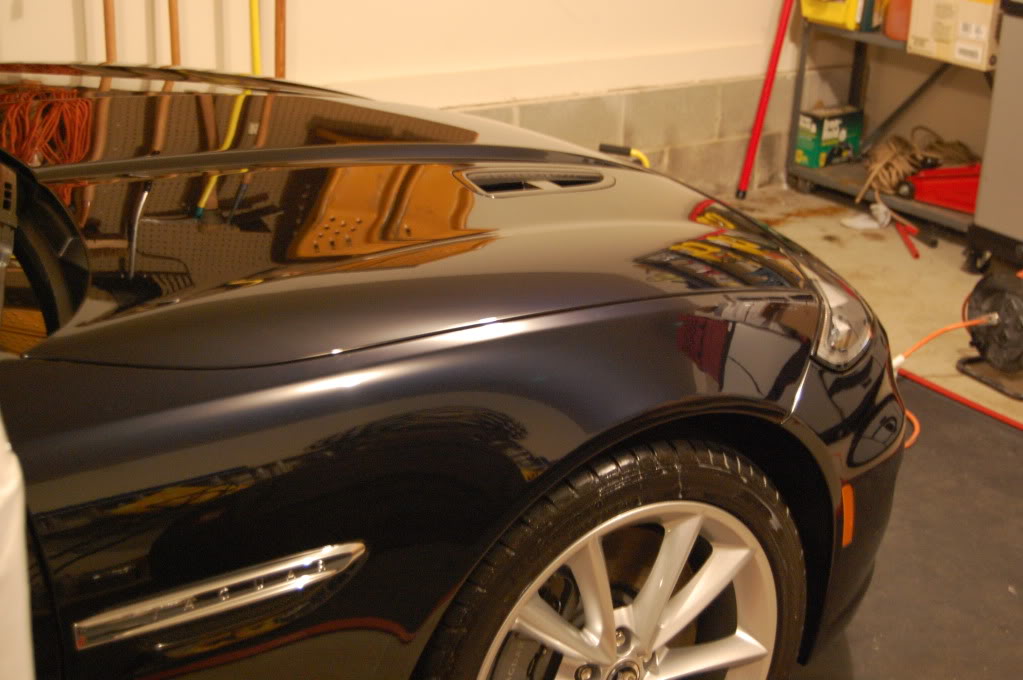
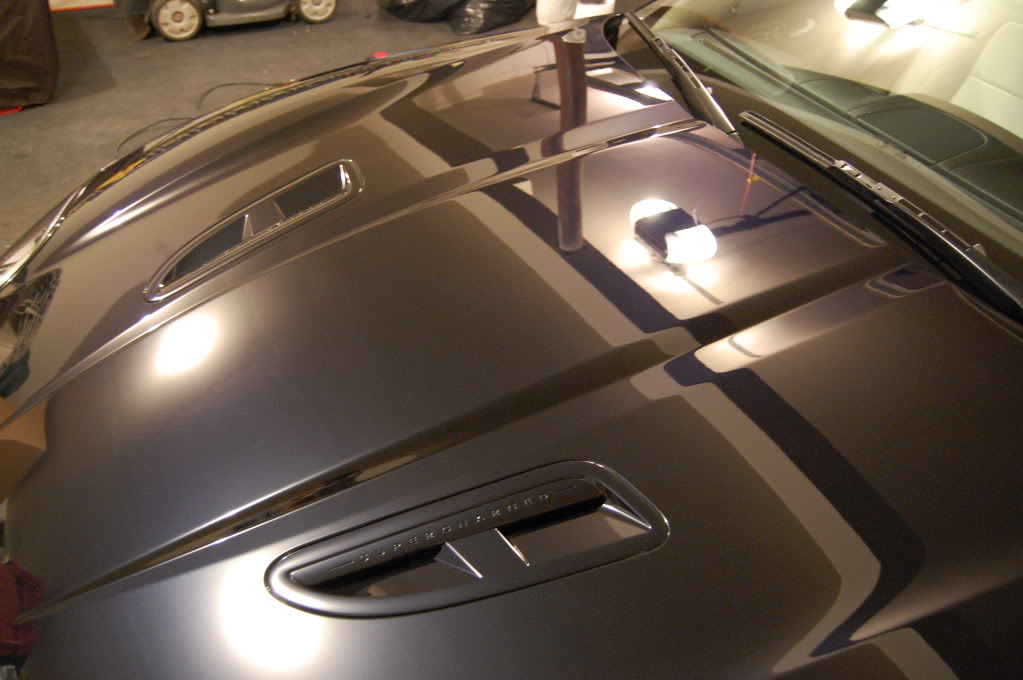
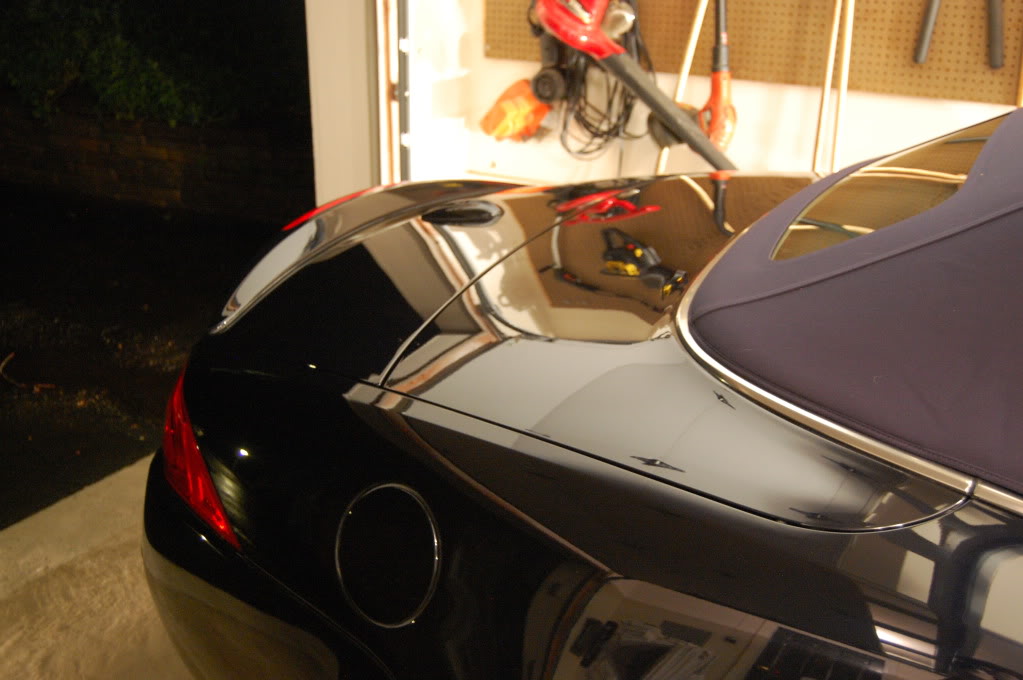
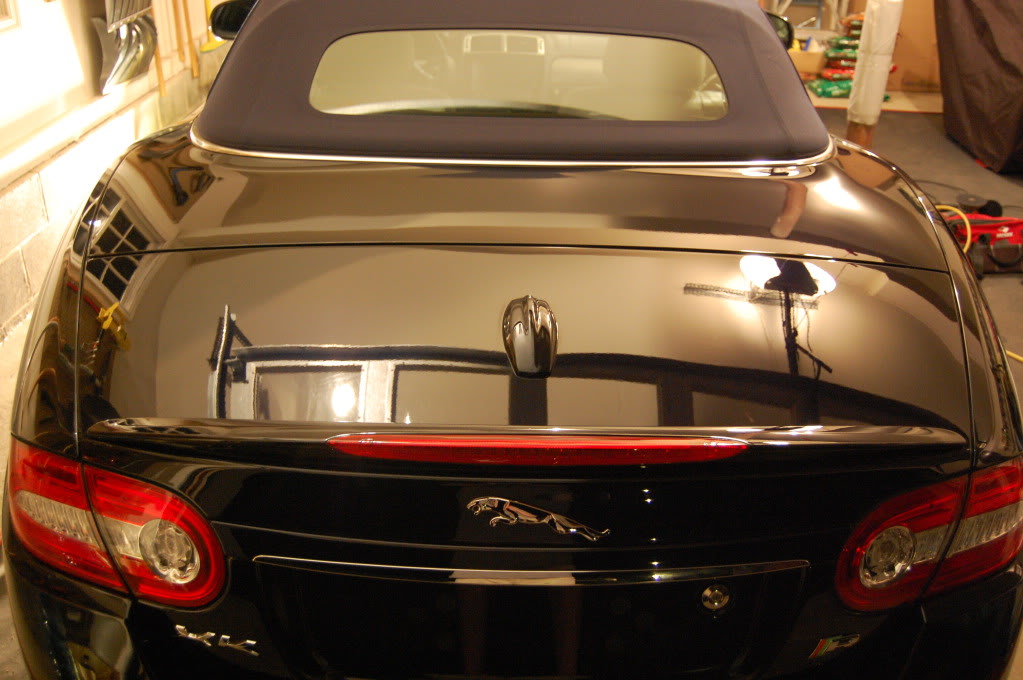
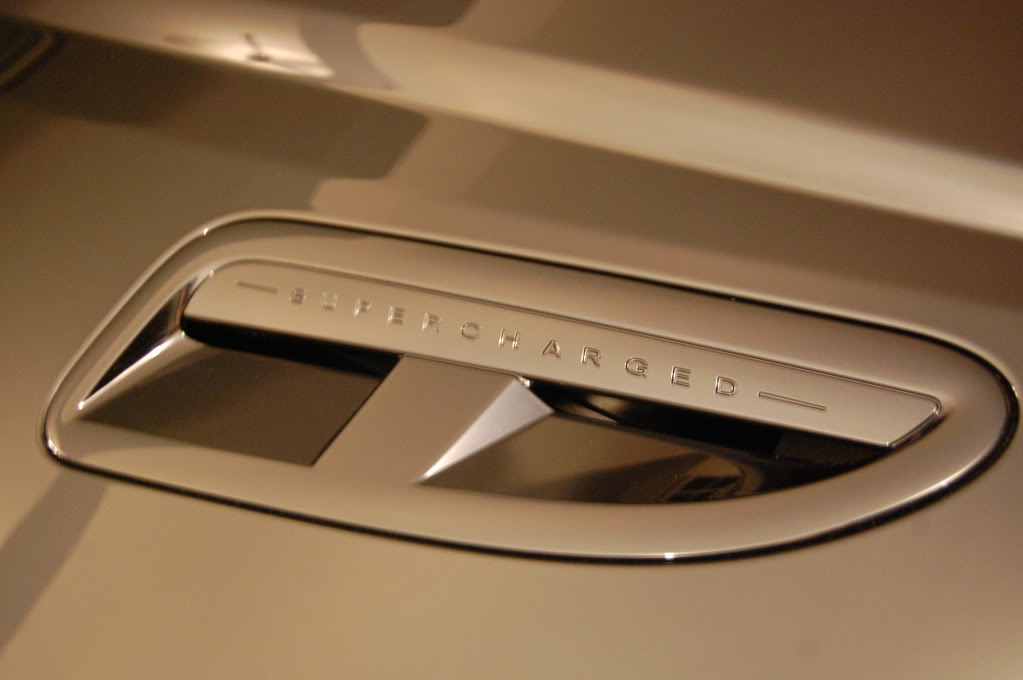
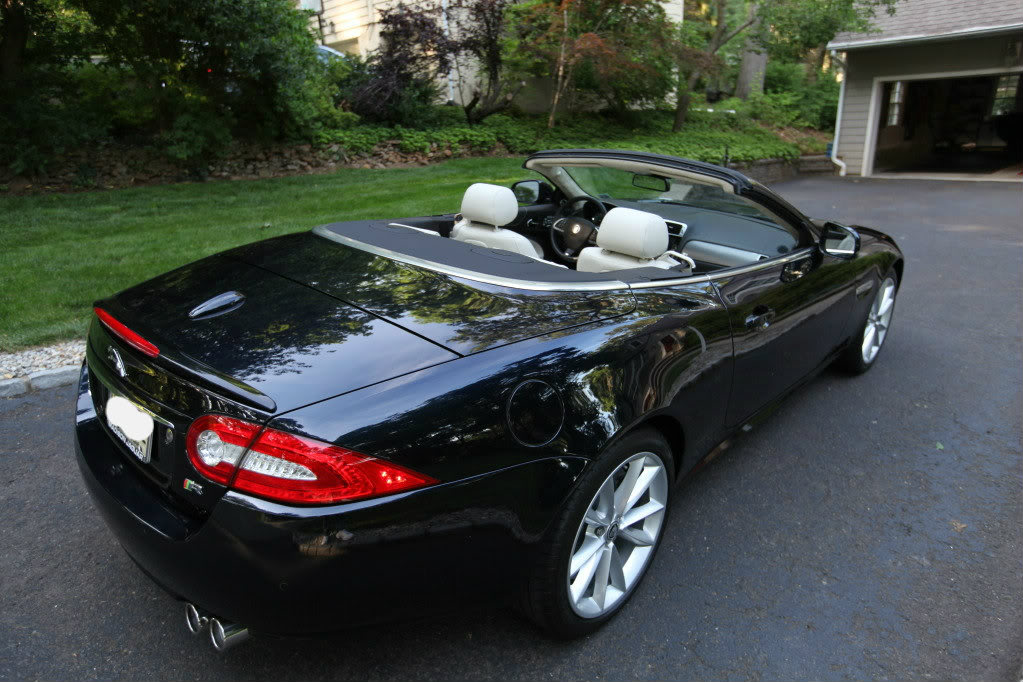
During shot- the rear decklid....really nice design done by Jag IMO
Coming along...
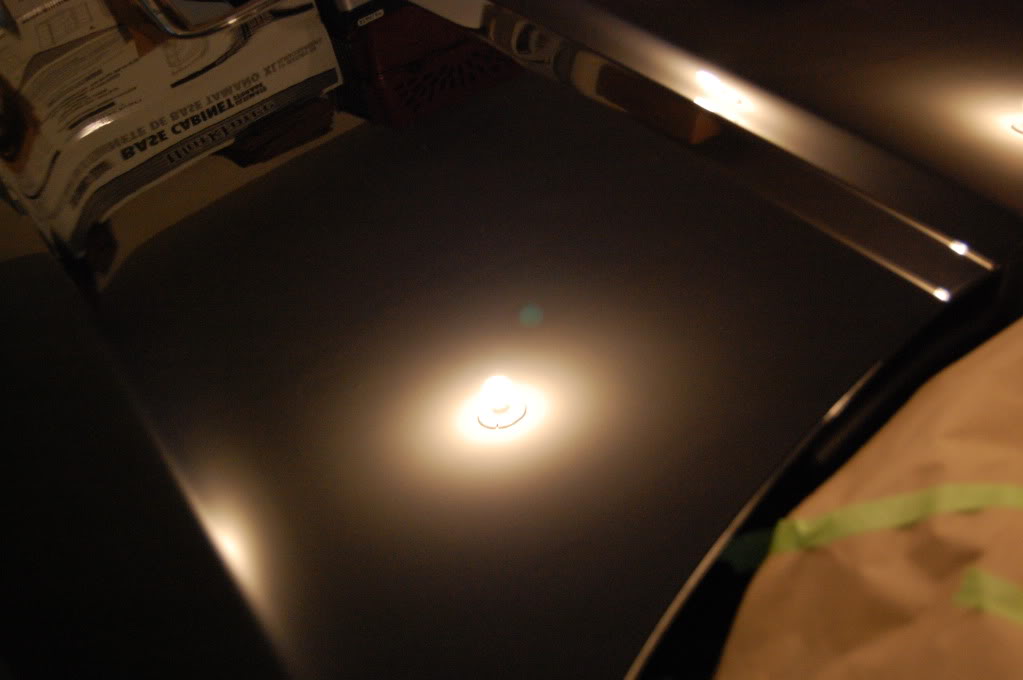
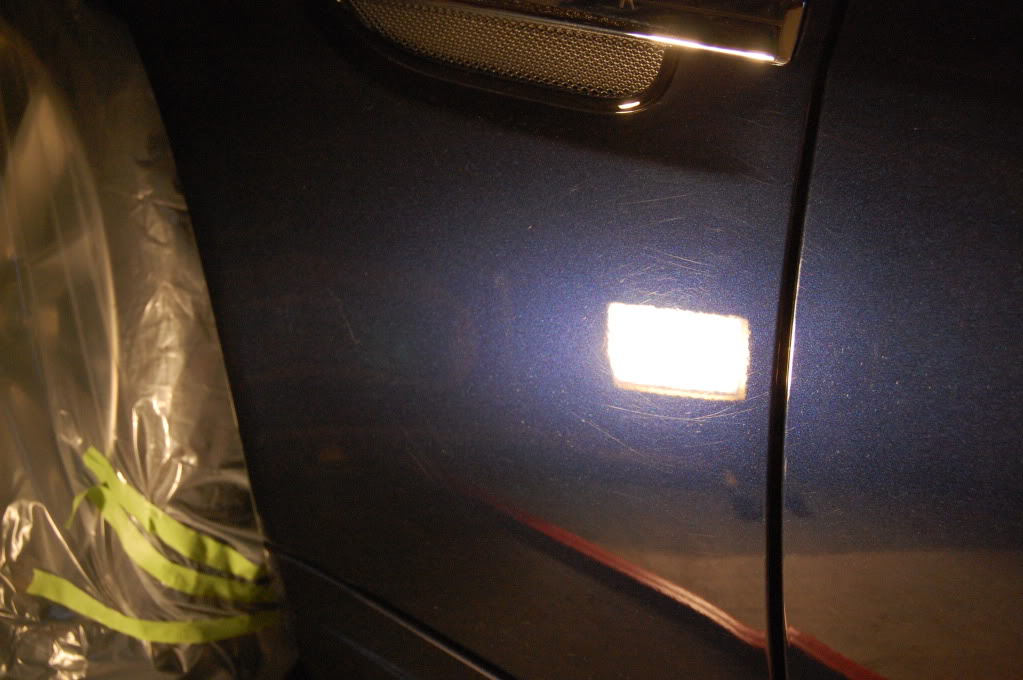
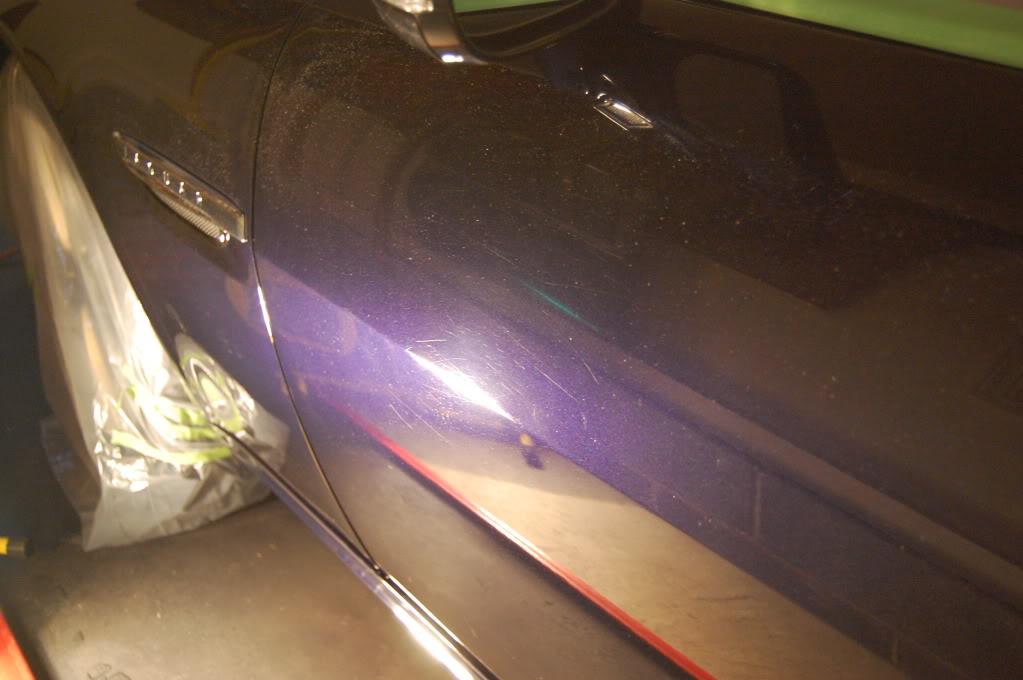
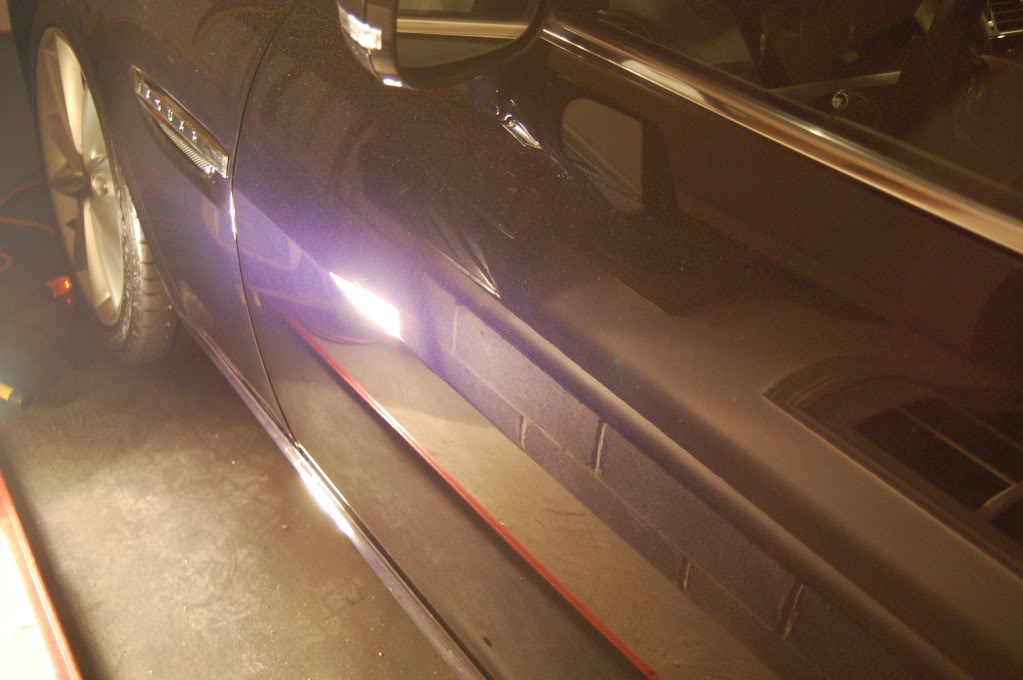
Driver side defects (before)

During shot of the windshield pillar - M105 on an orange pad via PC cleaned this area up quickly

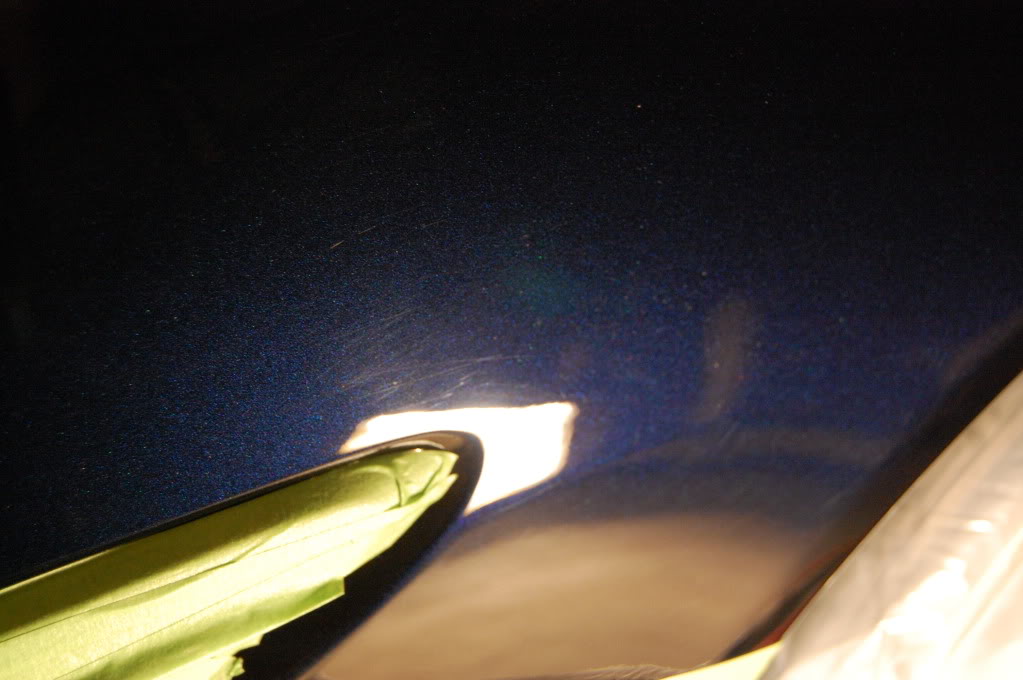
After shot under LED of the rear portion of the decklid....trickiest part of the entire detail is this area is very intricate
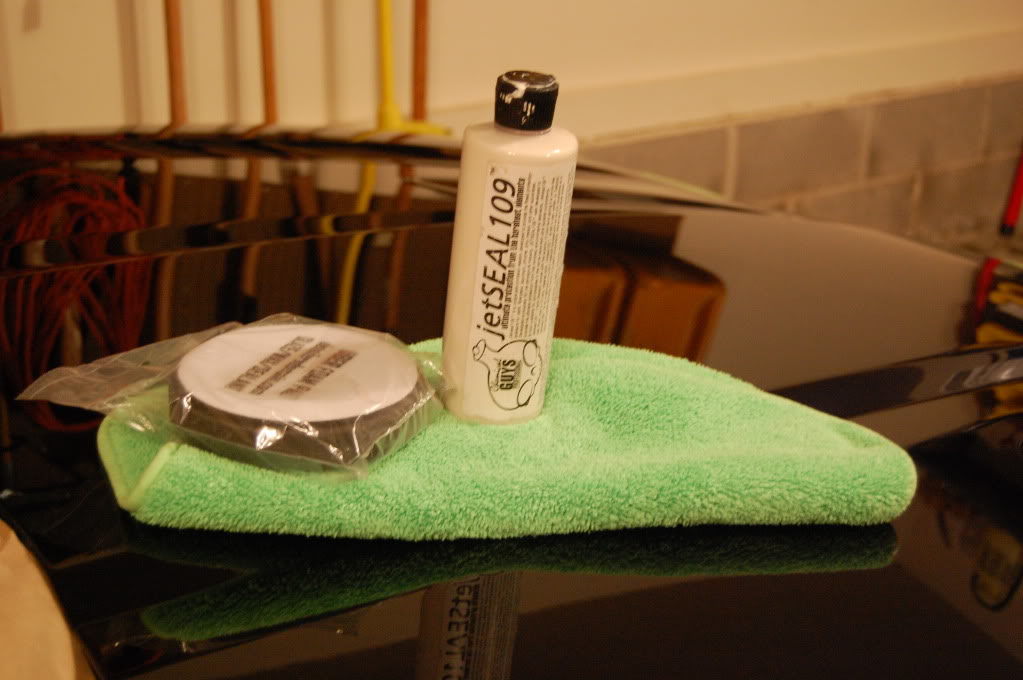
After a final IPA wipedown....time for 2 coats of JetSeal 109 on a brand new Black foam pad
Flex and PC DA- various backing plate sizes/pads
I first tried Menz SIP on an orange pad however I wasn't happy with the results and the humidity was affecting SIP from breaking down properly.
Final steps:
M105 On Uber Orange/ Yellow
Menz 106Fa on a green pad- ran mostly on speed 4/ 4.5
IPA wipedowns performed in-between steps and after of course
Befores: showing the defects...
Split 50/50 After M105
After M105
Showing some more of the defects on the rear bumper area- gentle correction done here- panel heated up VERY quick...don't want to take a chance of finding out how much clear Jag puts on this area
During shot- the rear decklid....really nice design done by Jag IMO
Coming along...
Driver side defects (before)
During shot of the windshield pillar - M105 on an orange pad via PC cleaned this area up quickly
After shot under LED of the rear portion of the decklid....trickiest part of the entire detail is this area is very intricate
After a final IPA wipedown....time for 2 coats of JetSeal 109 on a brand new Black foam pad
Thread Starter
|
Senior Member
Joined: Nov 2011
Posts: 290
Likes: 42
From: Northern New Jersey, USA
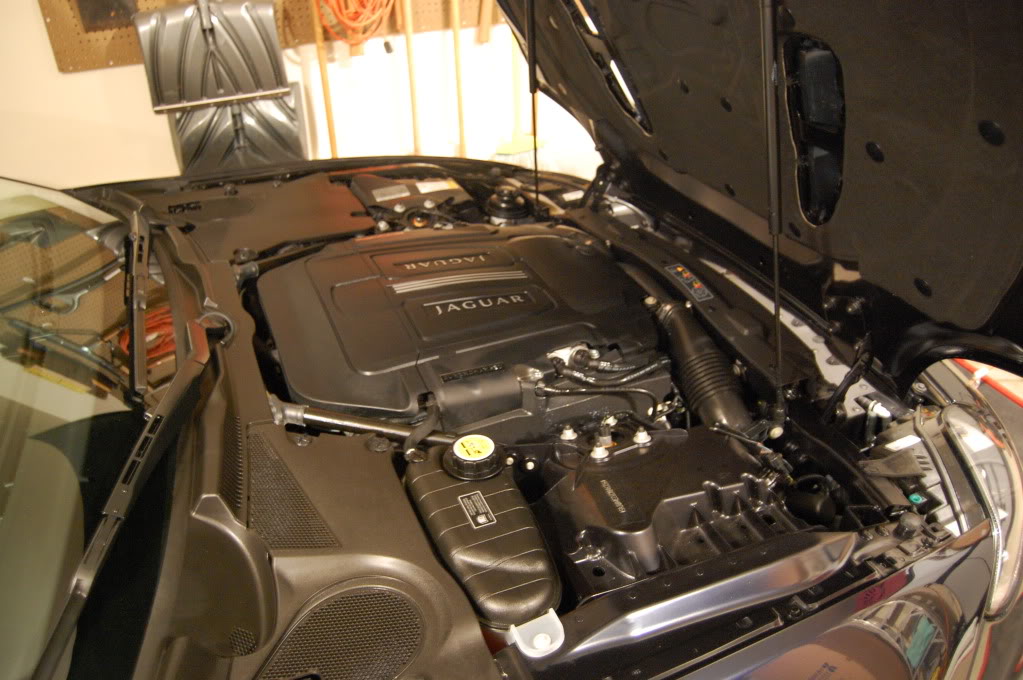
Motor wiped down with ONR and dressed in 303 AP
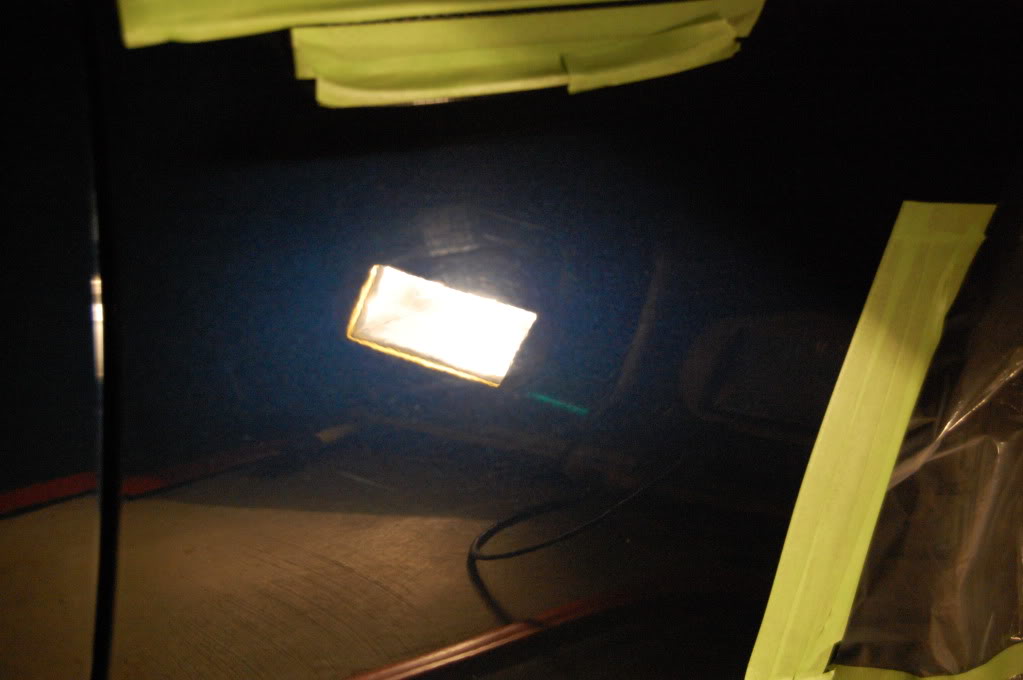
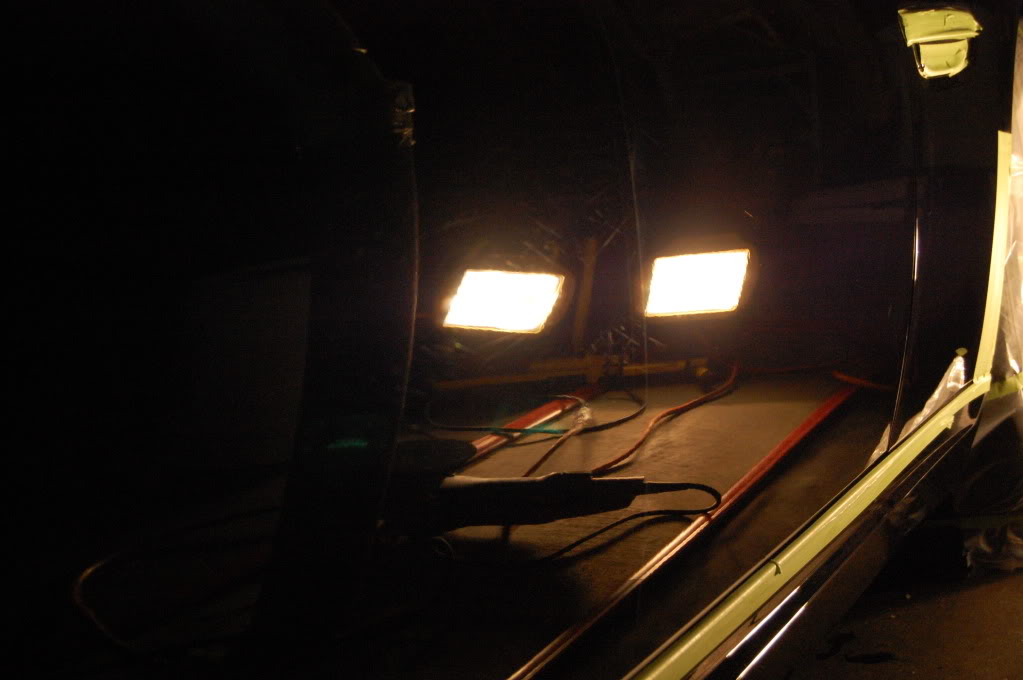
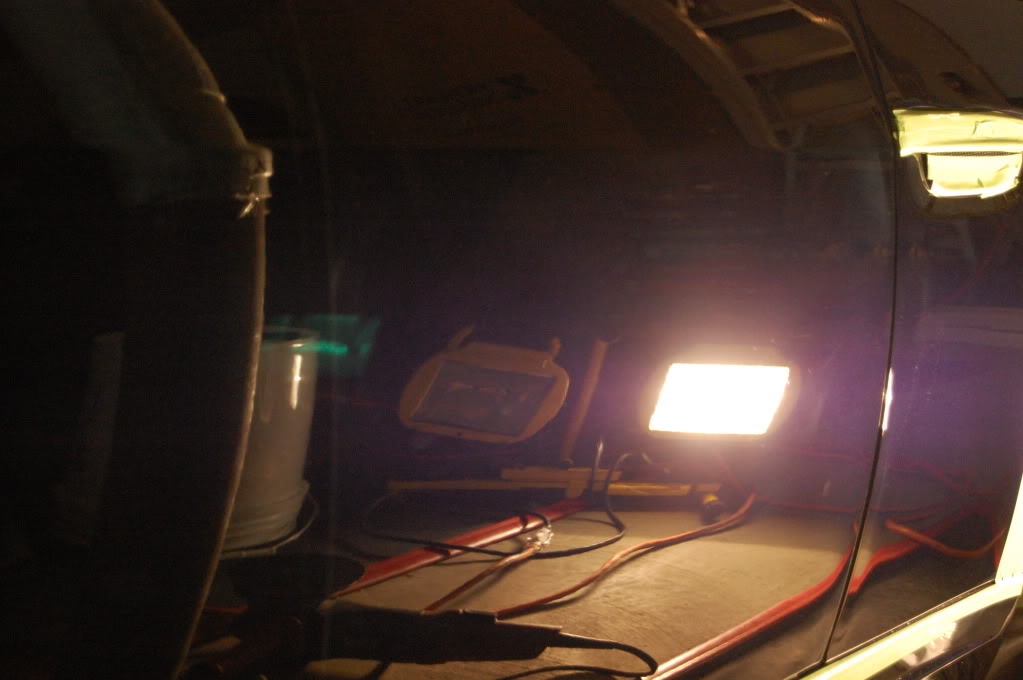
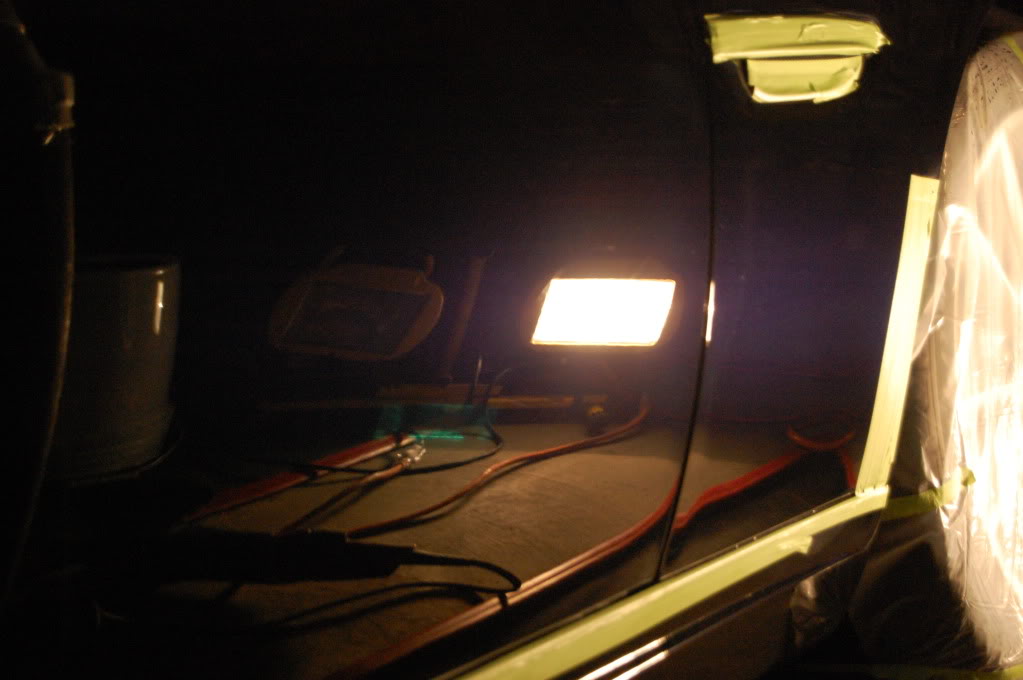
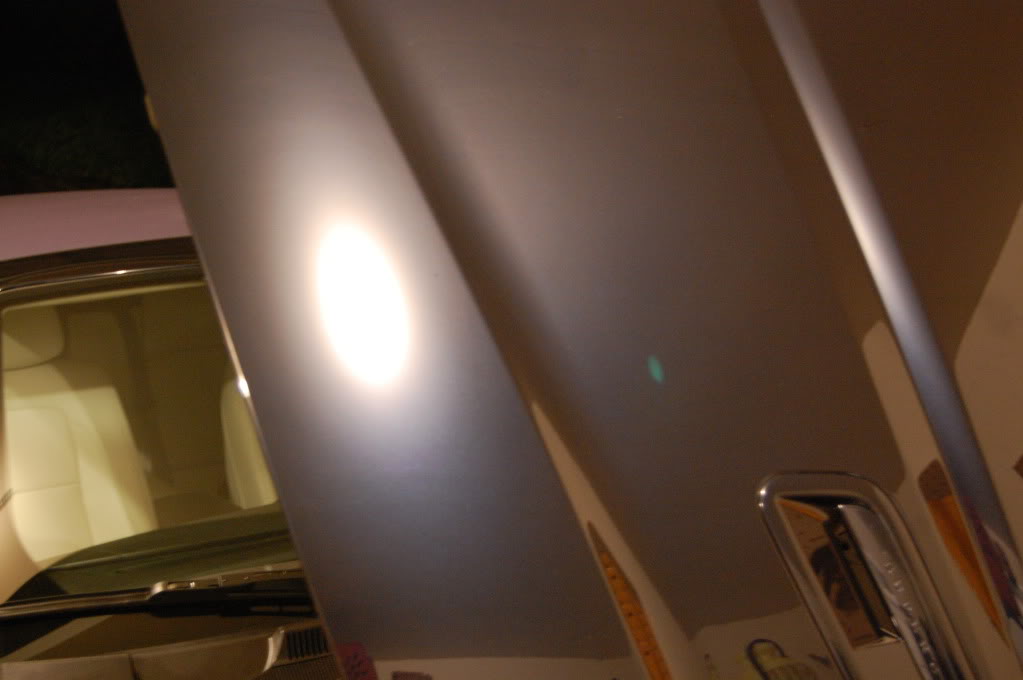
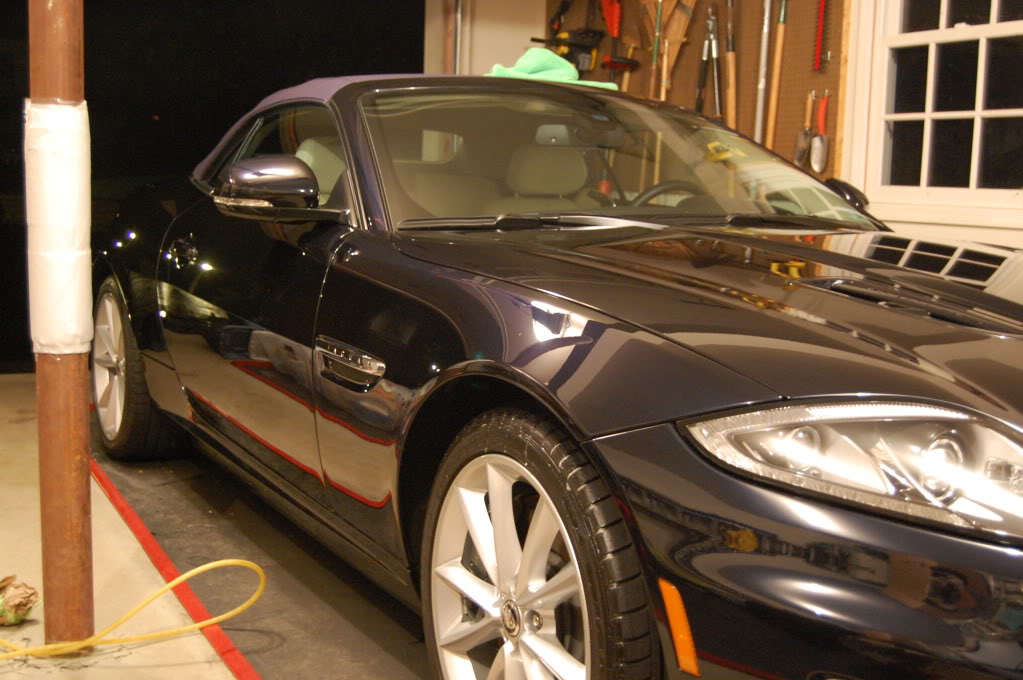
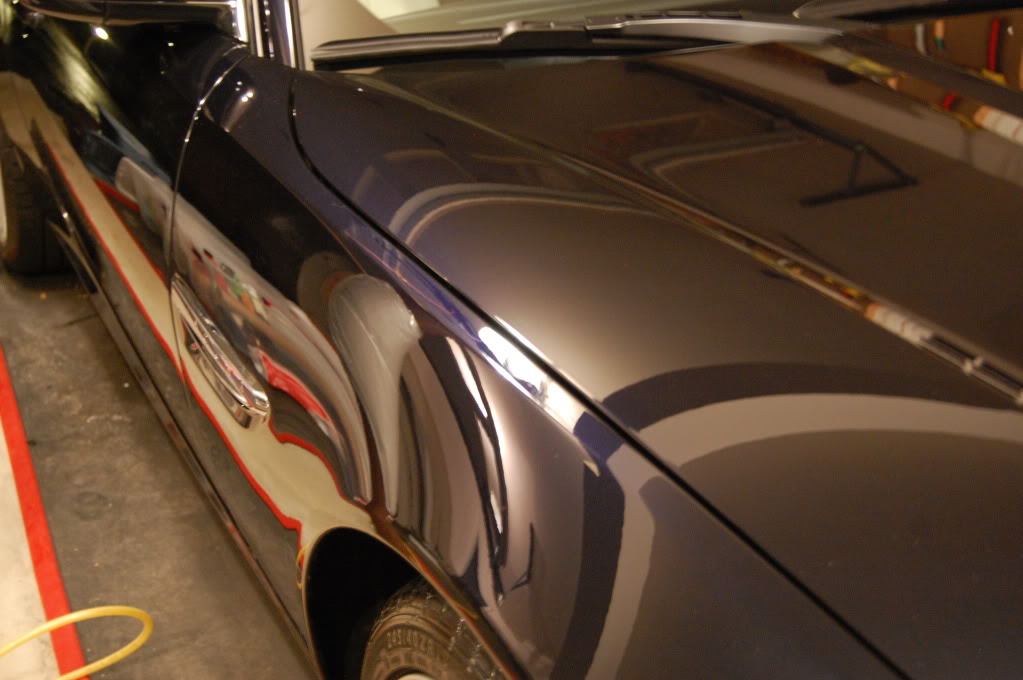
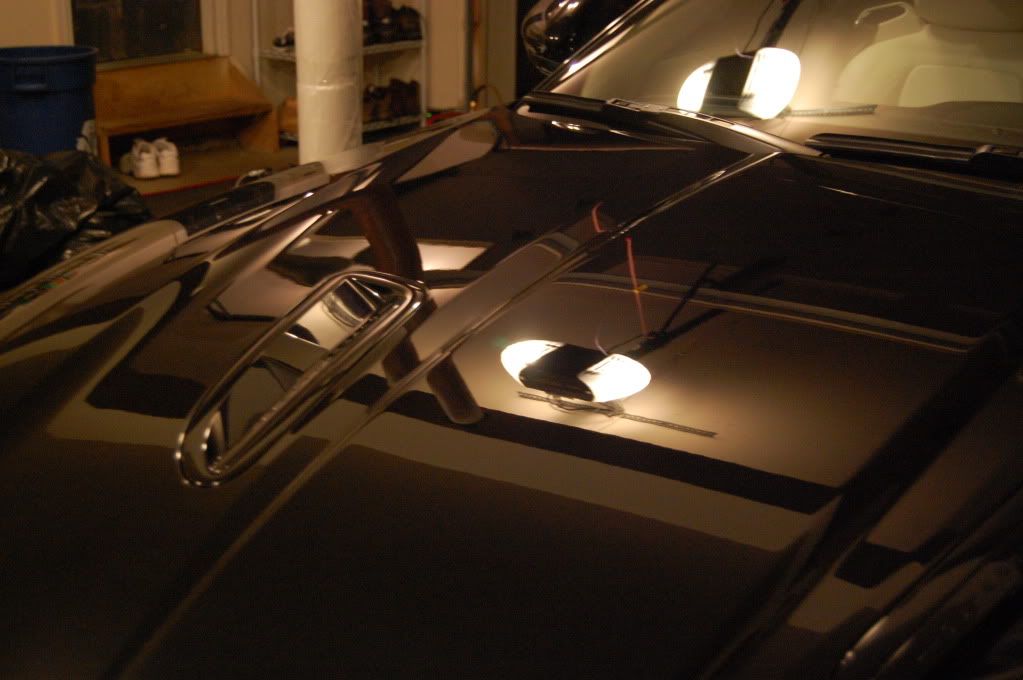
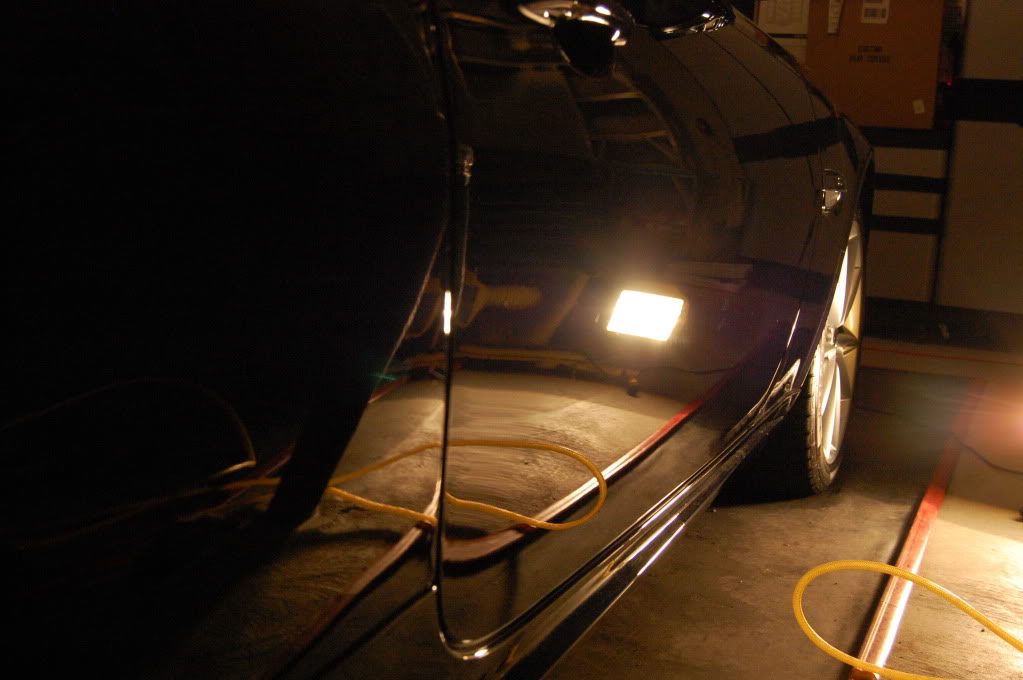
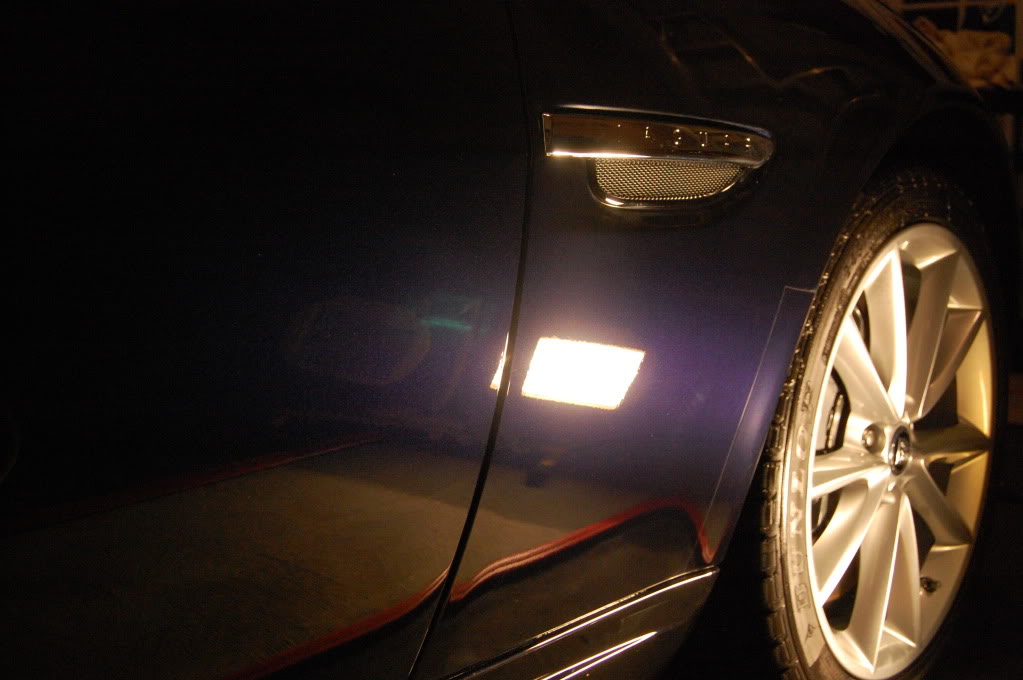
The owners lighting in the garage showed the defects perfectly.....clarity here
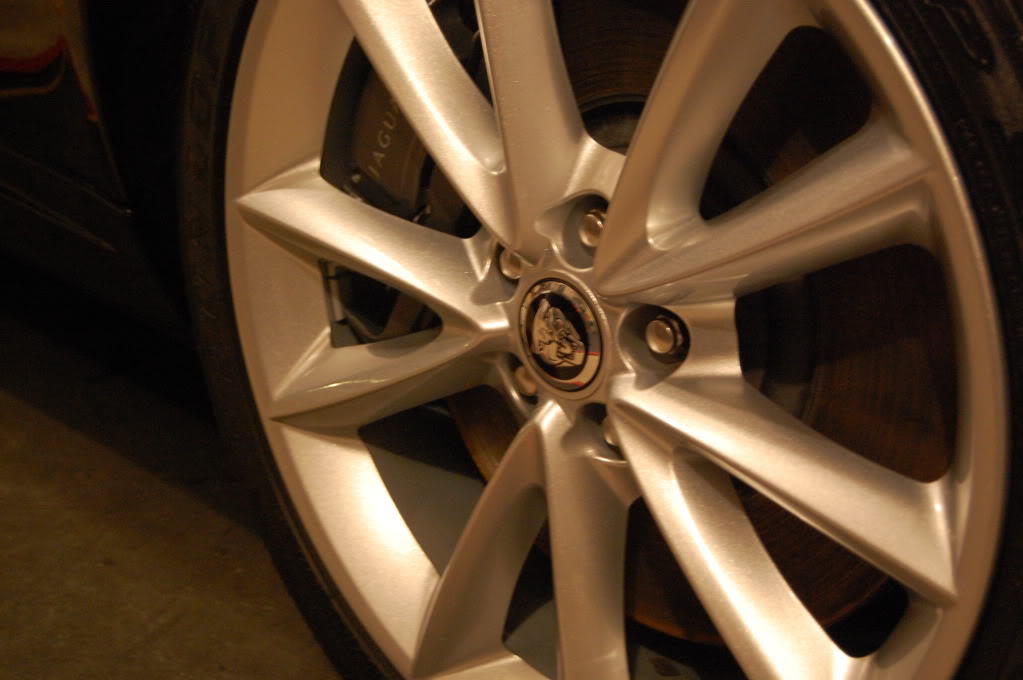
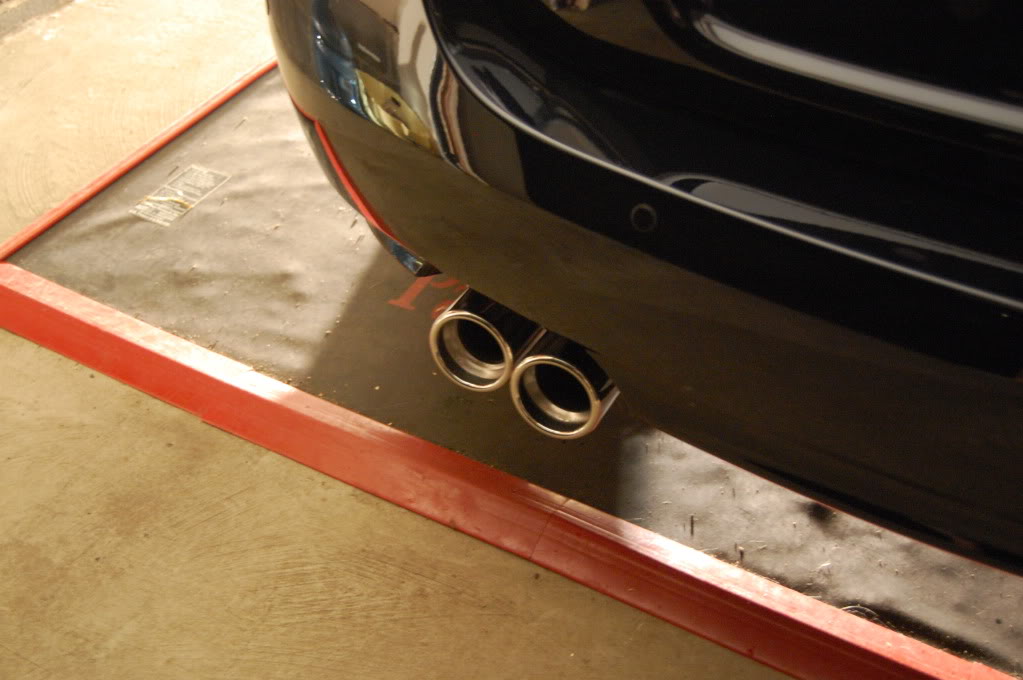
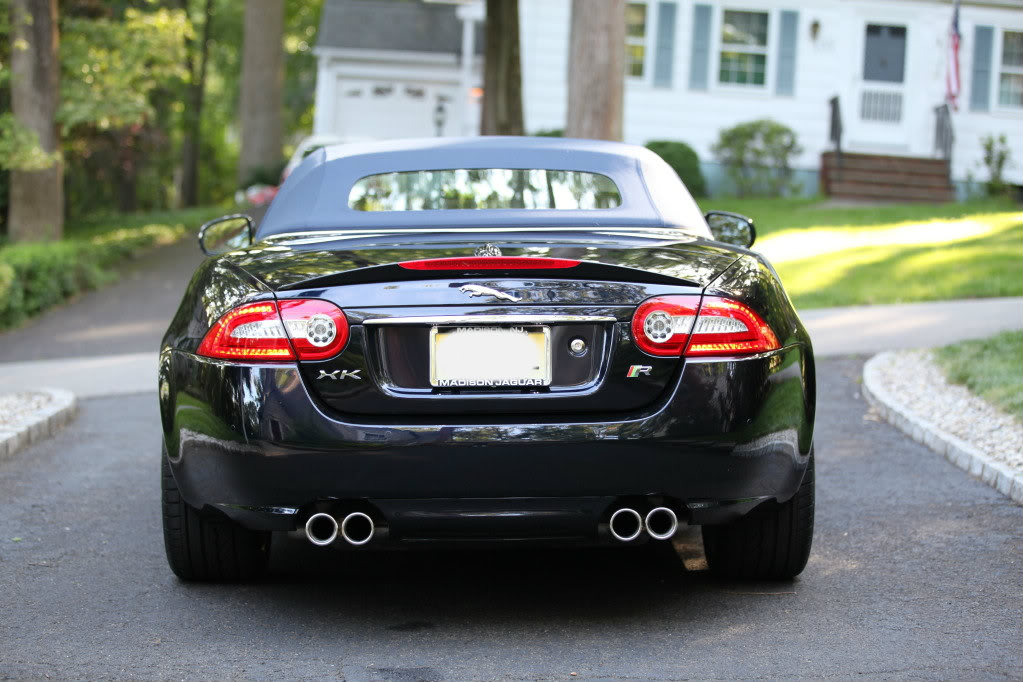
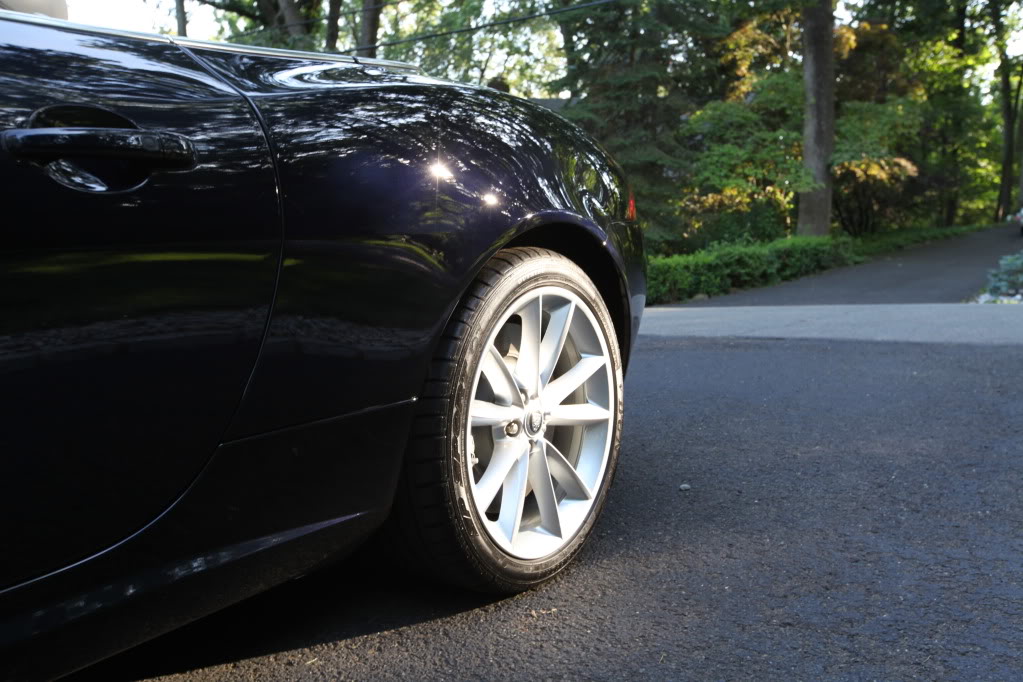
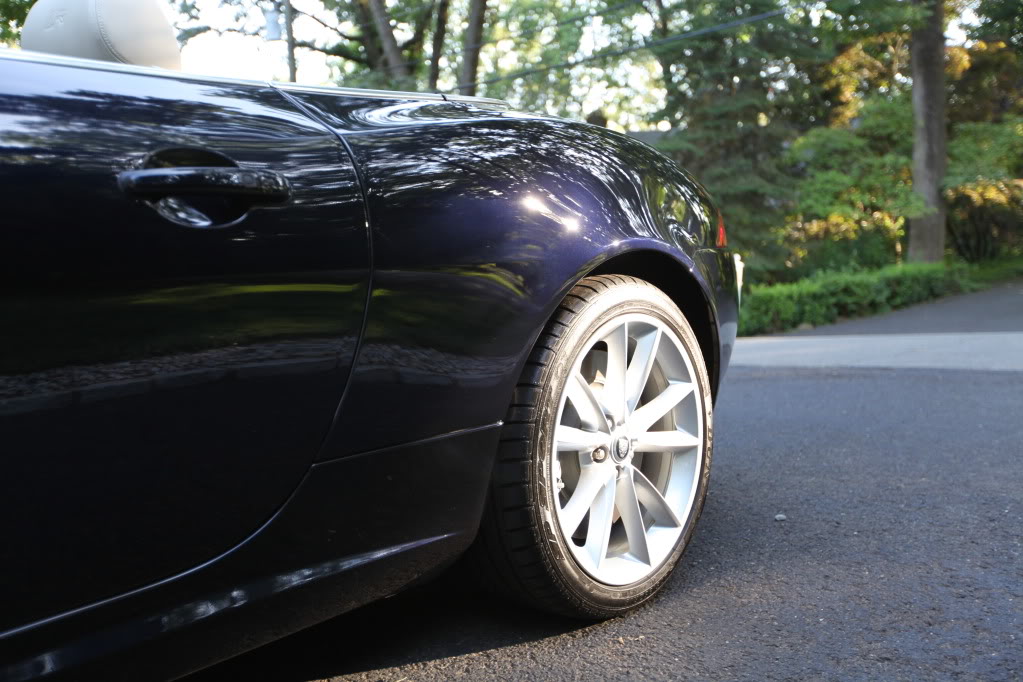
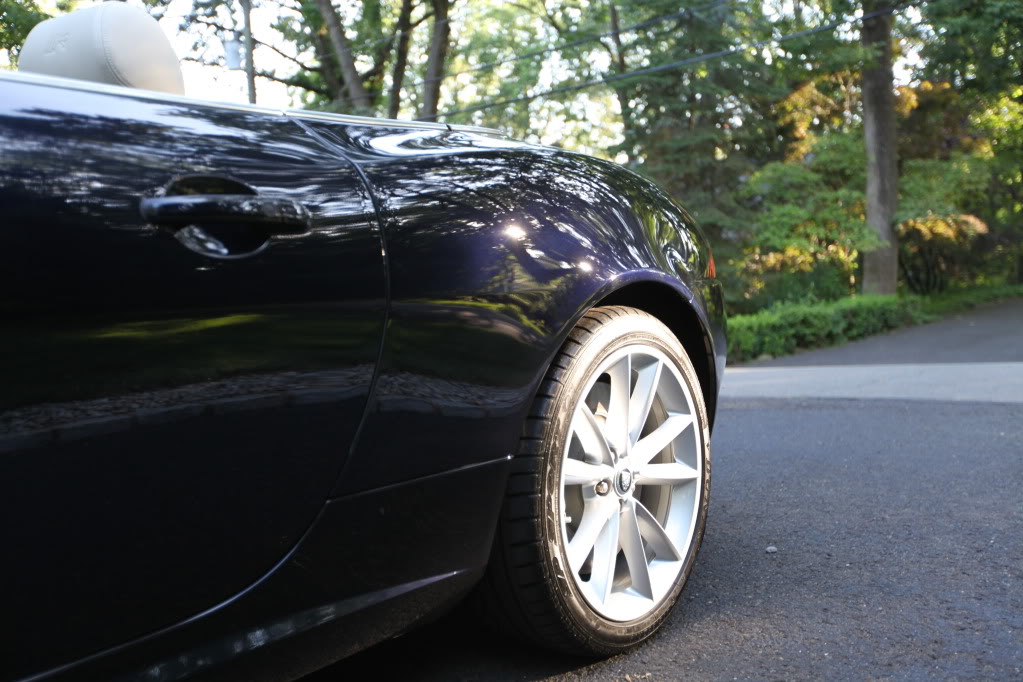
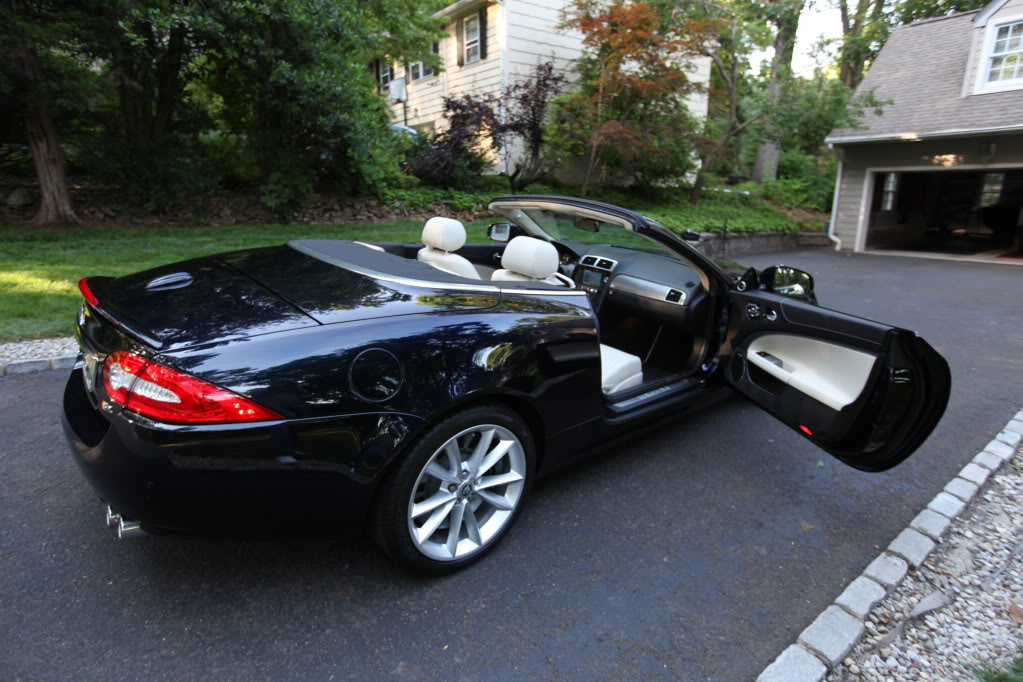
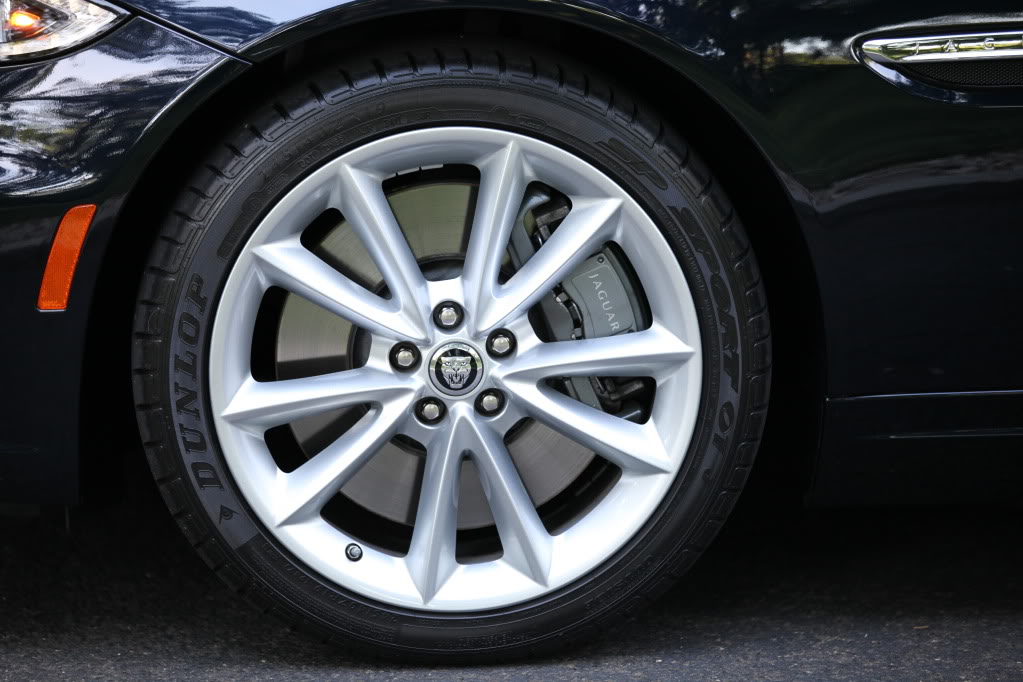
Tires dressed with OPT opti bond tire gel, wheels got a coat of sealant as well, glass cleaned in and out, seals treated with 303, exhaust tips were polished out with P21s polishing soap
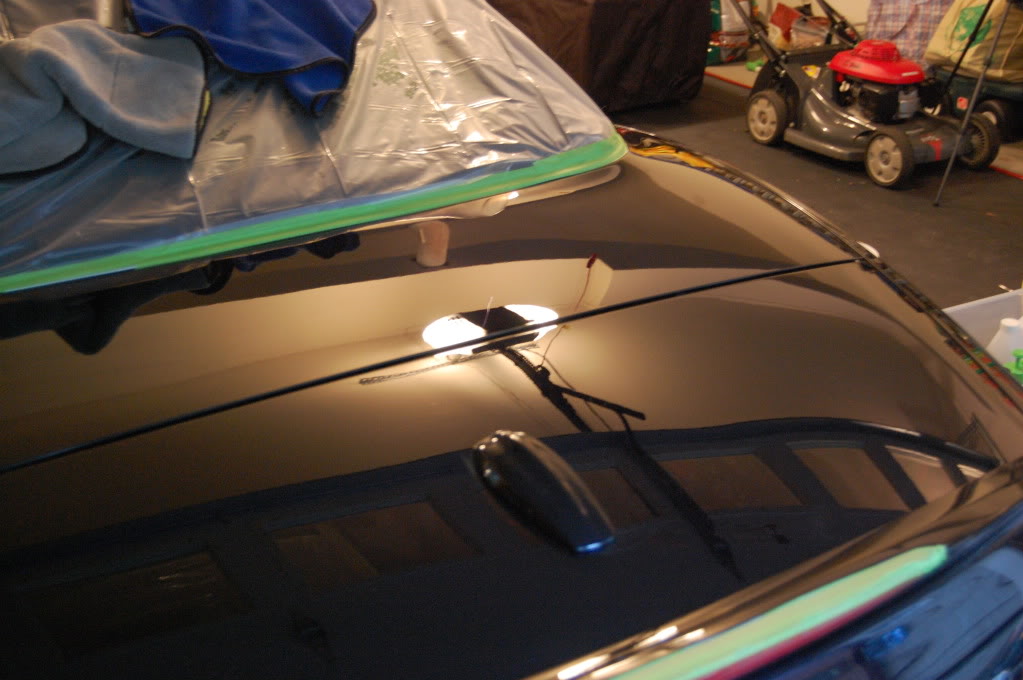
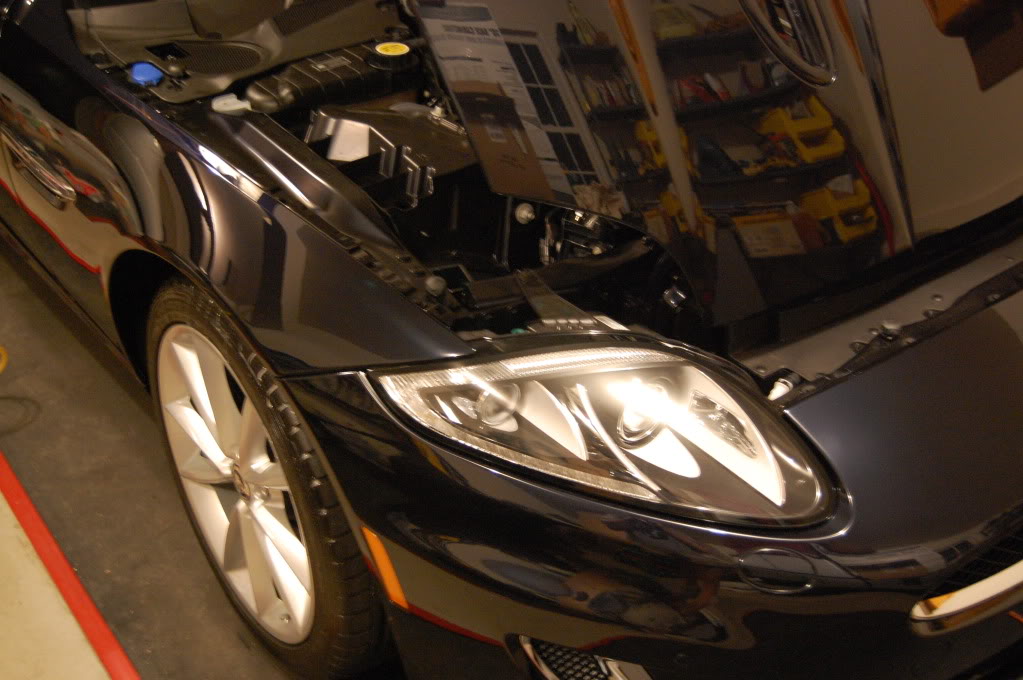
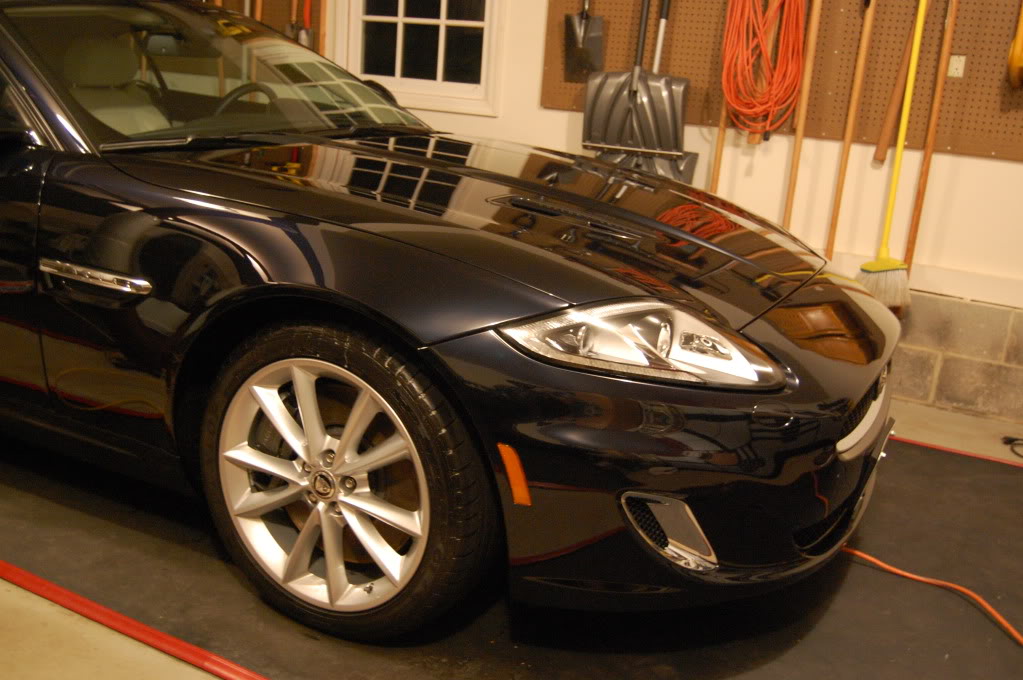
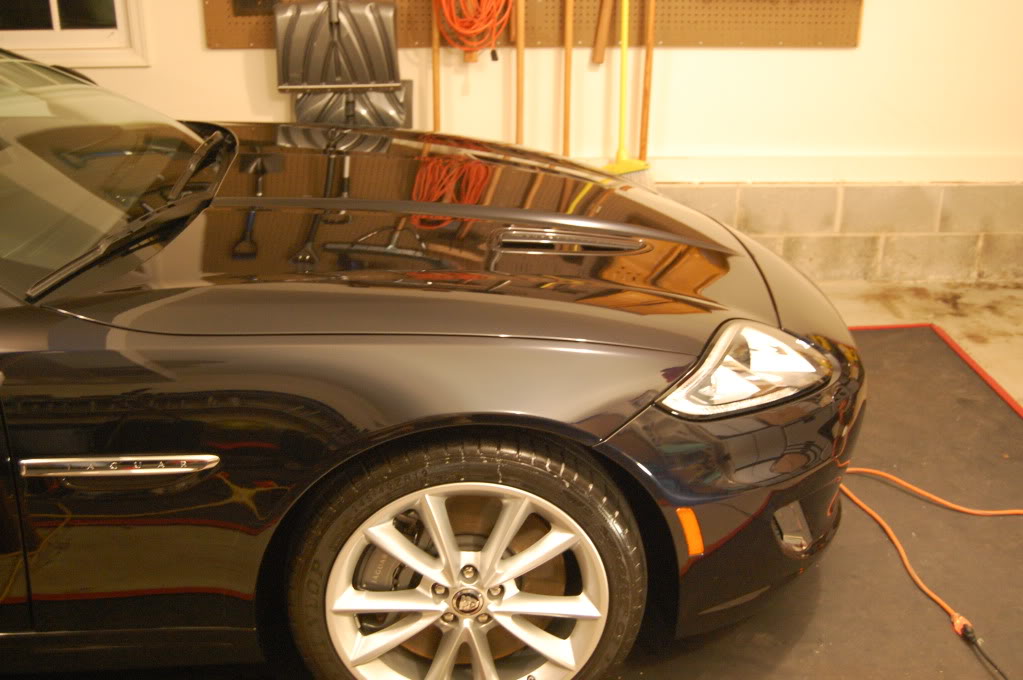
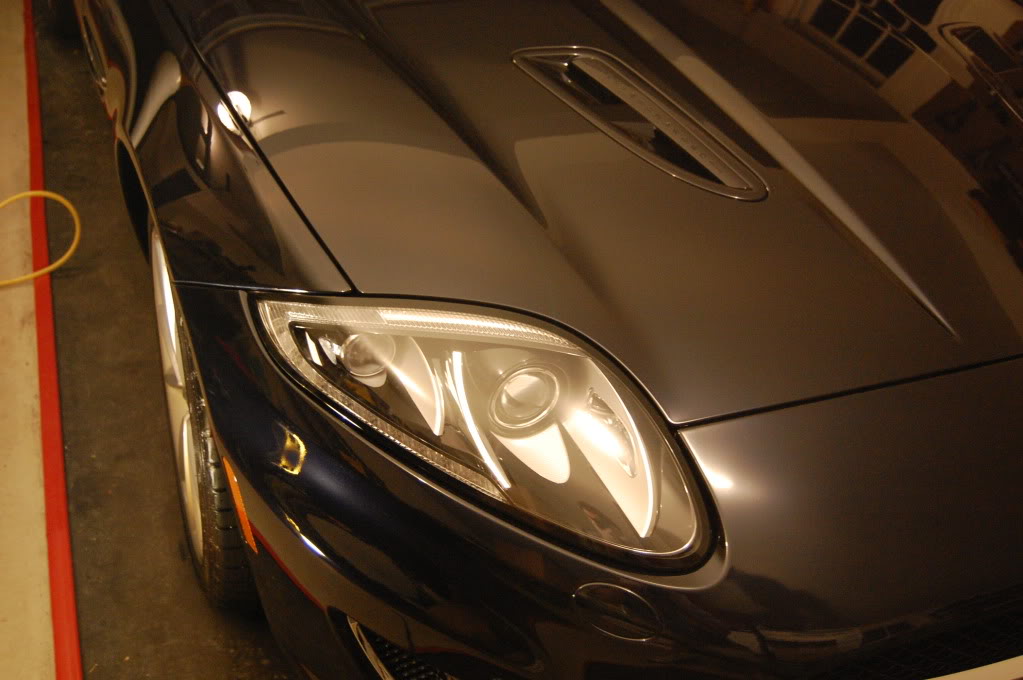
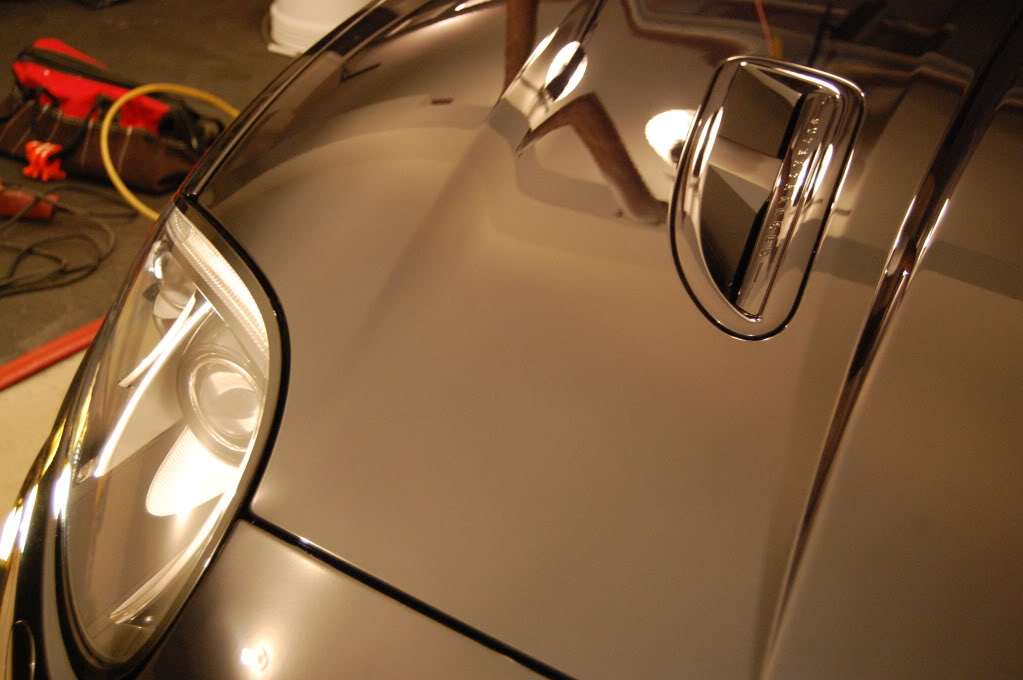
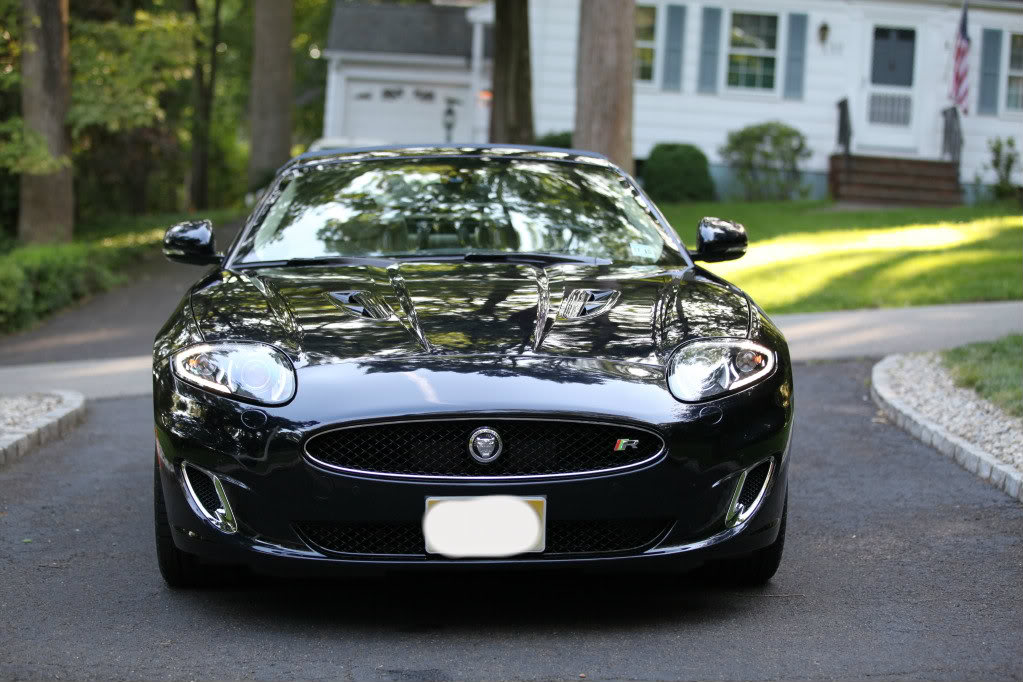
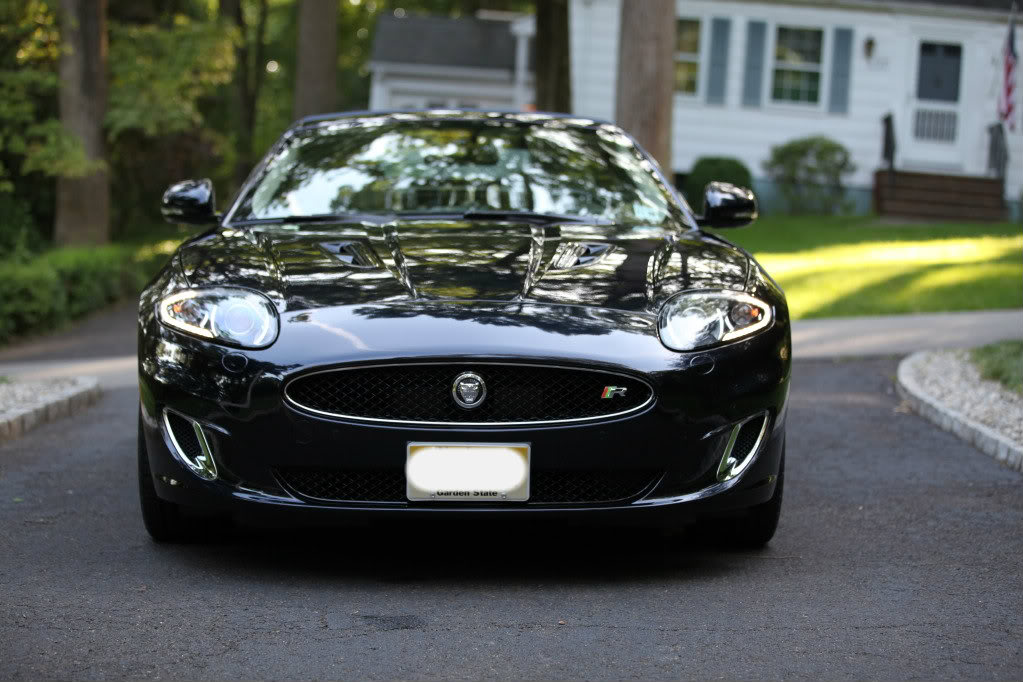
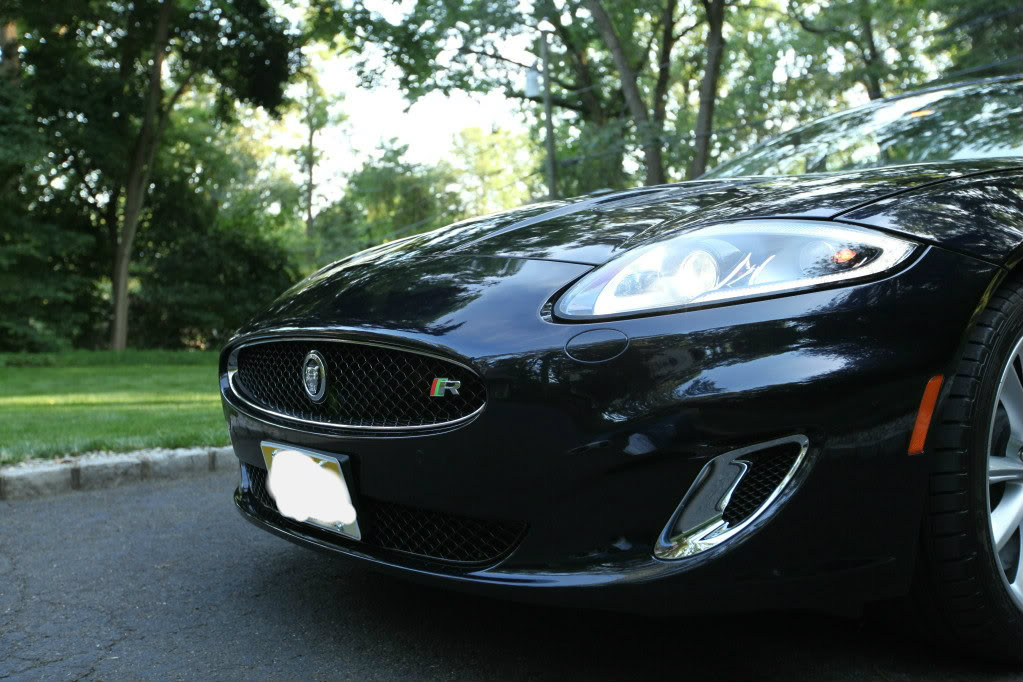
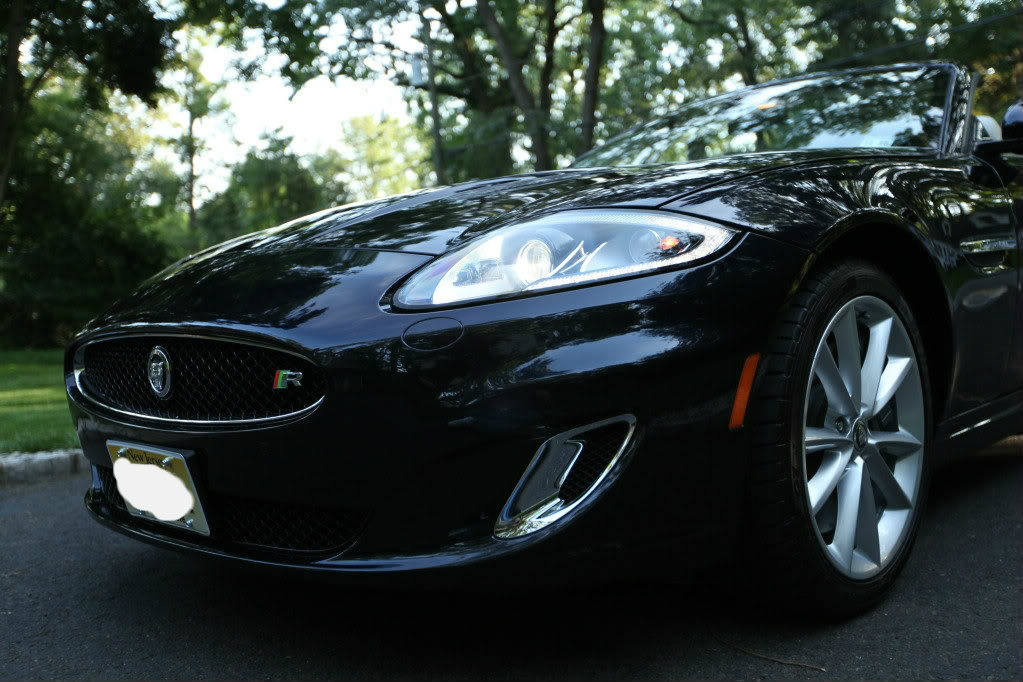
Afters-
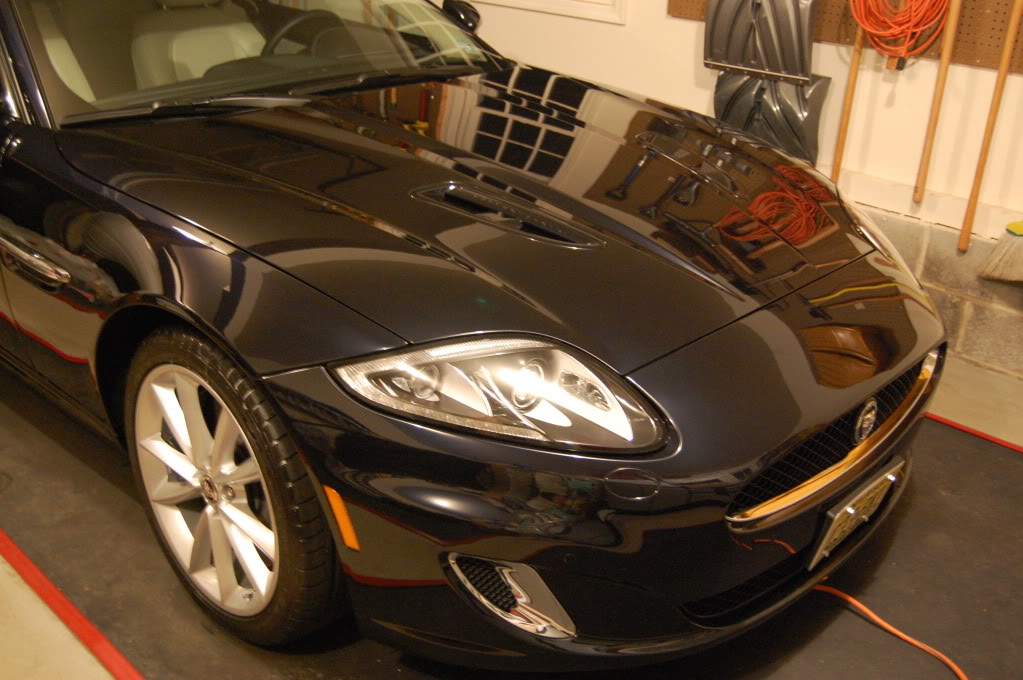
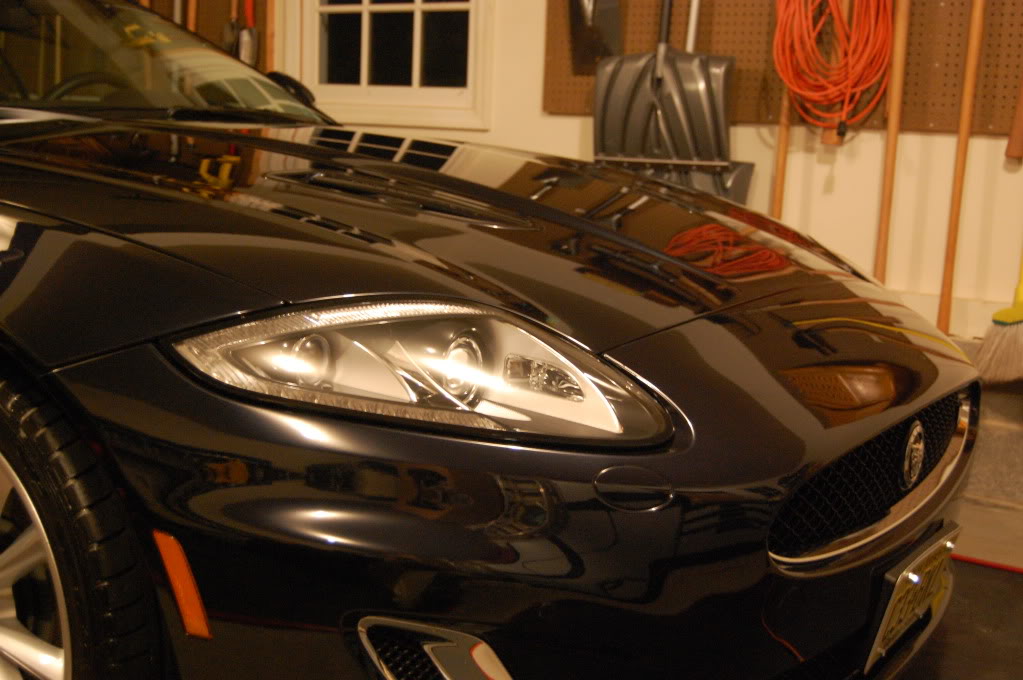

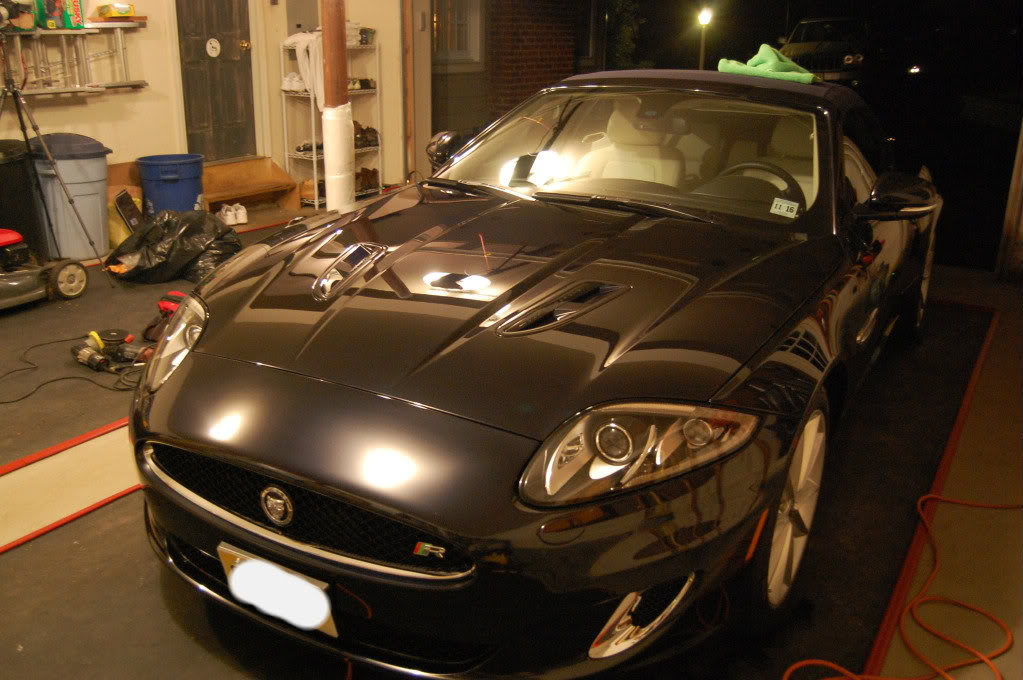
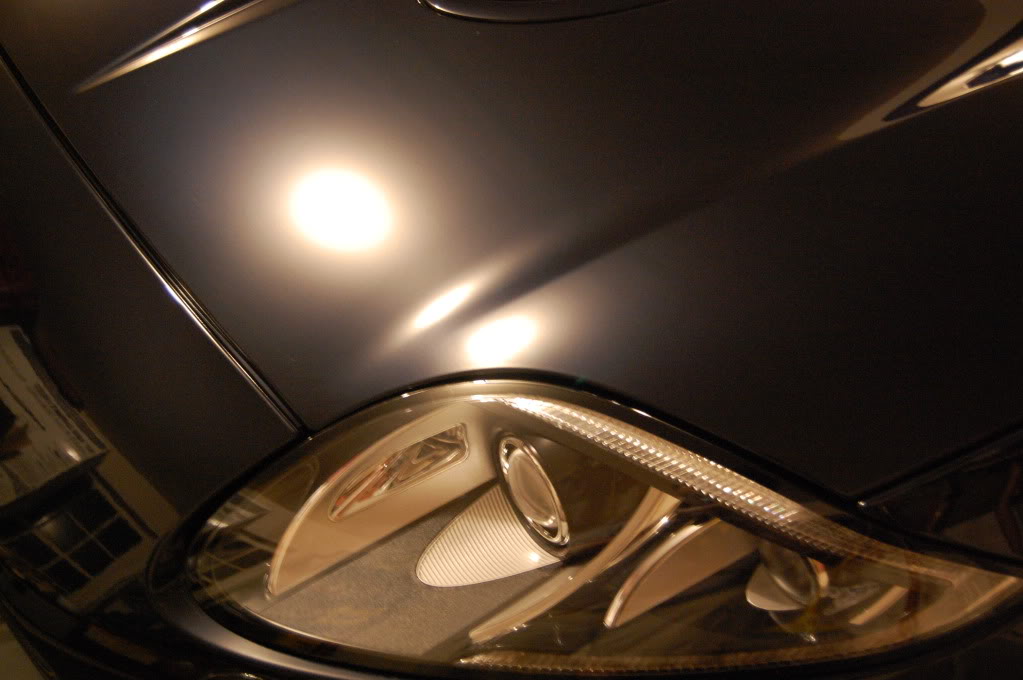
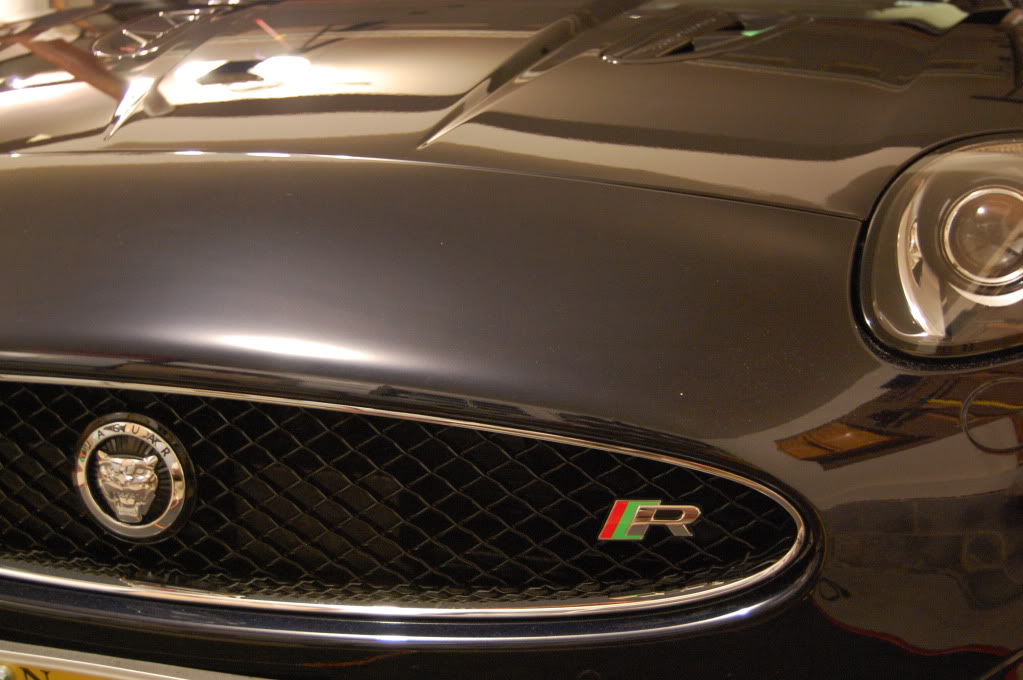
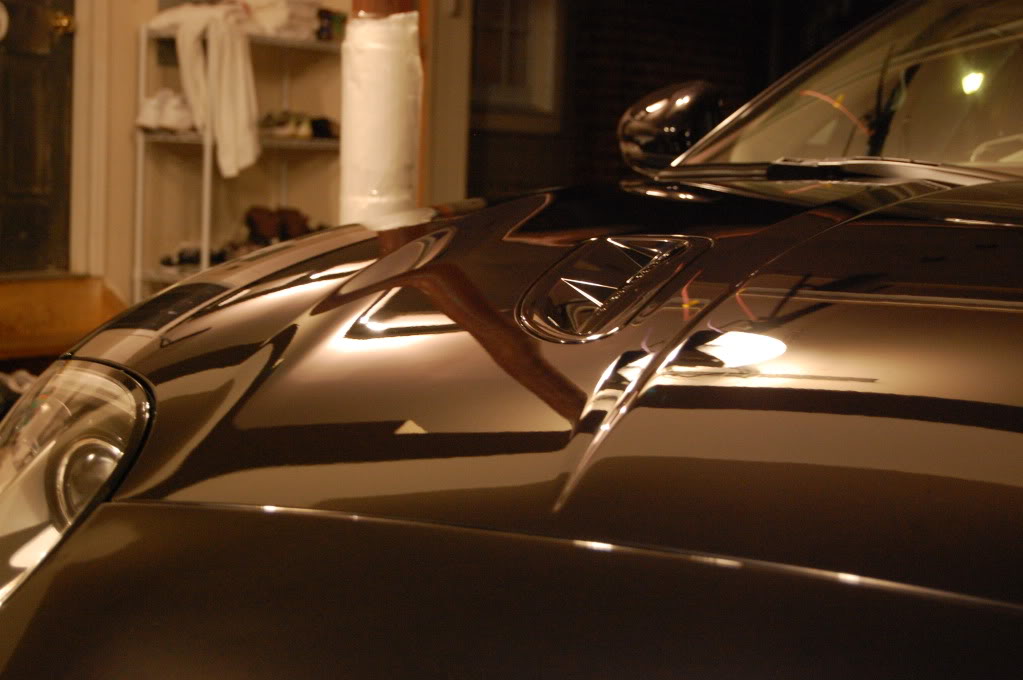
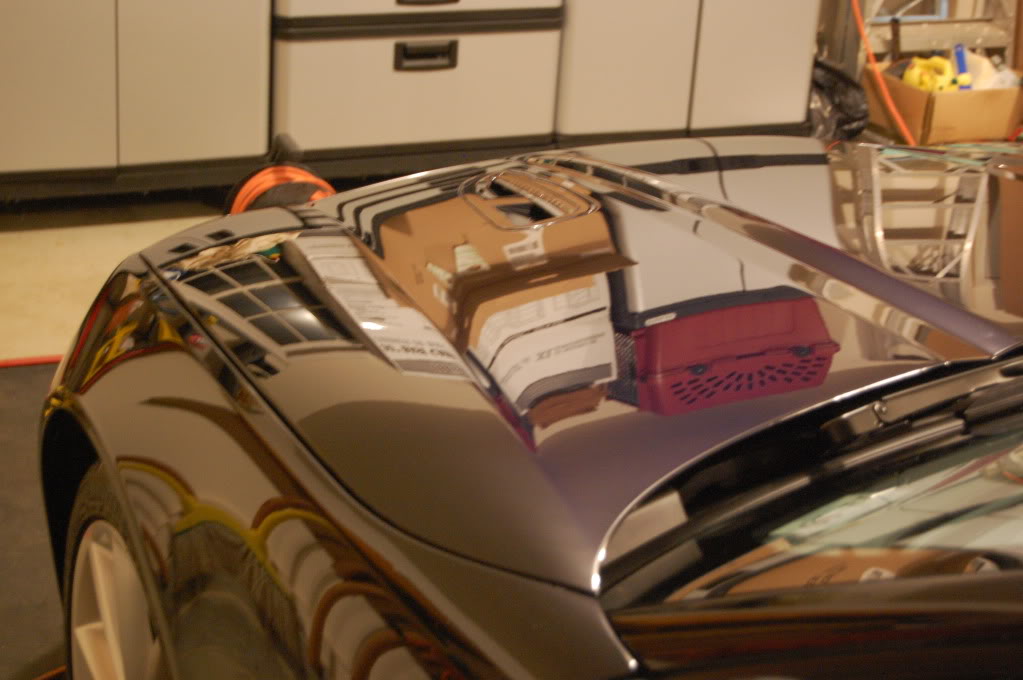
I really liked the redesign of the hood, very elegant
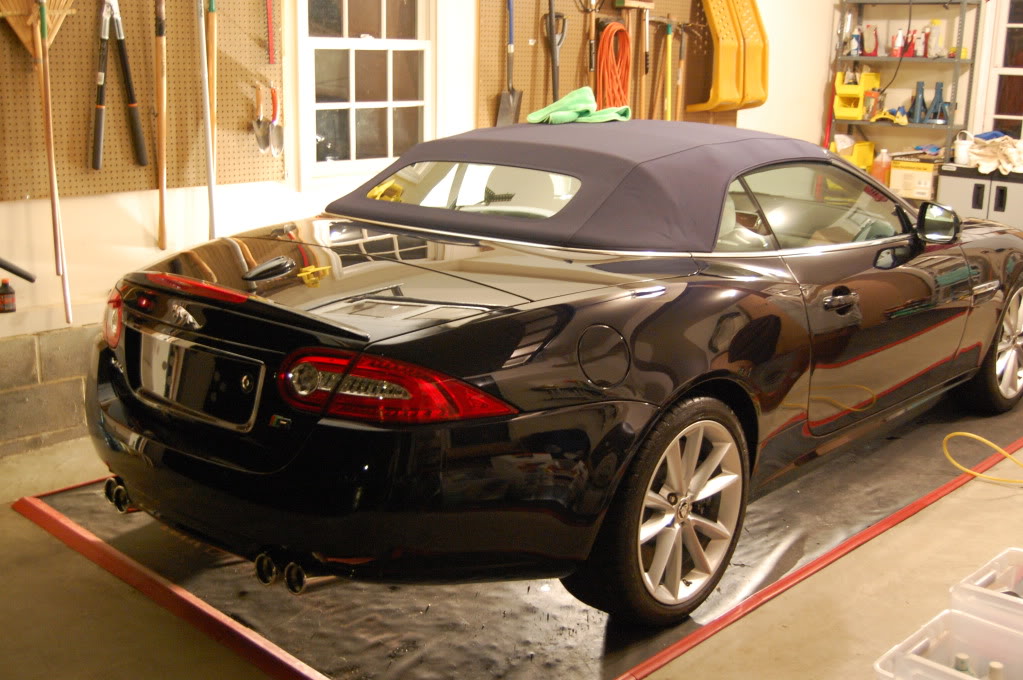
Tips dialed in
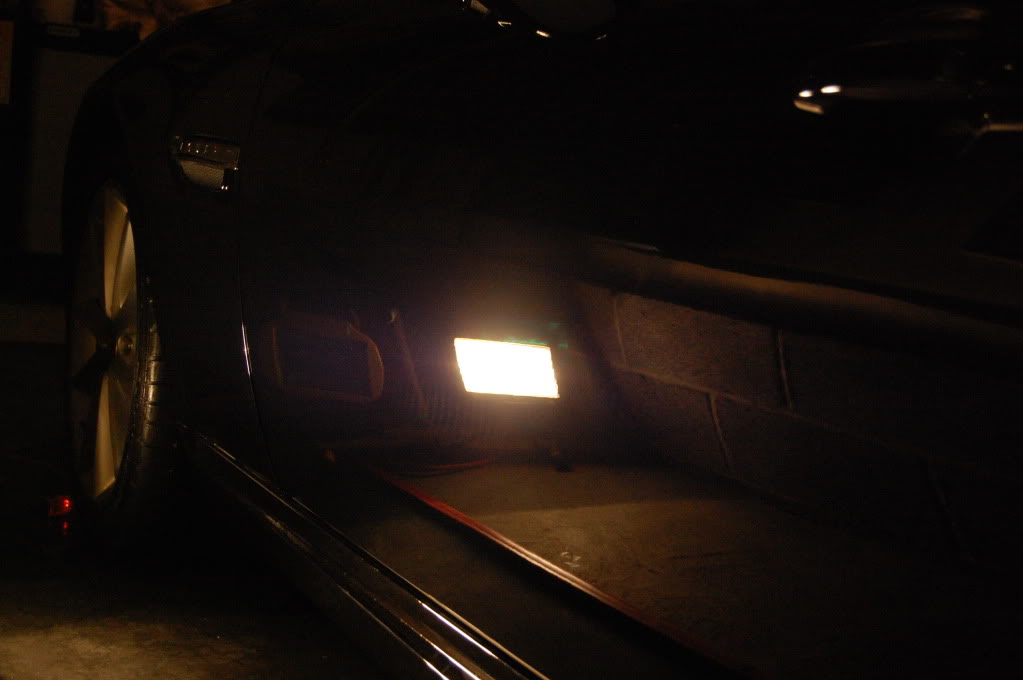
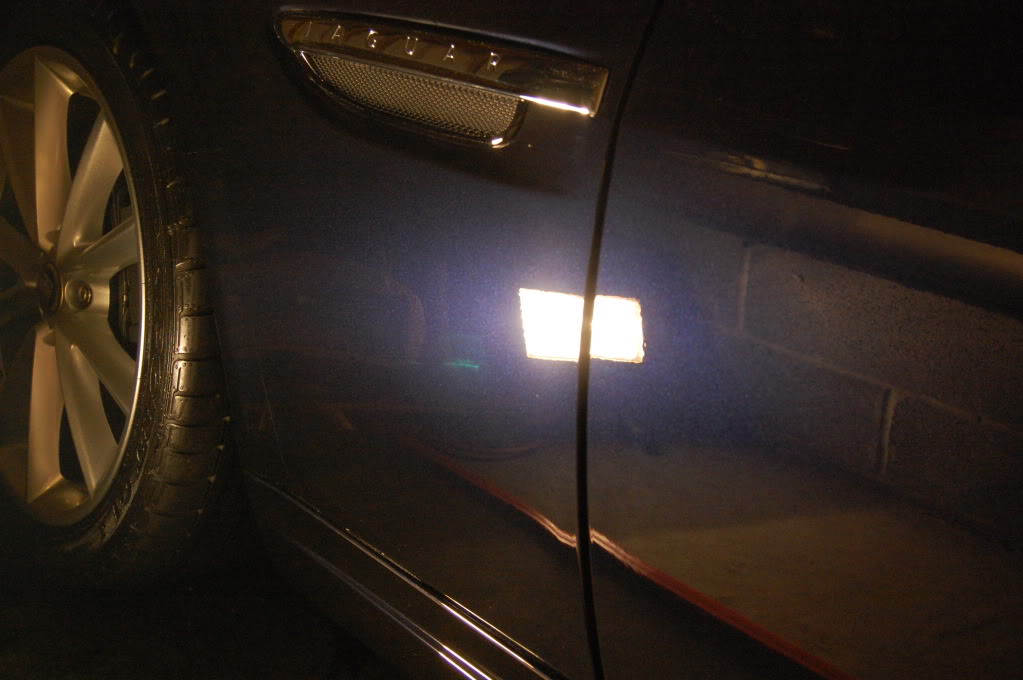
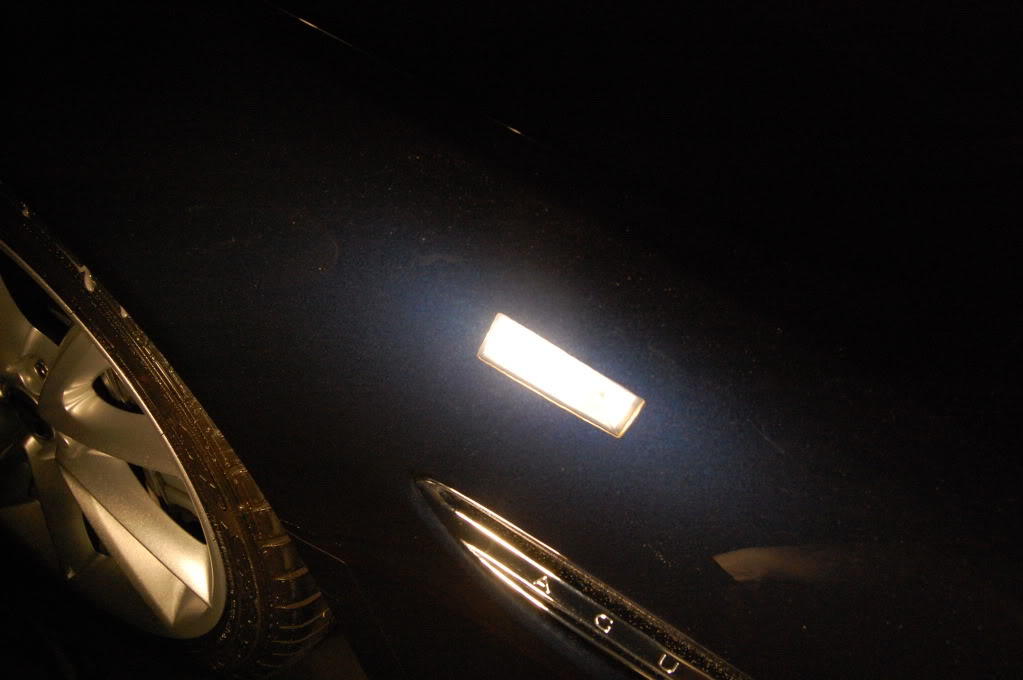
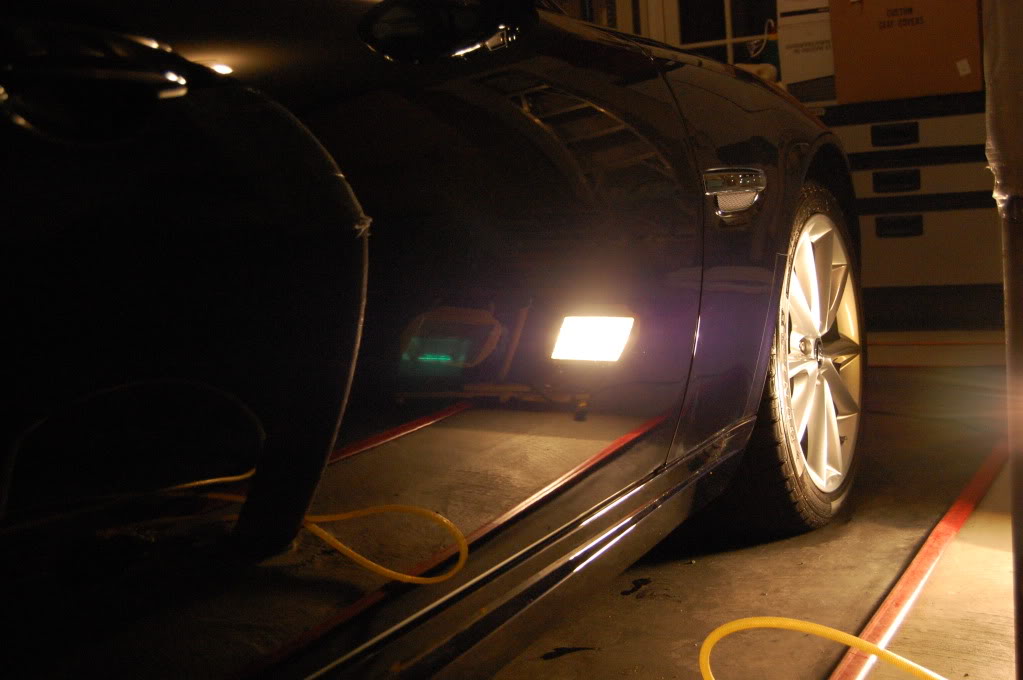
The owners lighting in the garage showed the defects perfectly.....clarity here
Tires dressed with OPT opti bond tire gel, wheels got a coat of sealant as well, glass cleaned in and out, seals treated with 303, exhaust tips were polished out with P21s polishing soap
Afters-
I really liked the redesign of the hood, very elegant
Tips dialed in
Thread Starter
|
Senior Member
Joined: Nov 2011
Posts: 290
Likes: 42
From: Northern New Jersey, USA
The owner is a photographer and also owns one of the nicest cameras I've seen- shot with a Canon EOS i believe. He was nice enough to take the time during an afternoon and take several shots for me to include in this write-up of his Jaguar in its natural beauty.
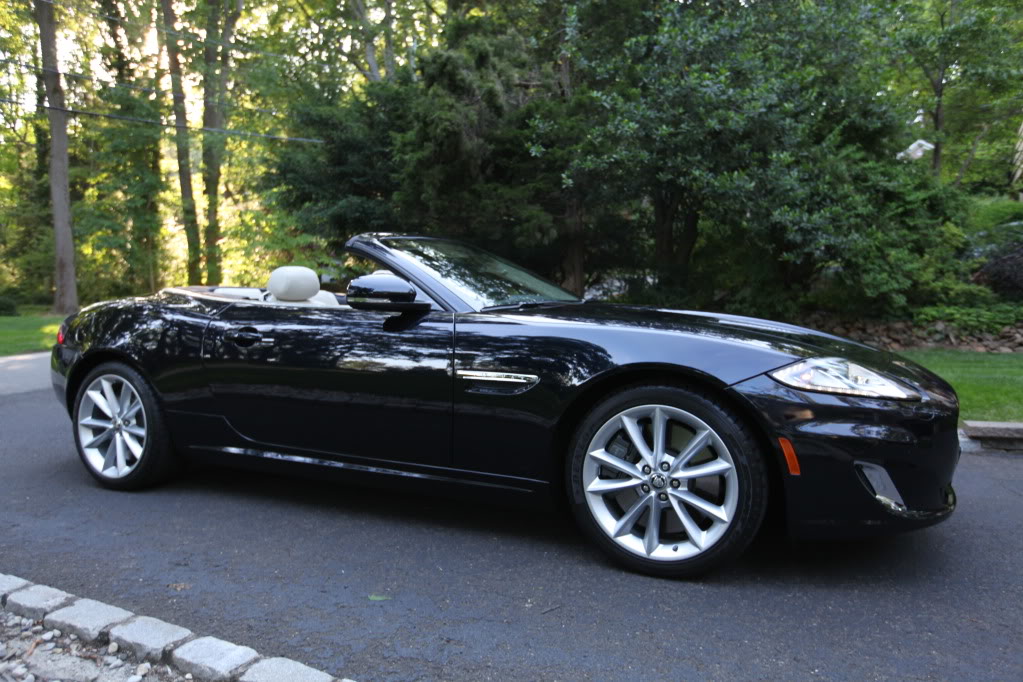
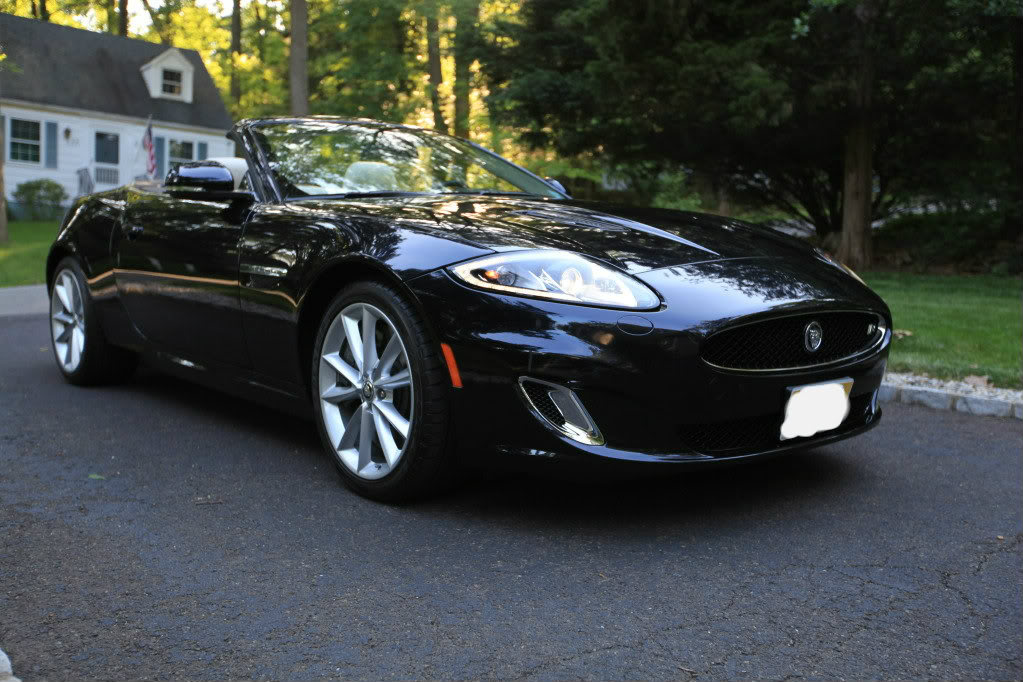


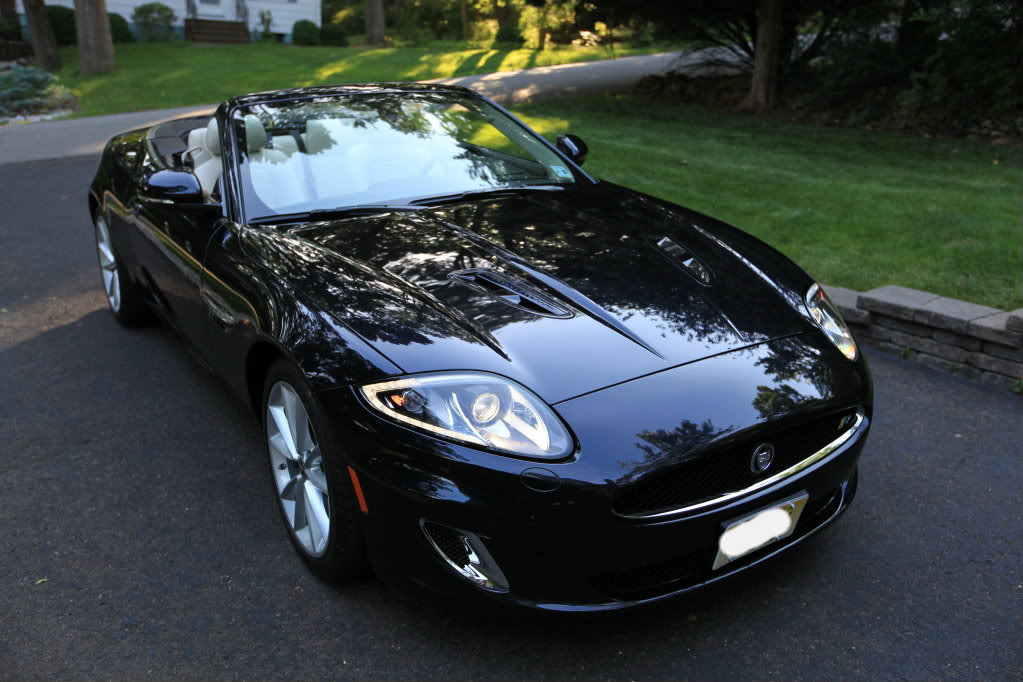
Total time to complete- one day- just under 13 hours!
Dan Kastner
Premier Shine Auto Detailing, Auto Detailing, Ramsey, NJ 07446 - index
Total time to complete- one day- just under 13 hours!
Dan Kastner
Premier Shine Auto Detailing, Auto Detailing, Ramsey, NJ 07446 - index


Junior Member
Joined: Jun 2012
Posts: 1
Likes: 0
From: NJ/NY/CT/ VA
Trending Topics

Where are you located at Dan? Do you do any work in the Columbus, OH area??? Do you know anyone with your expertise who does?
Lothar52
Lothar52
Thread Starter
|
Senior Member
Joined: Nov 2011
Posts: 290
Likes: 42
From: Northern New Jersey, USA
Mike

Thread
Thread Starter
Forum
Replies
Last Post
WinterJag
XJ XJ6 / XJ8 / XJR ( X350 & X358 )
16
Oct 9, 2015 07:49 PM
Currently Active Users Viewing This Thread: 1 (0 members and 1 guests)