
2010 ZR1 gets Detailed for that "Torched" look

Thread Starter
|
Senior Member
Joined: Sep 2009
Posts: 573
Likes: 86
From: Orange County, California. USA
I wanted to share the photos and detailing procedures involved in making this �Torched� ZR1 shine and sparkle better than it did when it rolled off the assembly line.
My client ordered a 2010 ZR1 way back in August of 2009 from Les Stanford Chevrolet with Museum delivery option. He had the VIN in hand and was ready to leave for Bowling Green in a couple of weeks. One week before the TPW week he changed his mind and decided to buy a 2010 GT3 instead. Ultimately he decided that the GT3 was not the one for him, and was reunited with the original ZR1 he had ordered in Aug 2009.
Before his purchase it sat for months, covered and only shown on several occasions, upon my initial inspection it looked like it had been wiped down many times with inferior techniques. It also had signs of RDS (Random Deep Scratches) and some abrasion marks from being covered either in storage or in transport. But beneath it all was a jewel just waiting to be finessed for its new owner.
My client and I had spoke several times in which I got a very clear understanding of how meticulous he was and what his expectations were. I then packed it up on a very cold rainy day to drive out to VV and perform my correction work and detailing��
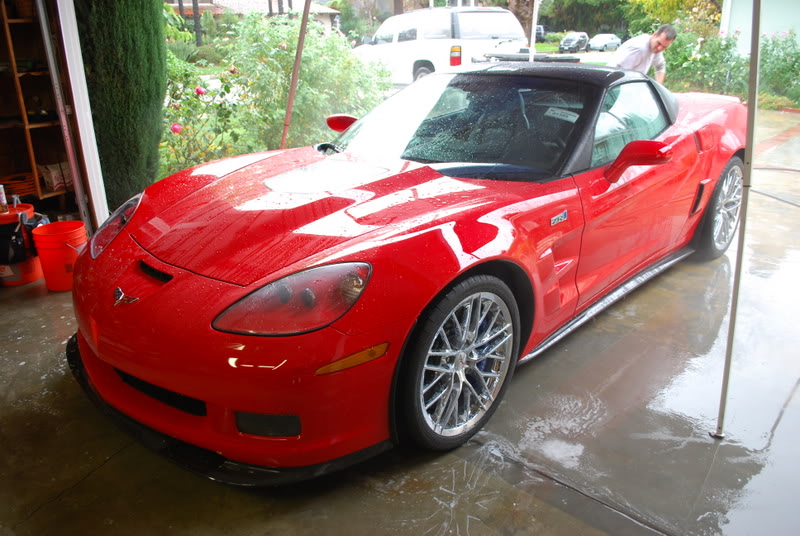
Here are some photos of the ZR1 upon my initial inspection�
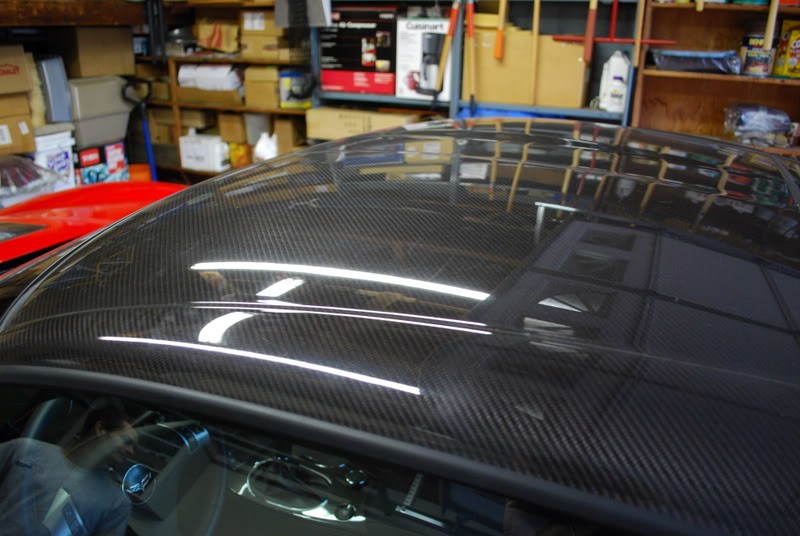
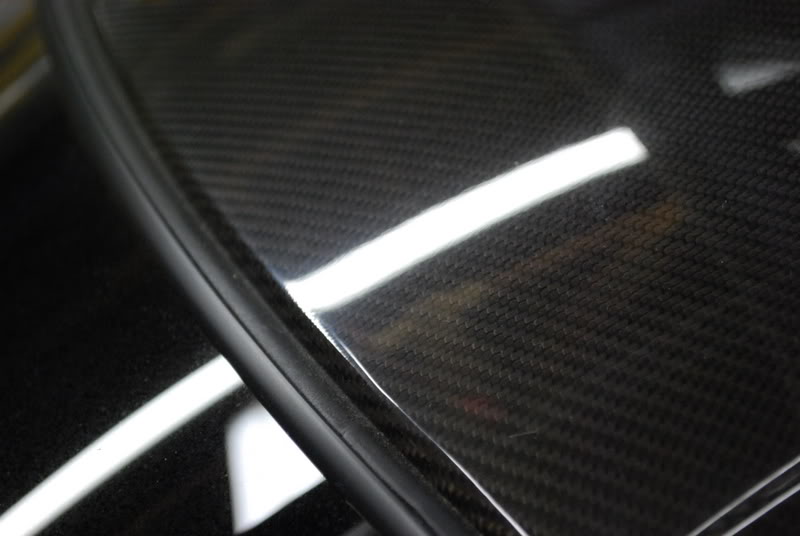
Some shots of the CF that was opaque and dull from cover abrasion and lack of TLC

Even the wheels lacked that sparkle and were stained and dull
Here the prep begins with a thorough bath and cleaning with Poly's Clear Tech Detailing Fluid.
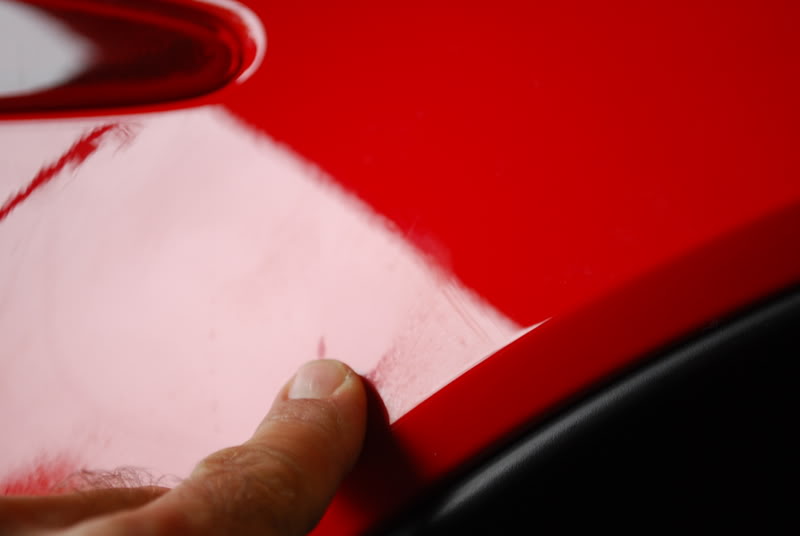
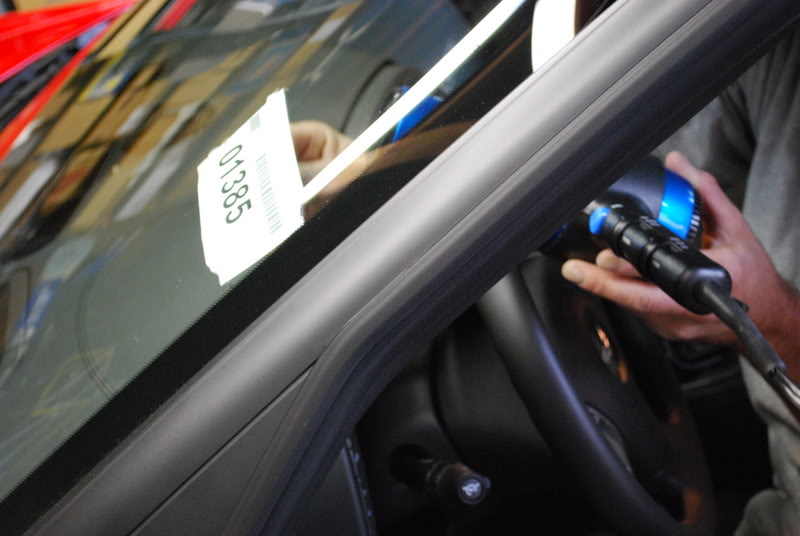
After drying the vehicle with an SM Arnold Water Sprite all the decals are meticulously removed so the owner can save them.
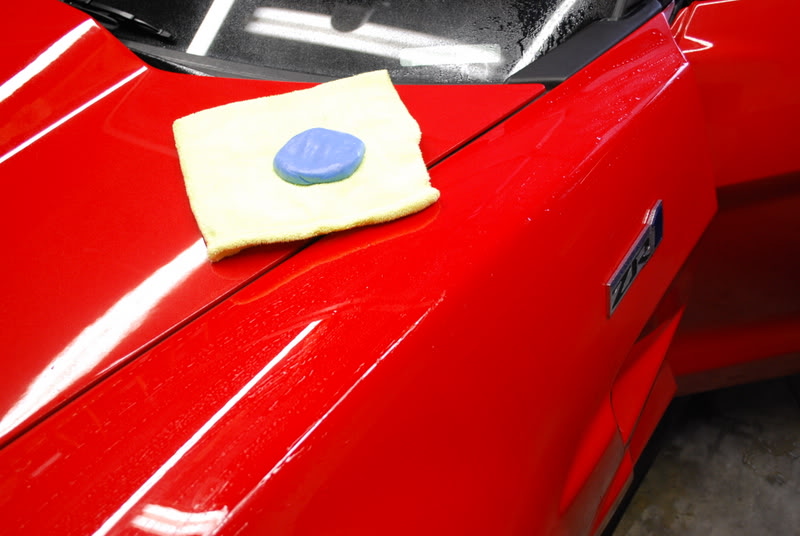
A fresh piece of Clay Magic formed into a round little tortilla ready for the claying step
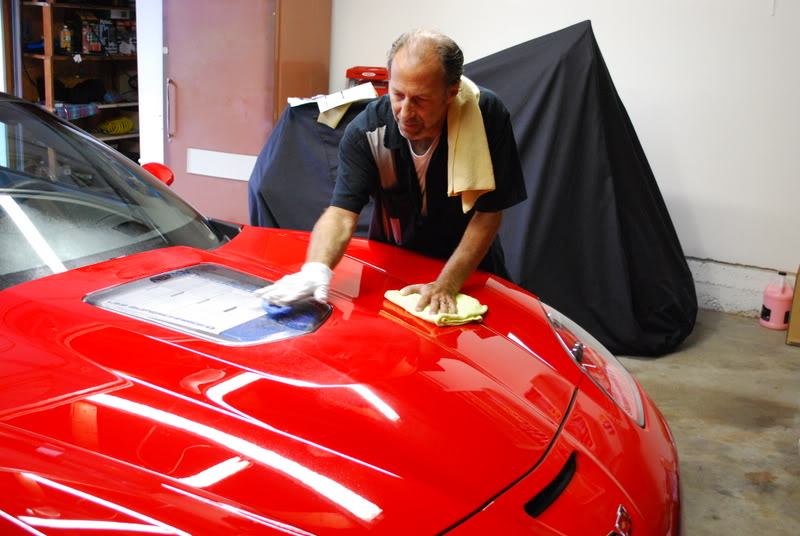
Claying begins and is done on all surfaces starting on the tops leaving the lowers for last. Even the lights, wheels and polycarbonate hood cover get a once over.
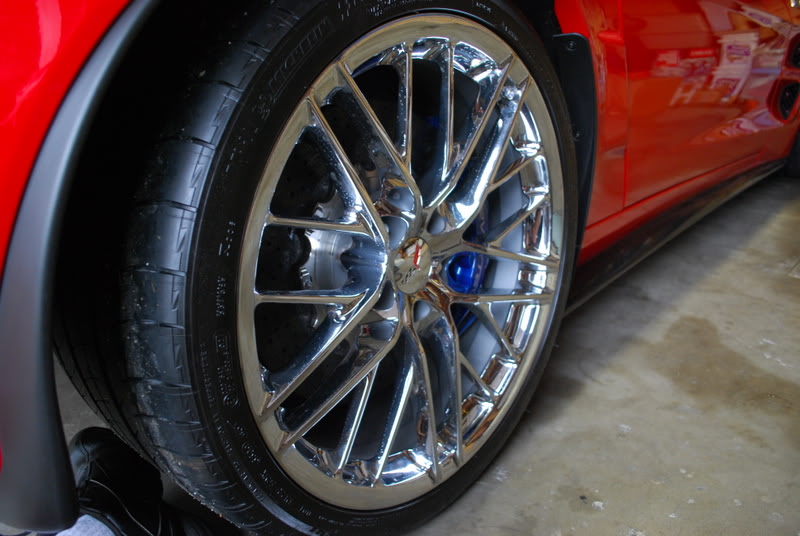
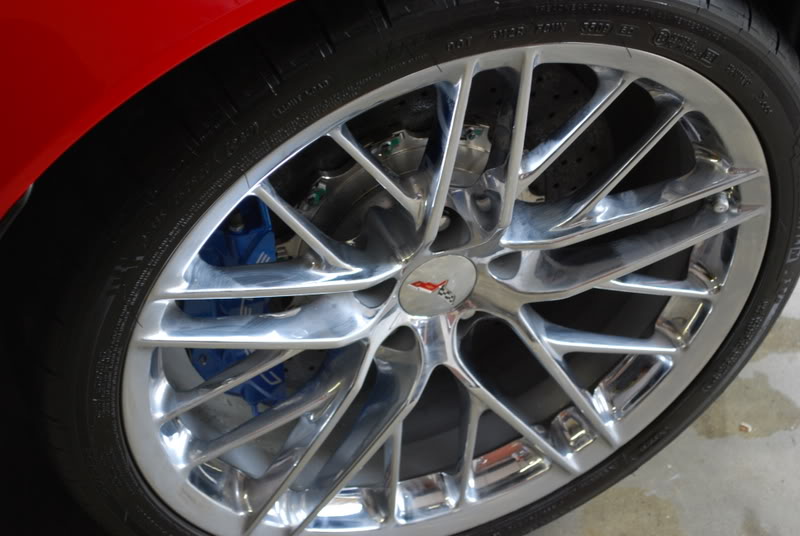
Wheels get detailed and polished, all the facets get Adams Metal Polish.
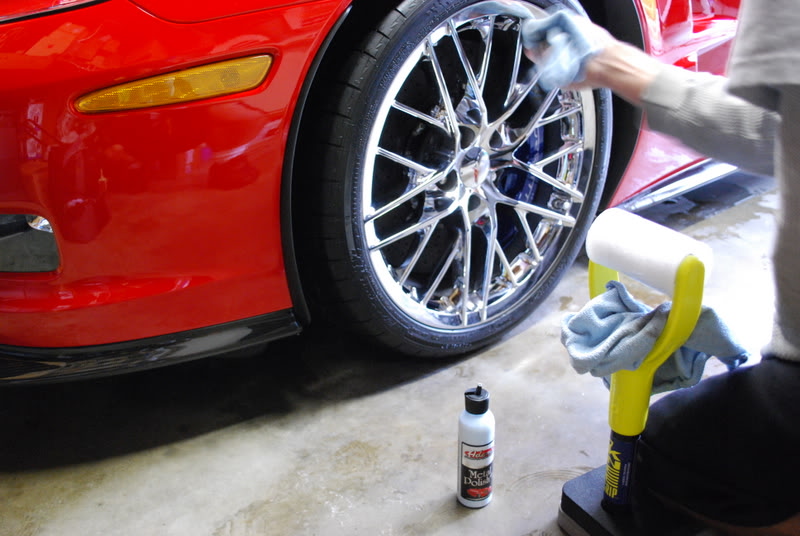
Wheel barrels and calipers are also left spotless.
Some compound I noticed the factory left in the rear intake.

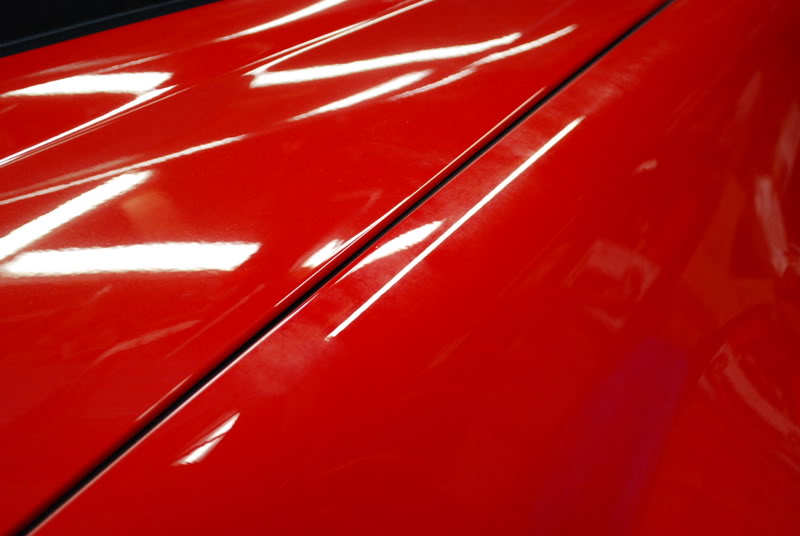
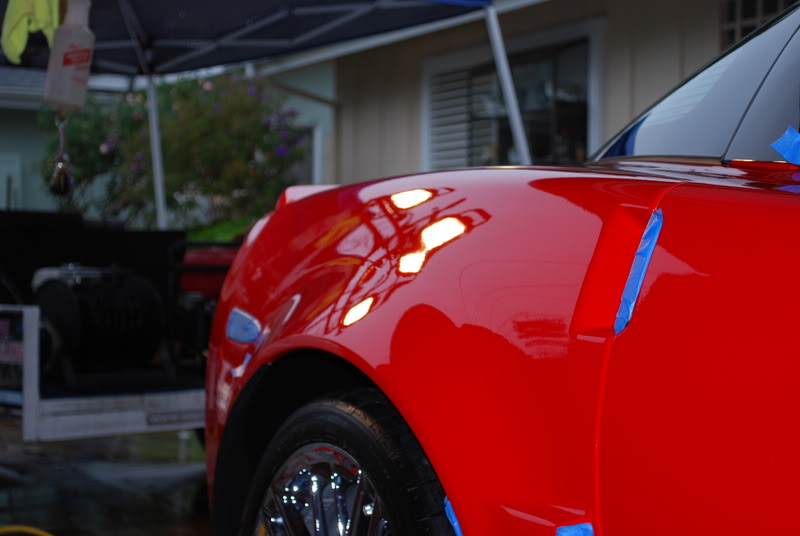
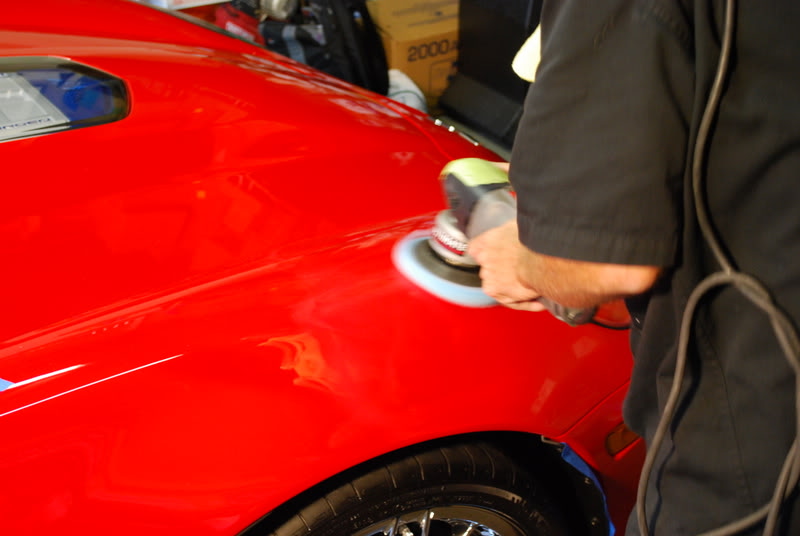
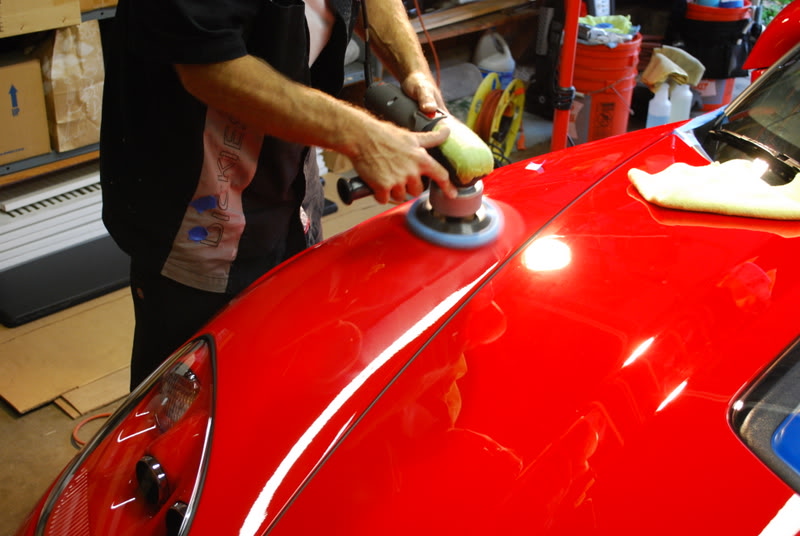
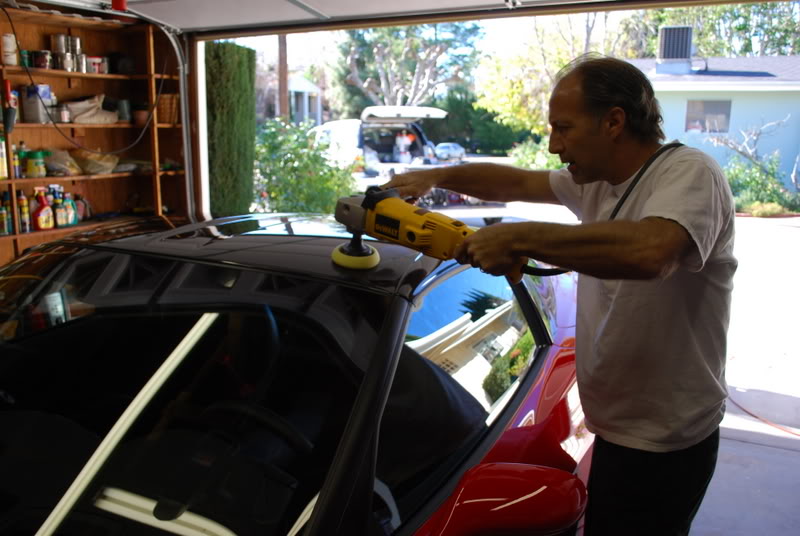
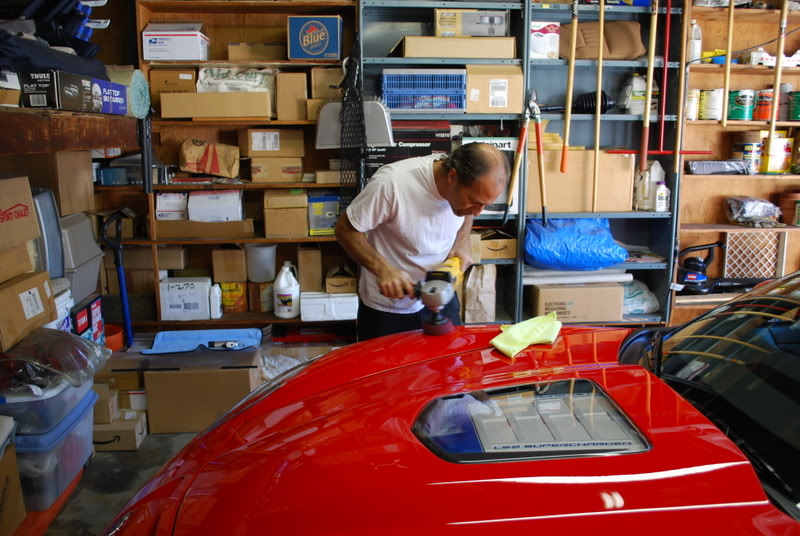
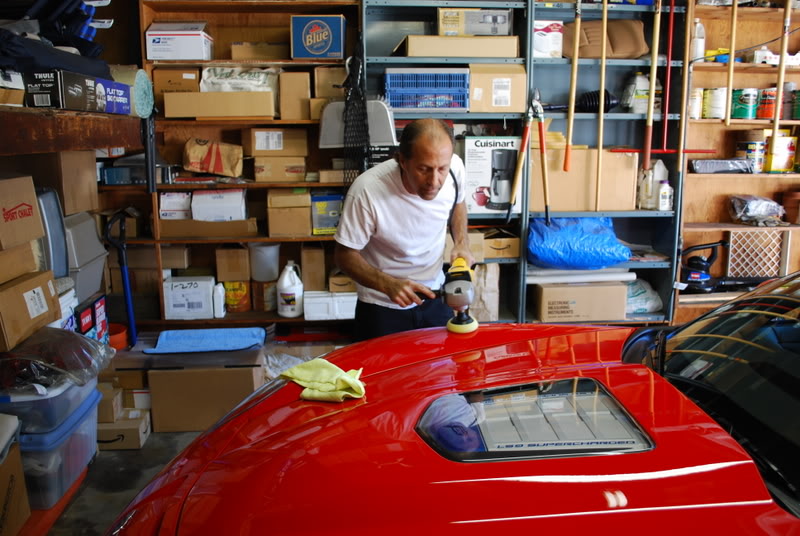
Now the fun begins with my PCXP and M105 with a LC 7/8 Cyan Hydro Pad for the moderate defects, But first I make sure all vulnerable moldings get masked properly.
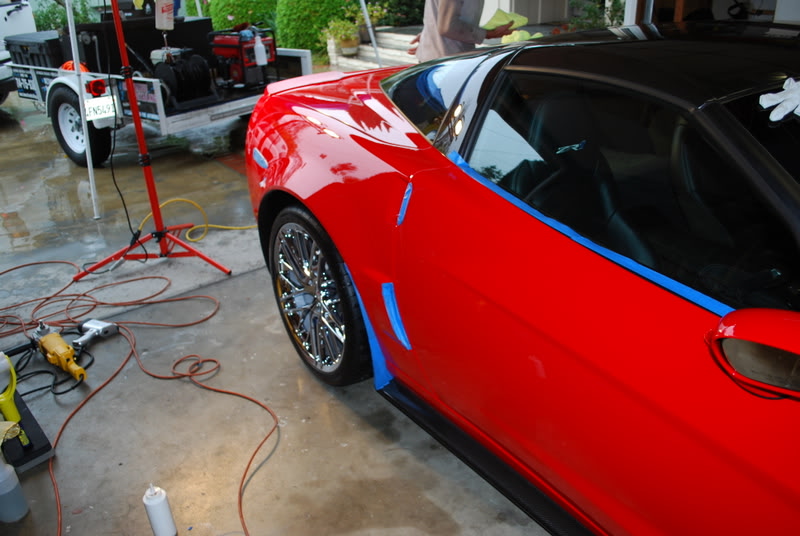
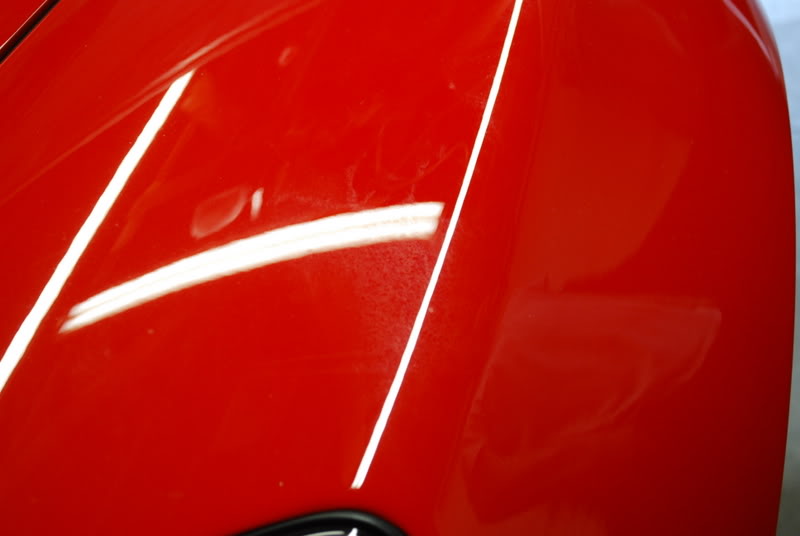
I then correct each panel one at a time using halogen lights and a Brinkman Swirl Finder hand held light.
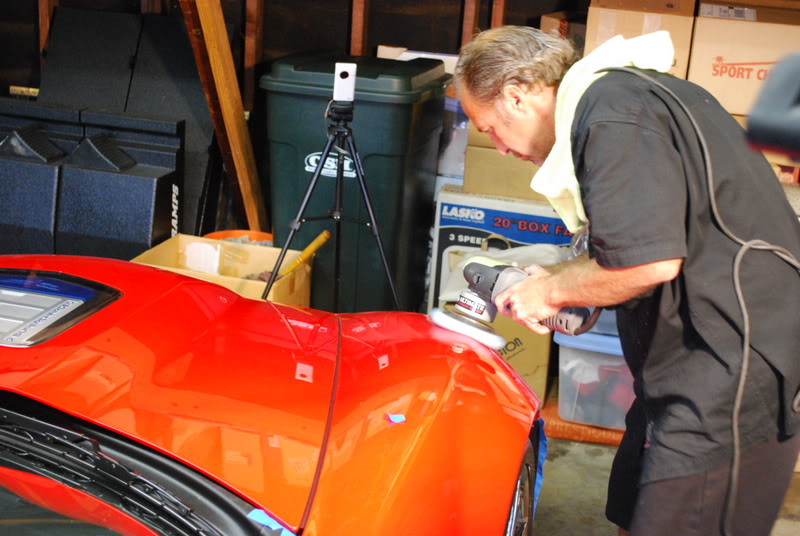
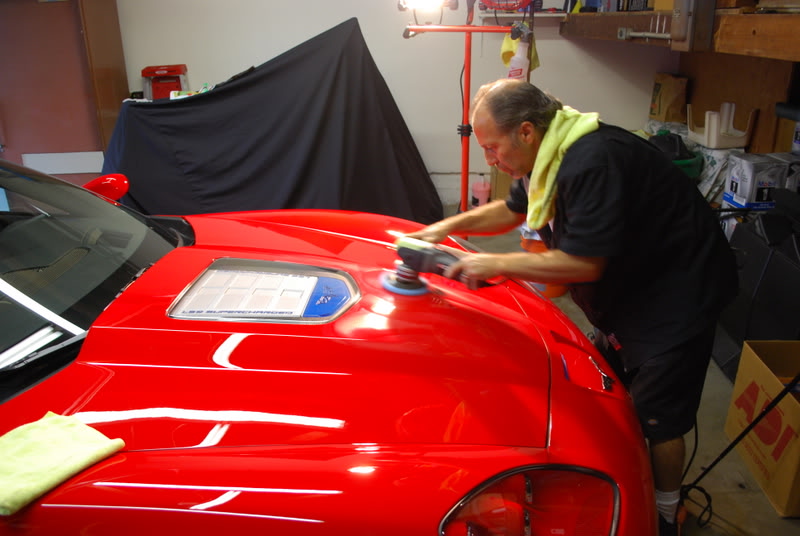
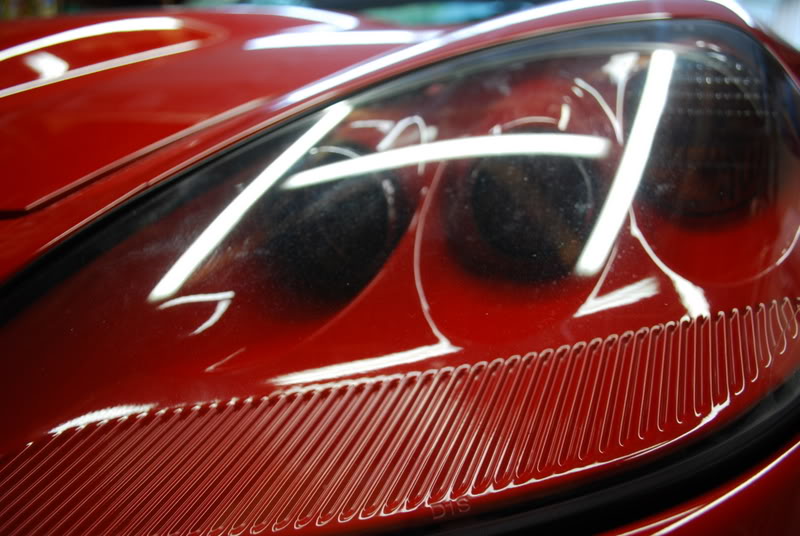
Inspecting the panels using my lights....and Greg's massive display of lights as well.

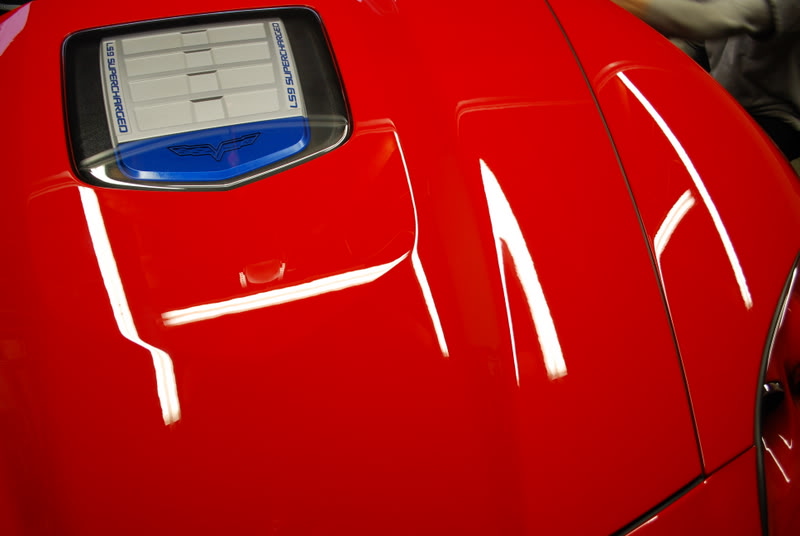
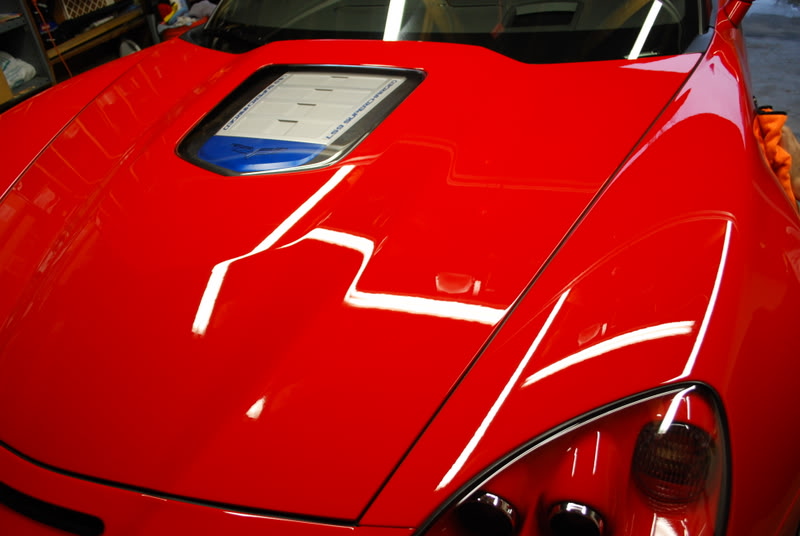
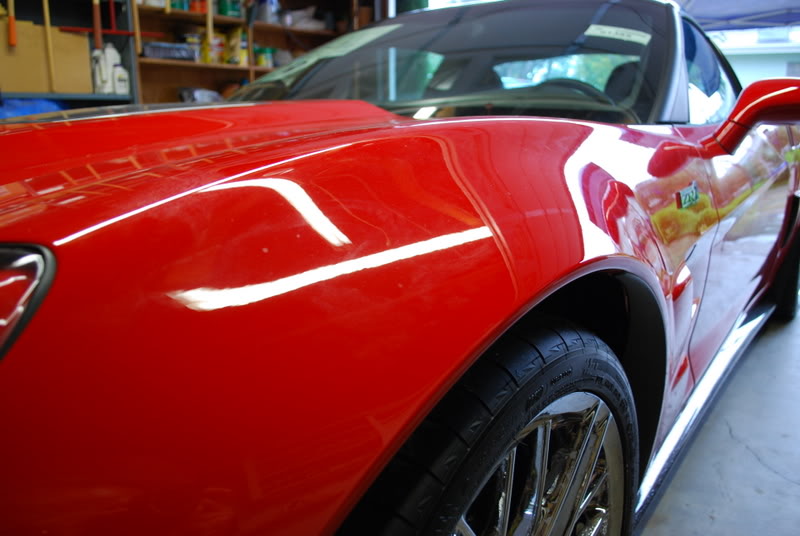
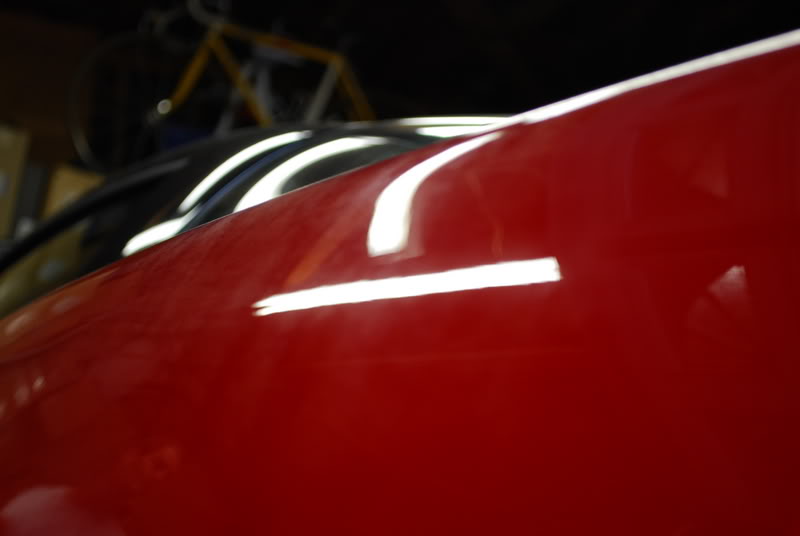
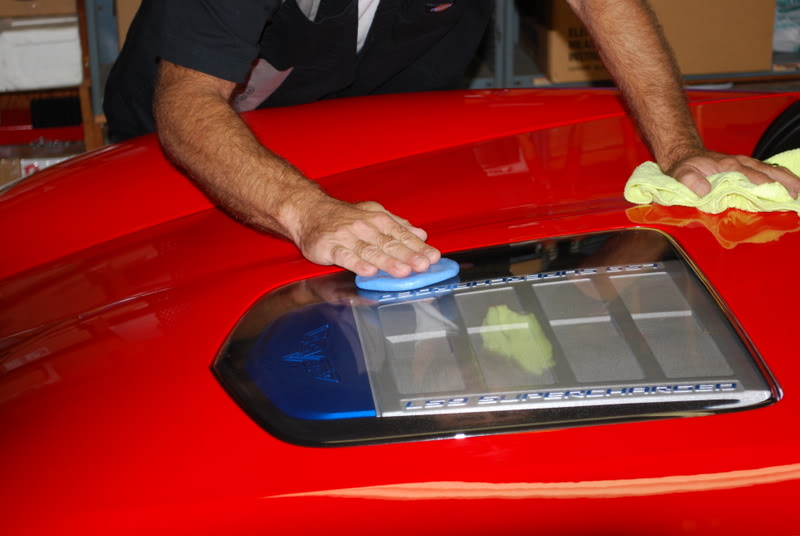
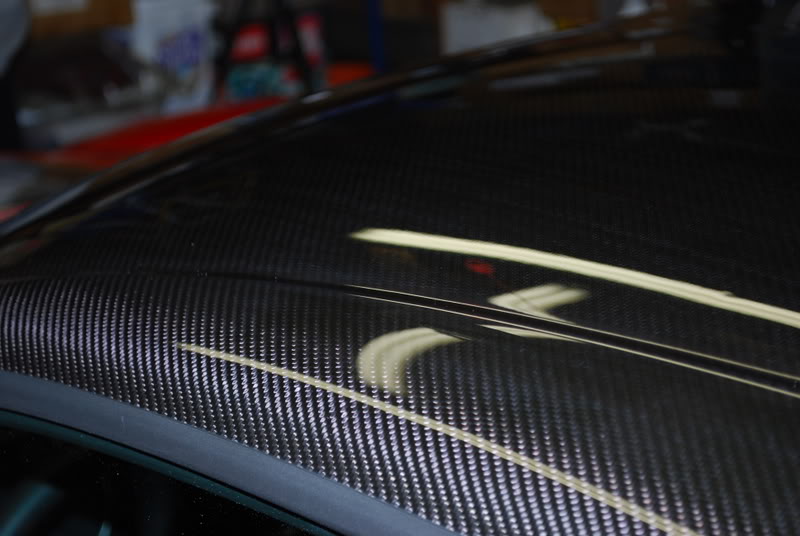
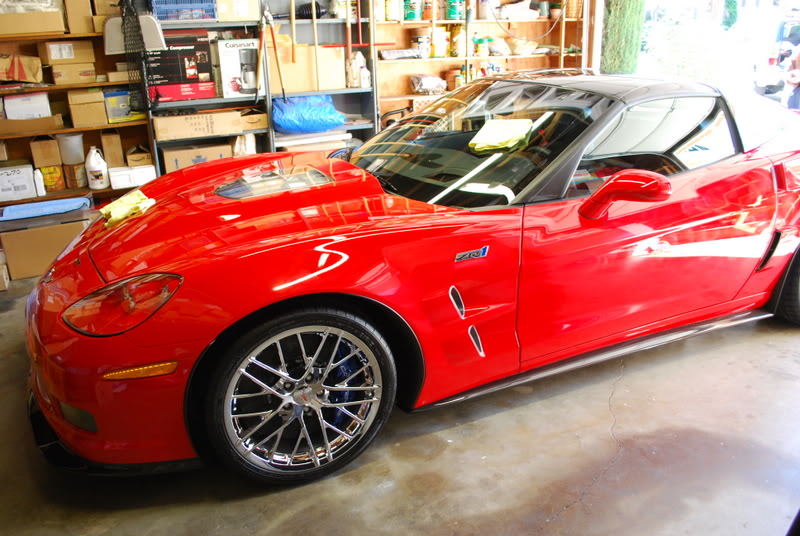
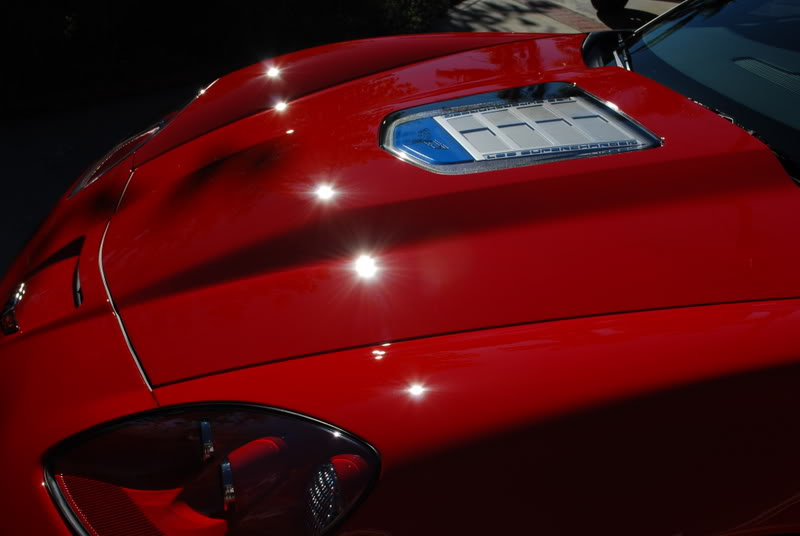
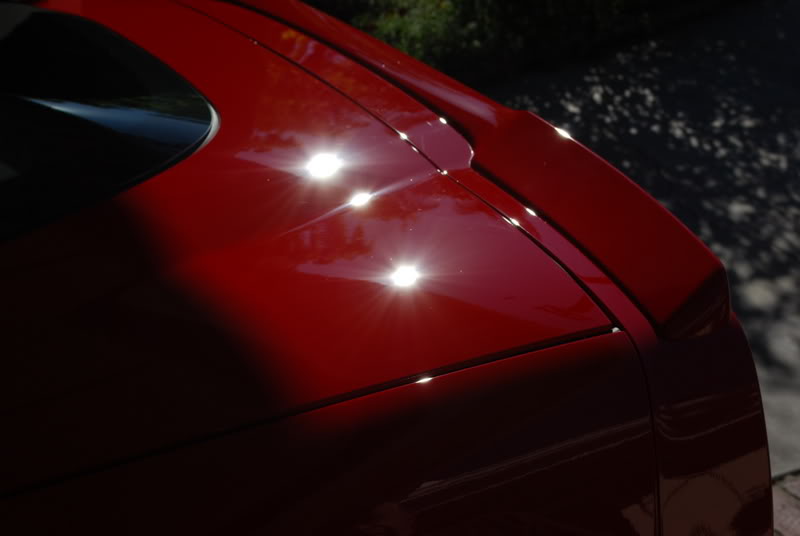
Now that's how CF should pop......
cont
My client ordered a 2010 ZR1 way back in August of 2009 from Les Stanford Chevrolet with Museum delivery option. He had the VIN in hand and was ready to leave for Bowling Green in a couple of weeks. One week before the TPW week he changed his mind and decided to buy a 2010 GT3 instead. Ultimately he decided that the GT3 was not the one for him, and was reunited with the original ZR1 he had ordered in Aug 2009.
Before his purchase it sat for months, covered and only shown on several occasions, upon my initial inspection it looked like it had been wiped down many times with inferior techniques. It also had signs of RDS (Random Deep Scratches) and some abrasion marks from being covered either in storage or in transport. But beneath it all was a jewel just waiting to be finessed for its new owner.
My client and I had spoke several times in which I got a very clear understanding of how meticulous he was and what his expectations were. I then packed it up on a very cold rainy day to drive out to VV and perform my correction work and detailing��
Here are some photos of the ZR1 upon my initial inspection�
Some shots of the CF that was opaque and dull from cover abrasion and lack of TLC
Even the wheels lacked that sparkle and were stained and dull
Here the prep begins with a thorough bath and cleaning with Poly's Clear Tech Detailing Fluid.
After drying the vehicle with an SM Arnold Water Sprite all the decals are meticulously removed so the owner can save them.
A fresh piece of Clay Magic formed into a round little tortilla ready for the claying step
Claying begins and is done on all surfaces starting on the tops leaving the lowers for last. Even the lights, wheels and polycarbonate hood cover get a once over.
Wheels get detailed and polished, all the facets get Adams Metal Polish.
Wheel barrels and calipers are also left spotless.
Some compound I noticed the factory left in the rear intake.
Now the fun begins with my PCXP and M105 with a LC 7/8 Cyan Hydro Pad for the moderate defects, But first I make sure all vulnerable moldings get masked properly.
I then correct each panel one at a time using halogen lights and a Brinkman Swirl Finder hand held light.
Inspecting the panels using my lights....and Greg's massive display of lights as well.
Now that's how CF should pop......
cont
Thread Starter
|
Senior Member
Joined: Sep 2009
Posts: 573
Likes: 86
From: Orange County, California. USA
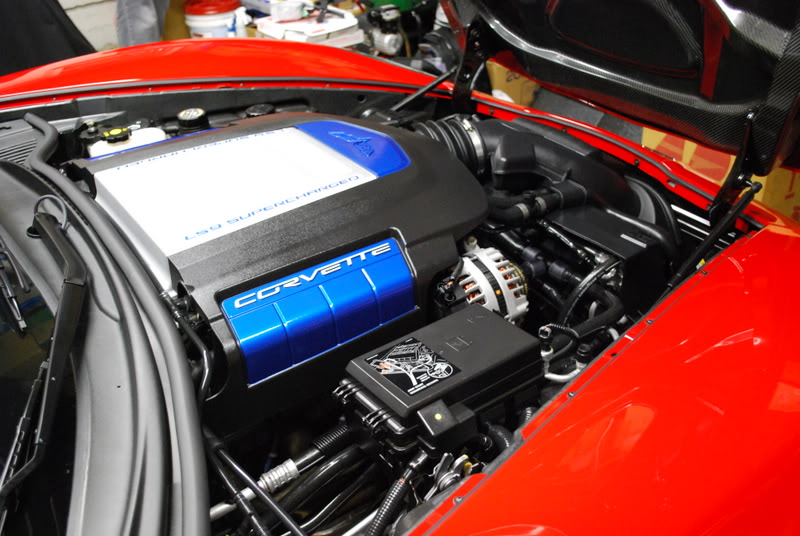
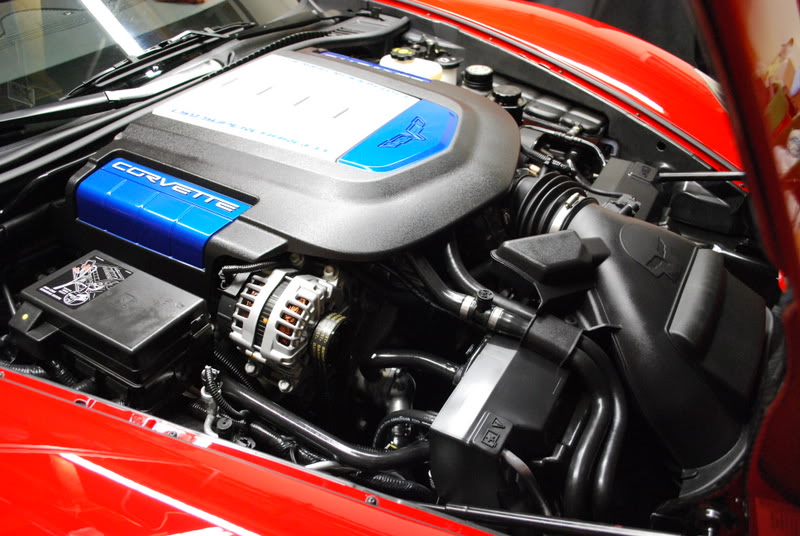
Engine compartment gets a nice detailing as well.
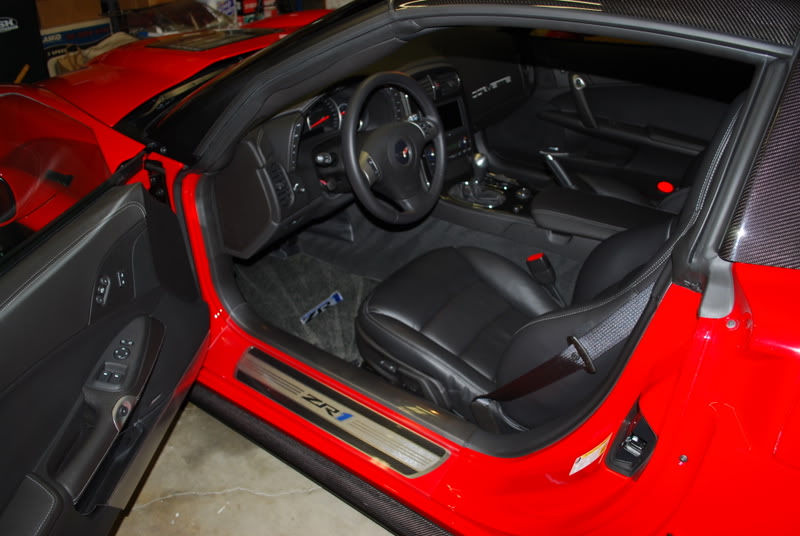
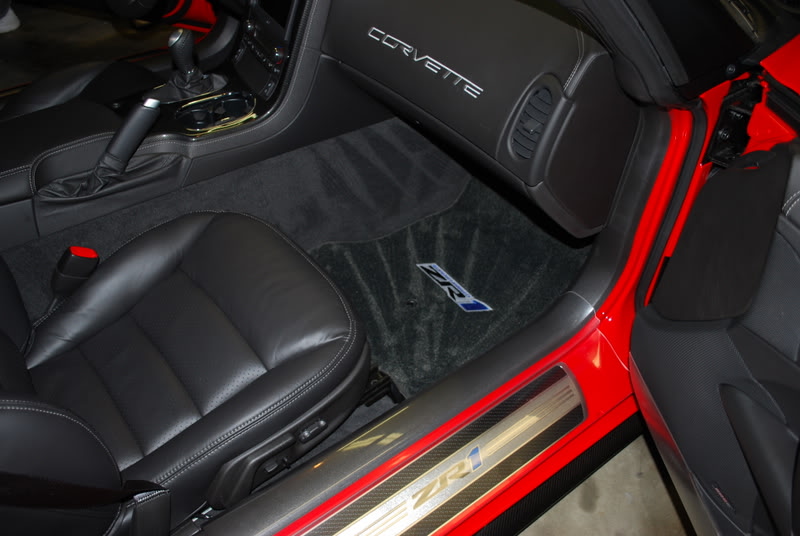
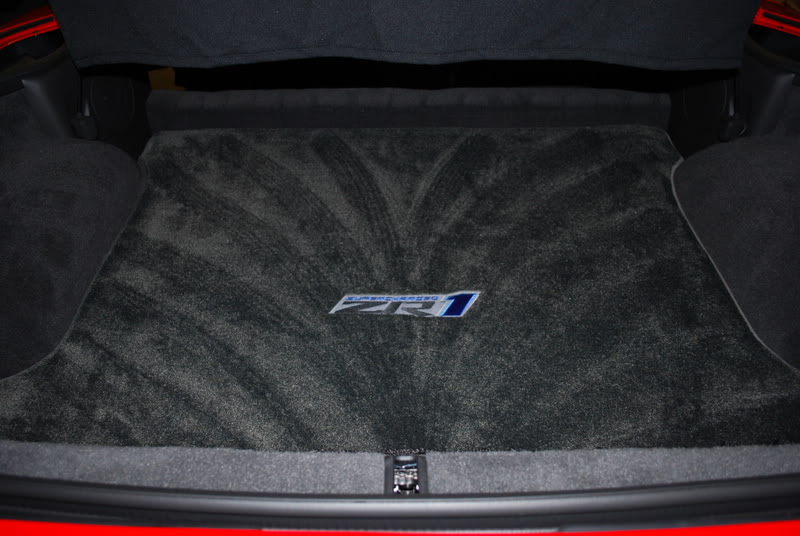
Some much needed TLC on the interior as well.
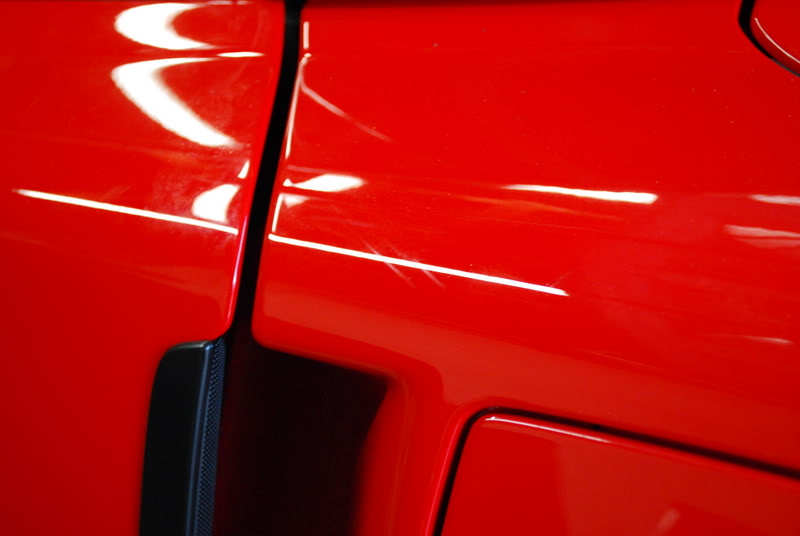
After polishing the entire vehicle with the PCXP and a W8006 with M205, then removing it I then gave the ZR1 a coat of Adams Americana Paste Wax. After removing that I gave the vehicle a spritz of Opti Seal for even deeper results. Here are a couple of night shots as we finished a bit late that day...

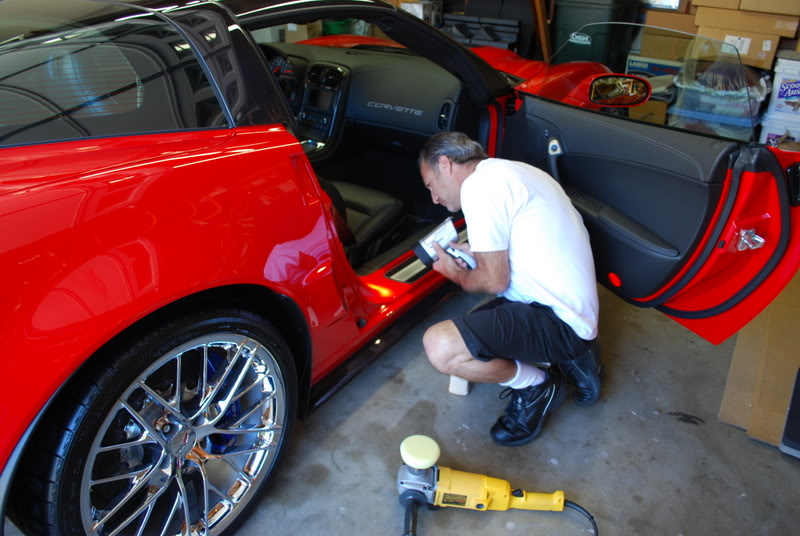
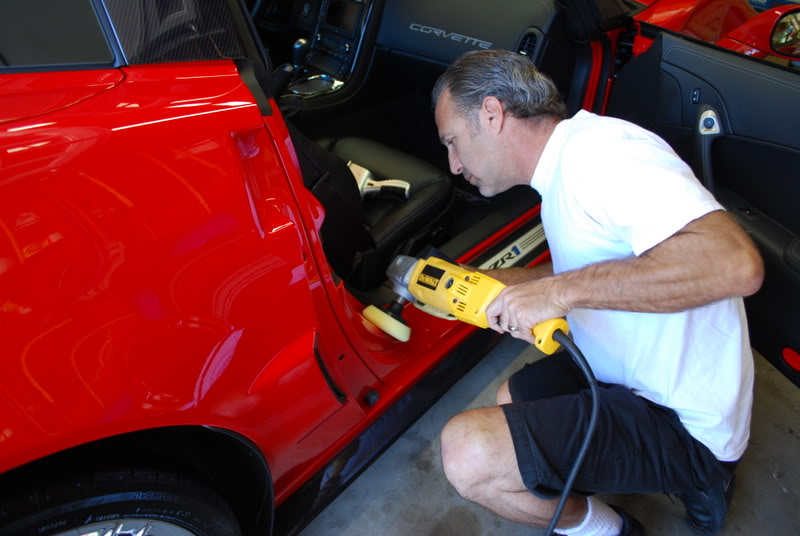
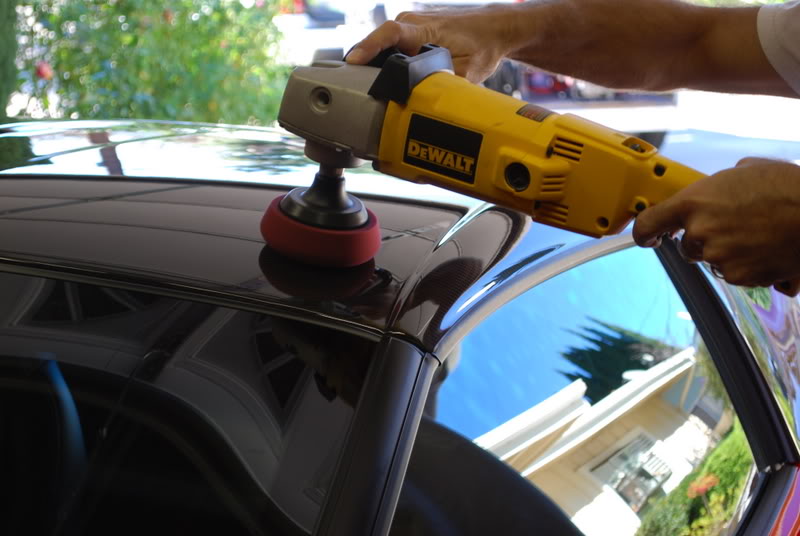
So fast forward a few day's I was asked to come back over to do some door jamb correction for excessive scratches and for a more serious set of scratches on the CF roof and the hood. As I explained to Greg, I always believe in taking the least aggressive approach first. So working slow with a my Brinkman Sun Gun and a rotary polisher these more severe defects were methodically polished out.
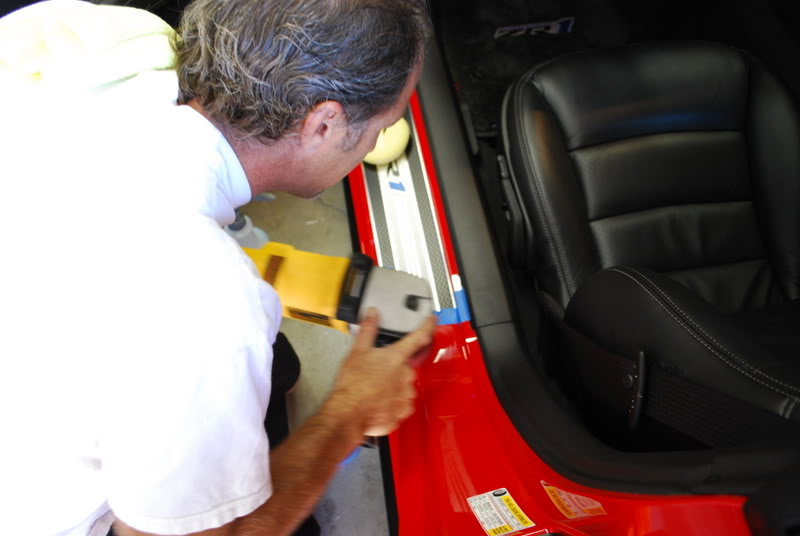
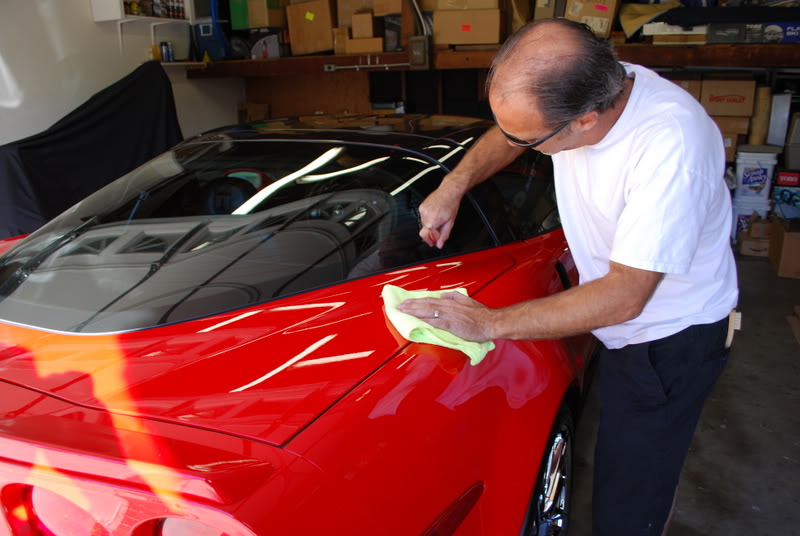
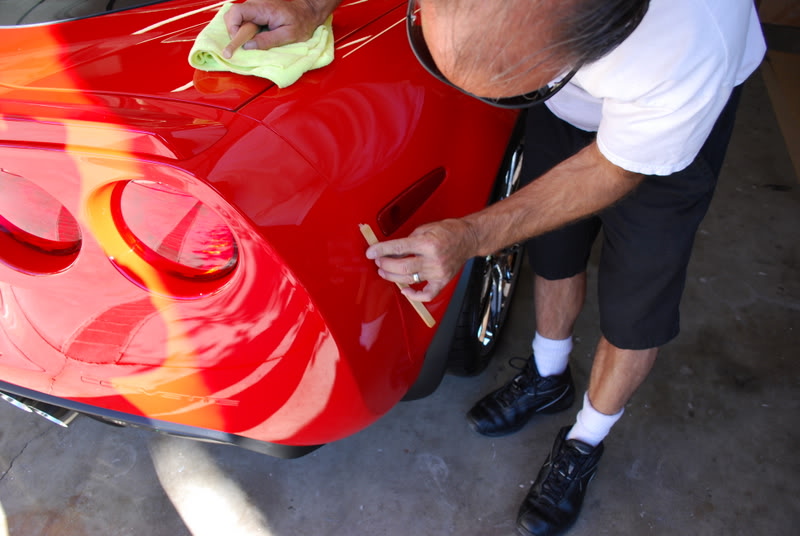
The last final touches with a boars hair detail brush in all the nooks and crannies.
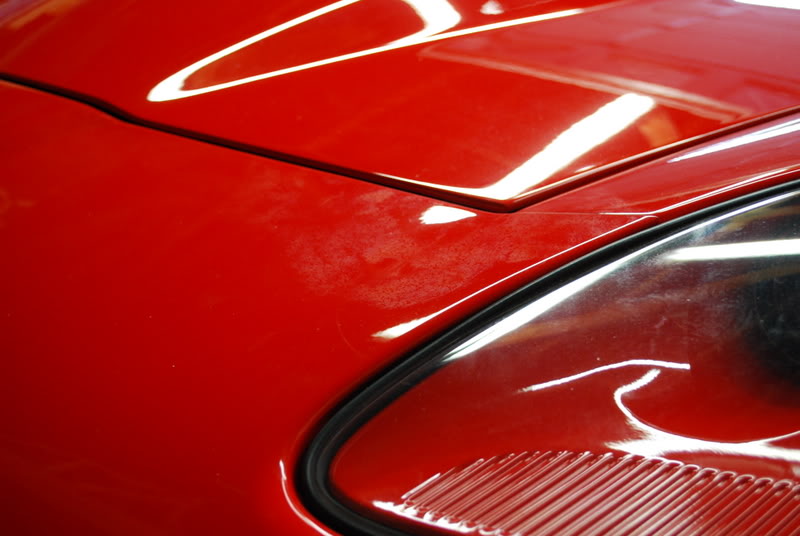
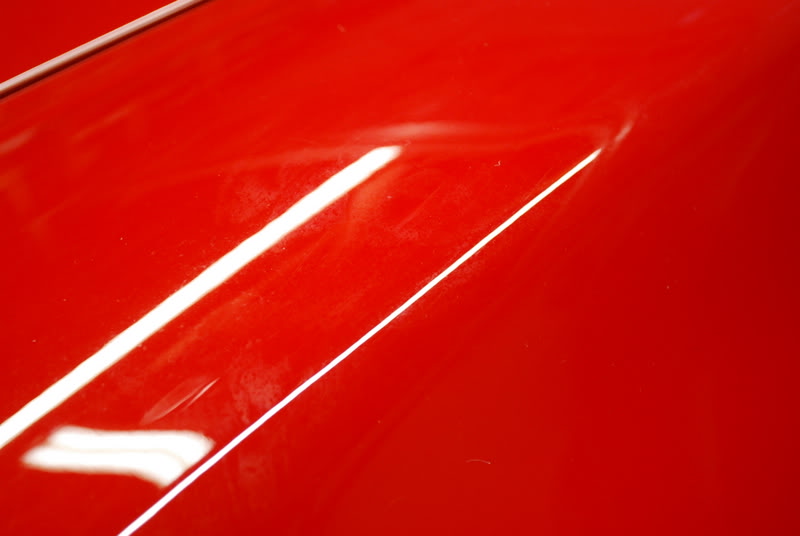
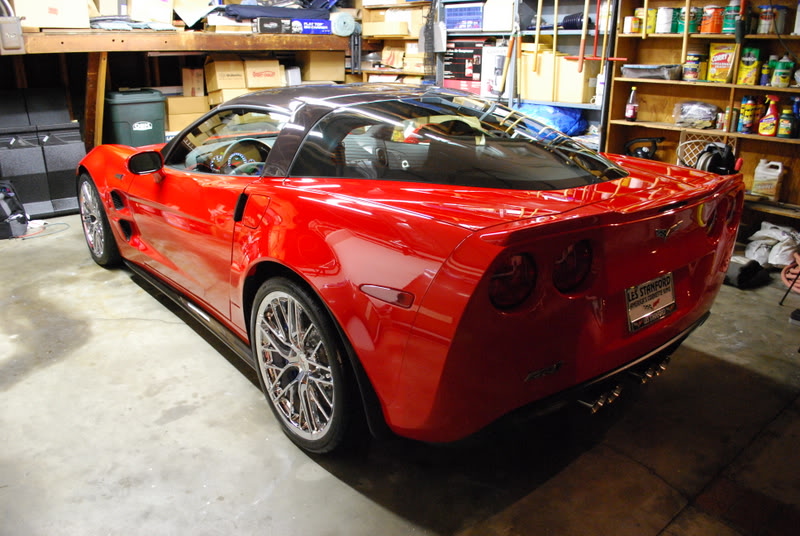
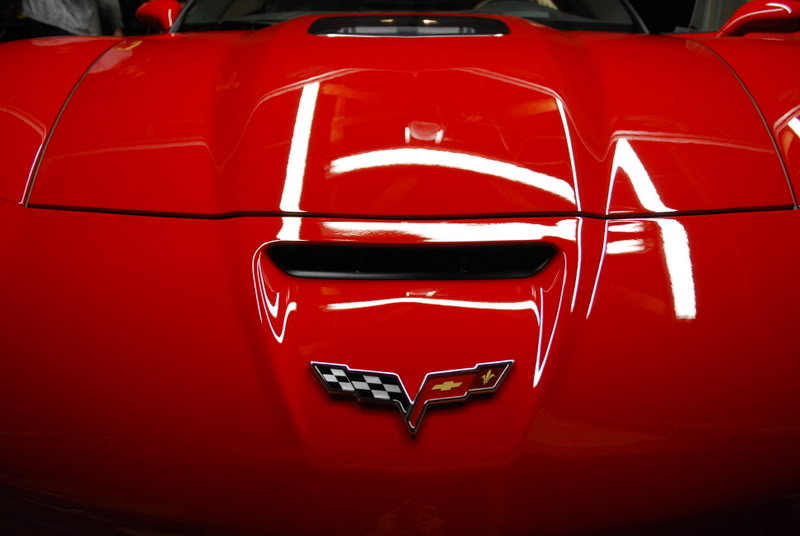
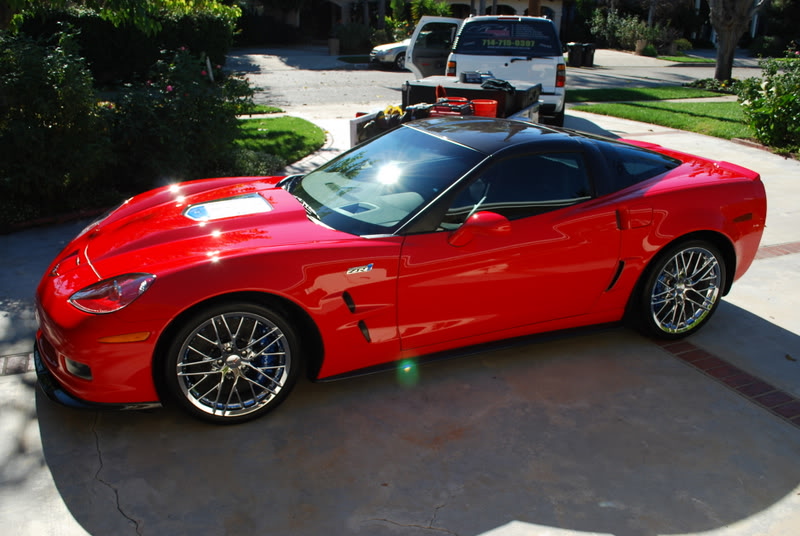
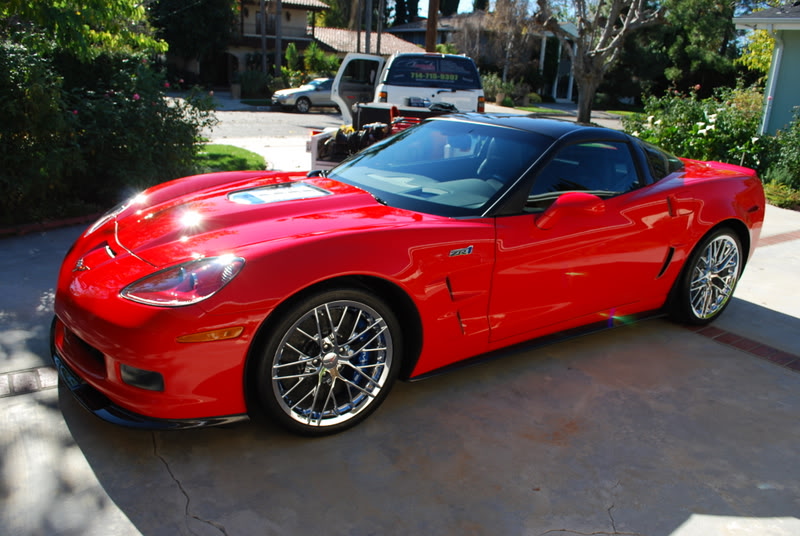
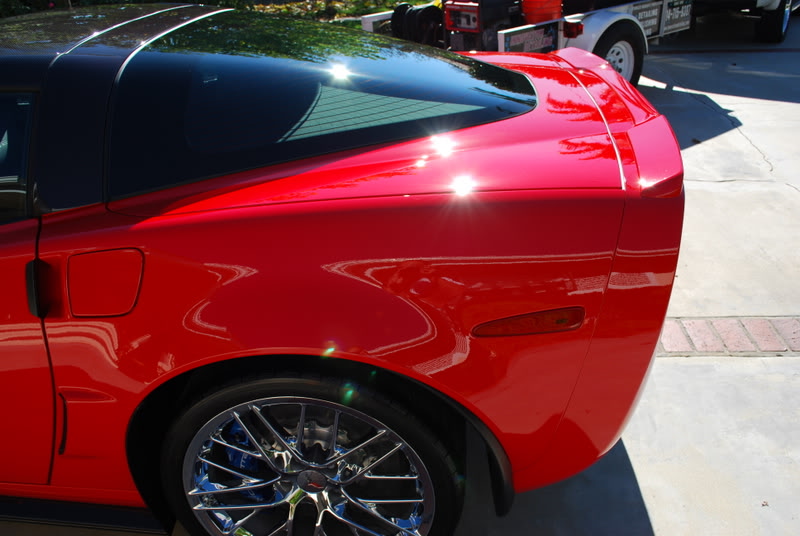
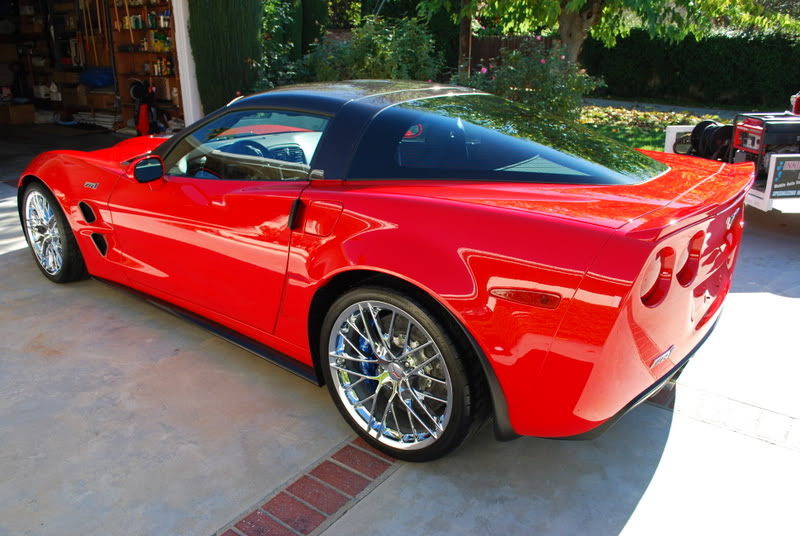
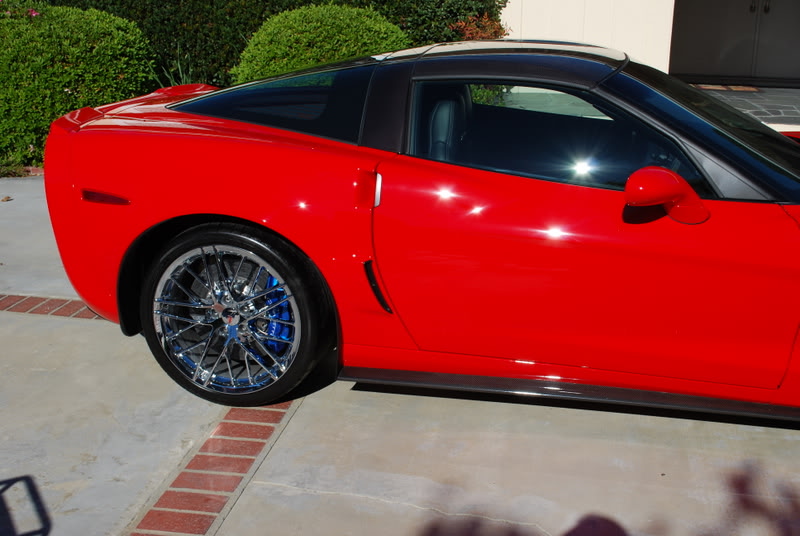
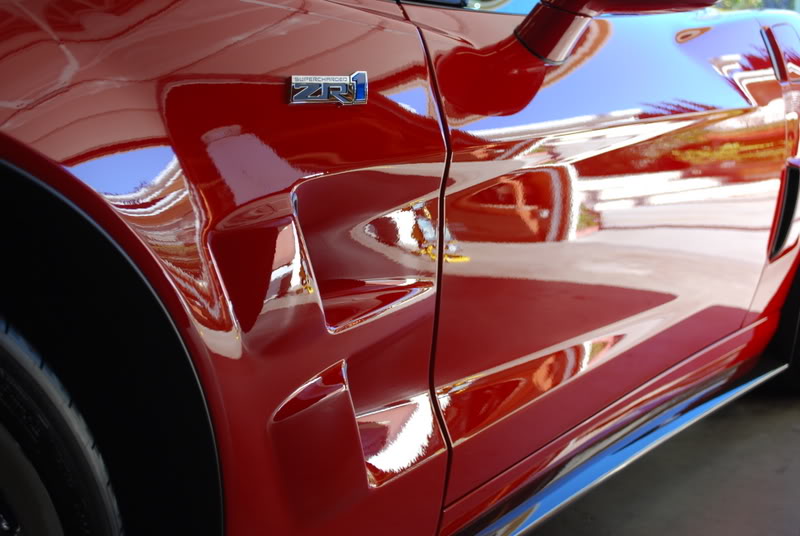
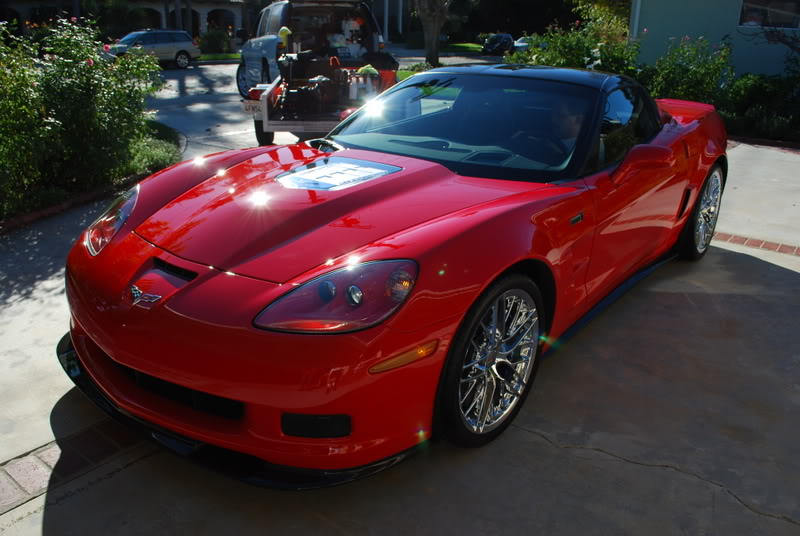
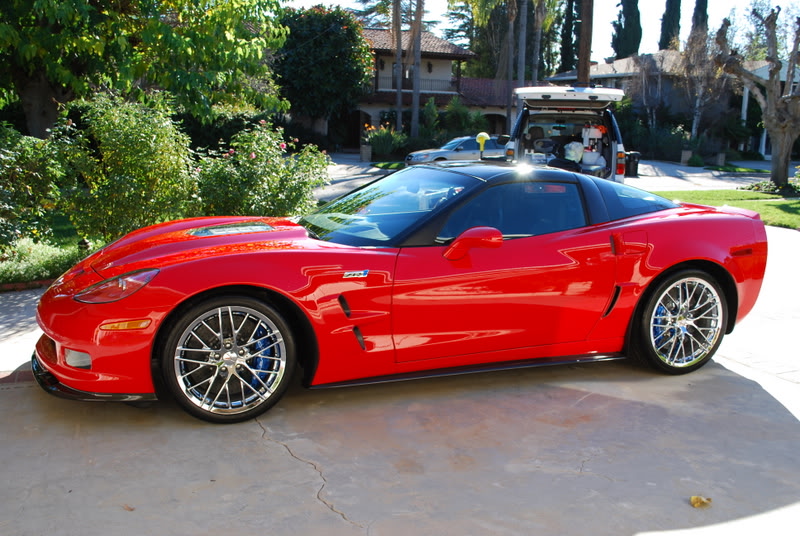
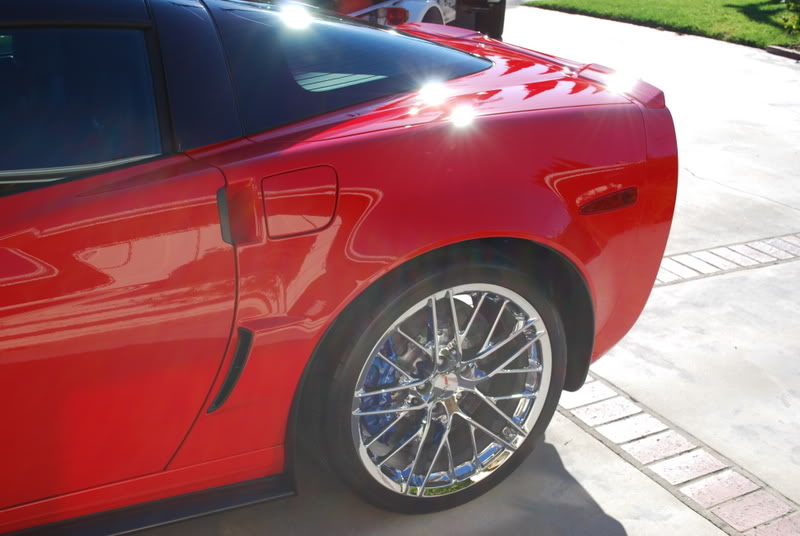
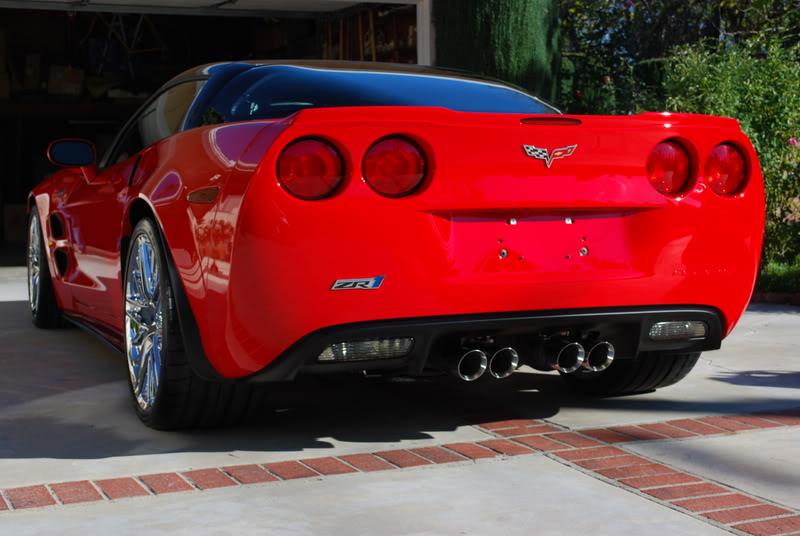
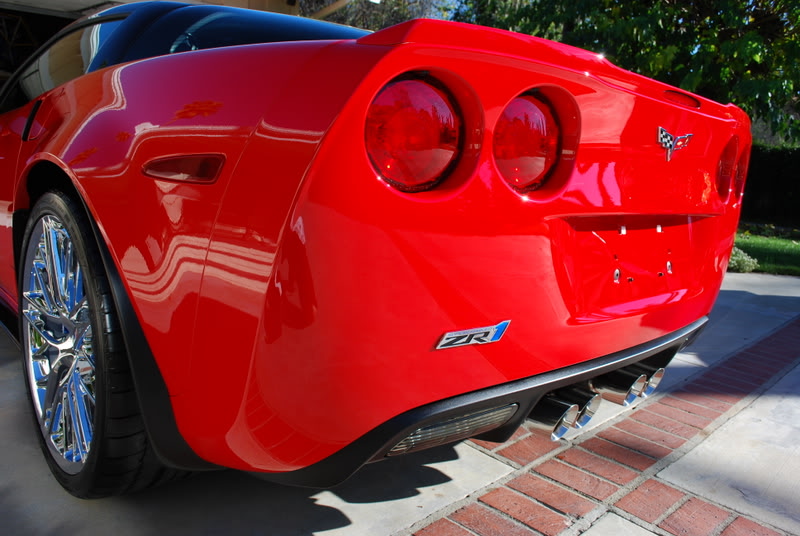
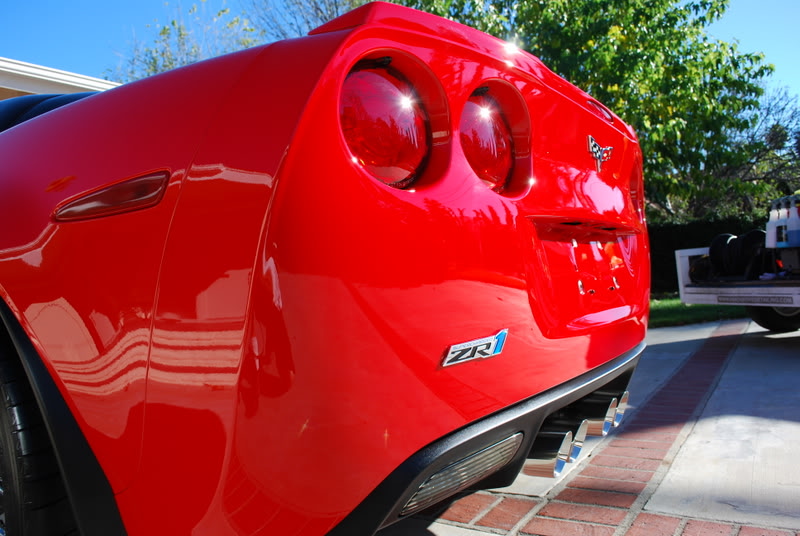
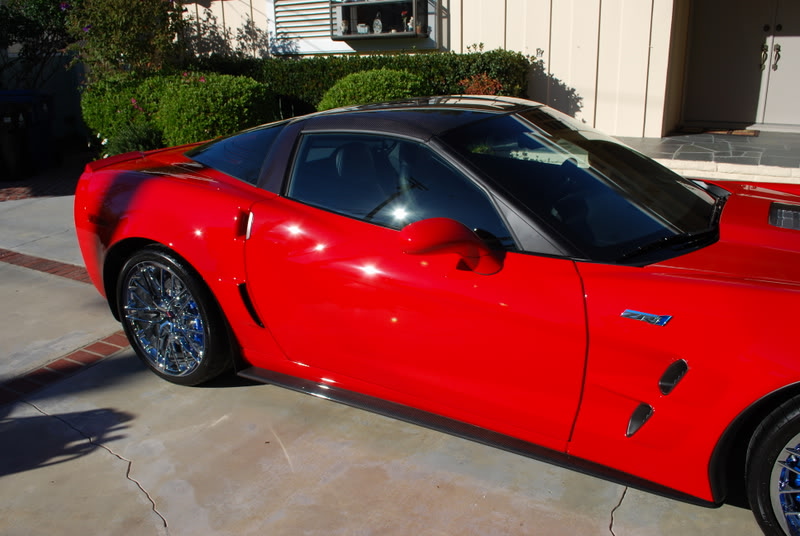
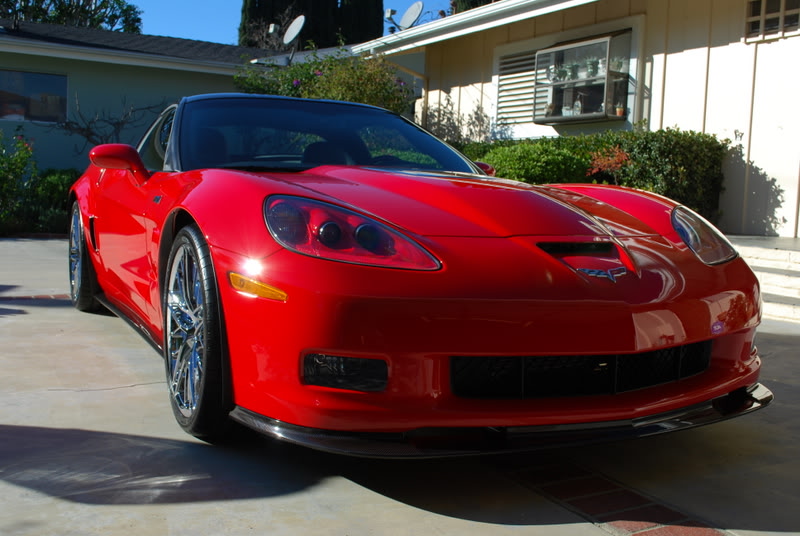
The final shots of this glistening "Torch" red ZR1
Thank for viewing and Happy New Year!
Some much needed TLC on the interior as well.
After polishing the entire vehicle with the PCXP and a W8006 with M205, then removing it I then gave the ZR1 a coat of Adams Americana Paste Wax. After removing that I gave the vehicle a spritz of Opti Seal for even deeper results. Here are a couple of night shots as we finished a bit late that day...
So fast forward a few day's I was asked to come back over to do some door jamb correction for excessive scratches and for a more serious set of scratches on the CF roof and the hood. As I explained to Greg, I always believe in taking the least aggressive approach first. So working slow with a my Brinkman Sun Gun and a rotary polisher these more severe defects were methodically polished out.
The last final touches with a boars hair detail brush in all the nooks and crannies.
The final shots of this glistening "Torch" red ZR1
Thank for viewing and Happy New Year!

Dave - As always your work never ceases to amaze me. The depth of shine you manage to achieve is simply unbelievable.
A beautiful piece of automotive machinery as well......All good!
Thanks for sharing


Thread Starter
|
Senior Member
Joined: Sep 2009
Posts: 573
Likes: 86
From: Orange County, California. USA
Thanks again for all the wonderful compliments on this project. I finally had the chance to edit all of my flip video clips to make this Youtube video.....
Here it is, I hope you enjoy...any questions on technique or process please feel free to ask away!!
Innovative Detailing Youtube Channel
Here it is, I hope you enjoy...any questions on technique or process please feel free to ask away!!
Innovative Detailing Youtube Channel

Thread
Thread Starter
Forum
Replies
Last Post
bydand
XF and XFR ( X250 )
8
Sep 28, 2015 09:47 AM
bydand
XF and XFR ( X250 )
1
Sep 27, 2015 12:00 PM
Currently Active Users Viewing This Thread: 1 (0 members and 1 guests)