
Wheel clean / tar removal / wheel well clean


Hi all, I really wanted to get this done a week or so ago but time / weather would not allow. I managed to get a few hours to myself today and the weather was kinda ok, so I got stuck in..
The car / wheels etc are washed generally maybe at least twice a week so they're in pretty decent shape, but the wheel wells and the wheel inners were filthy and there were plenty of tar spots as well as the odd black sticky mess left behind from wheel balance weights of the past. They were really getting to me and needed attention.
Time taken 3-4 hours
Products -
Turtle wax tar and bug remover
Car shampoo
grease
wheel brush
hose
AND plenty of elbow grease
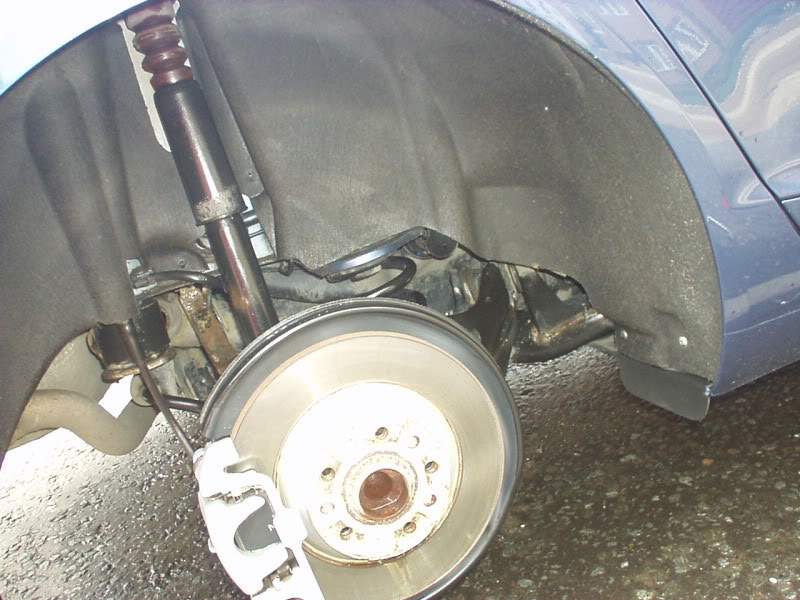
Firstly, it was off with the front wheel to see the state of play, pretty messy ...
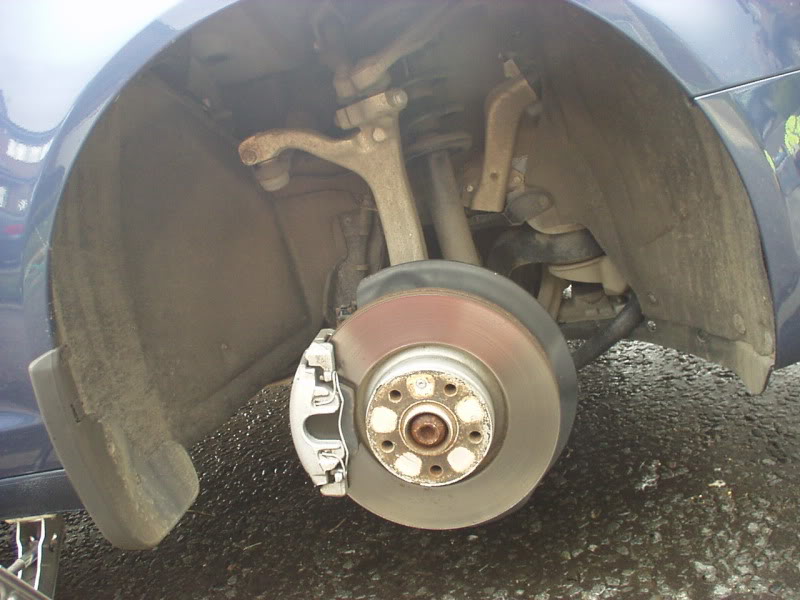
Wheel wells were soaked and then foamed and using the wheel brush given a good going over, making sure to get into all the nooks and crannies and working around the caliper, hub, springs etc. Once that was done it was onto the wheel itself, fine on the outside, just some brake dust and a little road grime, but the inners were a different story altogether...
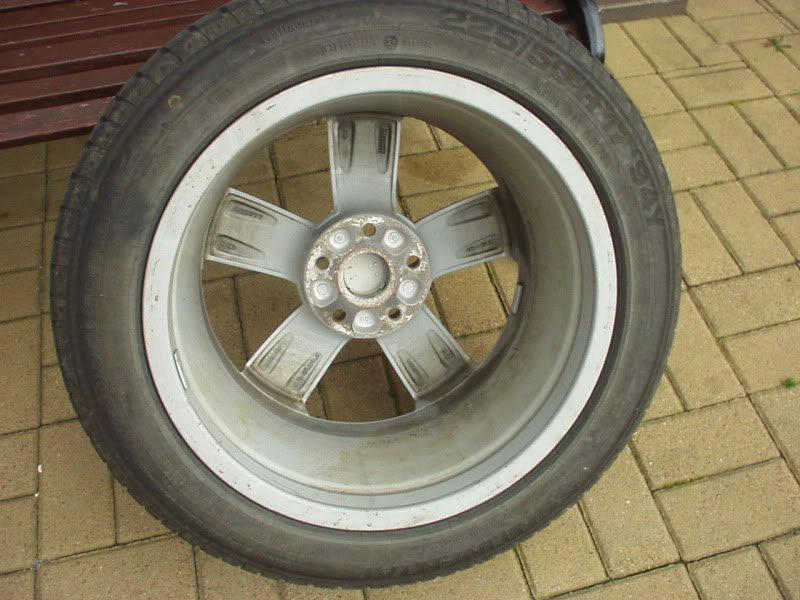
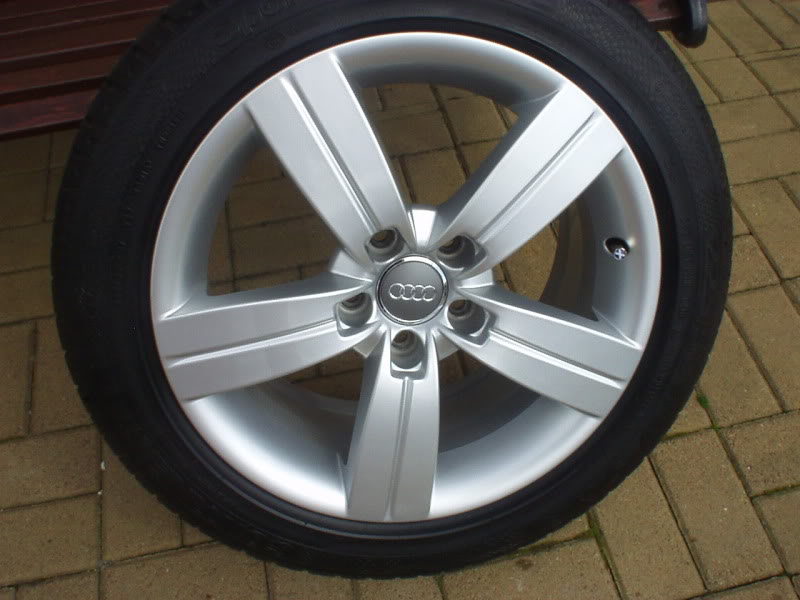
This wasn't the worst wheel unfortunately. The weather had broke and rain wasn't far off, so pics were limited. No black sticky mess on this wheel but there were plenty on the others from previous balance weights that needed attention...
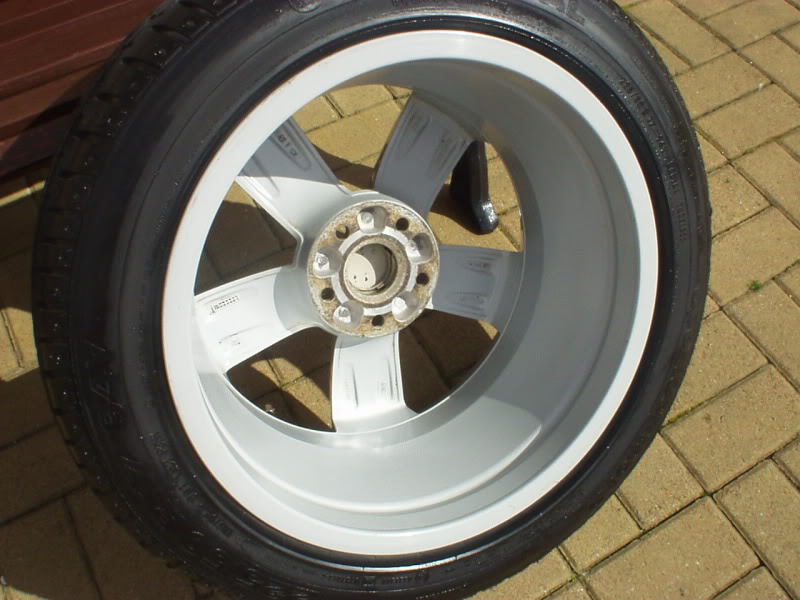
These were soaked and washed and then sprayed liberally with the tar and bug remover to allow it to do its work . The Turtle wax was not as good as I expected it to be and I won't be using it again, Autoglym Tardis for me next time I think. In fact I ended up using a cloth with some petrol on it to speed up the process. They were then thoroughly washed again front n rear to remove any traces and then dried and tyres blacked using Meguires Hot wheels which was later buffed to a shine....
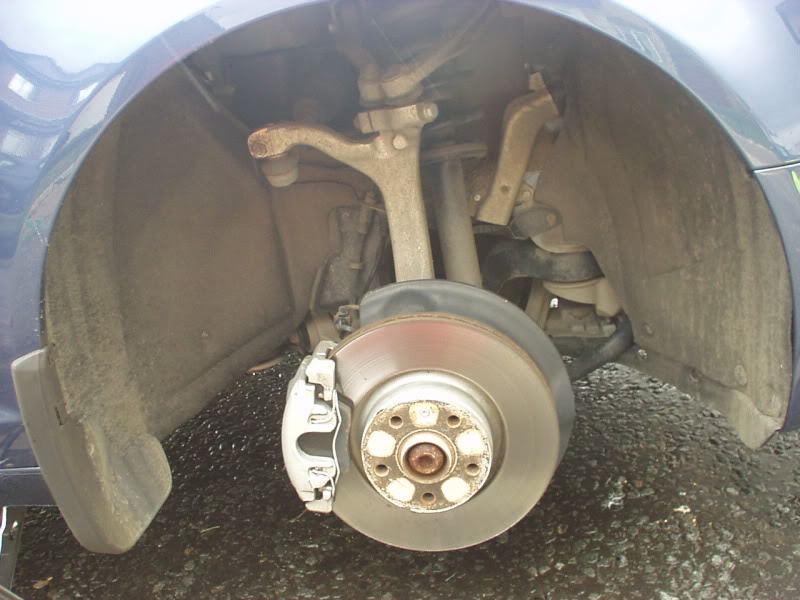
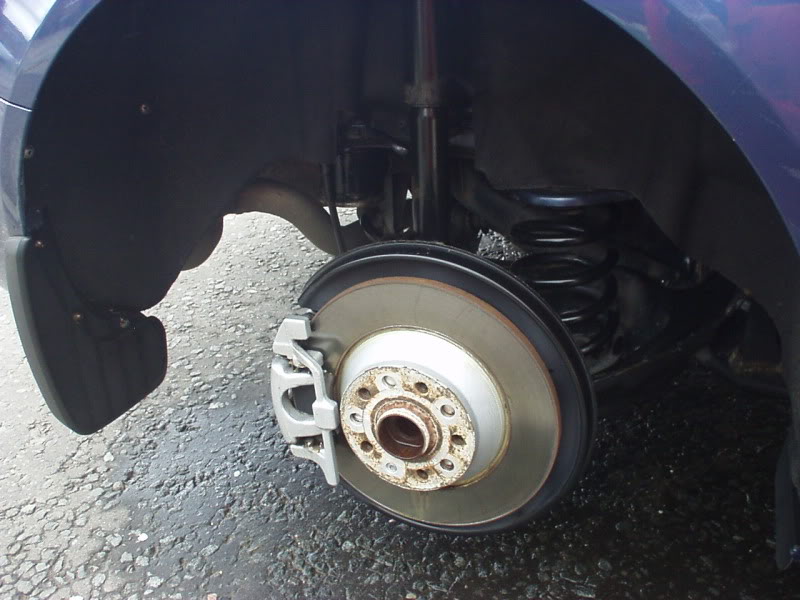
The wheel wells ended up looking like this after some serious effort.....
Whilst taking the wheels off I really struggled as some of the bolts were almost welded into place and really tough to get off. So, before putting them back on it was time for a little grease to smooth the way for future ease of removal...
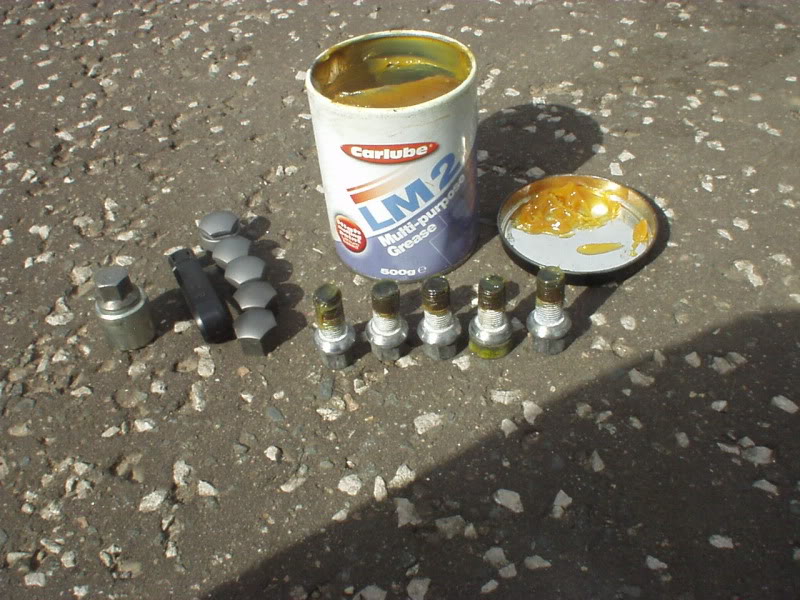
It was starting to rain, so just had time to get the last wheel back on and tidy away before a 10 minute downpour came....couldn't have timed it much better
Some of you may notice the calipers and hubs looking a little the worse for wear. I have it in mind in the next week or so to get the wheels off again and get them all repainted and freshend up for the good weather ( hopefully ).
I'll probably use some cutting compound / polish on the faces of the wheels too just to finish them off. They are pretty good really, but there's a few slight scratches here n there that could do with attention.
Thanks for looking...
Senior Member
Joined: Sep 2009
Posts: 573
Likes: 86
From: Orange County, California. USA
Awesome job Jim, wonderful attention to the detail's!!!
Sure is nice when it's your own vehicle and you can give it the attention that it deserves.
Those wheel wells came out great, sure makes the backdrop of the tires and wheels look exceptionally nice! The shock housing and coil overs cleaned up nicely!
Sure is nice when it's your own vehicle and you can give it the attention that it deserves.
Those wheel wells came out great, sure makes the backdrop of the tires and wheels look exceptionally nice! The shock housing and coil overs cleaned up nicely!

comments like that from you Dave are really much appreciated

I know its not necessarily the techniques / products that professionals like yourself would use, but not too bad for a keen amateur I guess.
Lookin forward to your next detail Dave....always mouthwatering stuff


Thanks Caddie, I hope to paint the calipers n hubs in the next few weeks to complete the look. I'll be using hammerite smooth and probably in silver again for the clean stock look. I've heard good reports about Japlac too.....can anyone comment please?

Thread
Thread Starter
Forum
Replies
Last Post
Currently Active Users Viewing This Thread: 1 (0 members and 1 guests)