When you click on links to various merchants on this site and make a purchase, this can result in this site earning a commission. Affiliate programs and affiliations include, but are not limited to, the eBay Partner Network.
If the injector rail doesn't easily release from the injectors, wrap two shop towels around it and pull straight up, not at an angle. DO NOT pry on the fuel rail using the cam cover or the cam cover can crack. Sometimes the injectors come out of the head with the fuel rail.
Once the fuel rail is removed, keep it in a clean container to avoid having any dirt enter or an injector is going to become blocked.
To be clear, loop two shop towel around the fuel rail between the injector connections. Pull using the ends of the towels, and resist the urge to pry on the fuel rail.
Thank you for the tips! i will try the towel trick for the other side, i have successfully pulled it out after much wiggling and cursing, one side broke free first and i held it down with one hand and worked on the stuck end.
No injectors came free with it but it wasn�t terrible, they were actually a breeze compared to the bolts and fuel rail..
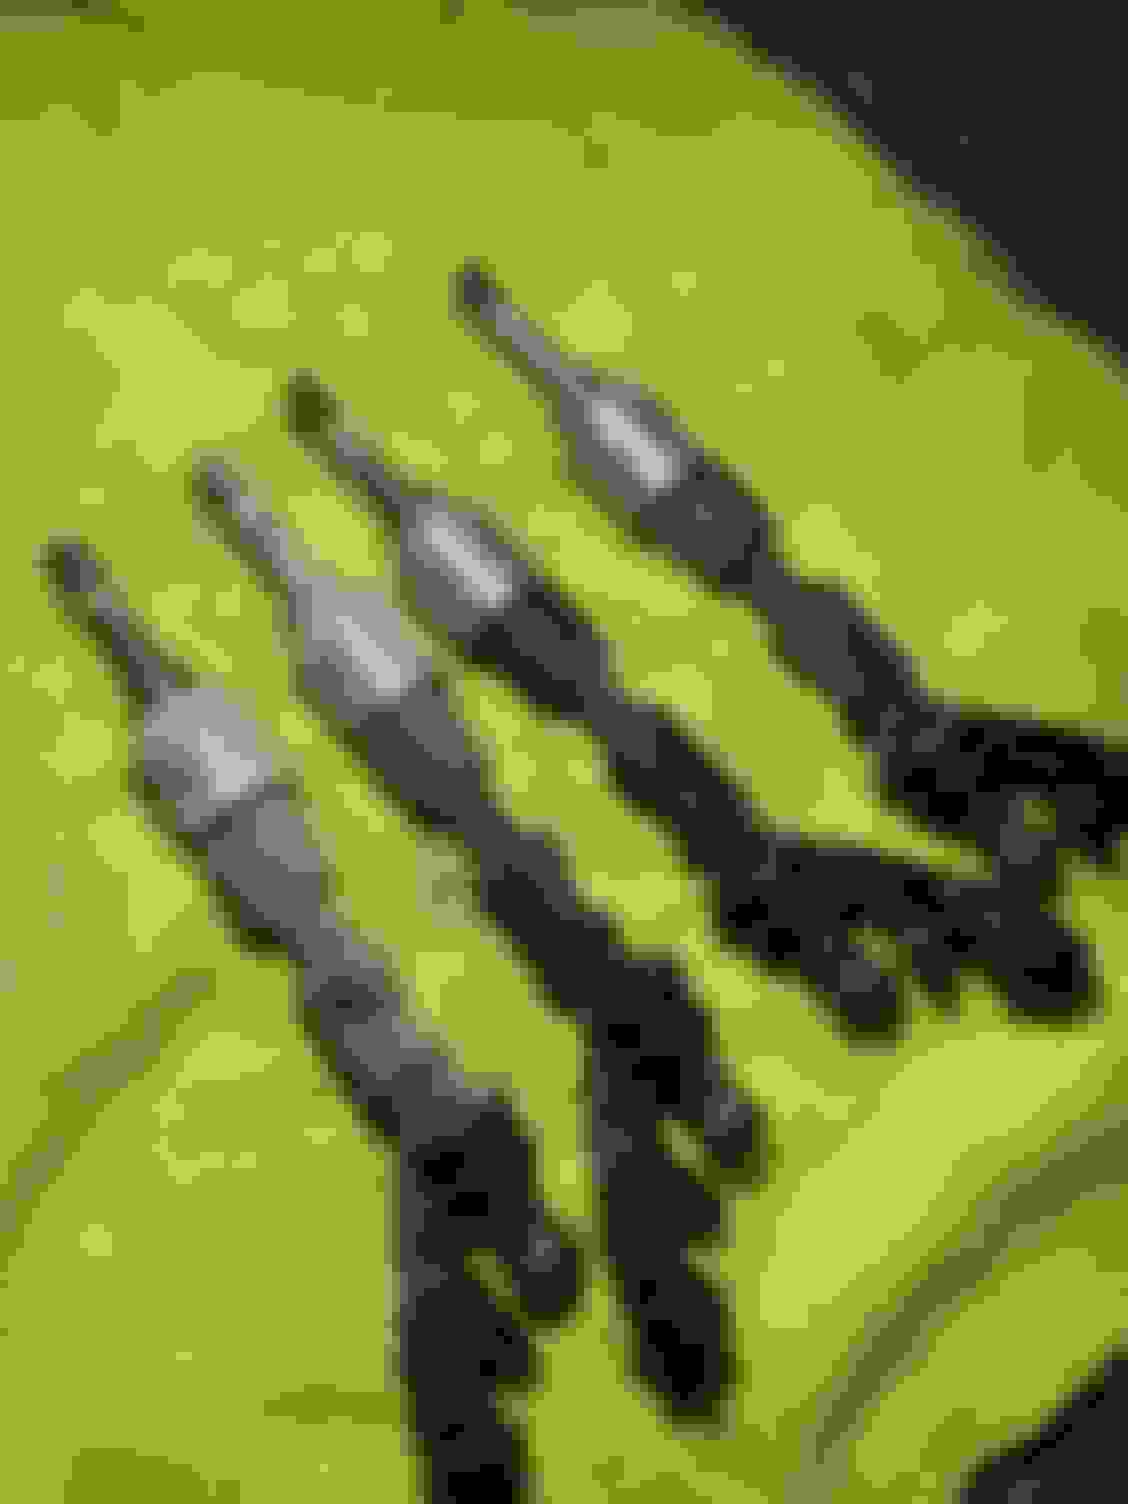
doesn�t look like simply carbon build up to my untrained eyes, some of them look steam cleaned, i might still need to take it to a shop after all.
Use brass brushes to clean the injector bores for the body and tips to remove any carbon and other deposits.
Use the injector seal resizing tool to reshape the Teflon injector seals. Do not use any lubricants or other materials when inserting the new injectors into their bores.
Apply some engine oil SPARINGLY to the injector o-rings before installing the fuel rails. There is a special tool to correctly centre the fuel rail to the head, but you can carefully tighten the fuel rail bolts one at a time to pull the fuel rail back into position without changing the angle of the injector tips. Just be patient and take your time.
The photos of the injectors you removed appear to have corrosion and carbon build up that must be removed before installing the new injectors.
Carefully clean the injector body and tip bores with a appropriately sized brass brushes to ensure bores are clean or the new injectors will not seat nor seal correctly.
Remove the spark plugs, if you haven't done so already, to make inspection of the cylinders easier and to ensure any contamination from cleaning the injector bores is not on the piston crowns. Use a shop vacuum to remove any foreign materials prior to installing the new injectors and spark plugs. Cleanliness is of the utmost importance.
Thanks for the tips! The injectors and bores are much dirtier than expected I�m surprised it ran perfectly fine before anything happened.
The spark plugs are out, they look much better than the injectors, i actually have a full set of new injectors and spark plugs ready to go in, so no need to mess with shaping the Teflon seal.
I will finish up the mess tomorrow, shouldn�t be TOO bad on the other side but something will probably surprise me, again, this is getting more and more complicated the deeper i dive..
Spent a few more hours on the other side today and I�m officially done, the job is not done, but I�m burnt out, i will let the shop handle the rest, it�s way too tight on the driver side and the fuel rail shows no signs of budging. Replacement metal coolant pipes also ordered and will be put in.
While tedious it was a fun adventure and I�m rather content i did not break anything in the process and learnt a ton!
Thanks OP for starting this thread and everyone who contributed and shared their experience and knowledge!
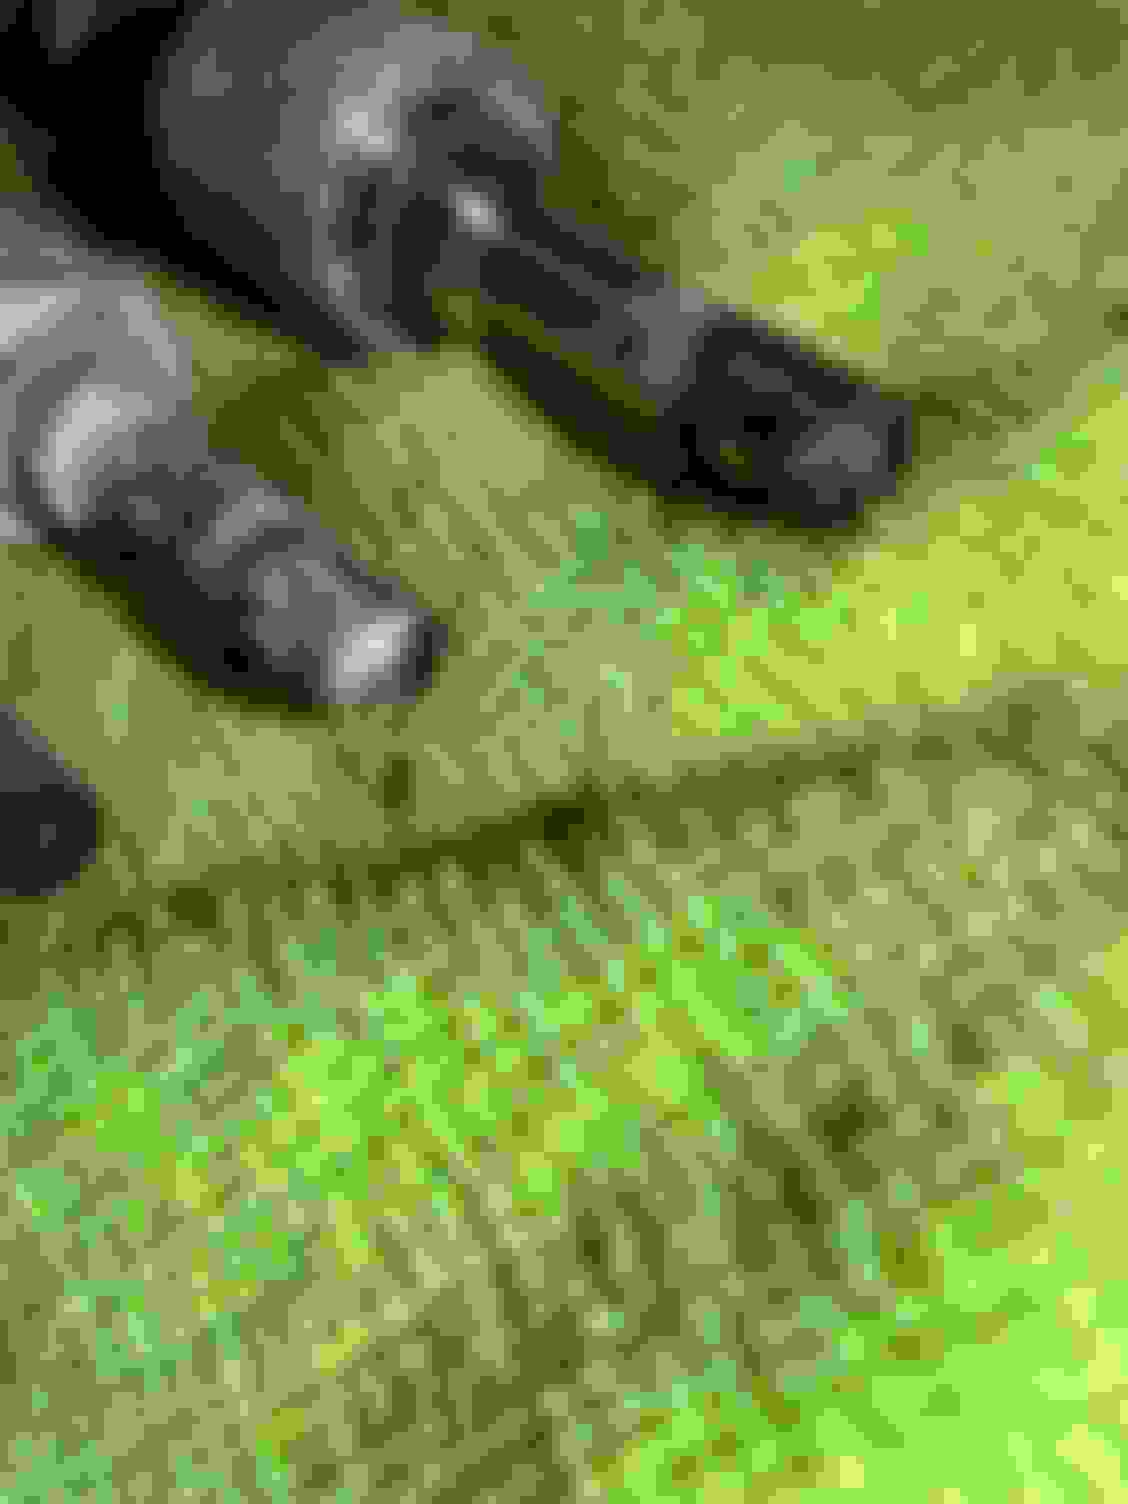
Meanwhile, took a endoscope down the spark plug hole, is it normal to have a shiny area on top of every piston?
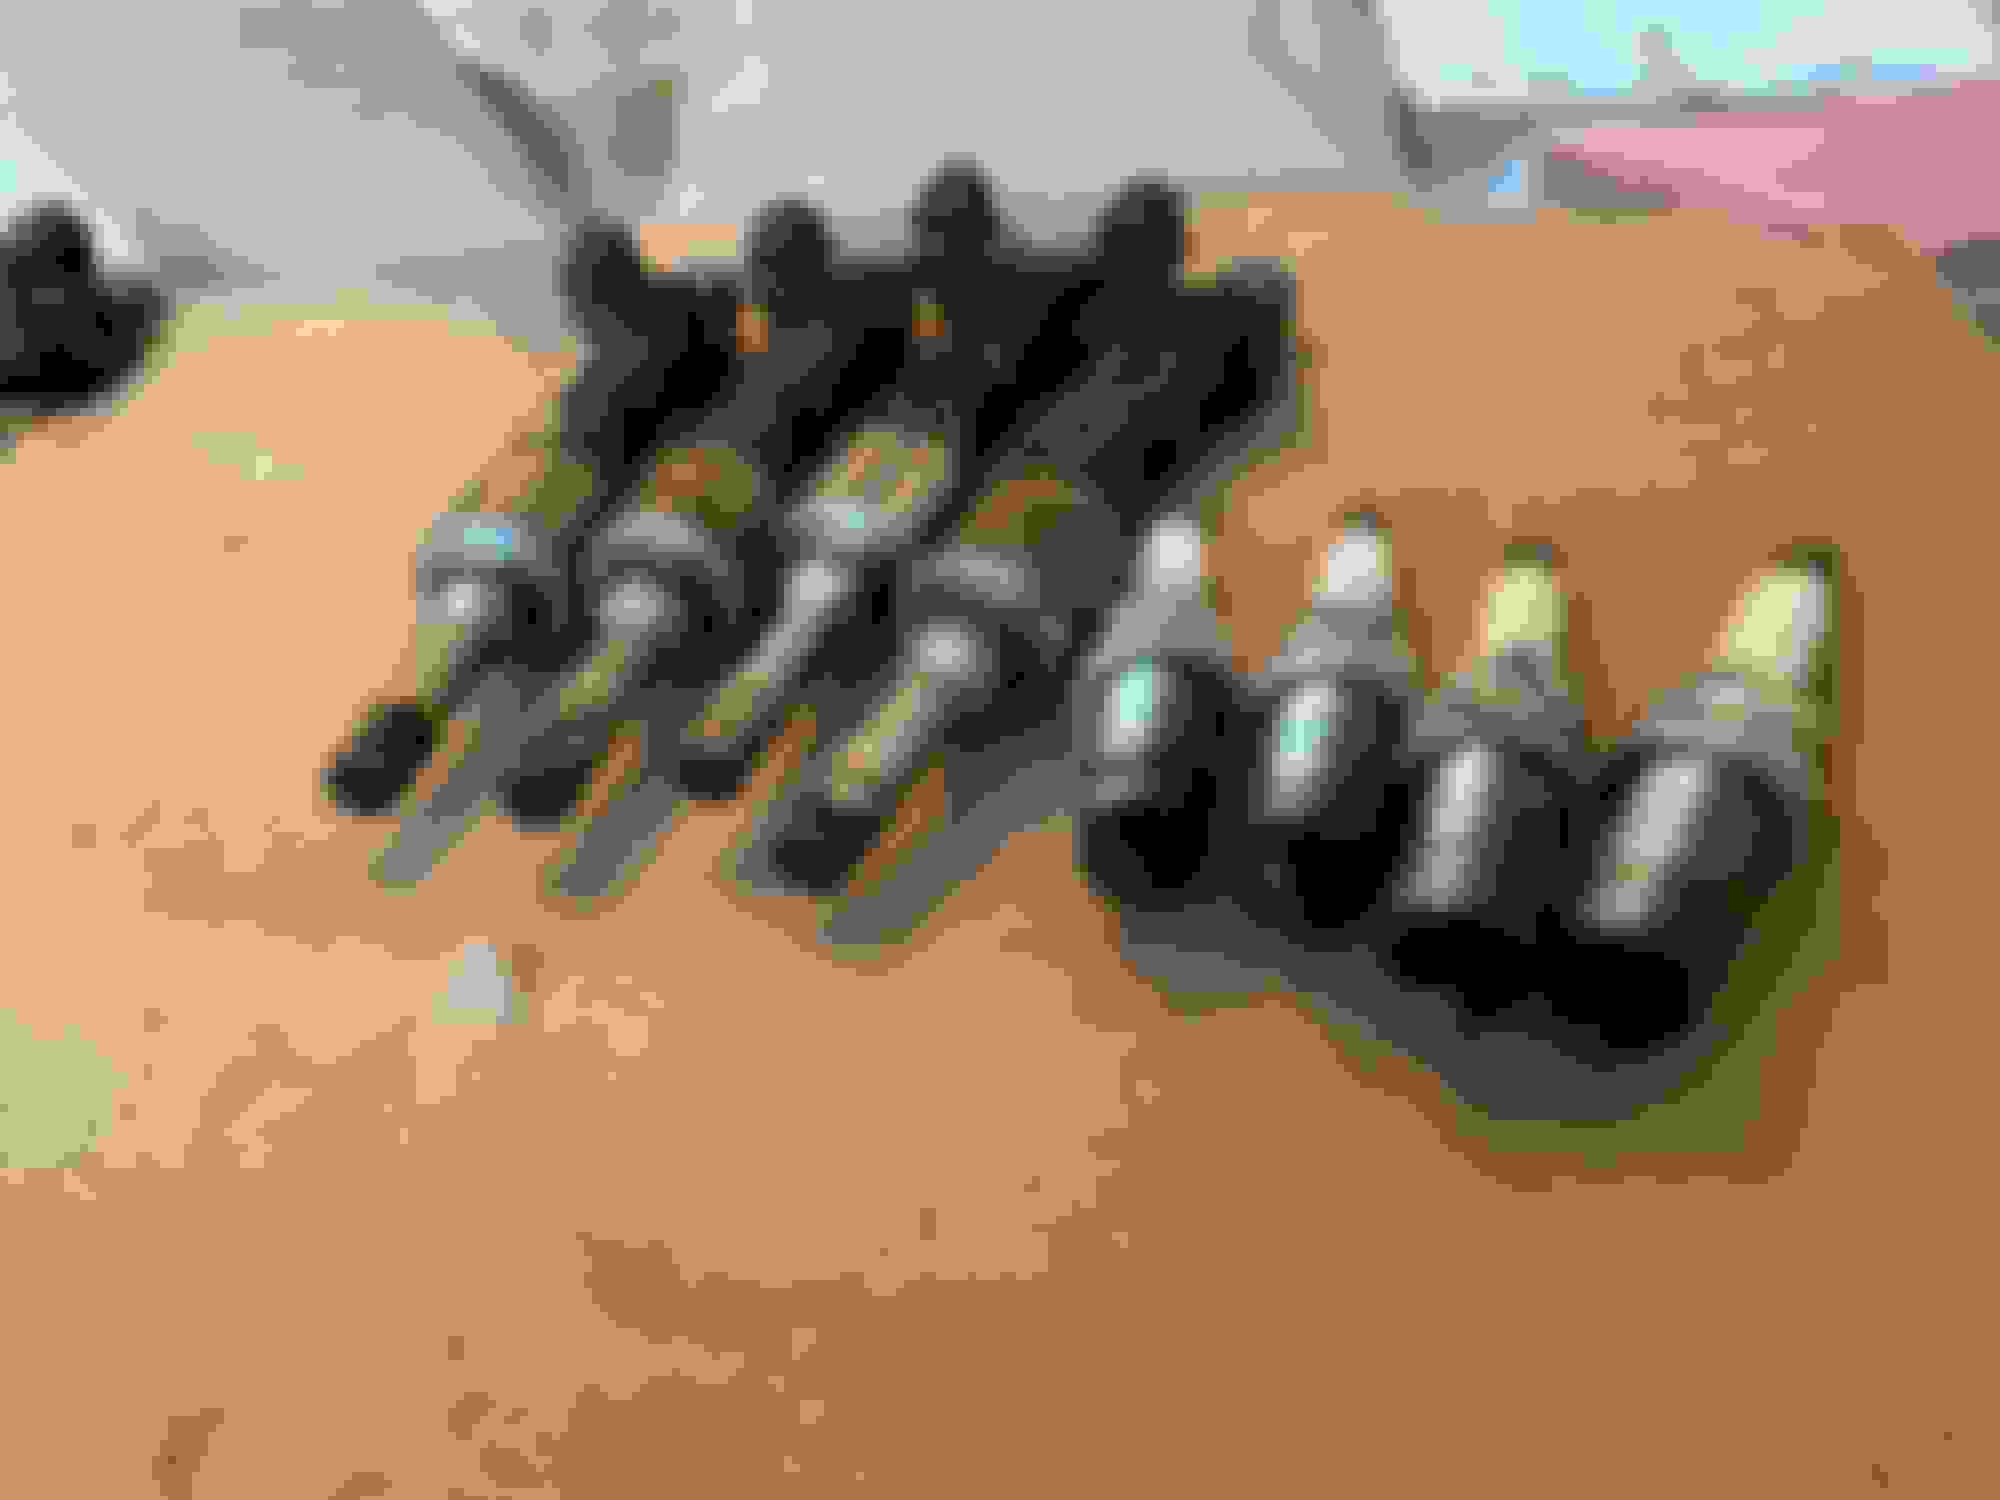
Happy to report the car has been brought back to life, the driver side injectors ended up being a huge huge pita, 2 of them took more than 500 bangs to come out, not exaggerating, and that�s with an extended puller tool!
Once out, they don�t look noticeably worse/dirtier than the easy side, i do notice the top o ring is blue instead of green, part number Is the same and the date stamping are both year 2014 april.
I�m always on the brighter side so while I�m out a few ks, i have got fresh parts in that�s good for a few more years, and the fact that it could have been much worse!
Learned something the hard way, even though my Autel reader said bank 1 cyl nbr 5, turns out cyl nbr 5 is on bank 2. If you have a 2015 and newer v6, the cylinder numbering is as follows.
Bank 1/A is cylinder 1,2 and 3 from front to back - left side looking from the front
Bank 2/B is cylinder 4,5 and 6
Even though I was doing both sides, would have been great to know. Hope this helps someone else.
Impossible to get the injectors out of a cold engine ? The engines I've had to do this on have always been days cold. and I've never had more than 50 pulls on the tool.
Using an engine hoist to pull the rail? I just pull a little here and a little there and it eventually pops off. All mine have been on Jaguars.
You are VERY lucky, nbr 2 had over 300 pulls before it came out and now I am on the drivers side and nbr 4 & 5 are WAAYYY past 50 and still in the engine.
People have actually rigged up the car jack in the engine compartment to "jack" the injectors out!
Glad to hear not everyone has so much trouble but it's much more common to have a big fight when removing them.
.
.
.
 09-16-2023, 06:10 PM