F-Type ( X152 ) 2014 - Onwards

Painted Muffler and Tips

Thread Tools
 
Search this Thread
 
Old Apr 15, 2021 | 10:38 AM
  #1  
TM1238's Avatar
Thread Starter
|
Member
5 Year Member
Liked
Joined: Mar 2020
Posts: 70
Likes: 18
From: Buffalo, NY, USA
Default Painted Muffler and Tips

I'm dropping off my stock muffler to have the tips ceramic coated. I'm thinking of having the muffler body coated black as well to help hide it better. Has anyone done this and had any issues with the muffler or tips melting any of the rear plastic? I've seen plenty of the coated tips and the plastic seems to hold up fine but I'm less sure of the muffler.
 
Reply
Old Apr 15, 2021 | 12:03 PM
  #2  
Therock88's Avatar
Veteran Member
5 Year Member
Liked
Loved
Community Favorite
Joined: Nov 2019
Posts: 1,506
Likes: 1,031
From: (Illinois) - Led by Gov. PRICKster
Default

Originally Posted by TM1238
I'm dropping off my stock muffler to have the tips ceramic coated. I'm thinking of having the muffler body coated black as well to help hide it better. Has anyone done this and had any issues with the muffler or tips melting any of the rear plastic? I've seen plenty of the coated tips and the plastic seems to hold up fine but I'm less sure of the muffler.
I did mine (myself) with high temp ceramic paint (Satin black) and I am happy with the outcome, and no issues with heating/melting/or anything else.

DC


Reply
Old Apr 15, 2021 | 01:59 PM
  #3  
eeeeek's Avatar
Veteran Member
5 Year Member
Community Favorite
Joined: Jun 2018
Posts: 1,615
Likes: 754
From: Granite Bay, CA
Default

Originally Posted by Therock88
I did mine (myself) with high temp ceramic paint (Satin black) and I am happy with the outcome, and no issues with heating/melting/or anything else.

DC


I didn't find that in your DIY guide. Did you do it while on the car? Could you give us a quick breakdown?

Vik
 
Reply
Old Apr 15, 2021 | 02:03 PM
  #4  
gg2684's Avatar
Senior Member
5 Year Member
Liked
Joined: Aug 2018
Posts: 660
Likes: 227
From: indianapolis
Default

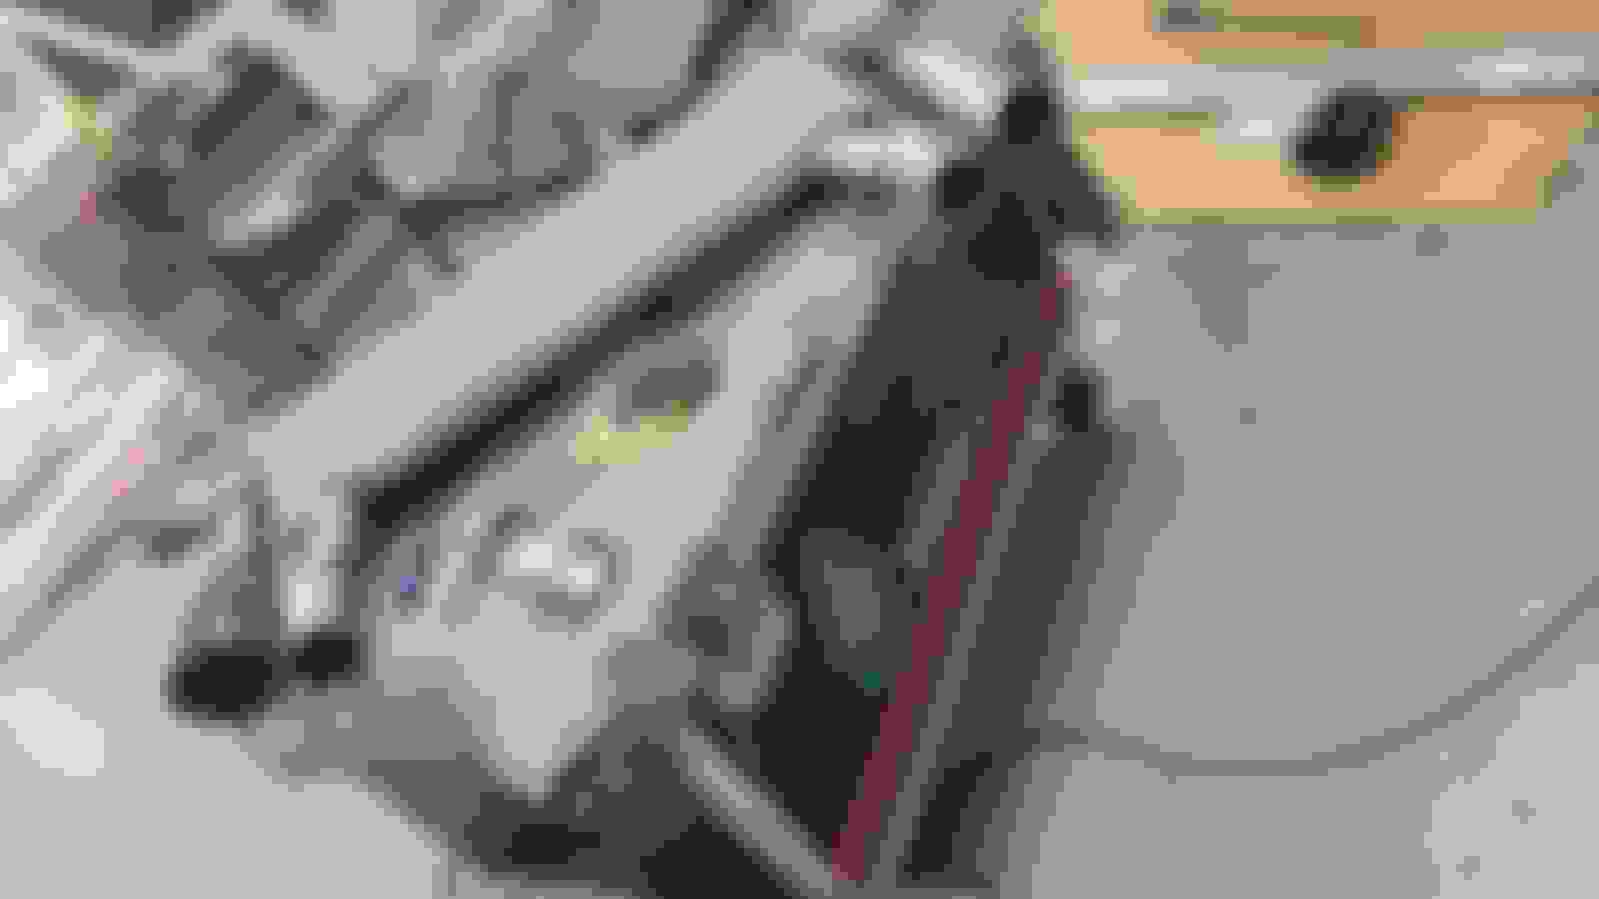
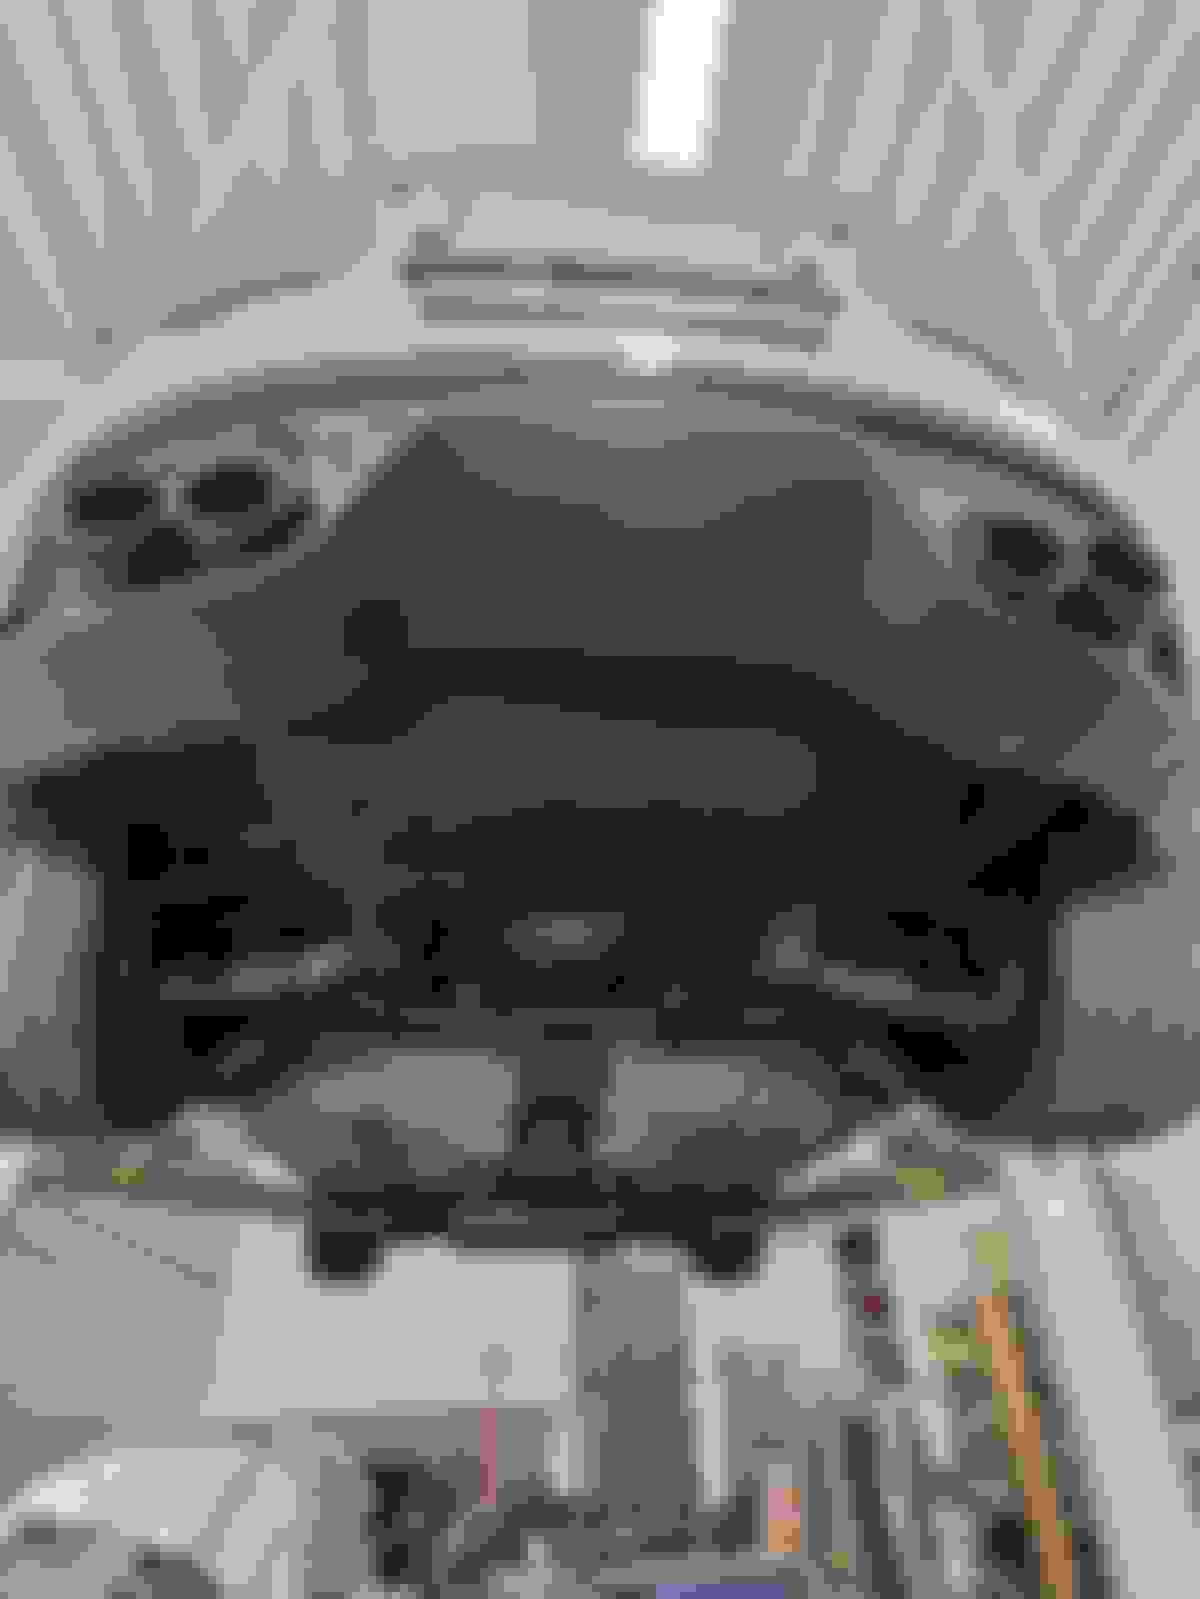
I removed the muffler unit and had the tips replaced with larger carbon/black tips and painted the muffler belly and all the plumbing behind the rear valence so it blends in with Ceramic Duplicolor - Masked it off so only the desired pieces were painted and didnt have overspray all over - even if no one could tell, but it looks great and holds up well and allows the belly portion visible under the rear to blend nicely. The paint will use heat to cure fully so expect a smell for the first few cycles of driving.

 
Reply
Old Apr 15, 2021 | 06:03 PM
  #5  
santacruz11's Avatar
Senior Member
Joined: Apr 2021
Posts: 236
Likes: 21
From: rocklin
Default

please tell me about the wing , looks great
 
Reply
Old Apr 15, 2021 | 07:22 PM
  #6  
TM1238's Avatar
Thread Starter
|
Member
5 Year Member
Liked
Joined: Mar 2020
Posts: 70
Likes: 18
From: Buffalo, NY, USA
Default

Originally Posted by santacruz11
please tell me about the wing , looks great
You're talking about DC's rear diffuser, right? I think he created a DIY on it.
 
Reply
Old Apr 15, 2021 | 09:30 PM
  #7  
Therock88's Avatar
Veteran Member
5 Year Member
Liked
Loved
Community Favorite
Joined: Nov 2019
Posts: 1,506
Likes: 1,031
From: (Illinois) - Led by Gov. PRICKster
Default

Originally Posted by eeeeek
I didn't find that in your DIY guide. Did you do it while on the car? Could you give us a quick breakdown?

Vik
Hi....Yes, I did both on the car. You could certainly take the rear diffuser/bumper off or apart, but honestly, there is plenty of room to mask it off and spray it on the car. I masked off the openings, and covered the car with a plastic drop cloth to prevent overspray. I also used a laser thermometer on several occasions after hard or long drives to get a max temperature, and I do not think it ever exceeded ~300 degrees, so any engine/caliper/or exhaust paint will work. I wanted semi-gloss / satin as I just do not care for flat black. I ordered some high temp semi-gloss or satin (cannot recall) ceramic paint online. After masking it all off. I just carefully sprayed the tips, and the muffler with about 4 coats. Only caution is to be careful how you spray, so you do not get excess build up on the edge of the tips while you are trying to spray the back parts through the openings.

Hope that helps...
DC
 

Last edited by Therock88; Apr 16, 2021 at 06:58 AM.
Reply
Old Apr 15, 2021 | 09:32 PM
  #8  
Therock88's Avatar
Veteran Member
5 Year Member
Liked
Loved
Community Favorite
Joined: Nov 2019
Posts: 1,506
Likes: 1,031
From: (Illinois) - Led by Gov. PRICKster
Default

Originally Posted by santacruz11
please tell me about the wing , looks great
Originally Posted by TM1238
You're talking about DC's rear diffuser, right? I think he created a DIY on it.
Thanks...And yes...If you are referring to mine I have an entire spoiler DIY that includes this and more...

Rear Wing / Spoiler Info and DIY

DC
 
Reply
Old Apr 15, 2021 | 09:46 PM
  #9  
Therock88's Avatar
Veteran Member
5 Year Member
Liked
Loved
Community Favorite
Joined: Nov 2019
Posts: 1,506
Likes: 1,031
From: (Illinois) - Led by Gov. PRICKster
Default

Originally Posted by santacruz11
please tell me about the wing , looks great
If you were referring to the lower diffuser, I have a DIY for that also .

TheRock88 R to SVR Rear Diffuser DIY

DC
 

Last edited by Therock88; Apr 16, 2021 at 06:59 AM.
Reply
Old Apr 16, 2021 | 01:26 PM
  #10  
bcbruno's Avatar
Senior Member
5 Year Member
Liked
Loved
Community Favorite
Joined: Jun 2020
Posts: 183
Likes: 97
From: Rotterdam
Default

Both cars look amazing!

Made me also modify mine but increased a bit diameter to match bumper hole curvature, after some measuring, WIP:


Update:

I like the expression "Go big or go home" but i might have gone too far this time...


Last edited by bcbruno; Apr 17, 2021 at 06:40 AM.
Reply
Old Apr 21, 2021 | 05:07 AM
  #11  
bcbruno's Avatar
Senior Member
5 Year Member
Liked
Loved
Community Favorite
Joined: Jun 2020
Posts: 183
Likes: 97
From: Rotterdam
Default

Done, better aligned, thought was too much but it grew on me


Reply
Old Apr 21, 2021 | 05:48 AM
  #12  
gg2684's Avatar
Senior Member
5 Year Member
Liked
Joined: Aug 2018
Posts: 660
Likes: 227
From: indianapolis
Default

Originally Posted by bcbruno
Done, better aligned, thought was too much but it grew on me


https://www.youtube.com/watch?v=kgYXYdOsj6U
I like the silver on the inside of the tips, I was worried it wouldn’t blend and didn’t like seeing chrome with the black pack on all the other trim, but they look great. Where did you find them and what are the dimensions? I think mine are like 5-7 mm wider than factory.
 
Reply
Old Apr 21, 2021 | 07:56 AM
  #13  
bcbruno's Avatar
Senior Member
5 Year Member
Liked
Loved
Community Favorite
Joined: Jun 2020
Posts: 183
Likes: 97
From: Rotterdam
Default

This was a project that i don't advice due the work and because you need to offset the centerline too much. The costs are higher than buy a aftermarket muffler, but i really wanted keep stock tone and muffler.

Dimensions are 114mm OD, 102mm ID and on muffler connection 2.5" i believe, similar to my F-type V6 exhaust. Now is everything black matt. I will take better pictures later! I got them here on Dutch exhaust shop, a bit expensive due the real carbon!

All black, size is almost unnoticed (except for the smoke and noise )


Last edited by bcbruno; Apr 21, 2021 at 07:59 AM.
Reply
Related Topics
Thread
Thread Starter
Forum
Replies
Last Post
Jose
XJ6 & XJ12 Series I, II & III
15
Jun 17, 2024 07:33 AM
jagtoes
XK / XKR ( X150 )
11
Sep 30, 2014 07:55 PM
04xtype04
X-Type ( X400 )
14
Jan 27, 2014 01:59 AM
philhef
XK8 / XKR ( X100 )
16
Nov 8, 2013 11:14 AM
c.3823
X-Type ( X400 )
11
Jan 18, 2012 08:39 AM

Currently Active Users Viewing This Thread: 1 (0 members and 1 guests)


All times are GMT -5. The time now is 12:10 PM.