When you click on links to various merchants on this site and make a purchase, this can result in this site earning a commission. Affiliate programs and affiliations include, but are not limited to, the eBay Partner Network.
So much of us scratch our plastic lips constantly, and while we can shave the "whiskers" off, sometimes there's still good amount of damage on the vertical portion of the lip which we can't shave off due to the texture.
Has anyone plasti-diped the front lip in matte black after it's been damaged? It could "renew" the look every once in a while. I'm going to give it a go tomorrow and post some pics. I've got some very fresh scratches due to the incompetence at Jaguar of Austin, TX. Don't worry -- they gave me a new lip after a short conversation.
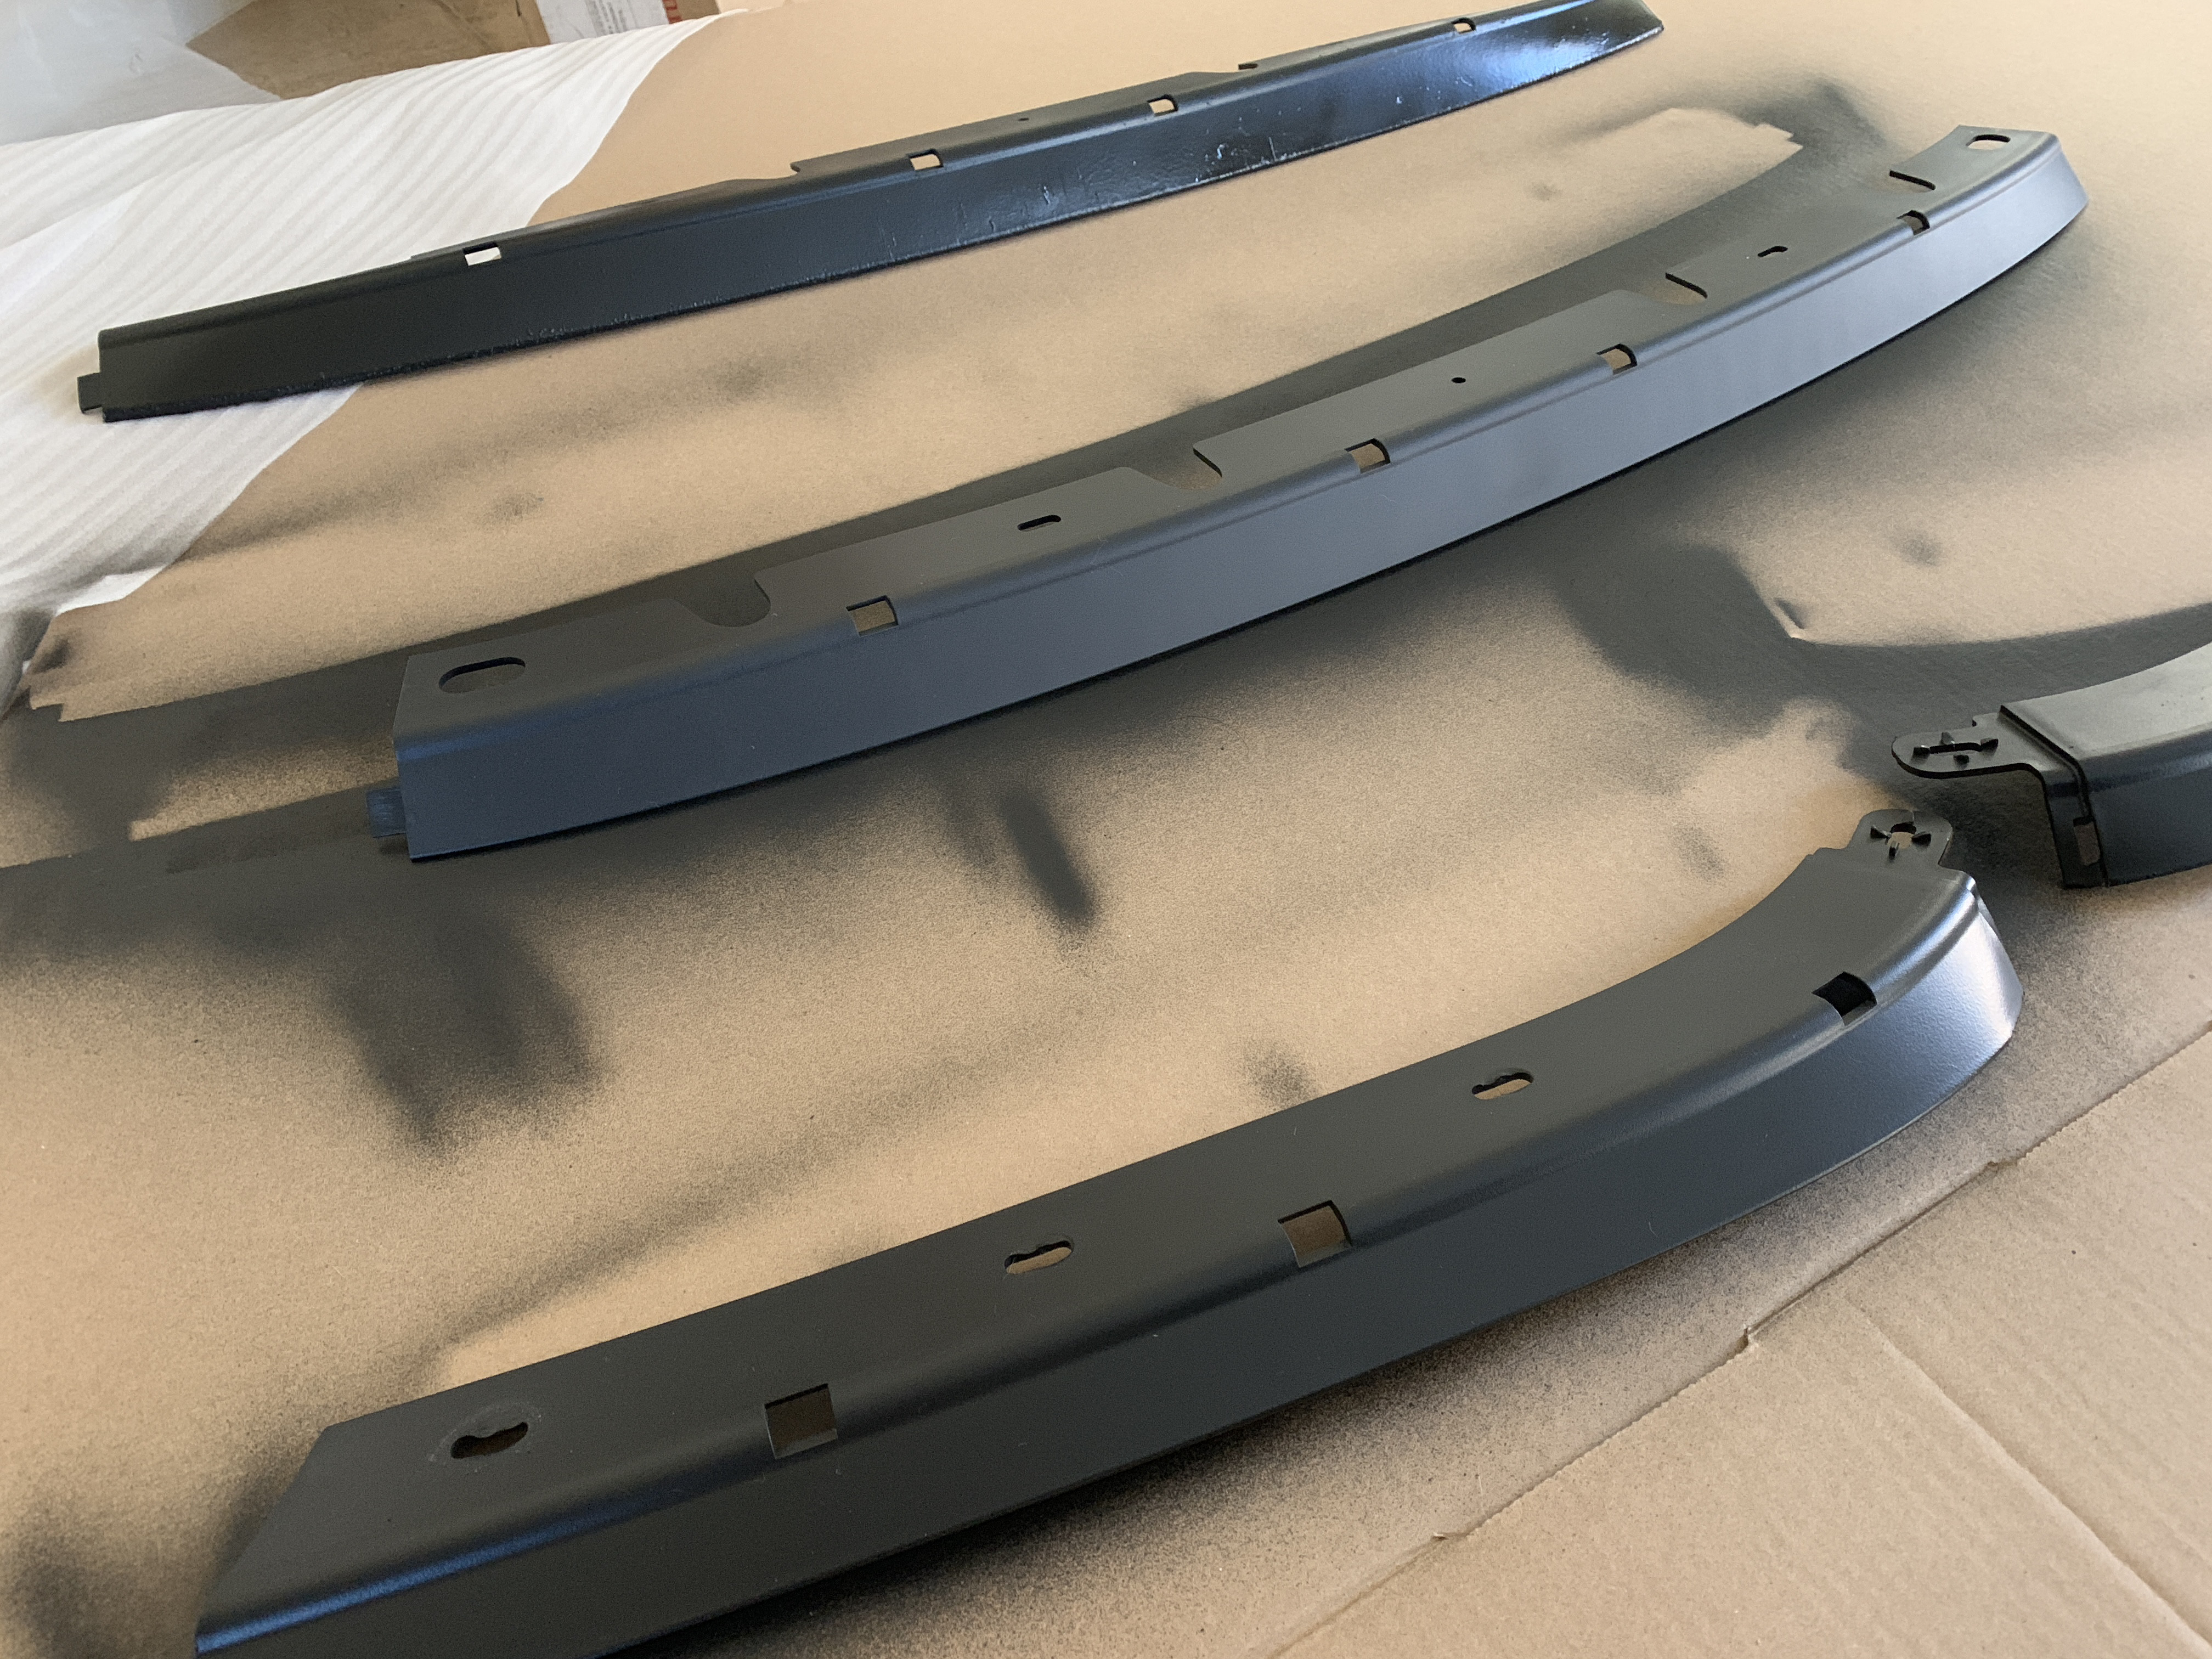
Thanks for that link. I need to question whether that is what the OP was talking about? Was it #22 (UNDER the bumper) or #11 (the black part that is visible from the front)?
Of course, for a TOTAL job on the #22 underneath lip, you would need to replace the left & right side 'corners' too, number 20 & 21. Those are an additional $25 USD ea if you have ceramic brakes, and $37 if you don't. (Buy the CB version of everything, just for bragging rights???)
++++++++++++++++
PS: If it's #11, I'd try the plasti-dip, but I wouldn't expect the coating to last very long.
Somebody with carbon fibre brakes take a picture please.
Are their lips smaller, or just cheaper????
(Ours is a bit scruffy...but yes, we have scraped the nose several times in our six weeks of ownership. I'm VERY glad these parts are easily replaceable.)
Thanks for that link. I need to question whether that is what the OP was talking about? Was it #22 (UNDER the bumper) or #11 (the black part that is visible from the front)?
Of course, for a TOTAL job on the #22 underneath lip, you would need to replace the left & right side 'corners' too, number 20 & 21. Those are an additional $25 USD ea if you have ceramic brakes, and $37 if you don't. (Buy the CB version of everything, just for bragging rights???)
++++++++++++++++
PS: If it's #11, I'd try the plasti-dip, but I wouldn't expect the coating to last very long.
i was referring to part #20-22. The center part is $25, but with tax and shipping for all three necessary parts, you�re at about $100 or so.
Shooting with plastidip after it gets beat up a bit sounds more reasonable to shelling out $100 every few months.
Who knows though, it might look like crap when I�m done.
How bout sanding it a bit to smooth it out, then applying the plastidip. It's all in the prep work. 😉
I'm going to give that a go in the next day or so. I thought the plasti dip would be thick enough to fill those scratches in, but I guess I thought wrong...
I'm going to give that a go in the next day or so. I thought the plasti dip would be thick enough to fill those scratches in, but I guess I thought wrong...
I've plastidipped entire cars (64 LeSabre, 71 vette and jeep wrangler) and all showed blemishes through the dip. It is thick and very forgiving, but if you want a smooth finish, the surface has to be worked on first.
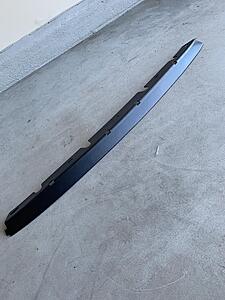
Alright. I spent 4 minutes sanding and 5 minutes spraying this with Plasti Dip. Not worth spending any more time given that this section piece will inevitably get scratched again, and I have a new one waiting to on when that happens.
Does not look half bad compared to a completely scratched up piece.
Perhaps now is the time to 'think out of the box'?
Consider applying some of this 2" wide reflective tape. It would certainly smooth out the appearance. Should be easy to trim, to the shape of the bottom edge.
It's black so it wouldn't be noticeable in the daytime, but it would reflect back at night (think of the SAFETY!)
I might buy some, now that I can't un-see my own scratched plastic.


 The wife can't seem to remember to approach driveway aprons at a 45 degree angle.