When you click on links to various merchants on this site and make a purchase, this can result in this site earning a commission. Affiliate programs and affiliations include, but are not limited to, the eBay Partner Network.
Stuart--quick question: this says for all JLRs with the AJ126 and AJ133 engines but I'm pretty sure the facelift F-Types (21+) now have the engine audio enhancement electronically through the stereo and no longer have the mechanical symposer. JLR calls it the NGPTSQ. Below is a press-release they did on it:
DID YOU KNOW ALL NEW JAGUAR VEHICLES ARE ENGINEERED TO SOUND AS GOOD AS THEY LOOK?
That’s because they are fitted with Next Generation Power Train Sound Quality (NGPTSQ) to electronically enhance existing sound and deliver a more rewarding driving experience.
By using data feeds for engine speed and gear selection, the system carefully constructs a non-intrusive digital audio enhancement, which is played through the audio system.
The sound will be imperceptible as an overlay and will be audible through the speakers even if the customer has the audio system turned off.
The result is a JLR vehicle with effortless power delivery enhanced by an engaging sound quality that builds to an acoustic reward consistent with the vehicle’s performance.
Stuart--quick question: this says for all JLRs with the AJ126 and AJ133 engines but I'm pretty sure the facelift F-Types (21+) now have the engine audio enhancement electronically through the stereo and no longer have the mechanical symposer. JLR calls it the NGPTSQ. Below is a press-release they did on it:
DID YOU KNOW ALL NEW JAGUAR VEHICLES ARE ENGINEERED TO SOUND AS GOOD AS THEY LOOK?
That�s because they are fitted with Next Generation Power Train Sound Quality (NGPTSQ) to electronically enhance existing sound and deliver a more rewarding driving experience.
By using data feeds for engine speed and gear selection, the system carefully constructs a non-intrusive digital audio enhancement, which is played through the audio system.
The sound will be imperceptible as an overlay and will be audible through the speakers even if the customer has the audio system turned off.
The result is a JLR vehicle with effortless power delivery enhanced by an engaging sound quality that builds to an acoustic reward consistent with the vehicle�s performance.
Those cars have no symposer to delete. I wonder what they have in place of the fitting, or if the port is even there. I don't have one handy to check.
This is really clean and the boost port is nice. Guess maybe it's time remove the rubber plug I used to block off the piping and actually take the whole rest of the system out.
Looks great, thanks for making this, Stuart! The last time I looked into this the OEM solid plastic backing plate was hard to find in the US, and the boost reference port in this one looks like a potentially convenient way to spray CRC intake cleaner to this side of the intake too!
I purchased the LR part (LR025788) and it was cheap plastic, no port and is about the same price. I am so glad I ditched the symposer, the engine sounds better to me when I drive. The linear build sounds so mush better...Glad a FAR better part is now being offered...
Am I understanding that you can install this and block off the symposer without actually having to remove it? (Which would get done when its time to rebuild the supercharger). I certainly would appreciate getting rid of the noise the symposer exudes. If so, Hell, it's an easy decision as I don't believe I've ever bought anything for my Jag that was under a $100.
Am I understanding that you can install this and block off the symposer without actually having to remove it? (Which would get done when its time to rebuild the supercharger). I certainly would appreciate getting rid of the noise the symposer exudes. If so, Hell, it's an easy decision as I don't believe I've ever bought anything for my Jag that was under a $100.
For a quick and easy solution you can remove the bolts, insert a rubber plug in the hole and and then reinstall the symposer. Took about 5 minutes. When I get around to completely removing mine I'm going to use the VAP part.
After I took delivery of my 2022 and learned of the new generation sound enhancement feature (NGPTSQ (high)) I asked my service adviser about the adjustability of it, and surprise surprise, nobody at my Jaguar dealership has ever heard of the new sound enhancement system. Inasmuch as it is advertised to be adjustable I tried many times to effect a change in sound via audio system controls, to no avail. I had forgotten about the whole subject until I saw this thread today and wonder if anyone has any additional information on how to go about adjusting the sound.
I like the idea of removing the symposer. Is there a video on the removal? Any downside? I am not sure where the rest of the symposer is mounted but it looks like if it was removed you would need some additional caps to block off mounting points?
Does my 2021 model, which was manufactured in April of 2021 have the NGPTSQ electronic fake exhaust system ? I have never noticed any sound seeming to come from any of the speakers but the quote above states "The sound will be imperceptible as an overlay and will be audible through the speakers even if the customer has the audio system turned off". If my car has it, at least it is subtle and not totally fake sounding like a lot of cars with "piped in fake exhaust sounds" have these days.
Nice kit! Wish I would have waited instead of making my own! Great idea to have the pre-made kit. I would recommend doing this for all owners, and get all the Symposer junk out of there! Also makes changing Supercharger oil a piece of cake, instead of a pain in the @ss when the Symposer is in place!
Here is all of the unnecessary junk you can remove!
Last edited by Therock88; Feb 14, 2024 at 09:45 AM.
Mine just arrived. It looks good. I'm looking forward to putting it on, although it'll need to wait for my schedule and the weather to align. There's a bit of a deluge going on right now.
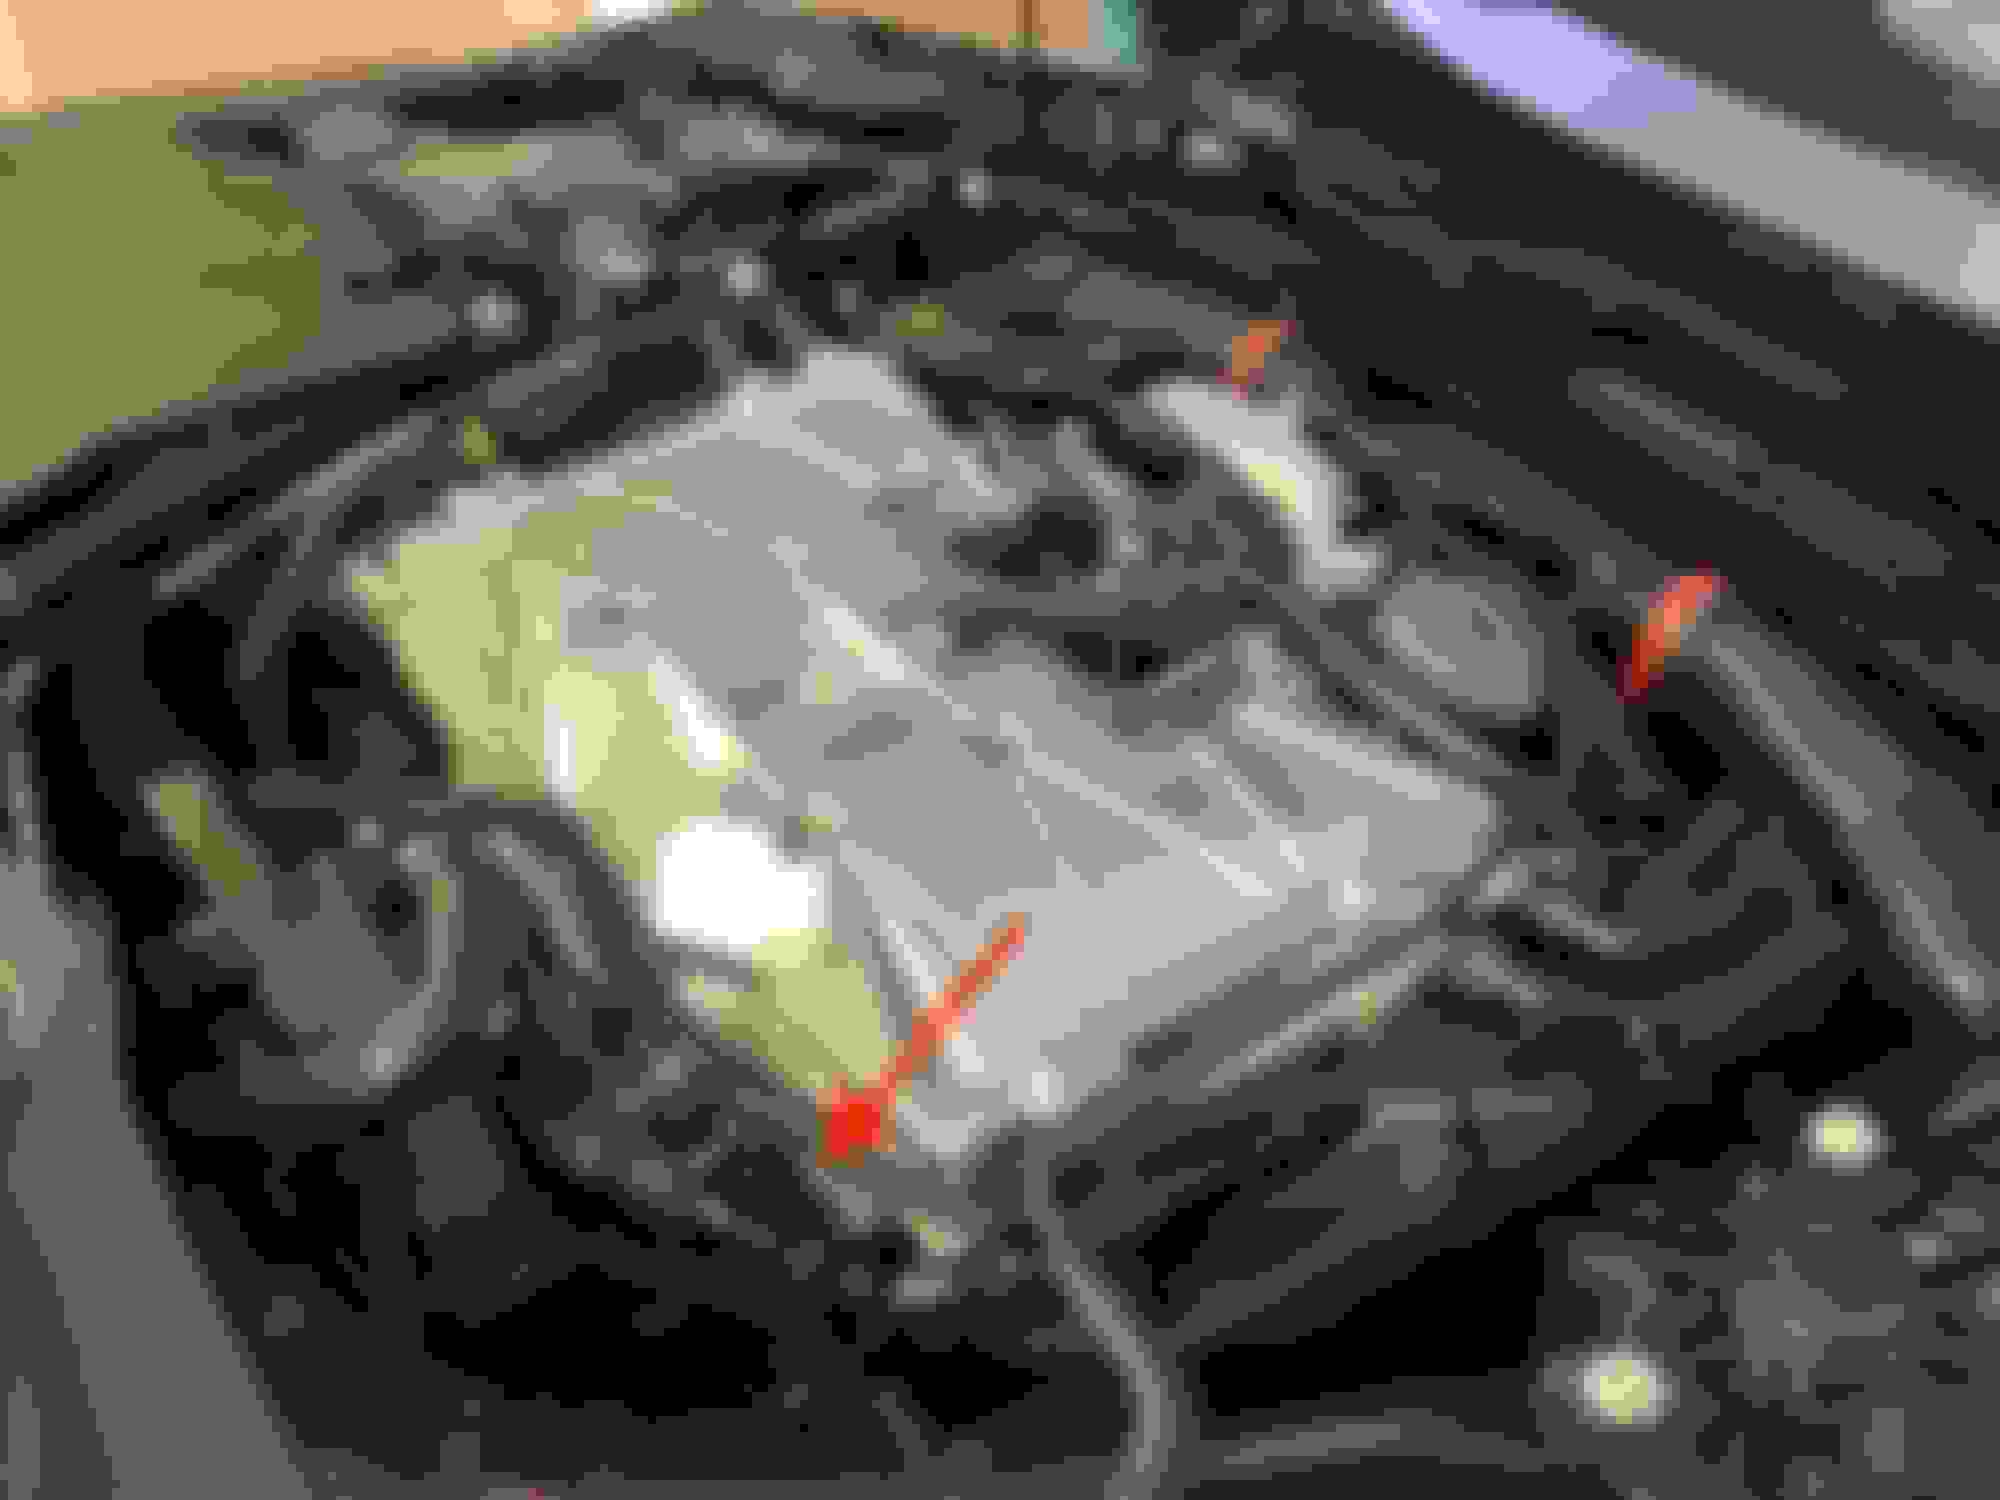
Received my VAP kit and today and I installed it. Rather a simple and straightforward procedure as the VAP video implies. Product is exceptionally well made as are the bolts. So here is a little tutorial. This is on my V6 which is perhaps a lot easier to do than the V8. Locate the part on the passenger side just at the rear of the supercharger as shown on the first photo.
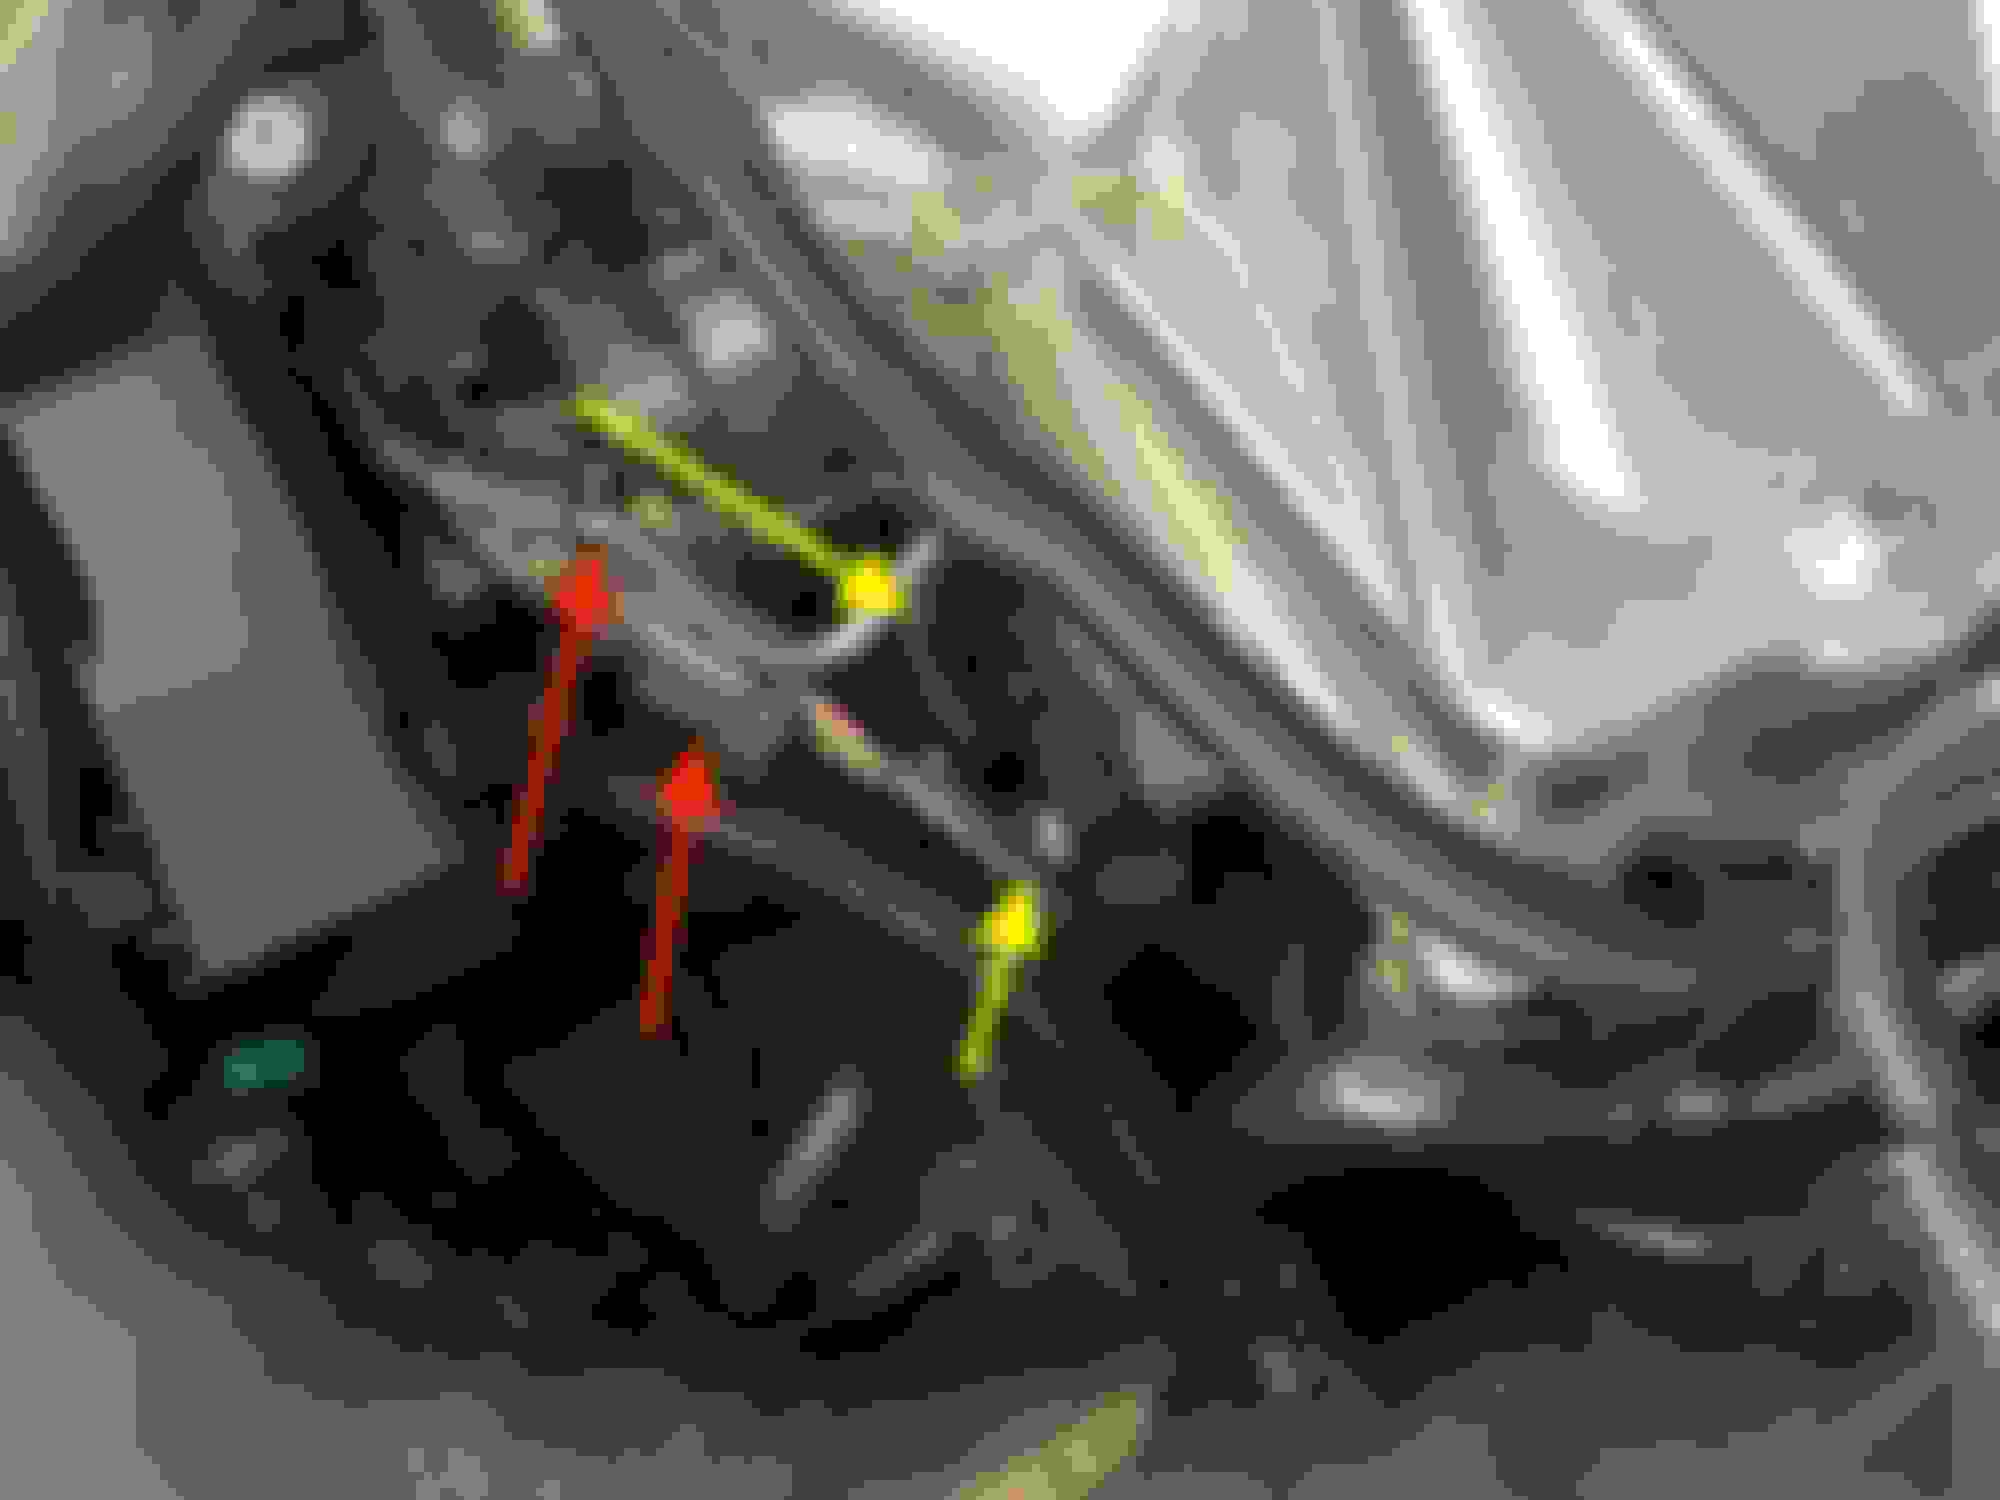
Next, disconnect the wiring harness shown as red arrows and move it so you can access the bolts which are a 30 Torx. The bolt on the driver side (yellow) was problematic as I did not have a small enough ratchet but it will come off pretty easy with a torx handle.
Grab the VAP device, insert the provided black bolt and as recommended by VAP, I used a red lock-tight on it. Then insert the provided washer into the VAP bolt. I also plugged the vacuum nipple and covered it with the provided rubber cap and instead of a zip tie I used a small hose clamp to secure it.
Then just reconnect the wiring harness and you are done. Unfortunately, I have a rather windy day here with blowing dust so I will have to wait either till later when things hopefully will calm down a bit or until tomorrow to test things out.
Received my VAP kit and today and I installed it. Rather a simple and straightforward procedure as the VAP video implies. Product is exceptionally well made as are the bolts. So here is a little tutorial. This is on my V6 which is perhaps a lot easier to do than the V8. Locate the part on the passenger side just at the rear of the supercharger as shown on the first photo.
Next, disconnect the wiring harness shown as red arrows and move it so you can access the bolts which are a 30 Torx. The bolt on the driver side (yellow) was problematic as I did not have a small enough ratchet but it will come off pretty easy with a torx handle.
Grab the VAP device, insert the provided black bolt and as recommended by VAP, I used a red lock-tight on it. Then insert the provided washer into the VAP bolt. I also plugged the vacuum nipple and covered it with the provided rubber cap and instead of a zip tie I used a small hose clamp to secure it.
Then just reconnect the wiring harness and you are done. Unfortunately, I have a rather windy day here with blowing dust so I will have to wait either till later when things hopefully will calm down a bit or until tomorrow to test things out.
That is a great add. I realize after looking at your post how much more room the V-6 has...Wow! I had no idea