When you click on links to various merchants on this site and make a purchase, this can result in this site earning a commission. Affiliate programs and affiliations include, but are not limited to, the eBay Partner Network.
Thought it might be worth putting up a couple of pics of a work in progress. Not finished yet...if we ever can finish these. So far I've done the rear seats and the headlining and trim. The headrests and centre armrest are the original colour and I may leave as is unless I can get a decent matching leather dye. The dye itself is a water based liquid that cost approx �40 a litre and it goes a long way,250ml did everything you can see.
The red was some left over CGG spray form an X308 I had a few years ago. Application was with small sponge and a 1/2 inch paintbrush for the crevices. Probably left about 20mins between coats as if you leave it to dry completely you can end up taking the dye back off with the fresh coat. Seats took about 4 coats and the trim less. The headlining came out in one piece through the passenger front door,had to bend it a bit but it didn't break and any creases were covered over with the new fabric. The fabric was what you might use to line a van,with a self adhesive backing,actually took about 10 mins to attach to the old 'biscuit' or whatever it is called. Way cheaper than buying a new one and does the job nicely.
Still aways to go but getting there.
Just a quick update and this is definitely a work in progress. Should I find a good match to the carpet colour in leather dye or similar material I will (maybe) do the surround above the instrument cluster. The ski slope has a satin black wrap on it. The vent surround has been scuffed up and sprayed with CGG along with shifter surround. The leather part is missing due to the 'tabs' that hold it in place have broken and it won't sit true,slightly annoying. Also done both of the panels under the dash,either side and the fuse board surrounds. I'm just seeing what works at the moment, I like the black and could just do it all like that but I think just a few dabs of red in the right places sets it all off nicely.
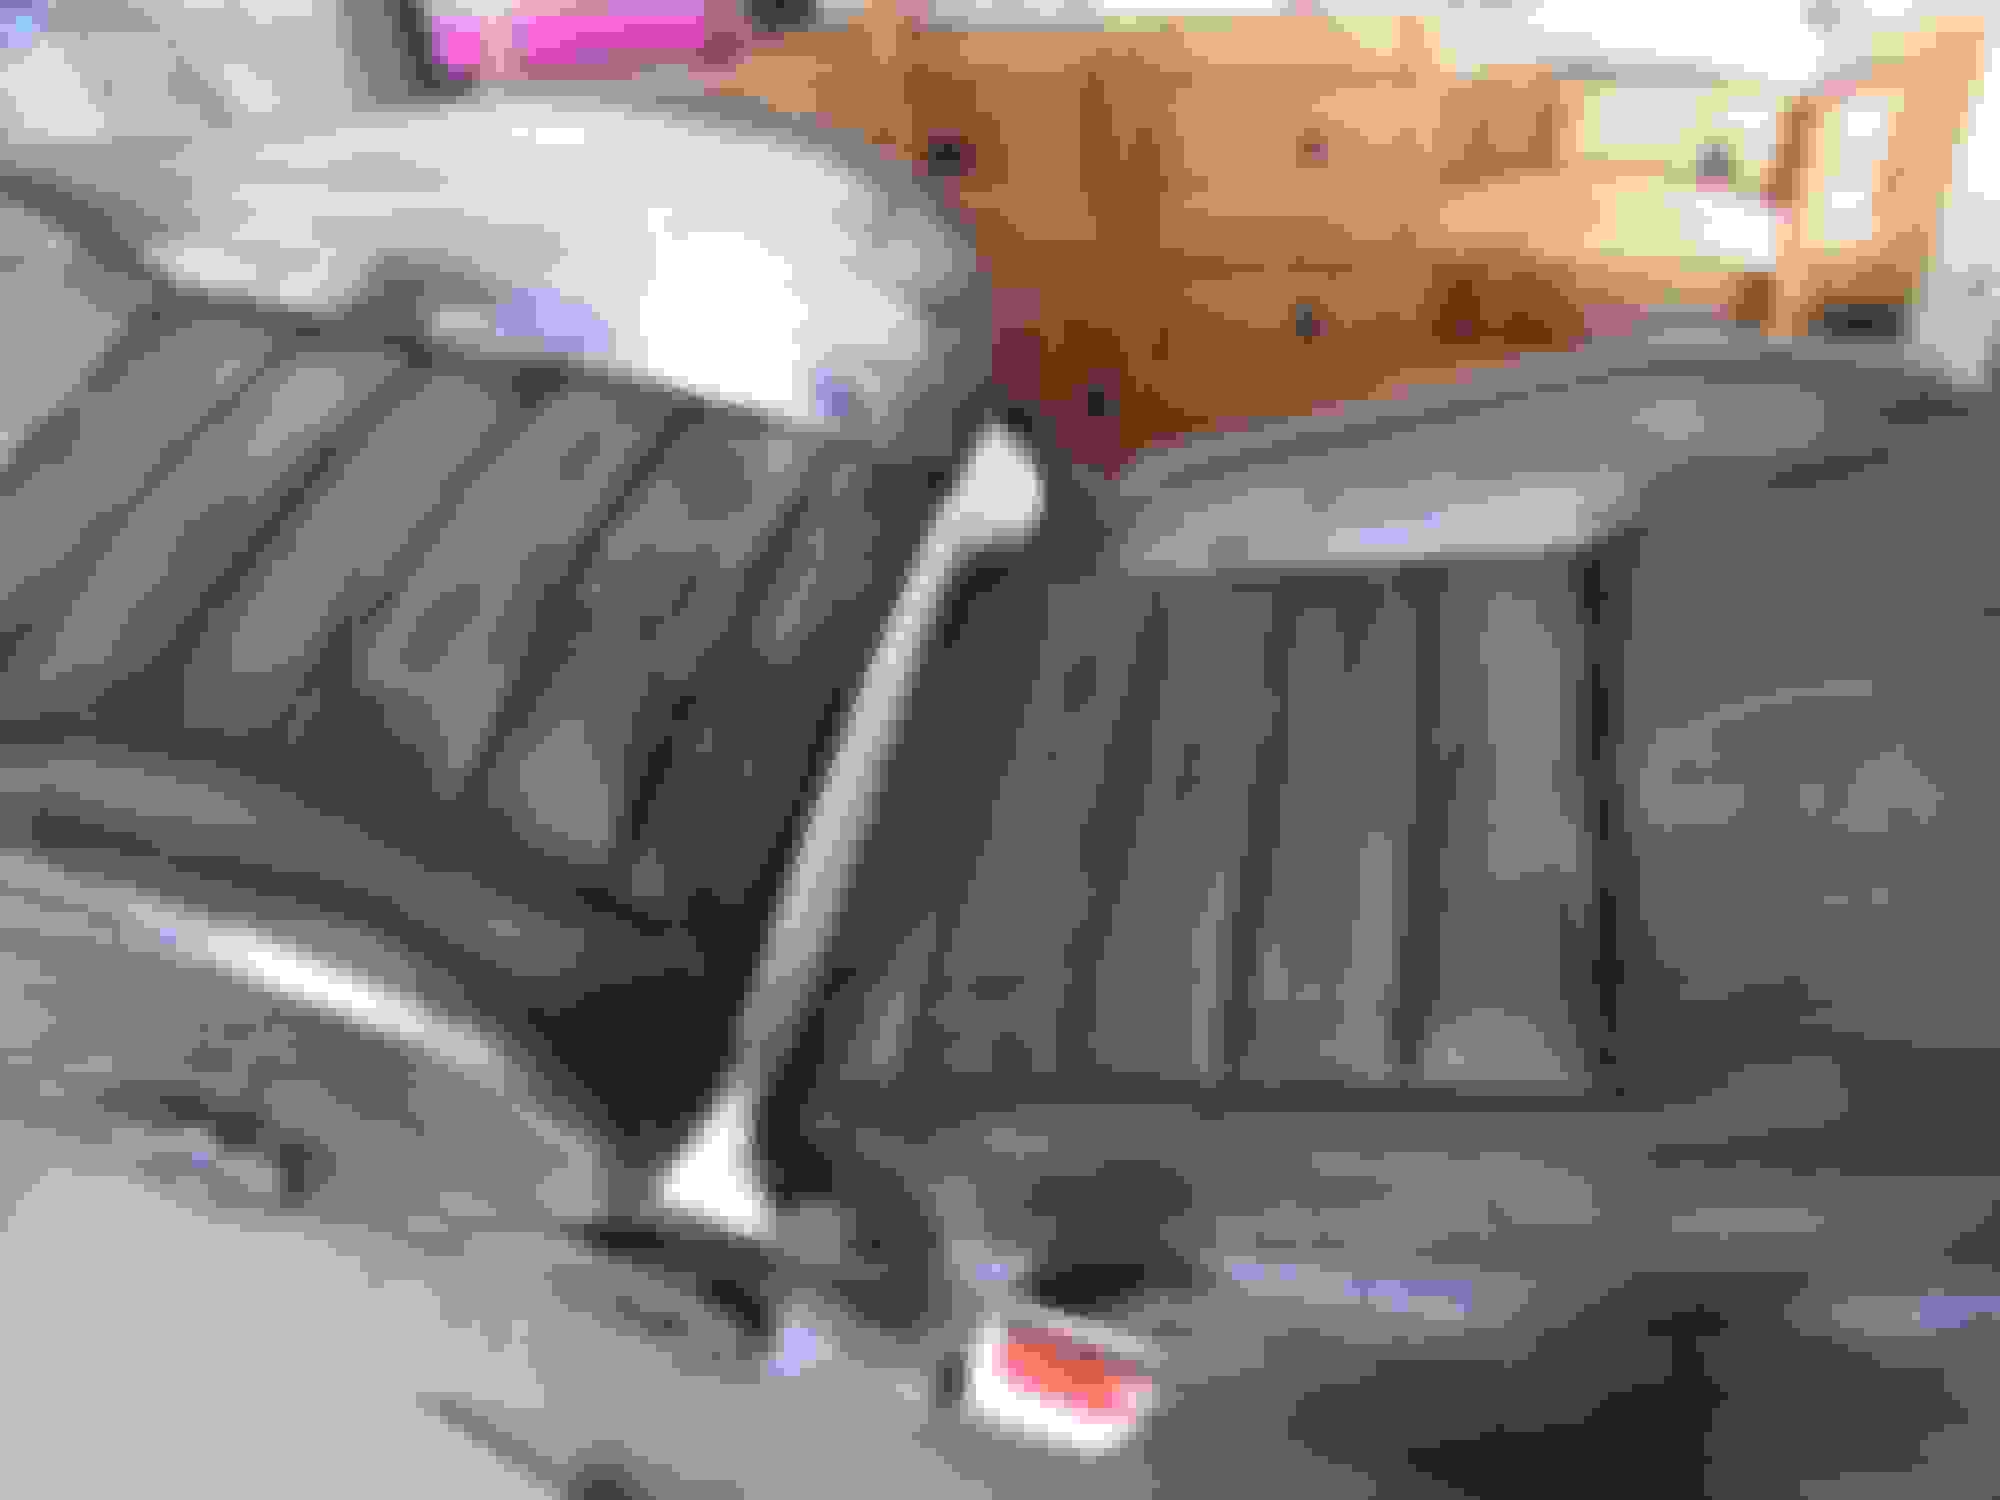
So at least now I have front and rear seats that are matching if not actually finished. I've added pictures of the process for the passenger seat only as the drivers seat was the same. Removal was fairly easy,unplug any connections underneath (they were under the small plinth at the front of the seat) and then undo four torx bolts holding the sliding tracks to the floor. Position the seat 'back' so it leans as far forward as it will go and lift it out. When dying the seats I used a brush to run the fluid into all the seams and stitching and then used a small sponge for the rest...Between three to four coats and then a top coat to seal it. I applied it liberally because if you try and spread it to thinly you end up taking off what you've already put on. Even after four or so coats, once the seats were back in the car I could see areas that needed touching up but I'll wait a while and let the seats get used before going back and touching up any areas that need it.
Sorry,just not my favourite colour.
The first coat can make you wonder if you're doing the right thing.
You can see where the seams are darker from using the brush just once. Much harder to get in there with a sponge.
Left over-night to properly dry off before putting back in.
I like what you�re doing. Im in the process of revamping my XJS interior. Will start a thread. Great work
Hi, thanks for that. I haven't added much over the last few months but have just put him through another MOT. Next job going to be sorting out a decent sound system, so hopefully will give a blow by blow account of that. Thanks again.