When you click on links to various merchants on this site and make a purchase, this can result in this site earning a commission. Affiliate programs and affiliations include, but are not limited to, the eBay Partner Network.
Thanks for the kind words guys. Jon, I will definitely seal the holes with clear - it certainly can't hurt and just might do the trick. Agree the Callum mirrors look great, but I'm looking for something larger for safety since this will be the daily driver. Lin, it looks like the XJS mirrors mount down to the body, while I need something that mounts to the near-vertical surface of the window frame. Thanks for the thought and offer, though. I'll play with some shapes to see if anything looks better - it might just be that big is ugly at the end of the day.
Personally, Doug, I think the mirrors you are using look just fine. But this is all a matter of personal taste. If you are not totally satisfied now, and you don�t change them, it will haunt you forever!
Lin
We think we found a fix for the ugly mirrors - virtually certain no one will even notice them now...
Thanks for the link Jon - that one's larger than most and I never thought of convex. I've dropped the frames at another plater just to get that done since it's holding up assembling all of the mechanicals and electronics in the front doors, plus I can't get the beast inspected and registered without mirrors and windows. We ended up fabricating aluminum plates on the outside of the frames to black out the triangular area where the mirrors mount. This gives us the flexibility to use different mirrors at a future date if we decide we can't live with what we've got. On to the trim panels.
We're using 2" insulation board to make the forms for the trim panels - very easy to sand or grind into complex shapes. Here you can see the form for the passenger side under dash panel, and the toe kick panel which has been glassed and is ready for foam and vinyl - an opening for a grill has to be cut out for the recirculation air inlet. This work is time-consuming...
We got the under dash panels glassed yesterday and everything trimmed today. Just need to fabricate some grills for the recirc intakes in the toe kicks and the interior is about done. I noticed the other night a couple of bulbs are burned out in the dash and center console instruments, which means more disassembly...
Yeah, I don't think my flip phone does that. Still waiting on the front window frames - once everything's buttoned up I'll have someone shoot some video and post - as long as it can't be used as evidence in traffic court.
Finally have the window frames back from the plater. I waited until now to fit the glass template before ordering the custom glass
window frame sans wing window
I was going to have a shop tig up an aluminum intake for me when I decided to use some carbon fiber cloth I had. A little sanding and a few coats of clear coat and polish should look ok.
carbon fiber intake tube
As I've been tossing the car about harder and harder I noticed significant bump steer. I never gave the rack dimensions a thought since Beachams told me which rack they use on their conversion. Turns out I'm about 4 or 5 inches too long for proper geometry, so we're debating whether to shorten this one or source a narrower one. The Daimler guy just confirmed his X Type rack is 100mm (3 15/16") shorter than what I've got, so that may be the answer. I'll do some final measuring before deciding how to go. This going in reverse is getting old.
Doug,
Your car is fantastic as you have such an attention to detail! As for the steering, I would have no reservations to shorten your steering ends if you can get the distance reduced to what you need. I had to do that on my car and between that and the second version of the lower control arms, I was able to get a very good camber/steering and overall good handling finally. I have my car set up with a slight negative camber but not much to cause any premature tire wear and the car track pretty well. I am getting close to 100,000 miles on it and I have not been driving it three years yet. You are close to getting her on the street so keep up your passion. I am sure the first couple of months you will need to sort out other minor issues but once those are done your modern V8 and resto-mod upgrades will be well worth it. For me these old saloons get a surprisingly lot of positive attention with constant "thumbs up" and with the v8 and modern luxury upgrades it is a blast as I continue to blow the doors off you punks thinking my Jag is an old slow stock car. Your car looks great and I love the details you did to make that very modern dash look stock.
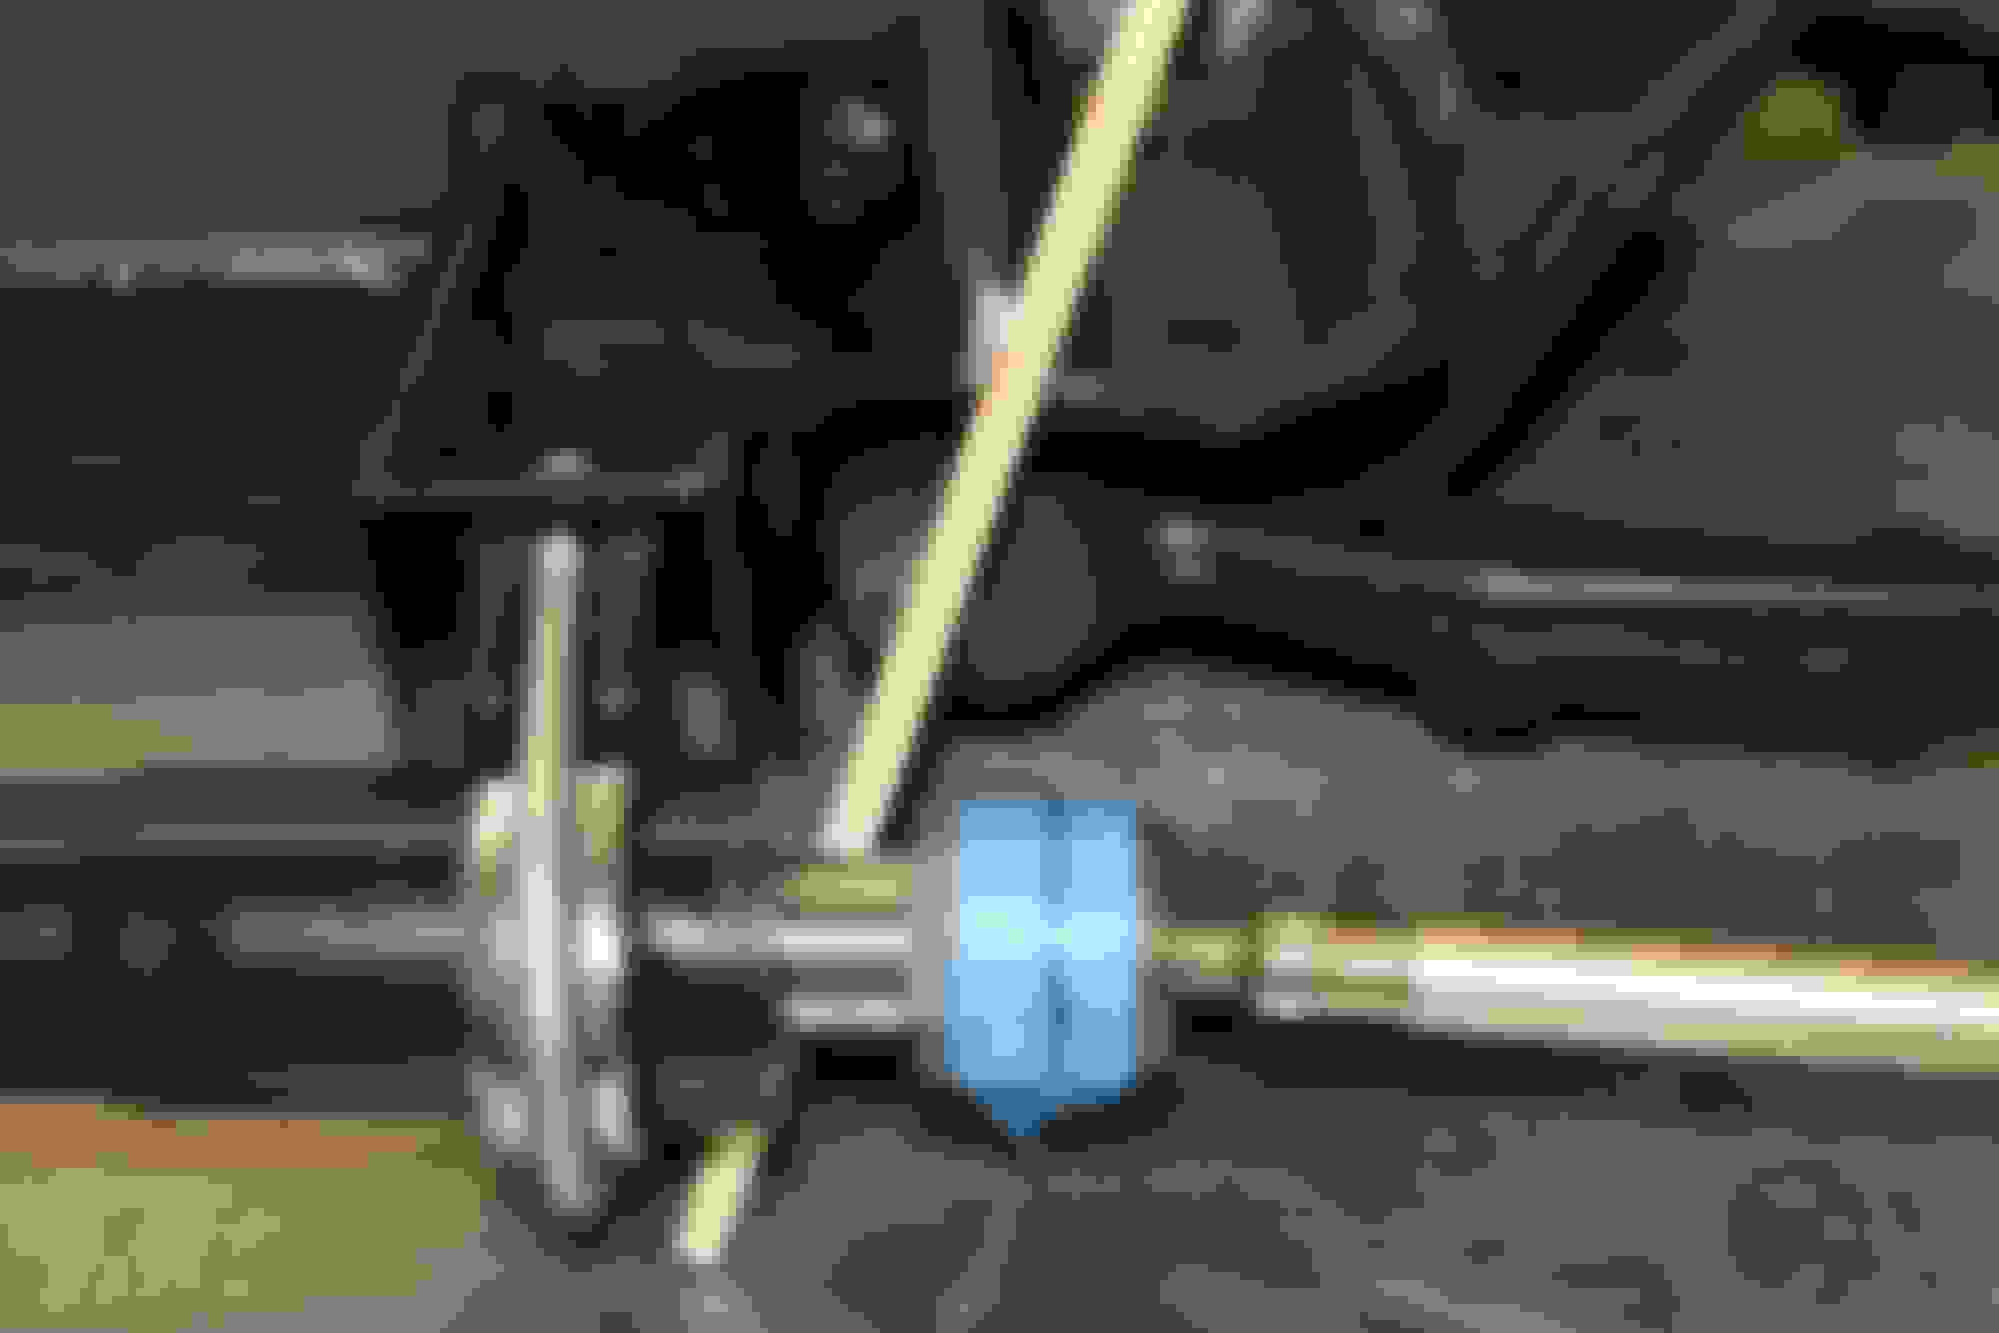
I can't believe it's been over 6 months since my last post. It took a few months to source and have a custom steering rack fabricated. Then the front carrier sat in a race shop for a few months waiting to have the rack installed. When the winter slowdown never materialized we picked everything up and located and mounted the rack ourselves. The rack is a full 4" narrower from ball end to ball end than the XJ racks that are commonly used, but as can be seen in the attached pic it's still a couple of inches too wide for the Mark 2. Ideally the ball ends would be in line with the plane of the inner control arm pivots (dowel). Unfortunately this is the shortest power rack I could find, and the Mark 2 clearances don't allow the rack to be mounted high enough for optimum geometry. Measured 4' out we have about 1/4" of toe out at 2" of compression and 1/4" of toe in at 2" of drop. These numbers should be 0 (the race boys dial this in to .000), but at least it's linear - and a vast improvement over the inches of toe we were getting before. I wasn't expecting the bump steer problem since I never noticed this with the last Mark 2 project - I'm guessing the tires are the main culprit (sticky, wide and low profile), and the longer front suspension travel is probably aggravating the problem.
In addition to the bump steer I had noticed a lot of tire scrub with the wheels turned to full lock when parking or pulling into the garage, so I knew the ackerman angle was off. Again not something I noticed on the last project but again probably due to the wide tires and the negative wheel offset. We spent a lot of time measuring, and with the rack mounted back as far as possible we were able to get a few degrees of toe out on the inner wheel at full lock. We'll see how it does once back on the ground. The race boys have adjustable ackerman plates that can be welded to the steering arms if necessary - these allow the rod ends to be moved forward or rearward. Until next time - fingers crossed and no snow!
Doug, your work is always very clean and I hope these changes will sort our your issues. Didn't you graft an XKR crossmember & front end or some different type of crossmember?
On my car, I used the power steering upgrade using the brackets from Jag Outlet, which is similar to the kits other provide for power steering upgrades to MKII and 3.8s. On my car what was needed was the custom lower control arms to enable the upgraded coil overs, and wider tires etc. to not have any issues on full steering lock, and provided the right geometry to get the suspension adjusted for the street. Isn't the MKII front end the same as my 3.8s? If that is correct, what I did would have eliminated the bump steer and other suspension issues... I am glad you seem to have it sorted. Even with the way these cars used shims to adjust the suspension, I think what you have done should get you close and adjusting shims should help you tweak it, I hope? For me I was able to get a slight negative camber with the shims which is what I wanted which has provided a smooth ride, no bump steer, and very good handling without any significant tire wear. It will be worth the effort as the wider tires and lower profile tires really bring these cars up to current sport sedan performance, so don't give up, as your there or almost there!
Doug,
you have just shown me how and what on the mk2 the ackerman angle is,
thank you,
Btw,very nice job.
I sound like I'm criticising but I am not, just trying to be helpful. Doug has not actually "shown how or what" the Ackerman angle is, the dowel is more to do with the bump steer geometry and in the view Doug has shown does not dictate the Ackerman angle. It does demonstrate how bump steer would be affected if you traced the arc that the track rod end would take relative to the wishbones, you will see they have different arcs, this is what gives bump steer, as the wheels go up and down the track rod ends move slightly in or out hence the "steer", this is all in a straight line (well steering wheel held straight !)
The Ackerman angle is determined mostly by the mounting point of the track rod end relative to the centre pivot point of the front wheels, the position of the rack forward /backward viewed from above will also effect the Ackerman angle, also Doug has fitted wider tires if the offsets have moved the centre (pivot) point of the tyre then this will also affect the Ackerman angle. Hard driving affects Ackerman too see attached PDF (tyre slip)
When you turn, the inside wheel should turn slightly more than the outside wheel so that both wheels are in line with the turning circle.
Hi
tillyjon
without the dowl I am now lost again,
just hope mine turns out ok,
thanks for the that, I do ish see it a bit.
Thanks,
David,
Hi David,
I will draw it up more pictorially for a Mk2 and start another thread about the power steering so as not to detract from Doug's thread here. May take me a day or so.