When you click on links to various merchants on this site and make a purchase, this can result in this site earning a commission. Affiliate programs and affiliations include, but are not limited to, the eBay Partner Network.
I have a 2005 S-Type that needs a new fuel pump. Problem is how to get it out.
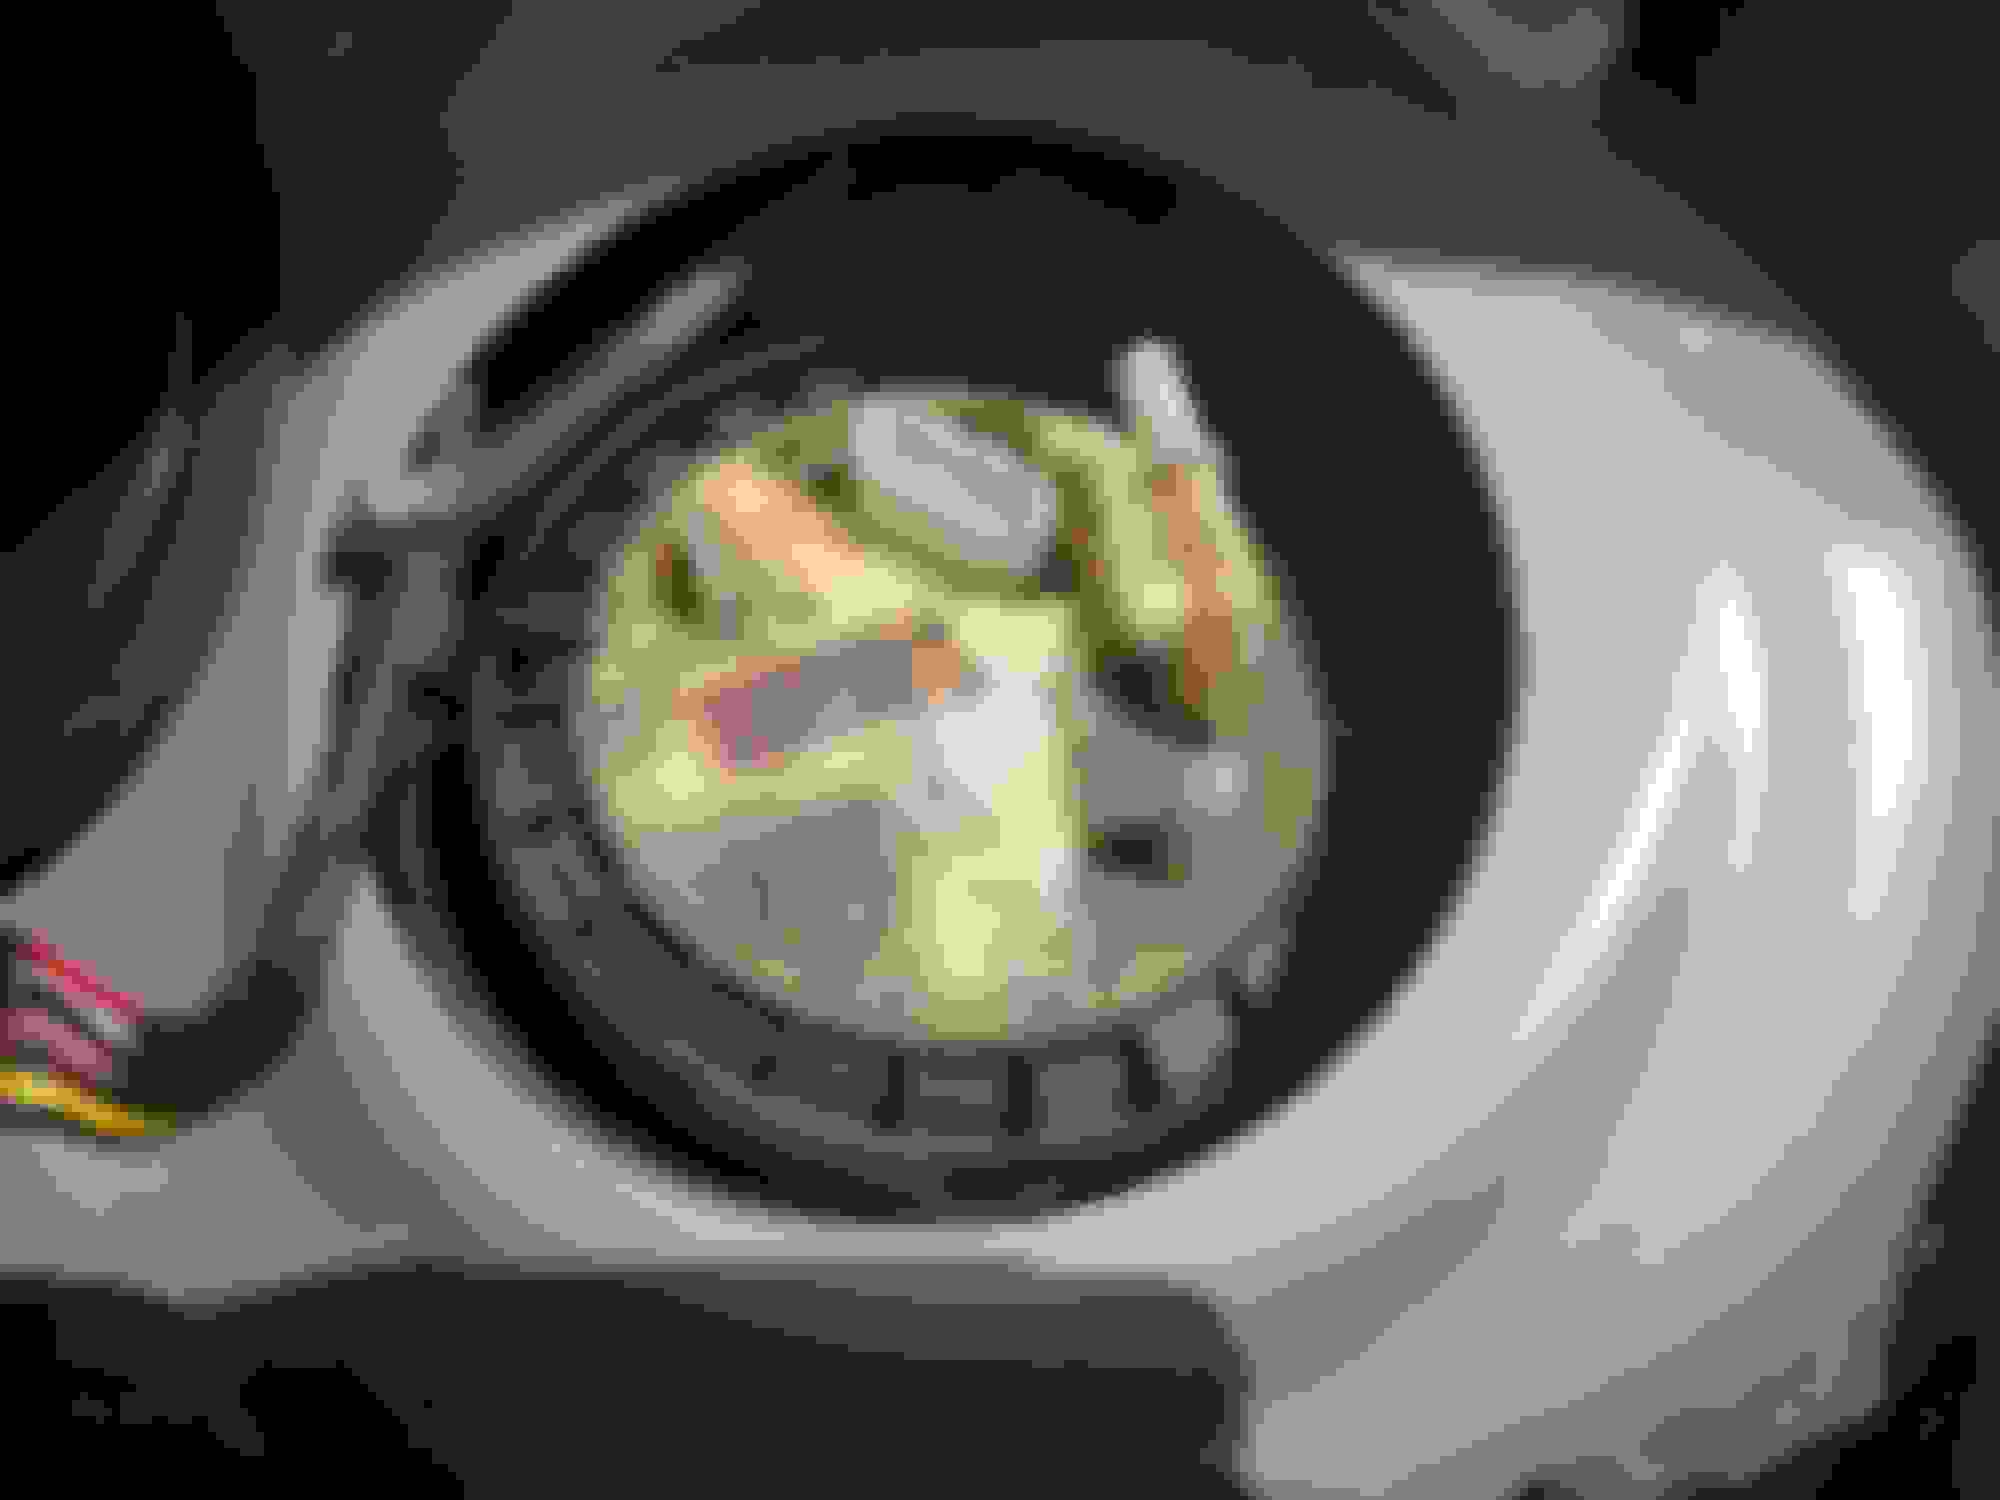
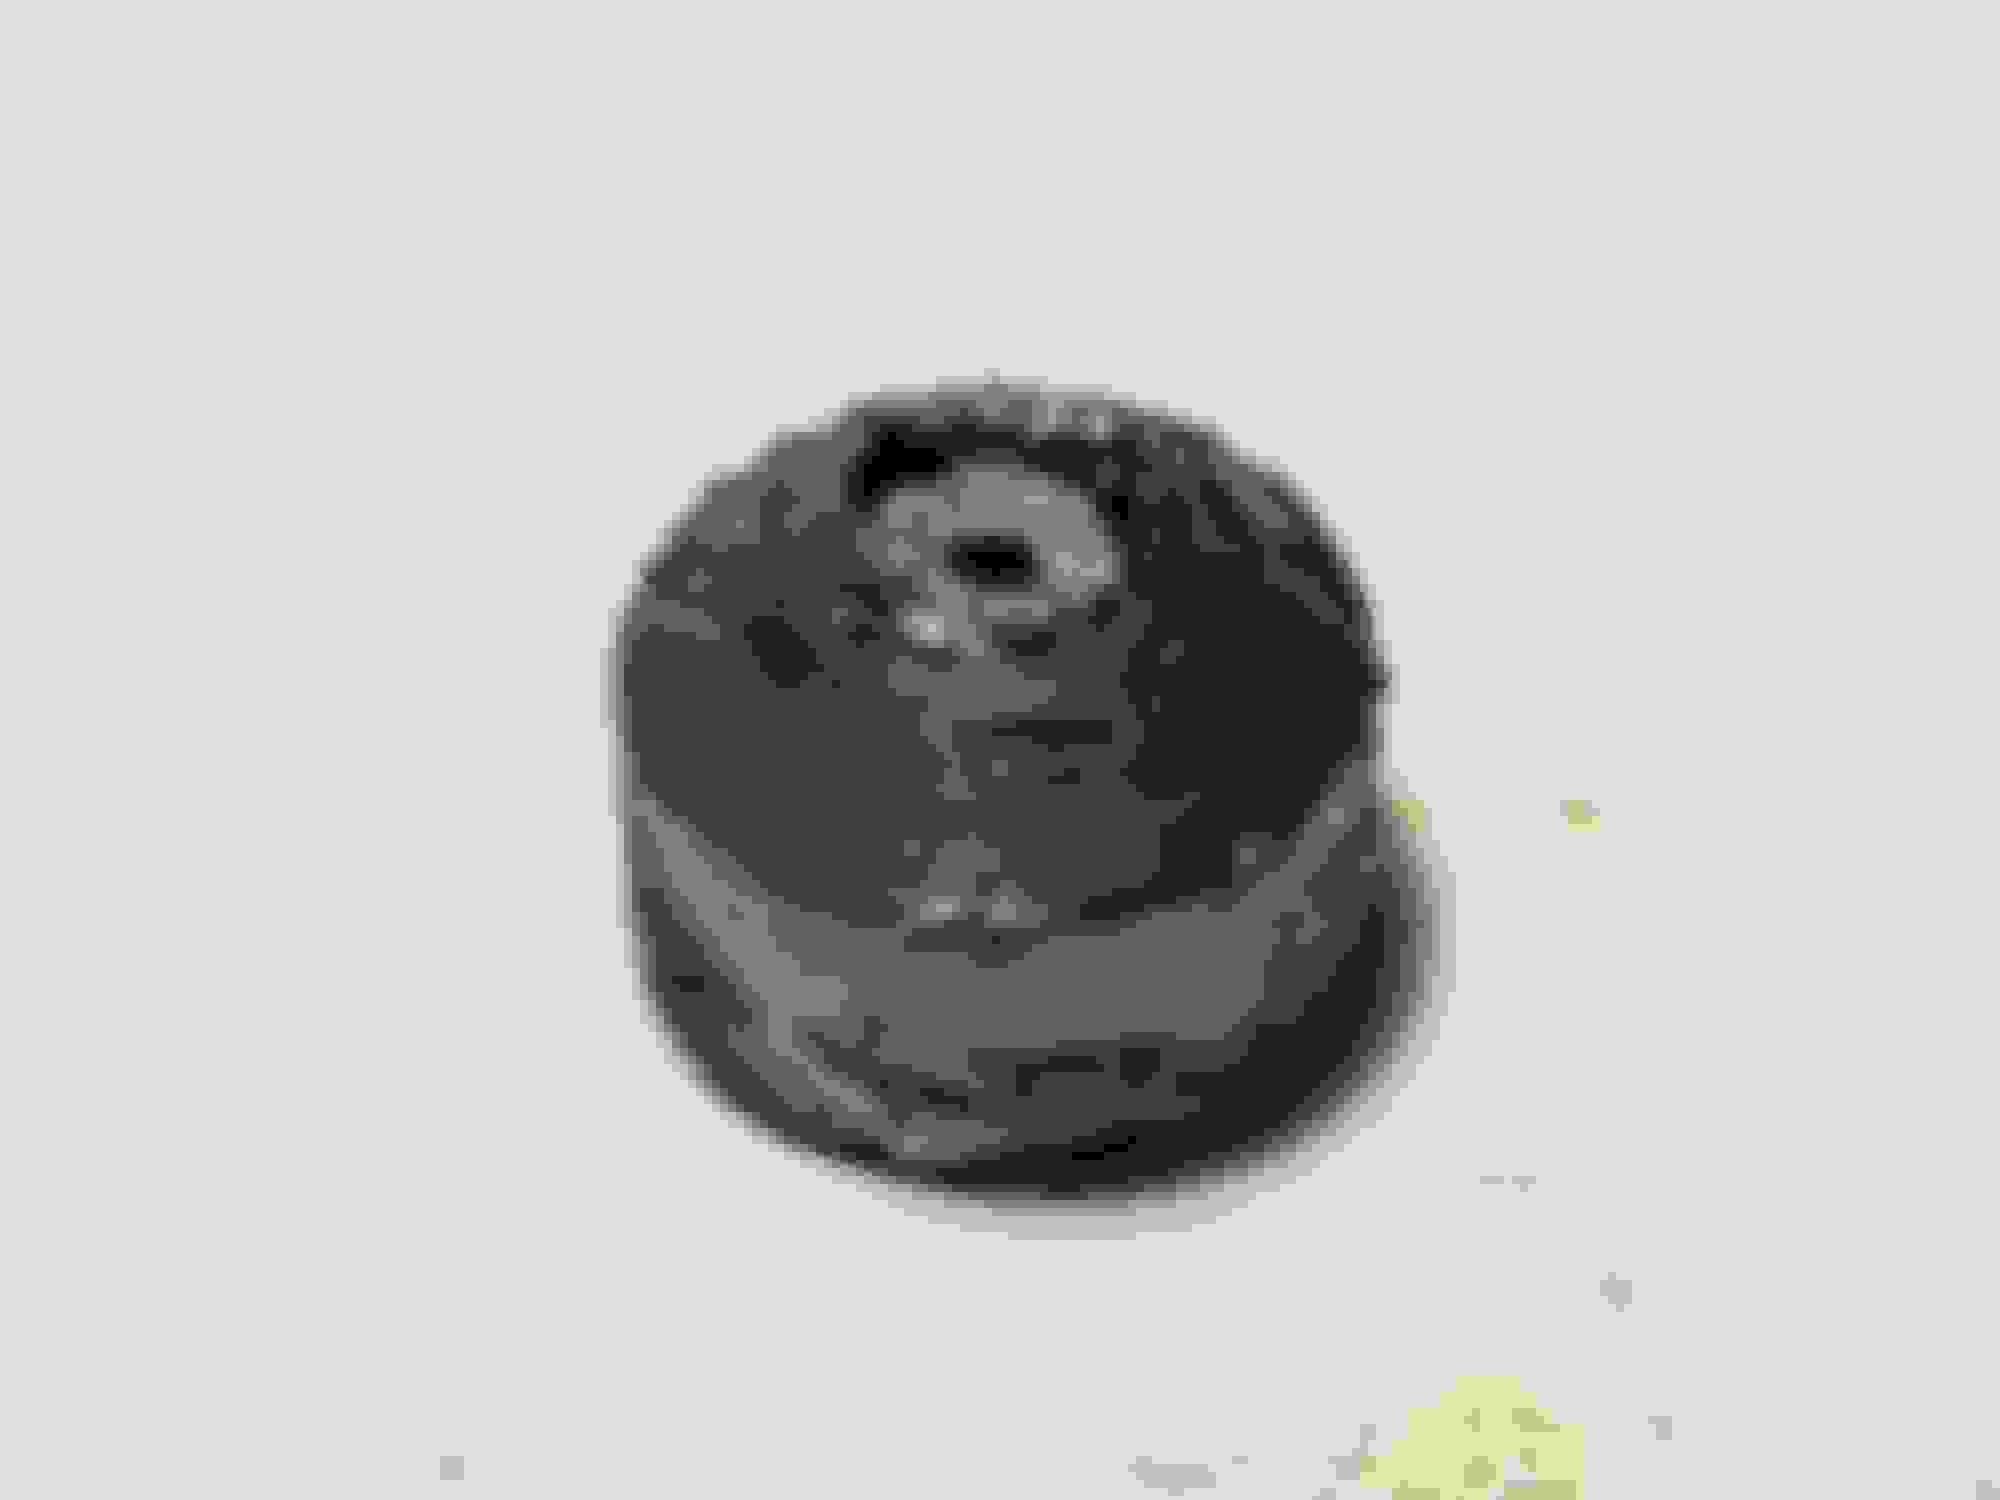
I've seen all the posts and ways to remove the screw on retaining ring but my retaining ring is different. It appears there is a metal band holding the retaining ring on. It does not appear that the ring is a screw off type but rather a lift off ring once the band is removed or loosened. Note the fuel pump top is locked into the ring via a plastic tab.
Can anyone tell me how to take off this retaining ring? metal band connector Top of pump is locked into the retaining ring
Unfortunately I have been looking for the same answer for a couple of years. No one seems to know. I have same 2005 MY but I do not have the clamp thingie you have pictured.
If you figure it out, please post back with solution!
That clamp looks like some sort of a big worm-drive hose clamp.
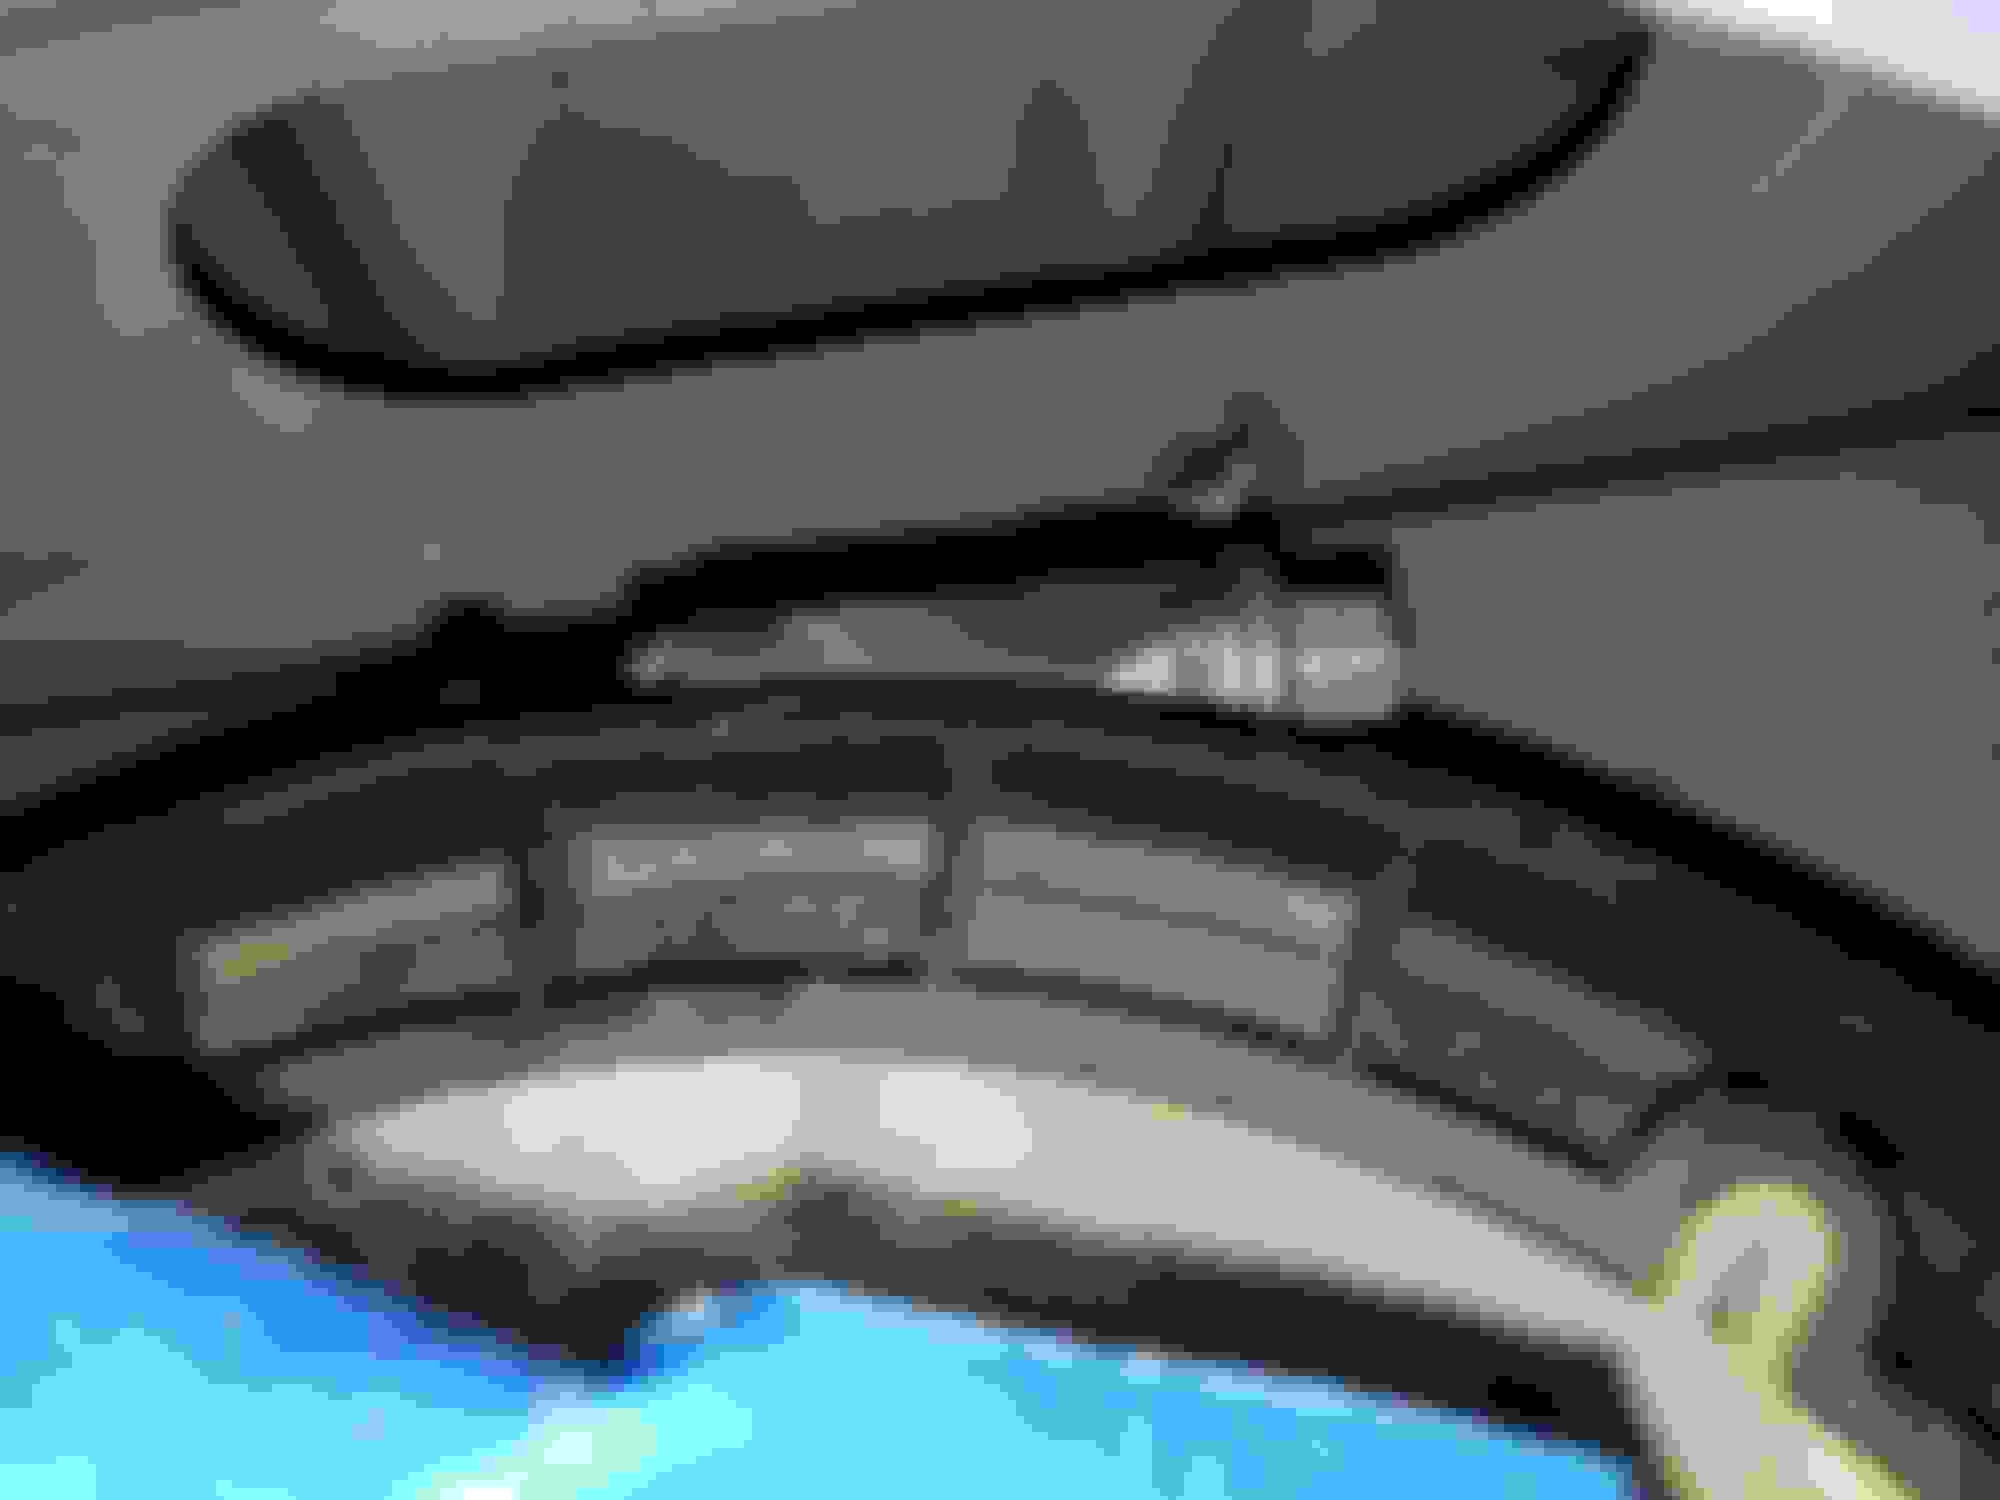
From your first picture, I've added two labels for discussion:
1) That "tab" near the top: Can you push it in or out relative to the rest of the clamp body? That looks like it might be some sort of release mechanism.
2) The "collar" near the bottom: Is that tapered part rough on the very end? It looks like a special nut that had a groove in the middle, designed to shear at a certain torque. The piece that breaks off had the wrench flats on it. Once the nut shears, the remaining portion can't be unthreaded unless you grab it with Vise-Grips or similar.
If neither method releases the clamp, could you cut it off and replace it with an ordinary worm-drive hose clamp?
It looks like a special nut that had a groove in the middle, designed to shear at a certain torque. The piece that breaks off had the wrench flats on it. Once the nut shears, the remaining portion can't be unthreaded unless you grab it with Vise-Grips or similar.
Note how the installed piece looks very similar to what you have. Maybe Jaguar wanted access to be tamper-proof for some reason. Perhaps after some modification for a recall?
You might try searching Ford fuel pumps of the same vintage. Much of the engineering was shared at the time.
I found a used pump with retaining ring for sale on Ebay so I asked the seller how he got the ring loose. Says there's a screw on the side of the ring that loosens the band. I'm thinking the screw is embedded in the connector and we can't see it in the picture. I'll let you know what I find.
Well... appears you are dead-on with the break-a-way nut. From another post I found Jaguar part number XR850737. Since my collar is not tapered I might be able to get vice grips on it to unscrew the collar assuming the collar itself unscrews. I could also file two flat edges on the collar then try to unscrew it. If this was a screw with a break-a-way head then I'll have to figure something else out.
I replied using the advanced reply and added a pic because I didn't know I could cut and paste a pic with quick reply. A moderator has to approve my post. I hope I didn't start a new conversation.
Anyway... I think you are right about the break-a-way head. I found Jaguar part number XR857244.
Since the collar isn't tapered I might be able to unscrew the collar assuming the collar unscrews. If it's a break-a-way head of the screw and not the collar then I'll have to figure something else out.
Last edited by GGG; Aug 14, 2019 at 04:08 AM.
Reason: Remove pasted image code
I replied using the advanced reply and added a pic because I didn't know I could cut and paste a pic with quick reply. A moderator has to approve my post. .....
You CAN'T cut & paste a picture. That's why your post filled with hundreds of lines of code and was locked for moderation.
If I�m reading correctly between the lines, that metal band was one component installed as part of a recall. My latest theory, subject to wind direction and my medication levels, is that breakaway nut was intended to prevent overtightening. It wasn�t to prevent tampering.
If you remove the collar, you could probably replace it with an ordinary nut. You may not find an official torque spec for that nut, however. The original instructions probably said to tighten it until the wrench flats broke off. I bet it was barely finger tight, but I�m just guessing.
Hopefully we will hear from somebody more familiar with implementing that recall.
My brother bought this car when it was just a few years old. Back then he inquired about the fuel tank recall and the dealer said the fuel tank had been replaced under the recall. This might explain why this retaining ring is not in my service manual and that there's very little information out there about this ring and clamp. Since I have another vehicle I'm slow to fix the Jag. That and I have another pressing project going on.
I'm new to this forum and how it works. Once we get it figured out is there a way to post some kind of 'how to' so folks like me can easily search for the answer without going through hundreds of different threads?
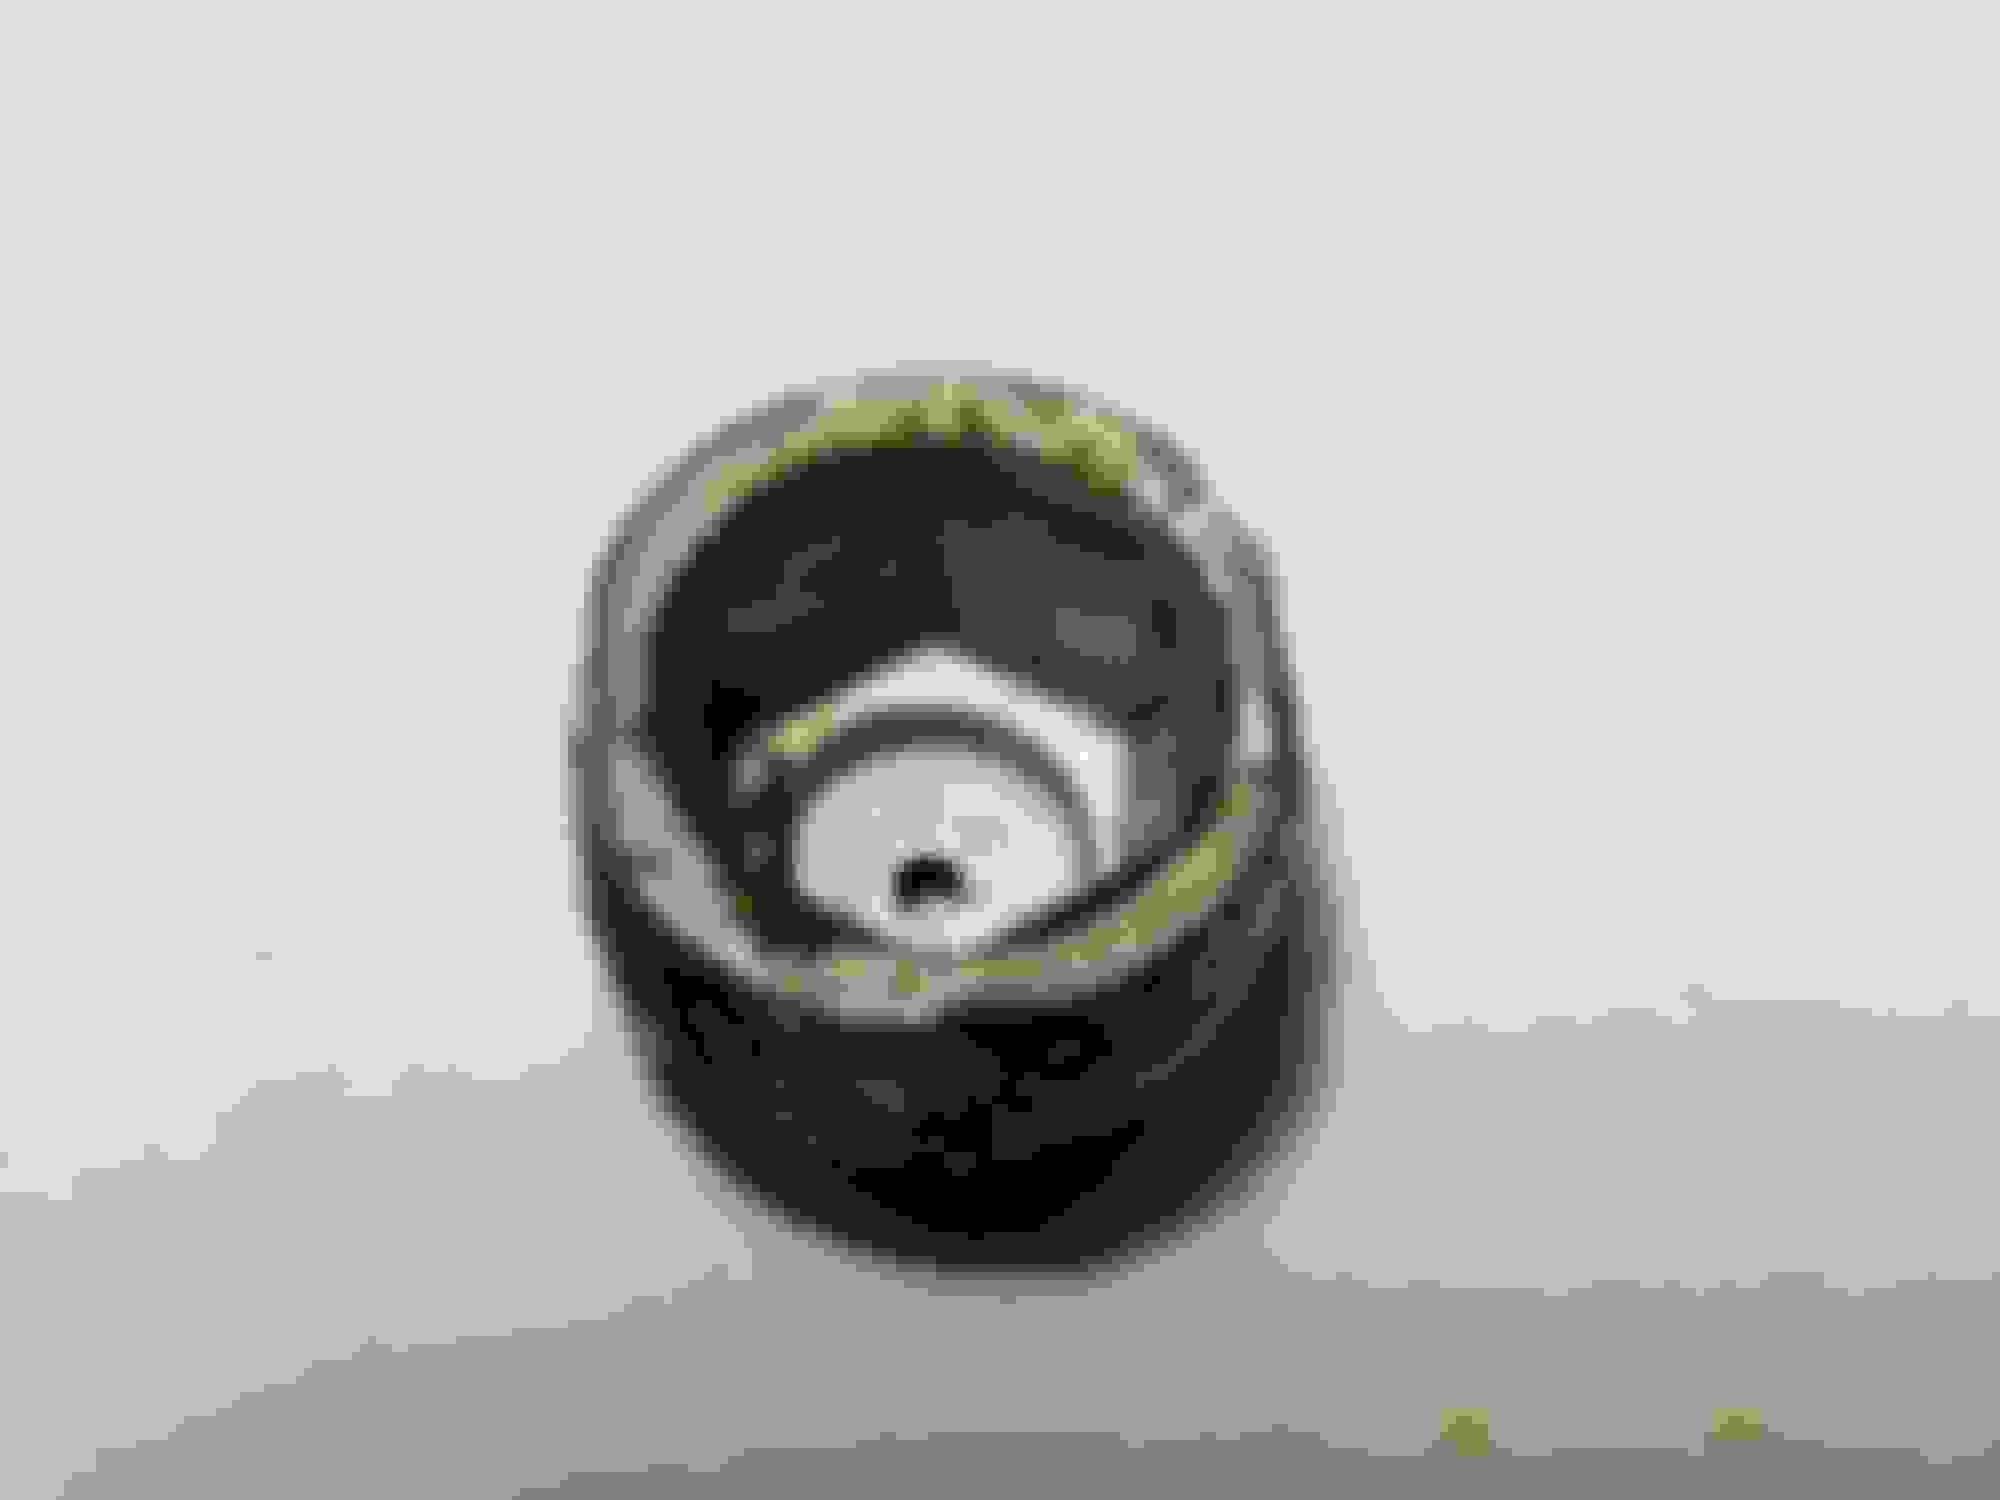
What kr98664 called a 'collar' in the pic above does not screw off. I bought some long reach 45 degree needle nose pliers and got the collar to turn but the visible threads weren't turning. I figured out the collar becomes a 'cap' once the original hex head breaks away. The cap can be removed with a flat head screwdriver thereby exposing the hex head attached to the threads. I'm looking forward to posting pics with it all removed. In this pic you can see the cap in the background that fell once removed.
I'm looking forward to posting pics with it all removed.
Yes, please do. I think I get the gist of this cap and hidden nut, but more pics will be very helpful.
Was the cap thin sheet metal? IF (big if) you could have got long nose Vice-Grips on it, would the cap have crushed down and grabbed the nut? Or was the cap strong enough to resist crushing?
The cap was stout enough to allow for tightening the band before breaking the hex head off. I'll post pics of it once I'm able to dig it out.
Nothing is easy. To tight to allow for a 1/4" drive ratchet to turn and even to tight for a wrench. Fyi... it's a 7mm hex head with a slot for a flat head screwdriver. I have a flathead socket for a 3/8 drive and it's too tight for that. I think a 1/4" drive flathead socket will work but I have to get one.
I didn't think to try crushing the cap to the point it might have grabbed the inner hex head. Once I get it out I'll try crushing it since it's not gong back on. Fyi... the tight space only allowed for a 1/16" turn at a time with the needle nose pliers.
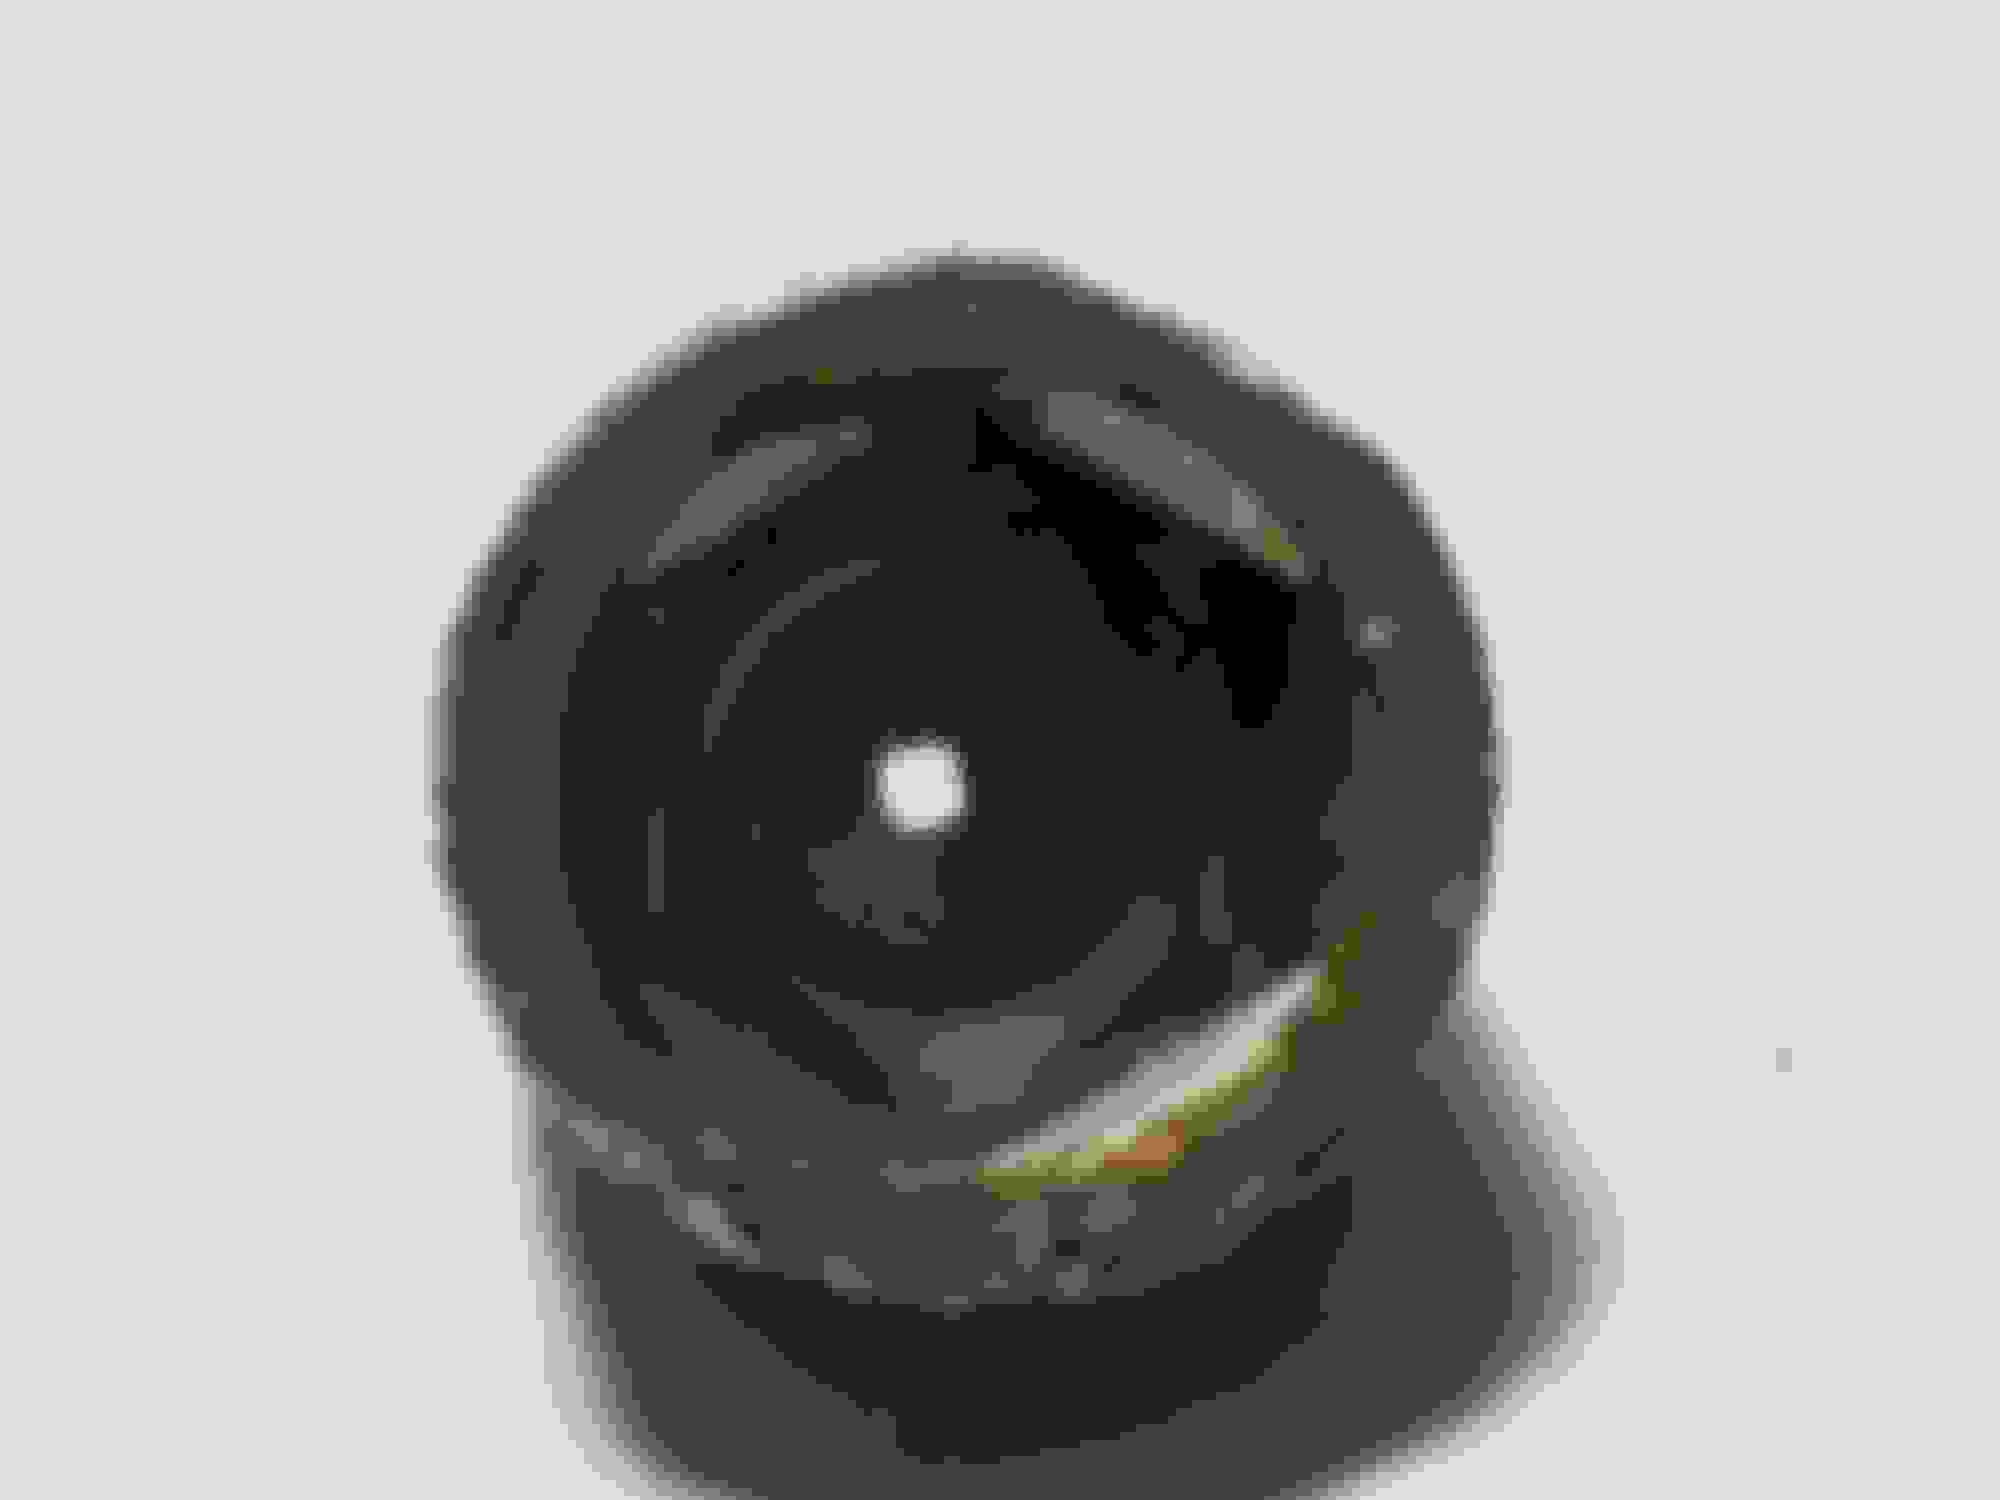
I'm not having luck unscrewing the band clamp but I did retrieve the cap. I'm sure a dealership would drop the tank to do this repair.
The OD is 7/16"
Inside is a hex
Wall thickness is 1/16" w/o the hex so it's actually thicker
Height is approximately 3/8"
I imagine the #7 on the inside refers to something but I don't know what
It has a small pin hole in the center
I am not able to crush it meaning I wouldn't have been able to use pliers to unscrew the cap with screw head attached.
I use either a 7mm ratcheting box wrench, I think from Snap on, or a 7mm swivel socket on the smallest ratchet I have.
Dropping the tank is a much larger job.
Thank you. Your Snap-On tools must be smaller than my Craftsman tools. Best I could do is 1/16" turn at a time with a combination of long angled needle nose pliers, flat head ratchet socket, and wrench. Yes, it's 7mm. I gave up and used tin snips to cut the band. Took 10 seconds.
Now... I have another question. Do the fuel lines stretch over to the access point behind the drivers seat? It's the same setup as the passenger side but mine doesn't have any electrical or fuel line connections on the top.
Here's a pic of the access point behind the drivers side seat. Is this where the fuel lines and electrical connection is made?
Should mention I have the service manual but it doesn't cover the new gas tank and fuel pump covered under the recall. Things are different than in my manual. I've replaced my share of fuel pumps but never an a Jag.