When you click on links to various merchants on this site and make a purchase, this can result in this site earning a commission. Affiliate programs and affiliations include, but are not limited to, the eBay Partner Network.
Quick question: Setting the spark gap....is there any particular technique or tool to bend the electrode down? I just bought the feeler gauge and figured I could just bend it carefully with a screw driver or something.
I use the handle of a screw diver and tap the electrode gently with the feeler gauge in there.
Good to know about the Magnecore, I'll need new leads for the 6.7L as I have coil packs.
Is it really just mounted on the bottom of the old TPS? Can you do this and not have to purchase all those adapters and shafts etc they sell for the new TPS to be used in place of the old style ones?!
Paulyling, was this something you did yourself? If so can you describe how the two shafts are tied together?
Heh JigJag....I'm not sure bud as I haven't messed with the TPS on my ole girl yet. I thought the Pot was all one unit, with the red one being the "newer" style, but apart from that I haven't had a need to mess with it as it seems to have worked fine ever since I've bought it.
Grant would most likely be able to give you the answer you need. Here is a close up pick for clarity:
That's definately a new TPS mounted right underneath the original Bourne TPS. I'l be interested to hear how they are connected if you decide to look to see.
Also, while the dizzy cap is off, a drop of fully synthetic on the dizzy spindle and make sure it rotates 15 degrees or so and snaps back on its spring. Also, test the vac capsule holds vac and moves the dizzy innards. All part of the regular plug change routine.
Greg
Greg the dizzy snaps back no problems. Not sure if I would say it moves 15 degrees though, is that still ok? (see pics).
I have some general purpose oil, doesn't say if it is synthetic or not though. Think it would be ok?
Guys, the more I look at Paul Lings pictures... the more I think I need to remove my fuel rail, and clean the V and replace all fuel lines.. I'm guessing all fuel lines are 'original'..As well as the plugs.- and possibly leads. (not original).
Guys, the more I look at Paul Lings pictures... the more I think I need to remove my fuel rail, and clean the V and replace all fuel lines.. I'm guessing all fuel lines are 'original'..As well as the plugs.- and possibly leads. (not original).
Thoughts.. Grant..Paul ?
Just be aware before you start "just a cleanup in the V" that it will not end there. All kinds of tentacles will reach out from a seemingly simple straightforward job and occupy you for some time.
Grant when you say remove the cap do you meant quite literally the blue cap or the whole mechanism itself? (as pic below)
(Sorry for the silly questions! )
Just the Blue plastic cap is all you need to remove.
I would NOT use that oil, I would see if James, or someone, has a Synthetic you could get a few drops from. The Mineral based will turn "gooey" with the heat, and cause issues.
Heh JigJag....I'm not sure bud as I haven't messed with the TPS on my ole girl yet. I thought the Pot was all one unit, with the red one being the "newer" style, but apart from that I haven't had a need to mess with it as it seems to have worked fine ever since I've bought it.
Grant would most likely be able to give you the answer you need. Here is a close up pick for clarity:
NAH.
You will need some serious Aussie in ya blood to think as far outside the square as I did on that one, about 10 years ago.
XJ40 TPS, simple. Ironically the same as the "update" for the V12.
Fitting (adaptor to some) Kits, not available at the time, and $360, HAHAHAHA.
Simply gutted the Bourns, used the casing as a mount medium, made up a metal "tube" to adapt to the spindle "D" of the capstan, and flattened the other end to drive the "tang" of the new TPS.
The "new" TPS is spring loaded to idle, soooooooooo, all that lag is GONE, it comes back to idle all by itself, amazing, as apposed to the Bourns, that needs to be "dragged" back to idle.
Well....end of the first day and six plugs out and six new ones in....setting the gap wasn't too hard however the electrodes are kinda at an angle so you have to slide the feeler gauge in there the same way to set it right. I tapped with a screw driver butt but also used my thumb and forefinger with a large flat blade screw driver and bent mine as well.
The first 6 plugs weren't too bad to get out at all and thank God the previous mechanic used Never Seize. I think he knew what he was doing lol
Thanks also to Greg in France's advice I cleaned out each plug bore just before I removed it as i had also types of gooey things and grit in there.
I also found it helpful to tick off the plugs I did on my workshop manual to remember where I was at after each one.
Looking at the old plugs in my workshop manual chart they look closest to "Carbon Fouling" however the picture doesn't really do it justice. I had suspected I was running rich as I am in the process of trying to troubleshoot another issue which lead me to the plugs (see here: https://www.jaguarforums.com/forum/x...eriods-168508/)
p.s. Grant do you reckon a few drops of Synthetic 10W40 oil for the engine would suffice for the dizzy?
Paul,
Congrats on progress so far. That plug looks absolutely normal to me, certainly not looking over-rich.
The 10w-40 synthetic will be perfect. Glad the dizzy is snapping back Ok.
Greg
Paul,
Congrats on progress so far. That plug looks absolutely normal to me, certainly not looking over-rich.
The 10w-40 synthetic will be perfect. Glad the dizzy is snapping back Ok.
Greg
Cheers guys.
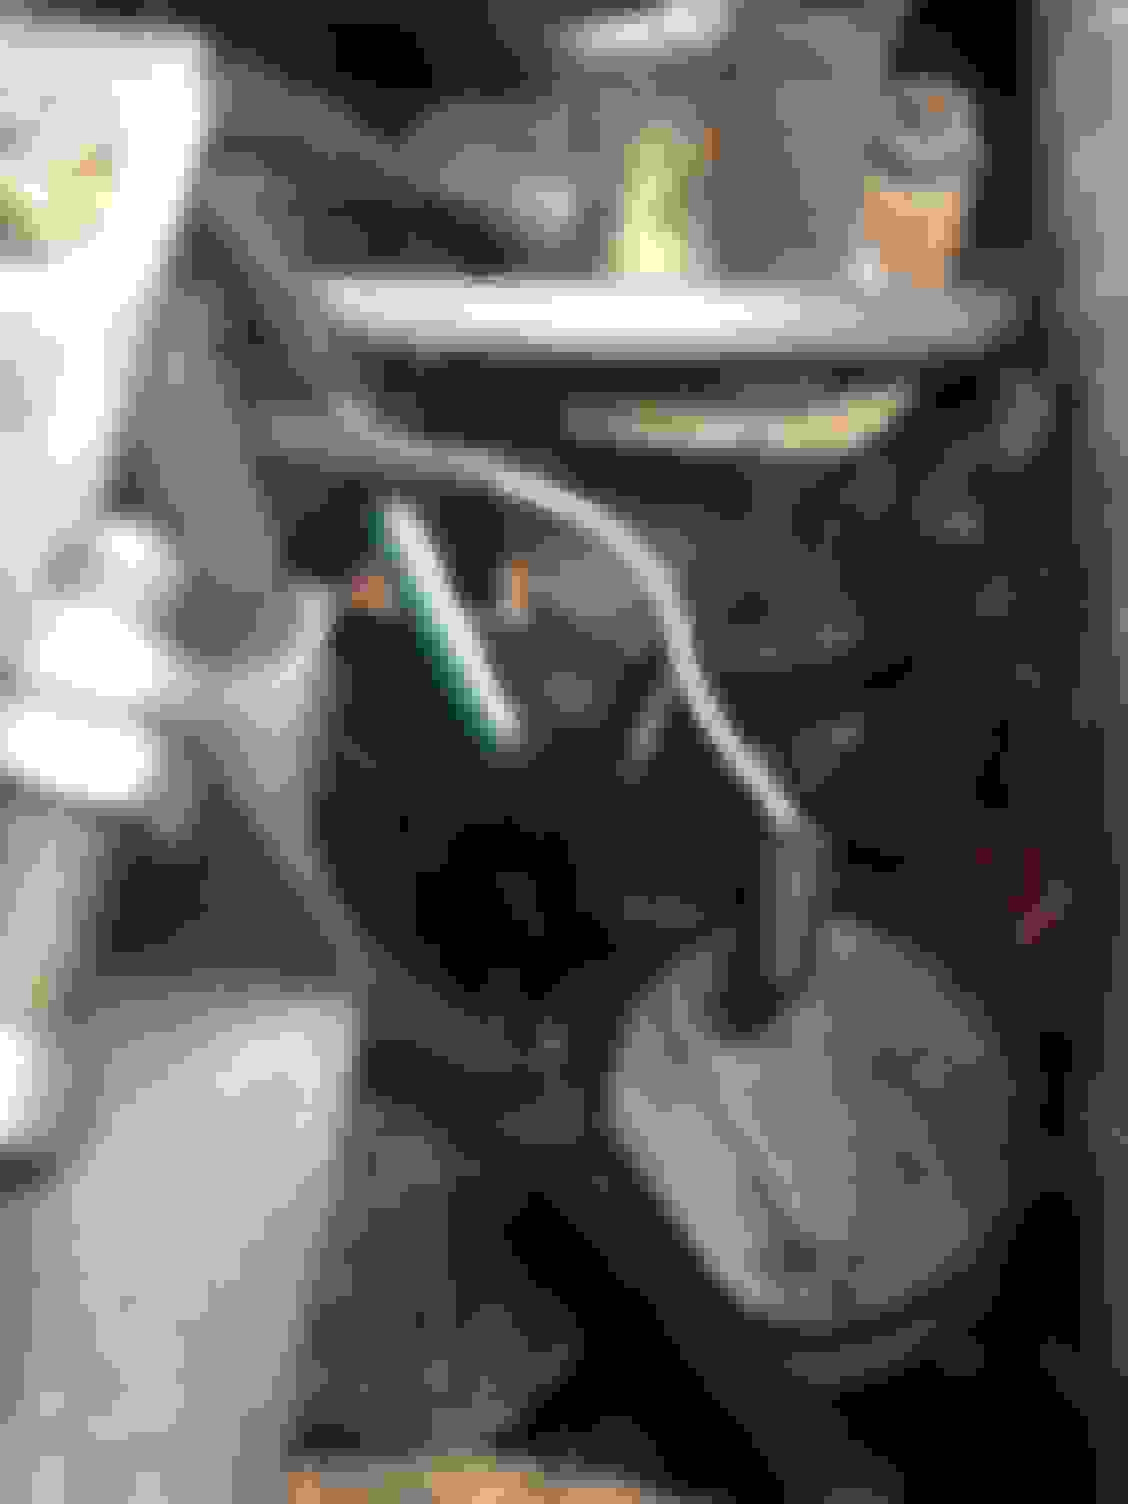
Heh Greg not exactly sure where best to lubricate as there isn't really much access to anything without further dismantling the dizzy. Do I just try and get a bit of oil down the shaft below the green triangular arm?
Last edited by paulyling; Oct 12, 2016 at 02:50 AM.
Heh Greg not exactly sure where best to lubricate as there isn't really much access to anything without further dismantling the dizzy. Do I just try and get a bit of oil down the shaft below the green triangular arm?
Paul
Carefully rock off the rotor arm (place a hand at each end and rock it up and down to loosen it, do NOT just pull it upwards). This reveals the shaft. Put some into the indentation in the top, and allow a little drops to roll down the outside of the shaft. Replace the arm and turn it against the spring and allow it to flick back a few times. Even though free, you can often actually feel it loosen up a bit more when you do this.
Cheers and good luck
Greg