When you click on links to various merchants on this site and make a purchase, this can result in this site earning a commission. Affiliate programs and affiliations include, but are not limited to, the eBay Partner Network.
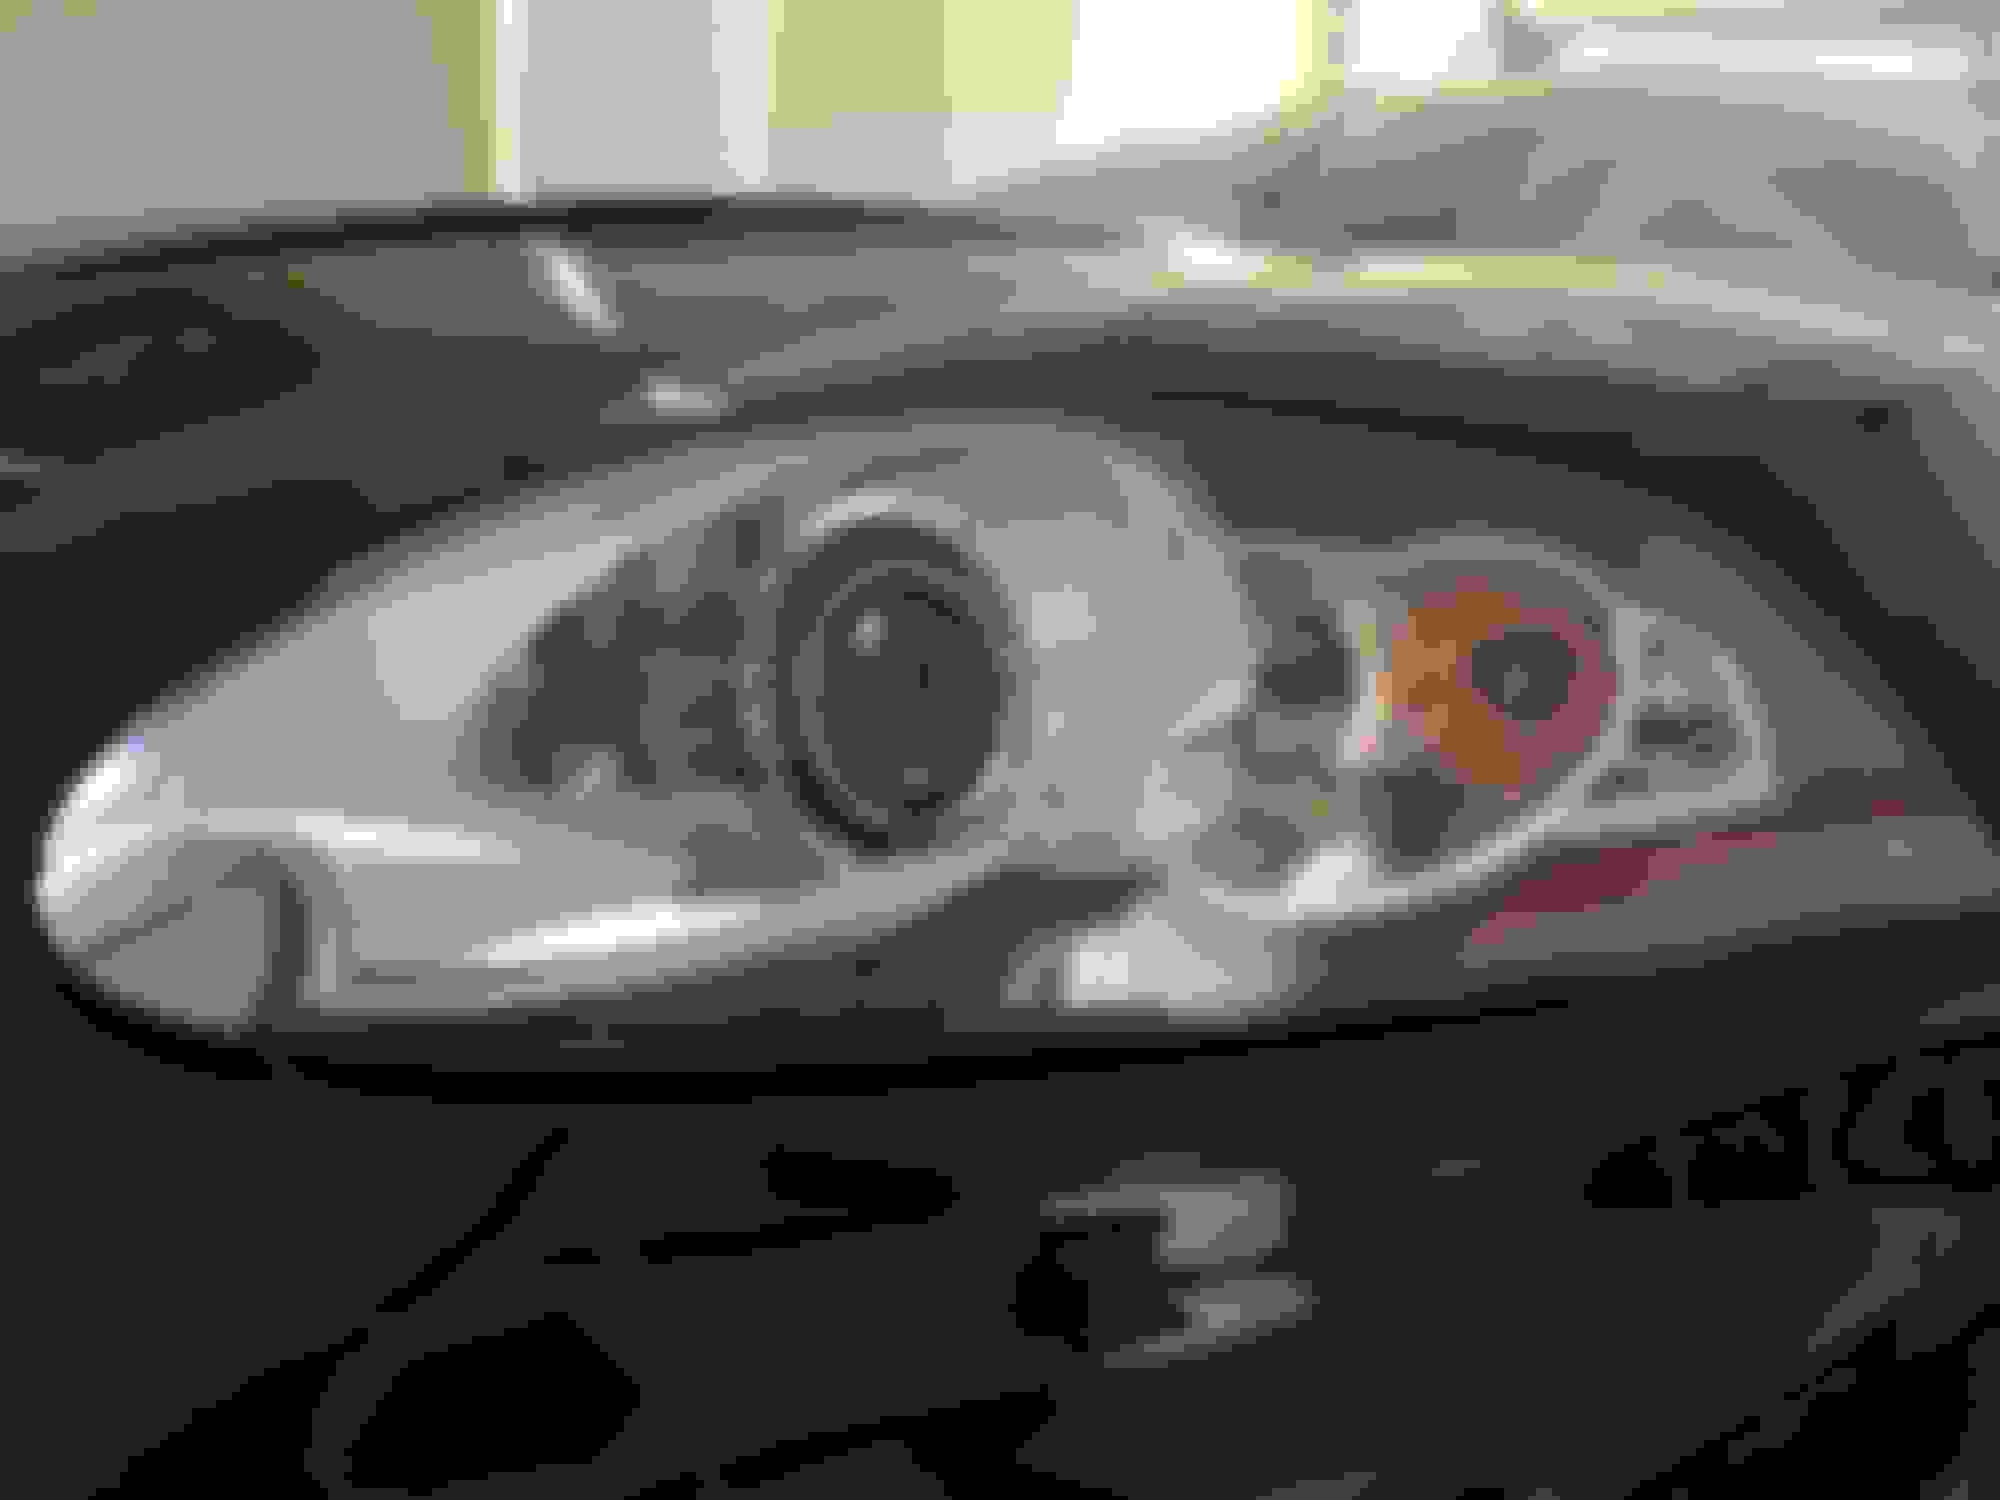
While I take great pride in the care and upkeep of my Jaguars (particularly passionate about maintaining paint, etc.) I could not help but notice a suprising flaw starring me in the face! Perhaps the sun just hit my headlights just right this afternoon - wow had they gone cloudy on me seemingly overnight! A little light polishing compound and we're back to new! I suggest you all take a minute to confirm yours have not gone a bit off
on you as well!
3m has a kit for bringing Headlights back to new. Couple different sandpaper grits and a polishing compound. Results are phenomenal. Mine were badly clouded and full of sider cracks and thought I may have to replace but turned out close to new looking. Involves sanding your lenses so TRUST ME use more than two layers of tape to protect you paint. Use lots of tape!!!!!!!!!
I had this done to one of my other cars and unfortunately the oxidation came back in a few months, this is because factory lights are coated with a UV clearcoat, sanding and polishing will only make the oxidation problem worse as you are removing both the oxidized material as well as the remaining UV protector. The correct way to do it is to take it to a body shop and have them replace the UV clearcoat which will then last you for years.
I used the McGuires kit in my XK. They lookednawedil when I started, now they look brand new. The kit I used included a UV clear coat, we'll see how long it holds up (lifetime warranty on the product)
I had this done to one of my other cars and unfortunately the oxidation came back in a few months, this is because factory lights are coated with a UV clearcoat, sanding and polishing will only make the oxidation problem worse as you are removing both the oxidized material as well as the remaining UV protector. The correct way to do it is to take it to a body shop and have them replace the UV clearcoat which will then last you for years.
Disagree.... respectfully of coarse. While everything you said is correct mine have not clouded over in 16 months. Now it does spend allot of time in the garage but it also sits outside all of the summer.... which, in Wisconsin, I guess is only about 4 months long. Yes, the UV coat is necessary for a long term fix but I would not discourage anybody from trying the product as it is stupid cheap and the results are incredible. Do it yourself and then take it to a body shop for UV coating for the biggest bang for your buck. Me, when it again clouds over (and it will, eventually) I'm just gonna do it again. With allot more tape.
Disagree.... respectfully of coarse. While everything you said is correct mine have not clouded over in 16 months. Now it does spend allot of time in the garage but it also sits outside all of the summer.... which, in Wisconsin, I guess is only about 4 months long. Yes, the UV coat is necessary for a long term fix but I would not discourage anybody from trying the product as it is stupid cheap and the results are incredible. Do it yourself and then take it to a body shop for UV coating for the biggest bang for your buck. Me, when it again clouds over (and it will, eventually) I'm just gonna do it again. With allot more tape.
Wow, 16 months is impressive. Despite having read negative reviews about these polishing products, I tried it on my VW and the results were impressive, at least for a couple of months before the inevitable happened. I have had the headlights on 2 of my Jags done by body shops for less than $100 using the UV urethane clear and never had an issue and the lights looked brand new for years after.
UV Clear Coat Spray Paint. Dozens of brands. Costs from $2.49-$10.
Price is right. I'm not so confident in my abilities to get a perfect finish when dry out of an aerosol can. No idea on cost at a body shop to spray uv only but when jahummers cost is a $100.00 for the entire job, both headlights, it's hardly worth the effort to do it yourself as he's got a uv finish when done. I don't remember exact cost of 3M kit but I believe it was around $30.00ish. I will give mine a final step polish again this spring and take it in to a shop for a uv coating along with a few daily driver touch ups. I'll report back on cost.
For those reading, I don't care how bad your headlights look, they can be saved. Maybe not concourse quality but well worth the effort, whether you do it yourself or you have it done. Mine looked very close to new when done until you got a foot away then you could start to see the stress cracks ever so slightly. For those of you in your 20's, maybe 2 feet away.
I used the 3M kit and then used a surface sealant from EBay. It's wipe on and when dry just buff the surface. Just like a polish very easy and a perfect polish. All in both kit and sealant around �25.
Still looks great after 8 months. I will use the sealant again this summer as I have lots left.
I paid for a body shop to do my headlights for me, they rubbed them back to looking like new then placed a 3M clear wrap on top of them to keep them looking fresh. Cost was �100 all in.
Mine didn't need any polishing, but I put some headlight film (10% tint) to hide the bug-eye look, which worked wonderfully. The good thing is that the film is also UV protection. Plus it is rather thick so it also protects from road debris. If I don't like it eventually, it'll peel right off.
For those reading, I don't care how bad your headlights look, they can be saved. Maybe not concourse quality but well worth the effort, whether you do it yourself or you have it done. Mine looked very close to new when done until you got a foot away then you could start to see the stress cracks ever so slightly. For those of you in your 20's, maybe 2 feet away.
True. The main thing s to not let them get too bad in the first place but in cases where this can't be avoided (previous owner) it's worth while to try to correct them. I did my daughter's car a few months ago which were yellowed pretty bad on the surface but not that bad on the inside and the came out like glass. Yesterday I did these. My son's band's touring van. It's obvious they don't care much about looks but I was concerned about safety as they drive at night a lot.
These are pretty bad. You can see the UV damage penetrated pretty deep. I wet sanded with 400 grit first. I had to take off a lot of material to get the surface even and non blotchy. Then I wet sanded with 800, 1200 and 2000 just enough to get the previous sanding's scratches off (if you rinse clean and wipe dry with a cloth, it's evident where you need to sand more). Once I had an evenly sanded surface after the 2000, I rinsed, dried and polished them with Meguiar's 105 with my DA polisher. Wiped clean and then hit them with 205. I then applied a coat of Ultimate paste wax. If I had more time I would have skipped the polishing and clear coated them but this will do for now. A close look will reveal the interior damage and the cracking but this is way better. Whole process took me about 90 minutes.


 While everything you said is correct mine have not clouded over in 16 months. Now it does spend allot of time in the garage but it also sits outside all of the summer.... which, in Wisconsin, I guess is only about 4 months long. Yes, the UV coat is necessary for a long term fix but I would not discourage anybody from trying the product as it is stupid cheap and the results are incredible. Do it yourself and then take it to a body shop for UV coating for the biggest bang for your buck. Me, when it again clouds over (and it will, eventually) I'm just gonna do it again. With allot more tape.