When you click on links to various merchants on this site and make a purchase, this can result in this site earning a commission. Affiliate programs and affiliations include, but are not limited to, the eBay Partner Network.
So, Cutting that rear firewall is so hard!! (it is firewall after all...)
Thank god that's over for now.
Got myself two pieces of square aluminium pipes (2mm thick). This will be used to support the rear end of the two battery box rails. mounting holes drilled out
Rough idea of where it'll go
Pic with rail on top.
I'll start attaching the angle metal pieces to aluminum bars for the back end of the rails. I thought about welding to the car but I'd like to keep things removable so, I'll use rivet nut(M6) to attach the aluminium bars to the body.
Next up:
- making the car side of the rail fixture.
・complete rear end of rail fixture (almost done)
・complete front end of rail fixture
- rear passenger battery box to be made
- Front ICE(motor) compartment area design
Just found this. Great thread!
I have a 97 that I've been seriously thinking of doing the same thing. After driving an EV for 27 months on a lease (loved it) and not really interested in a sedan EV, I thought the XK8 would make a great conversion.
Keep up the good work and you've got me back on the forum after 3 year hiatus.
How much torsional stiffness do you think was lost by cutting the rear firewall out, if any?
I can't be 100% accurate but the area I've cut out are least critical part of the car where its main job is to keep fire/fuel away from the cabin and to hold rear passengers(not that anyone would use the seats lol)
The part I've cut away were very thin sheet(1mm)
I will be adding few things in the end to make it look better. (similar to rear seats delete ideas)
Stiffness of the rear end is mainly achieved by what's underneath the passenger seats and under the fuel tank floor. (these area are at least 3-6mm thick) so I don't think the handling will be affected much.
@OregonJag
if you have any question regards with EV build, PM me whenever
update!
This weekend I've completed rear side of rail and aluminium bar attachments. Slight miscalculation...I've got couple holes on the centre bracket misaligned so will need to re-make that part this week. but apart from that, I've managed to assemble all the parts(for test) and they are looking good!
Hopefully by the end of this week, I'll be done with rear battery box! up to 16mm capable drill. monster!
Had to weld one of the hole shut
Angle being painted and bolted.
rail working as it should! (has not been bolted on the car yet)
Next up:
- making the car side of the rail fixture.
・Drill holes on car for aluminium bar bolting
・complete front end of rail fixture
- rear passenger battery box to be made
- Front ICE(motor) compartment area design
I'm still working on the rear battery boxes but they are coming along nicely.
In the last couple weeks, I've finished fabricating most of the rear battery box rail system.
its been very difficult to work on in a such tiny space but managed to get most of it done. (The welding is not the best...)
This week, I'll finish painting them and finally test fit batteries in them.
(hopefully it wont fail on me...)
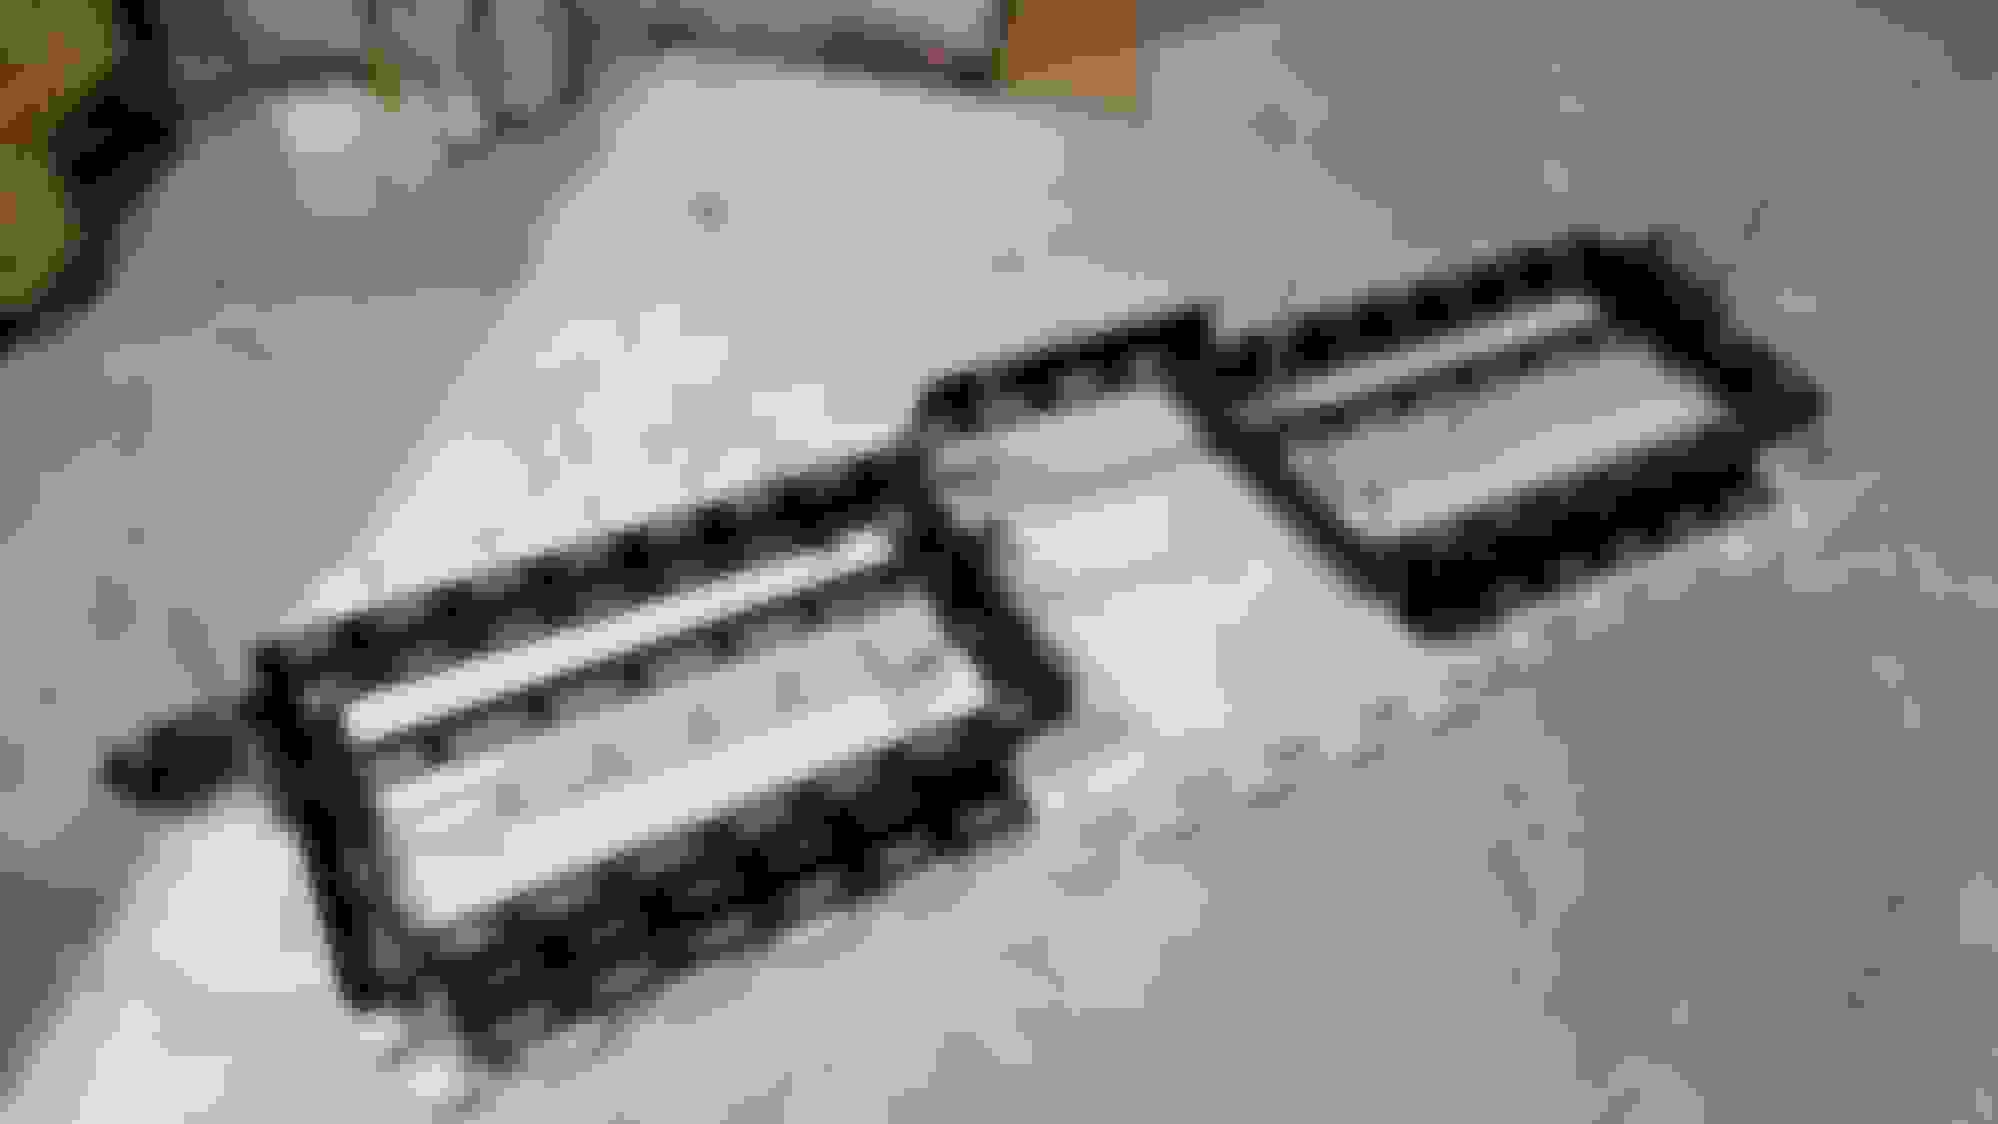
rear box front support M6 Nut rivet to secure the front end rear box rear side support rear box rear side support Test fitting welded rear box side support welded rear box side support
Next up:
- paint few areas for the rear battery box supports
+ test fit the batteries and a lid
- rear passenger battery box to be made
- Front ICE(motor) compartment area design
Any updates on this project? We need pictures of the grand finale!
My daily job has kept me busy but I should post more updates!
I'm currently working on making the rear passenger seat battery box so, this weekend I'll get some pictures and make another update post!
I really want this project completed by the end of this year!!
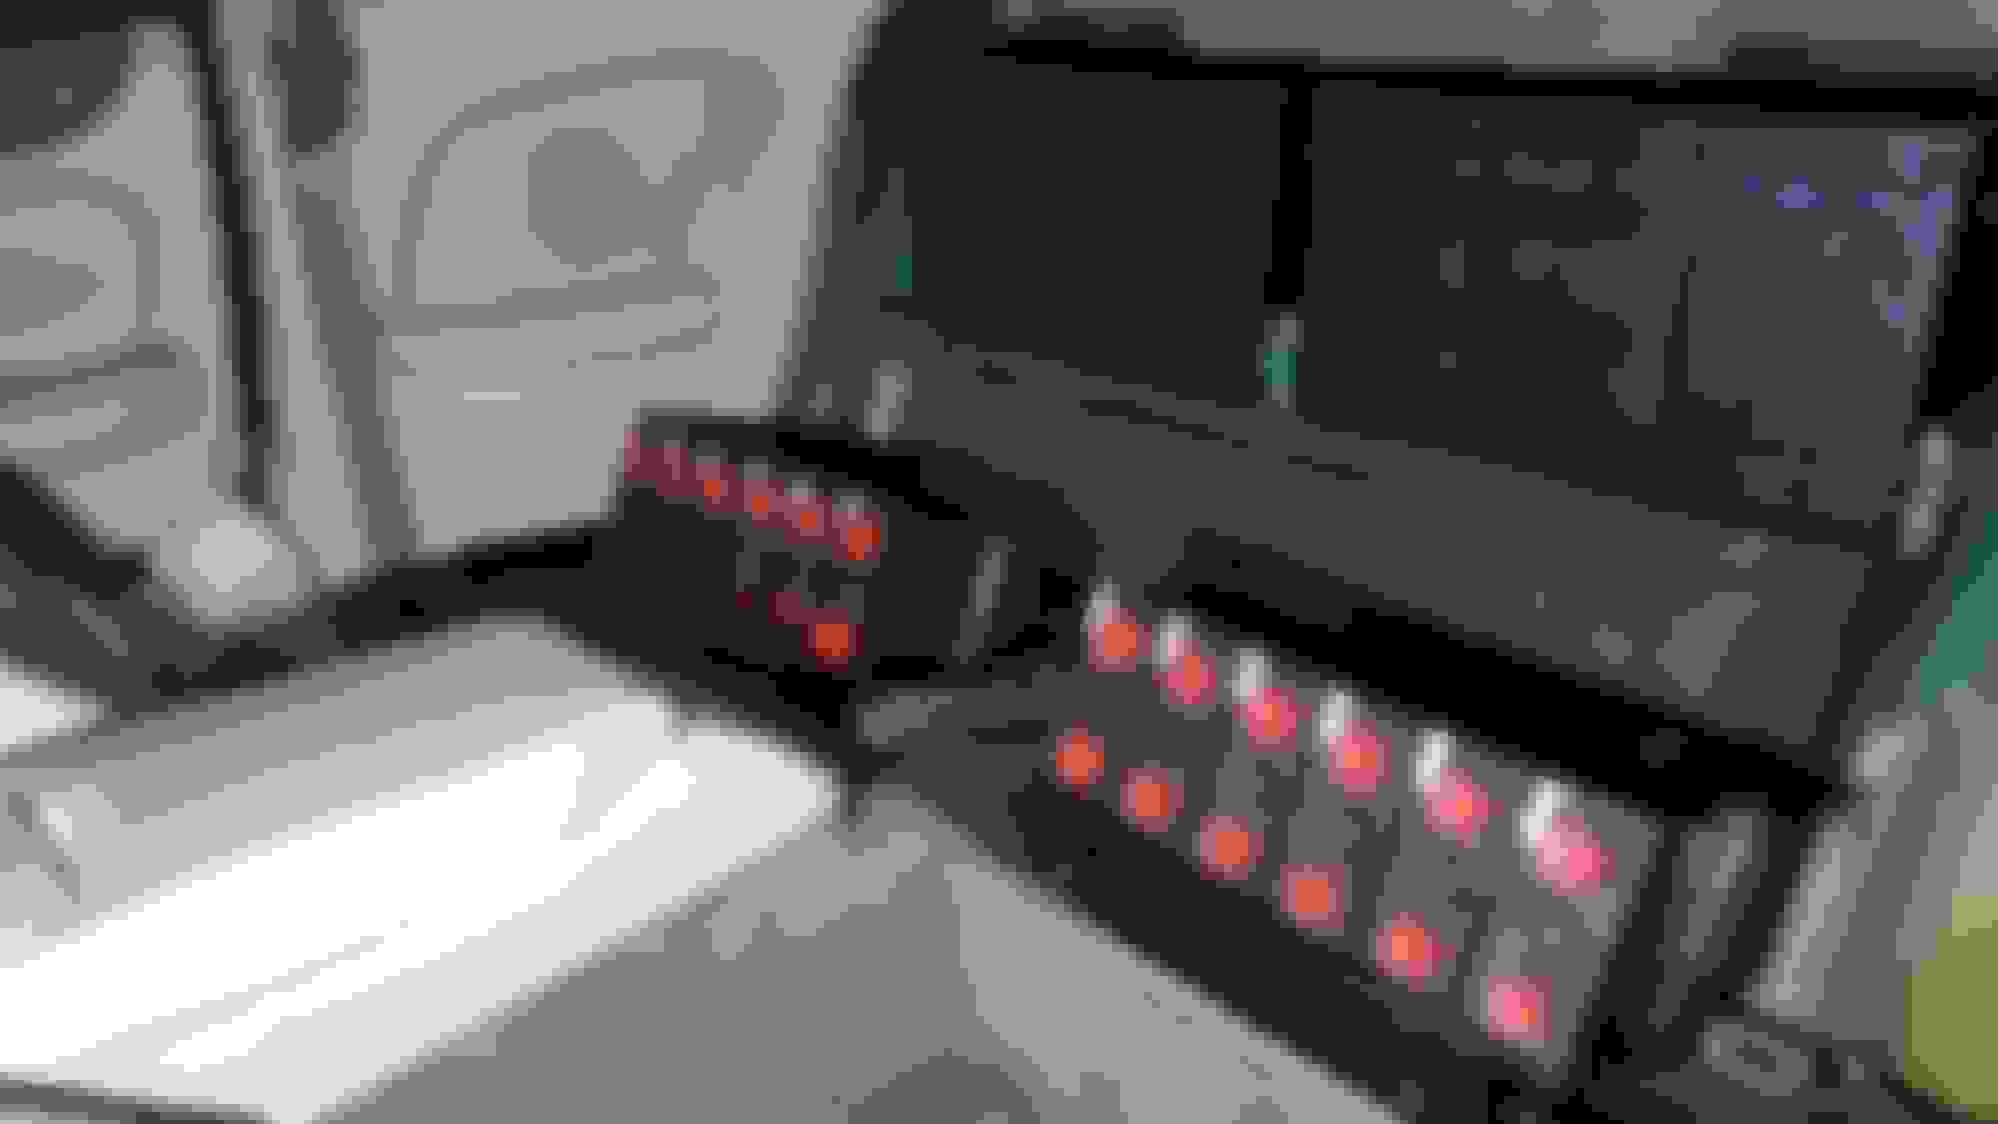
I've completed the rear fuel tank area battery packs and they all fit perfectly.
I haven't taken the picture yet but there will be more structure added to secure these boxed in case of any accident.... All 60kg of batteries fits nicely!
Nextup!
I've Completed rear passenger area battery box.
This was a lot harder than expected since there are tons of curves on her
but managed to get use of seat belt bolt points to get it strong enough to hold 12cells frame for rear passenger seat battery
Test fitting
complicated structure but perfect fit!
battery fittings and support
Overall
Now the rear side are pretty much complete(will make it more pretty once the car can get moving), I'll start making structure for the front end (For once I can move around easily! rear end has given me so much paint as there are no space to work on!)
Maybe I'll make MARK II of this car with carbonfiber frames instead of steel+welding and possibly tesla motor and cells!?
If the self driving Teslas keep crashing, for sure you will get a good price for the parts (due to the excessive offer)
One question that I have is, I saw a video in you tube of the prototype X100 XKR-S with manual transmission. The ECU was detecting an "extrange part" in the transmission and was reporting an error. In your case what would happen with the ECU? Commit suicide?