When you click on links to various merchants on this site and make a purchase, this can result in this site earning a commission. Affiliate programs and affiliations include, but are not limited to, the eBay Partner Network.
The sills are just held in place by friction clips. So, get a screw driver or other similar prying device, get in under the plastic plate and lift up the one end about 1cm or so. From there, you can work your way around and pop all the friction clips. You should see them on the new plates that you have. As for making the lights work, the plugs should be under the plates and have power to them already. So, making them light up should take no work at all.
The sills are just held in place by friction clips. So, get a screw driver or other similar prying device, get in under the plastic plate and lift up the one end about 1cm or so. From there, you can work your way around and pop all the friction clips. You should see them on the new plates that you have. As for making the lights work, the plugs should be under the plates and have power to them already. So, making them light up should take no work at all.
thanks thermo !
are the friction clips re-usable ? i,e., should I go to Jaguar and buy a few extra or the old ones will be ok to reuse ?
I did my cills just after I got the car, took about 10 minutes for the first one and maybe 5 minutes for each of the others, just be careful prying them up and when you clip them back down be careful not to pinch the wires, as mentioned above , you will see the wired socket lead underneath and the plug lead on the cill just pushes straight into it, they look brilliant.
I did not need any additional clips.
Soooooooooo... My sills have arrived and I install them myself.
Total time ? around 10 minutes for all four of them.
Background : I'm very DYI challenged. I suck at it. I was very afraid of installing myself, but I decided to give it a try and if didnt work, I would go to Jaguar. Lovely that I did.
Tools used : a screwdriver ( doesnt matter the size, just to pry the old thing off )
with a screwdriver, pry off the old ones. start from the door side.
get the carpet up and you will find this connector.
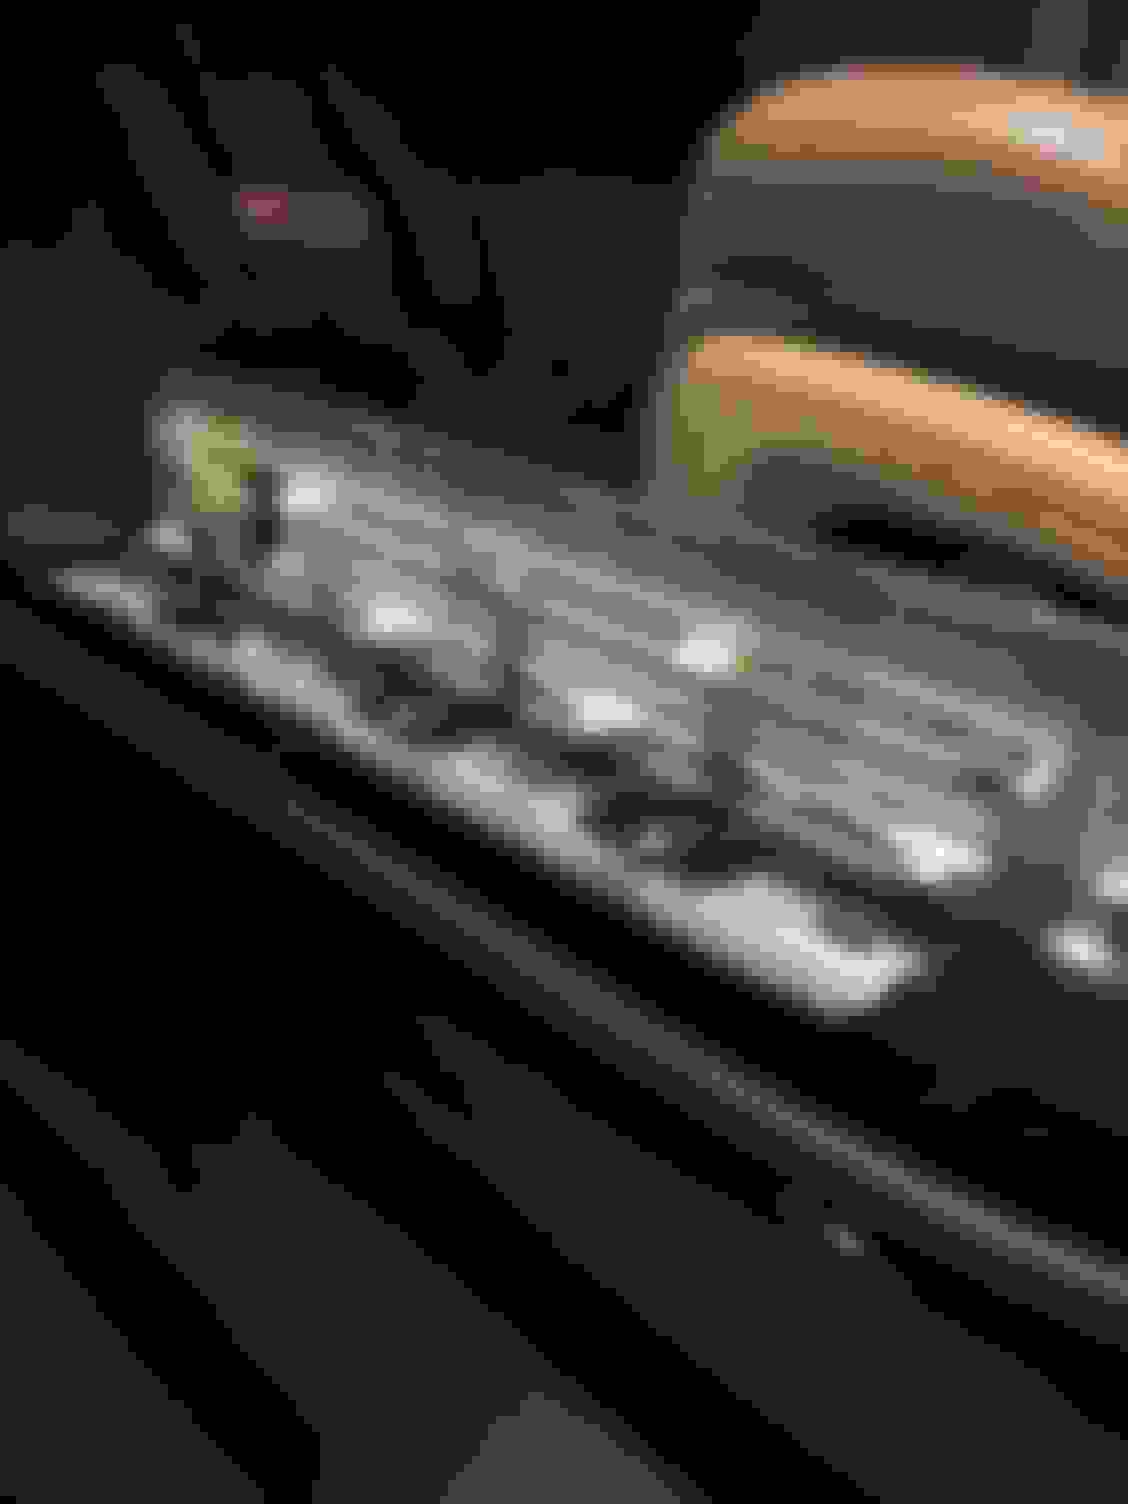
pop the new ones in and ... TADA !
just FYI - the front sill is different. but same principle. no screws to turn, nothing. just pop off, pop in the new one.
Scout eBay - bought mines for a steal ( all 4 of them for less than 500 ). It makes the car nicer for a little
Soooooooooo... My sills have arrived and I install them myself.
Total time ? around 10 minutes for all four of them.
Background : I'm very DYI challenged. I suck at it. I was very afraid of installing myself, but I decided to give it a try and if didnt work, I would go to Jaguar. Lovely that I did.
Tools used : a screwdriver ( doesnt matter the size, just to pry the old thing off )
with a screwdriver, pry off the old ones. start from the door side.
get the carpet up and you will find this connector.
pop the new ones in and ... TADA !
just FYI - the front sill is different. but same principle. no screws to turn, nothing. just pop off, pop in the new one.
Scout eBay - bought mines for a steal ( all 4 of them for less than 500 ). It makes the car nicer for a little
Four of them for less than $500--let me know where you bought these and I just may get four. Thanks.
Four of them for less than $500--let me know where you bought these and I just may get four. Thanks.
eBay. I saw an add that four of them that ended and the reserve price wasn't met - so I contacted the seller directed and made an offer, he said ok and I'm a happy man
eBay. I saw an add that four of them that ended and the reserve price wasn't met - so I contacted the seller directed and made an offer, he said ok and I'm a happy man
Thanks for this quick reply. I am checking Ebay and if I find something similar I will post on the forum.
Thanks Goncalo for the pics and details on installing them. The look gorgeous!
Welcome ! Just wanted to show that its REALLY a five minute job to install all of them and even the most DYI challenge person ( that includes me ) can do this.
Everyone start scouting eBay, Craiglist, Gumtree and all that - its really worth it, I'm really happy with them
IMPORTANT NOTE HOWEVER
while the front sills are identical, there are rear SWB and LWB sills.
make sure you get the correct rear sills for your car ( XJ or XJL ).
I just purchased my Jaguar in July. It was a left over new 2014 with 11 miles on it. I purchased the illuninated sill plates front and rear and trunk finisher. I did the install myself. The front sill plates were easy but due to the position of one of the retaining clips on the rear sill it took a little time.
One of the most impressive things about this car IMO is how accurate the owners manual is, everything that is in the book is in the car. I have not found this to be true with some other cars that I have own.
I also like the fact that I have yet to take the car in for some warranty issue.
Have had my 2012 XJL since last November and also have not had to take it in for any warranty issues--hope that continues. In June though I purchased an extended warranty; got a great price.
This month will be taking the automobile for its annual checkup.
Oh, what OEM tires came w/ your '14 XJ?
Have had my 2012 XJL since last November and also have not had to take it in for any warranty issues--hope that continues. In June though I purchased an extended warranty; got a great price.
This month will be taking the automobile for its annual checkup.
Oh, what OEM tires came w/ your '14 XJ?
The Perilli P Zero Nero All Season UHP Tires were OEM on my car. If Perilli made the Centurato P7 Plus that was not a Run Flat Tire in the sizes that I needed, I would purchase it in a heart beat.
The Peril P Zero is a nice tire but IMO the Centurato P7 Plus is the better tire of most any brand on the market.
Thanks for your response. I'm thinking about getting Continentals DWS
when the time comes. This tire appears to have gotten good reviews by
a number of people on this forum.
I used a flat blade screwdriver to pry up a corner and then lift to release the friction fasteners and remove the original sill. Plug the electrical connectors together, line up the tabs with the slots, and press down to snap in. Both sides took me less than 10 minutes.
If I were to do it again, I would use a plastic trim tool pry bar. They're designed for the job, with better leverage and and won't scratch the sill plate.
A set of plastic trim removal tools is inexpensive and available on Amazon, Ebay, and your local auto parts store. They should be part of every shade tree mechanic's toolbox. I bought my set about a couple of years after after I did my sill plates, as I needed them to remove some dashboard trim in order to replace my cupholders. I should have brought them long before then, as they're very useful.