When you click on links to various merchants on this site and make a purchase, this can result in this site earning a commission. Affiliate programs and affiliations include, but are not limited to, the eBay Partner Network.
I just picked up this 2005 X-Type (AT). The A/C compressor had frozen and the pulley got ripped off along with the serpentine belt. I have been going through and replacing the belt and idler pulleys + tensioner plus water pump and all fluids. Just yesterday I was under the car (again) and noticed two wiring "junctions" on the lower drivers side. Both had torn up wires and those wires went to/from something attached to the engine just below the battery. The pics show the junctions (hard to get a pic of) and where they go (one into the round black potting, the other into the pie shaped cover). For orientation, the battery box mount and water pump is discernible in the photo.
My question is, what is this unit (which the wires go to) and how serious are these broken/torn wires? They can be spliced but it's going to be a long cold job with winter settling in here in Indiana. The Jag did run smoothly and I drove it up onto my car trailer to get it home.
these are the junctions as seen from below the car.
top view...
Last edited by Red_Sonja; Nov 27, 2018 at 07:23 PM.
OK, i'll answer part of my question... That unit is my automatic transmission The wires are thus either necessary or very important. Unless someone else tells me something different, i will begin to splice those wires (at least 8-12) that are torn/broken.
Another question would be, what would do that to a wiring harness connection????? So I can prevent it happening in the future. Is there supposed to be a cover/plate below them?
Red_Sonja, if the copper is still intact, then what I would recommend is getting a product called "Raychem WCSF-050". It can be found on e-bay and it will come in 36" lengths. Based on what I am seeing, you will want say 2 lengths of it. You are going to see it called heat shrink. That is like calling Godzilla "just a lizard". This stuff is used to survive nuclear reactor accidents (I use it at work).. What you will need to do is get the connector apart and then pull the pins out of the connector (preferably one at a time). This will allow you to slide some of the Raychem over the pin that gets pulled out of the connector and then once you center the Raychem over the exposed copper, you apply some heat (hair dryer or heat gun works best) and the Raychem will shrink down. Where the Raychem has the advantage over normal heat shrink is that the Raychem has a heat activated glue on the inside. So, you slide it over the wire and then you apply enough heat to see a little "donut" of orange glue form at each end of the tubing. This will tell you that the glue has been activated and it now has made a water tight connection again, protecting the wiring. You want to make sure that you get atleast an inch of the Raychem beyond the exposed copper on both ends. Less than this and you can potentially have issues. So, if you are worried about it surviving the under hood conditions, it will take it just fine (rated to go to like 500F in a steam filled environment).
When applying to ensure no future issues, wipe the insulation down to remove any dirt/moisture. Ensure the copper you are covering is in good condition. After that, apply and tie out of the way.
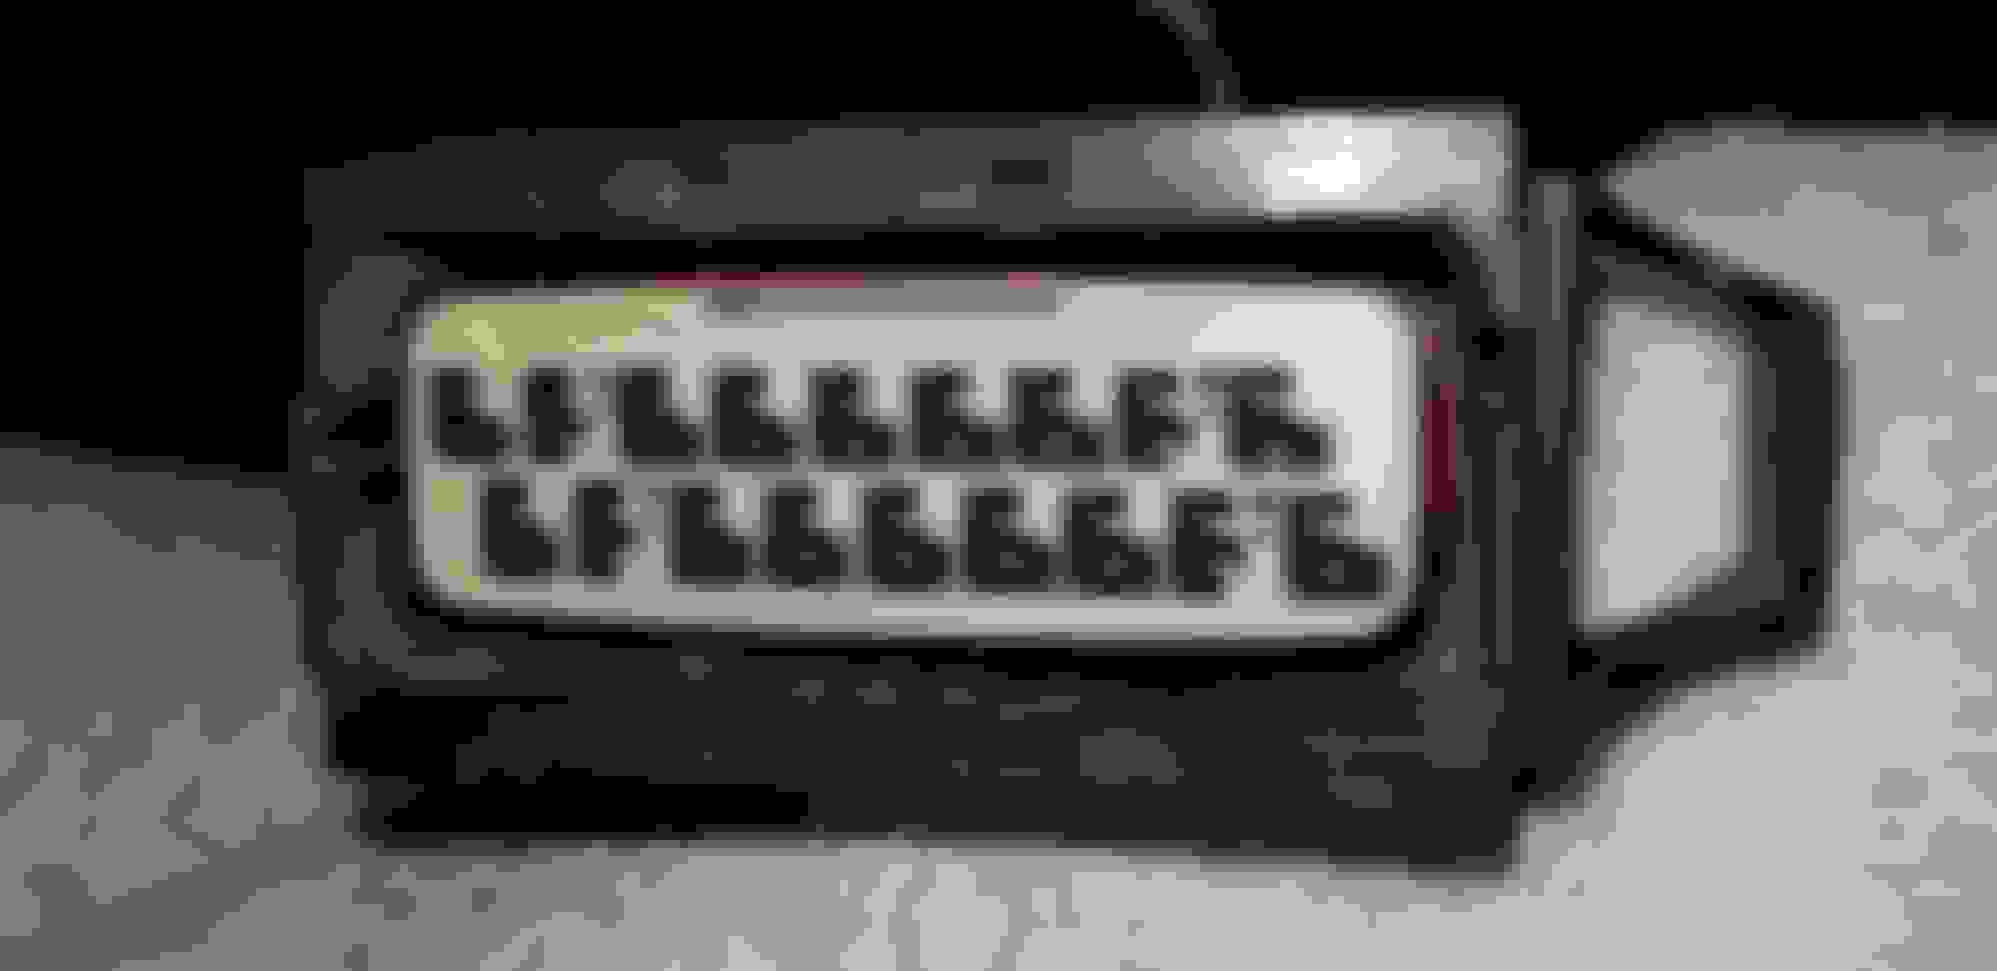
More information. I was able to get the two connectors apart and rerouted up to the battery box location (see pics below). This will make it MUCH easier to work on now. However one connector has about 8 chewed wires, some still full length and some missing an inch or more of wire! The other connector only has 5 bad wires with one missing an inch. Looking at the damage, it almost had to be rats chewing them
NOW, I need to know how to push or pull the "pins" out of the connectors. I tried pushing from the top without success and when I pulled on one test wire, the wire came out from what seemed like a rubber "sleeve". I was able to push that right back in but it scared me as to whether it now makes contact with it's pin.
Red_Sonja, the pins are held in place by 2 very small metal "hairs". They are little springs that are on the side of the connector where the other pin meets it. If you look down and inside the connector, you can see them poking out there. What you need to do is push in on both of those pins (they make a special tool for this or you can normally get it with a pair of small screw drivers) and once the springs are pushed in, the wire will push out the back of the connector. Of note, you may need to pull the spring "hairs" back out to get proper engagement when you put the pin back in.
As for the wires that were eaten completely through, depending on how much slack you have in the wiring, you may be able to use a soldering iron and after stripping a 1/4" or so off of each end of the wire, you can then solder the wires back together, adding a 2-1/2" piece of Raychem over the solder joint (centering the solder joint under the Raychem) and then shrink the Raychem down. In the case of a wire that is eaten through, you can normally peel back the protective covering of the cable bundle to push the ray chem on to the wire. Then you just need to keep it far enough away that you can solder the wires together. Then you slide it in place and shrink it down. If the insulation is only gone, then you will need to remove the pin and slide the Raychem on then.


 The Jag did run smoothly and I drove it up onto my car trailer to get it home.