When you click on links to various merchants on this site and make a purchase, this can result in this site earning a commission. Affiliate programs and affiliations include, but are not limited to, the eBay Partner Network.
Yeah, there's no way that Jaguar will give me any help at all, having bought it with no warranty and therefore changed the oil myself (though religiously when it tells me to using the correct oil).
Your story does sound remarkably similar to mine though.
Dave, if possible please document the cost to rebuild the engine. I honestly think that a rebuild would be considerably less than $10,000. Since this is uncharted territory, I really appreciate you posting this information. There's next to nothing on the Internet on rebuilding this engine.
Thanks - I will be documenting everything including costs. Currently analyzing lots of different options - whether I stick with the 6.35mm timing chains (where a replacement primary chain runs at $250ish) or upgrade to 8.0mm gear (where a replacement primary chain runs at $50ish but requires lots of other parts), etc.
If so, can you check/measure how far from the bottom of the sump pan it ends, as that might help with the never ending oil change debate about "suck or dump".
Here's a pic taken from above with a clean sump. I'd estimate there to be about a 5-6mm gap but will measure properly tomorrow.
Update
Well, today I found the cause of the metal in the oil - two spun conrod bearings. I wasn't too shocked when I found them because I'd dismantled pretty much everything else and found no problems.
Here's some progress pics:
Engine internals
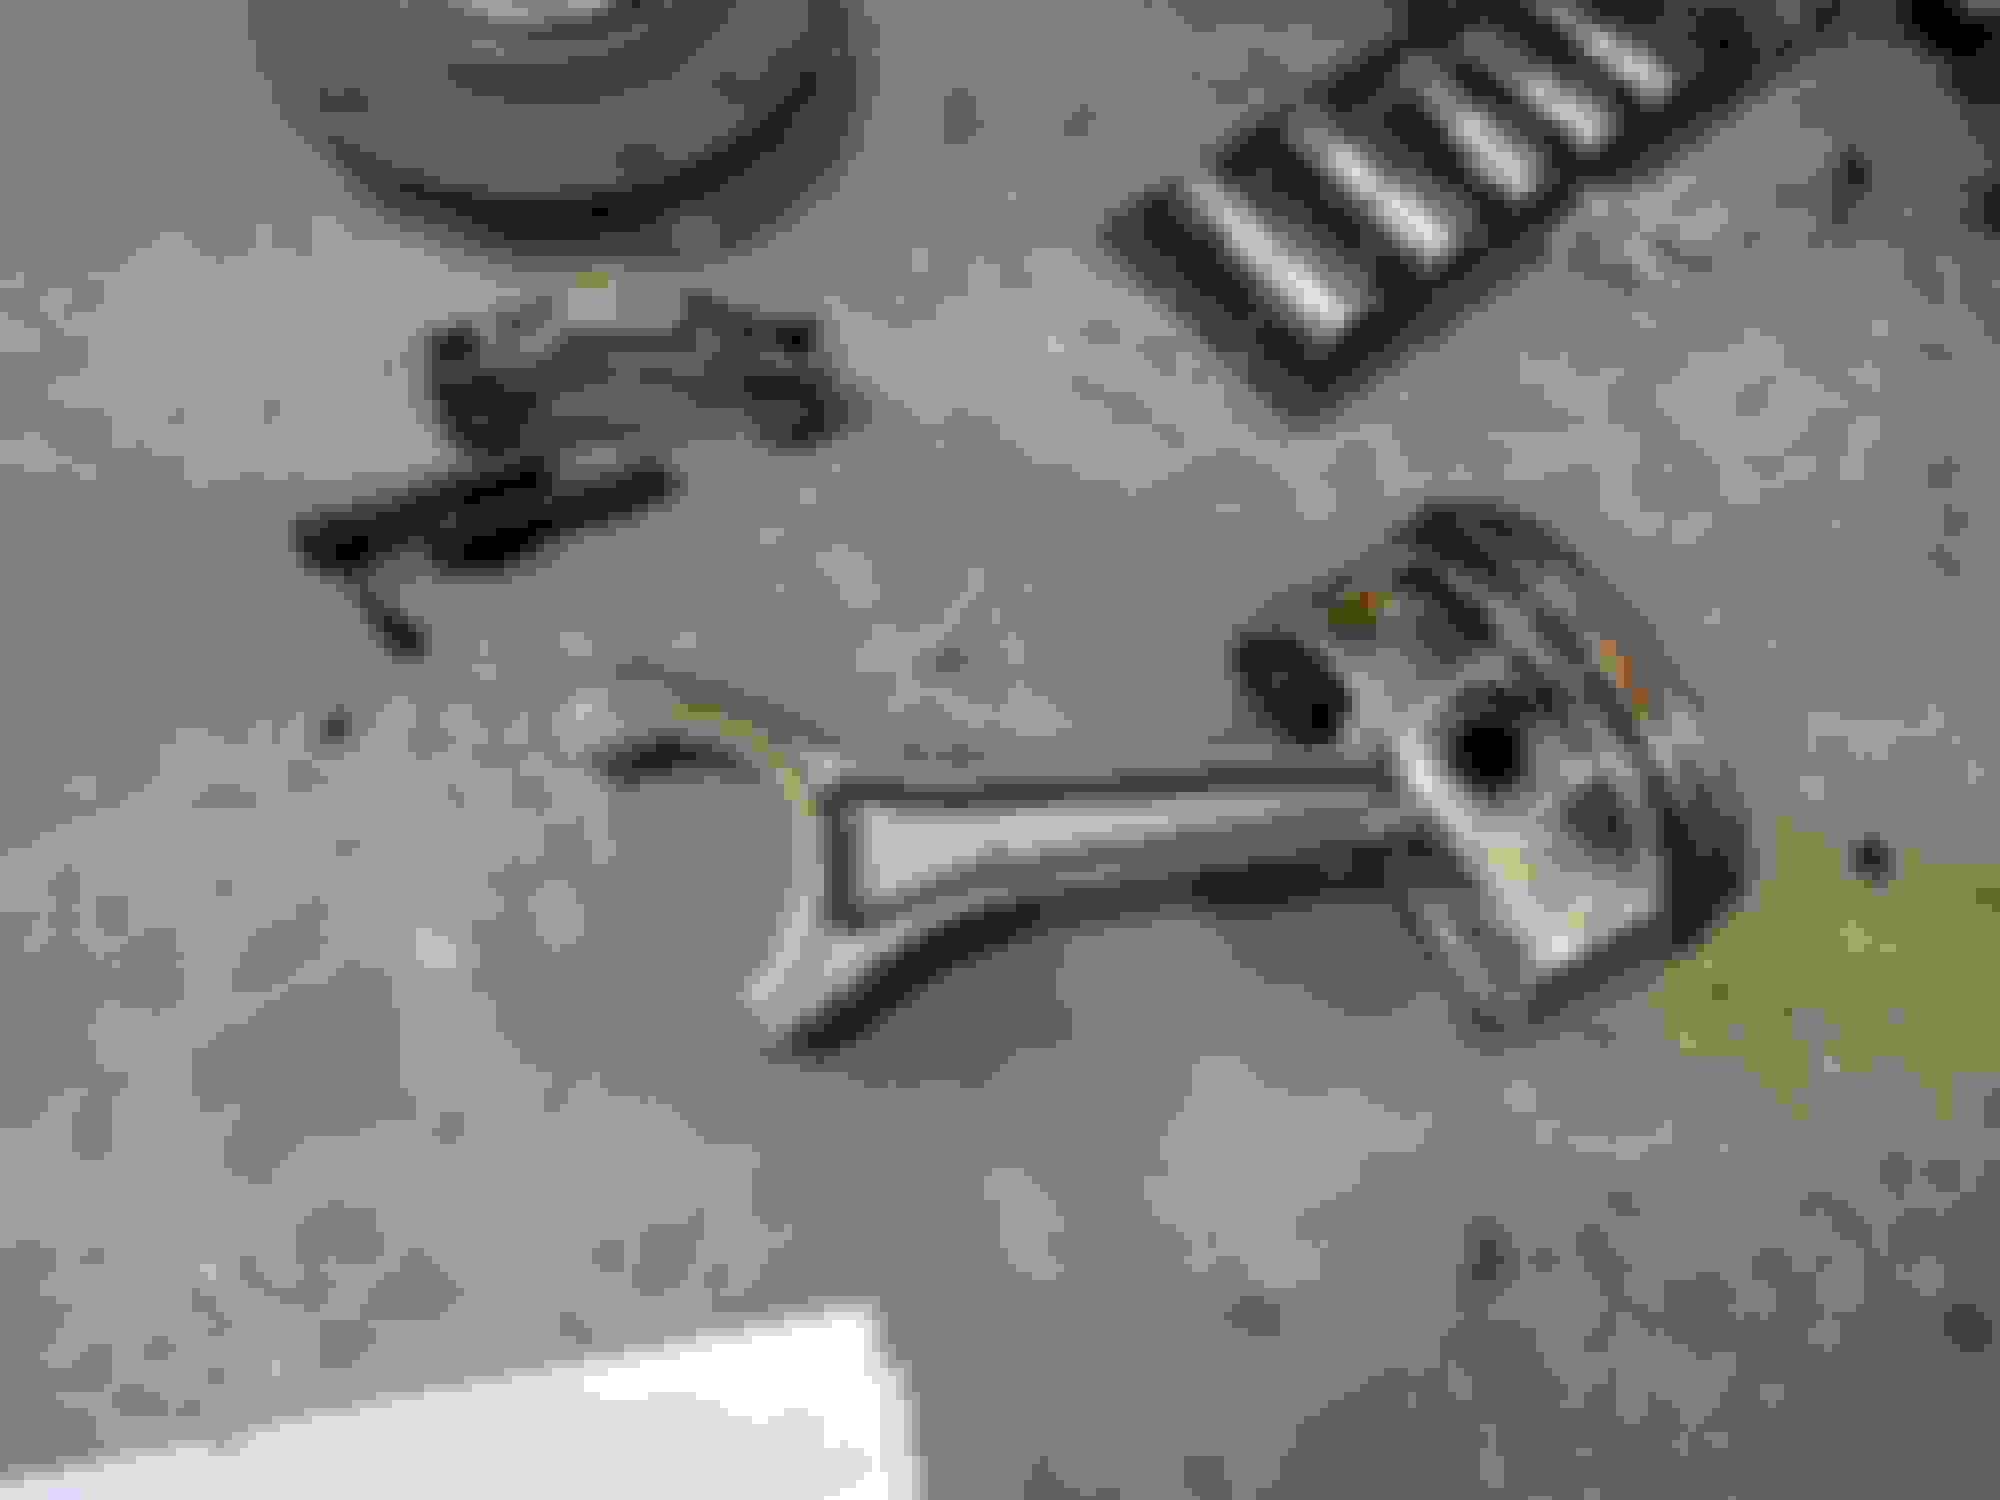
Piston and conrod
The smoking gun - the results of a spun bearing
You can actually see the difference in profile on the crank journal where the bearing has spun. I couldn't get the main bearing caps off today despite getting the bolts out - I suspect it's a combination of the bolts being very tight and also the caps themselves probably accurately machined with tight tolerances, so basically they're stuck. If anyone has any hints on how to get them out I'd appreciate it. This is where I'm currently at:
Main bearing cap bolts out, but they're not budging.
Once I have the main bearing caps off I can get the crank off a machine shop. Oversized bearings are available for 0.25mm and 0.5mm over, so providing I don't need more than that grinding off the journals (and I can't think it would, despite there being a visible lip on the journal), it should be fine to rebuild. Then I'll get the block sent off to have the cylinders rehoned.
awesome project and very instructive write-up .
Bad to see on the pictures , but perhaps the bearing-caps are
additionally fixed by side screws to give more stiffness
to the engine block ?
Can you explain which two conrod bearings are worn . Do they
have the same main-bearing oil-supply ?
Still curious about the true reason of the bearing failure .
]but perhaps the bearing-caps are
additionally fixed by side screws to give more stiffness
to the engine block ?
Oh. My. God. I can even see the bolts on the side of the block in the photo I posted. Well, at least I can see how they're coming out when I go back next. I can't believe I missed them - I was quite tired the last time I was there, clearly! Thanks!
Originally Posted by f-driver
]Can you explain which two conrod bearings are worn . Do they
have the same main-bearing oil-supply ? Still curious about the true reason of the bearing failure.
Counting from the front of the engine, it was bearings 3 and 4, and I'm pretty sure they share the same oil-supply/spray.
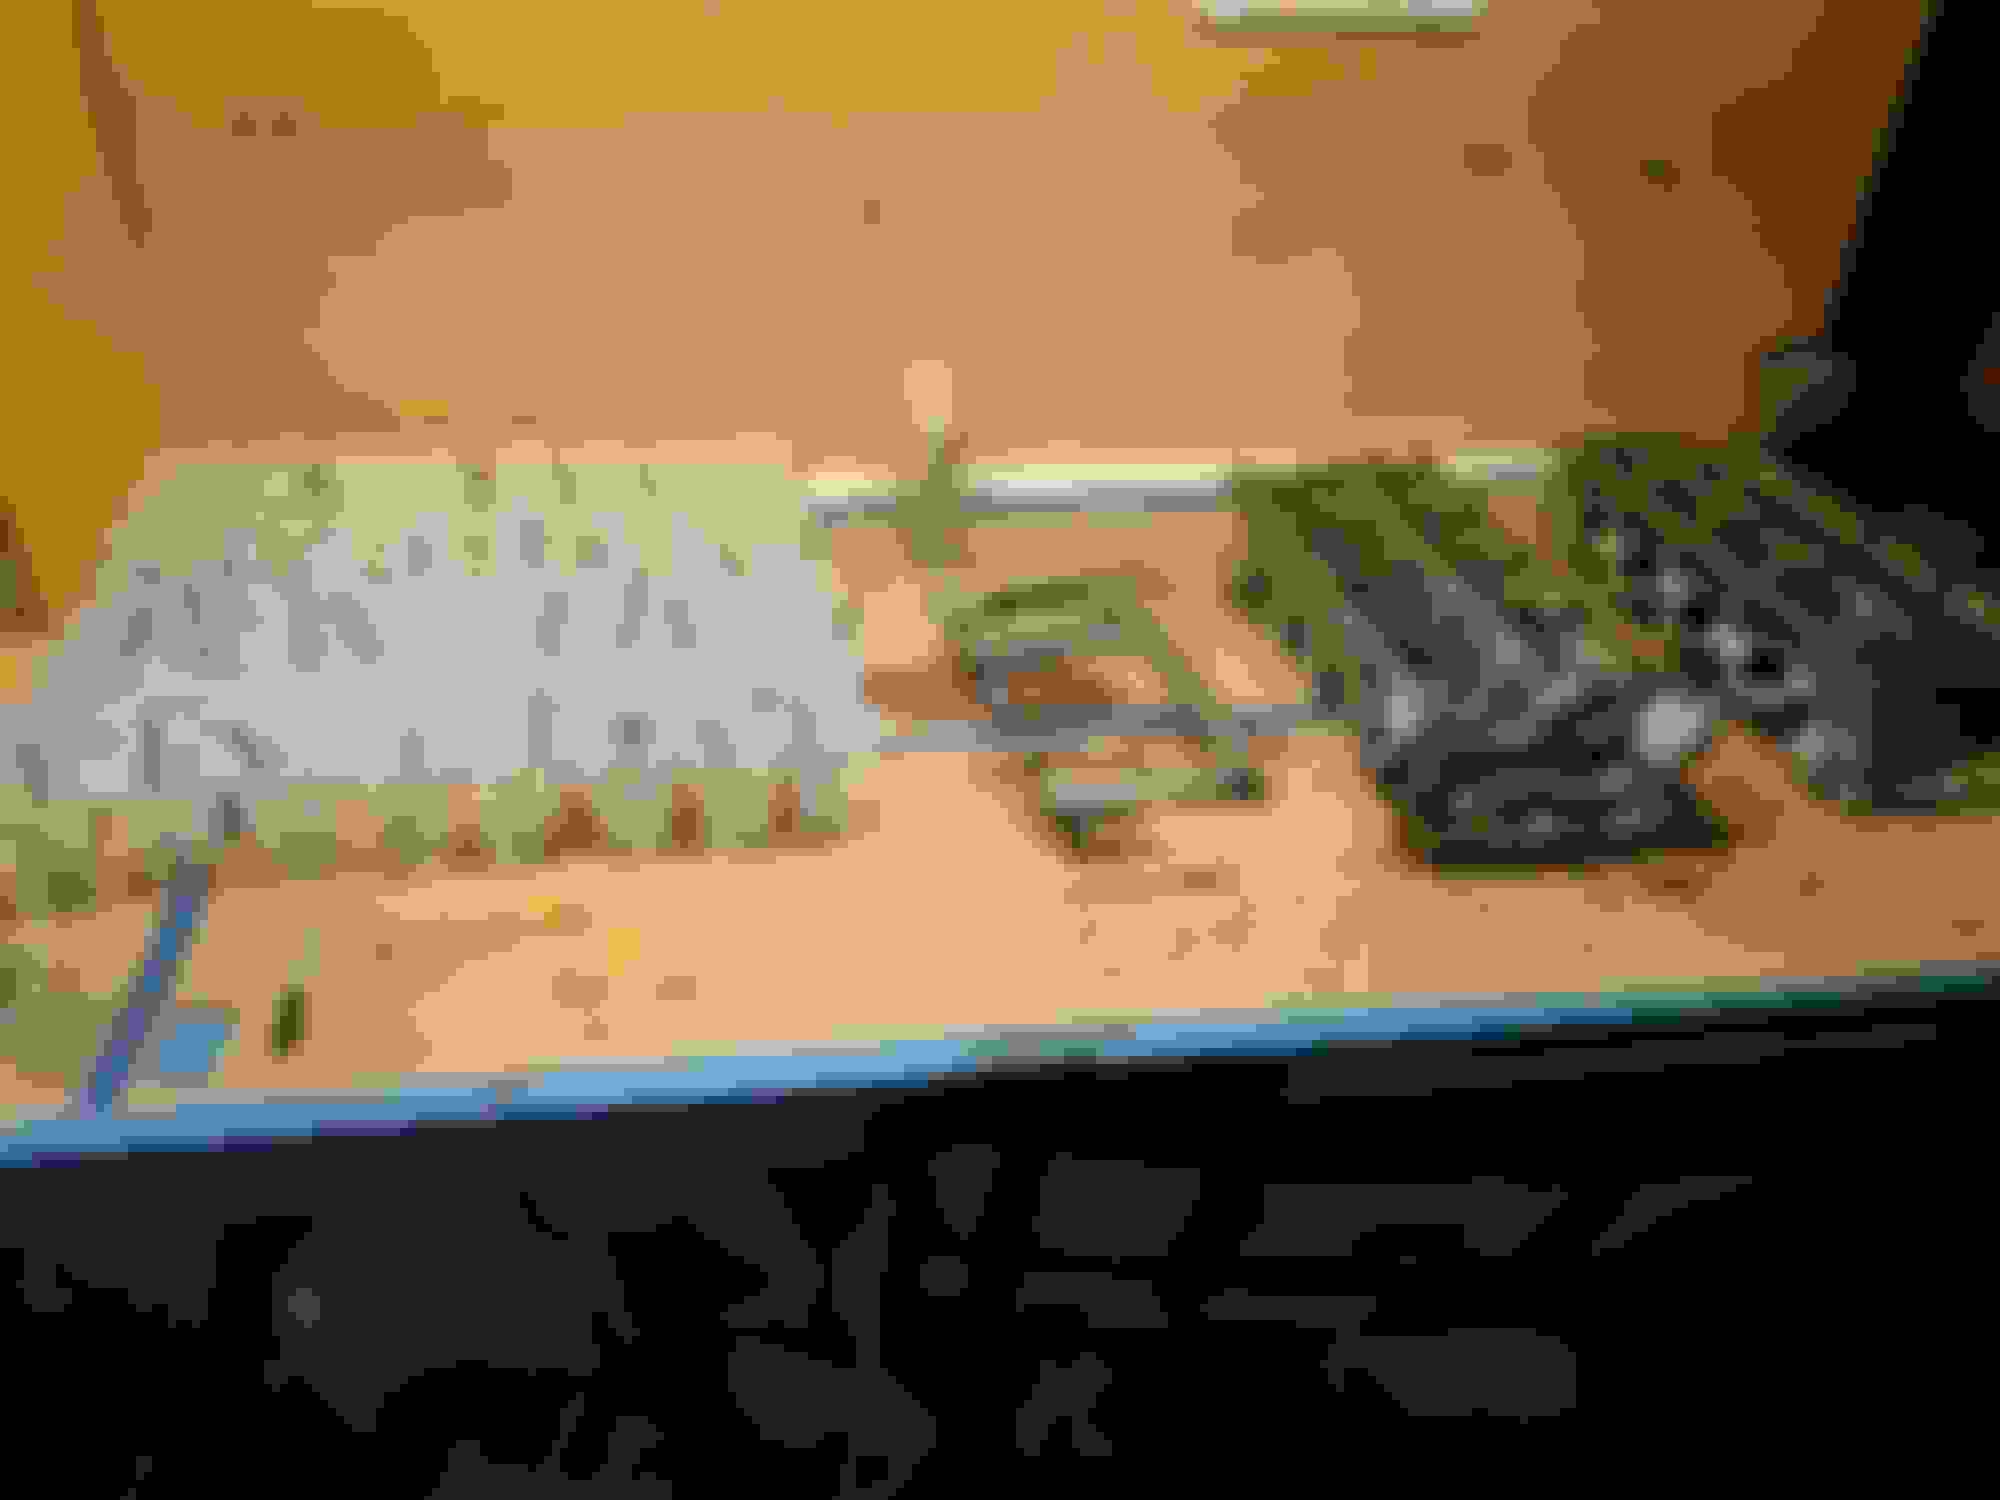
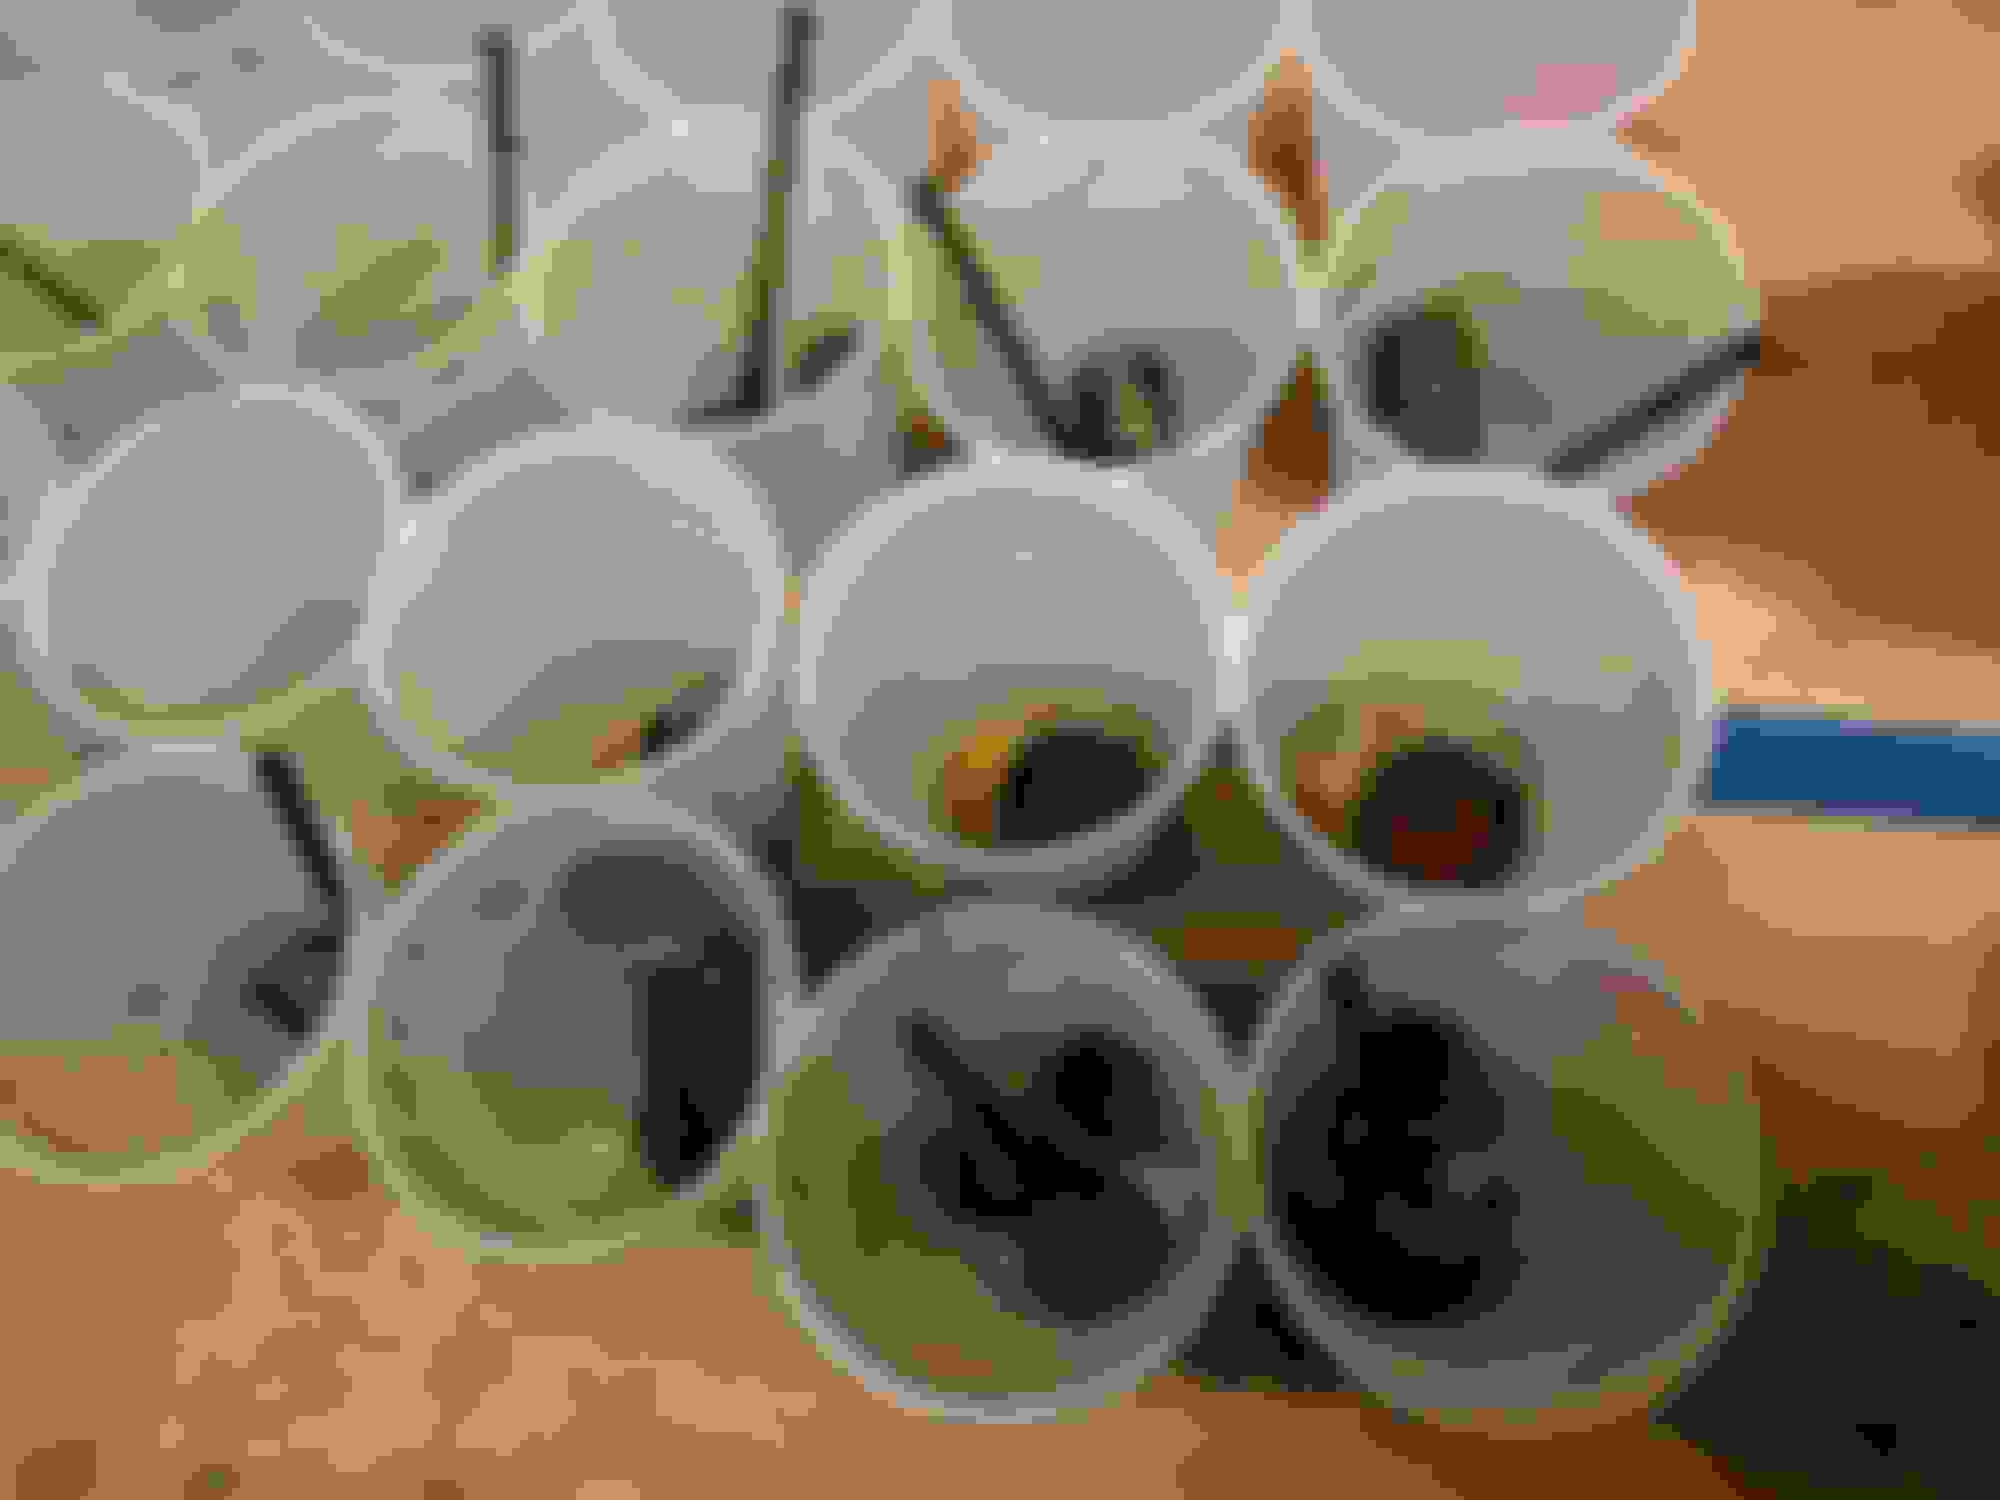
Storing followers and valve hardware in labelled cups
Intake valves have a lot of carbon crud on them, I'm assuming as a result of Direct Injection. I'll clean them all up
Exhaust valves look tidier.
Seems as good a point as any to stress the importance of bagging and labelling everything. I've been pretty meticulous about it and it's the only thing that's making me feel even remotely OK about this rebuild. I guarantee I won't recognize or remember many bolts or the way things go back when I come to start putting it back together however many weeks from now if it wasn't for all the labelling and photos I've taken. Given the costs of engine rebuilding, Ziplock bags and Sharpies are cheap.
Next step for the heads is:
- Clean them. Need to find the best solution for cleaning aluminum - might look into DIY ultrasonic cleaning.
- Measure valve stem oil seals to find possible alternatives.. I'm not paying for Jaguar ones (>$1300 to replace all 32 !!!), and I bet I can find replacements cheaper (e.g. previous 4.2 V8 seals, for which OEM replacements can be found easily and cheaply, may well fit).
- Measure valve springs to check that they're in tolerance (46.1mm free spring length) and replace any that aren't.
- Measure camshaft journals to check they're still within spec
- Install camshafts and check journal/bearing clearance and tappet clearances
How many miles on the engine? Those intake valves look really gunked up. How do the intake ports look? Just as bad? Do you mind snapping a quick pic of those too?
I'm getting quotes to have mine "walnut shell" blasted at 81k.
Great job Dave, this thread will be invaluable to many for years to come.
How hard/messy/expensive is it to clean up the intake ports, does the crud come off fairly easily or is it a PITA? Put another way, can you DIY or do you have to send the heads away to get it done? I'm guessing if you can clean up the valves without too many hassles then the intake ports shouldn't be a problem.
Sorry to hear of your engine woes, but much appreciate the write up and photos of the break down.
Most posts just state the engine is dead, for whatever reason, and exchange with another. None have a full strip down, with photos.
There has been a few dead AJ133 engines due to con rod bearing being spun, and a few mystery oil losses across various boards, and with cars popping up for sale on e-bay gumtree. So not unheard of.
Looking at your photos, the inlet and cylinder head ports look rather wet with oil.
The piston oil scraper ring, looks from one the photos to be rather gummy, any more details comments?.
I do not see any overheating on the crank journal, or con rods and the engine insides look rather wet with oil. Which is good.
You state you have 85K miles on the engine, not excessive I would have thought, for wear or oil consumption.
To condense slightly what happened and what we have.
Service message had been on the dash for a couple of weeks,
Ok due for a service.
The day before I was doing some "spirited" pulls on the freeway - nothing stupid or out of the ordinary - and the last one sounded quite....off,
Its a 5 ltr SC with a rev limiter, people do that.
Pulling away from the lights there was all sorts of horrible knocking noises, - Had it towed to the shop we drained out about 3 quarts of rather glittery oil :-(
Full sump 7.7quarts (7.25ltrs) about 4.7quarts missing.
I'm in the process of stripping the engine down to find out what went wrong but suffice to say something fairly major has failed - there was a very small weep from the vacuum pump and I had a new seal to fit when I changed the oil, but you don't leak that much oil without noticing - in my opinion that has to have burned off.
Looking at the photos, the oil would seem to have gone through the engine rather that leaked out.
replacement parts, as it seems that Jaguar would (of course) rather sell you a shortblock or complete engine, and I figure for the price they're asking I could rebuild with custom-made shells/pistons/rings etc for less.
Yes indeed that seems the way people go or a repair i.e repalcement second hand engine.
So...... anyone heard of anything like this happening?
I have heard of a few, seized engine, and low oil levels, around the place, but no real details, as folk part them out or sell them on as is.
More common on the Range Rover types, more of them I guess.
You likely have this from Gus,s jagrepair.com but handy for others. see below or google.
As for why the crank or rod bearing let go - if we accept that it's almost certainly not a manufacturing defect with either, then the only real possibility is oil starvation.
Funny, (unusual) that the no.3 and 4 con rod bearing spun, and not anything else Or Poss Stretched con rod bolts?
Or con rod bearing, crank pin manufacturing toralances.
Oil starvation?? May be, any details of the main bearing caps in this area, any other main bottom end damaged.??
The only ways I can conceive of this happening are:
1) The "weep" from the oil seal I had (more specifically, from the vacuum pump oil seal) was more or maybe had been going on much longer than I appreciated, and combine this with stories of this engine's natural oil consumption and the infrequency that I checked the oil level (with the frustratingly temperamental electronic dipstick) and it may have just run so low that a hard acceleration pull ran it down too much. If this is the case, I'm more than happy to hold my hands up and say I've been a complete idiot not keeping a closer eye on my oil level, but at the same time I have been meticulous with oil changes when the car tells me to, and I'd surprised that an engine, even with an apparently very slight leak, can really consume enough oil that it reaches levels perilously close to causing engine damage in ONE service interval.
There have been more than a few with large oil loss between services. Some of which end badly with a terminal engine loss.
and some which have normal oil levels and also have terminal engine loss.
Looks to me, to be a lot of wet engine oil on the valves and cylinder head ports.
How was the condition of the valve stem seals? seems a lot of burnt and wet oil on the valves.
Can you check the exhaust manifold, and the air inlet ducting to supercharger for excessive oil, oil pools etc.
How clean or what condition are the air filters in, any photos.
A Great, if unfortunate thread, but much appreciated.
Last edited by bydand; Mar 7, 2017 at 06:53 AM.
Reason: added air filter question
Great work Dave,
As the owner of a 5.0L NA, I really hate that this happened to you, but I love following this thread. I admire your efforts, skill and courage in tackling this task. I believe all readers will be able to benefit from your posts.
Thanks for the extra photo of the intake port. That looks really bad. My N54 (bmw 335is) was not nearly that dirty when I had mine cleaned around 50k, and it made a noticeable difference in performance and idle. It shouldn't be too difficult to clean with the valves and heads off the engine though. Media blasting it with walnut shells, or some sort of chemical bath.
Going to keep watching this thread, great work. I hope I never need to do this myself, but with all this great information I would not hesitate to.
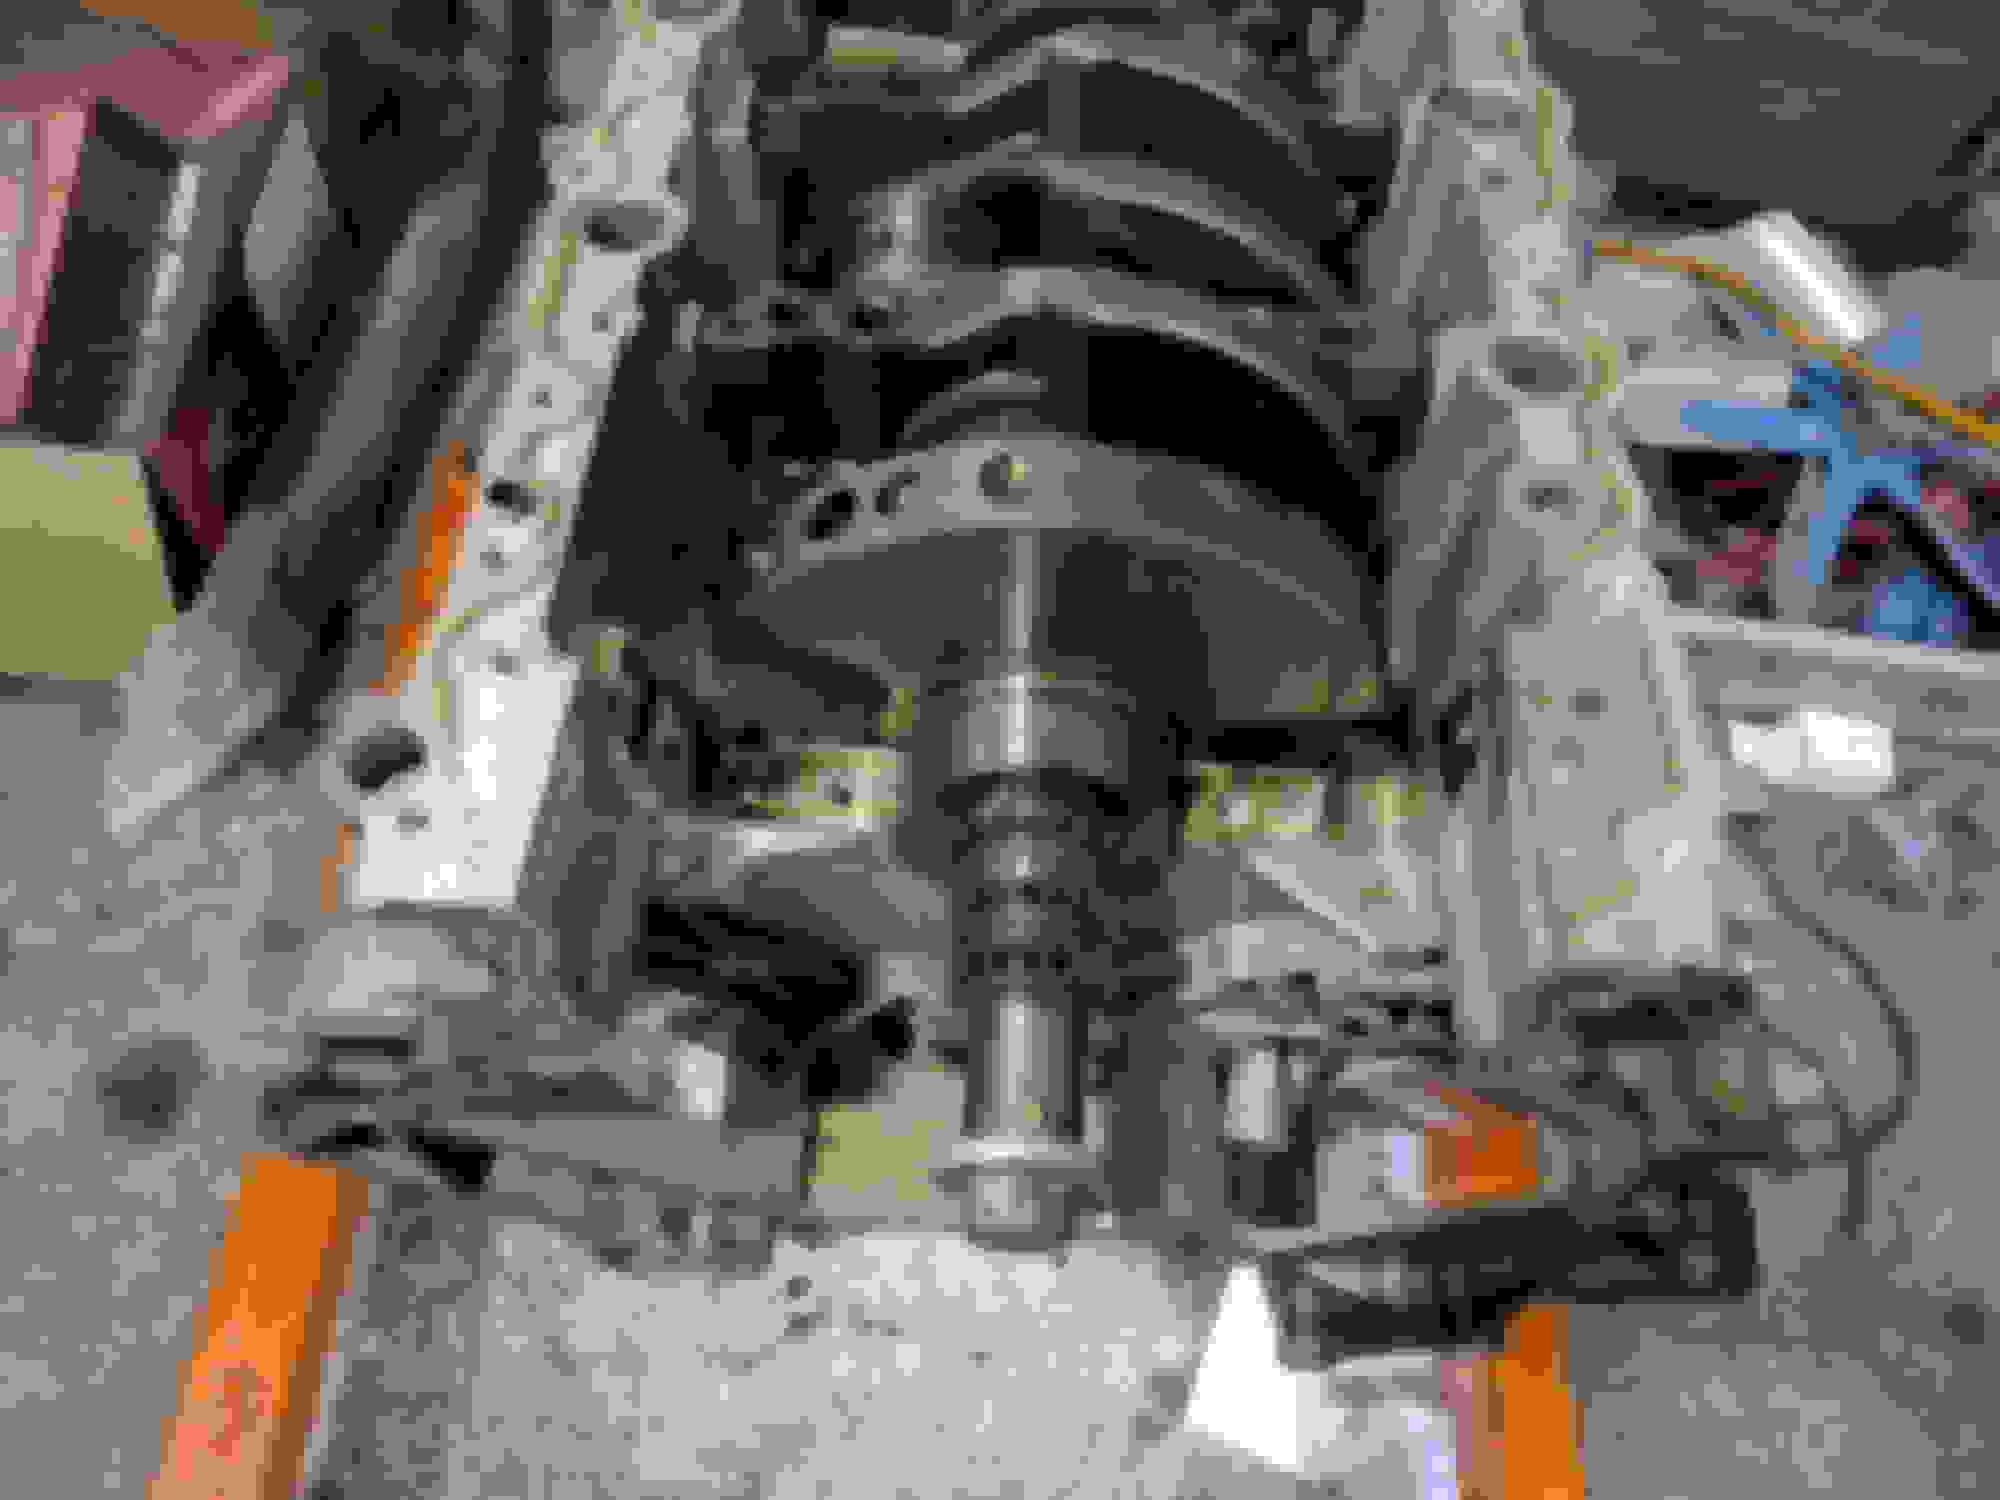
Pulled the crank out of the block today - thanks to Ulrich above who pointed out the remaining bolts on the main bearing caps.
First bearing removed
Crank out
The bearing caps were a little difficult to remove, even with all the bolts out. This is because they were fitted with a sprung locator peg on each side, a bit like the supercharger, so combined rocking (forwards/backwards along the crank rather than side to side) and levering action on alternate sides is required to get them out, as they're also tight! You can see the pegs in the first picture.
The good news is that all the main bearing journals on the crank, as well as the main bearing shells, look to be in very good condition. I'm hoping this means I can just get the rod journals ground down with oversized bearings, and just polish main journals and fit new standard bearings.
A slight concern at this point is that Jaguar don't appear to list the part numbers for replacement bolts for anything basically in the short block. This includes main bearing shell bolts and connecting rod bolts. Nor do they list the specs (though they do list torque specs, thankfully) of the bolts. They'll certainly be possible to source - Jaguar don't make their own bolts - but even if I was to source uprated bolts e.g. ARP, I'm not quite sure how to measure what to order as the originals (which I've kept, obviously) will have stretched from being installed? Any ideas on that welcome. Head bolts are the only other ones I'm concerned about, but you can order new ones from Jaguar so I can use that as a template for ARP I guess.
"- but even if I was to source uprated bolts e.g. ARP, I'm not quite sure how to measure what to order as the originals (which I've kept, obviously) will have stretched from being installed? Any ideas on that welcome."
I think the amount of stretch to the bolts can be estimated in a simple way .
For example regarding the M10 journal bolts . They should be torqued 25Nm / 52Nm / 70�
according to Jag specification . Assuming that that the 52Nm torque stage is near or
a bit beyond the elastic limit of the bolt material the next 70� angular torque will
cause a ductile deformation of the bolt shaft . Knowing / measuring the thread pitch
which I expect to be 1.25mm or 1.5mm will give you an persiting elongation of 0.25mm
and 0.3mm respectively which is not much compared to the bolt length .
For sure this is only a very simple approach which can be done far better by FEA
but I think the important dimensions on replacement bolts are the shape especially
length and diameter of the waisted shaft . I think all dimensions can be taken from the
used bolts without doing something totally wrong .
Intake valves have a lot of carbon crud on them, I'm assuming as a result of Direct Injection. I'll clean them all up
Exhaust valves look tidier.
Dave, you just answered a lot of individuals questions regarding carbon fouling with the 5.0 ( https://www.jaguarforums.com/forum/x...charged-94489/ ). Your information is much appreciated! I think the information gleaned from your photos will help a lot of us in terms of internal maintenance to make sure that our engines run smoothly for a long time.
I've always been fascinated by the AJ133 and it's damn cool getting to see the internals and engineering behind it's design. Thanks for sharing!