
Anybody know how to remove rear trim piece?

Thread Starter
|
Junior Member
Joined: Aug 2014
Posts: 16
Likes: 4
From: FL, USA
Hey guys,
New member here. I was wondering if anybody knows how to remove the following trim piece from my 2009 xf part #c2z16226 ?
It's the silver piece attached to the trunk that says JAGUAR across it. I am considering painting the letters red and can probably do it on the car but would rather remove it to prevent over spray and what not.
Thanks in advance.

Veteran Member


Joined: Feb 2014
Posts: 9,030
Likes: 3,664
From: Adelaide, South Australia
I painted the letters on my rear trim piece in black a couple of months ago, and it was quite easy to do without removing the piece, and it came out looking really good.
I simply used a 'rattle can' of gloss black engine enamel I had lying around, sprayed a bit into the lid (any suitable pot/container will do), and then applied it to the letters using a medium size artist's paint brush.
I slapped it on good and thick without worrying too much about getting excess outside the borders of the letters, but with enough care so it didn't run or drip onto the bodywork. Easiest way is to do it with the boot open so the trim piece is horizontal or close to it.
I then let the paint dry for about 10 minutes, and simply wiped the excess off with a soft cloth dipped in mineral turps.
Then a second coat for good measure, same process.
After a tip on another forum I gave the letters a touch up a week ago, same paint and same method with one variation. Instead of using a soft rag to wipe off the excess, I used the little rubber block and a piece of the cleaner material from my ChipEx paint repair kit (again dipped in turps). Worked much easier that way, a lot less rubbing required to remove the excess paint.
Last edited by OzXFR; Aug 20, 2014 at 08:11 PM.
Thread Starter
|
Junior Member
Joined: Aug 2014
Posts: 16
Likes: 4
From: FL, USA
I painted the letters on my rear trim piece in black a couple of months ago, and it was quite easy to do without removing the piece, and it came out looking really good.
I simply used a 'rattle can' of gloss black engine enamel I had lying around, sprayed a bit into the lid (any suitable pot/container will do), and then applied it to the letters using a medium size artist's paint brush.
I slapped it on good and thick without worrying too much about getting excess outside the borders of the letters, but with enough care so it didn't run or drip onto the bodywork. Easiest way is to do it with the boot open so the trim piece is horizontal or close to it.
I then let the paint dry for about 10 minutes, and simply wiped the excess off with a soft cloth dipped in mineral turps.
Then a second coat for good measure, same process.
After a tip on another forum I gave the letters a touch up a week ago, same paint and same method with one variation. Instead of using a soft rag to wipe off the excess, I used the little rubber block and a piece of the cleaner material from my ChipEx paint repair kit (again dipped in turps). Worked much easier that way, a lot less rubbing required to remove the excess paint.
I simply used a 'rattle can' of gloss black engine enamel I had lying around, sprayed a bit into the lid (any suitable pot/container will do), and then applied it to the letters using a medium size artist's paint brush.
I slapped it on good and thick without worrying too much about getting excess outside the borders of the letters, but with enough care so it didn't run or drip onto the bodywork. Easiest way is to do it with the boot open so the trim piece is horizontal or close to it.
I then let the paint dry for about 10 minutes, and simply wiped the excess off with a soft cloth dipped in mineral turps.
Then a second coat for good measure, same process.
After a tip on another forum I gave the letters a touch up a week ago, same paint and same method with one variation. Instead of using a soft rag to wipe off the excess, I used the little rubber block and a piece of the cleaner material from my ChipEx paint repair kit (again dipped in turps). Worked much easier that way, a lot less rubbing required to remove the excess paint.
Thanks for the advice. Do you happen to have any pics of how it turned out?
Veteran Member
Joined: Feb 2014
Posts: 9,030
Likes: 3,664
From: Adelaide, South Australia
Just waiting for my camera battery to recharge and I'll take a pic and post it up!
Veteran Member
Joined: Feb 2014
Posts: 9,030
Likes: 3,664
From: Adelaide, South Australia
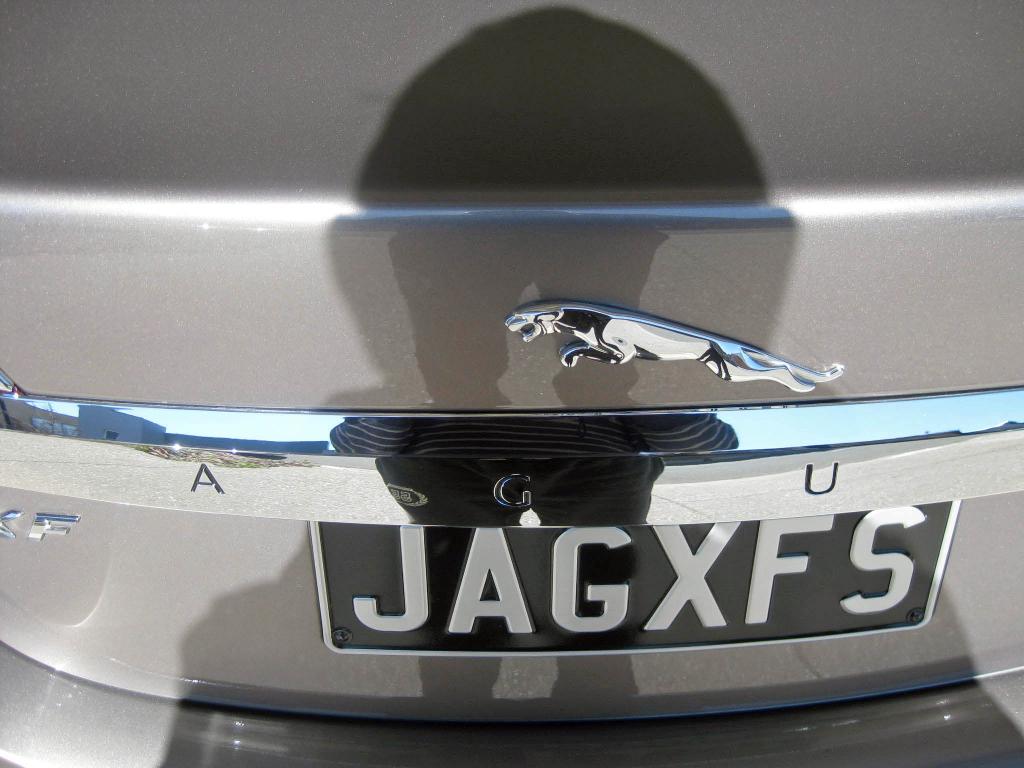
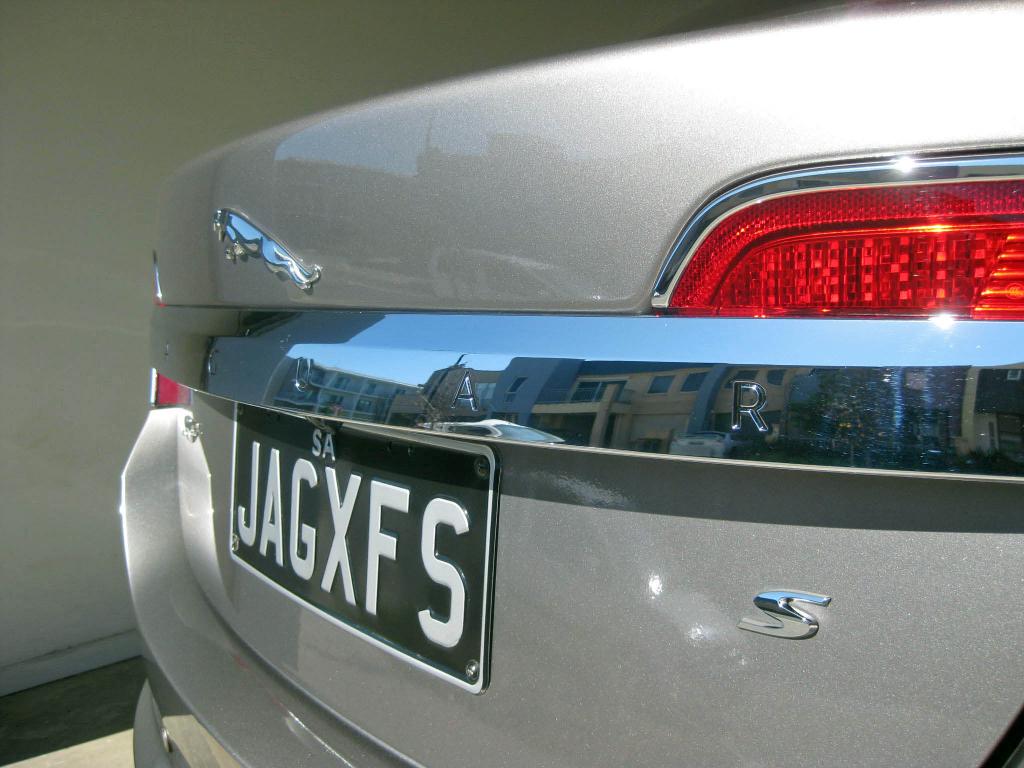
OK, camera now charged, here's 3 pics:
Not the best quality as the sun is shining straight onto the back of the car.
In real life you would swear the black lettering is factory.

Not the best quality as the sun is shining straight onto the back of the car.
In real life you would swear the black lettering is factory.


Thread
Thread Starter
Forum
Replies
Last Post
davidladewig
S-Type / S type R Supercharged V8 ( X200 )
8
Sep 3, 2015 06:32 PM
Currently Active Users Viewing This Thread: 1 (0 members and 1 guests)