Jaguar logo puddle lights - revisited
#1
I have searched and read all "puddle lights" threads in the XF forum and I am going to install the round Cree LED lights in the front door cards.
I read that someone ran new wires from the card through the wiring boot and into the foot well. That seems to be a bit unnessissary.
I have noticed that my Premium has existing puddle lights in the door mirror body's and they turn on when you use either the key fob to unlock the door or just pulling open the handle with the fob in my pocket.
So, noticing that all the wiring for the door/mirror goes through the single wire path rubber boot, it would be great if someone with a service manual could post up the wiring loom schematic/color chart for the front doors that show the mirror wiring so I don't have to spend a ton of time metering out all the wires attempting to find the positive wire for the existing puddle light.
I can add to the other post once I have a few pictures of the re-wire, it should make it so simple, anybody can do it without having to deal with running wires throught the door jamb and the full wiring boot.
Thanks.
#2
#5
Sorry for the long delay in posting up a "how to". I ended up selling my 2010 Premium and buying a 2013 SCV8.
As you can tell by the schematics listed above. Pin 12 and 13 of the mirror harness is ground and power for the puddle light located in the bottom of the mirror housing. If your car does not have puddle or approach lights, this will not work.
On the next post, you will see how I spliced in a new harness for the logo projector and how the rest of the wiring was done.
#6

Mirror plug. #12 is black and is ground. #13 is Blue w/black stripe and is power for puddle light
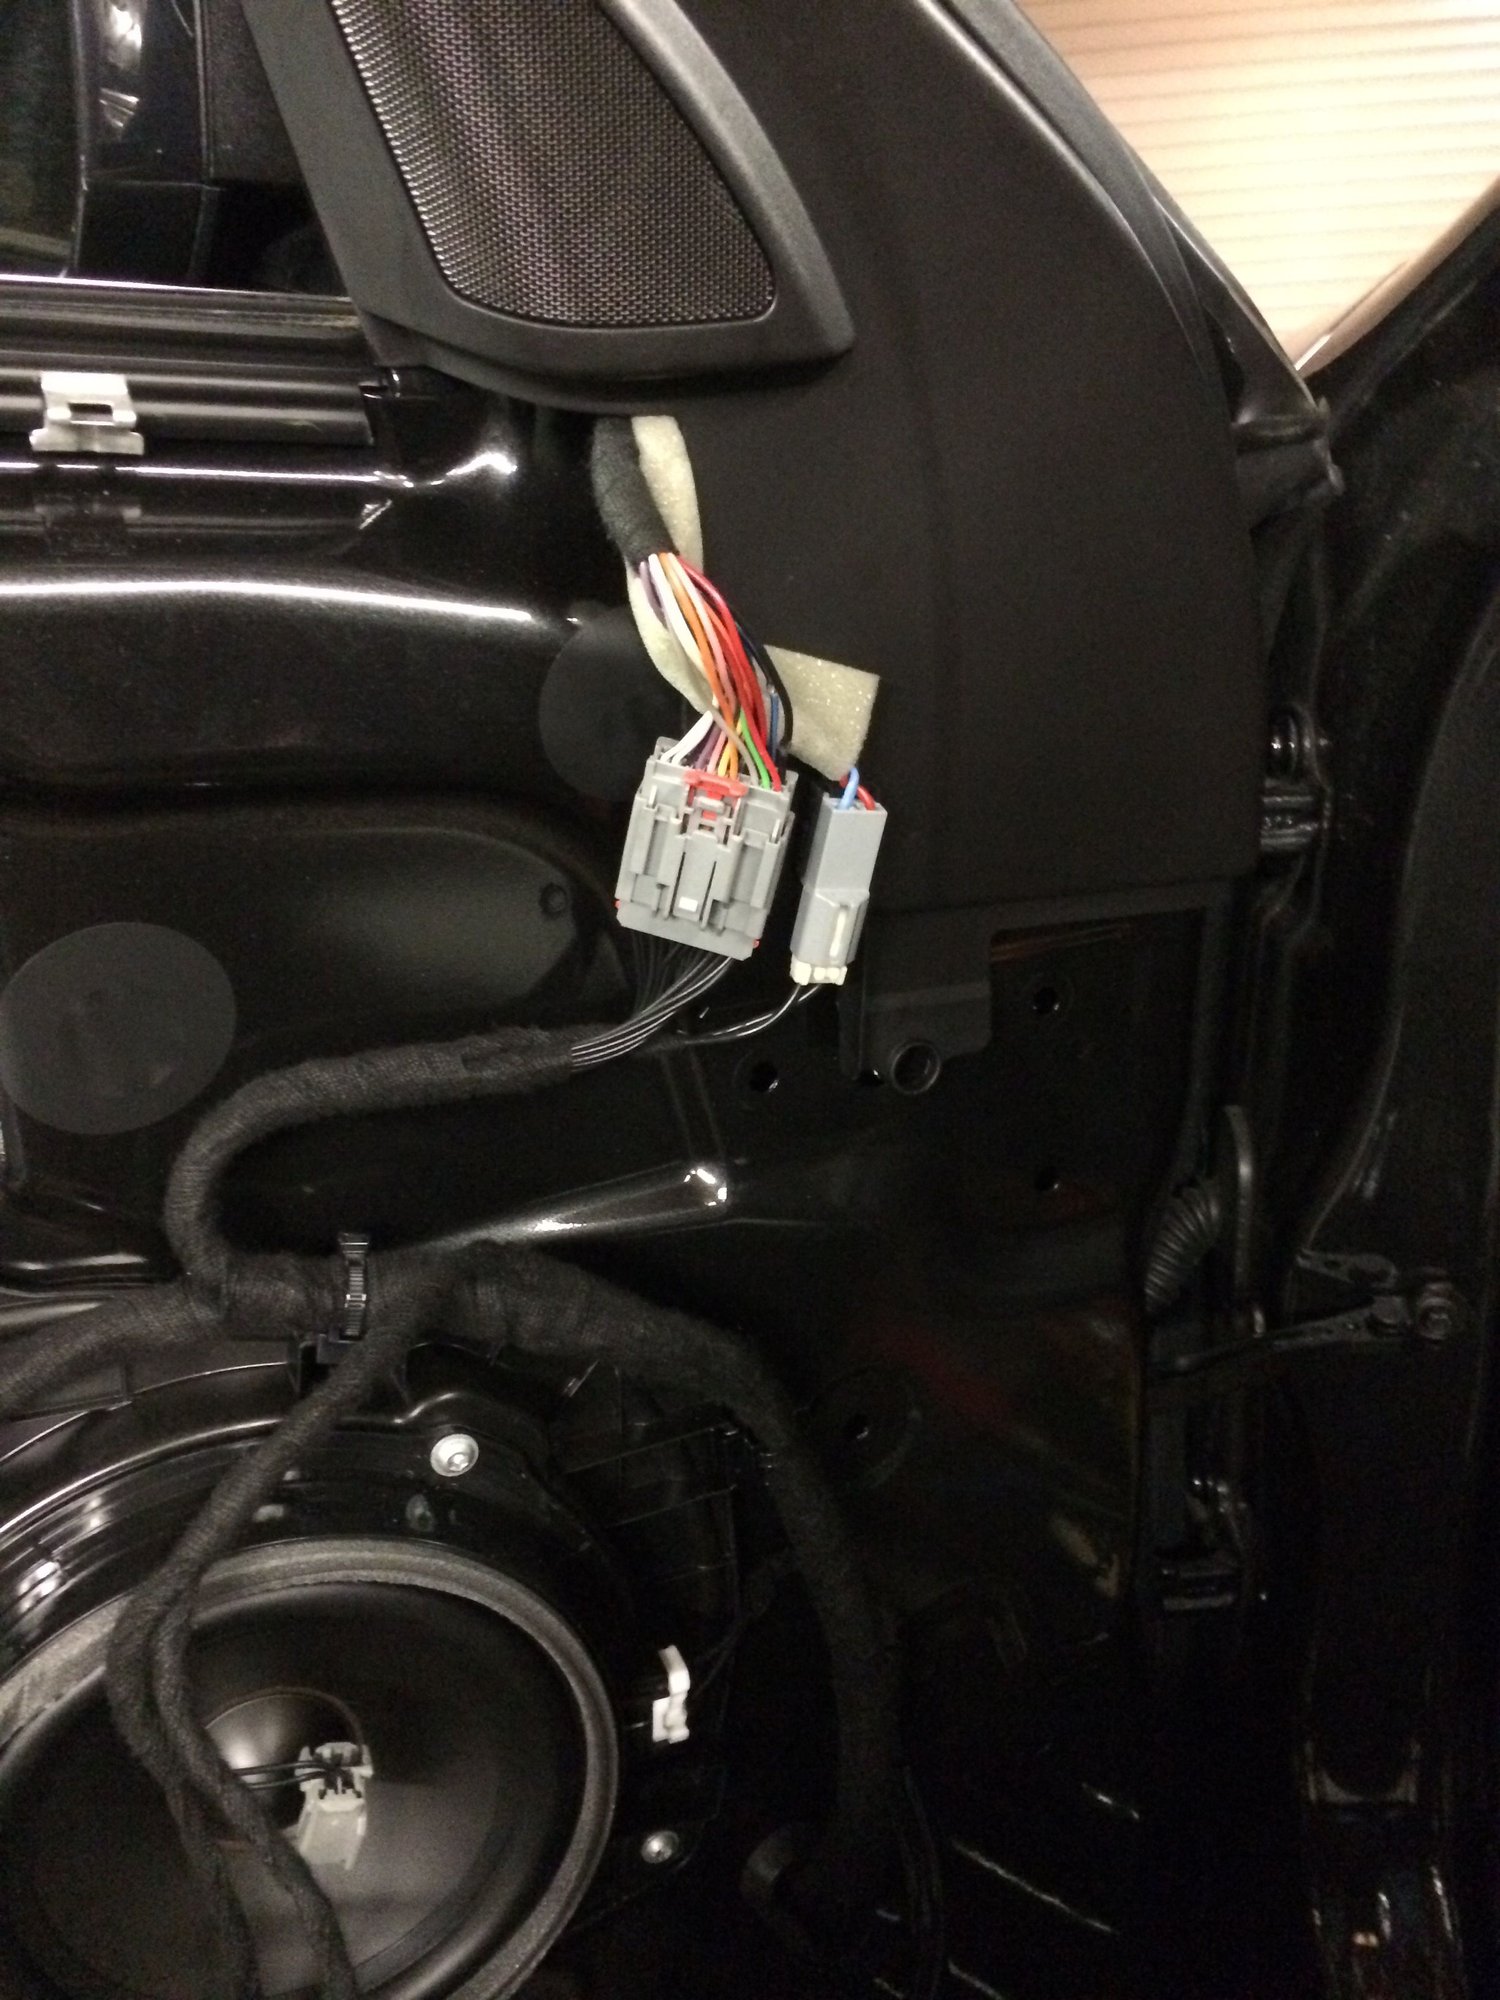
As the mirror plug sits in the door.

I have wired a positive wire to the door wiring that is pin #13 and a negative wire to pin #12. This is to feed the Cree LED projector you have chosen to light your way.
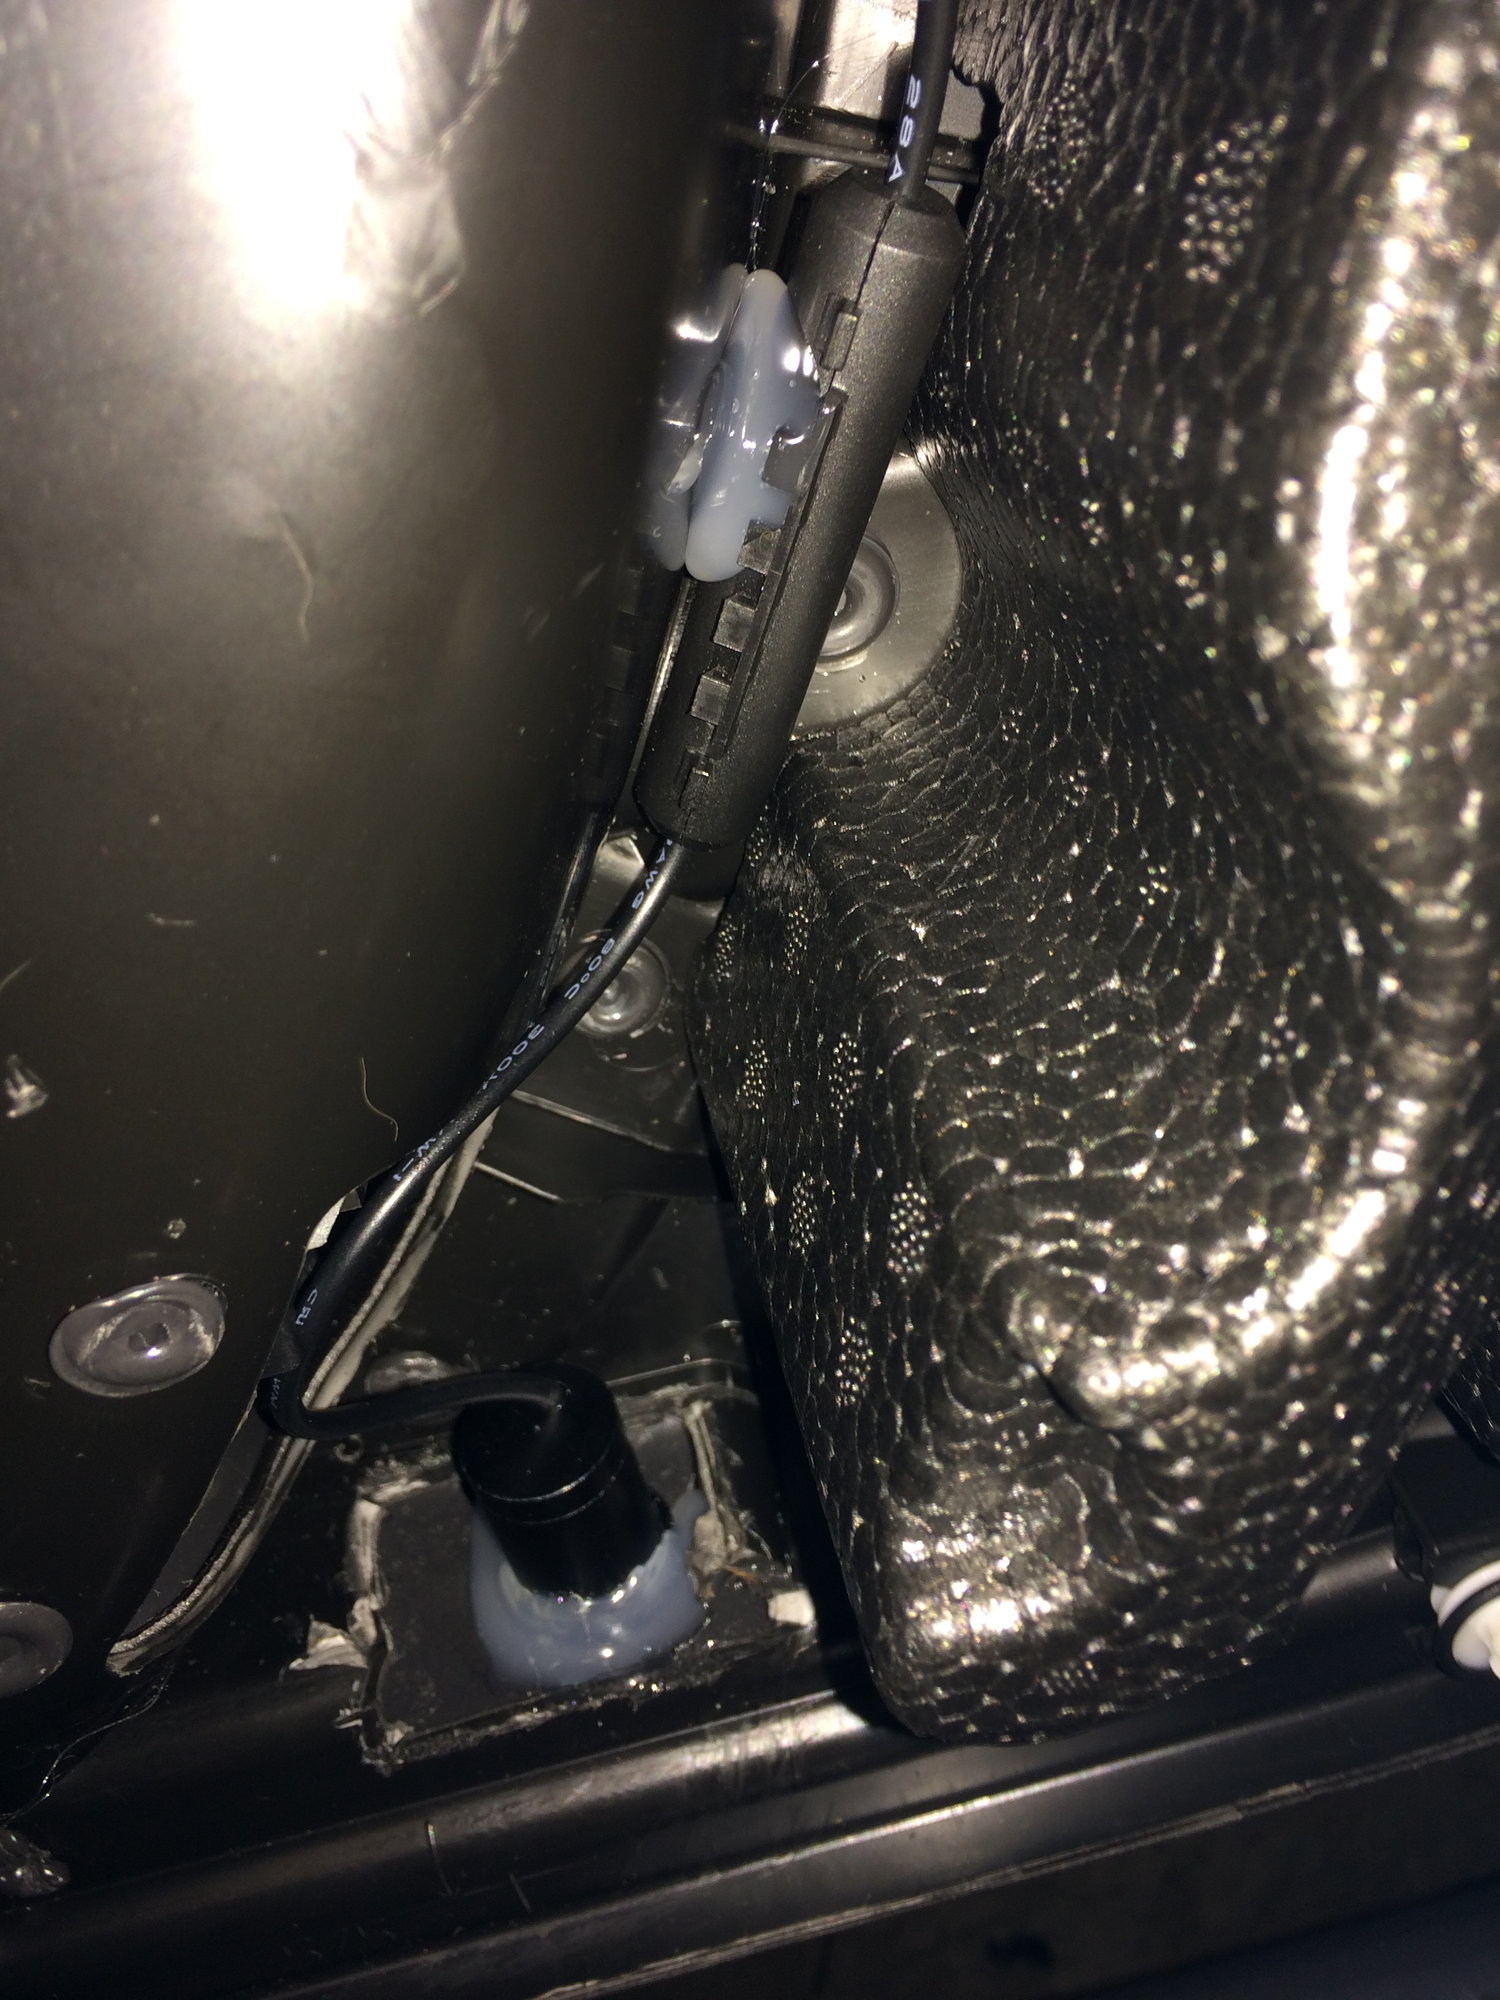
Here is where I installed the projector light. Your light may be different. Notice I hot melt glued the light after installation to keep it from rotating after I made sure the display was angled as I wanted it to be. Also glued the cable to keep it tight to the card.
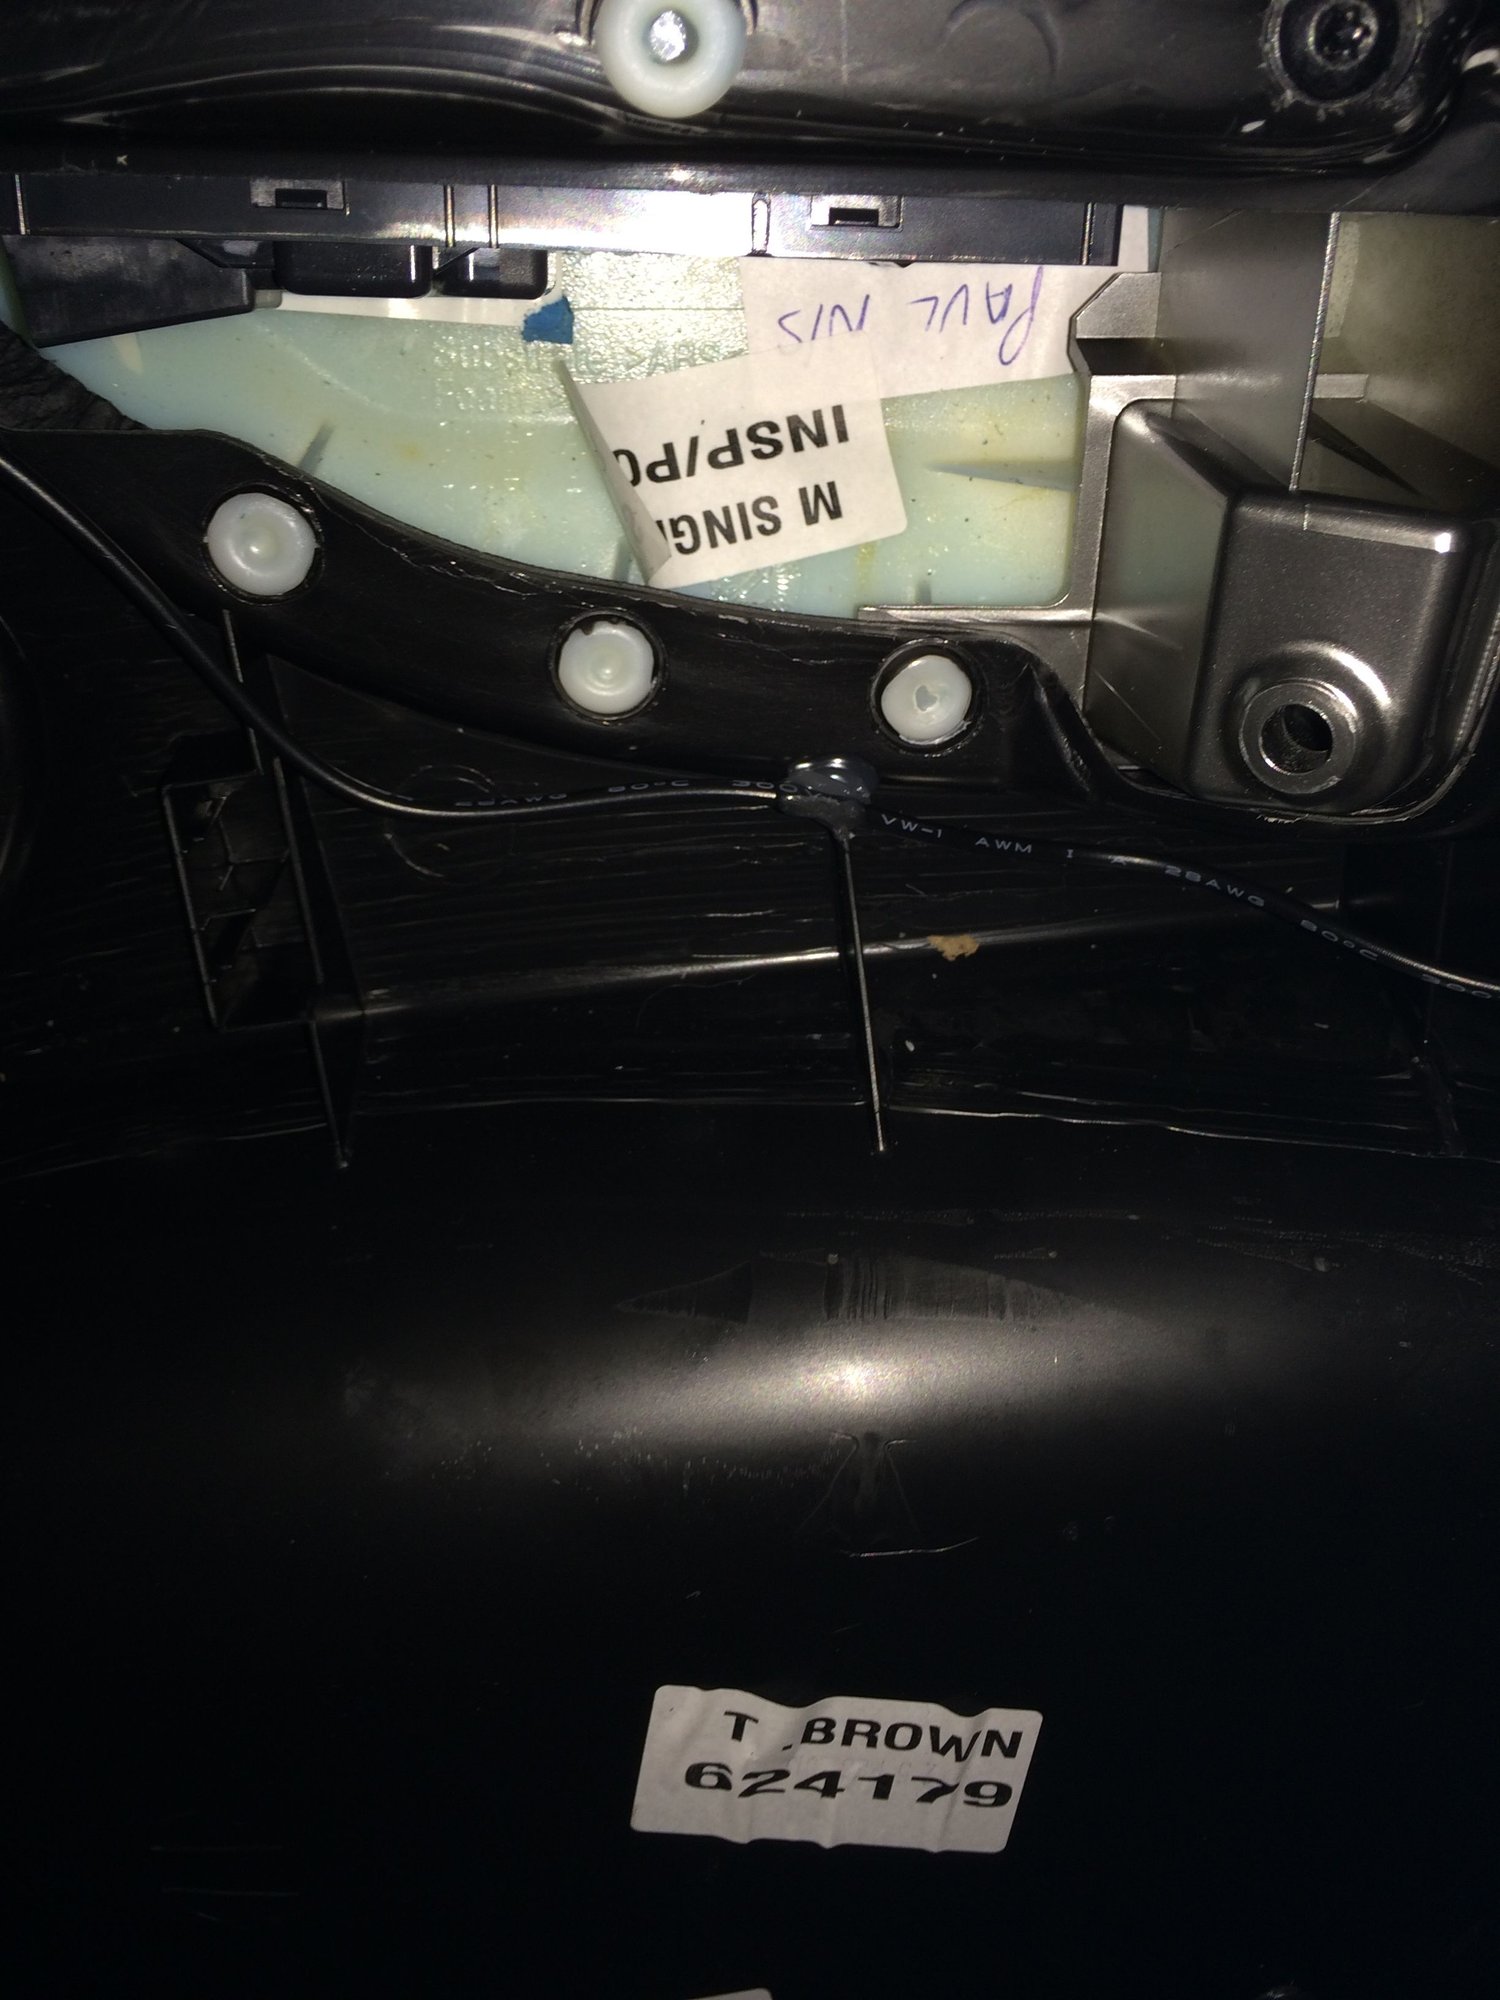
Again, more glue to keep wires tidy.

And more glue spots.

The finished product. It turns on with either the remote unlock button from the fob or by just pulling the handle to open the locked door (as long as your car has the full keyless system.

Here is the under side of the door card installed. Very clean.
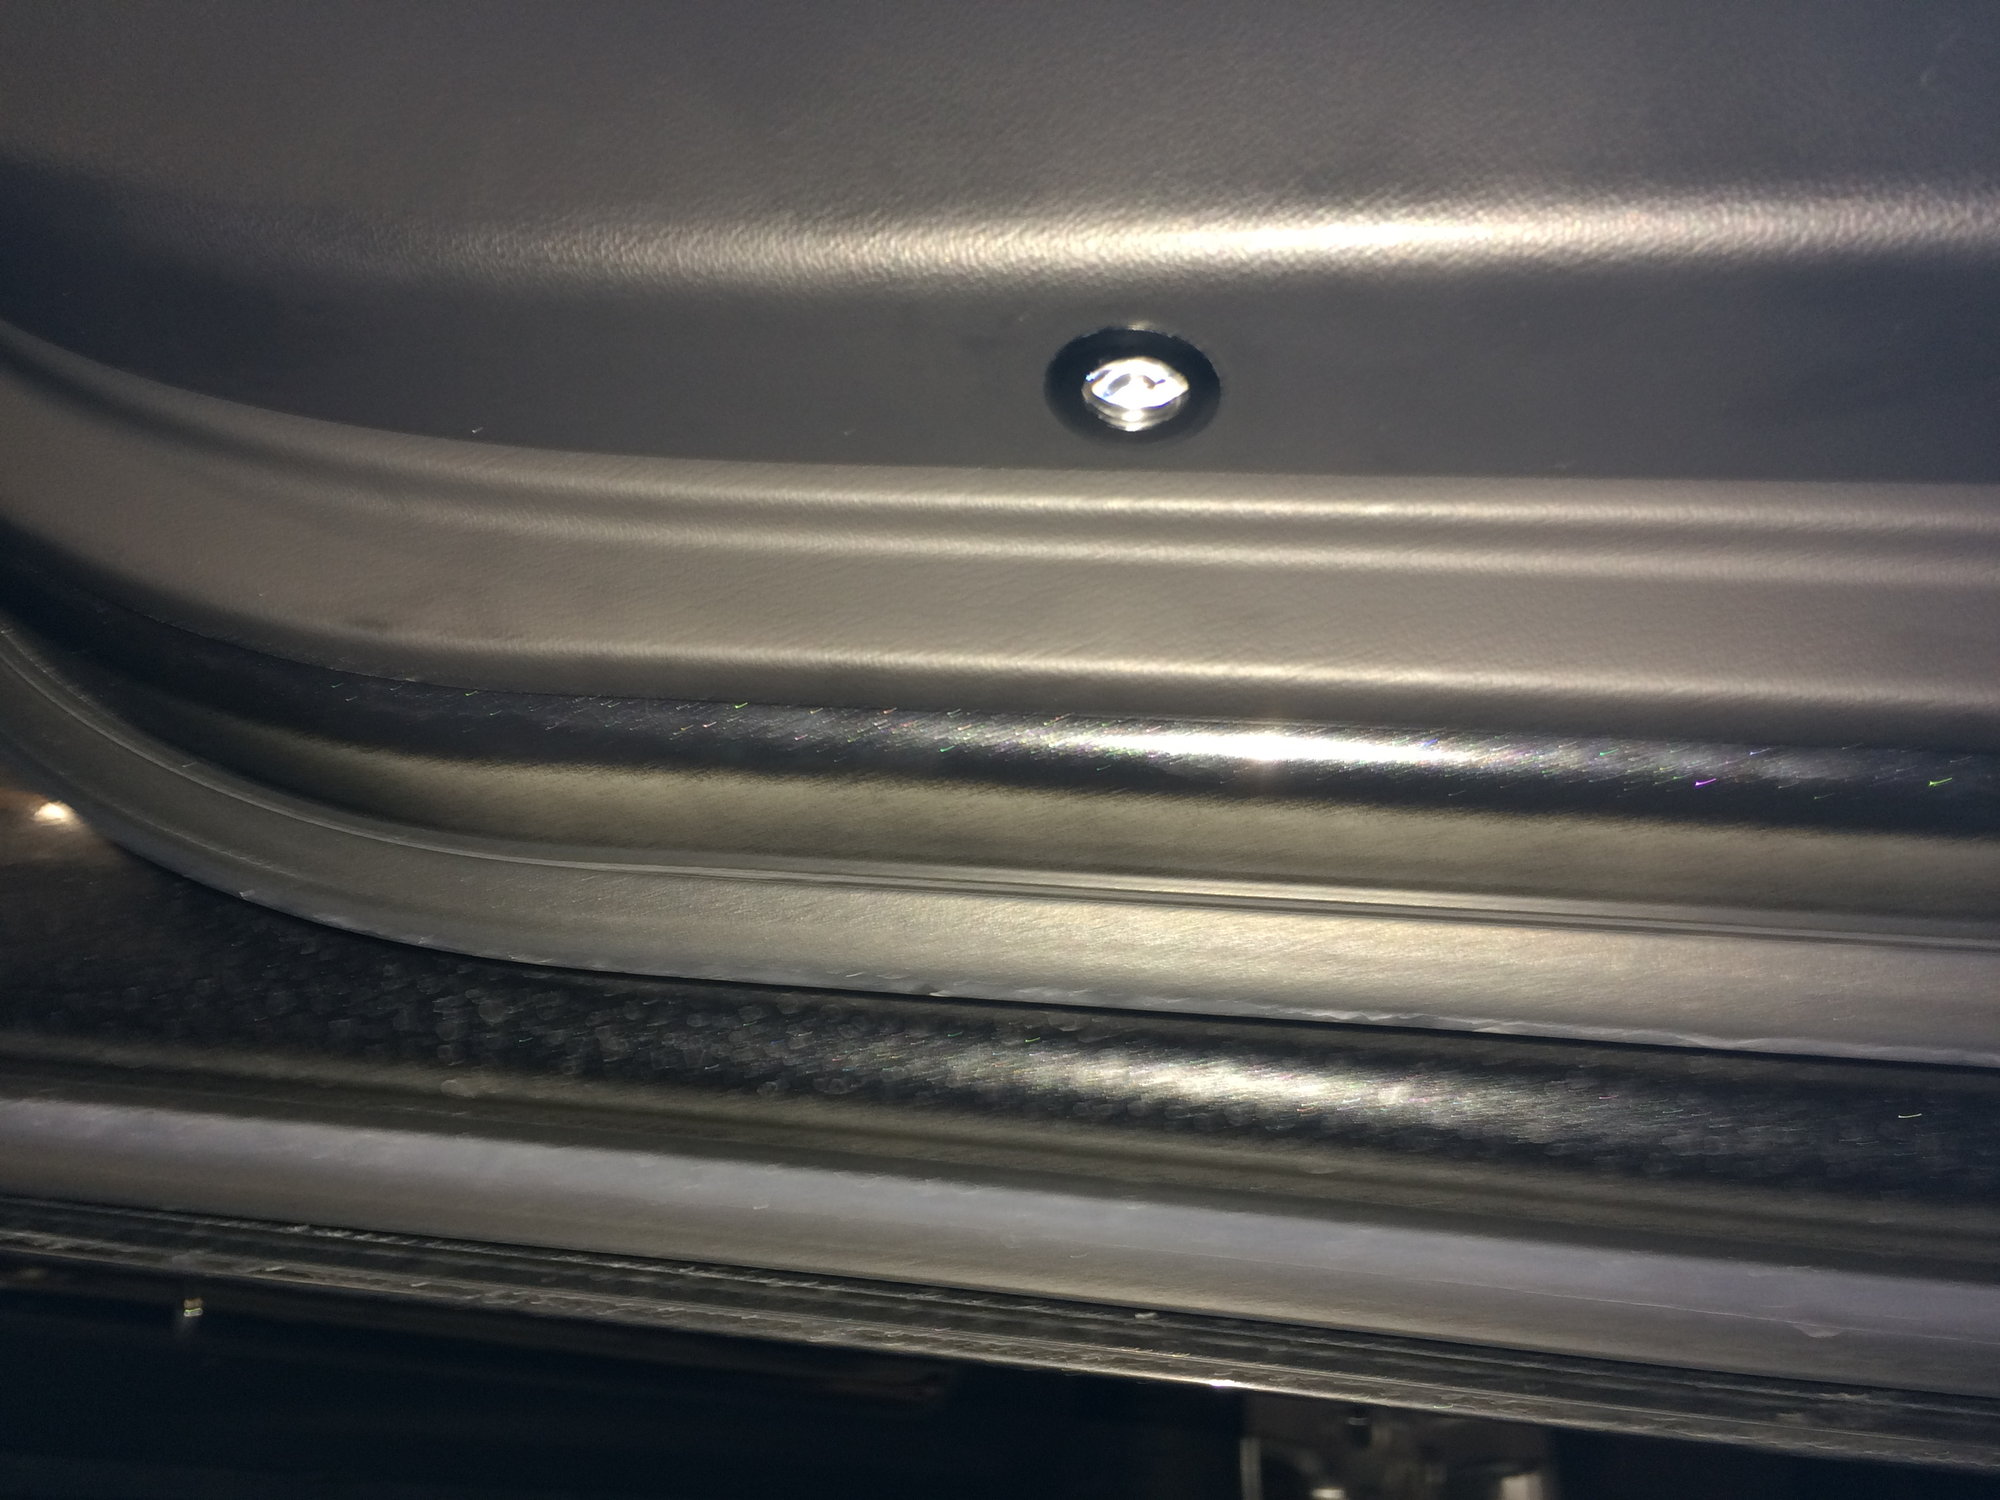
Again, another picture that shows the projector.
#7
Trending Topics
#8
Update.
This morning both the approach light and logo projector would only quickly flash on and turn off.
After thinking about this over the morning, I decided this was too much current draw from the door controller.
The factory incandescent bulb is 5 watts and the logo projector is 7 watts.
After getting back home in the garage, I popped out the approach fixture and removed the bulb from the socket.
All is back to normal, minus the approach light. I can live with that.
When I do the passenger side this weekend, I will take some more pictures of the whole inner door card and plugs I used so you can get a better picture of the whole setup.
#10
Installed the passenger side this evening. Went very quickly now that I have done one already. Took about 1.5 hours for one door.
The passenger side has the same wire colors and pin-out as the drivers side so it is exactly the same as above.
I took a few pictures of the door card after I cut the hole and then a full pic of the light installed routed and glued.
The last few pictures is a close-up of how I connected the new wiring plug into the existing harness. Notice I did not cut any factory wiring. I carefully cut and slide the insulation exposing about 1/8" of copper wires, then used a pick to spread out the conductors making a hole big enough to insert the new wire, then wrapped the wires around and soldered, then re-insulated.
Last edited by 10 XF Premium; 09-19-2015 at 12:17 AM.
#11
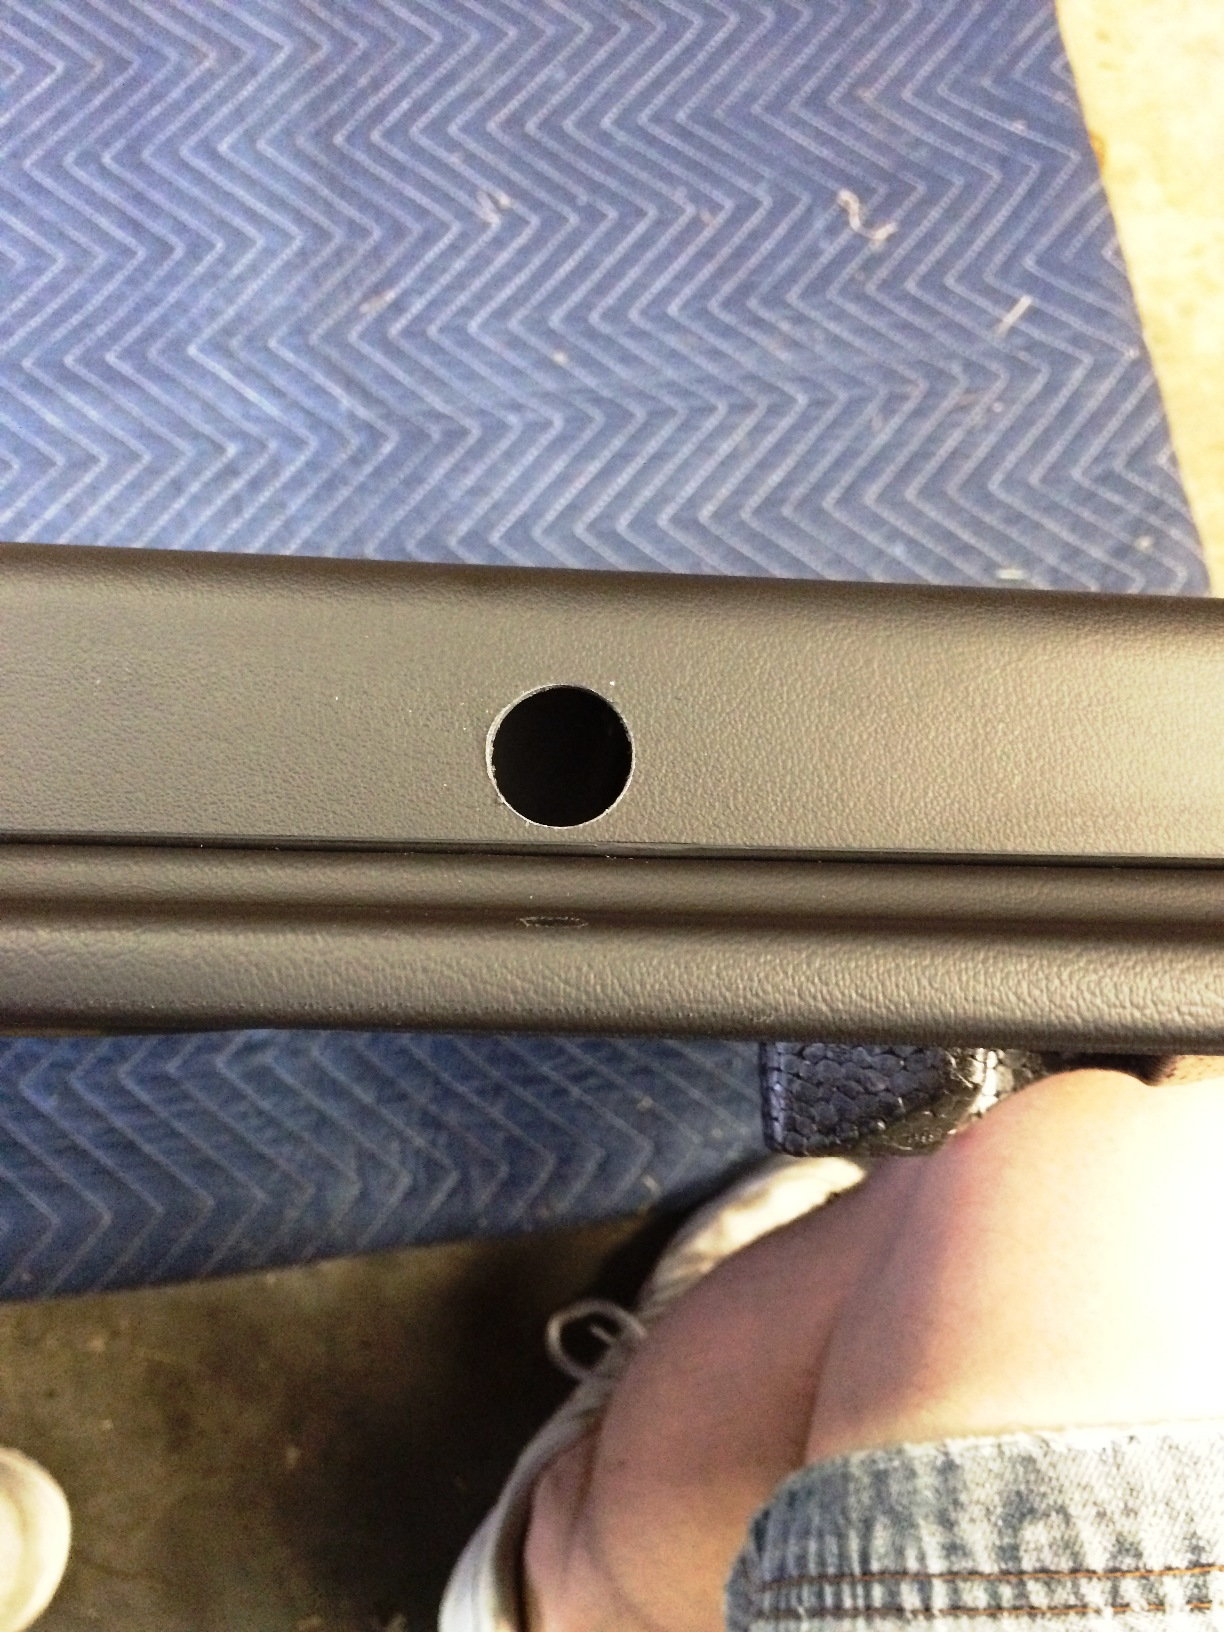
The outer layer (bottom of card) hole. My logo projectors came with a small hole saw and it worked great. Drill from this side through both layers of card. The see next pic on how I enlarged the inner hole for easier accessibility
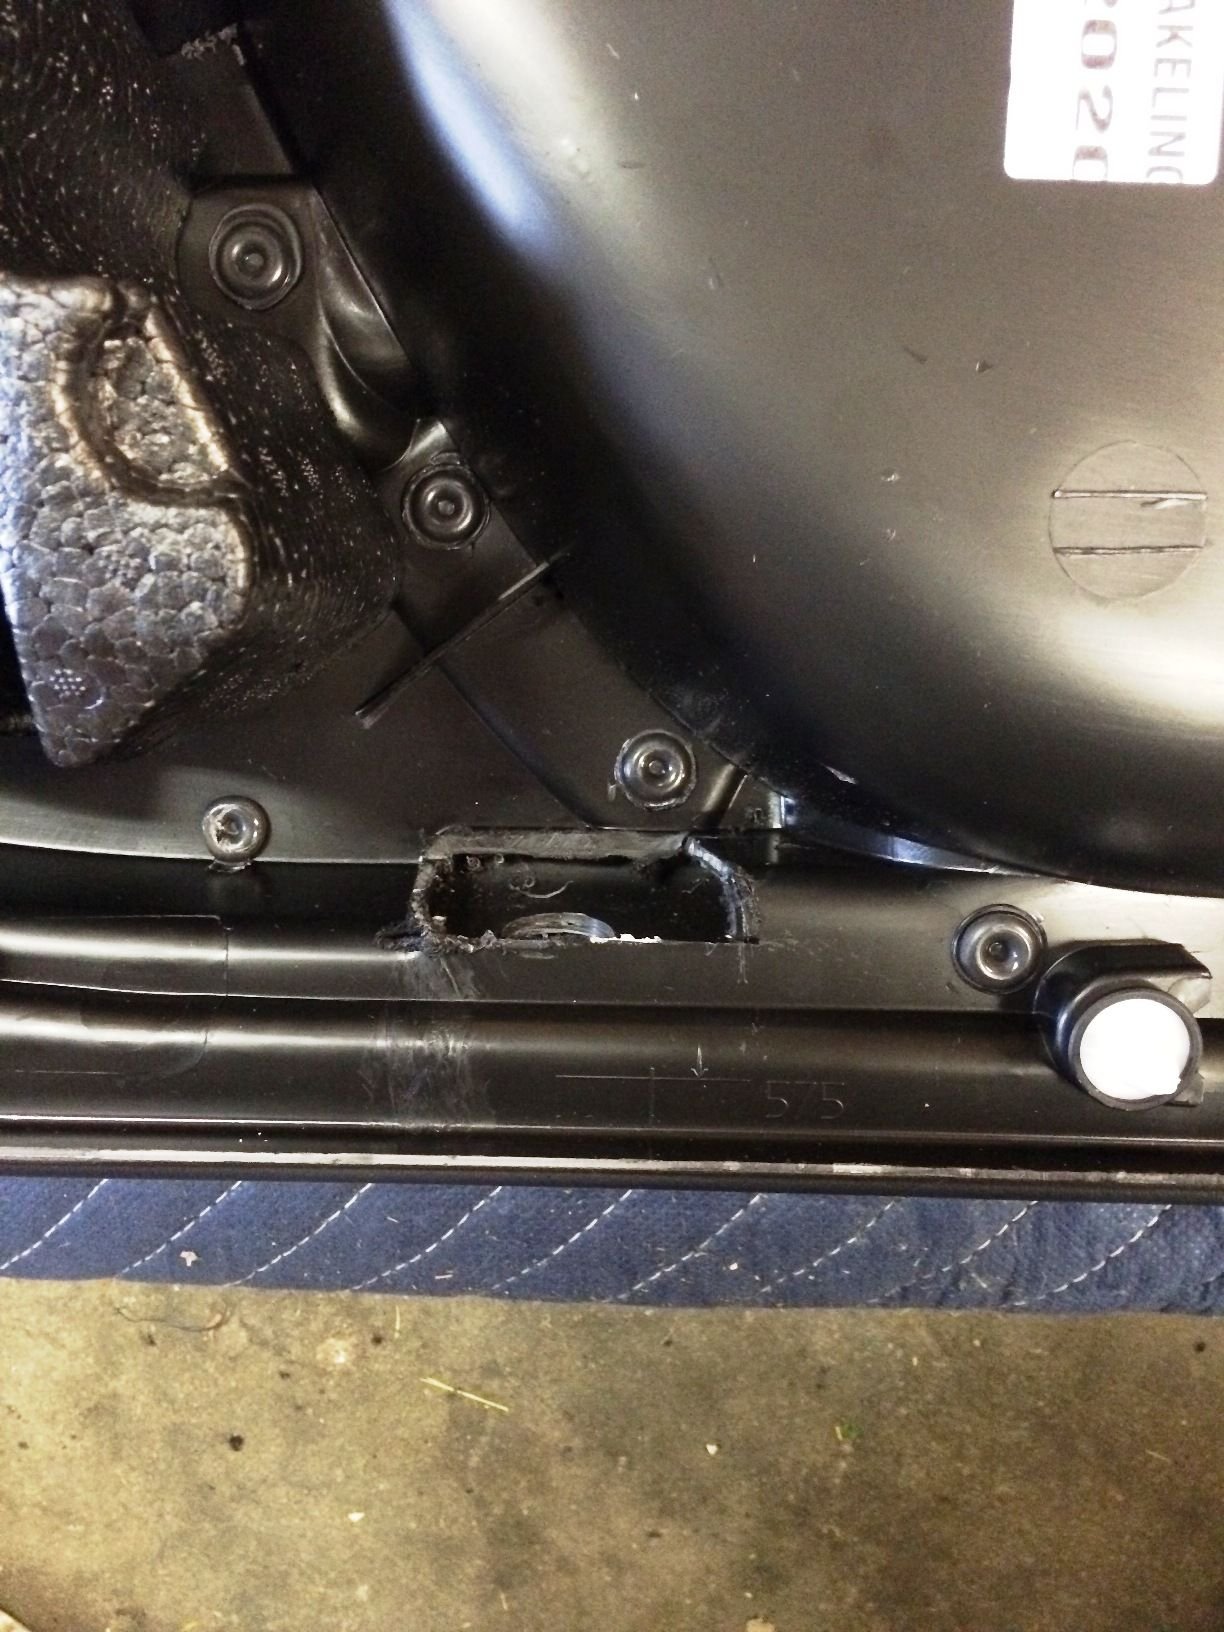
A view of the inner door card and how I cut the inner layer of plastic with a Dremel to give me room to tighten the nut down then angle and hot melt glue.

A little better view.
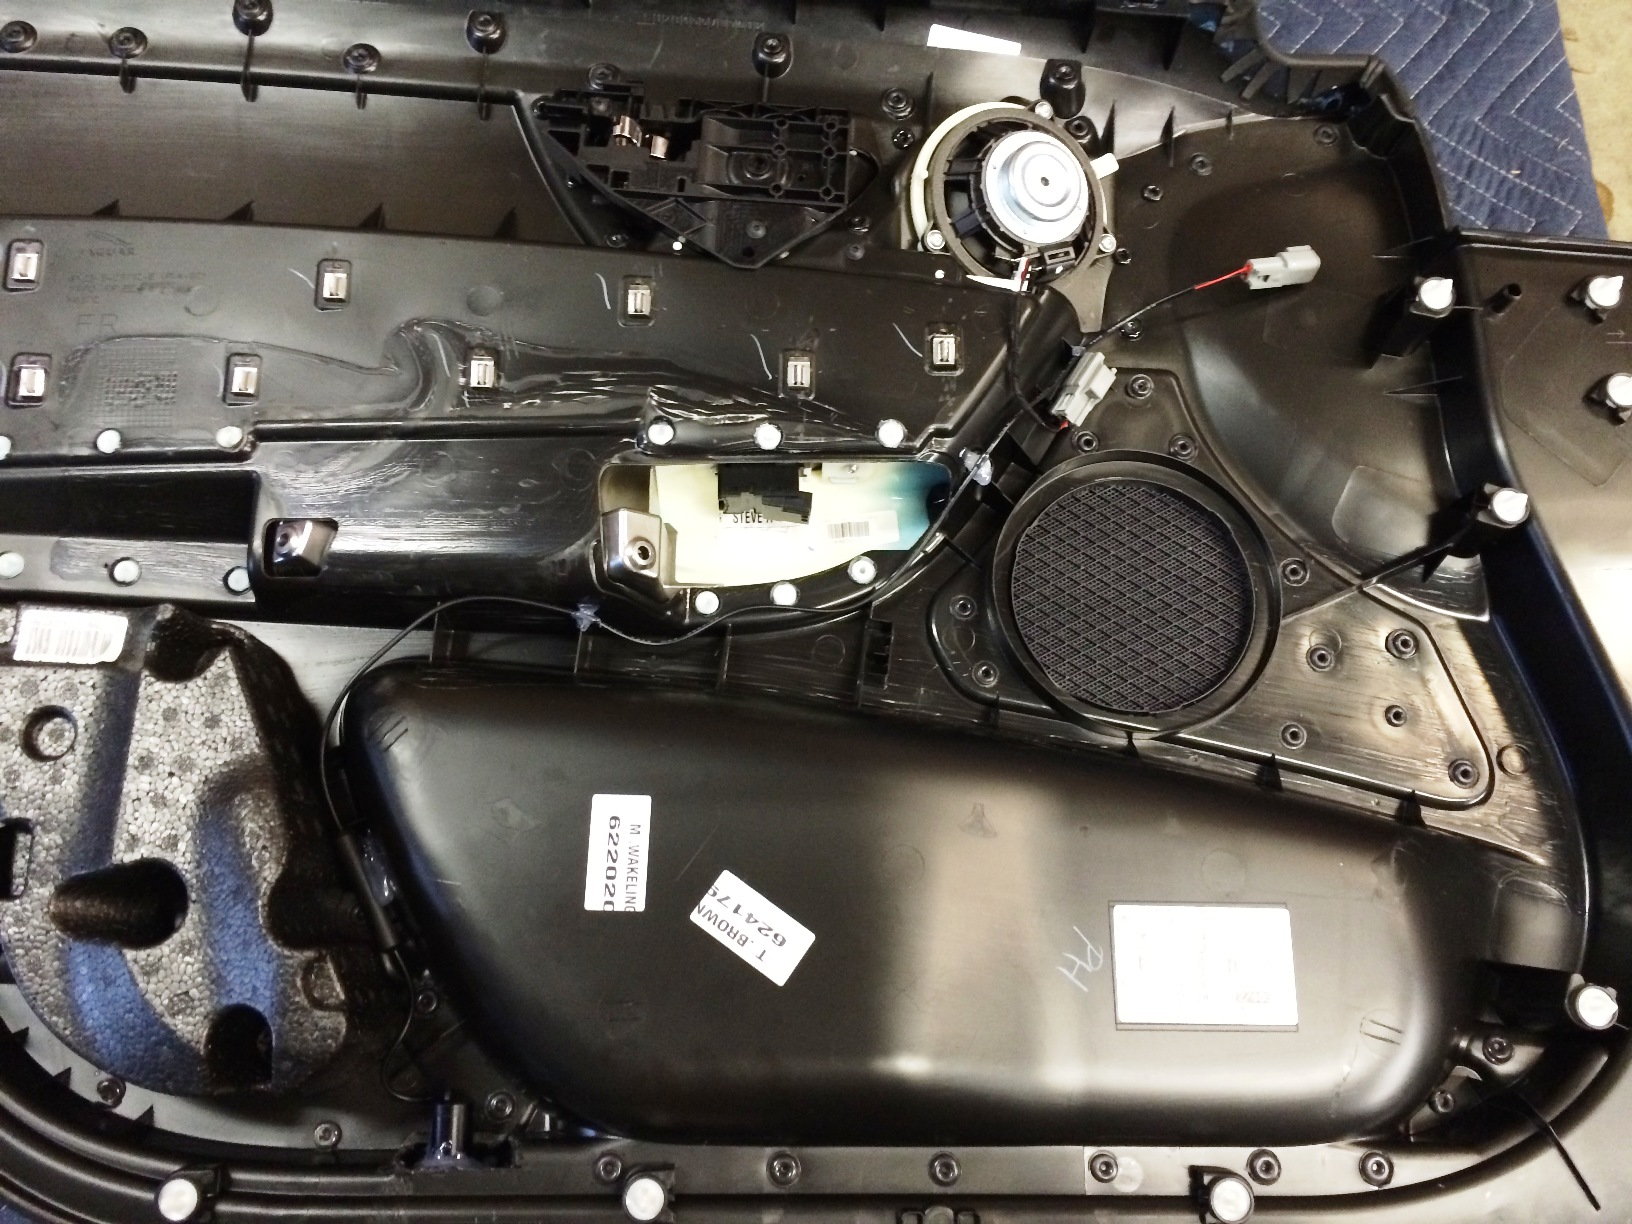
Here is a picture of the whole card with new projector and wiring. Hot melt glued to keep the wires from getting smashed when I re-installed the card.
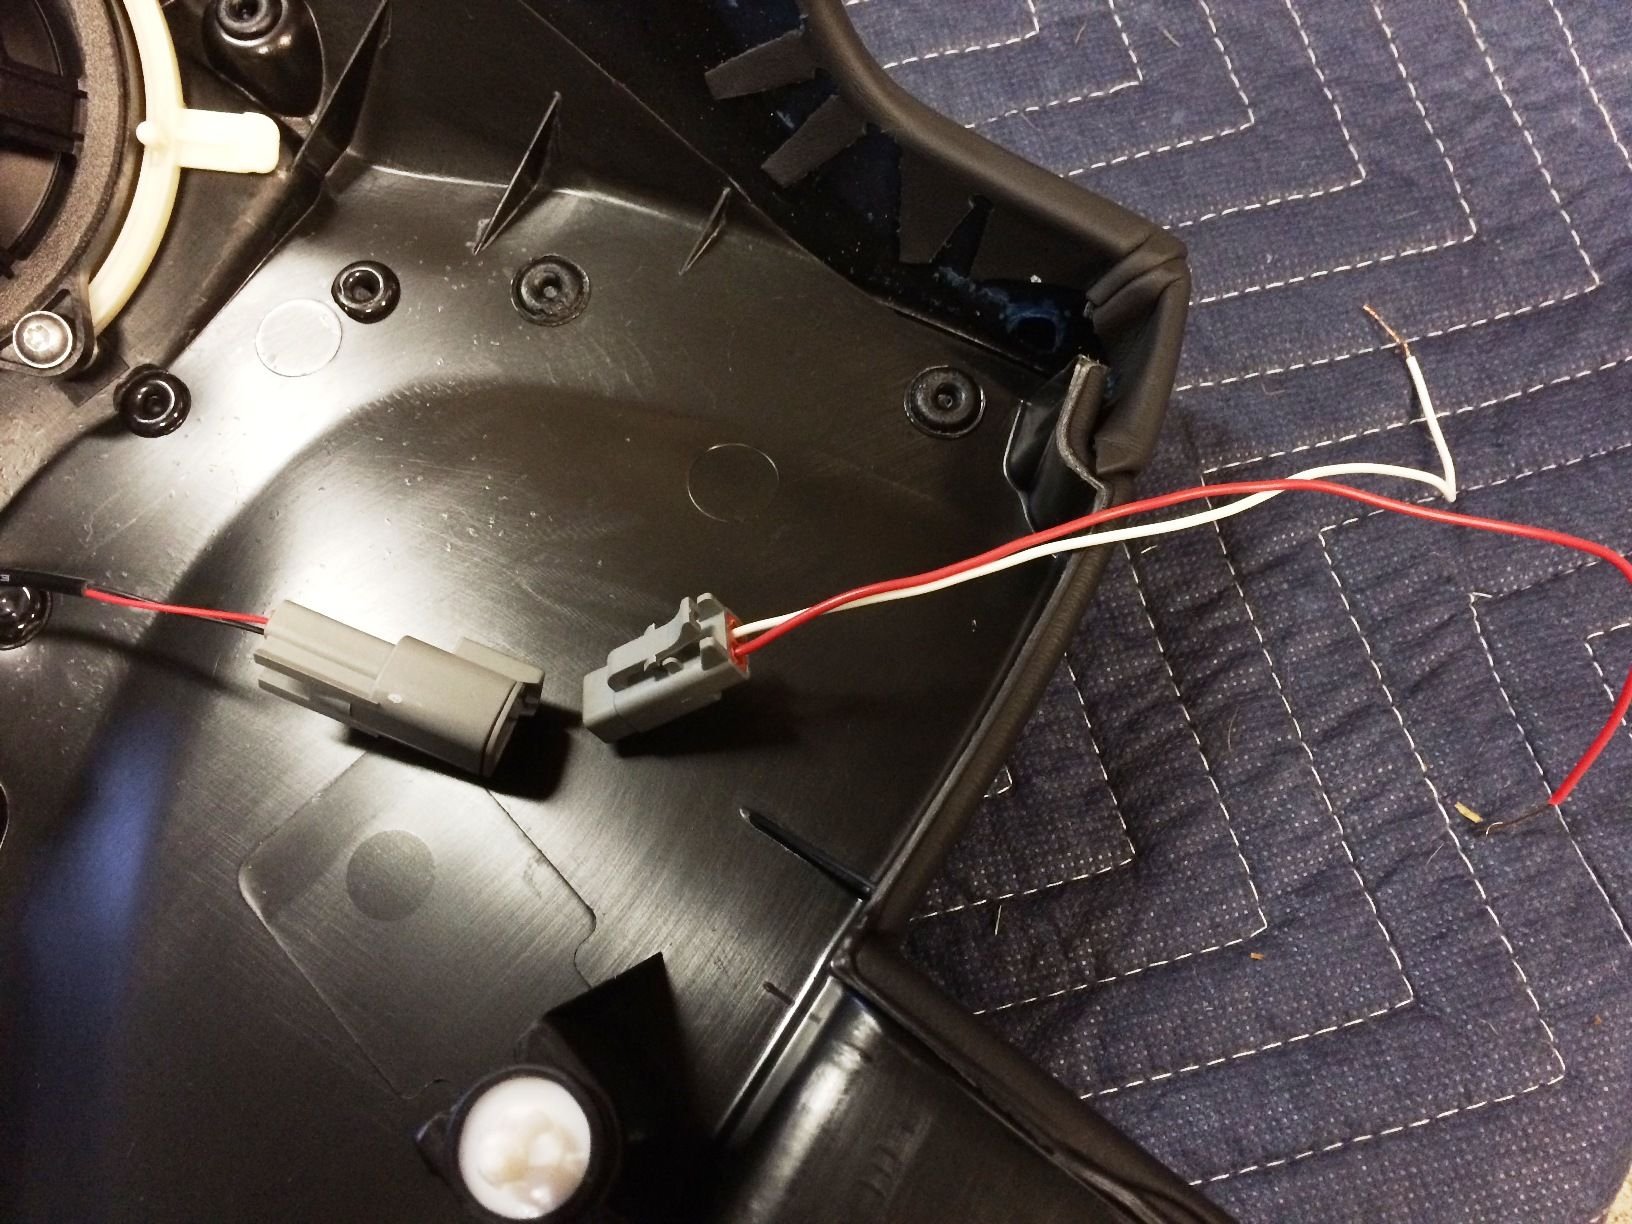
Here are the connectors I used. They are AMP connectors but any two conductor plugs will work. These were about $8.00 a set.
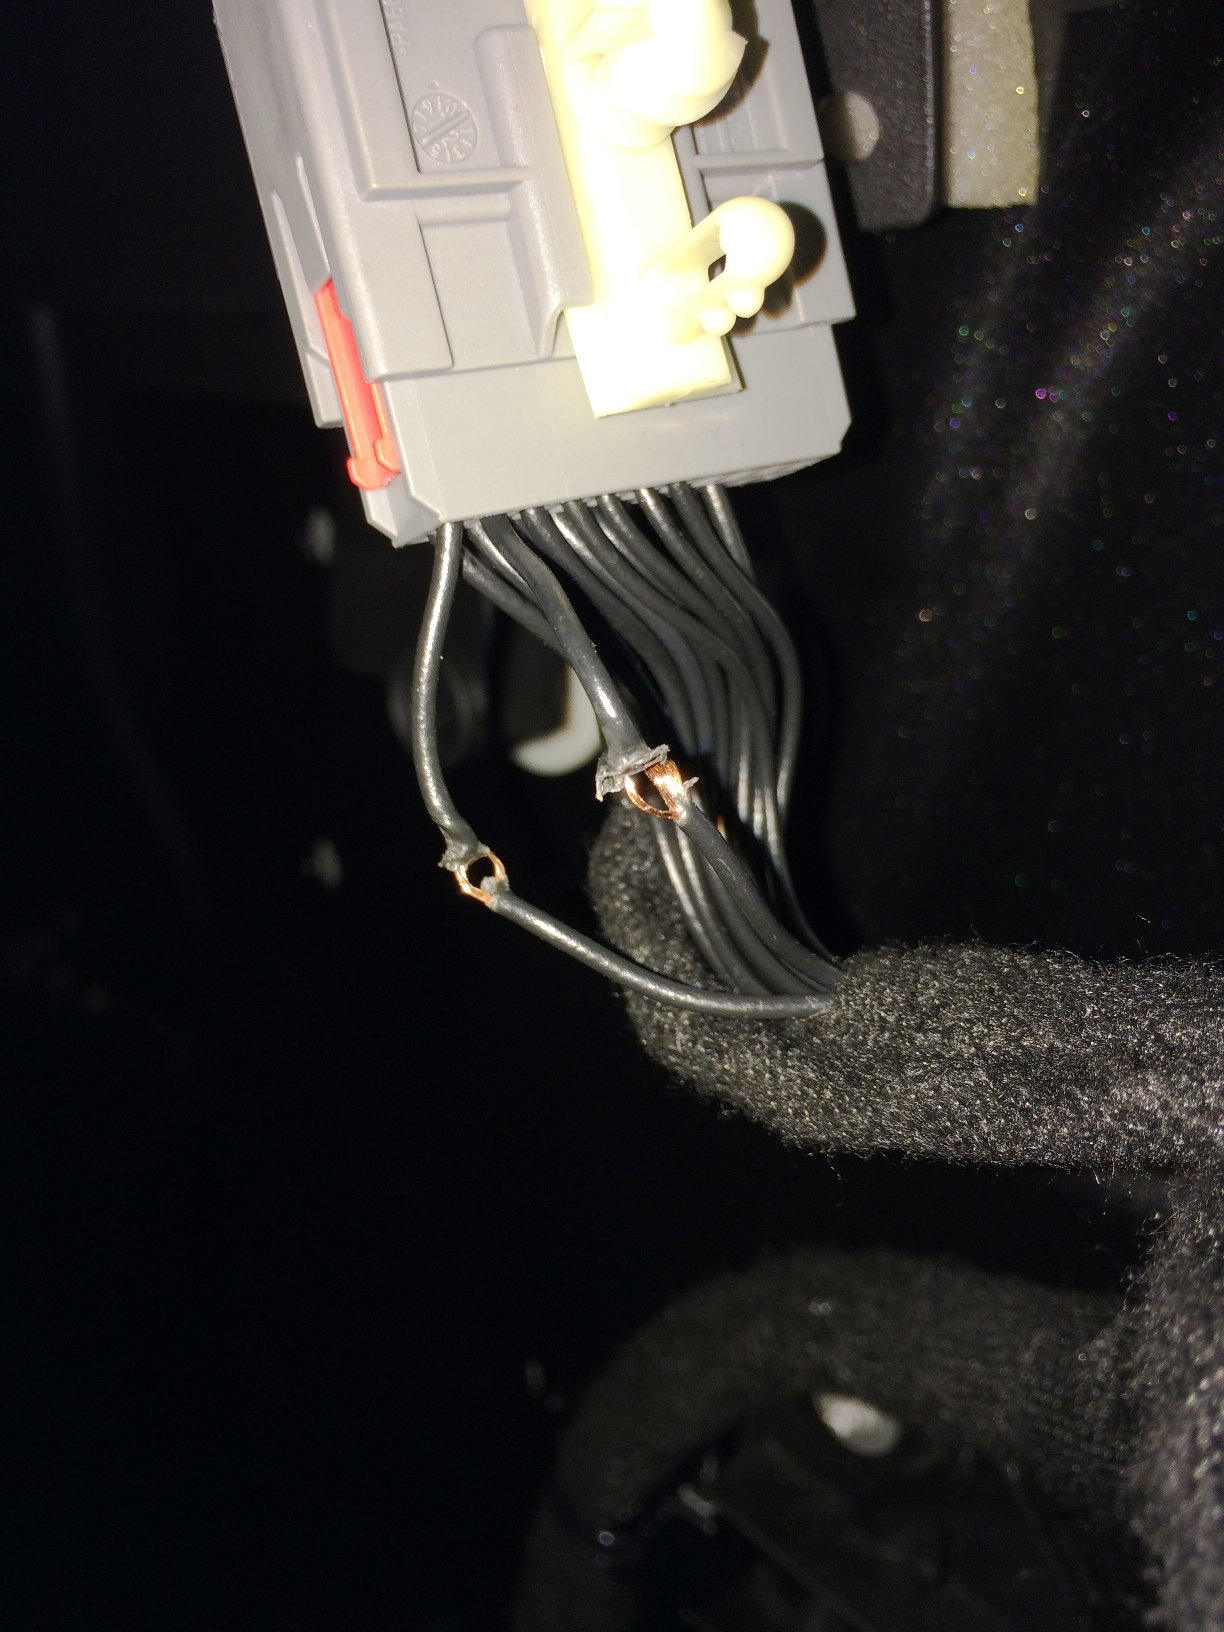
Here is the door side of the mirror harness connector. Pin #12 ground and #13 power as before. Notice how I cut the insulation only leaving the conductors in tact and then using a small pick, make a hole to insert the new wires through and then rapped them, soldered them and re-insulated.
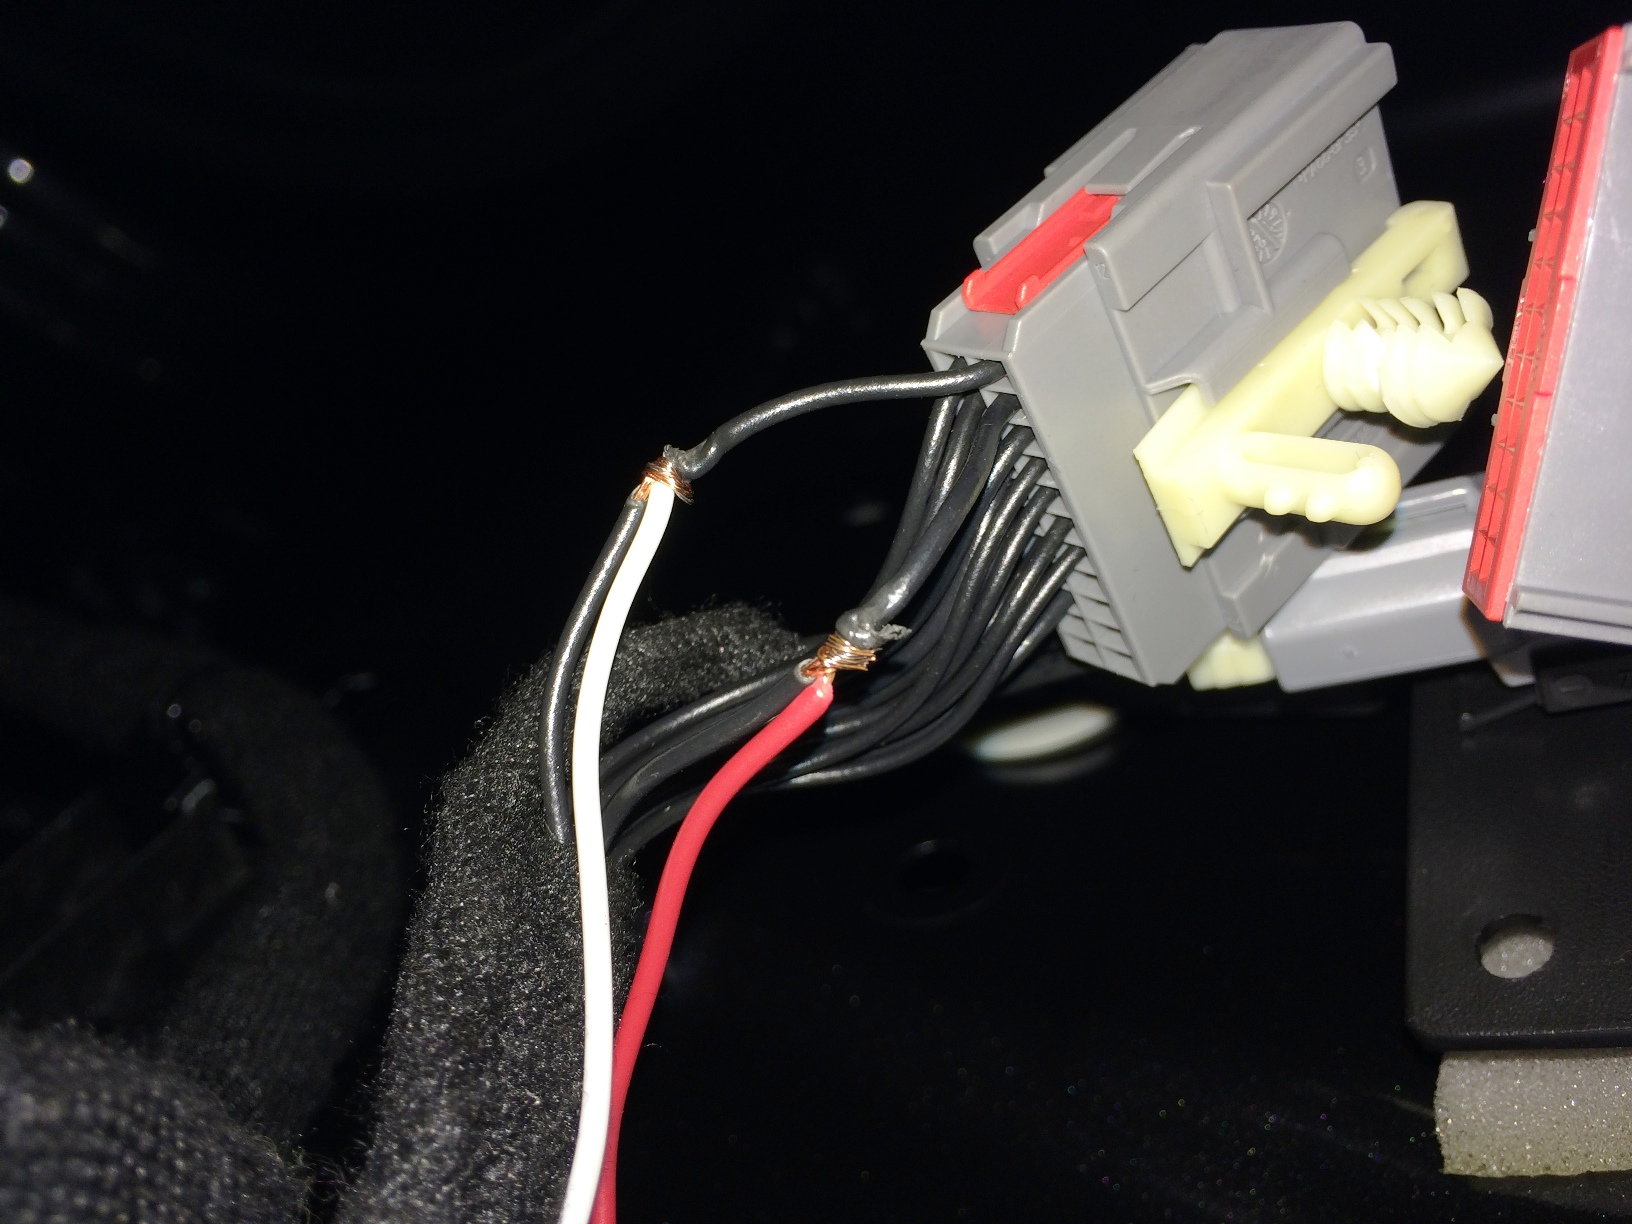
This is right before I soldered and insulated. Notice how everything lays back in the factory direction and the integrity of the factory wires are not compromised.
The following users liked this post:
danke (09-19-2015)
Thread
Thread Starter
Forum
Replies
Last Post
BrentGardner
XJ XJ6 / XJ8 / XJR ( X350 & X358 )
28
04-26-2024 03:08 AM
Currently Active Users Viewing This Thread: 1 (0 members and 1 guests)


