When you click on links to various merchants on this site and make a purchase, this can result in this site earning a commission. Affiliate programs and affiliations include, but are not limited to, the eBay Partner Network.
One of the panels on the sliding cover over the cupholders apparently came off and I think it fell into the space where the cover slides into when it is opened. That cover has two sections; when closed, the front half pushes forward and the back half pulls to the rear. It's the first panel of the section that is pulled rearward that has come undone - the first panel that disappears into the console when you open that cover. There's an empty space on the fabric mat where the panel fell off. It's barely noticeable, but I know it's there and I'd like to fix it.
Anyone else have this happen? I have an inexpensive boroscope on the way from China and, hopefully, I'll be able to see that section that fell off, retrieve it and glue it back on.
I tried to find that part online, with no sucess. Anyone know that part number and how to refit it in case I can't retrieve the missing piece?
I installed the new cupholder assembly yesterday and it was easy, with only 8 screws to remove. You need the following tools: Screwdriver with T-20 and T-30 Torx bits and extension (I already had a set with a ratcheting screwdriver, bits, and extensions); automotive trim removal pry bar (I bought a kit on Amazon); a flashlight; and a large, soft towel. Contrary to what others have said, you don't have to disconnect the battery or unplug any electrical connectors. This is what I used:
Insert the pry bar in between the seam on the side of the leather dashboard and the chrome touchscreen surround and pry that chrome trim upward until it pops off. Continue wedging that pry bar all the way around and remove that chrome surround.
Remove the control panel. It's secured by four T-20 screws, one at each corner. Put the towel on the console to protect it while you remove the control panel. Don't unplug it, and wrap it with the towel to protect it and prevent it from scratching the console or anything else.
Remove the console chrome surround. Using the pry bar, start at the back end and work your way around one side and then the other. Then pry up at each front corner and lift it off and set it aside at the rear of the console Don't unplug the connector.
Remove the two T-30 screws from the rear of the cupholder and then remove the front two screws. Lift the assembly from the rear and slide it backwards
Insert the new assembly with the arrow to the front, and attach it with the four screws
Reattach the control panel. Then reattach the chrome console surround by placing it over the cupholder assembly, aligning it, and pushing it down to snap it in place. Lastly, reattach the touch screen surround by snapping it in place AND YOU'RE DONE! Good as new!
I had the same problem with mine but I was able to retrieve it and glue it back on fairly easily. When the car was at the dealership later for some warranty work, I mentioned having done that and they ordered and installed a new cover while the car was in the shop. For all the problems I had with my XJL, my dealer never failed to amaze me with their customer service.
There is a Technical Service Bulletin for this problem. TSB Number:SSM72581 NHTSA Number:10093106TSB Date:July 7, 2016 Date Added to File:February 27, 2017 Failing Component:EquipmentSummary:Issue: centre console cup holder cover split (see attachment)
Last edited by Iowa4576; Sep 26, 2018 at 06:58 AM.
There is a Technical Service Bulletin for this problem. TSB Number:SSM72581 NHTSA Number:10093106TSB Date:July 7, 2016 Date Added to File:February 27, 2017 Failing Component:EquipmentSummary:Issue: centre console cup holder cover split (see attachment)
I was unable to find this TSB on the NHTSA website (safercar.gov) or by a Google search. Please post the link to where you found it. Thanks.
Aw, cr*p, I just lost the second slat. It disappeared just like the first one. It's more noticeable now that 2 are missing. Time to go fishing and try to catch both of them.
Good info as mine has also come apart- the one that slides towards the front of the car for me. But, looks like that part is 172.00? I'll try some glue first
I ordered that Part # C2D49968 from Frank at SNG Barratt USA, a Forum Sponsor, for less. You have to ask for the Forum member discount.
I decided to replace rather than repair because of the TSB and new part number for the improved design. I'll see if I can fix the old one and, if so, will put it on Ebay to recoup some of that cost.
I'll update this thread with photos while I do the repair.
Update: I received the new cupholder assembly today and have the trim removal and other tools. I'll work on it this coming weekend and post pictures of how to do it.
Here's the new assembly. It's made in Germany.
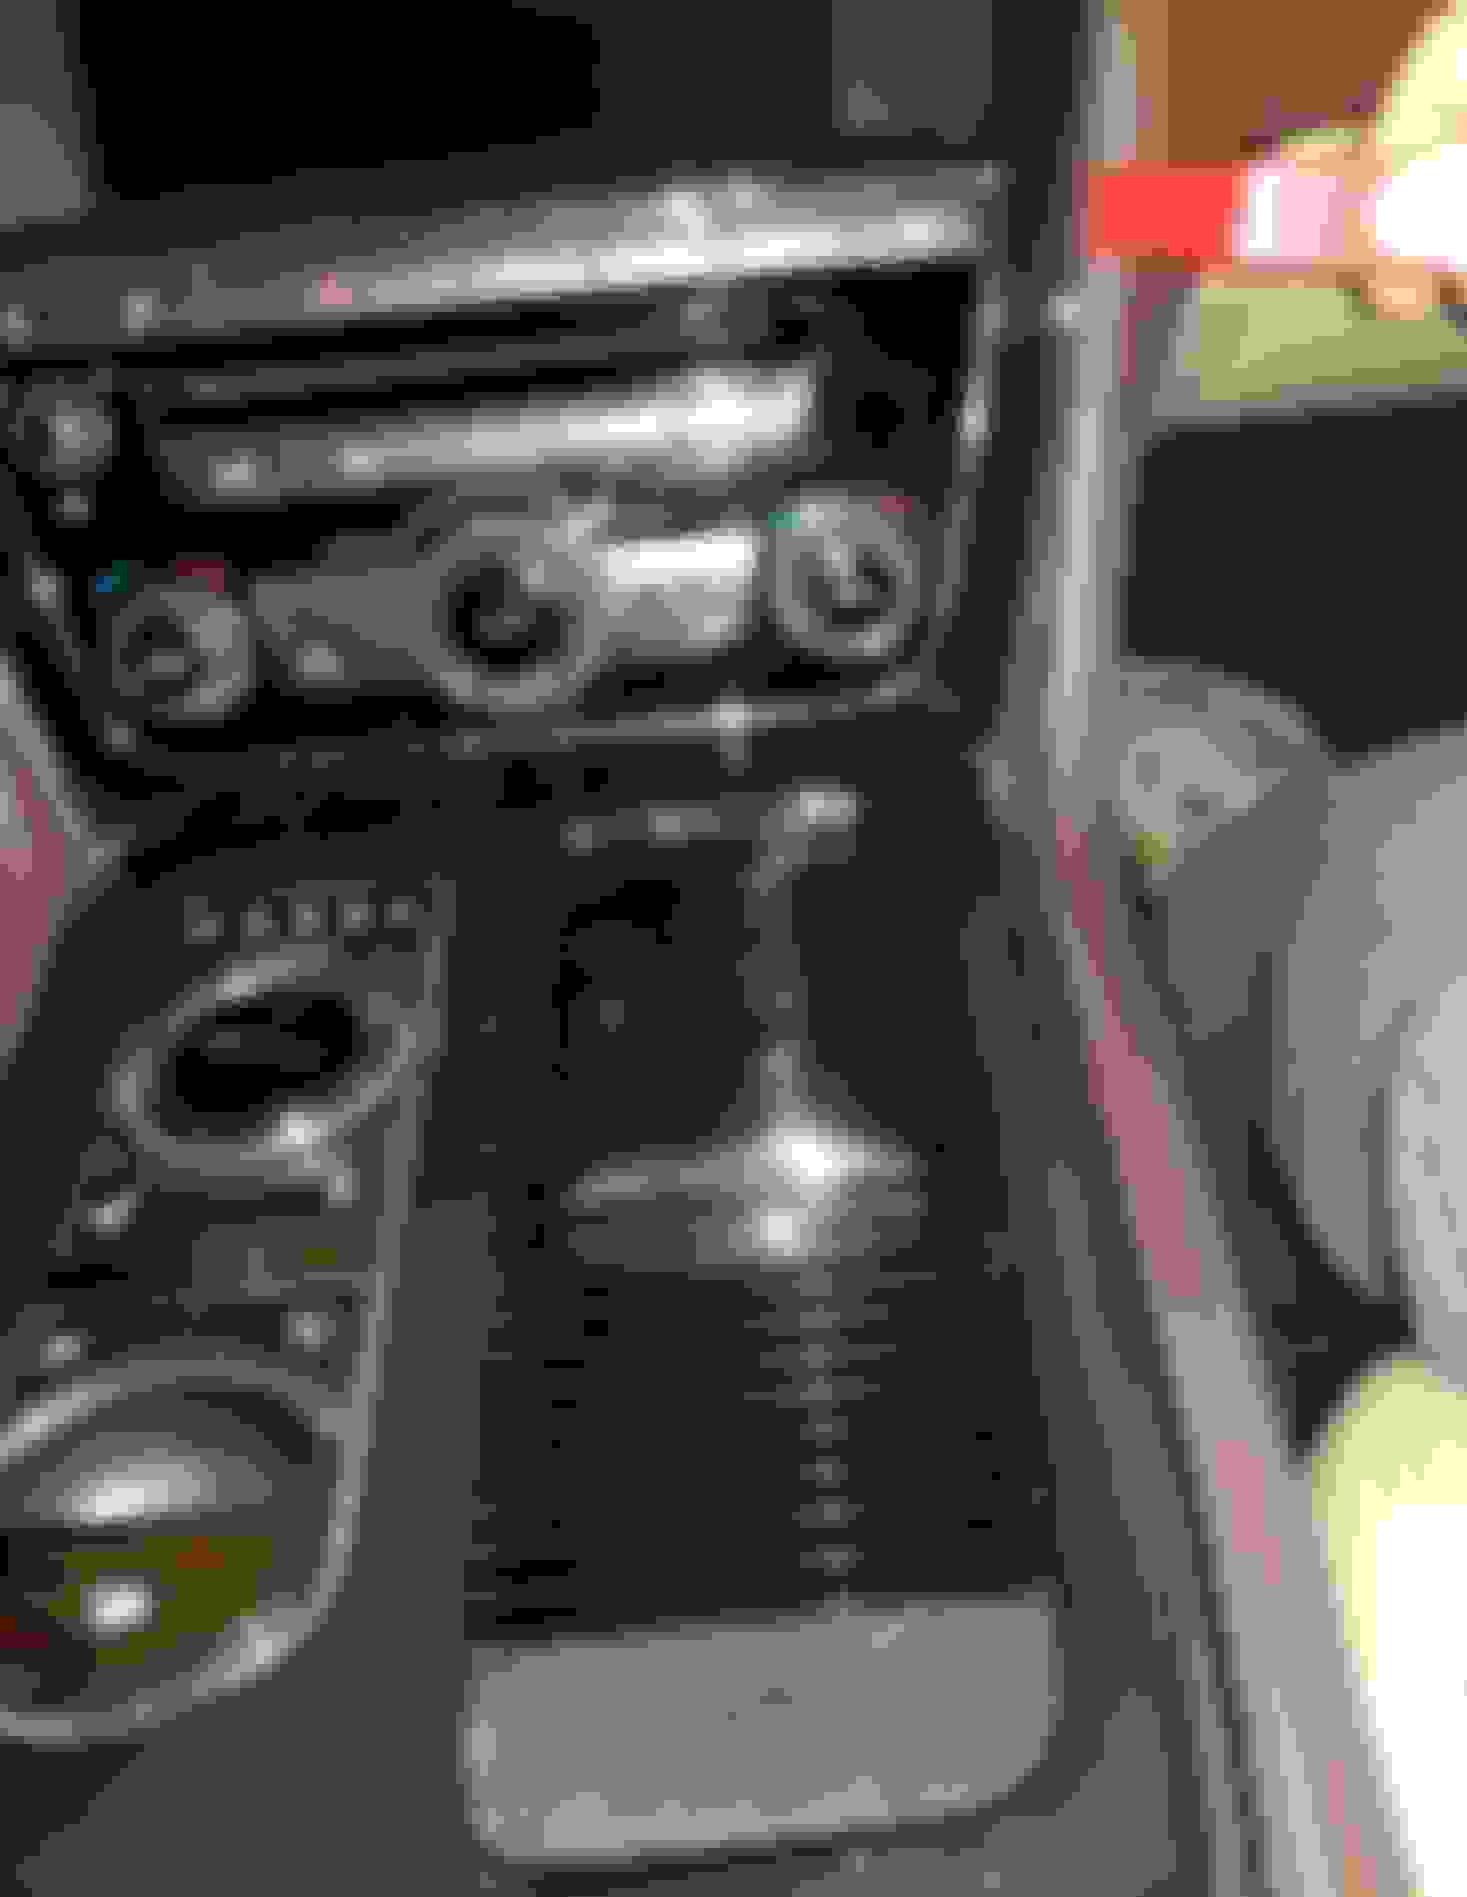
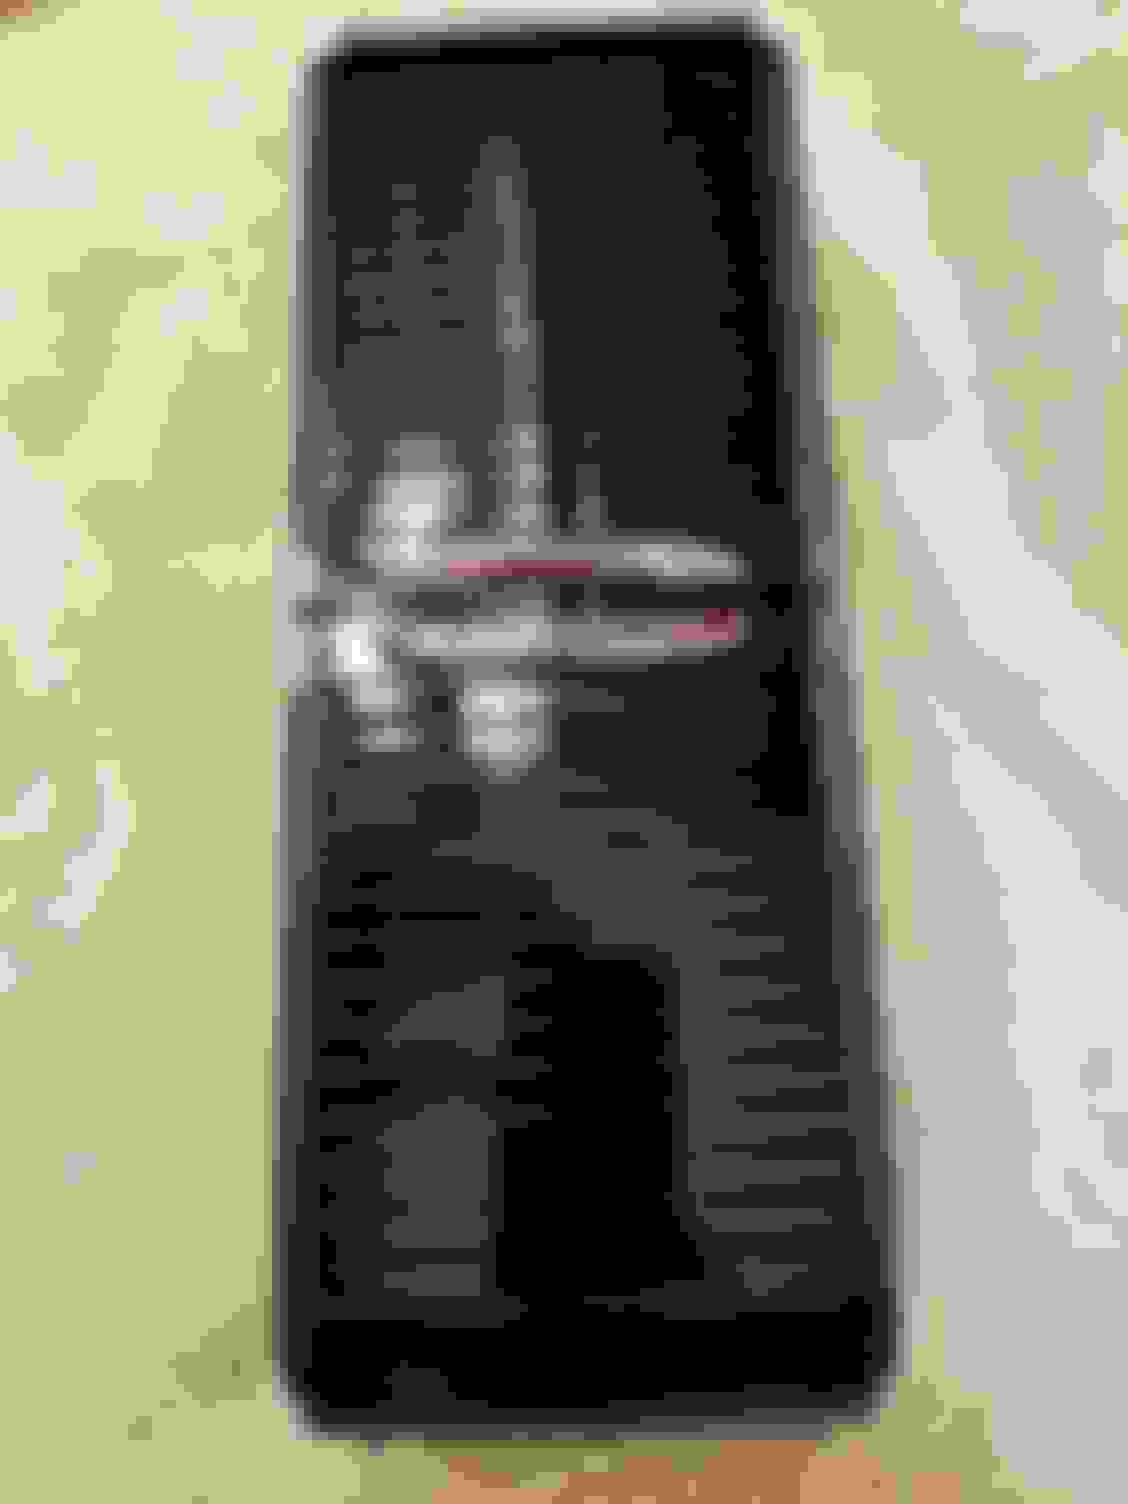
CLOSED.
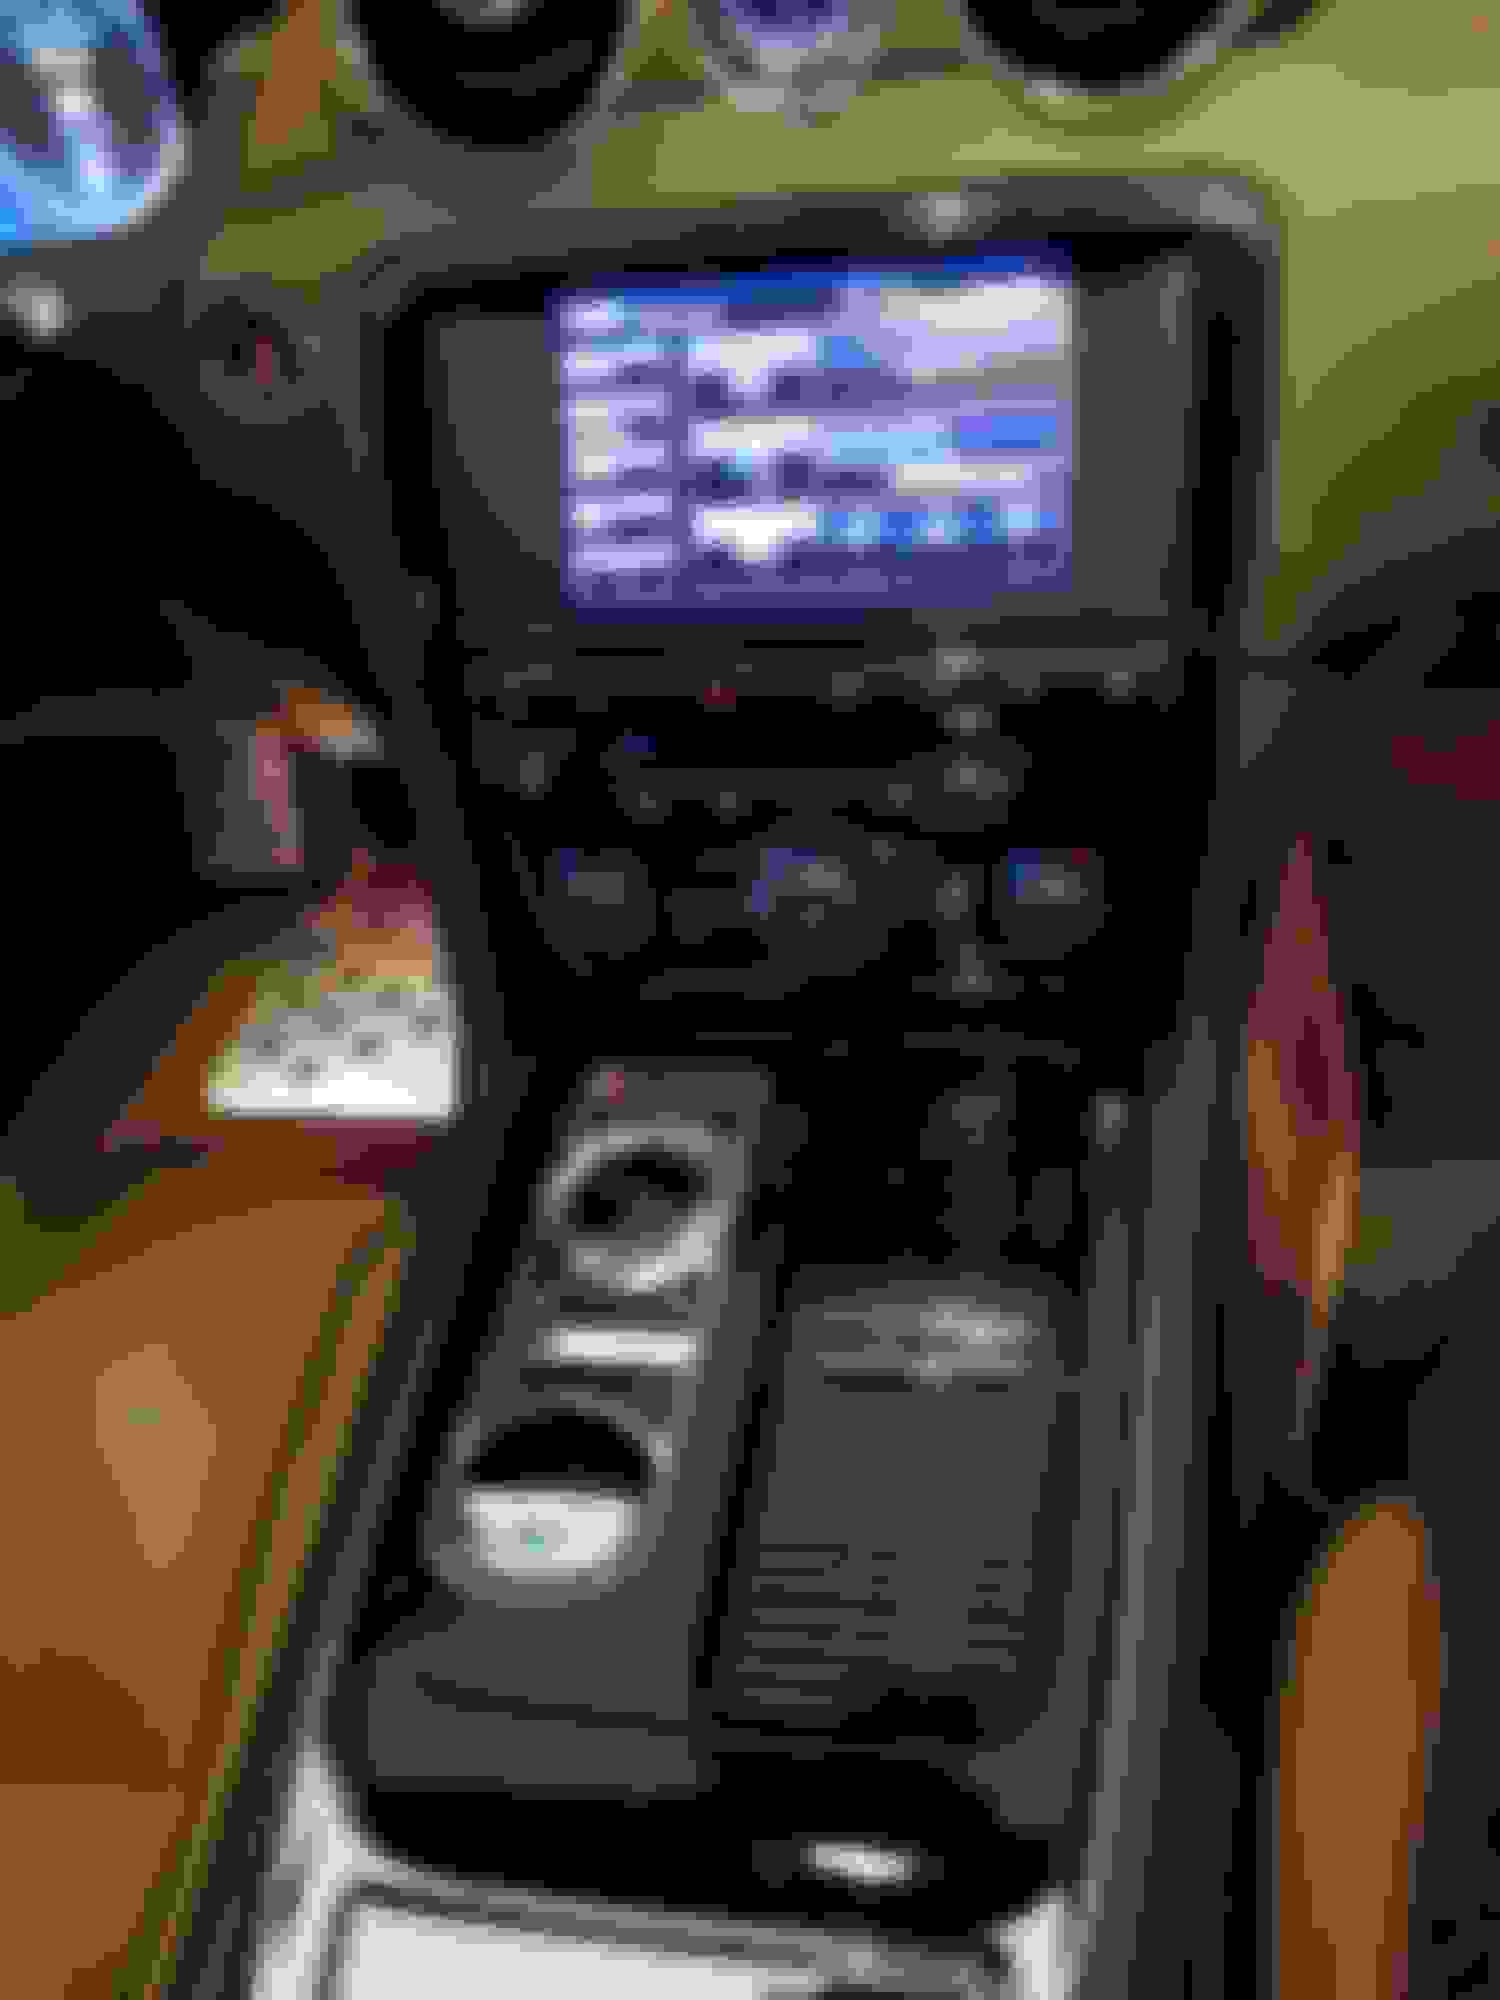
OPEN.
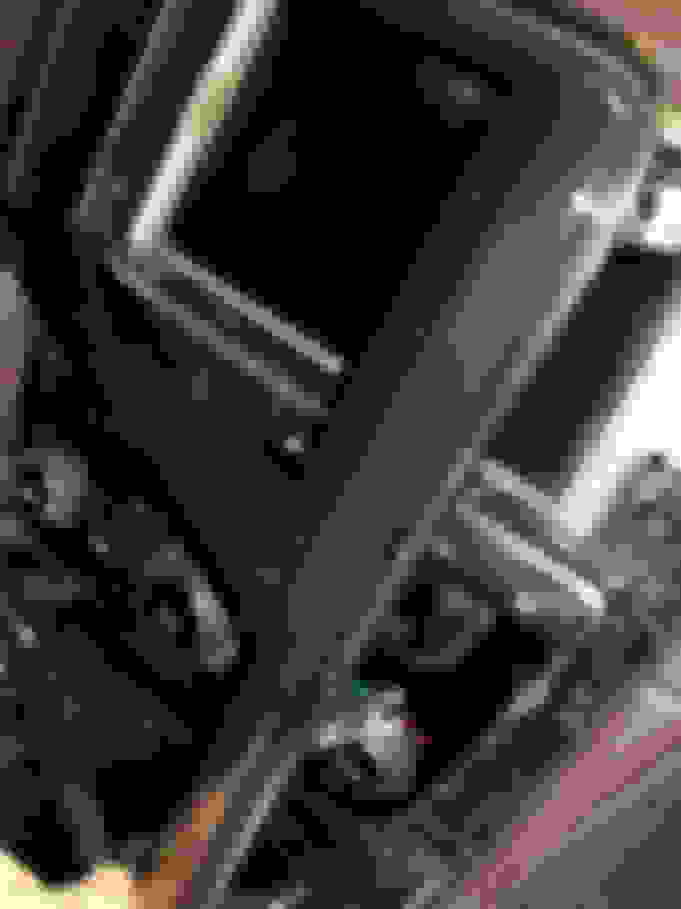
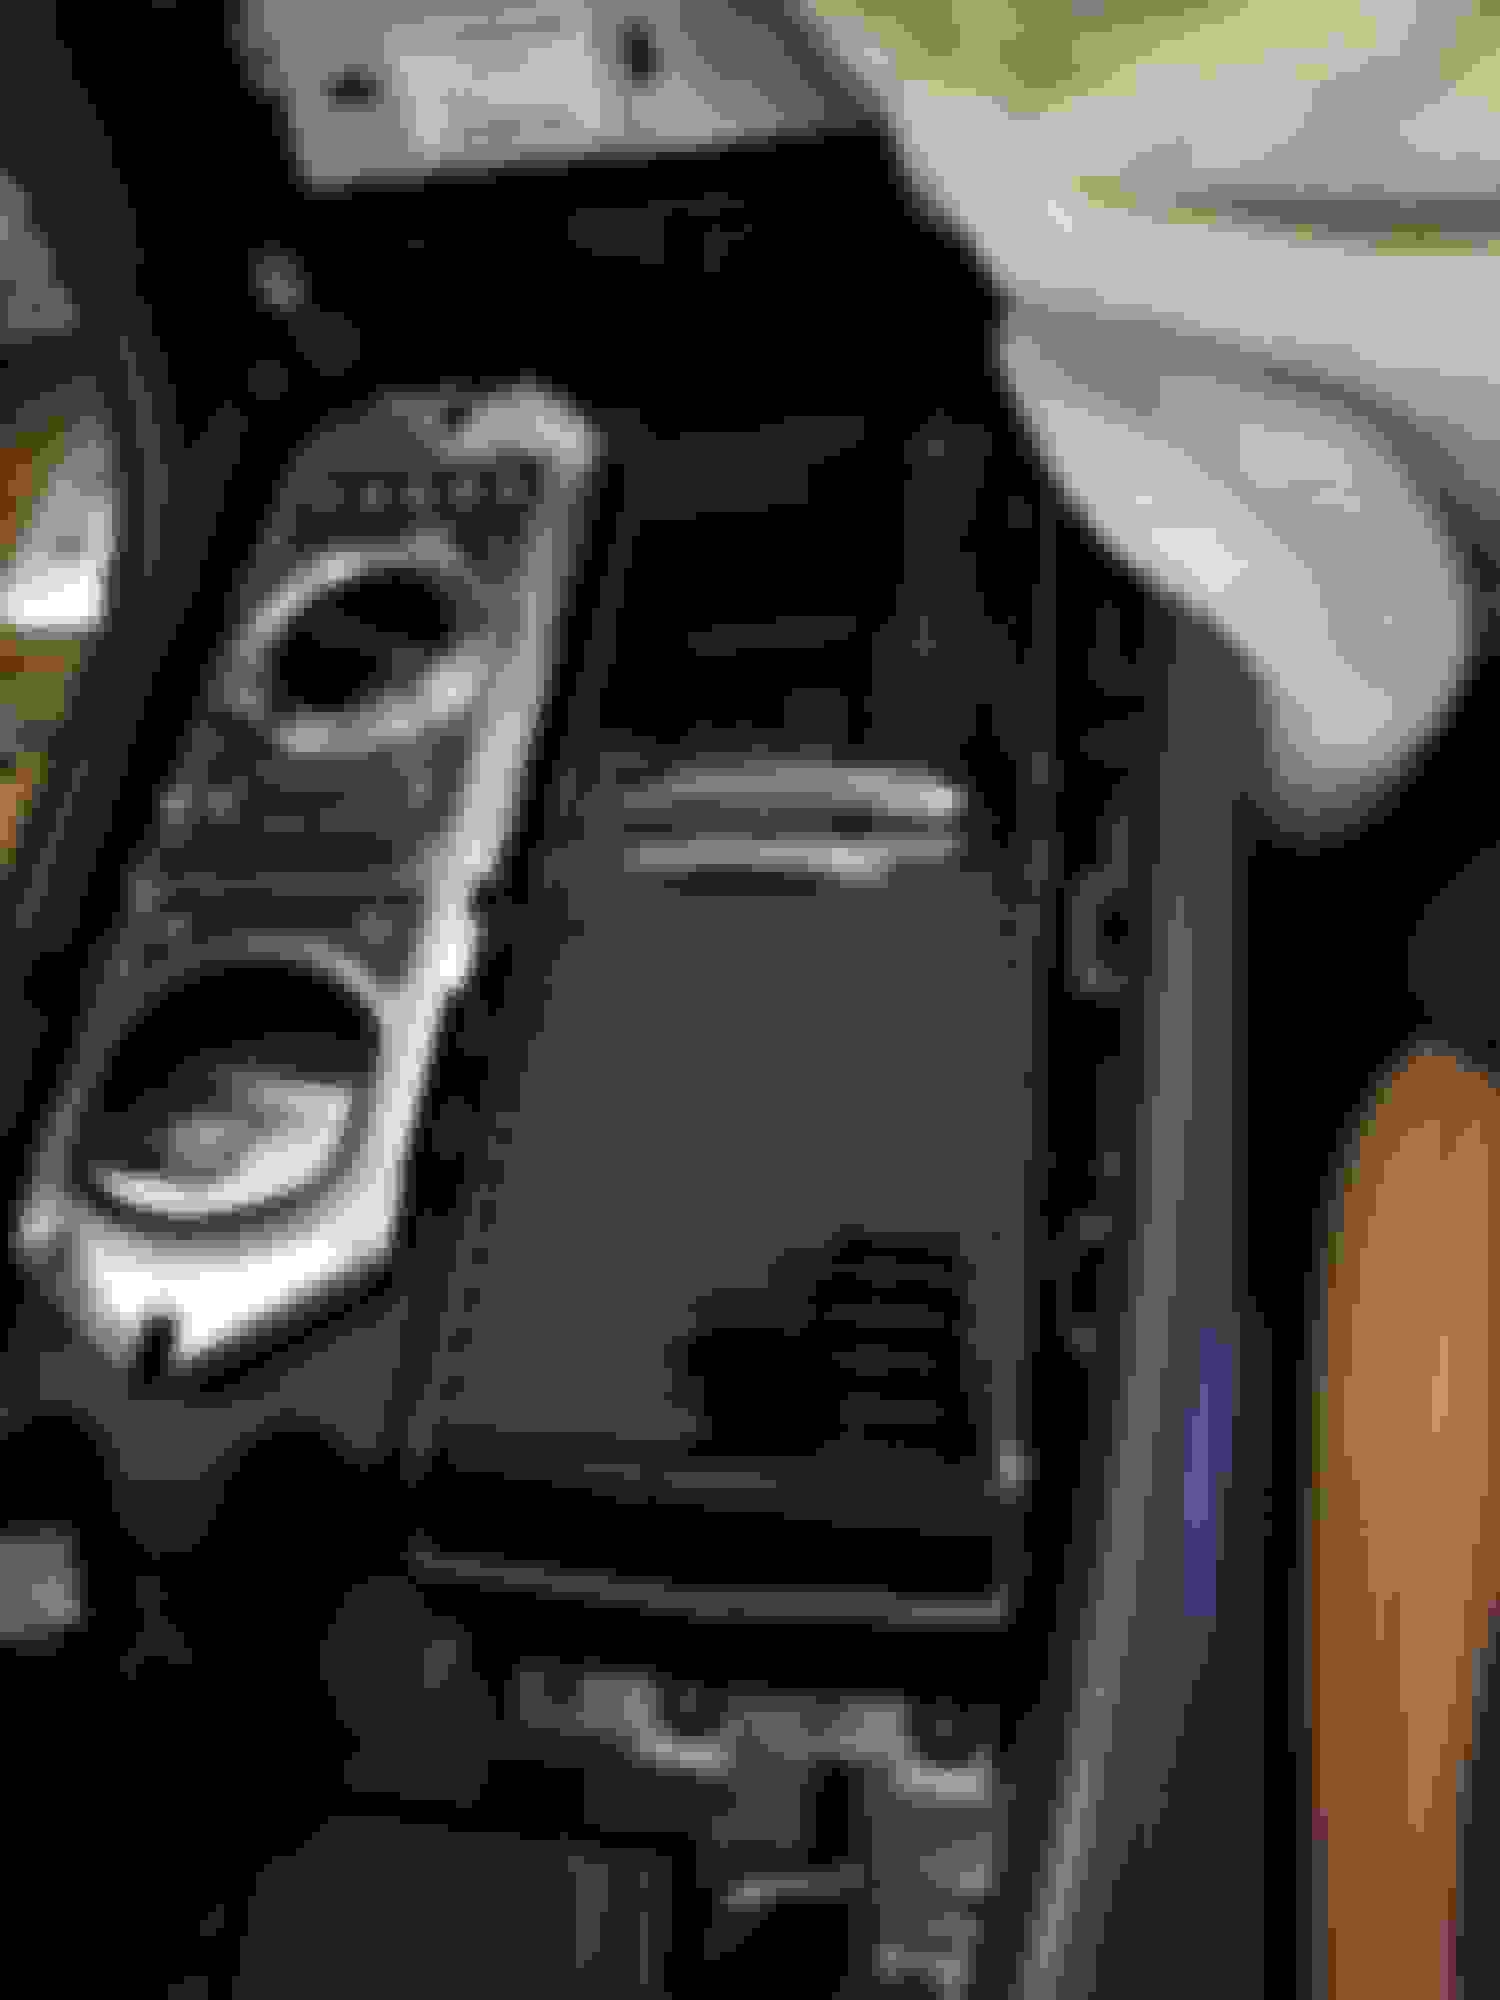
PARTIALLY OPEN, SIDE VIEW
This shows how the tambour door opens, with each slat affixed to a herringbone fabric that moves around a roller. If the first slat or two come off as you're opening the cover door (as mine did), those slats disappear into the bottom of the assembly and you can't retrieve them unless you disassemble the trim and remove the cupholder assembly.
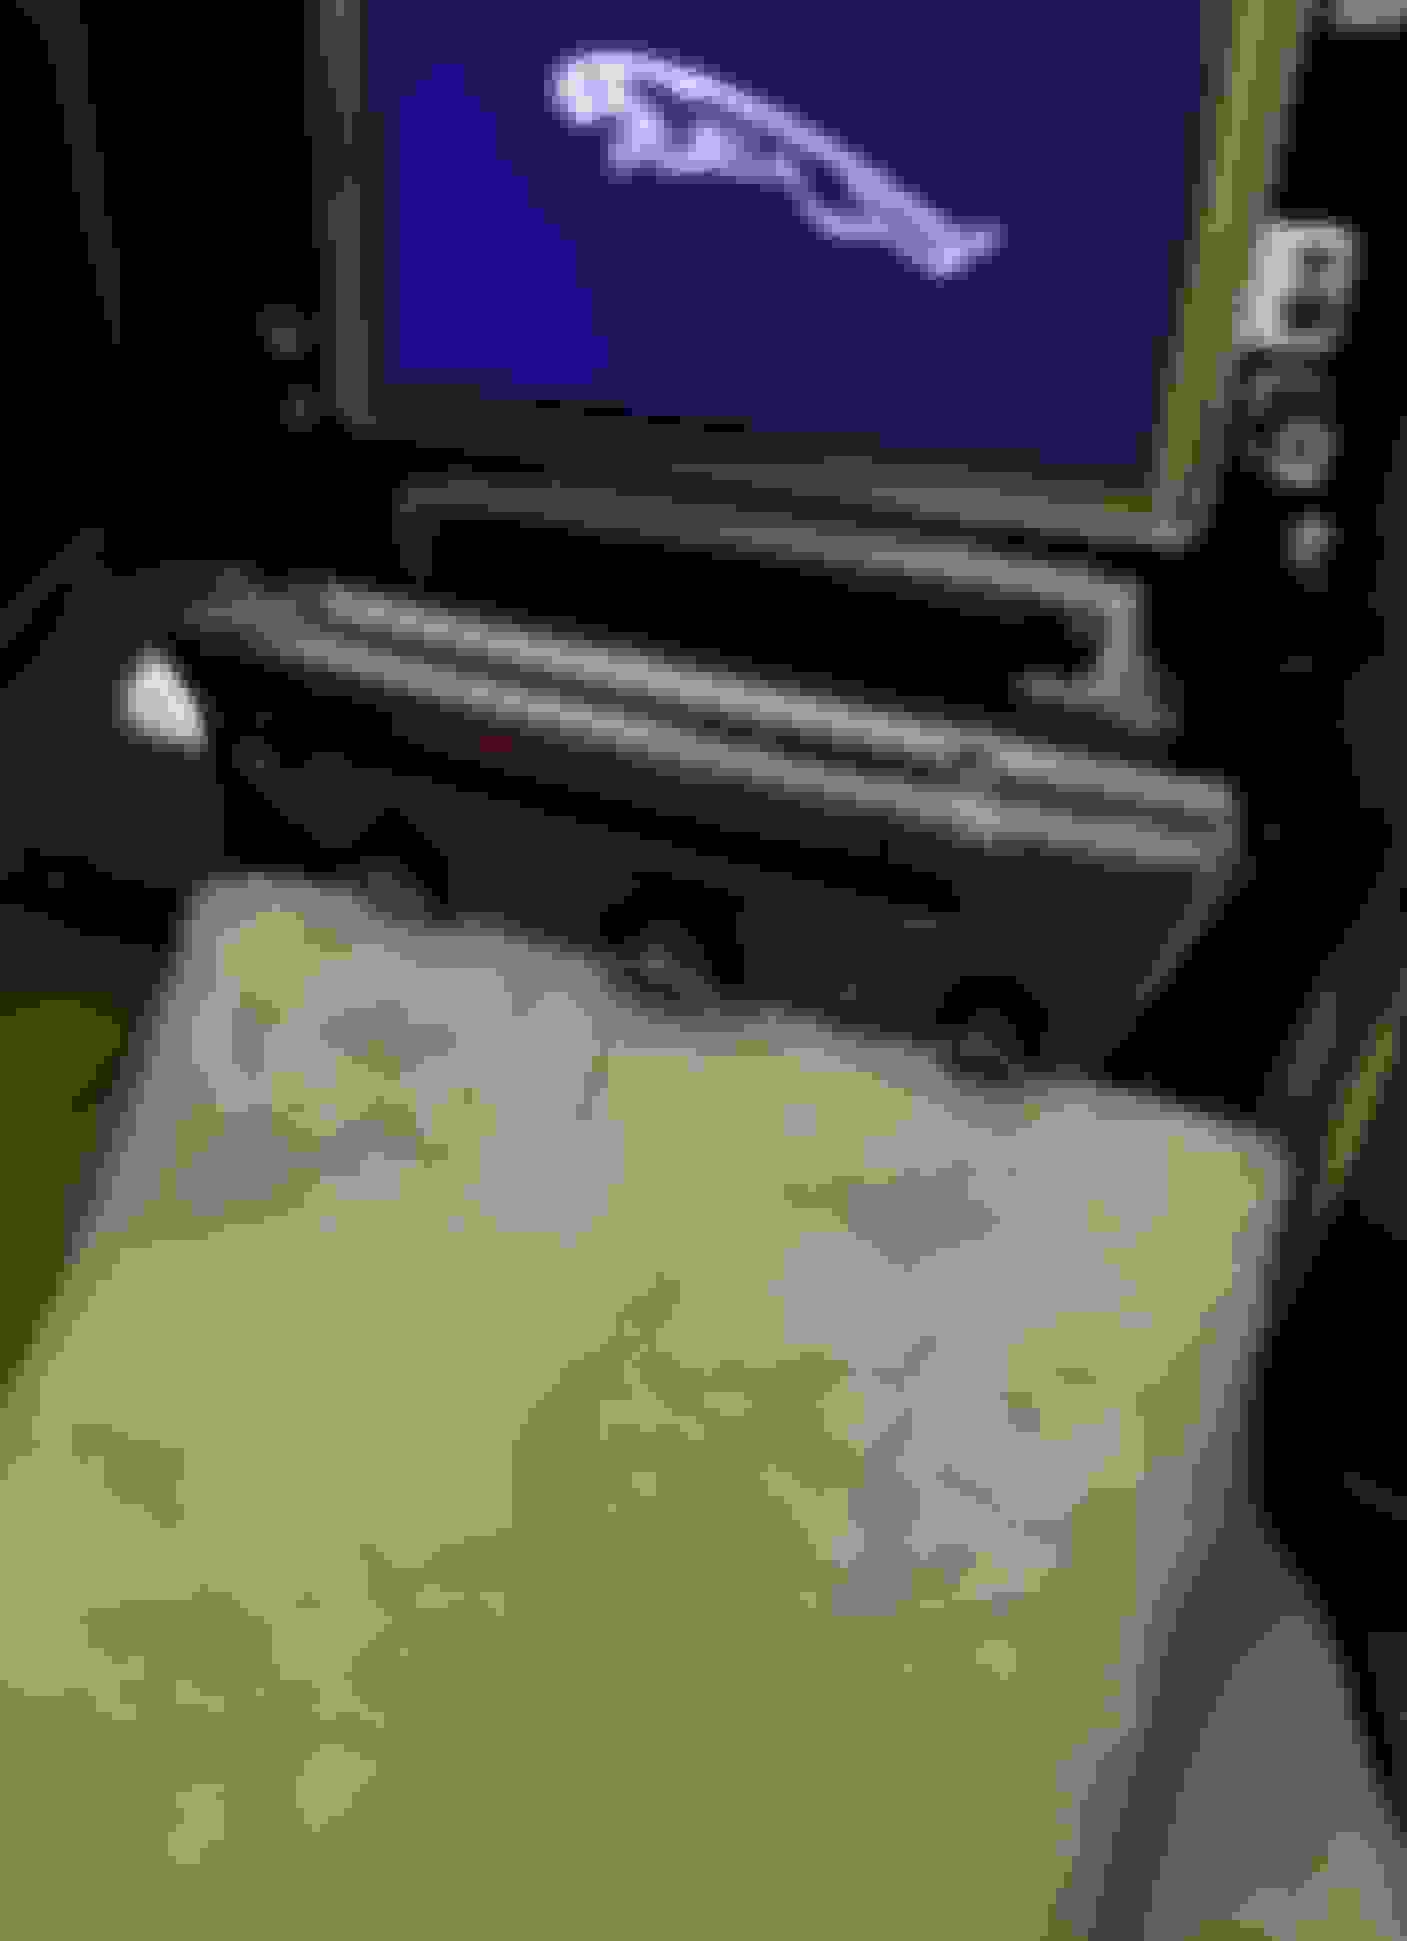
This picture is a better view of the underside of the herringbone fabric belt that holds the slats
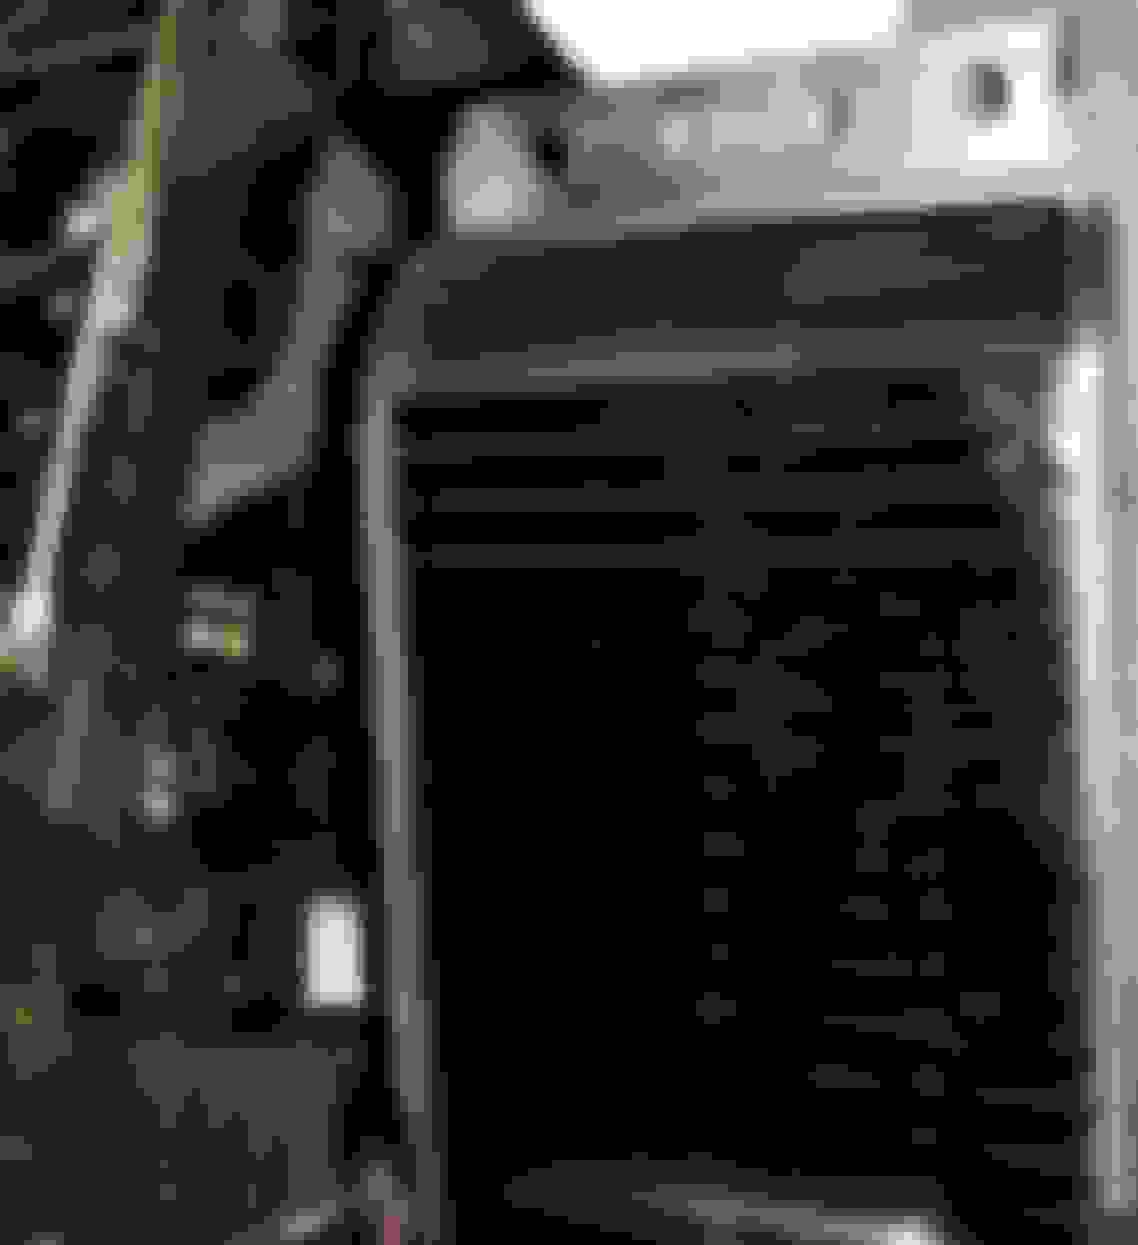
This picture shows the gap between the slat while opening the cover. It appears that the slats are now attached using a small black piece to the center of the belt. I don't recall seeing that on my broken assembly, but it might have fallen in when the slats came off. Or that might be why it's the new and improved version.
I installed the new cupholder assembly yesterday. It was easy, if you have the tools. You need a screwdriver with T20 and T30 torx bits, an automotive trim removal pry bar, a flashlight, and a large, soft cloth. Contrary to what others have advised, you don't have to disconnect the battery or unplug any electrical connections.
I'll post details after I can attach pictures again. I don't know what happened, but the dialog box doesn't open when I press the picture icon. This happens regardless of the device I'm using, so it looks like a Forum glitch.
I installed the new cupholder assembly yesterday and it was easy, with only 8 screws to remove. You need the following tools: Screwdriver with T-20 and T-30 Torx bits and extension (I already had a set with a ratcheting screwdriver, bits, and extensions); automotive trim removal pry bar (I bought a kit on Amazon); a flashlight; and a large, soft towel. Contrary to what others have said, you don't have to disconnect the battery or unplug any electrical connectors. This is what I used:
Insert the pry bar in between the seam on the side of the leather dashboard and the chrome touchscreen surround and pry that chrome trim upward until it pops off. Continue wedging that pry bar all the way around and remove that chrome surround.
Remove the control panel. It's secured by four T-20 screws, one at each corner. Put the towel on the console to protect it while you remove the control panel. Don't unplug it, and wrap it with the towel to protect it and prevent it from scratching the console or anything else.
Remove the console chrome surround. Using the pry bar, start at the back end and work your way around one side and then the other. Then pry up at each front corner and lift it off and set it aside at the rear of the console Don't unplug the connector.
Remove the two T-30 screws from the rear of the cupholder and then remove the front two screws. Lift the assembly from the rear and slide it backwards
Insert the new assembly with the arrow to the front, and attach it with the four screws
Reattach the control panel. Then reattach the chrome console surround by placing it over the cupholder assembly, aligning it, and pushing it down to snap it in place. Lastly, reattach the touch screen surround by snapping it in place AND YOU'RE DONE! Good as new!
Stuart, did you have any success gluing the old sliding cover together? I know you bought the new one, but I can't seem to get one in UK and I am wondering whether to attempt the repair. I don't want to risk damage by taking the console apart if the repair isn't do-able. Thanks