When you click on links to various merchants on this site and make a purchase, this can result in this site earning a commission. Affiliate programs and affiliations include, but are not limited to, the eBay Partner Network.
Ive been using a combination of the interior-safe Goo Gone mentioned in this thread, and an old gift card to basically just scrape the goop off, but that method isnt going to work for all the buttons.
Margaret - Found a pack of 10 eye shadow brushes for $1.99 and a bottle of awesome for $0.99 and went to work. The brush without the sponge works great. Thanks for the suggestion. Would have never heard of either of these items.
I used the Neutrogena wipes but it was still a lot of work. Used plastic scrapers and finger nails to get the goo moving. Keep things as wet/damp as possible.
Tried Goo Gone, Mary Kay Makeup Remover Wipes and Isopropyl Alcohol with little effect before.
Mine were not too sticky but feel much better now they are clean.
Did anyone do the switches on the steering wheel?
.
.
.
I have a MY�13 XJ that still has a couple months of warranty left. I am just noticing that my center dash buttons have developed the sticky residue phenomenon I have read about (which I understand many vehicles have as a common issue from a number of manufacturers of this vintage / not unique to Jaguar).
For those unfamiliar, the buttons feel like they have been used by someone with sugar / candy coated finger tips - yet the stickiness will not wipe off.
I believe it is a faulty surface coating that has deteriorated from age and / or possible heat exposure (I live in the Desert Southwest).
I wonder if anyone has pursued a warranty claim for this issue and if so - any suggestions on that pursuit?
Of course if anyone has a �solve� for this other than via Jaguar - I would be interested. Thanks.
I have decided to try legal action against jaguar given their response was they only warrant these parts for 3 years
I did the buttons on the spokes of the wheel, but not the cruise or phone buttons yet.
The menu and volume buttons and such i did the same way, just being careful not to rub off the icon or text. Like you said it required a bit of constant lubrication from the sorta-diluted Goo Gone, combined with either a plastic scraper thing or just a finger nail. Each needed a couple of attempts, but it is much better to the touch, attracts less dust, etc.
Is that a special eraser?
I am use to seeing the old pink looking ones.
The volume knob is still a bit sticky but I have no idea how to attack that? Small diameter and ridged all the way around.
Very hard to rub or scrape the surface at all.
.
.
.
I tried alcohol, goo gone and other stuff but did not get anything moving until I used the posted makeup remover wipes. Still a battle using my finger nail and small plastic pry sticks. But the lettering seems tough and none of it came off or faded with all the rubbing/scrubbing I did.
.
.
.
Thanks to this thread I figured I could go ahead and work on my own buttons. I already had Goo Gone, so just went to work by coating in goo gone and then using a couple of different size plastic scrappers to work up the sticky covering and in between the buttons. I had all my dash and steering wheel buttons, and the plastic surround of the screen done in about 3 hours. It takes patience and detail work, but now after, the buttons look brand new. You could even see some of the dirt that accumulated in the sticky goo that came off, so the buttons look nicer than before.
I also used the Neutrogena make up wipes. Just let them sit for 5-15 min on the buttons. Try painters tape to keep the wipe in contact for non-horizontal buttons. Use a credit card to scrape the softened sticky off. It goes pretty fast. Did the whole car in under an hour. Tried Goo Gone and didn�t really work well for me.
I also used the Neutrogena make up wipes. Just let them sit for 5-15 min on the buttons. Try painters tape to keep the wipe in contact for non-horizontal buttons. Use a credit card to scrape the softened sticky off. It goes pretty fast. Did the whole car in under an hour. Tried Goo Gone and didn�t really work well for me.
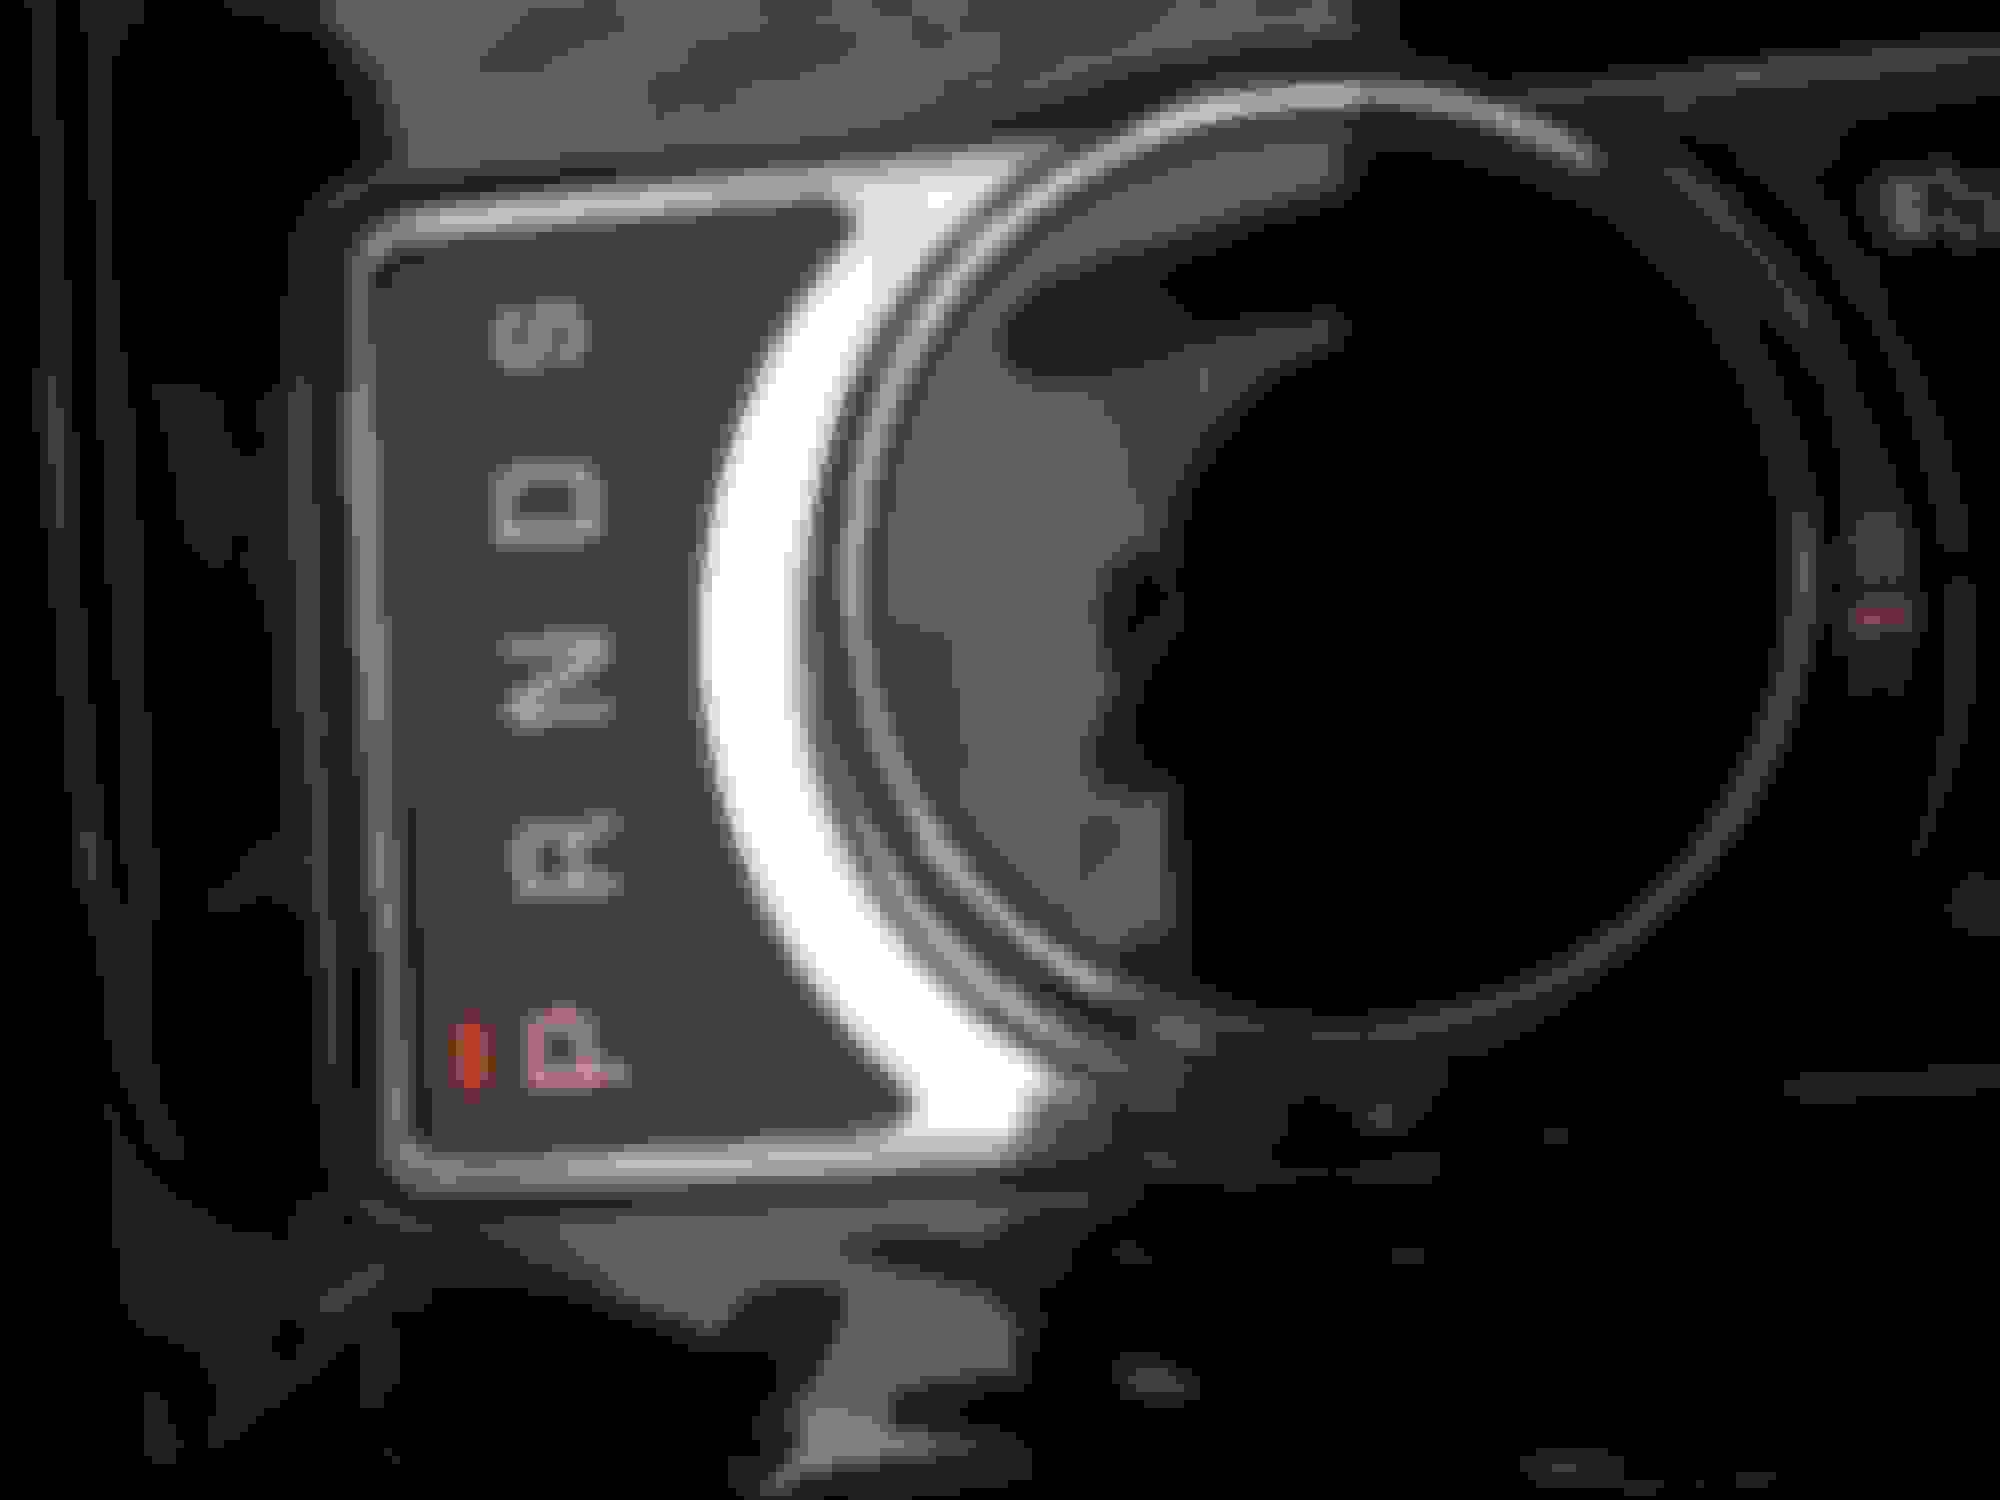
I have used the cosmetic face wipes for getting the sticky residue off steering wheel and center dash console buttons with great success. However, when the gear selection indicator area got the "stickies" and I started the same process I had used on the buttons I had previously successfully cleaned......uh oh, the lettering started flaking off with not a lot of effort......darn it! Thankfully I found a repair decal online that looks okay. My message is not to assume that all the sticky surface residue is going to come off without losing the lettering / icon symbol. Mine is a 2015 XJ.
I have used the cosmetic face wipes for getting the sticky residue off steering wheel and center dash console buttons with great success. However, when the gear selection indicator area got the "stickies" and I started the same process I had used on the buttons I had previously successfully cleaned......uh oh, the lettering started flaking off with not a lot of effort......darn it! Thankfully I found a repair decal online that looks okay. My message is not to assume that all the sticky surface residue is going to come off without losing the lettering / icon symbol. Mine is a 2015 XJ.
Good evening, I have that same problem, you can indicate the link to buy the repair sticker of the deleted letters. Best regards.
Good evening, I have that same problem, you can indicate the link to buy the repair sticker of the deleted letters. Best regards.
Not sure it's okay to post this link, if not, I'm not offended if it gets taken down.
Here is the link for the center console gear selection indicator, unfortunately (or maybe fortunately) you also get the other center console button decals as well.
Not sure it's okay to post this link, if not, I'm not offended if it gets taken down.
Here is the link for the center console gear selection indicator, unfortunately (or maybe fortunately) you also get the other center console button decals as well.
Too bad that the letters came off? Your just about the only one that has happened to? My 2014 seems to have tough lettering as I have scraped and scraped with no problems with the labels. Since yours is a 2015 maybe there was a change in how the factory did the labels?
.
.
.
Too bad that the letters came off? Your just about the only one that has happened to? My 2014 seems to have tough lettering as I have scraped and scraped with no problems with the labels. Since yours is a 2015 maybe there was a change in how the factory did the labels?
.
.
.
Good afternoon, mys is a 2010 and the letters were deleted when I cleaned with Neutrogena, I hope to successfully apply the solution provided by Waggybeast.
Best regards
Too bad that the letters came off? Your just about the only one that has happened to? My 2014 seems to have tough lettering as I have scraped and scraped with no problems with the labels. Since yours is a 2015 maybe there was a change in how the factory did the labels?
.
Steering wheel buttons cleaned fine, center dash buttons cleaned fine...�even the side panels either side of display cleaned fine. Shocked, surprised and dismayed when gear selector letters started flaking off with little effort and using same cleaning process as other buttons. Perhaps not being a functioning "push in/push out" button but merely a lettered plate it was manufactured using different process...�..I do not know.
axtmerce.....as a help for when you get the gear selector decal / label I am passing on to you the procedure I used for applying the new label.
Prior to taking the label off the backing sheet:
-Go ahead and finish cleaning off the gummy residue from the gear selector lettering area with the Neutrogena wipes if you haven't done so yet.
-Once gummy residue is off, lightly scratch off any remaining lettering white fill paint with a small jeweler's screwdriver, or end of tweezers, or end of paperclip wire.
Scraping off the remaining remnants of the white fill paint will help the back lighting come through the label lettering more uniformly when lit at night.
-Rub / wipe the panel with isopropyl alcohol and a clean rag so it's thoroughly clean and dry before putting new label on.
-Before taking label off backing paper, be sure to remove the little rectangle cutouts above each letter on the new label so the red gear indicator light can shine
through.
-Remove the label from the backing paper with either a pair of tweezers or exacto (utility) knife and position new label over gear indicator...be careful not to apply down
pressure to the label until you are satisfied with the positioning and there are no bubbles or wrinkles. Take a clean soft rag and apply downward pressure to label.
-You're done, sit back and admire your handiwork and breathe a sigh of relief that the gear selector indicator doesn't look terrible anymore......should come out looking
like this.........
Last edited by waggybeast; Nov 19, 2021 at 06:42 PM.
Reason: clean up spacing