Where do Sunroof Drain Tubes on X-350 exit under car?
#21
Join Date: Feb 2014
Location: Crossroads of America
Posts: 19,389
Received 12,734 Likes
on
6,378 Posts
Welcome to the Jaguar Forums! It's great to have you with us.
If you can access the X350 ECM connector through the wheel arch, disconnect the harness and inspect and clean the ECM and harness connectors, your arms are longer than mine and your hands are smaller. If I recall correctly, removing the microfilter housing also makes it easier to disconnect and clean the ECM ground stud on the right inner fender.
Please visit the New Member Area - Intro a MUST and post a required introduction so we can learn something about you and your Jaguar.
Cheers,
Don
#23
Join Date: Feb 2014
Location: Crossroads of America
Posts: 19,389
Received 12,734 Likes
on
6,378 Posts
If you will click on the Quote button to respond to a specific question or post, the quotation will appear at the beginning of your reply post so it will be clear to others what you are responding to. You can edit quotes to shorten them and focus on a specific part of the post. As long as the HTML quotation tags are not deleted, the quote will appear as yours does above.
Cheers,
Don
#24
Join Date: Nov 2013
Location: Breaux Bridge, Louisiana, US
Posts: 656
Received 169 Likes
on
133 Posts
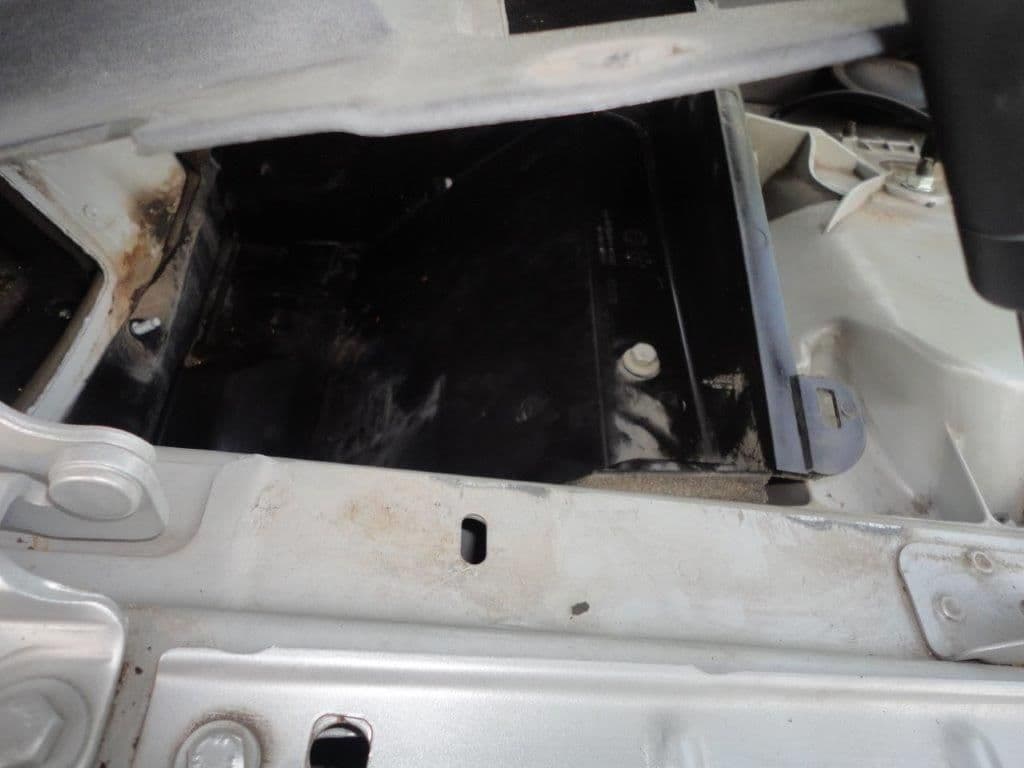
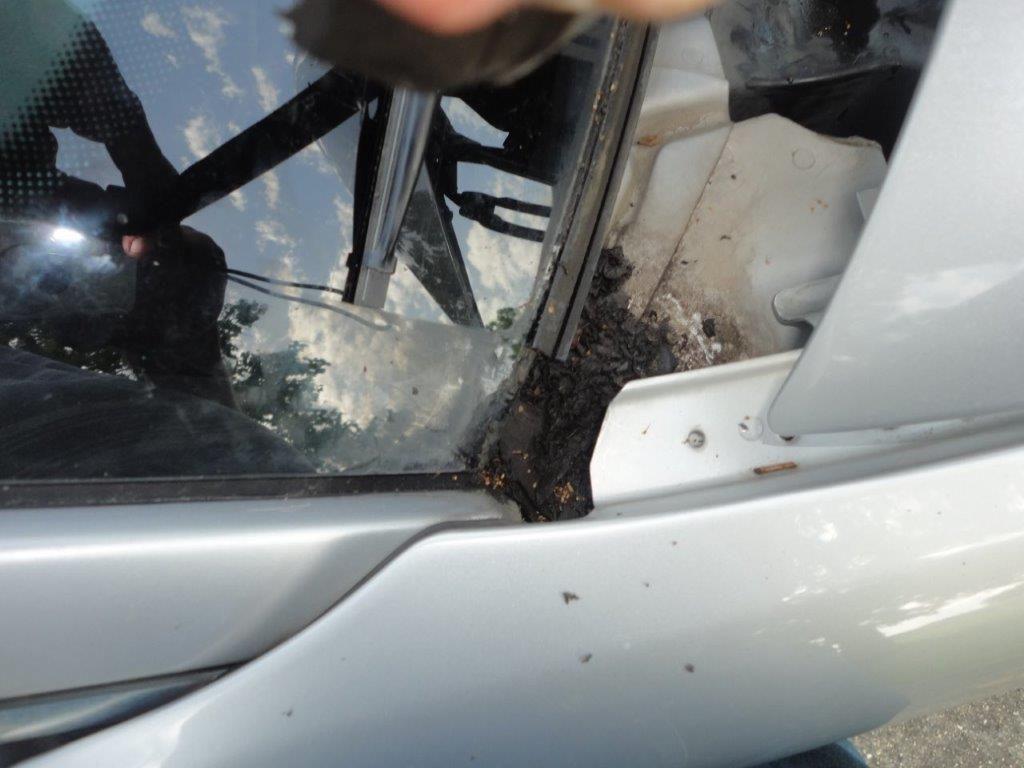
More dirt and leaves clogging drain at lower corner of windshile fould while removing trim to remove the microfilter tub
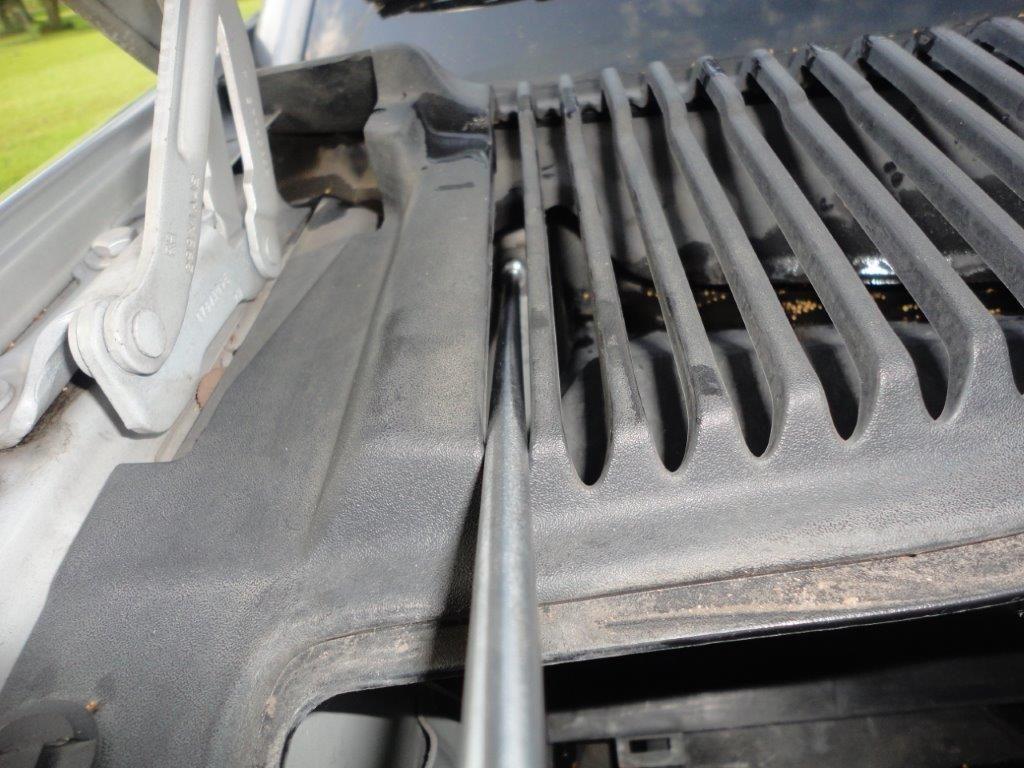
1/4 inch drive long extension and 10mm socket used to remove two nuts securing top of tub. I used a telescoping magnet to keep the nut from falling
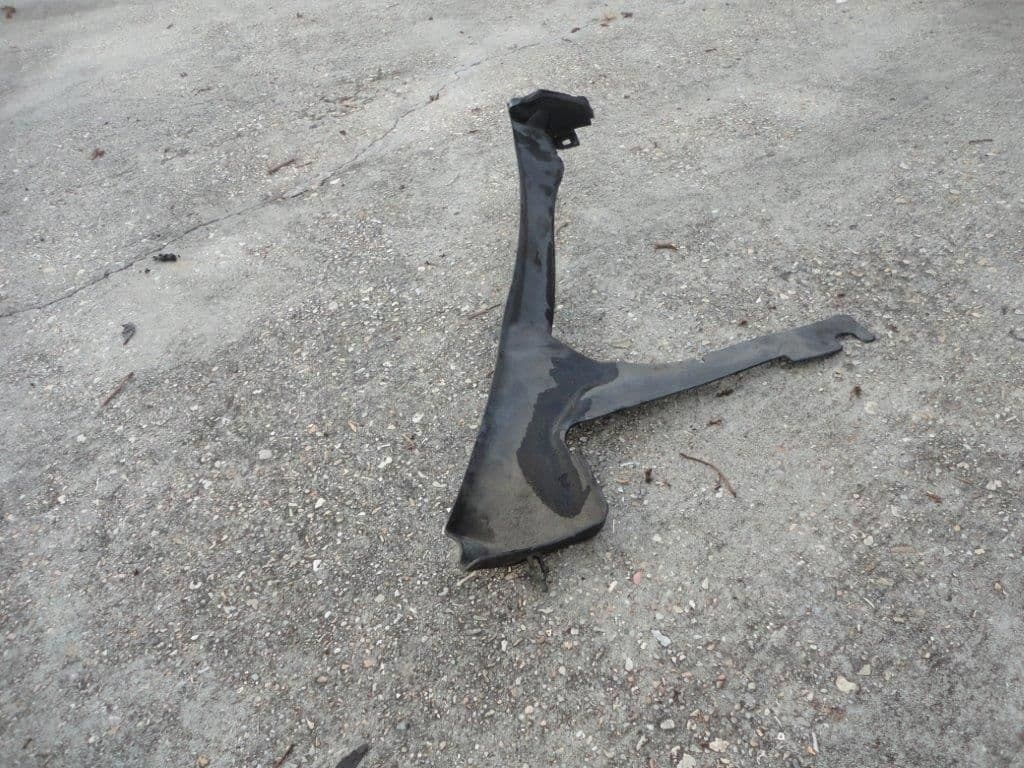
This trim covered the drainage to the lower right corner of the windshield. There is a ridge on the underside that fits into a groove on the bottom of the windshield seal

With the microfilter tub removed, more debris
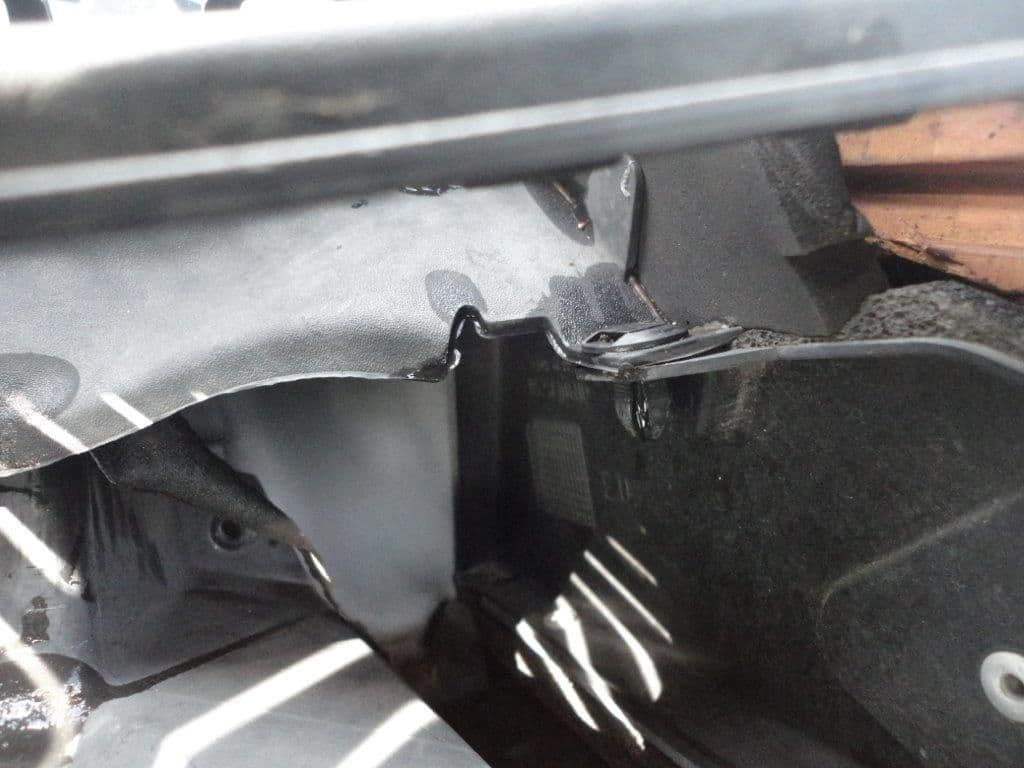
Retainer clip for the lower windshield trim
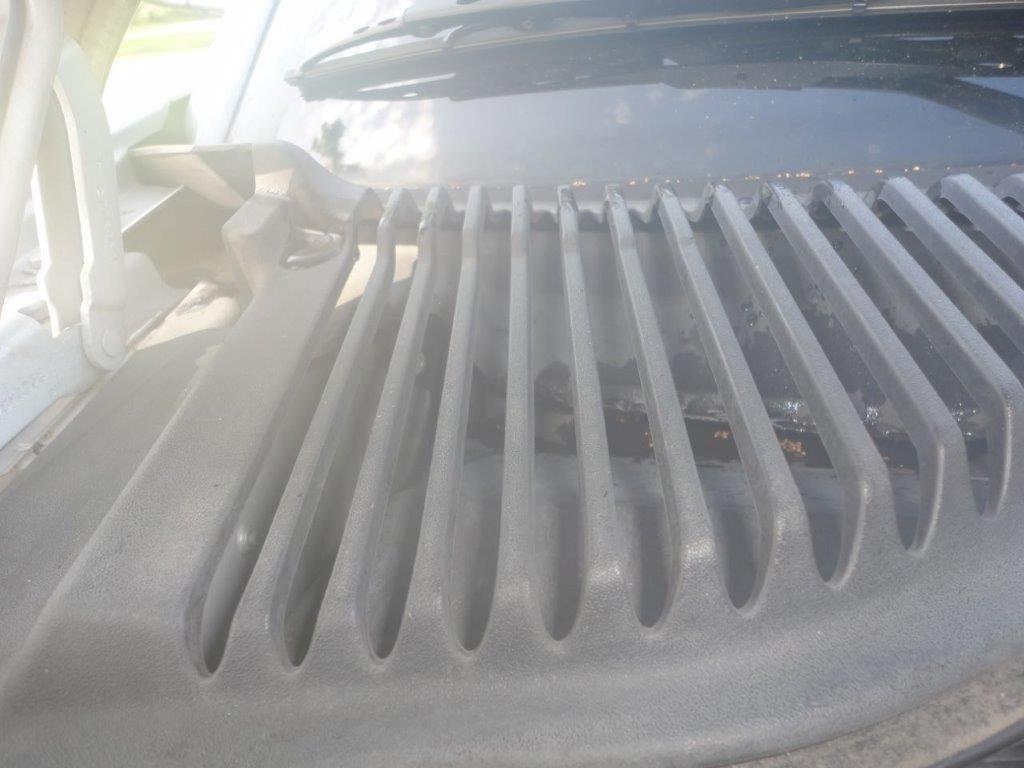
Hard to see, but there are two retaining nuts accessible through the cown vent grill
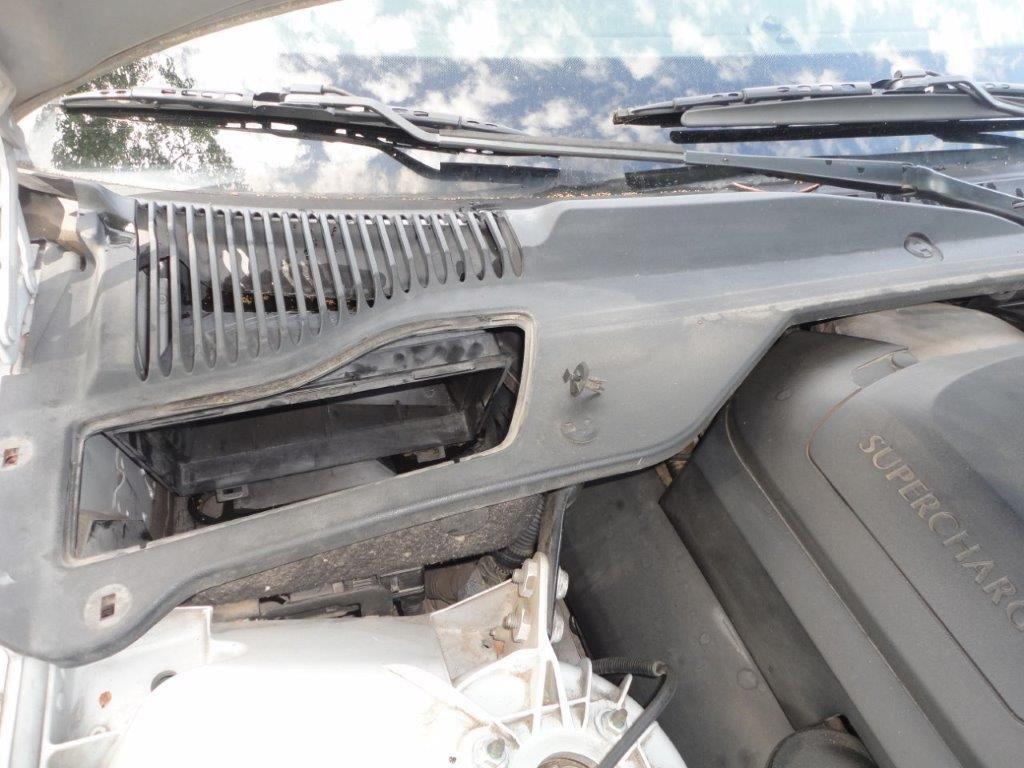
Trim retainer clips are single pin type. With a small common screw driver pry the square head pin and lift out the trim retainer. I ended up removing all of them so that I could lift the trim and get room underneath.
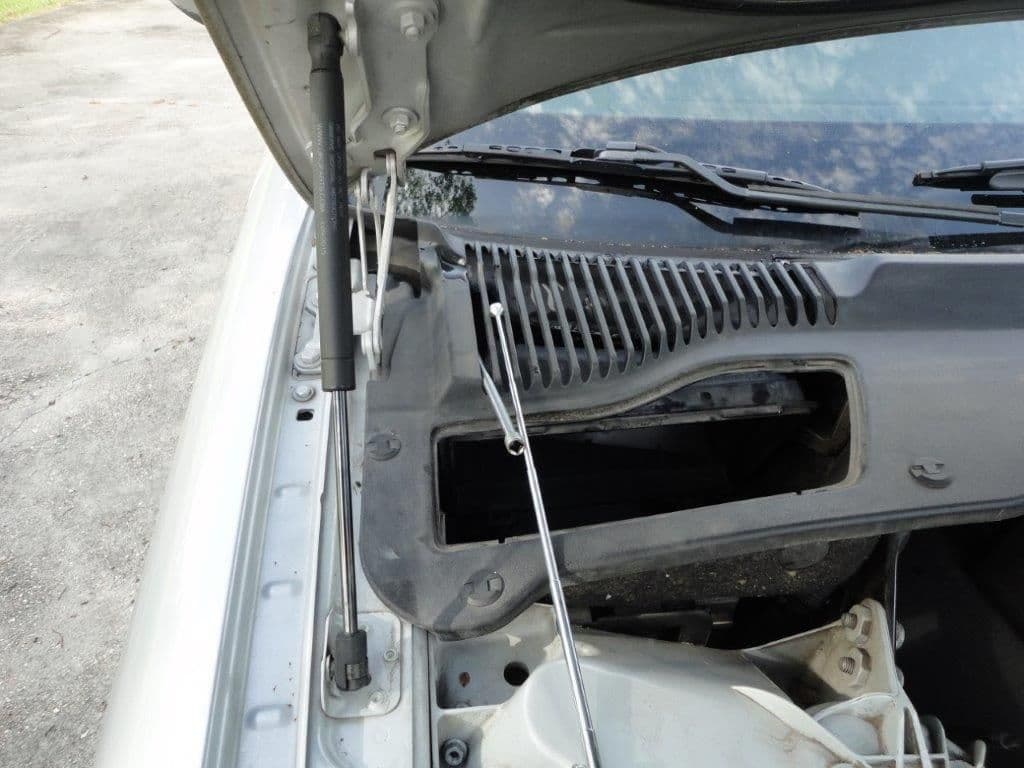
Extension in place, telescoping magnet used to keep the nuts from falling into the abyss.
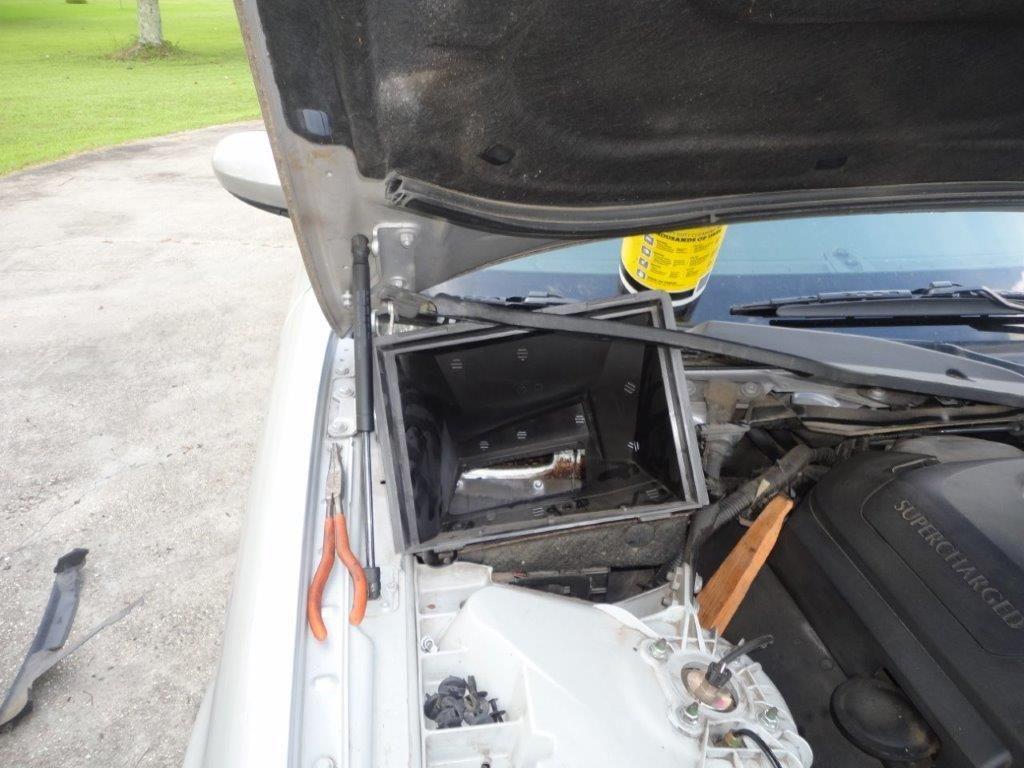
Lifting the microfilter tub out
I don't remember what I was trying to show in this photo
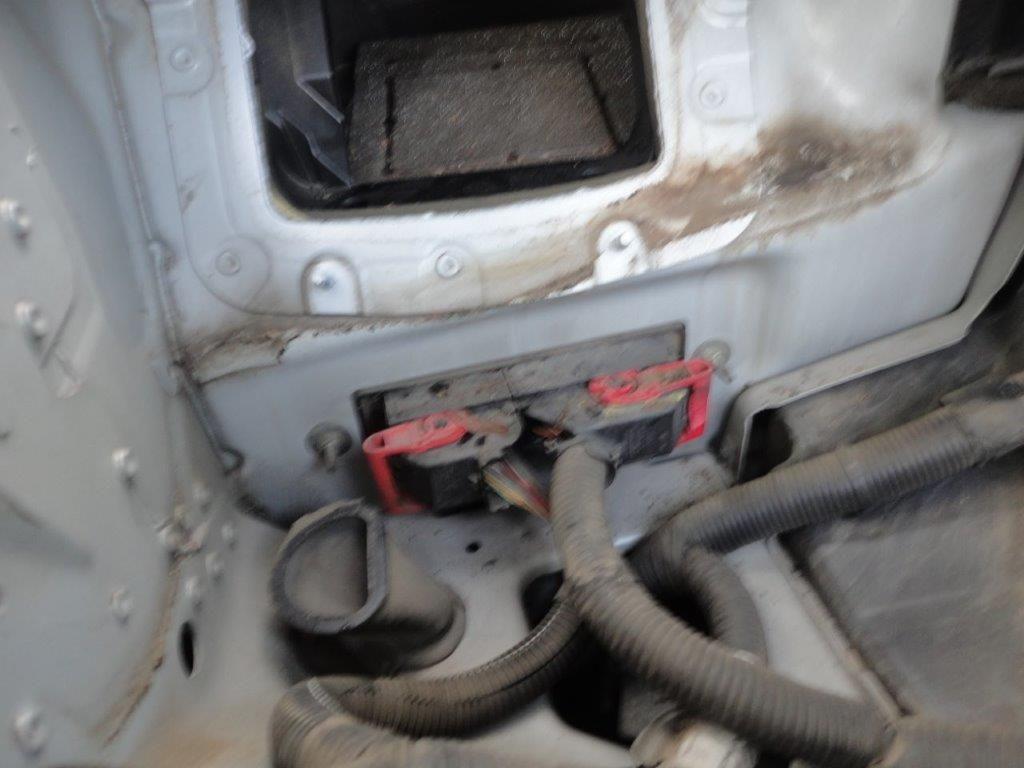
Main firewall connectors after the cabin microfilter tub was removed.
I received the 5 point Torx bits on Friday.
I removed a lot of plastic, but still don't find access to the ECU, but lots of trash and debris as seen in the following photos
#26
Join Date: Nov 2013
Location: Breaux Bridge, Louisiana, US
Posts: 656
Received 169 Likes
on
133 Posts
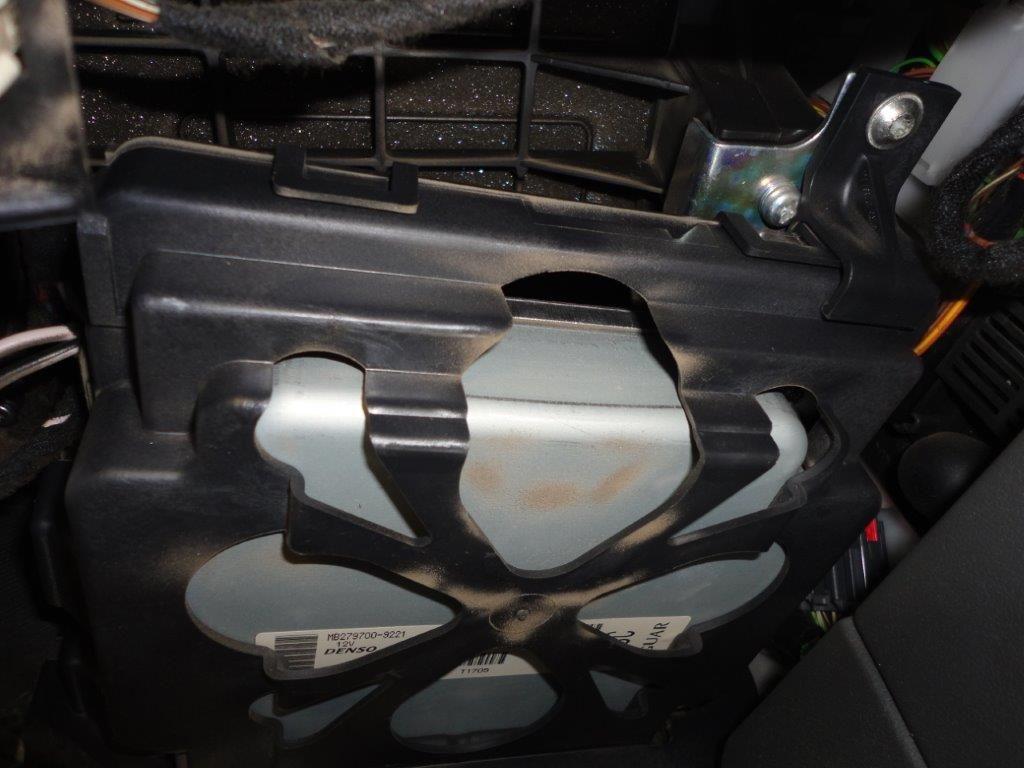
I am still assuming that this module under the glove box is the ECM? At the top of the photo appears to be the underside of insulation? I only see one six point torx and one Phillips.
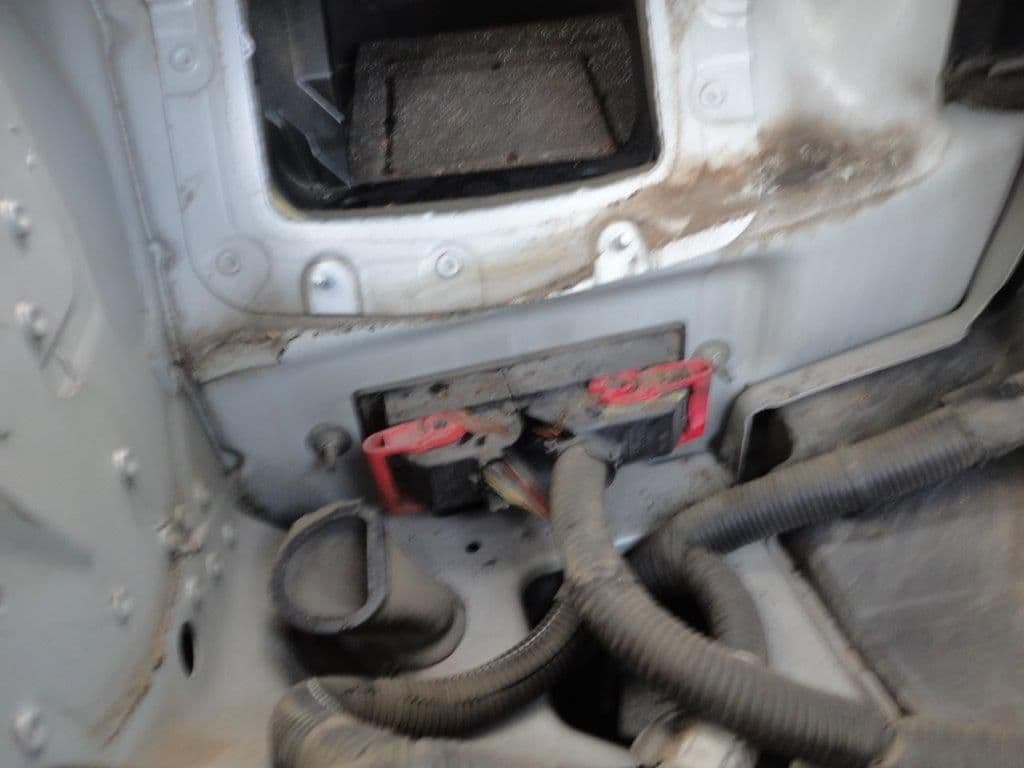
Is this the same insulation seen from the top? I did not see any opening into the fender behind the inner wheel whell just looking at this photo
I went through the Jaguar Heritage Service Manual DVD trying to find a procedure for removing the ECM. I often find the DVD frustrating since I have not figured out how to seek a particular section without having to go through the whole thing page by page. In any event I did not find a step by step procedure on how to remove the ECM. I still don't see the four 5 point TORX security bolts that connect the ECM connector, I can't seem to figure out how the ECM bracket is removed. What connects to the passenger compartment side of the two main connectors seen in the photo?
#27
I actually know nothing of the ECM, I was only informing you of the location of the sunroof drain. You will not find much trash in there but you will see a small rubber nipple sticking out that you could shoot air into. I used a can of air for cleaning computers and a hose and plastic nipple from a brake bleeder kit as an extension and some masking tape for a good seal. First pour some water down the drain with a turkey baster and see if it come out fast. If it does then you can skip all this. If not then that's the problem for sure. Only pull back enough of the inner well to see up there with a flashlight laying on your back. Cover the top of the hole with a towel to protect your interior from all the gunk and water that will go back up when the air blows it back up. This worked for me just a couple of weeks ago.
#28
Join Date: Feb 2014
Location: Crossroads of America
Posts: 19,389
Received 12,734 Likes
on
6,378 Posts
I am still assuming that this module under the glove box is the ECM? At the top of the photo appears to be the underside of insulation? I only see one six point torx and one Phillips.
Is this the same insulation seen from the top? I did not see any opening into the fender behind the inner wheel whell just looking at this photo
I went through the Jaguar Heritage Service Manual DVD trying to find a procedure for removing the ECM. I often find the DVD frustrating since I have not figured out how to seek a particular section without having to go through the whole thing page by page. In any event I did not find a step by step procedure on how to remove the ECM. I still don't see the four 5 point TORX security bolts that connect the ECM connector, I can't seem to figure out how the ECM bracket is removed. What connects to the passenger compartment side of the two main connectors seen in the photo?
Yes, that is the ECM, but before you bother to remove it, disconnect the two electrical connectors and inspect them for any signs that they've been wet inside. I forgot that your car is 2006 or later - the ECM connector setup was revised and I don't think you need the 5-lobe Torx bits. Just look closely at the outer ends of the two red plastic levers for any type of latch or catch that holds them in place. Release the catch and pull the outer end of the lever toward you to release the connector.
Inspecting the ECM connector in situ is tricky because of its location, but you can use an inspection mirror and flashlight to do your best. If you can't see any signs of water having been in the connector, flush all three connectors with zero-residue electronic cleaner spray, allow to dry or dry with compressed air and then reassemble.
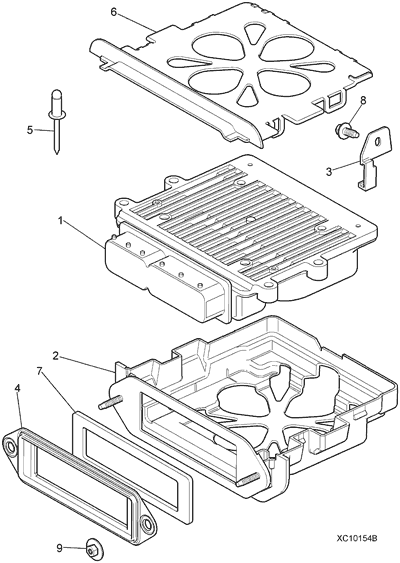
If you see signs that water has made its way into the ECM connector, you may want to remove the ECM for further inspection. That black plastic tray has two threaded studs that pass through the firewall where they are secured by nuts. I seem to recall there was one or possibly two brackets that supported the rear end of the tray, possibly part 3 in the diagram, which may be what the Torx screw in your photo threads into:
P.S. It is helpful if you add the year, model and engine details of your Jag to your signature so they show up in all of your posts. To do so, go to your User Control Panel and look at the menu along the left side of the page for Edit Signature.
Cheers,
Don
Last edited by Don B; 06-16-2019 at 06:05 PM.
The following users liked this post:
mikebaker3 (06-17-2019)
#29
Join Date: Nov 2013
Location: Breaux Bridge, Louisiana, US
Posts: 656
Received 169 Likes
on
133 Posts
Don;
I updated my signature as suggested.
It is raining again today, with forecast of rain all week. If it lets up, I will disconnect and clean the two connectors. They do have a release.
I went through the Powertrain section of the DVD and eventually found a section on removal starting on page 2360 of 3586 Engine Control 18.30.01. It depicts a different single connector that uses the Torx five point socket.
The following users liked this post:
Don B (06-17-2019)
#30
Join Date: Nov 2013
Location: Breaux Bridge, Louisiana, US
Posts: 656
Received 169 Likes
on
133 Posts
The following users liked this post:
Leslie Graham (Levitikon) (06-23-2019)
#31
Join Date: Feb 2014
Location: Crossroads of America
Posts: 19,389
Received 12,734 Likes
on
6,378 Posts
Cheers,
Don
#33
Join Date: Feb 2014
Location: Crossroads of America
Posts: 19,389
Received 12,734 Likes
on
6,378 Posts
Prepare yourself for a soapbox rant.
Dielectric grease/bulb grease works fine on bayonet style bulbs that run at full battery power and high current and enough grease gets scraped away by the bayonet pins when the bulb is installed in the socket. But it's not the same matter when dealing with ground points for circuits that may operate at fractions of a volt or ohm. Any added resistance can adversely affect circuit performance, and in a "squashing" connection like a ground point with a threaded stud, eyelet terminals and a nut, some grease is going to be trapped between the contact surfaces.
Dielectric grease manufacturers do a poor job of describing their products and supplying adequate instructions for their use. But the definition of dielectric is an insulator that can store a static electric charge. You can test your favorite dielectric grease by squeezing a small blob onto a paper plate. Set your multimeter to the highest resistance setting (typically 10 megohms). Insert the tips of the probes into opposite sides of the blob of grease and note when you achieve conductivity. You will measure infinite resistance until the probes actually touch, because the grease itself is an insulator with very high resistance.
So it's best to never add dielectric grease between the wire terminals, stud and nut, but only to the outside of the entire assembly after the nut is snugged down.
Sorry for the rant!
Cheers,
Don
Last edited by Don B; 06-18-2019 at 10:49 PM.
The following users liked this post:
EssOess (07-28-2019)
#34
Join Date: Nov 2013
Location: Breaux Bridge, Louisiana, US
Posts: 656
Received 169 Likes
on
133 Posts
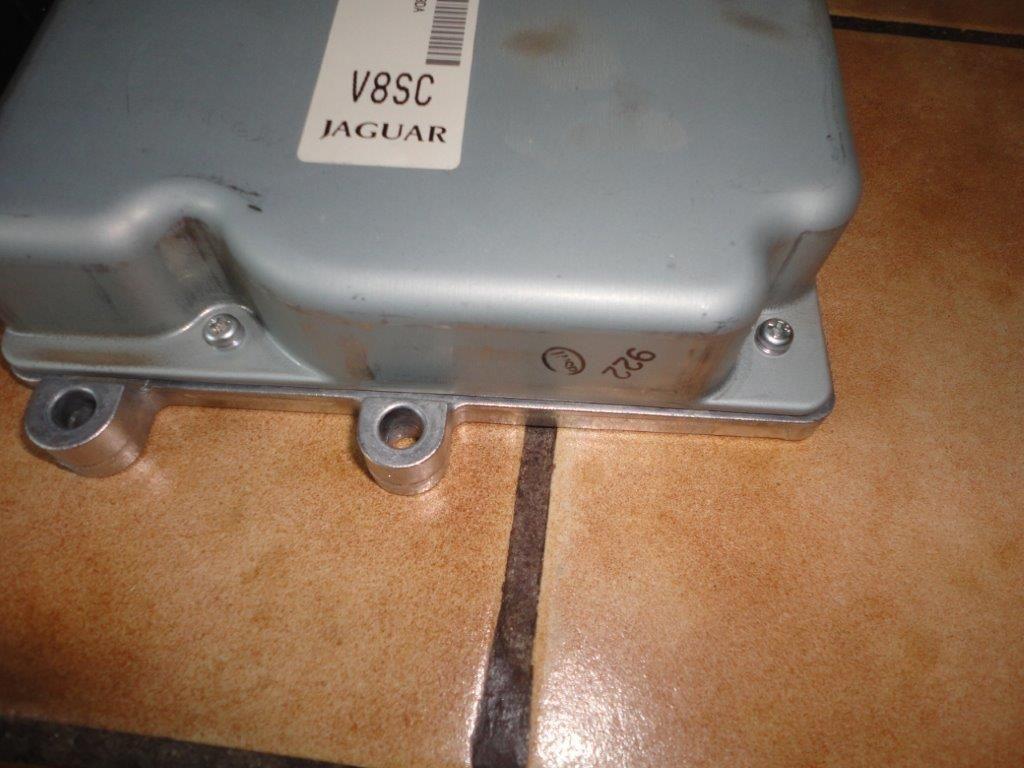
Better view of screws that secure the underside of the ECM cover
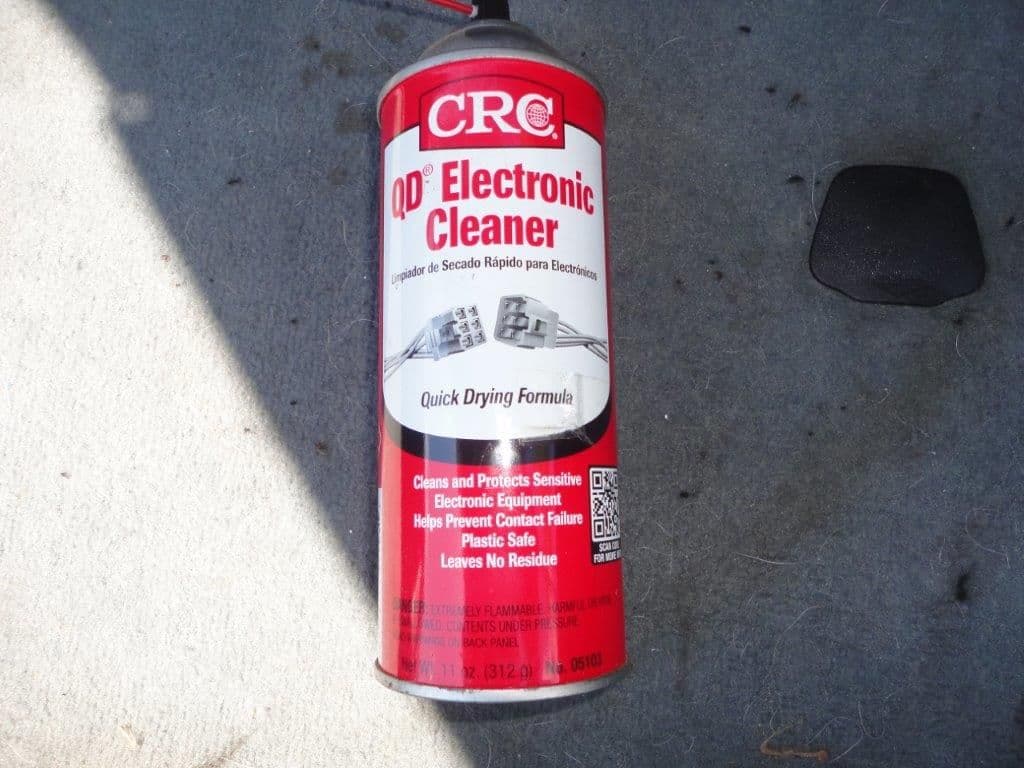
Cleaner used on connectors
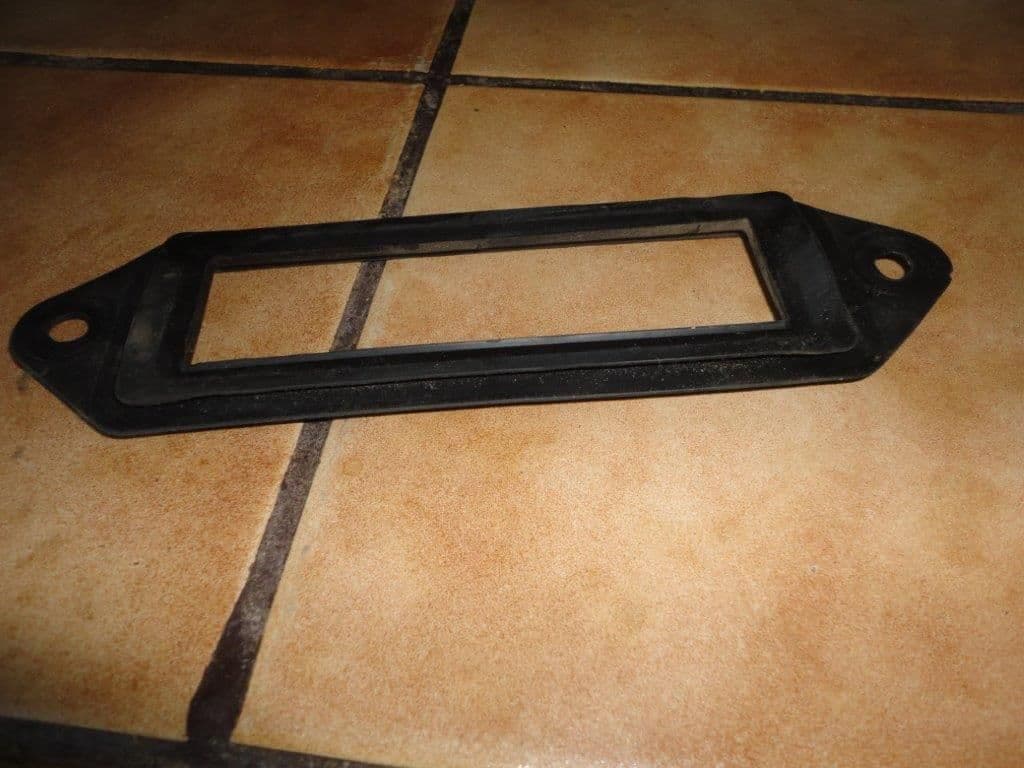
Rubber seal that fits around ECM connectors with male pins on ECM and gets sandwiched between black plastic cage and the firewall.
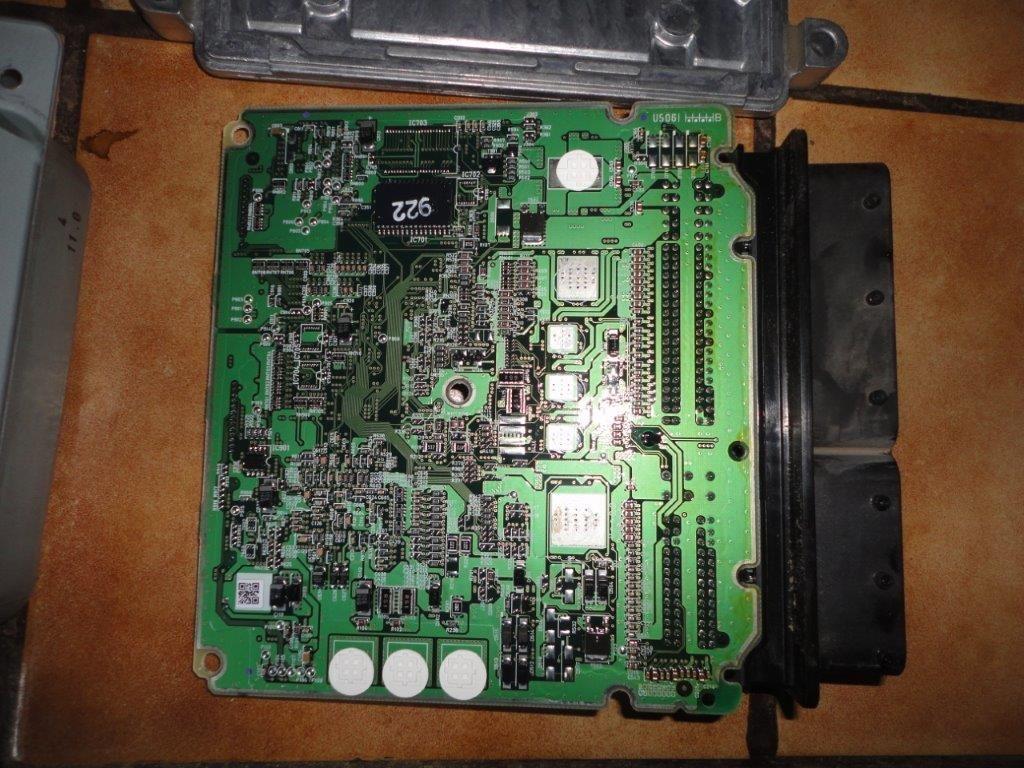
Top of ECM Circuit Board
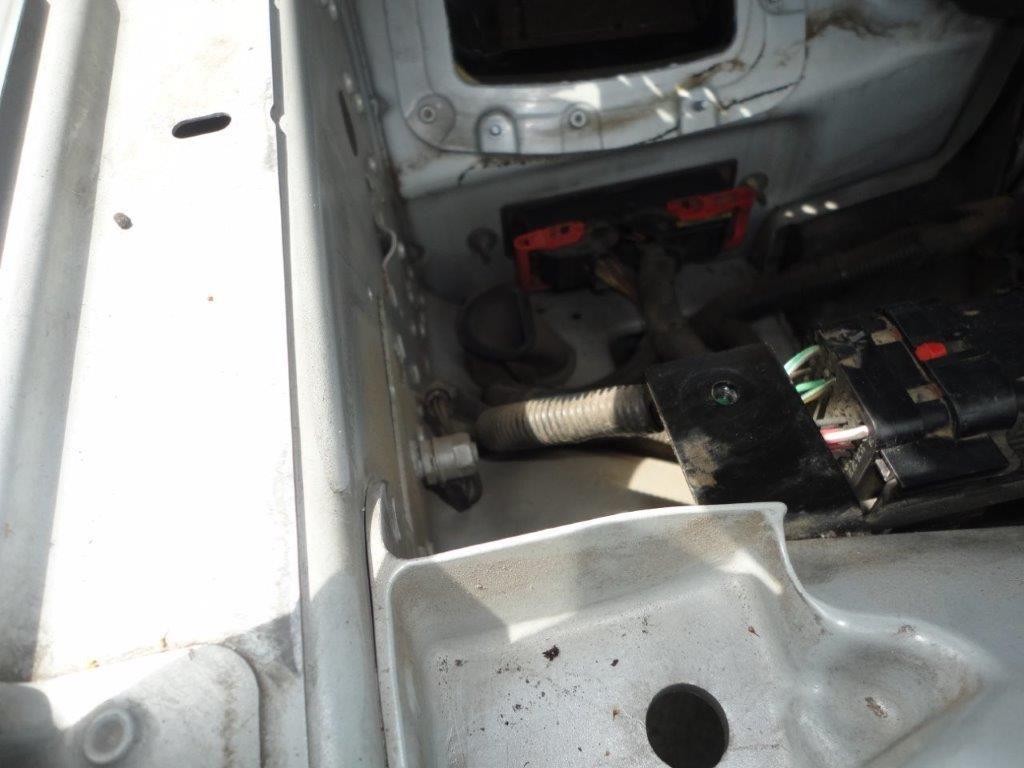
Ground stud almost centered in photo and two ECM connectors

Top of ECM and Cage after removal
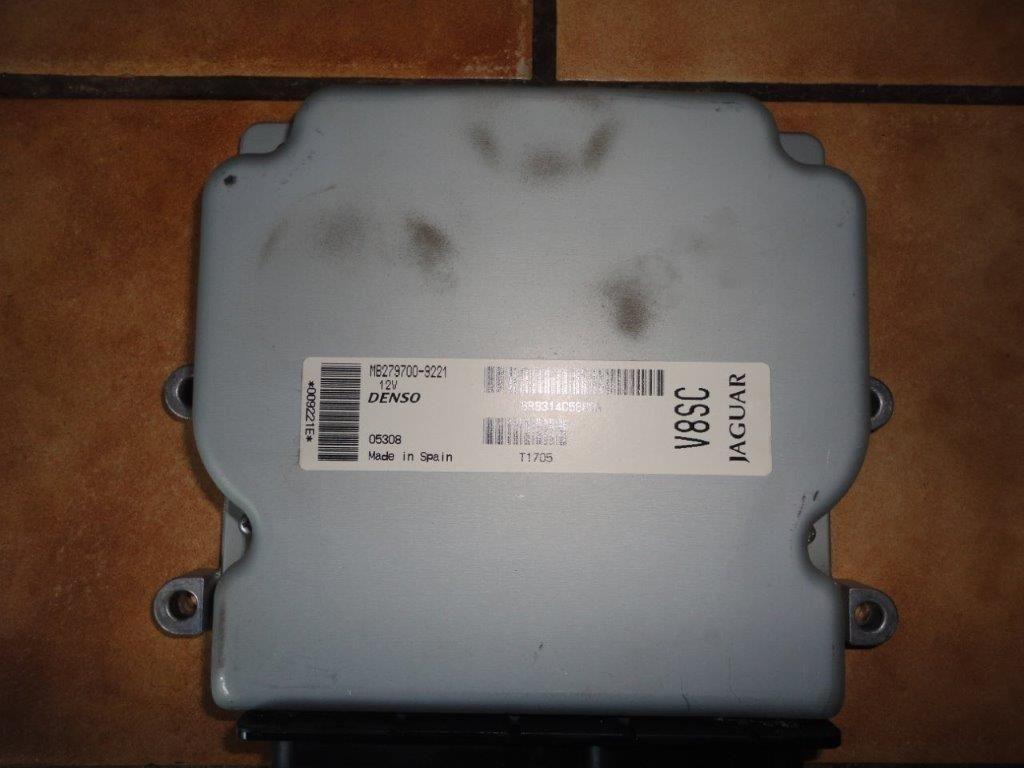
Underside of ECM secured with four Phillips #2 screws
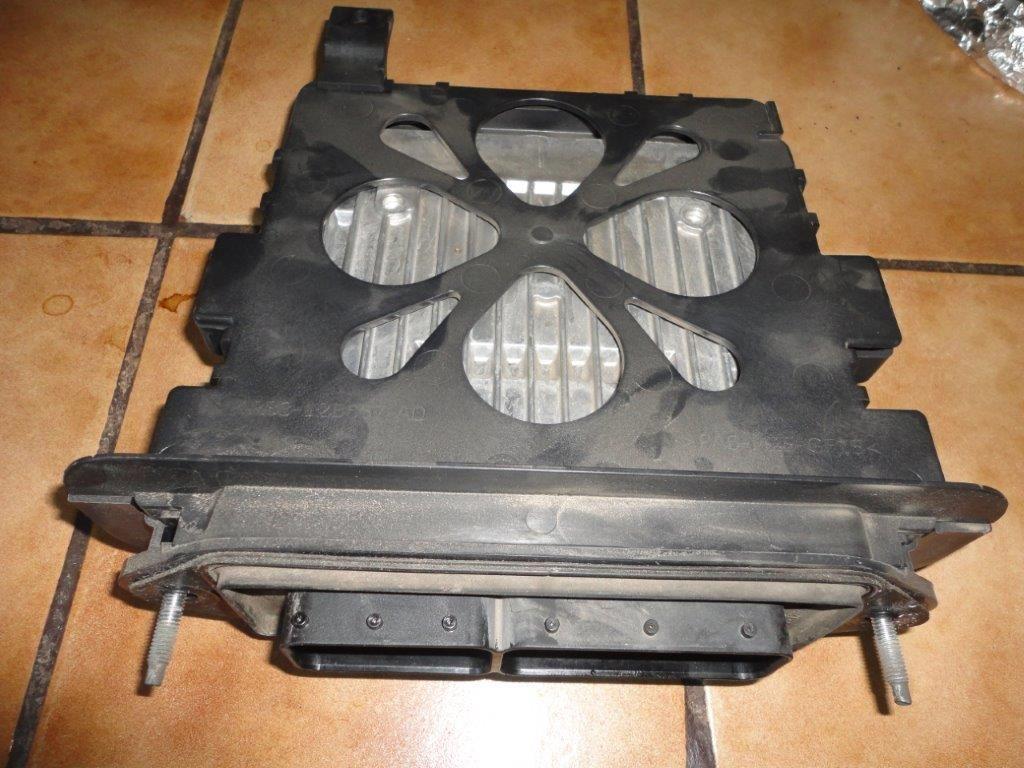
Rubber Seal that is sandwiched between firewall and ECM Cage
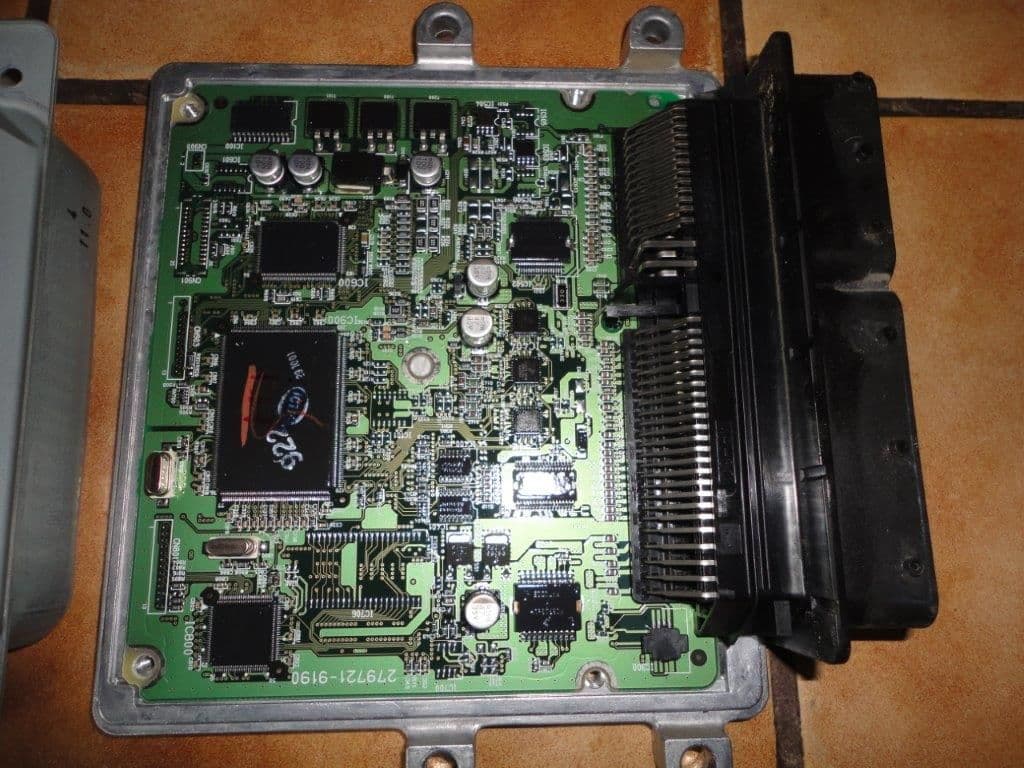
Underside of ECM with Cover removed
I disconnected and cleaned the female and male connectors to the ECM.
Since everything was open, I went ahead and cleaned the silicone dielectric from the ground stud, lugs and nut and then reconnected. By the way, 1/2" wrench fit perfectly. Perhaps it is 13mm.
I used CRC QD Electronic Cleaner. I reconnected the two connectors and connected the battery.
It did not help. Still getting the list of errors cycling across the annunciator.
So, I pulled the ECM. The two nuts on each side of the connectors are 10mm. With the Torx screw under the dash already removed, the ECM just lowers out. The studs seen at the firewall are mounted in the black plastic ECM cage.
I removed the cage by prying the clips loose with my fingers. The ECM shows no staining from water. There is a cover secured with four Phillips screws, which I removed. The two connectors (male pins) are connected to the circuit board. I looked at both sides and at the top and underside of the aluminum case. I saw no signs of water staining. There is a rectangular rubber seal that seals the two part aluminum case and seals against the firewall opening. It was dirty, so I cleaned it with Q-Tips and rubbing alcohol.
Since the problem started about four days after 7" of rain, and the car ran fine up to the morning it started with the error messages, I don't know what to think.
#35
Join Date: Nov 2013
Location: Breaux Bridge, Louisiana, US
Posts: 656
Received 169 Likes
on
133 Posts
Abonano;
I hope you are still following along with this thread. I double checked that I was spelling your name right this time. Sorry about that.
Were the water stains that you saw noticeable? Was any water found inside your ECM, assuming that you removed the cover. I am assuming that you applied the sealant where the cover seam meets the cast plate.
Did cleaning the water from the connectors make the codes and error messages go away, or did you have to clear them?
#36
Abonano;
I hope you are still following along with this thread. I double checked that I was spelling your name right this time. Sorry about that.
Were the water stains that you saw noticeable? Was any water found inside your ECM, assuming that you removed the cover. I am assuming that you applied the sealant where the cover seam meets the cast plate.
Did cleaning the water from the connectors make the codes and error messages go away, or did you have to clear them?
I hope you are still following along with this thread. I double checked that I was spelling your name right this time. Sorry about that.
Were the water stains that you saw noticeable? Was any water found inside your ECM, assuming that you removed the cover. I am assuming that you applied the sealant where the cover seam meets the cast plate.
Did cleaning the water from the connectors make the codes and error messages go away, or did you have to clear them?
I was chasing intermitient knock sensor codes. When I took my ECM apart I couldn't rule out water intrusion into the ECM itself but for good measure sealed the halves together.
I saw water stains against the firewall by the ECM, which prompted me to remove to inspect.
For me the knock sensor codes being thrown by the ECM were legit as I did a resistance test on each knock sensor and one was below 200 ohms.
I also sealed off the top half of the black piece that gets sandwiched between the ECM and firewall after reinstall figuring if water does make it back there it will not enter the harness. (But with my other sealant fixes in that area no water makes it anywhere near either the harness or ECM.
Did you check the ECM harness up from the connector for water intrusion?
For my knock sensor I installed a 1/4W 200 ohm resistor on the harness side to trick the ECM until I get a chance to remove my supercharger and get below the intake to swap them both out along with the dreaded coolant hose...
I use that electronic cleaner too. Expensive but works great!
Last edited by abonano; 06-18-2019 at 06:59 PM.
#37
I'm confused. Original post talked about wet floor and carpets, Now it seems that there are ECM codes. What are the codes? The water was probably originally from the drains clogged from the looks of the pictures. Now that it has been determined that the drains were clogged, the ECM code/messages should be addressed in a new post. It would help a lot to know the codes/messages, to troubleshoot this newly addressed issue. Lets fix one thing at a time.
#38
Join Date: Nov 2013
Location: Breaux Bridge, Louisiana, US
Posts: 656
Received 169 Likes
on
133 Posts
Mark;
I originally thought I had two separate problems. First was the wet carpets and mats on the floor of passenger footwell. This followed a stalled storm front that dumped 7" of rain in my area in a one day event. I drove the car normally for four days after the storm.
I got in the car on Monday morning and had the yellow and red warning lights and messages scrolling on the annunciator where the mileage is normally displayed. I made a separate post. The general advice was pointing to water intrusion into the ECM or connectors.
I don't know how to roll the post on the error messages over to this post, but I will do a couple of things, first being to go to the other post and list the error messages here..
second, I will use the electrical drier on the backside of the connectors in case there is any moisture there. I also plan to crawl under the passenger side of the dash and see if there are water stains.


