
Door Panels

Thread Starter
|
Senior Member
Joined: Oct 2010
Posts: 245
Likes: 19
From: Niagara Falls Canada
I did a search but was unable to find anything about removing the front door panels on my 1997 XJR. So does anyone have the corrct way to do it with out coursing damage,,

Popular Reply
Sep 16, 2011, 07:37 PM


unnecessary on '95: (no screw, only Christmas-tree clip)
Zane-tip: Lift upper trim piece vertically using a couple of O-ring hooks on the window-wiper/seal channel:
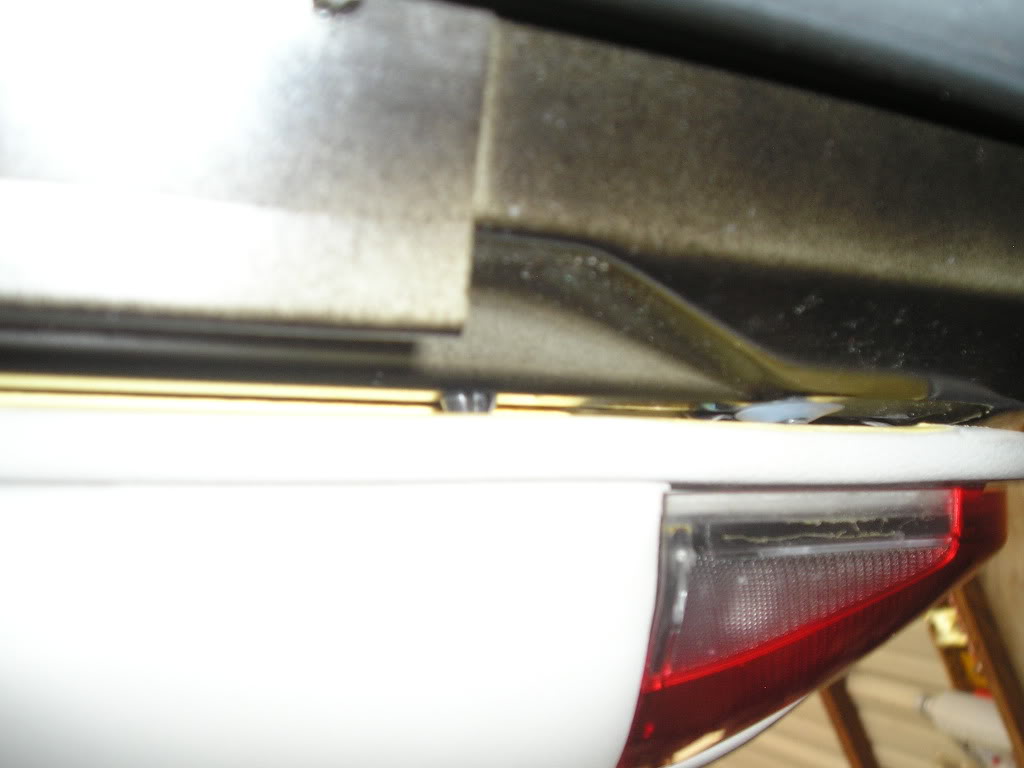
I had tiny screws raining out from under upper trim panel on a rear door (thinking "Jag left some FOD in here during assembly) but once I got it off I realized I had been breaking it, because window-wiper-trim channel was "stuck" on door. So I had to painstakingly glue and clamp all 5 or 6 screw-holes back together.
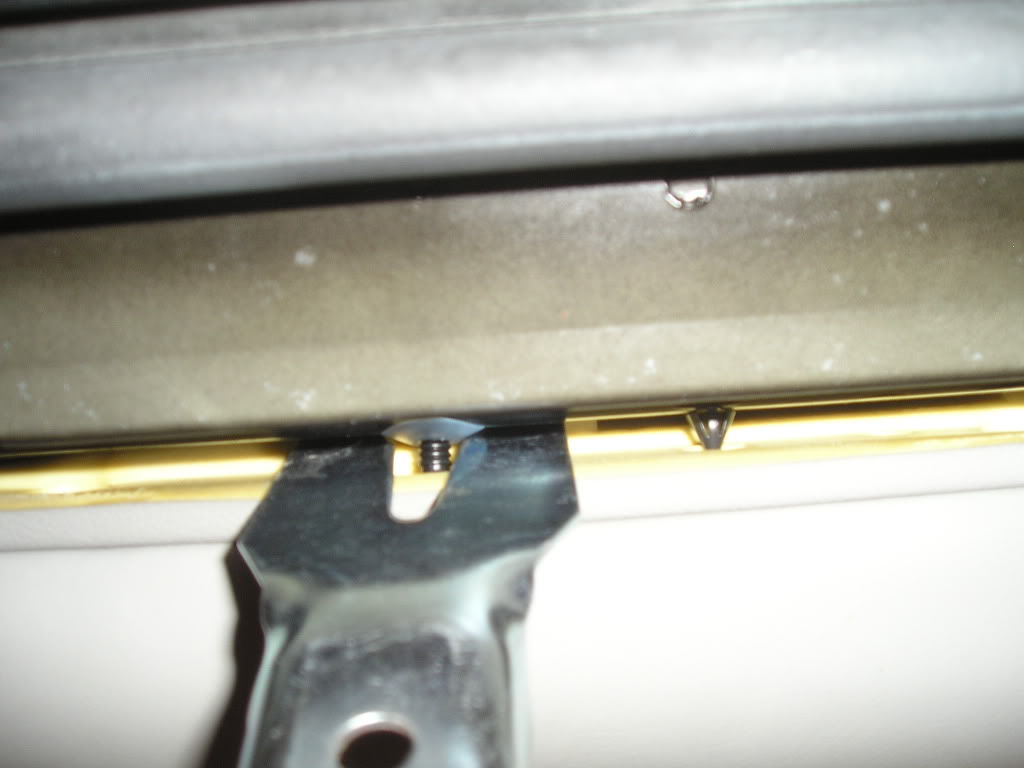
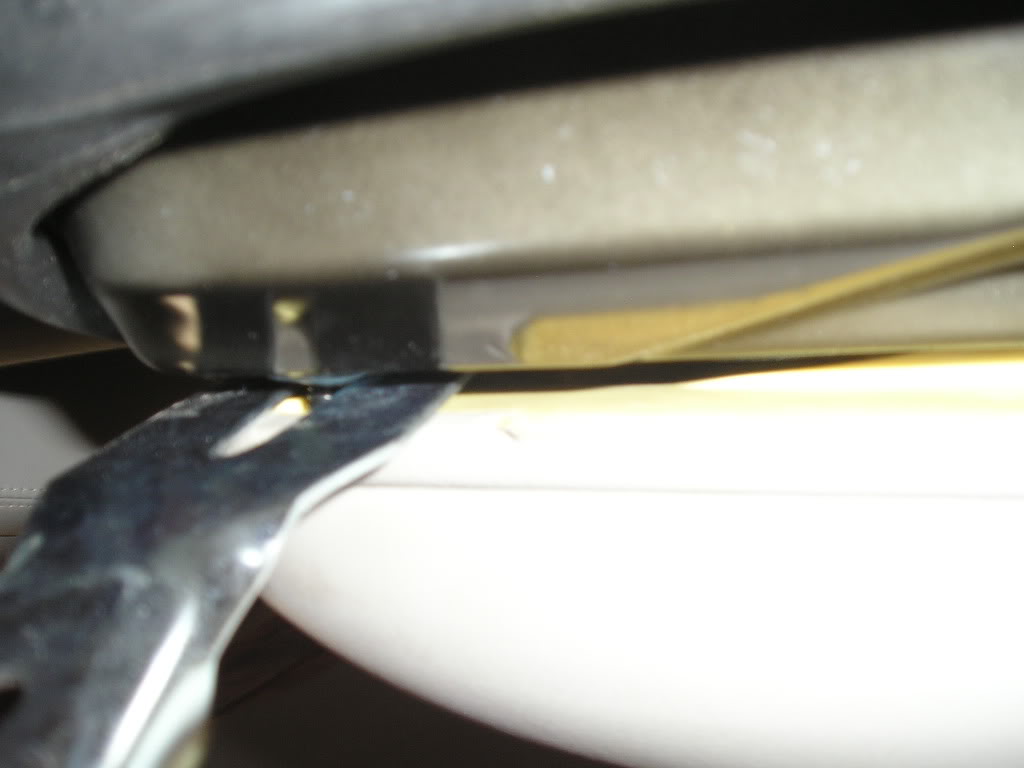
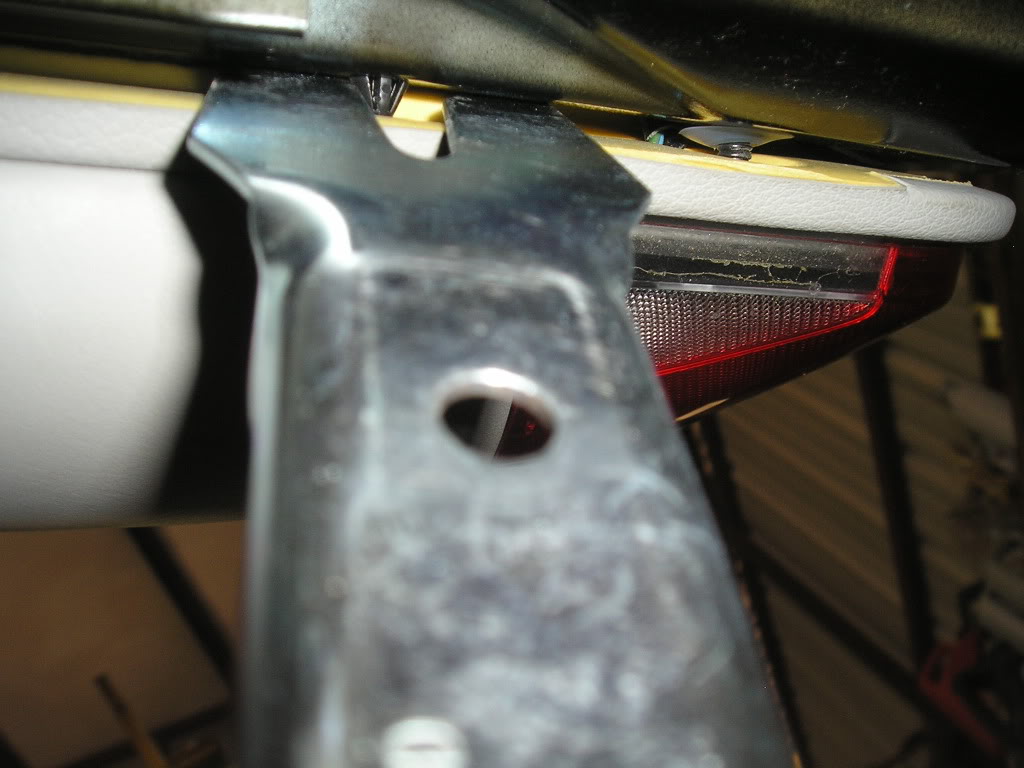
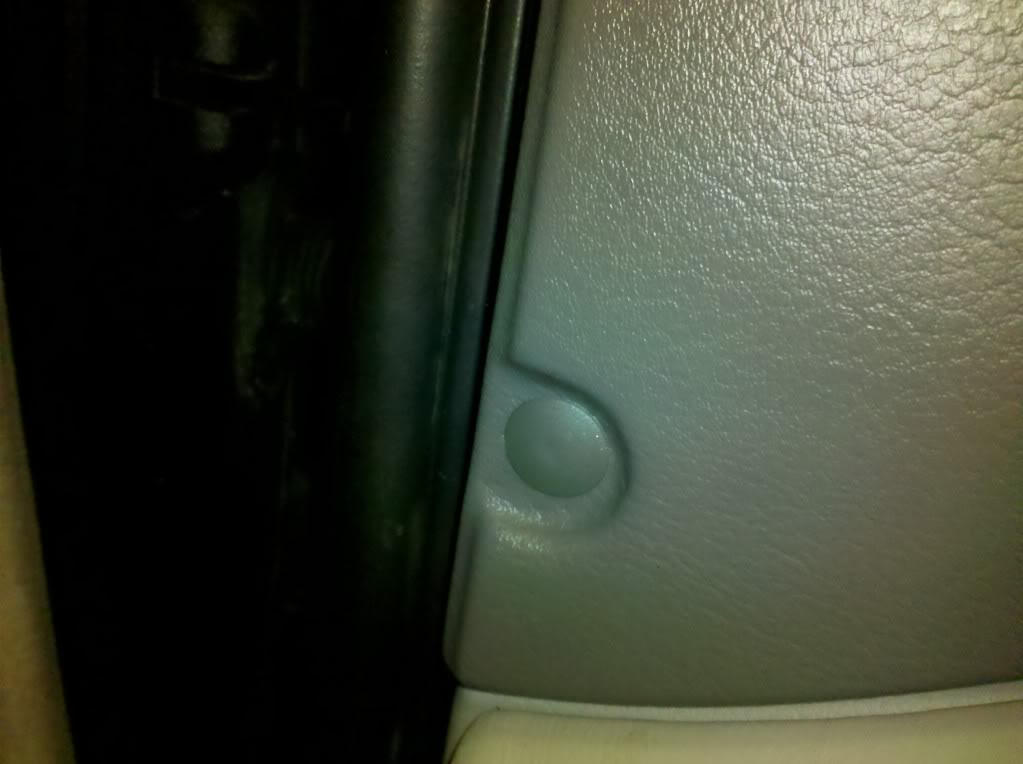
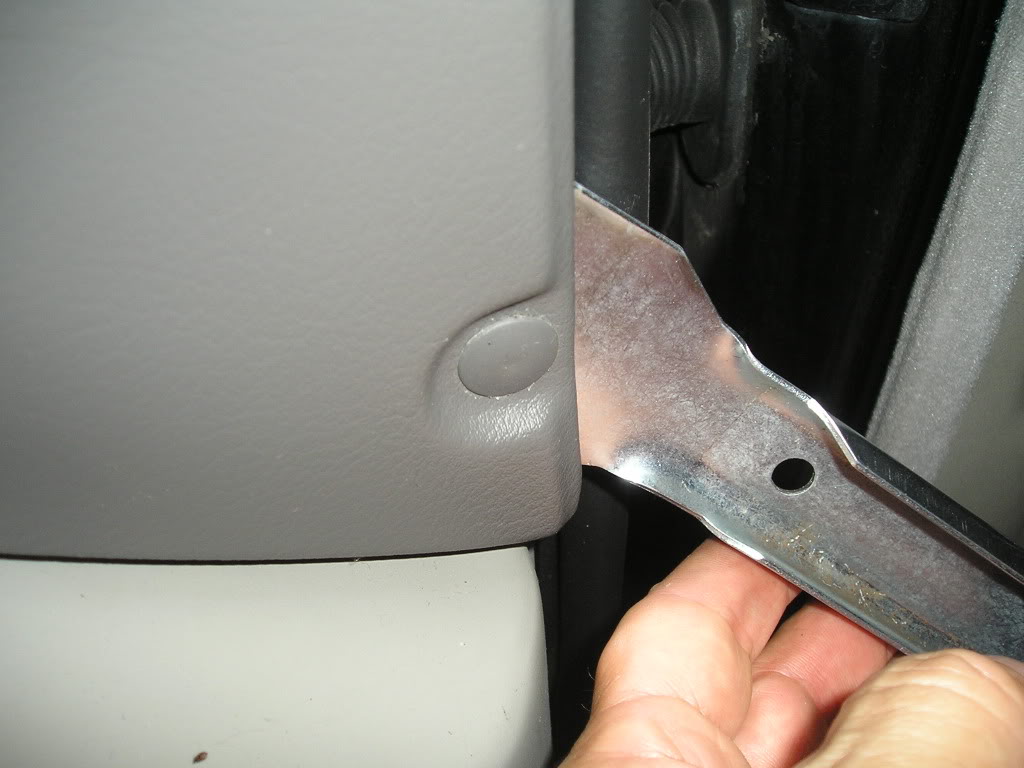
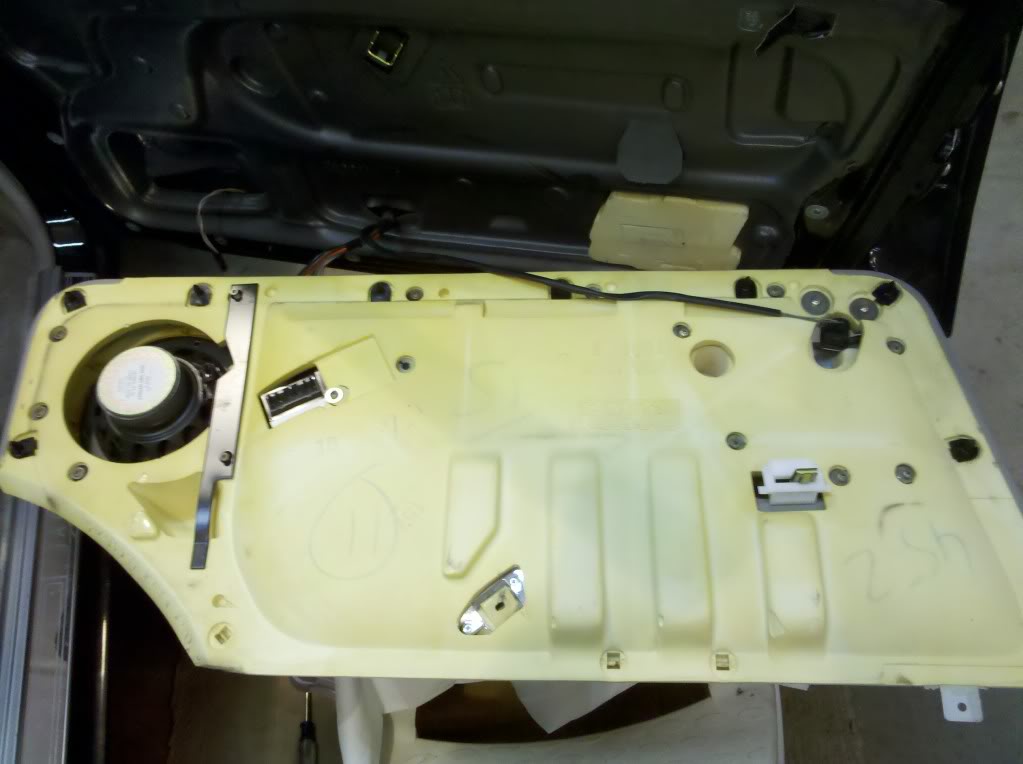
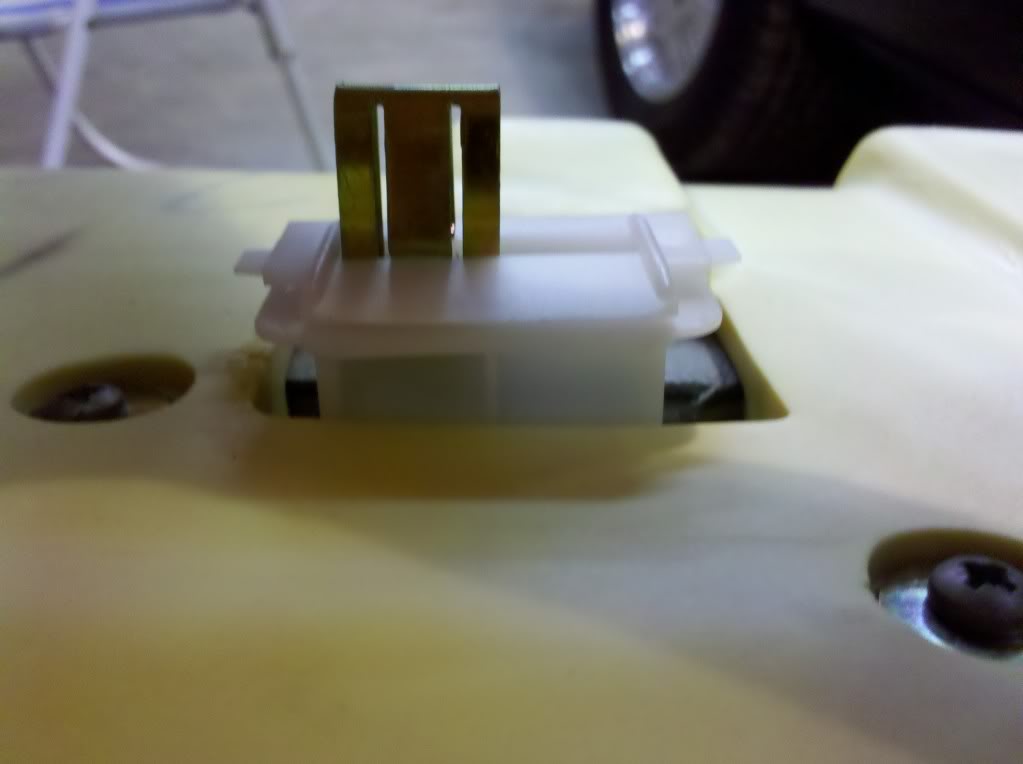
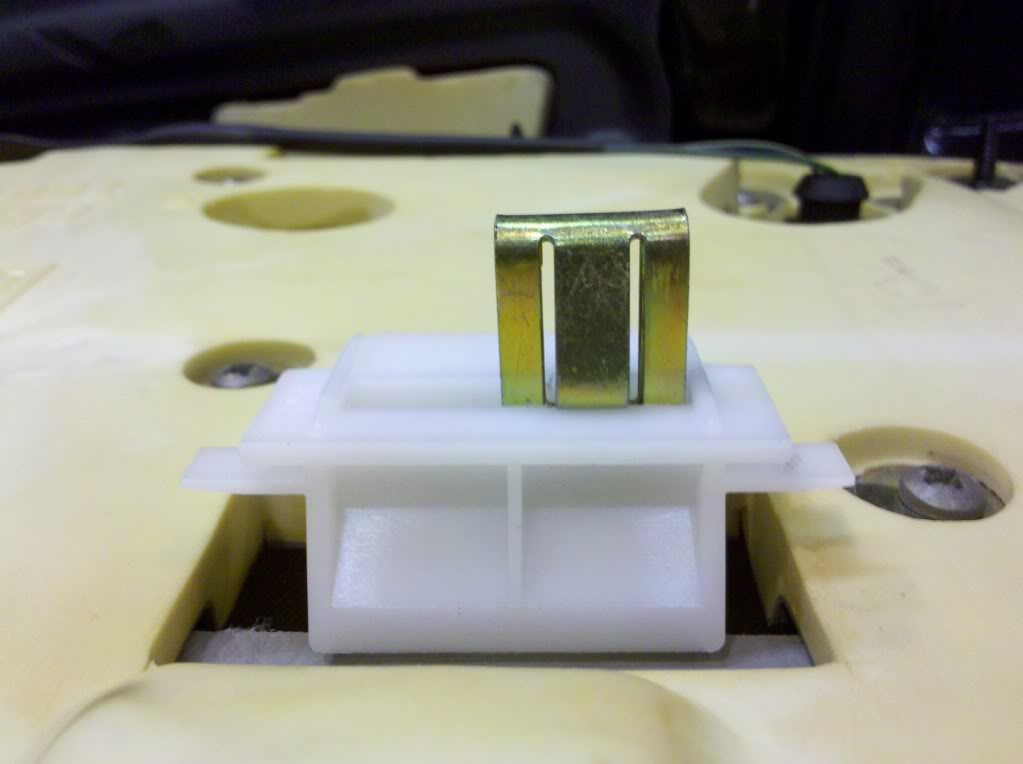
Panel may still feel rigidly attached at aft end of armrest. It is the clip shown below. Most likely, the steel spring clip will not disengage from the white plastic surround. Pull panel outward enough to clear Christmas-Tree clips around edge, but if you apply brute force and awkwardness yanking on the armrest, you will break the plastic piece. Instead, pull upward on the arm rest and "work it" a bit, rocking fore and aft to allow the plastic anchor for the spring-clip to slide up off the door sheet-metal. You can see the channel in the plastic in the photos below. For re-install, separate the spring clip from the plastic anchor, reinstall the anchor in the door, then push in on armrest to seat the spring clip. (I used silicone spray lube and compressed the spring clip a few times in hopes it will make "next time" easier.) Rear doors have two screws at back of armrest like at the top, instead of this screwy arrangement.
Last edited by aholbro1; Sep 17, 2011 at 11:00 AM. Reason: Added reason (breakage) for tip

Veteran Member


Joined: Mar 2008
Posts: 25,538
Likes: 11,735
From: Pacific Northwest USA
Haven't done it in some time but here's what I remember.
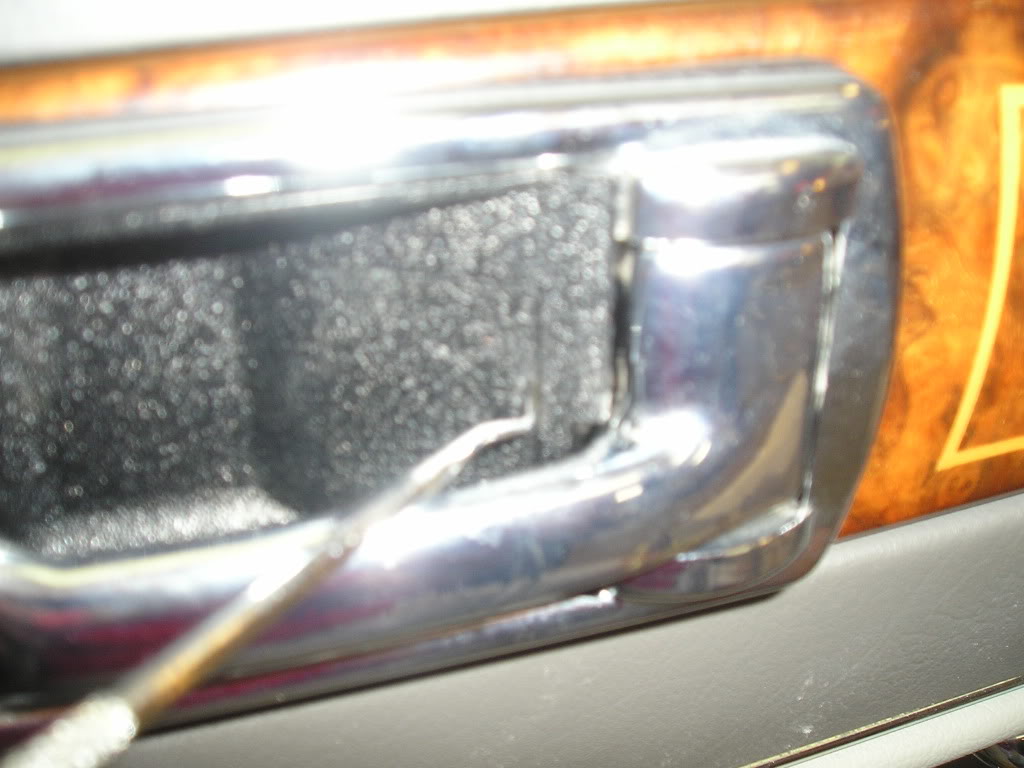
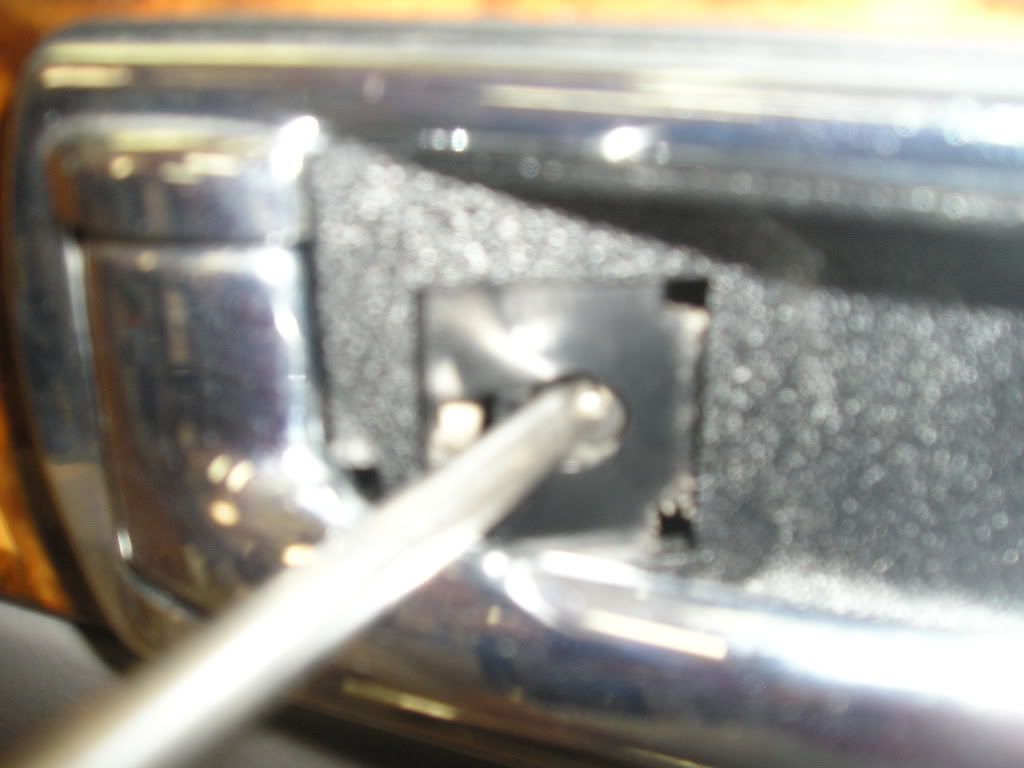
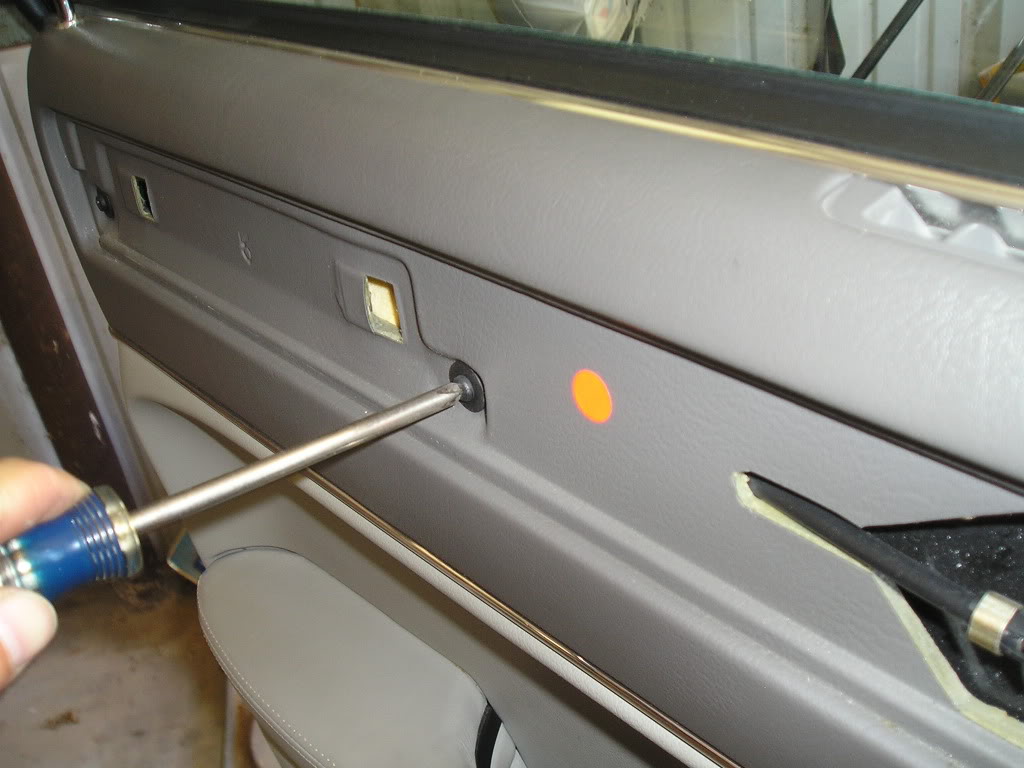
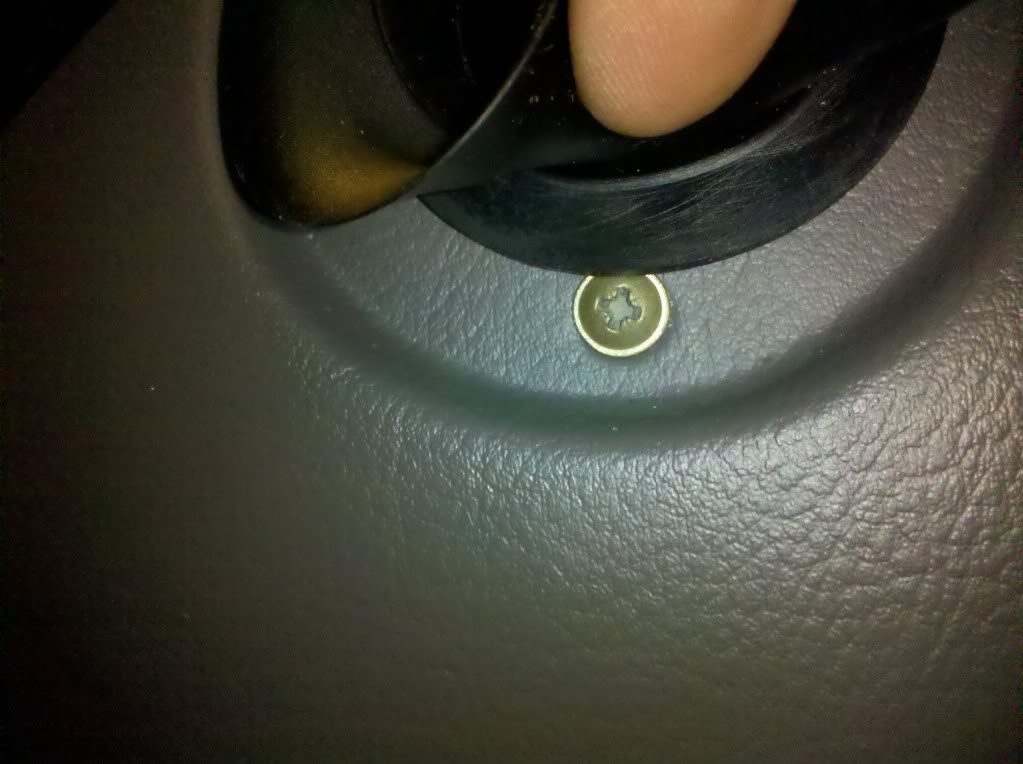
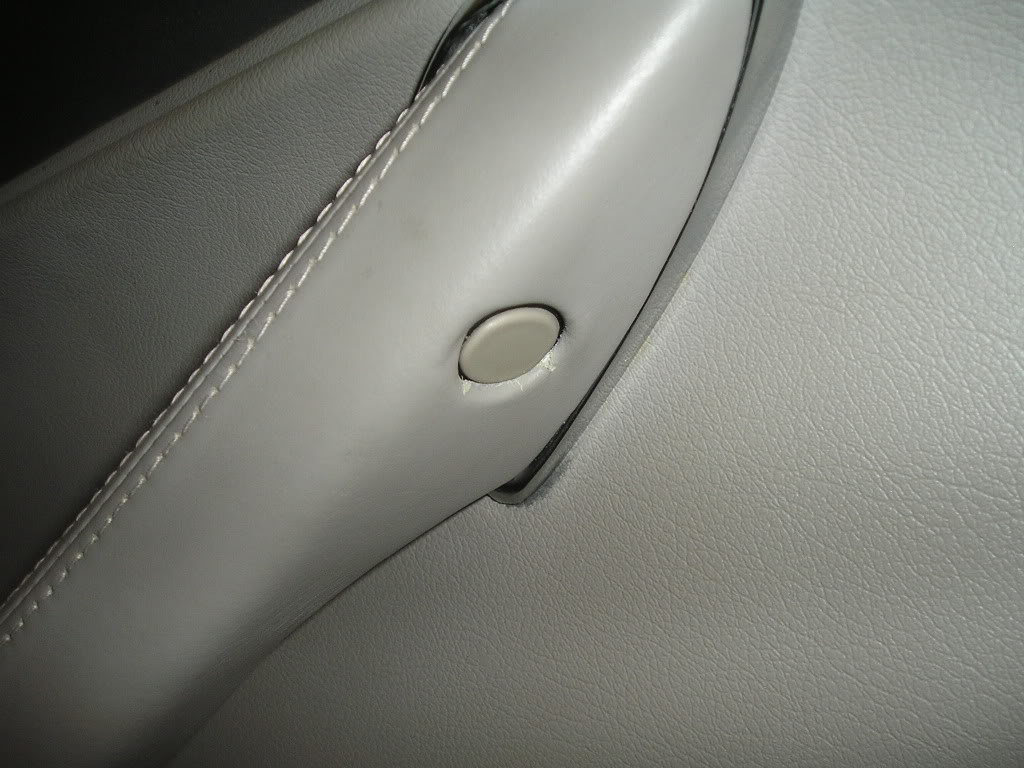
Remove blanking plug and screw at the door handle cup
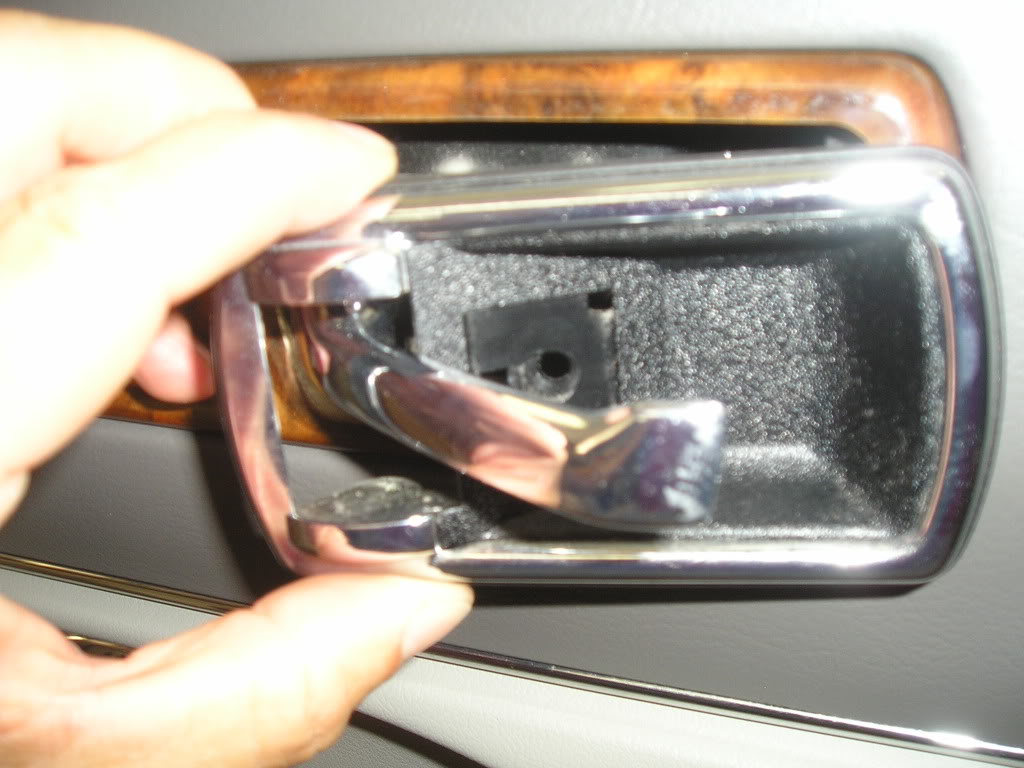
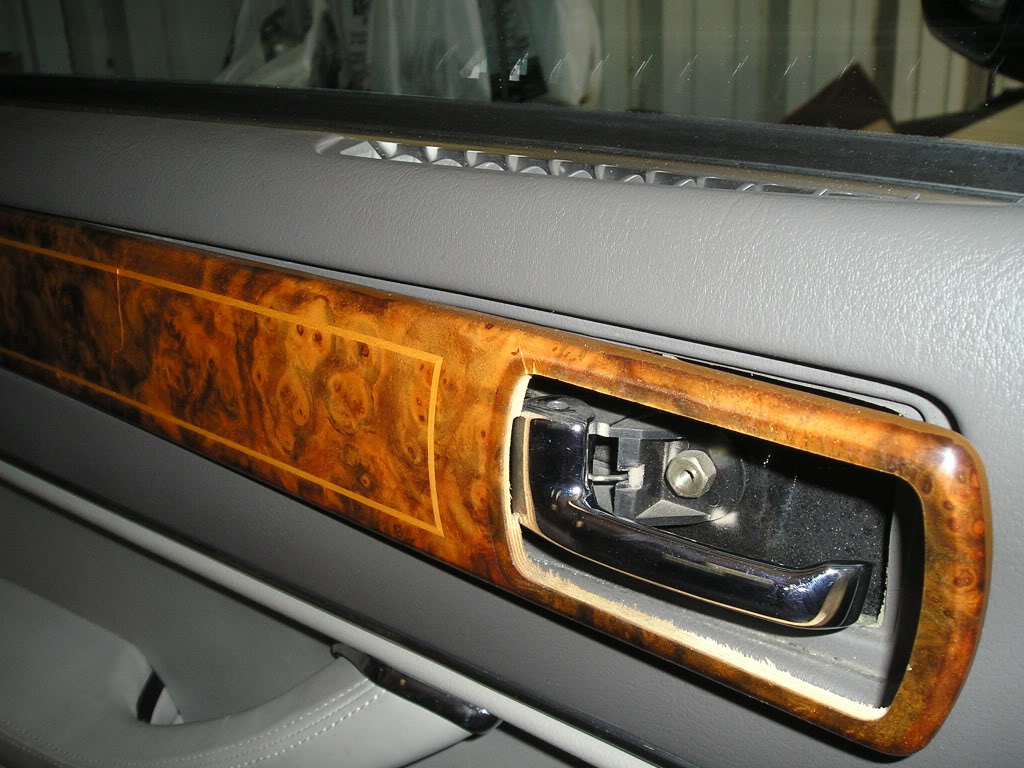
Remove wood panel by sliding it forward
Remove panel screws revealed by removal of wood panel
Remove screw hidden behind round rubber air duct
Remove screw at the top of the grab handle/armrest
Remove behind puddle light lens
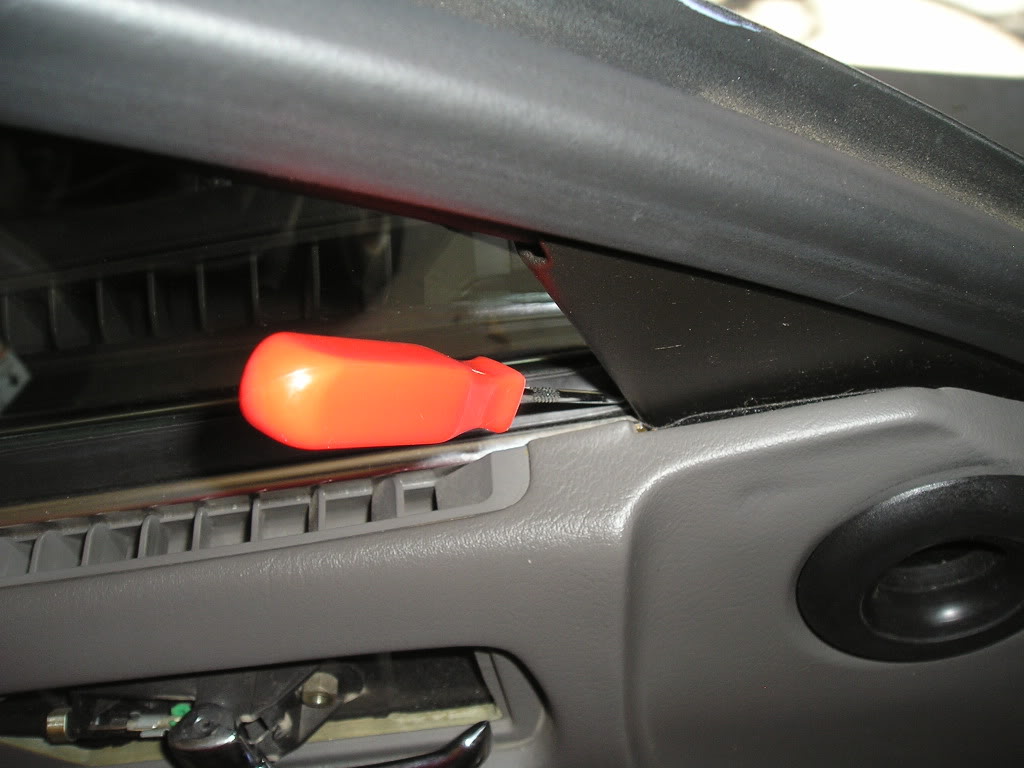
Remove push-in retainer at front of door trim panel
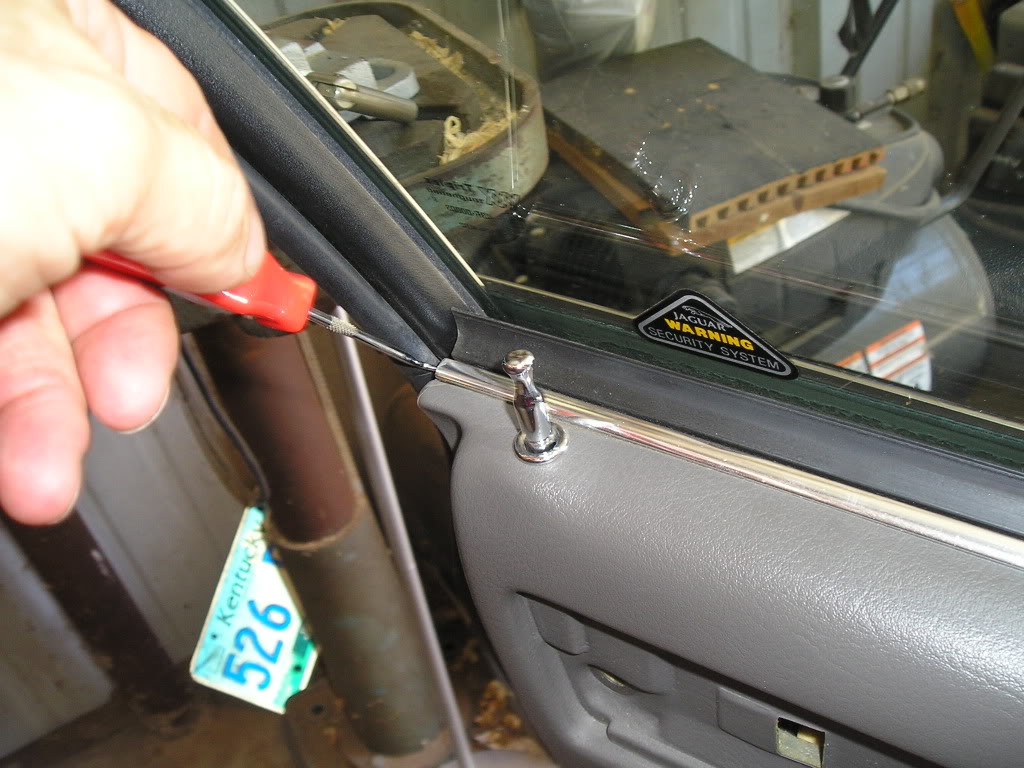
Use trim tool or wide blade to lever door panel away from the door
Lift panel upwards and away
Be mindful of speaker, light, and switch pack wires as you lift
That should be enough to get you started off in the right direction. Hopefully someone else will chime in.
Cheers
DD
Remove blanking plug and screw at the door handle cup
Remove wood panel by sliding it forward
Remove panel screws revealed by removal of wood panel
Remove screw hidden behind round rubber air duct
Remove screw at the top of the grab handle/armrest
Remove behind puddle light lens
Remove push-in retainer at front of door trim panel
Use trim tool or wide blade to lever door panel away from the door
Lift panel upwards and away
Be mindful of speaker, light, and switch pack wires as you lift
That should be enough to get you started off in the right direction. Hopefully someone else will chime in.
Cheers
DD

Attachment 169537
Attachment 169538
Attachment 169539
Attachment 169540
Attachment 169541
Attachment 169542
Attachment 169543
unnecessary on '95: (no screw, only Christmas-tree clip)
Attachment 169544
Attachment 169545
Attachment 169546
Attachment 169547
Zane-tip: Lift upper trim piece vertically using a couple of O-ring hooks on the window-wiper/seal channel:
Attachment 169548
Attachment 169549
I had tiny screws raining out from under upper trim panel on a rear door (thinking "Jag left some FOD in here during assembly) but once I got it off I realized I had been breaking it, because window-wiper-trim channel was "stuck" on door. So I had to painstakingly glue and clamp all 5 or 6 screw-holes back together.
Attachment 169550
Attachment 169551
Attachment 169552
Panel may still feel rigidly attached at aft end of armrest. It is the clip shown below. Most likely, the steel spring clip will not disengage from the white plastic surround. Pull panel outward enough to clear Christmas-Tree clips around edge, but if you apply brute force and awkwardness yanking on the armrest, you will break the plastic piece. Instead, pull upward on the arm rest and "work it" a bit, rocking fore and aft to allow the plastic anchor for the spring-clip to slide up off the door sheet-metal. You can see the channel in the plastic in the photos below. For re-install, separate the spring clip from the plastic anchor, reinstall the anchor in the door, then push in on armrest to seat the spring clip. (I used silicone spray lube and compressed the spring clip a few times in hopes it will make "next time" easier.) Rear doors have two screws at back of armrest like at the top, instead of this screwy arrangement.
Attachment 169553
Attachment 169554
Attachment 169555
Last edited by aholbro1; Sep 17, 2011 at 11:00 AM. Reason: Added reason (breakage) for tip

Regent,
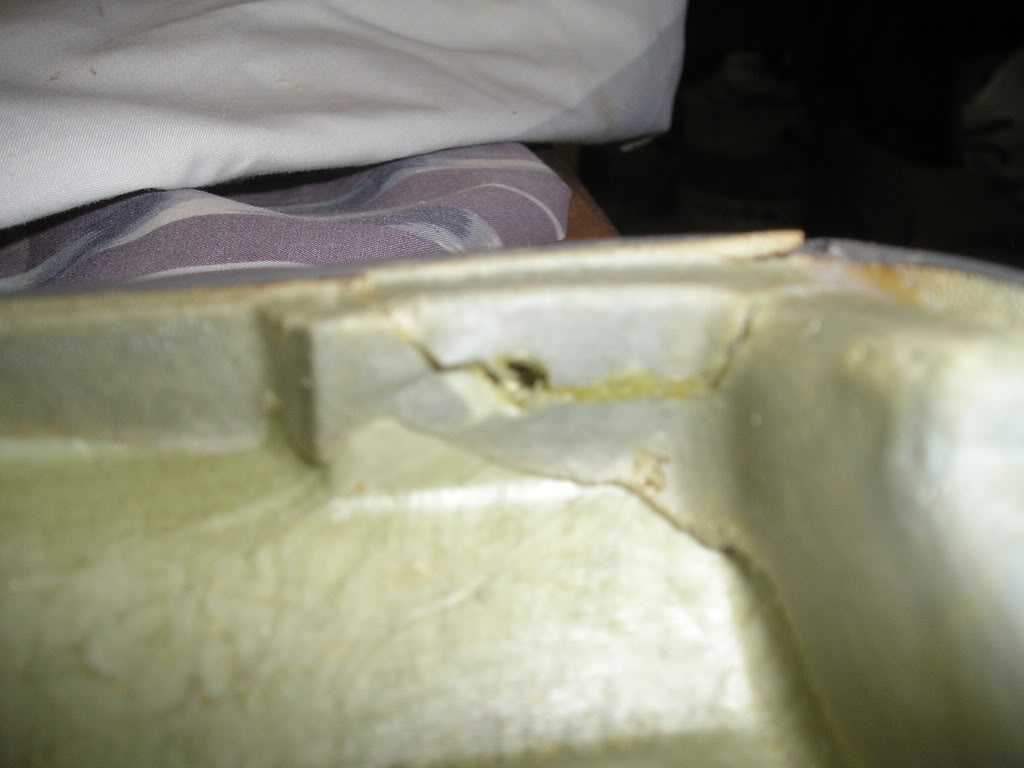
Since you're going to "carve it in stone" and I just now found my picture of damage, I edited to show the reason I recommend lifting the upper trim out by a couple of hooks. Only an issue if your trim-channel is stuck or figdety, but by the time you figure that out..it is too late!
Since you're going to "carve it in stone" and I just now found my picture of damage, I edited to show the reason I recommend lifting the upper trim out by a couple of hooks. Only an issue if your trim-channel is stuck or figdety, but by the time you figure that out..it is too late!
Trending Topics
If the foam had been damaged, I would have used a broad packaging tape to close it up, again.

Junior Member
Joined: Aug 2011
Posts: 26
Likes: 4
From: Oxnard, CA
Your pics nailed it. Just reinstalled all my panels after replacing all the speakers.
Good work.
(P.S. After many years and models of door panel removals, I have never needed one of those tools. Just wedge my fingertips in and yank, spreading the pull area over more than just one point.)
Good work.
(P.S. After many years and models of door panel removals, I have never needed one of those tools. Just wedge my fingertips in and yank, spreading the pull area over more than just one point.)


Member
Joined: Jul 2014
Posts: 50
Likes: 5
From: usa
Thanks Doug...this was exactly what I needed to know...I figured there was a stubborn clip but didnt want to break anything...excellent description and I think i will also lube the reassembly like you say....

Junior Member
Joined: Jan 2015
Posts: 4
Likes: 0
From: Savannah, GA
Awesome pics and descriptions! I never like to jump into these things - they usually create more problems than solve, but I flew through all 4 door panels thanks to your post! Bought a set of 6.5" Kicker speakers on the recommendation of Crutchfield, complete with the wiring harnesses (simple plug and play). I will say the panel tool does safeguard the clips - didn't break any!
I did have to cut the yellow foam insulation to get the speakers out but not a big deal. Interestingly, there is a metal strap that goes parallel across one end of the speaker opening on the front door panels (maybe 7 inches long...?) Not sure what it does but I removed it to help with installation and replaced. No idea.
Thanks again!

Thread
Thread Starter
Forum
Replies
Last Post
Jose
XJ6 & XJ12 Series I, II & III
31
Dec 18, 2021 08:16 AM
salP3082
XJ XJ6 / XJR6 ( X300 )
23
Sep 25, 2015 05:07 PM
Currently Active Users Viewing This Thread: 1 (0 members and 1 guests)