
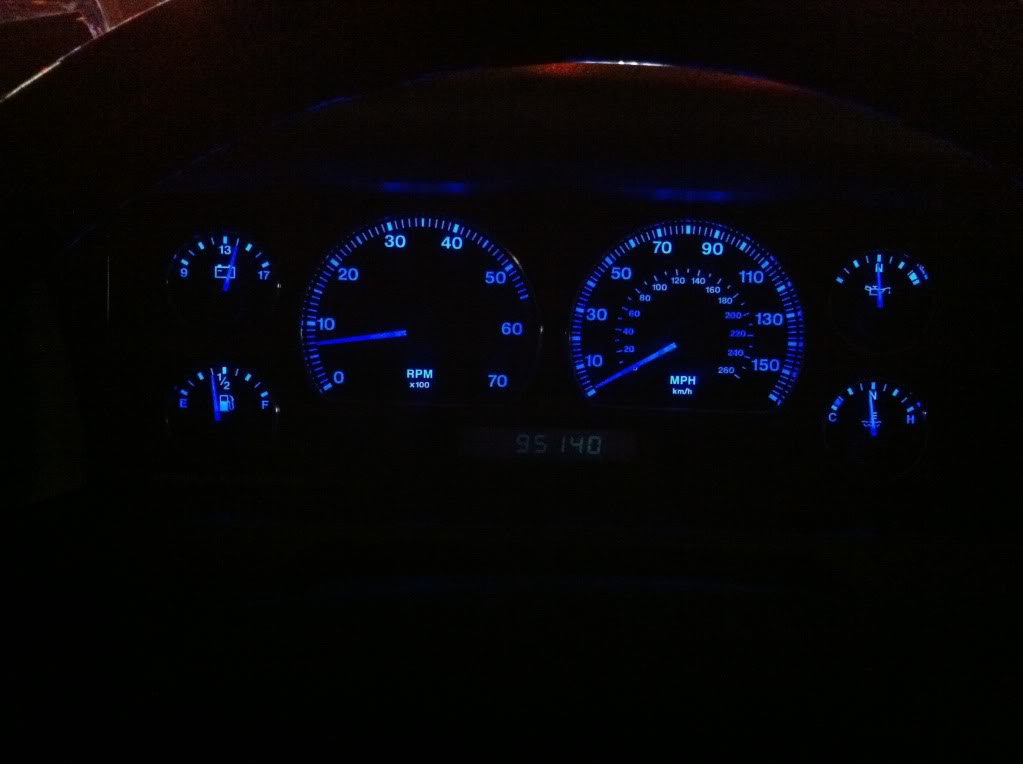
Running Leds in your speedometer!

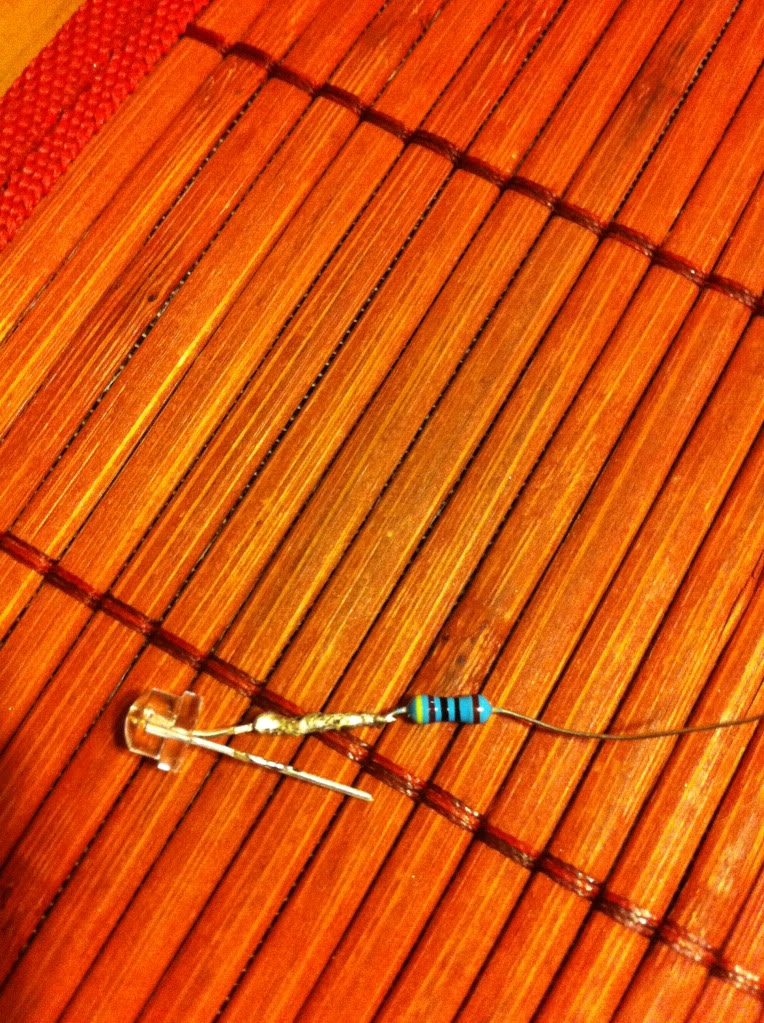
So after some research and not finding much on how to install leds on the speedometer, i decided to do it myself and share it with all of you! First things first, you gotta order led diodes(4.8mm) and resistors to work with the 12volts the car puts out. IF you do donot use resistors the leds will burn out. Solder the resistors onto the longer leg of the led diode(Usually the positive side, however confirm it is the positive side before you solder it). It doesnt matter which side of the resistor you solder onto the led, so long as the soldered part is on the positive side of the led. Once you have done this you are now ready to prepare the housing for the led bulb. For this, you will have to either buy them on ebay or remove your speedometer as i did and remove the 8 bulb housings inside the back of the speedo. You will be removing the original bulbs from the housing and installing these leds with the resistors. Below is a pic of the original bulb holder and the metal tabs that were removed to get the original bulb out. You will be using all these pieces so keep them somewhere safe. I will update the steps in the next post. 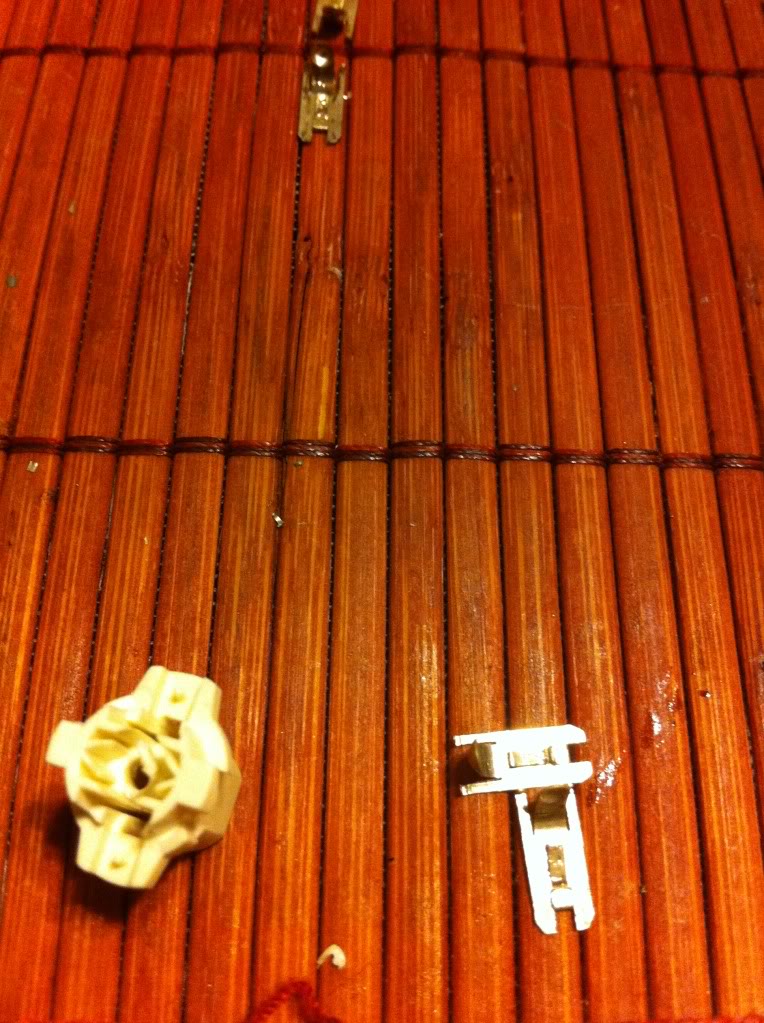
Last edited by etaent; Mar 9, 2012 at 02:15 PM.
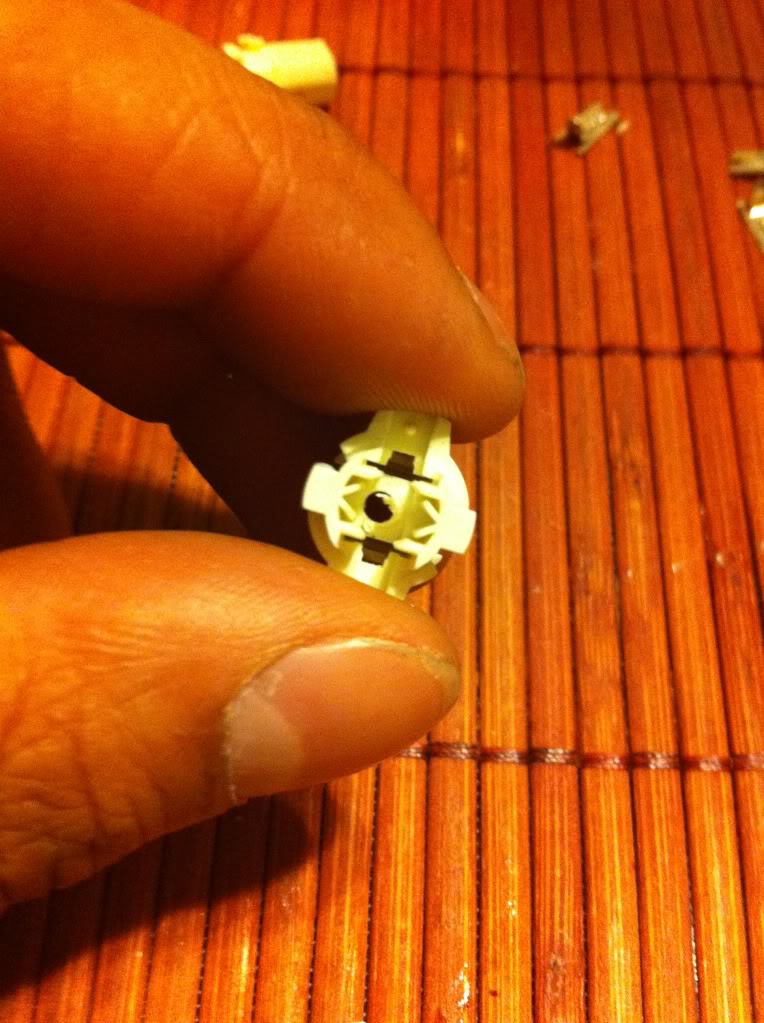 Next you want to drill a small hole in the middle of the housing to make room for the resistor to pass through, you will be wrapping the the end of the resistor on the outside of the housing of the bulb holder to the contact point.
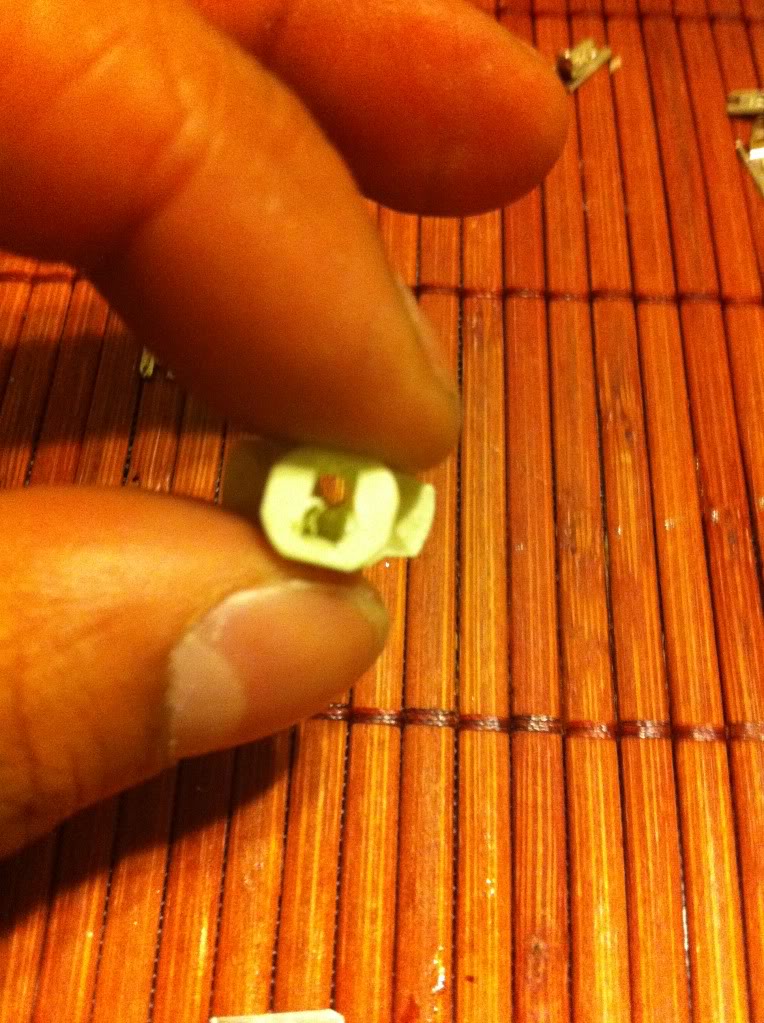
Last edited by etaent; Mar 7, 2012 at 01:17 PM. Reason: pic
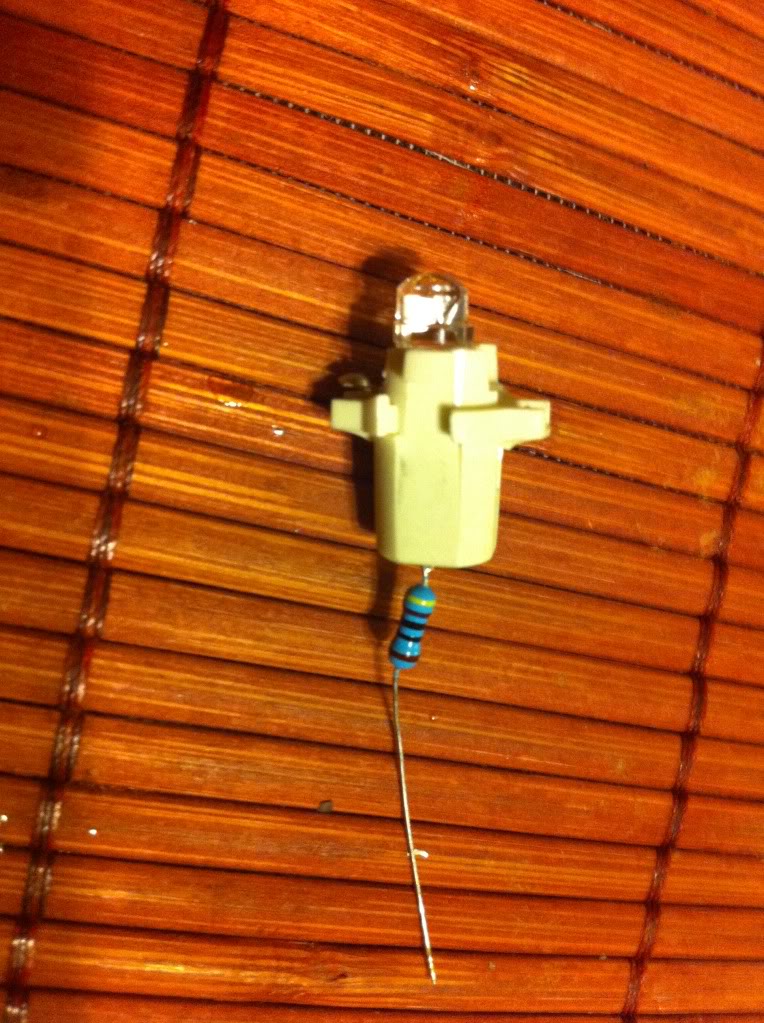
After drilling that hole its time to wire up your led and resistor inside the housing and accomadate it for installation.The negative terminal should go in the outside pocket and sit inside just as the stock bulb did, the positive terminal with the resistor should go in the new middle hole you just drilled as pictured. 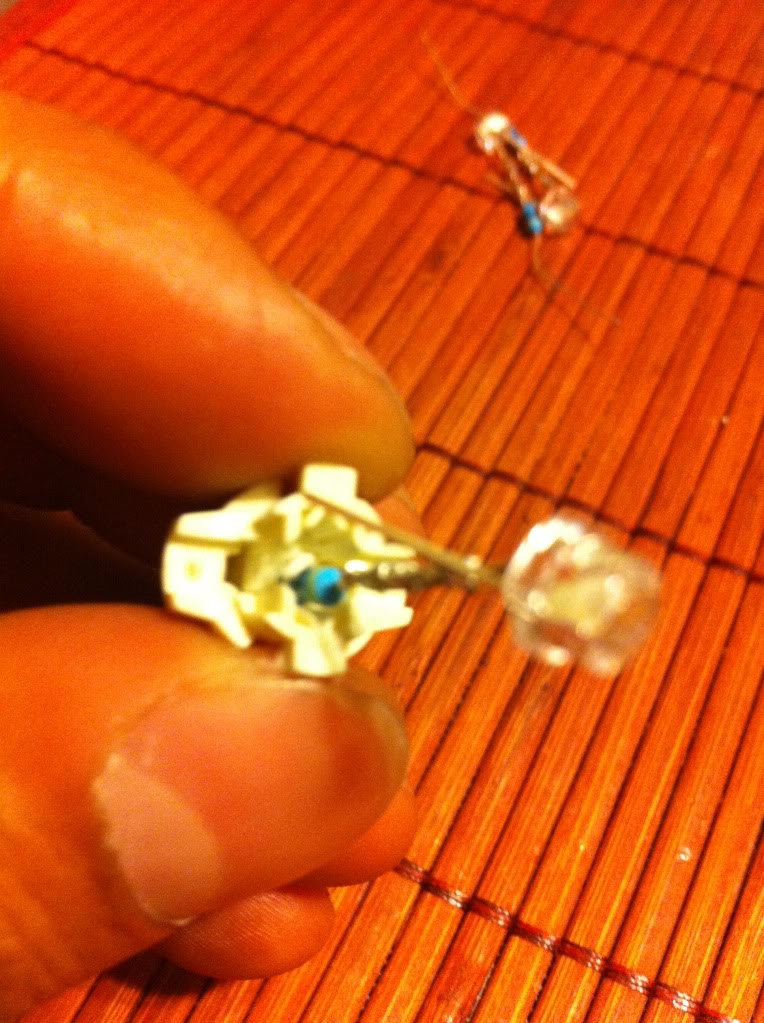
 Now that we got through that, its time to run the resistor wire around the housing to the opposite side of the negative terminal. this will be clipped into the positive terminal that will turn your led on. See pic-
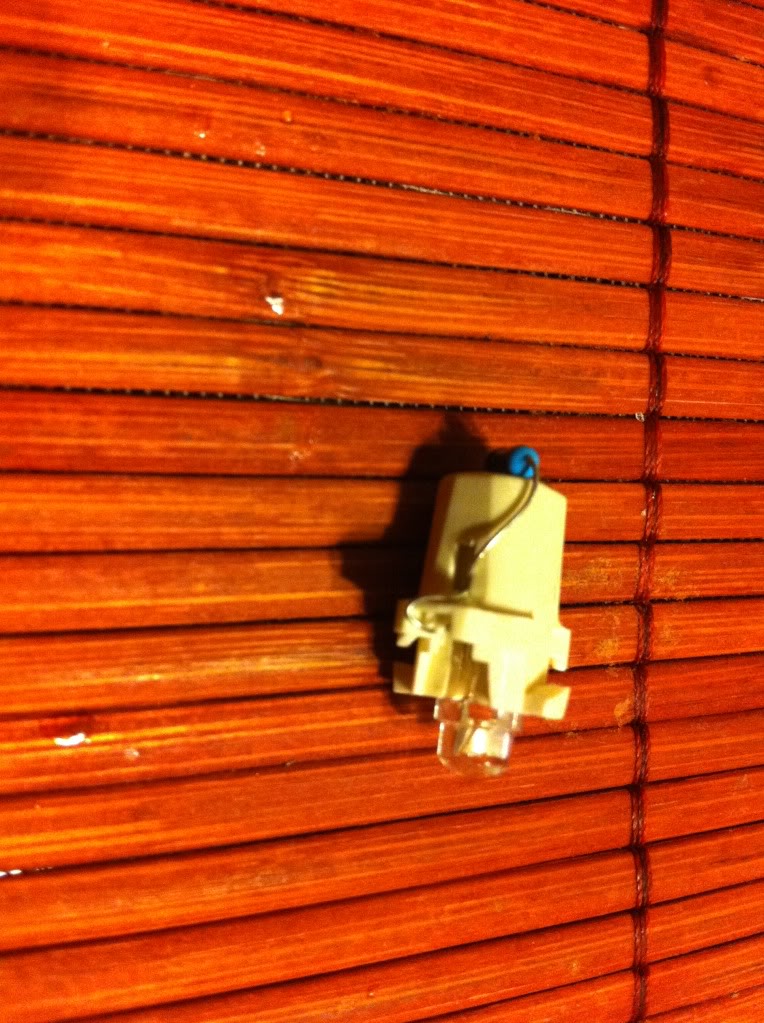
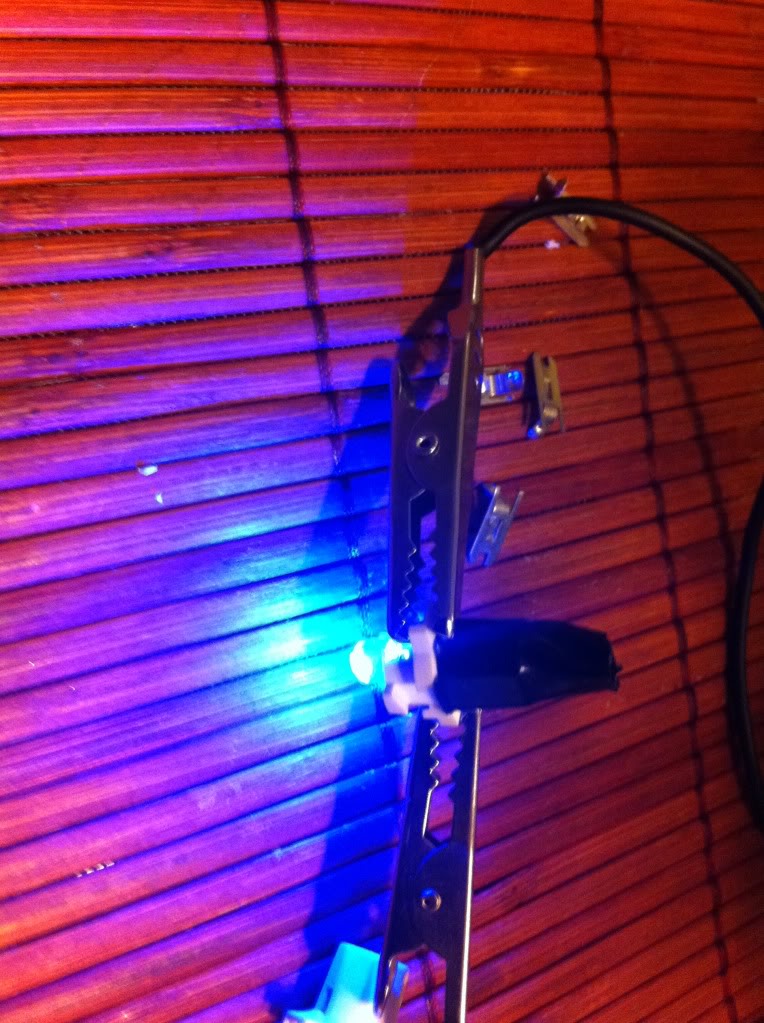
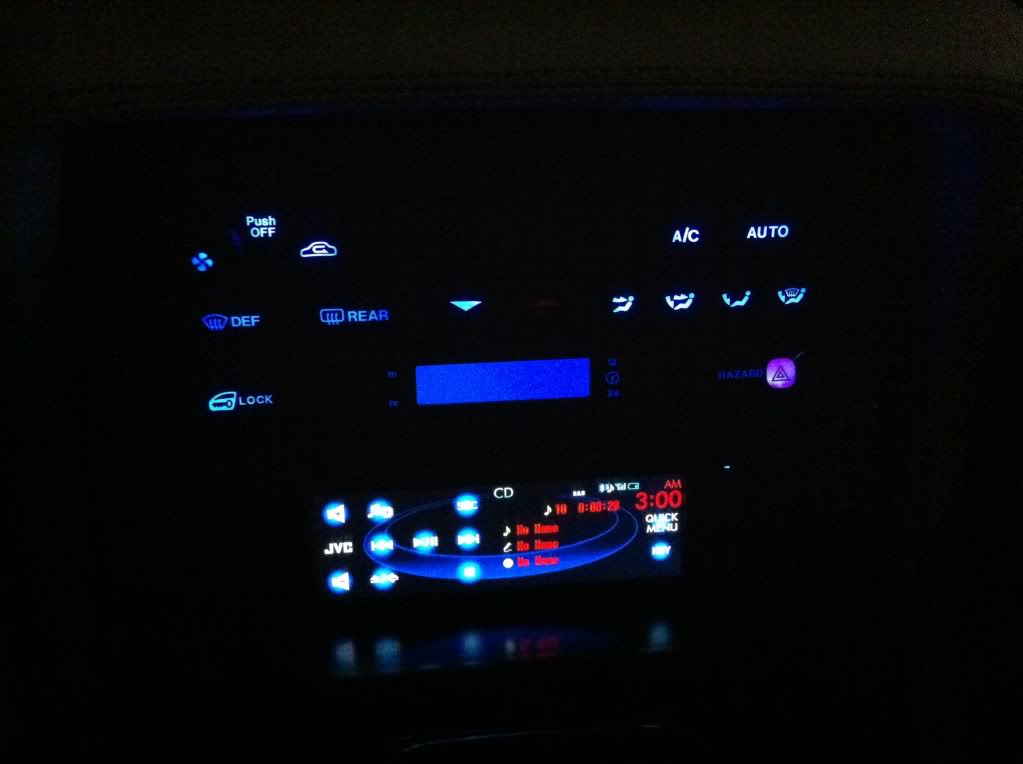
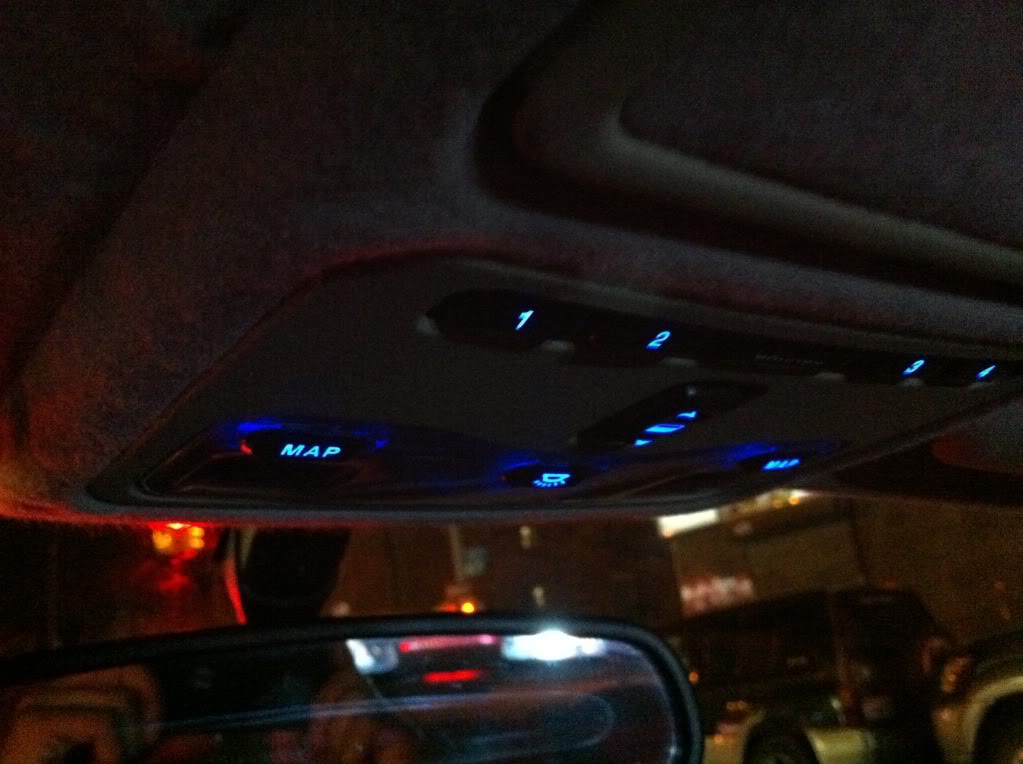
Now you may or may not want to wrap it with a little electric tape as i did to protect it and ensure it doesnt ever come out. You may also want to solder it. This is up to you. before going further though, give it a test and make sure you did everything right and it should light up as pictured. I will post up a write up on how to remove the speedometer soon as well as before and after pics so stay tuned!
Trending Topics
Hey simprof, when i ordered the leds they told me that since the car runs on 12 volts that i would need a resistor to accompany the leds. They sent me the resistors for such a system but i didnt find out exactly which ones they were. i will try and get a better pic of them so you can see the colors.


Sorry guys, i keep forgetting to take pics of the resistor when i get home from work, been real busy dealing with the city budget and all, but i will try to remember tonight!
Veteran Member
Joined: Mar 2014
Posts: 3,750
Likes: 688
From: Sanford, NC
Have you lost the dimming function with these LEDs either entirely, or partially, or do they still dim? Some LEDs will not dim with stock auto dimming controls.
Can you confirm?
.
Can you confirm?
.
Last edited by al_roethlisberger; Dec 13, 2014 at 10:51 PM.

Thread
Thread Starter
Forum
Replies
Last Post
1964Daimler
MKI / MKII S type 240 340 & Daimler
0
Sep 9, 2015 11:28 AM
Currently Active Users Viewing This Thread: 1 (0 members and 1 guests)