When you click on links to various merchants on this site and make a purchase, this can result in this site earning a commission. Affiliate programs and affiliations include, but are not limited to, the eBay Partner Network.
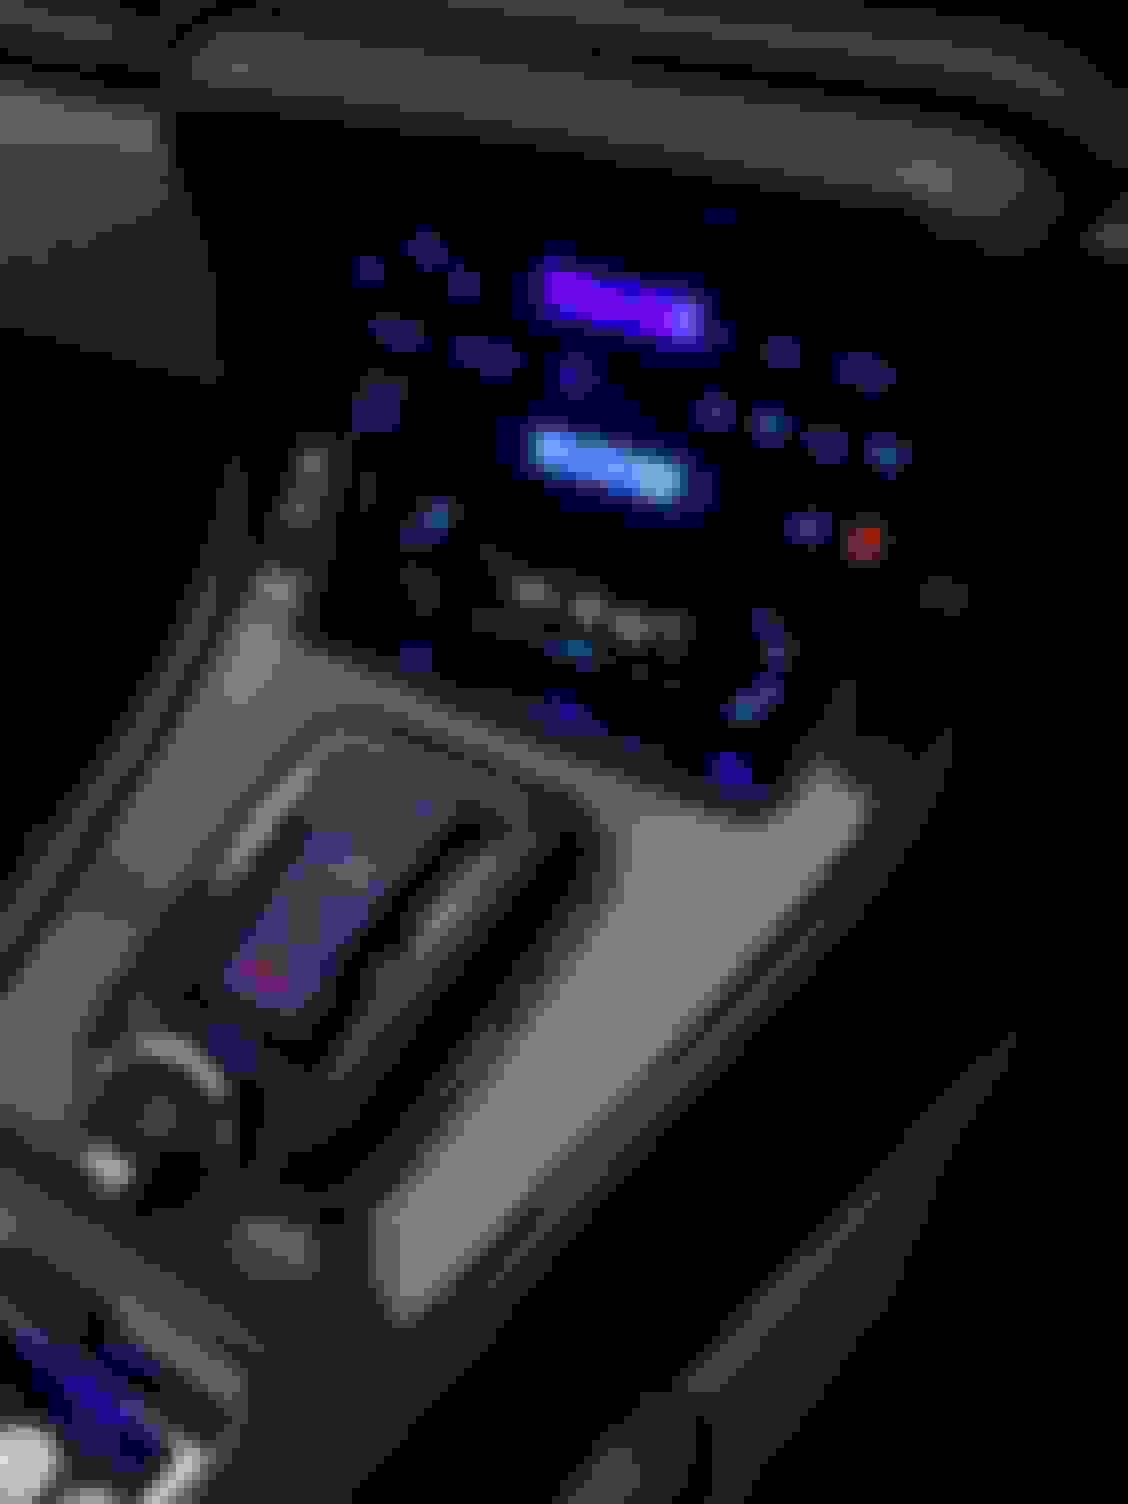
I finally finished installing the LED lights in the centre console today, looks nice and clean now.
As everyone always say, it’s really difficult to photograph these, but in real life they are all a uniform blue colour, not different shades as it looks here. The top screen is a little patchy, so I might adjust the angles of the LED’s next week.
If anyone wants any help, I’m happy to answer questions.
I also swapped the J gate light to an LED and also the ashtray. And I did the buttons on the ceiling too
All the interior courtesy and map lights are already LED, so that’s it for now. I might tackle the speedo lights in the summer.
next is renewing the anti roll bar bushes and links, and I’ve got a set of tyres coming tomorrow.
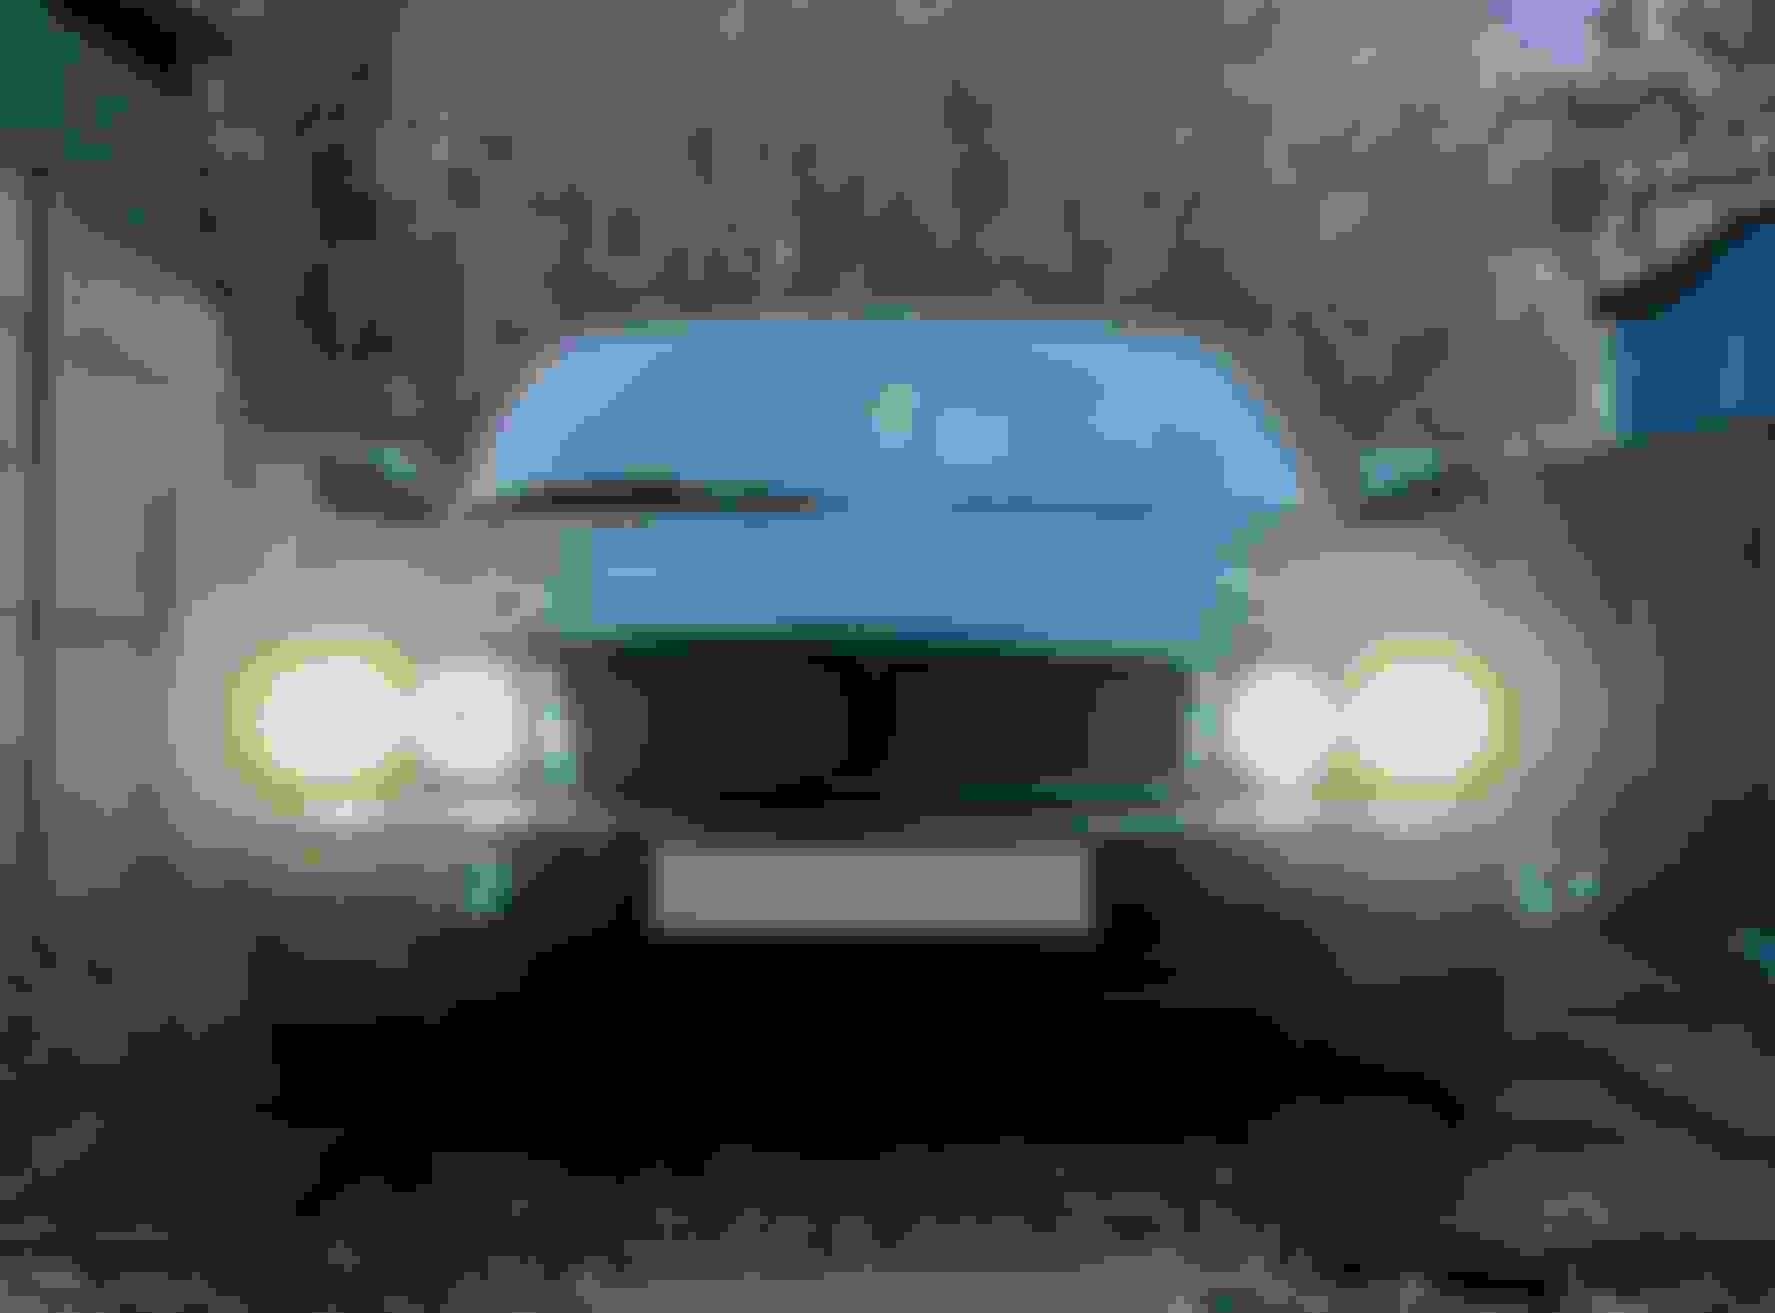
I’d already converted the headlights to LED, but as I’m new I thought I’d share what they look like.
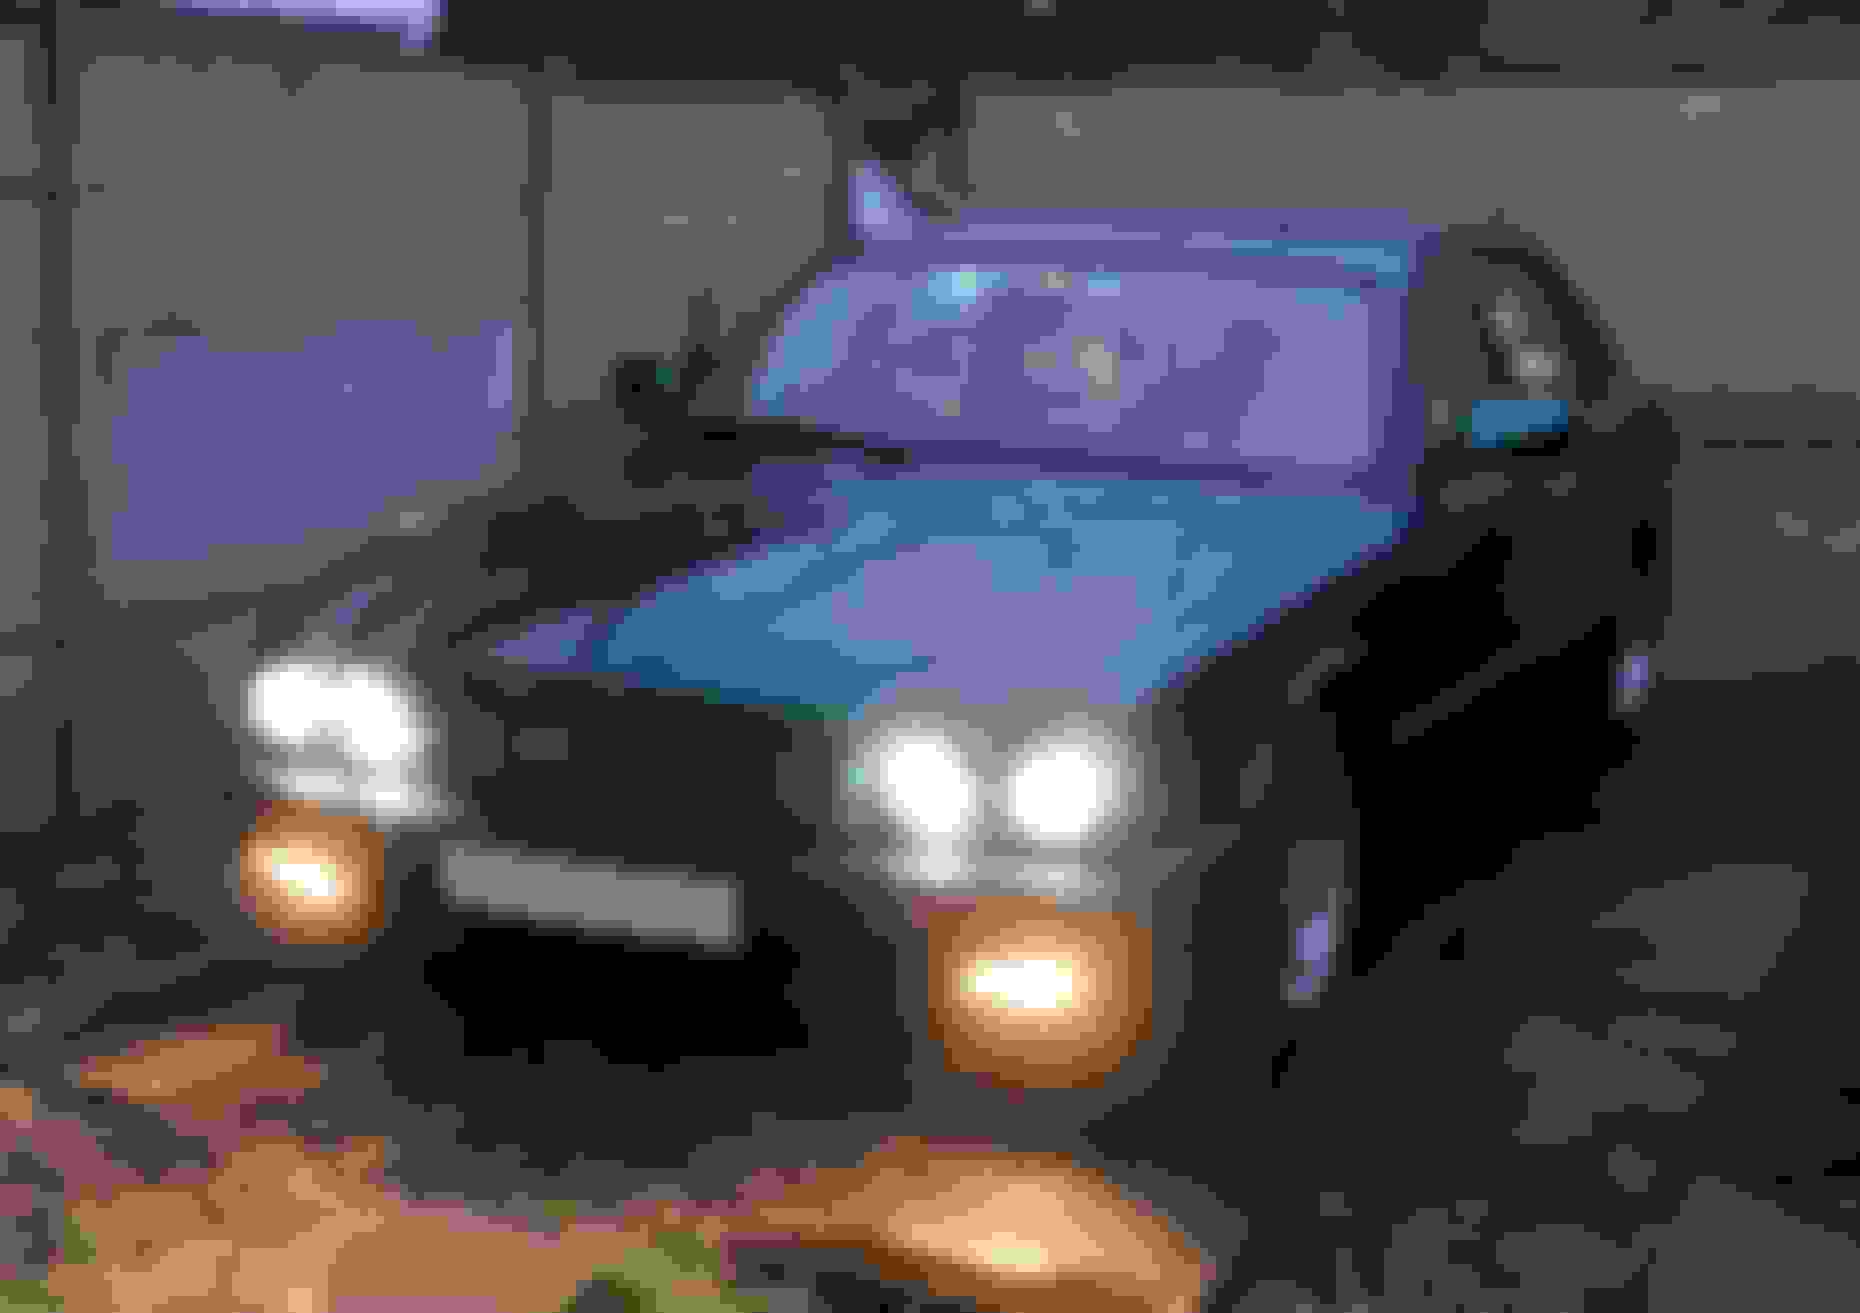
And here is a shot with the fog lights on to compare colours.
The fog lights are not LED yet. I have the LEDs ready to fit, but haven’t dropped the under tray yet. Am I right in thinking that I need to break the plastic rivets and fit brand new ones each time the under tray is removed? Or can they be re-used?
The under tray on mine has very soft plastic Philips head screws and washers. I managed to remove them by very gently unscrewing them with as close to exact fit screwdriver as I could find.
I'm not sure if the parts used vary, but single use rivets doesn't sound like a Jaguar thing.
The under tray on mine has very soft plastic Philips head screws and washers. I managed to remove them by very gently unscrewing them with as close to exact fit screwdriver as I could find.
I'm not sure if the parts used vary, but single use rivets doesn't sound like a Jaguar thing.
This is what it looks like are on mine, and seem to be the proper part. Might swap them out for the screw type that holds the bonnet liner in place though.
These are what I have on mine. Seems like a good idea, but the screw heads as so soft they can easily be stripped if you're not careful Undertray Scrivets Ebay
These are what I have on mine. Seems like a good idea, but the screw heads as so soft they can easily be stripped if you're not careful Undertray Scrivets Ebay
I'm taking the X330 in for a Fully Synthetic oil change 0w-30 or 0w-40 oil (I'm not quite certain which will be better). I must prepare for the 2300-mile Mexican Odyssey.
I went and had the oil changed to Valvoline 5w-40 Full Synthetic Engine Oil. I'll change it when it reaches 6,000 miles, as recommended
Last edited by captainobvious1; May 7, 2021 at 10:17 PM.
I replaced the hose whose name I shall not utter here.
I ended up taking the water pump off and connecting the hose to it, then fed it back through the front of the supercharger bracket to put it on. Idk if that's right but it worked pretty decent. Looking back that may have been the best way to take it out too. Any body else do it like that?
I checked off another milestone on getting mine tidied up: I glued up and re-installed the headliner today. Not a fun job, but it's done. The only thing left for the interior is re-upholstering the sun visors with headliner material and fitting them back in.
Silver 1995 XJ6: Polished the second dimple wheel - process down to four hours from five hours for the first one, learned that hand sanding is faster and more effective than random orbital sander beyond 400 grit. Worked with my son to figure out why there is a clunking noise on the drivers side when we go over the washboard gravel road approach to the house. Forum was really helpful on the triage list: shock damper good, all of the bushings on the front suspension intact, no play in the bearing... after laying under the car (up on ramps) for half an hour just looking, we saw that the lower ball joint mini-boot was a bit askew. New one on the way, hope to get that on in the next week or two. We also did a rear brake bleed which cured some rubbing/squeaking. Waiting for some connectors to re-install the factory radio, and managed to fix the LCD clock and replace the backlighting bulbs. Replacement rear parcel shelf arrived intact from UK, might install that this week as a nice break from the hard labor.
Red 1996 Vanden Plas: Working on the triage list for the CEL P0420... throttle body fully removed and carefully cleaned paying close attention to not getting crud or solvent near TPS. Thorough check of wiring and MAF etc pre-intake manifold. All good. Pulled exhaust manifold cover... hairline crack in rear exhaust manifold, nice little carbon deposits on it just to make sure I didn't miss the crack. Good news and bad, I guess - we could always tell that there was a slight exhaust leak in the sound of the red vs silver cars, now we know at least one source. A bit puzzled though since the P0420 code applies to Bank 1 (cylinders 1-3) and it is the rear exhaust manifold with the crack. But, fix the problems you know... then worry about the others. We did pull the upstream O2 sensor on Bank 1 just to look at it - looked fine. Have a 17mm crows foot for pulling the rear one when I get the car up on the ramps again. Next step? Buy an uncracked used rear exhaust manifold ($300+), pull off the cracked one and get it welded for backup. Very nice write-ups and parts list for this process shown here ; with luck, $450 in parts and a weekend job. Maybe next month
Have a weeklong trip to CA coming up, will be a nice break to gather energy for tackling the exhaust manifold, PB blaster at the ready.
I�d already converted the headlights to LED, but as I�m new I thought I�d share what they look like.
And here is a shot with the fog lights on to compare colours.
The fog lights are not LED yet. I have the LEDs ready to fit, but haven�t dropped the under tray yet. Am I right in thinking that I need to break the plastic rivets and fit brand new ones each time the under tray is removed? Or can they be re-used?
What a great upgrade! Doesn't it look perfect? It is an easy job and well worth the investment, isn't it?
I admit to doing it that way, too, but removal of the undertray is (allegedly) not required to renew the front fogs. They prise out (allegedly) from the front using a thin, stiff, wooden or plastic (non-marring) tool.
My recollection is that all the fasteners are reusable, save the zip tie at the aft-middle, which is probably my own home-fit.
Aholbro1 raises a point that has bugged me about the undertray fitting.
That hole at the rear center of the under tray piece doesn't seem to have a corresponding fitting on the car.
I found mine just sitting there (not quite flapping around) but also used a zip-tie to keep it steady.
It that hole supposed to be securing the piece to the car and if so, where should it connect to?
Finally got round to flushing the brakes after 7 months with the car, they were working fine but it was an unknown quantity I wanted to be sure of.
Using the one man (person?) method, was able to flush right rear, left rear, right front and left front (being left hand drive).
So happy I did a full flush, the old fluid looked like kombucha juice with heavier sooty deposits at the bottom. The new Prestone DOT4 was clear like water.
I might flush it again in the next few months just in case there's any dirt left in the system.
Last edited by Nobeel Masri; May 13, 2021 at 03:46 PM.
Suspension almost done...maybe today my car will leave garage... I feel like sping installing virtuoso, who can instal sping in few minutes...but that was my first time changing bearings...so probably will need new ones soon...
Aholbro1 raises a point that has bugged me about the undertray fitting.
That hole at the rear center of the under tray piece doesn't seem to have a corresponding fitting on the car.
I found mine just sitting there (not quite flapping around) but also used a zip-tie to keep it steady.
It that hole supposed to be securing the piece to the car and if so, where should it connect to?
Mine was missing the undertray but the hole you are referring to may be for the radiator drain
The fogs light assemblies have 2 large 1 inch plastic tabs on the inside of the bumper that if you push them in inward or outward direction the fog lamp assembly come out aft
The tabs can be hard to see being the same black color as the lamp assembly
I think one is at the top and the other is not at the bottom but off to the side
Last edited by Parker 2; May 16, 2021 at 10:17 AM.
Took a few weeks off, thought about the cars. Then I came home.
1995 XJ6 Silver: Changed a lower ball joint (1995 XJ6 Silver) to try to eliminate a clunk... was kind of a fun project, but still more clunk research ahead (ball joint was fine, just a torn boot, so I'm glad to have changed it before exposing it to heavy rain etc). Re-installed the radio + climate control + clock module with repaired LCD and LED background lights. Tape deck still works, need to put the CD player back in and see if that works. LCD on factory radio is toast, but if I get the bluetooth attachment then that won't matter much.
1996 Red Vanden Plas: Still tracking down a good leather dye color for the 1996 Vanden Plas with NDR interior... leather is somewhere between white and ivory and cream, so non-exact match will show up with a vengeance (ask me how I know). Vacuumed the carpet to make me feel better; guests in town so I actually get to use it as a limo.. gotta find a proper hat. Waxed the top of the car while watching the thunderstorms roll by.
1996 Red Vanden Plas: Still tracking down a good leather dye color for the 1996 Vanden Plas with NDR interior... leather is somewhere between white and ivory and cream, so non-exact match will show up with a vengeance (ask me how I know). Vacuumed the carpet to make me feel better; guests in town so I actually get to use it as a limo.. gotta find a proper hat. Waxed the top of the car while watching the thunderstorms roll by.
I think colourlock can scan the colour and match it pretty accurately, if you have a dealer nearby.
Otherwise, you can cut of a small piece of leather from underneath the seat and send it in to be scanned and matched.