What did you do to your X300 today?
#82
#83
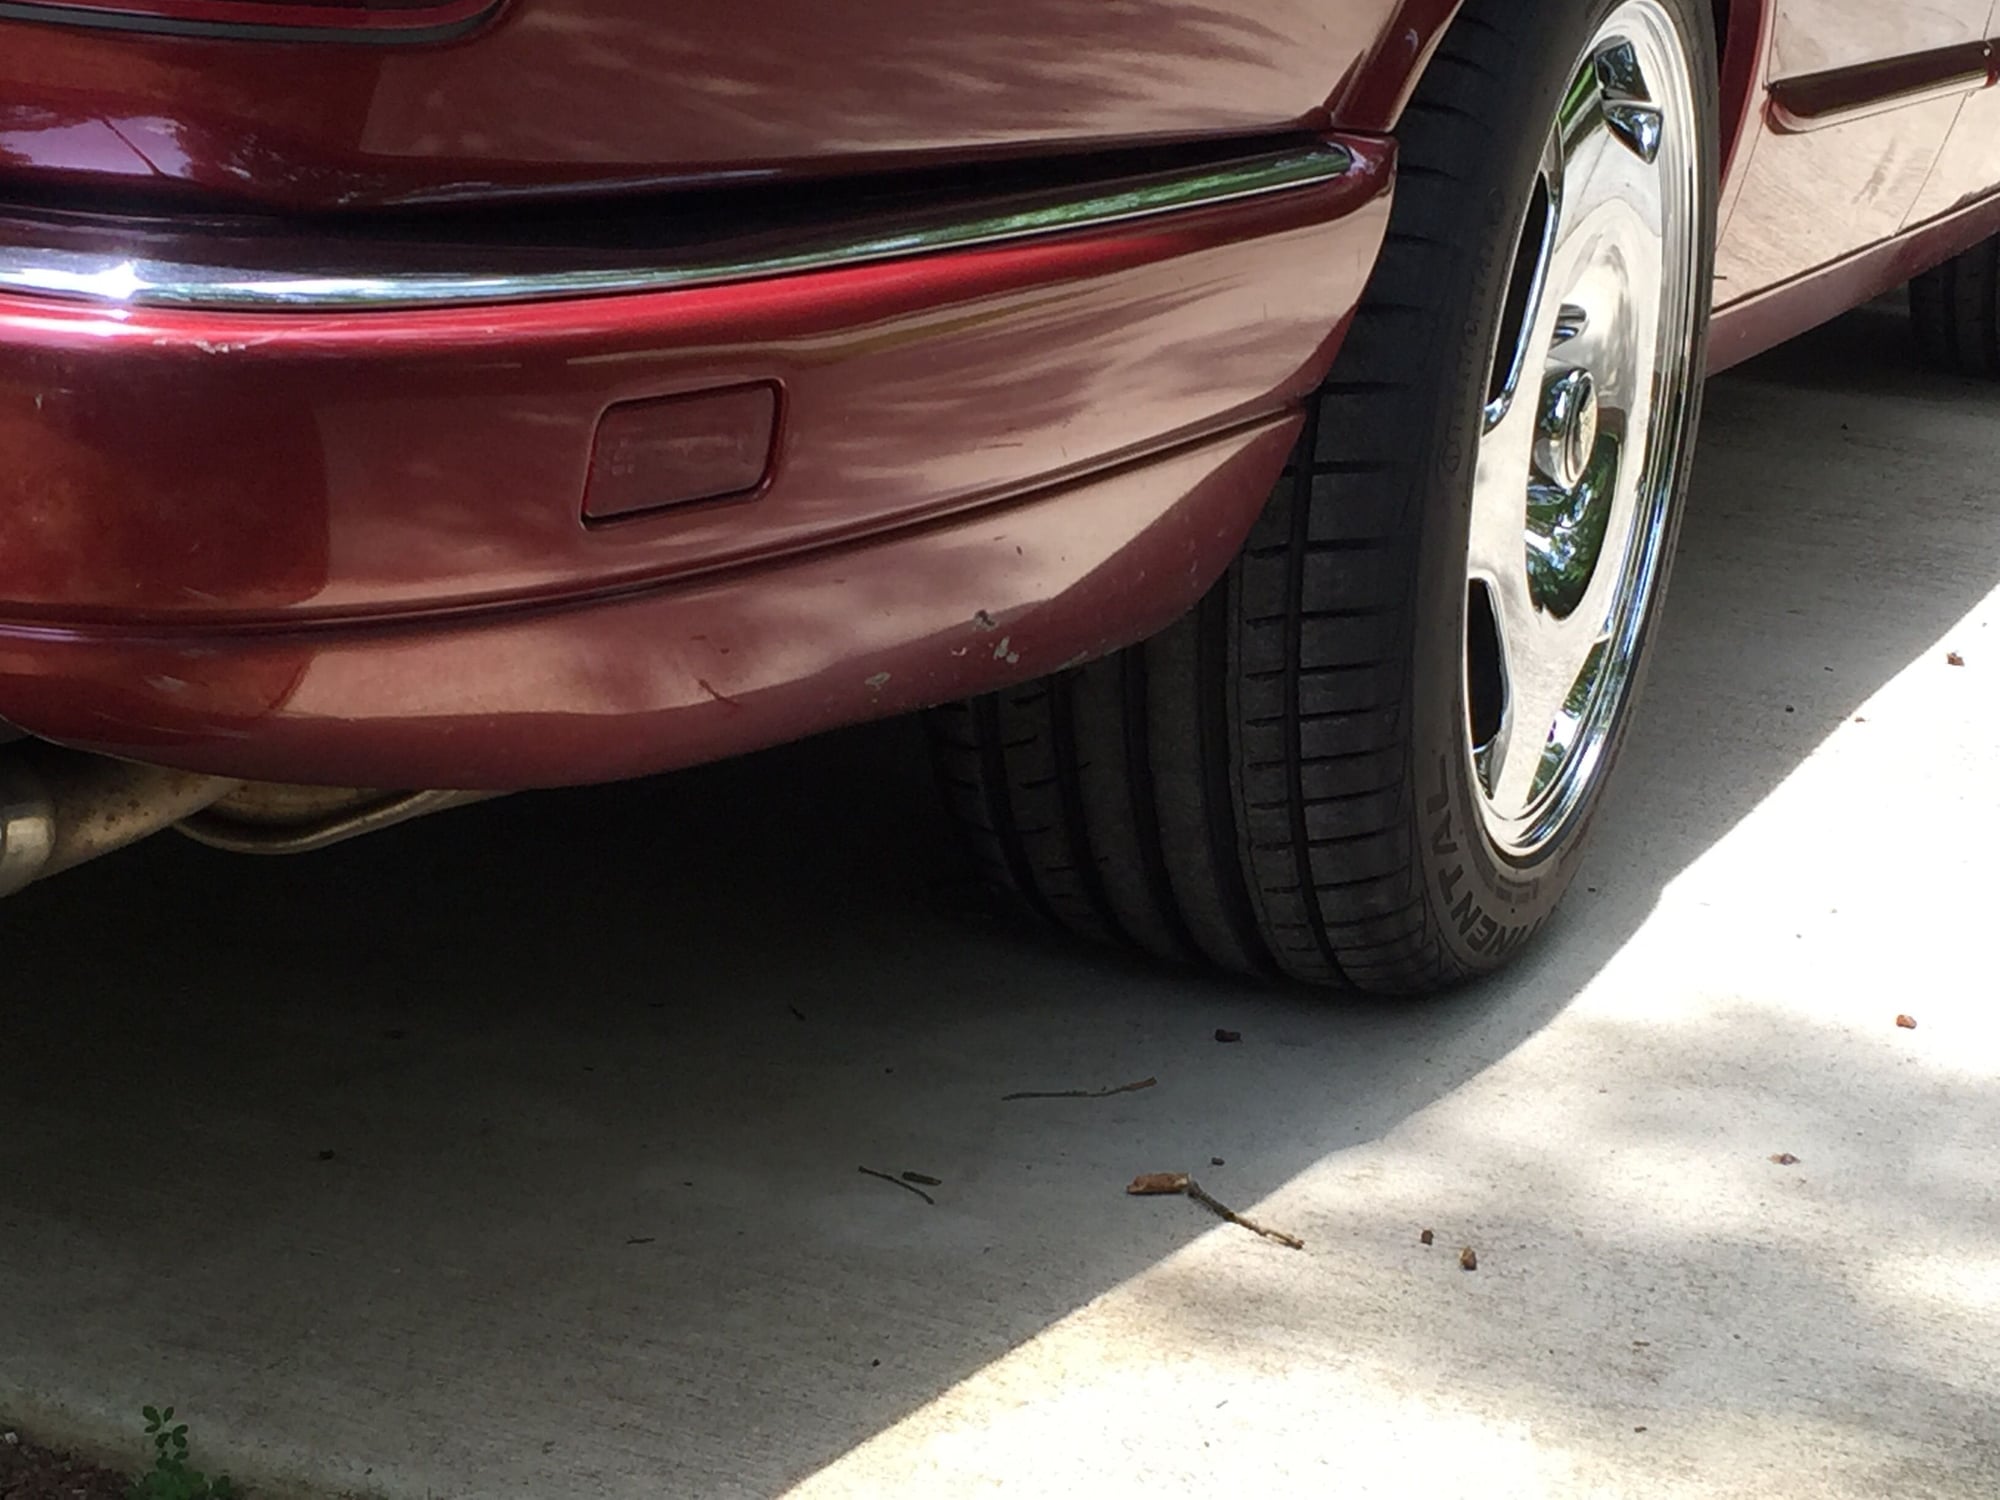
The chrome wheels look great!
So 285s out back, no fitment/rubbing and they fit the OEM rim OK?
If I had the funds, I'd consider a set, but other priorities at the moment.
But I received my rebuilt radio from Southern Electronics yesterday, so I'll be reinstalling that very soon. And wow, they had it back in my hands in a week! Very excited to have a radio again.
.
#84
The following users liked this post:
al_roethlisberger (07-14-2015)
#87
#88
- Finally finished rehabilitating my center dash vent. Like almost every example, mine had the lazy/broken horizontal vanes, so I finally found a used vent where they weren't. Then also like all others, the metal clips that hold the vent in the dash had broken free of the ABS shell of the vent. Fortunately in this example it was just all four bottom clips, so I reinforced the top clips with epoxy and some metal strips, and then used some thin aluminum bar on the bottom to center the vent vertically when re-installed. It looks good now that the vent is no longer ****-eyed and rattling like mad. We'll see how long the horizontal vanes hold up, but I'll just be super careful with them I guess.
- I also finally reassembled my console stack. I got my clock back from Module Master, radio back from Southern Electronics, I touched up the black paint on my AC controls, and of course I installed it all in my rebuilt/reinforced plastic bezel/frame that will hopefully be a bit more durable than OEM where the 6 mounting tabs normally snap off. We'll see and time will tell.
- Also had my tires rotated and rebalanced.
- Finally gave the car a wash, and it then rained... of course! HA
.
Last edited by al_roethlisberger; 07-23-2015 at 10:44 PM.
#91
The following users liked this post:
GatorJoe (07-25-2015)
#92
The bumper is super easy to remove. Two bolts up front and one wiring harness in front of driver's side wheel.
#93
It's more like a list of things I did this week. New Bilstein rear shocks, new driver side output shaft bearing, installed X308 monostrut, and new rear sway bar bushing.
The shocks were particularly aggravating to do. I dropped the entire A-frame for easier access and the driver's side shock came off without a hitch. The lower bushing in the passenger side shock was so bad it had bent the mounting bolt. Making it impossible to remove conventionally. I ended up cutting it off. A trip to the local u-pull-it yard a few days later, and I managed to get a replacement bolt. Putting the new shocks on was a breeze.
The shocks were particularly aggravating to do. I dropped the entire A-frame for easier access and the driver's side shock came off without a hitch. The lower bushing in the passenger side shock was so bad it had bent the mounting bolt. Making it impossible to remove conventionally. I ended up cutting it off. A trip to the local u-pull-it yard a few days later, and I managed to get a replacement bolt. Putting the new shocks on was a breeze.
#94
I put a hose clamp on the hose at the bottom of the reservoir.
I got a pneumatic cooling system pressure tester from snap on yesterday and decided to learn how to use it today. I may have pressurized the system to quickly to the 120kpa too quickly cause the next thing I knew I heard air flowing and a waterfall. I noticed the hose connected to the reservoir popped off and it didn't have a hose clamp so I put one on, refilled and tested again. I would assume there was a hose clamp there at one point.
I got a pneumatic cooling system pressure tester from snap on yesterday and decided to learn how to use it today. I may have pressurized the system to quickly to the 120kpa too quickly cause the next thing I knew I heard air flowing and a waterfall. I noticed the hose connected to the reservoir popped off and it didn't have a hose clamp so I put one on, refilled and tested again. I would assume there was a hose clamp there at one point.
#95
New rims are on my to-do list... The most recent thing I've done is put on these chrome arch trim pieces--I know a lot of people think they are tacky, but I think they look nice with the black paint, and it's a somewhat youthful twist I thought complemented the car. What do you guys think?

Last edited by Malihide; 10-04-2015 at 04:29 AM.
#96
I spent the last few days renewing my front suspension with Powerflex bushings, new upper & lower OE Lemforder ball joints as well as H&R 40mm lowering springs. The car is definitely more like a BMW feel now. I am having it aligned in the am and haven't put the car through any paces yet, however, I feel like the H&R springs might be a tad much for the Bilstein Touring Class shocks. We'll see. I've driven the car maybe 20 miles. I will add this is a TON of work if everything went well, when things go awry, wowzers to the second power... I am bruised, slightly scraped up and sore. It will be good to know the bushings are done for good and no longer will need servicing. I just need top it off with new v-mount and front subframe bushes at some point. Right now I am glad I can drive my car again. I Uber'd from my shop and back the last night and slept there the previous two nights! Ha!
#97
Not just today, but I haven't posted in a little while so here goes:
-Pinned up my sagging headliner; I think I prefer the pins, as I did some kind of quilted pattern. I'm going to keep it this way.
-Pulled off rear passenger door panel to inspect the unresponsive locking motor. Couldn't immediately diagnose it but I'm sure I'll need a new one, so I just put everything back together.
-Removed ski slope and radio/climate control to check for TSB-mentioned wire chafing. Had already had preventative maintenance done.
-Completely fixed the wiring in the boot. It's not pretty (there's blue butt connectors everywhere...) but it works!
-Plugged in valet switch--was unplugged for some reason. Got my key fob to work!!!
-Pulled out entire trunk carpeting to search for a bad ground or connection. Found nothing, but it's always educational.
-Replaced A/C belt--woops, wrong one, still getting squeaks. I'll take care of the alternator belt when I have time.
-Siphoned out excess tranny fluid, and it's shifting a lot better now! If anyone's reading this, you really do have to be exactly on the "hot" marker.
My to-do list:
-Find and fix whatever is keeping my lights on and driving me crazy
-Probably have to get new alternator and/or battery--to be determined
-Possibly replace starter motor
-Replace brushes in electric coolant pump so I can get hot air again
-Replace upper and lower radiator bushings; upper A/C condenser bushings as well
-Replace fuel pump (no idea when it was last done)
-Vacuum interior and condition leather
-Replace faulty mirror, maybe with a Gentex
-(in the Spring) use some ultimate compound, maybe polish, definitely wax, and I'll need some touchup paint as well
I'm really, really loving to work on my car. It's adding a whole new element to my smiles per gallon. I'm a total beginner but I do learn quickly, and I've already started doing maintenance on my relatives' cars.
#98
Another round of stuff fixed:-)
Replaced: Waterpump, Steering Rack and High pressure hose for the power steering, tie rods and belts. the water pump and steering rack were rebuilt from Coventry West. All the noises and whining from the pump and rack are gone and now all the leaks seem to have stopped, although i'll know better after a week or so.
Replaced: Waterpump, Steering Rack and High pressure hose for the power steering, tie rods and belts. the water pump and steering rack were rebuilt from Coventry West. All the noises and whining from the pump and rack are gone and now all the leaks seem to have stopped, although i'll know better after a week or so.
#99
When washing the Sovereign recently, I noticed that a small, 2 inch piece of the right hand wing near the junction with the sill had disappeared and the surrounding metal was scabby. Took it to my local excellent painter who, together with his mates, cut out the rot, welded in a new piece and repainted it. He then washed the car and did a bit of polishing. All for £100. What a good man!
#100


