When you click on links to various merchants on this site and make a purchase, this can result in this site earning a commission. Affiliate programs and affiliations include, but are not limited to, the eBay Partner Network.
For those who have blower motors that have slowed to a crawl, are noisy, or have quit all together – this writeup is for you. My symptoms were as follows: My blower got progressively noisier, then after about 6 weeks got progressively weaker in output, until it finally slowed to a sputter with no output. Upon investigation, I was able to determine that the left side blower had quit working altogether, and the right side was the noisy one - and eventually slowed to a sputter. So I decided to tackle the right one first. Below are step by step instructions for removing the right side blower and repairing it. I’ll likely get to the left side next week and will include an additional writeup at that time.
1. Remove the glove box. With the glove box closed, there is one Philips screw on the left and another on the right to remove. Then open the glove box and there are 4 Phillips screws along the top edge. Then simply pull the glovebox forward to remove. Don’t forget to disconnect the single small wire for the glovebox light.
2. Remove the footwell vents. It’s the black rectangular plastic piece located just below where the glovebox was (approx. 15in w x 10in deep) It’s secured with a body panel grommet, so just give it a firm tug downward and it’ll release.
The squarish box that the footwell vents were secured to is the blower unit.
3. Unplug the green multiplug secured to the bottom of the blower unit an remove it from it’s clasp. The blower flows towards the left side of the vehicle. If you follow the ducting from the blower to the center console, you’ll notice 2 silver screws securing the blower to the ducting, one atop, and the other beneath – remove those.
4. The blower unit is secured by 2 (or 3) 10mm nuts. Mine had a nut on the lower right secured to a bolt protruding from the firewall, and a bolt on the upper left facing downward. There is also a bolt on the lower right protruding from the firewall, but there was no nut attached ( and the paint on it was undisturbed indicating no nut was ever present.
5. After removing those 2(3) nut & bolt, separate the blower from that ducting to the left pulling downward. Simultaneously pull the blower unit forward and downward. It shouldn’t take much to free it. That’s it for the removal.
Investigation and repair:
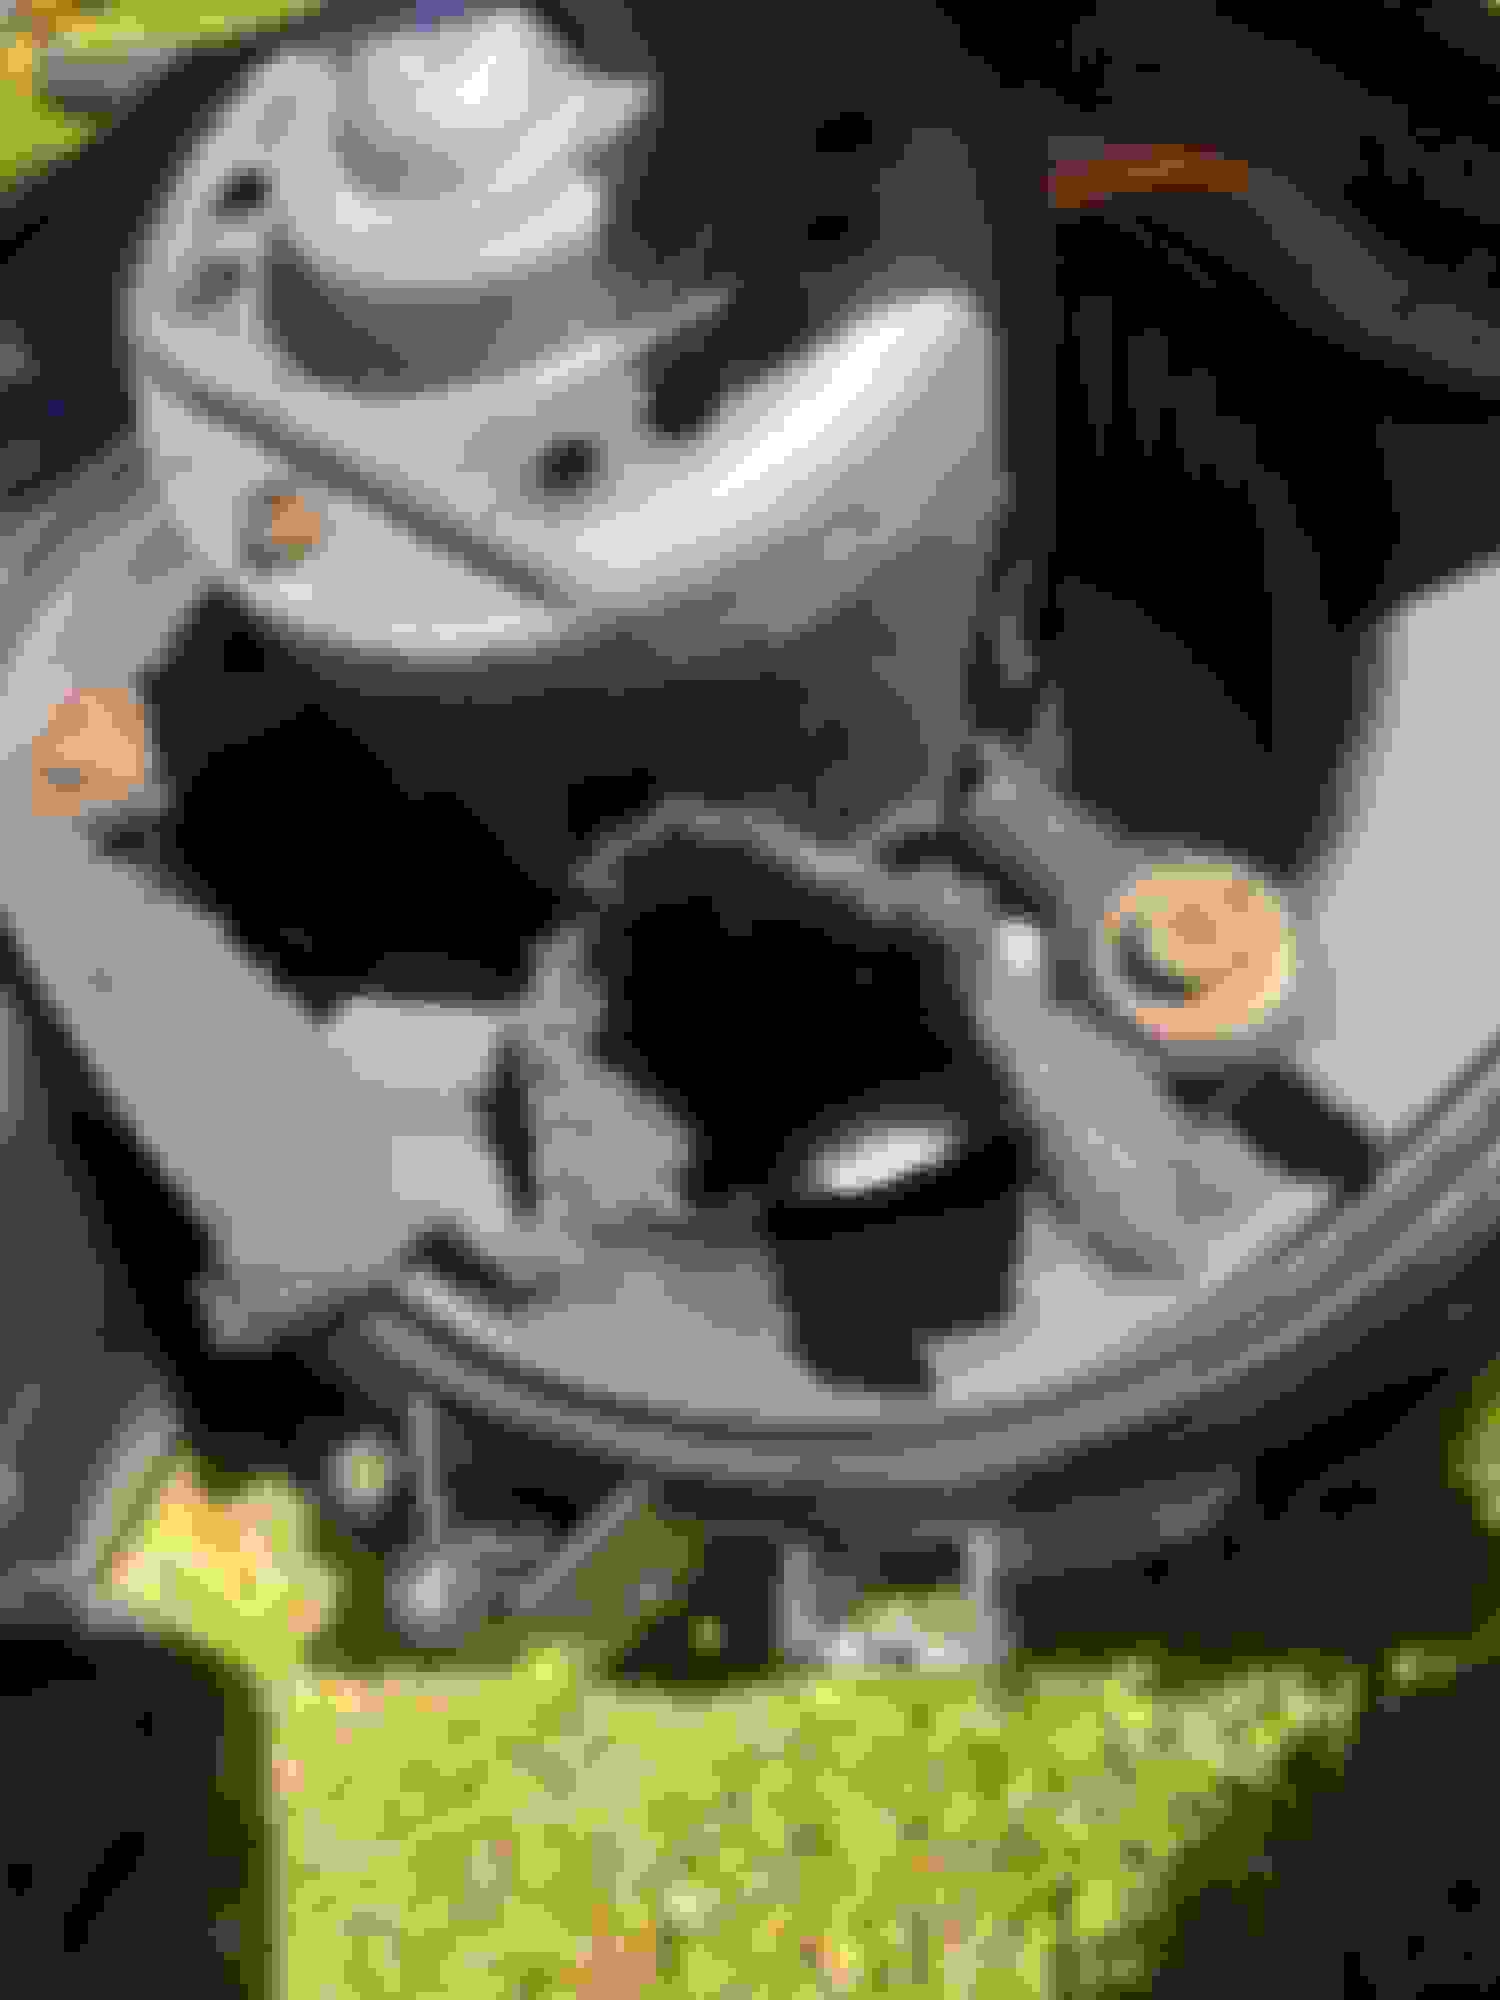
1. Sit the blower unit on the work bench with the motor facing you. There are 2 phillips screws atop the motor. Remove those. Don’t disturb the 3 screws securing the motor to the blower unit. Take a small flat screwdriver and slowly pry the endcap off the motor body.
2. The brush holding unit will now be exposed. If the brushes are sufficiently worn, they can become partially, or completely, dislodged from their holders. On mine, one side had worked it’s way out of it’s holder allowing the spring to fully decompress. This was the root of my noise. The brushes, tensioned by springs, on both sides of the armature help keep the armature centered. When one brush is partially dislodged, then the armature will rotate slightly off center, causing noise as it’s spindle rubs on the endcap. Both my brushes were serviceable, but since I had everything apart, I installed 2 new brushes anyway. They’re simply soldered to the end of the wires on each side of the armature.
If If you search for my tutorial on repairing the auxiliary electric waterpump, I’ve included pictures of the brush replacement in post#11. The procedure is exactly the same. https://www.jaguarforums.com/forum/x...ot-heat-84596/
You’ve now repaired the blower motor. It really isn’t difficult. I unscrewed a lot more than necessary when removing the blower because I couldn’t find a writeup anywhere on the net describing the process on the x300. Even with that, it still only took me 45 minutes to get the blower out. I assembled the complete unit prior to reinstalling, and it only took 10 minutes to get the blower back in, and another 10 minutes to button everything up. The worst part is laying contorted on your back in the footwell, but overall it’s a straightforward job easily accomplished by a novice.
A couple bucks for a pair of brushes is certainly better than hundreds on new blowers, and you should be good for another 150,000 miles.
I finally got around to replacing the brushes in the left side motor as well. Happy to report it's just as easy as the passenger side.
1. Remove the panel beneath the steering wheel. It's secured by 3 phillips screws.
2. Remove the footwell vents. It's secured to the bottom of the blower unit with a single 10mm nut.
The squarish box that the footwell vents were secured to is the blower unit.
3. Unplug the green multiplug secured to the bottom of the blower unit an remove it from it’s clasp. The blower flows towards the right side of the vehicle. If you follow the ducting from the blower towards the center console, you’ll notice 2 silver screws securing the blower to the ducting, one atop, and the other beneath – remove those.
4. The blower unit is secured by 2 10mm nuts & 2 10mm bolts. Both nuts are on the firewall and can be accessed with a 1/4" socket wrench with 8" extension.
5. The left bolt can be accessed without issue, but to access the right bolt, the 'tilt' motor must be removed. It's secured by 2 T-25 torx bolts. The motor simply slides off, allowing access to the right side bolt.
6. Simultaneously pull the blower unit towards the left and downward. It shouldn’t take much to free it. That’s it for the removal.
See above for brush inspection & replacement. One of my springs had gone missing. It's worth noting that the spring size is the same as a normal ball point pen.
I had a noisy motor on my RHD 1997MY car. This was the motor under the steering wheel.
These instructions were very helpful but I did have some differences.
The motor was fixed to the bulkhead in 3 places.
2 bolts at the top and one nut on the right hand side.
I didn�t need to remove the tilt motor, but got to the top bolts using a knuckle jointed socket.
I also needed to remove the bonnet opening lever to get extra cm�s to allow me to remove the motor.
The problem was foam getting stuck in the hamster wheel. This had come off a flap, but I didn�t replace this as it will only come unstuck again, and the air distribution was fine.
It was a bugger to get back in, but this was because of having to make sure a lot of cables were not getting caught.
Not hard, but as already said you need a good back to be playing in the footwell lol