When you click on links to various merchants on this site and make a purchase, this can result in this site earning a commission. Affiliate programs and affiliations include, but are not limited to, the eBay Partner Network.
what you have done looks amazing, hoping that when I get the chance to start mine it will start looking like yours.
With regards to the sub frame, have you got any hints for the removal of the sub frame? Did you do your own welding, i've never done it before, so would probably need to get someone in for mine.
I'm also quite the novice when it comes to cars, but love a project, the black stuff you have sprayed once you've removed the rust, what is it called?
Subframe is easy, unbolt the bits holding it up and let it drop (not litterally like I ended up doing lol.)
I'm a welder so it wasn't a big issue for me, although I still very reluctantly weld cars, horrible job.
Ive used coroless glass reinforced chassis paint after cleaning things up, good stuff... Paint only finish, I'm not going for any stonechip/underseal type product so I can see any issues before they become bad.
I have gone crazy with the bilt hamber clear wax all over though.
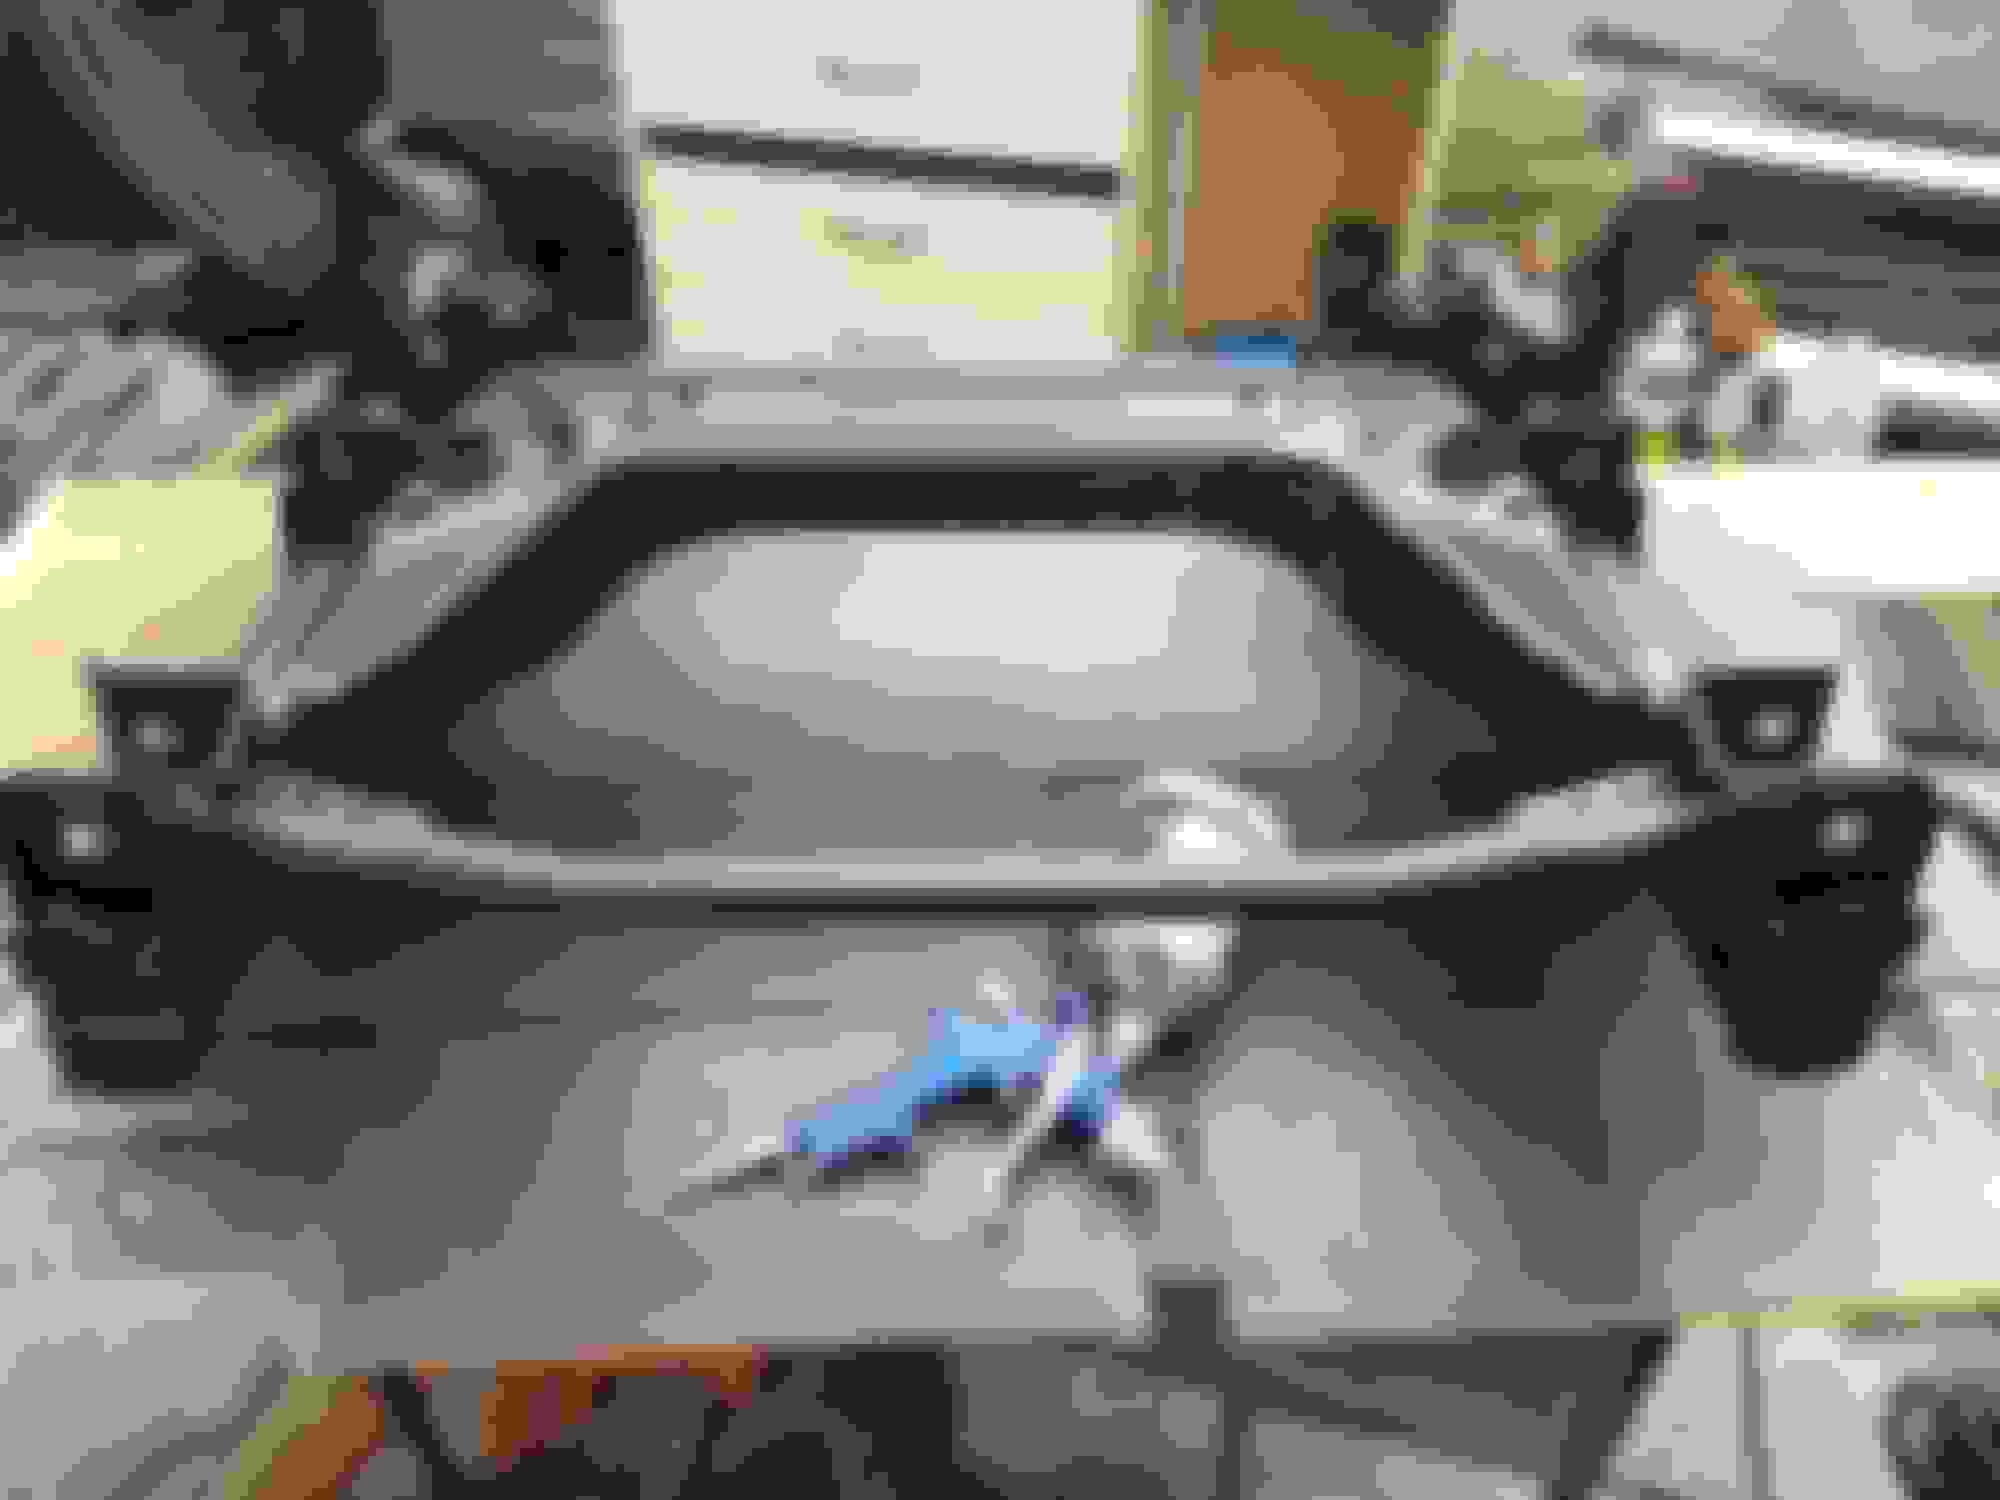
And here's a picture with the finished back end down to the gearbox cross member.
Still with the paint lol almost done though, anything that could go wrong did and I had to strip back bits to bare metal after odd things kept happening with the paint,just the roof left now.
I've made a start cleaning up the front end to paint as much as I can get to, pulled the radiators out because I had an AC leak there, I really should do the tensioners now but I really can't be bothered to take apart the engine, Im thinking to just pay to have it done once its back together.
Other than the tensioners, what would be a good idea to change while I've got nice access here?
I would heavily reconsider those tensioners. You have direct access, without bending over into the bay to get to the crank bolt and removal of the balancer. Thus you have direct access to doing the timing cover and water pump. What would be a roughly 12-14 hr job without the front end off, is pretty much a 8-9 (possibly less) with that kind of access.
You can also do the (2) water lines going under the SC and this is a personal choice by you...upgrade the SC electric water pump to the Merc higher flow Bosch 0 392 022 010 (Mercedes W203 W215 W230). Maybe the sway bar bushings, check the pulley bearings. The can be driven out and replaced for less than half the cost of a full pulley buy.
I mean its all open and all right there for the upgrading...., it doesn't get any better than that.
Last edited by Highhorse; Jul 1, 2020 at 07:26 PM.
I would heavily reconsider those tensioners. You have direct access, without bending over into the bay to get to the crank bolt and removal of the balancer. Thus you have direct access to doing the timing cover and water pump. What would be a roughly 12-14 hr job without the front end off, is pretty much a 8-9 (possibly less) with that kind of access.
You can also do the (2) water lines going under the SC and this is a personal choice by you...upgrade the SC electric water pump to the Merc higher flow Bosch 0 392 022 010 (Mercedes W203 W215 W230). Maybe the sway bar bushings, check the pulley bearings. The can be driven out and replaced for less than half the cost of a full pulley buy.
I mean its all open and all right there for the upgrading...., it doesn't get any better than that.
Must admit, I've not worked on anything more complex than a 4cyl land rover engine so I'm abit concerned about screwing something up on the timing lol.
I'll have a think though, won't be going back together in a rush.
Ive already done the hoses under the supercharger, what a pain of a job that was.
Once the top side is done and tidied, it'll be getting jacked up and replacing every bushing ect underneath.
Trying not to get too carried away with the 'while I'm here' part swapping now I lost my job in this whole thing luckily I had already purchased all the rear subframe parts beforehand.
Oh man dude, sorry to hear that, ...I hope your out lining up something? I know its hard with this virus crap now. My contracting is at a trickle.
Look in the How To section, Its in my signature, and look for Tensioners by blackonyx. Its an older thread, but a very good and detailed disassembly and reassembly. With your skill, you'll have no issues I believe, ..and you'll see what I'm saying regarding accesses.
Still on the hunt for a job, seems like places are opening up again so I shouldn't be out of work too much longer.
Decided against doing the tensioners myself, about �1000 for a garage to do it so not too bad.
Dropped the front subframe, stripped it all to peices, ball joints out, painted everything up, should pop the bushes out and my freinds house later today but all going well.
Gave the underneath a bloody good pressure wash, going to get the chassis rails painted and bolt the crossbeam back on, I think it'll be easier that way then bolt all the bits on to that on situ.
Dang, I was hoping you'd do the tensioners...I was looking forward to a highly polished chain cover and engine spray upon reinstall. You've done such a good job on all the other parts.
Not knowing how brittle that is, its possible to die grind out that piece and replace it with a descent welded one? Heck, you did similar on the doors. That would probably cover it from the normal looker...especially with your paint ability.
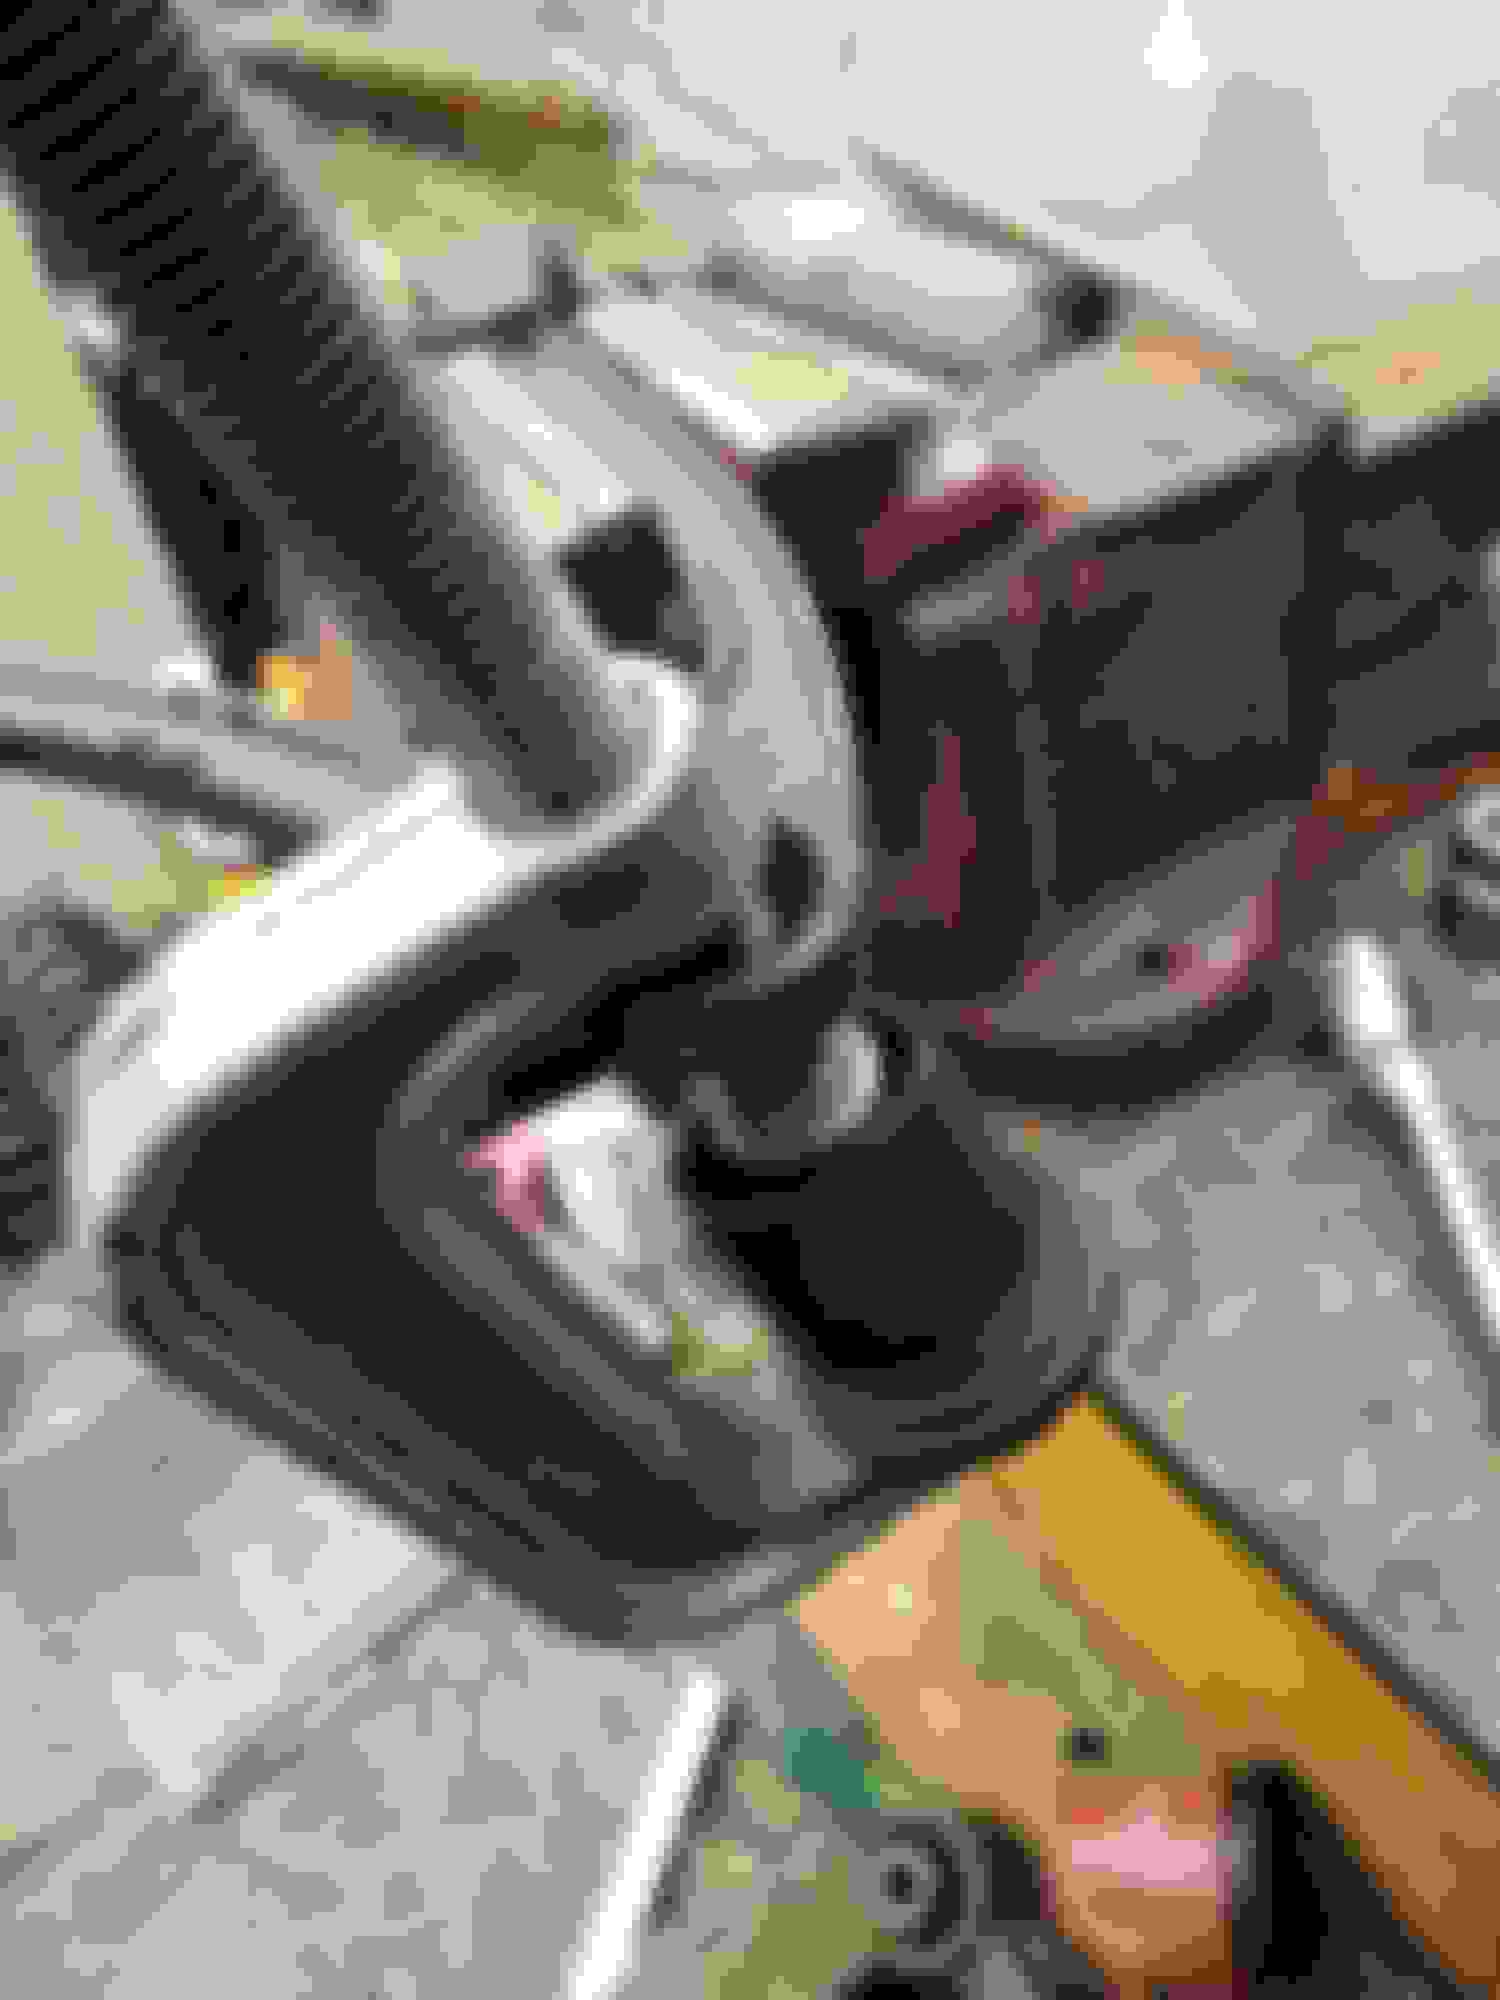
I'll have to replace the entire section, too far gone, as its a chassis rail got to be done as close to factory as I can.
I can't really see where the spot welds on the outer skin are through the rust, I'll guess where to drill then chisel that off, cut out the majority of the inner skin, with the heatsheild bent out the way I can just about fit my air cut off tool in, drill a series of holes to make my verticle cut and finish it off with a die grinder, should give me a perfect hole to patch up.
The welding is the easy part tbh, I just hate using angle grinders in tight spaces, I'll take my time though,all in the prep with these things.
You may want to reconsider the timing chains, you could save tons and as you already have the front end removed you have easier access. All you would need is a Jaguar/Land Rover crankshaft pulley removal kit and a camshaft/crankshaft locking kit, buy or rent. There are other ways to get it done but these tools made it a much smoother process, imo. With all you've already done bet you have more experience than most working with cars.
You may want to reconsider the timing chains, you could save tons and as you already have the front end removed you have easier access. All you would need is a Jaguar/Land Rover crankshaft pulley removal kit and a camshaft/crankshaft locking kit, buy or rent. There are other ways to get it done but these tools made it a much smoother process, imo. With all you've already done bet you have more experience than most working with cars.
My mate said he'd do it all for �200 so not worth me bothering myself tbh, I'll watch and give him a hand though so I'll still learn and know if I ever have to do it again.
Few updat pics.
Underbody and arches cleaned and painted
Brakes rebuilt, will have new hard line and flex when I put it all together.
Steering outer and inner tie rod
Bit of welding to the arches
All subframe parts rebuilt with new ball joints, bushes ect
Vee mount and big rear bushes
Wheel bearings
Just waiting on some new springs and a few other little bits and it can go back together,
Just the big welding job on the footwells and sills left then