When you click on links to various merchants on this site and make a purchase, this can result in this site earning a commission. Affiliate programs and affiliations include, but are not limited to, the eBay Partner Network.
Started off with a cheap running xjr with some damage to the rear after the PO reversed into a post, found a load off filler and rust from a previous repair so all chopped out and a donor cut sourced.
welded this in and a light skim of filler to blend, good as new.
Then attempted abit of a bodged paint job just to get me by while I used the car as my daily for a bit, it's awful, I'll do better on the second attempt.
Decided to go ahead and take it off the road to refurbish the underside.
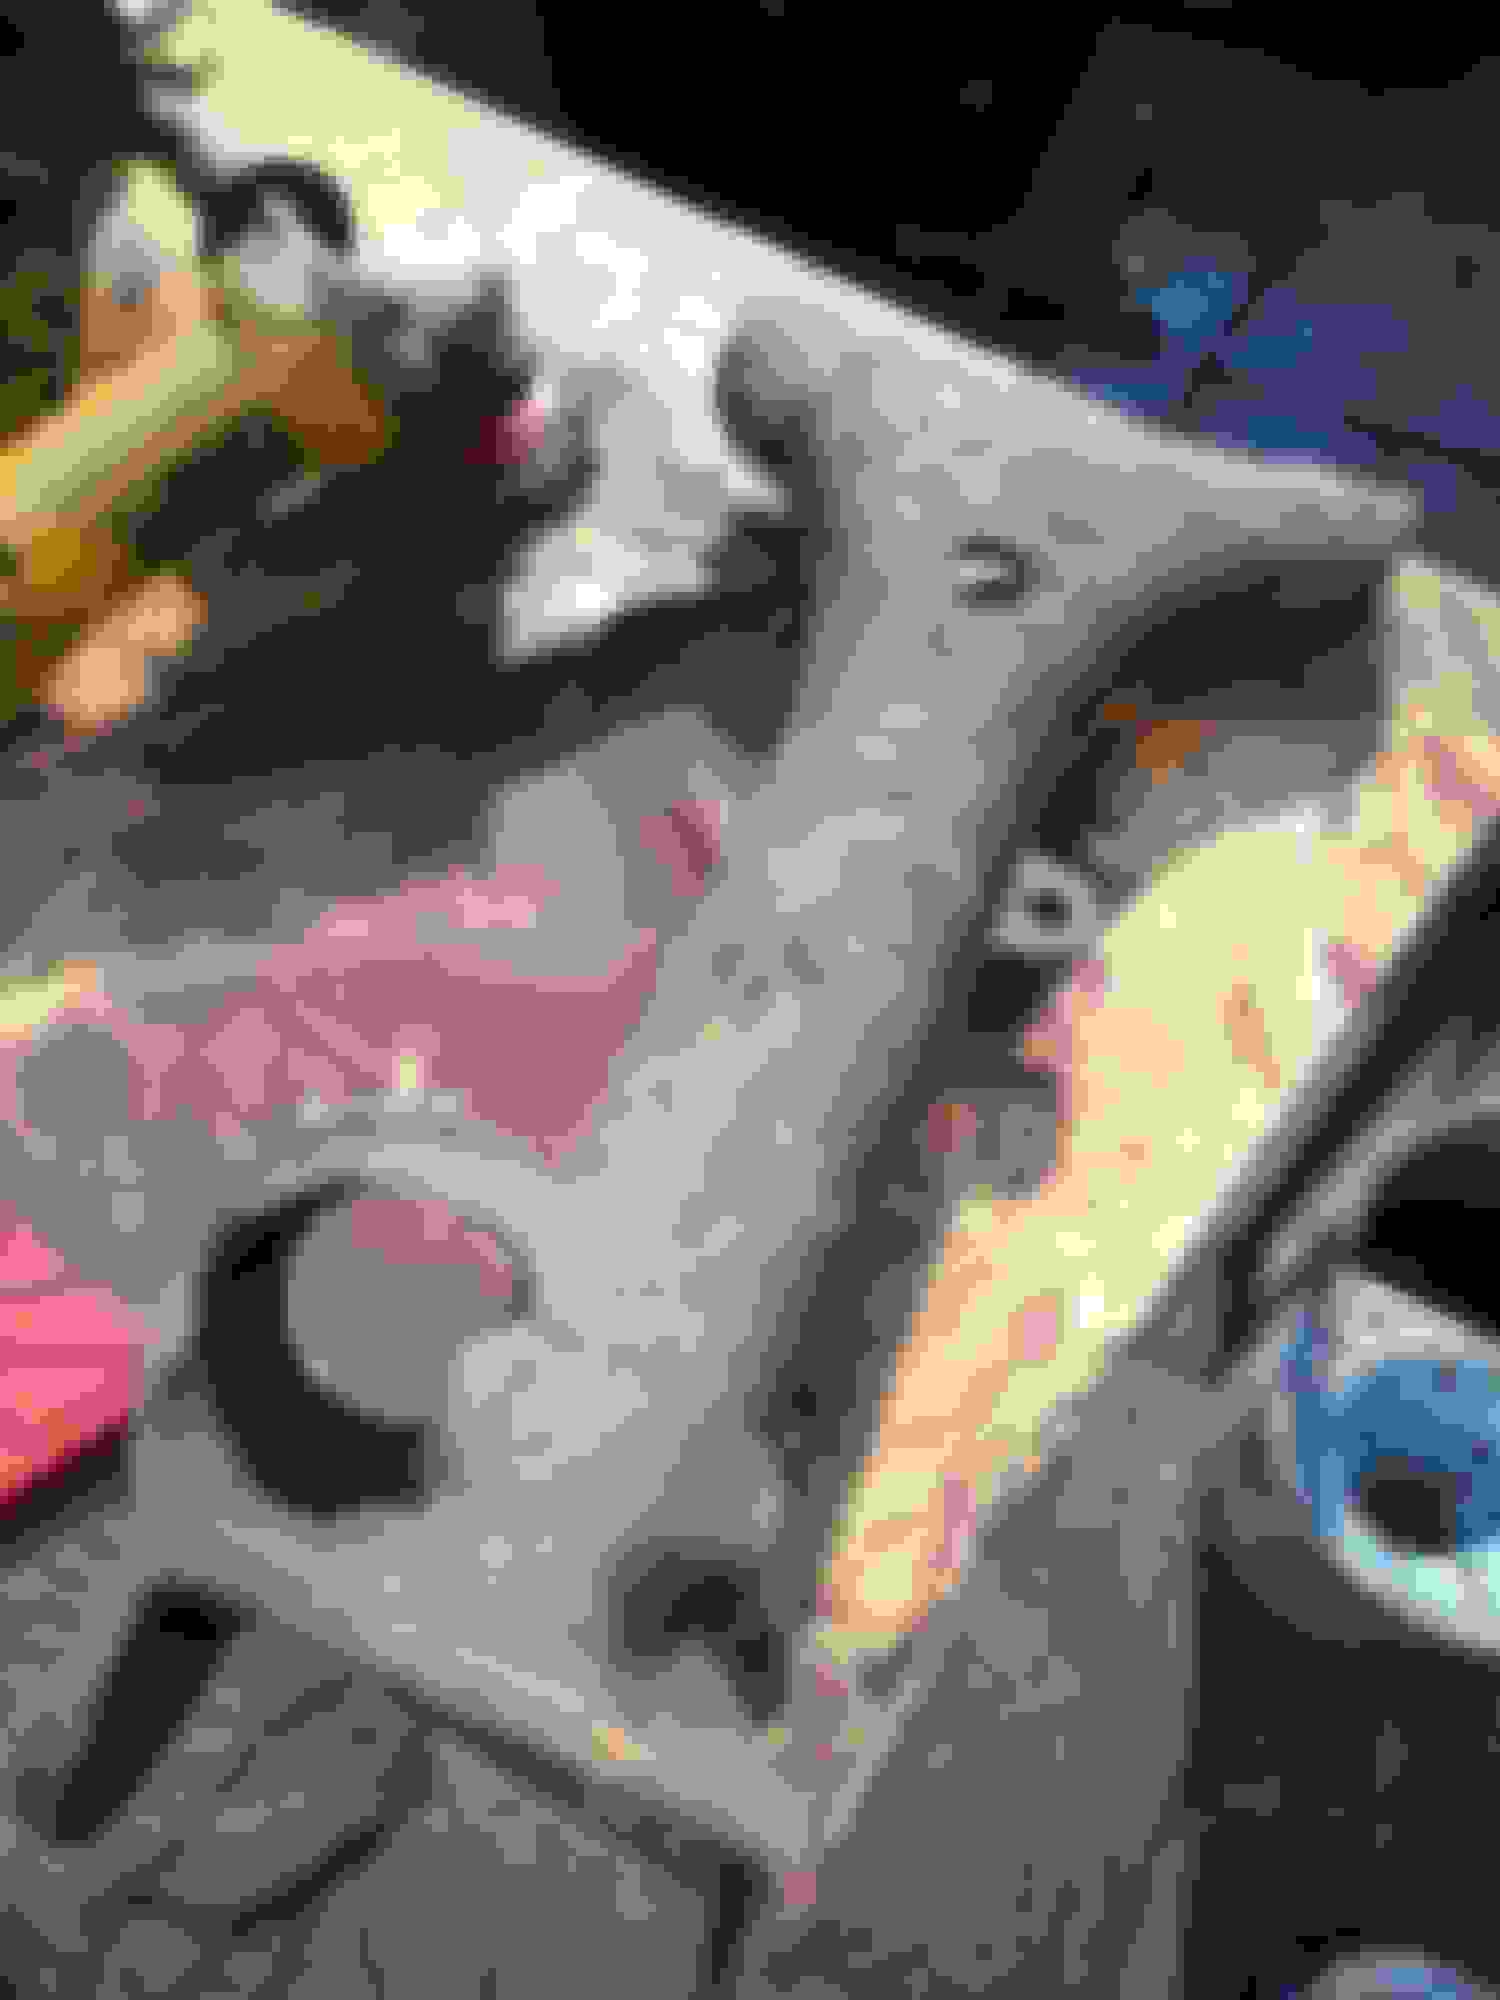
Dropped the subframe and found a nasty section on the a frame, the rest was good due to the diff leak so I opted to weld a repair peice in.
Then I cleaned up everything good enough for the rust inhibitor chassis paint from corroless, brilliant stuff.
Dries a nice Matt finish and is made to be used on rusty steel.
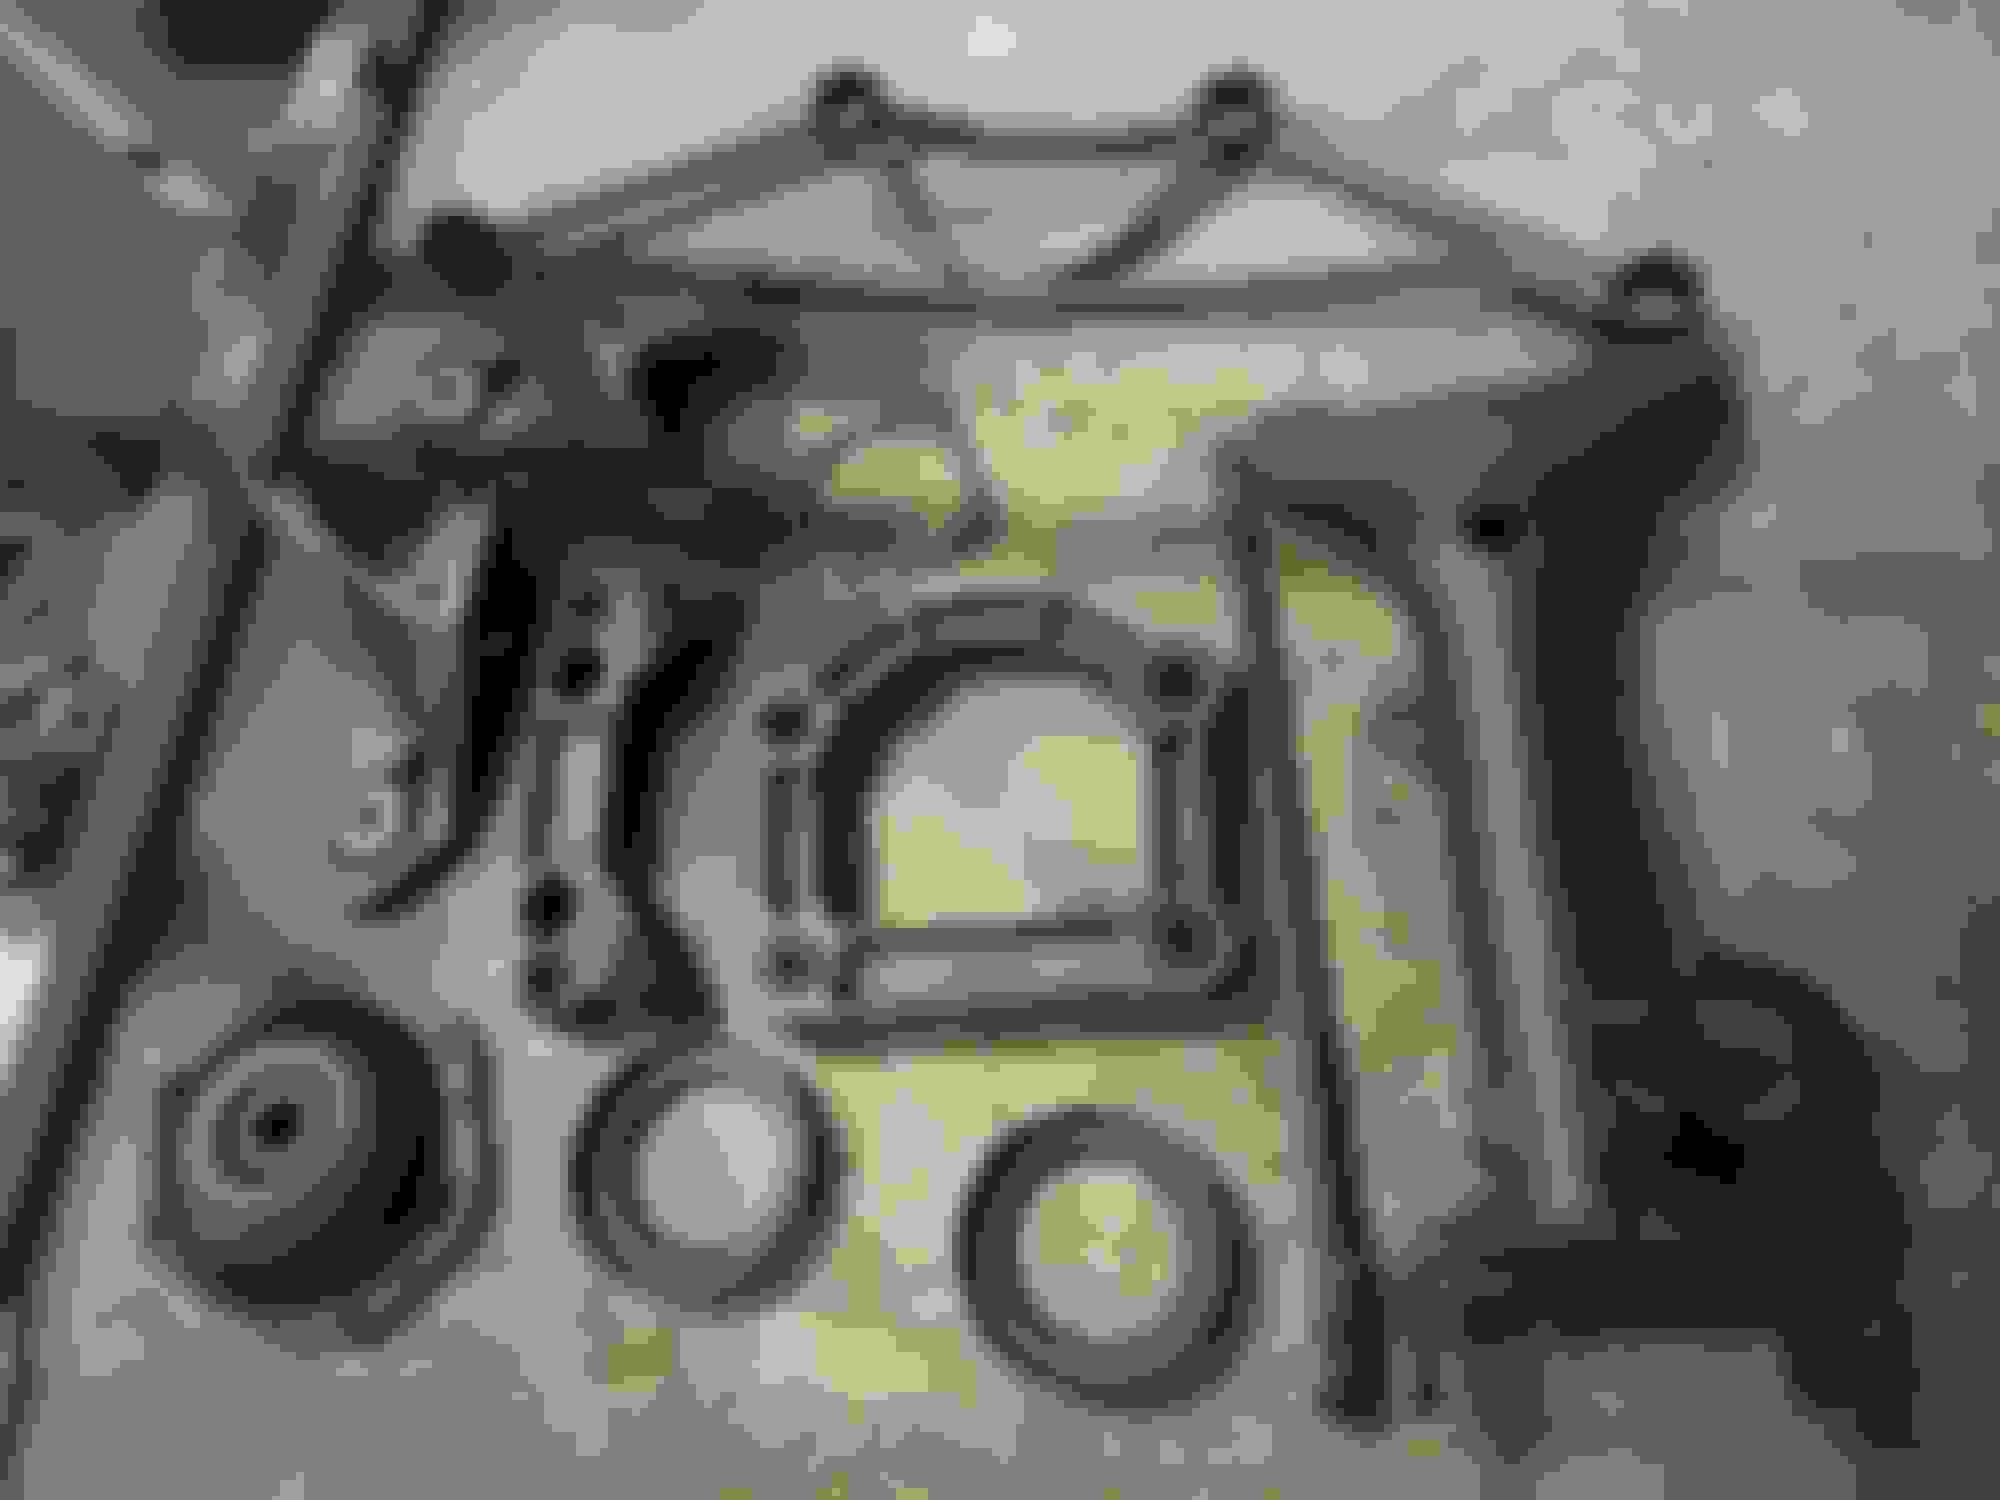
Gave everything a good few coats.
I have every bushing and bearing to go in, but I'll do that at my freinds shop with his press.
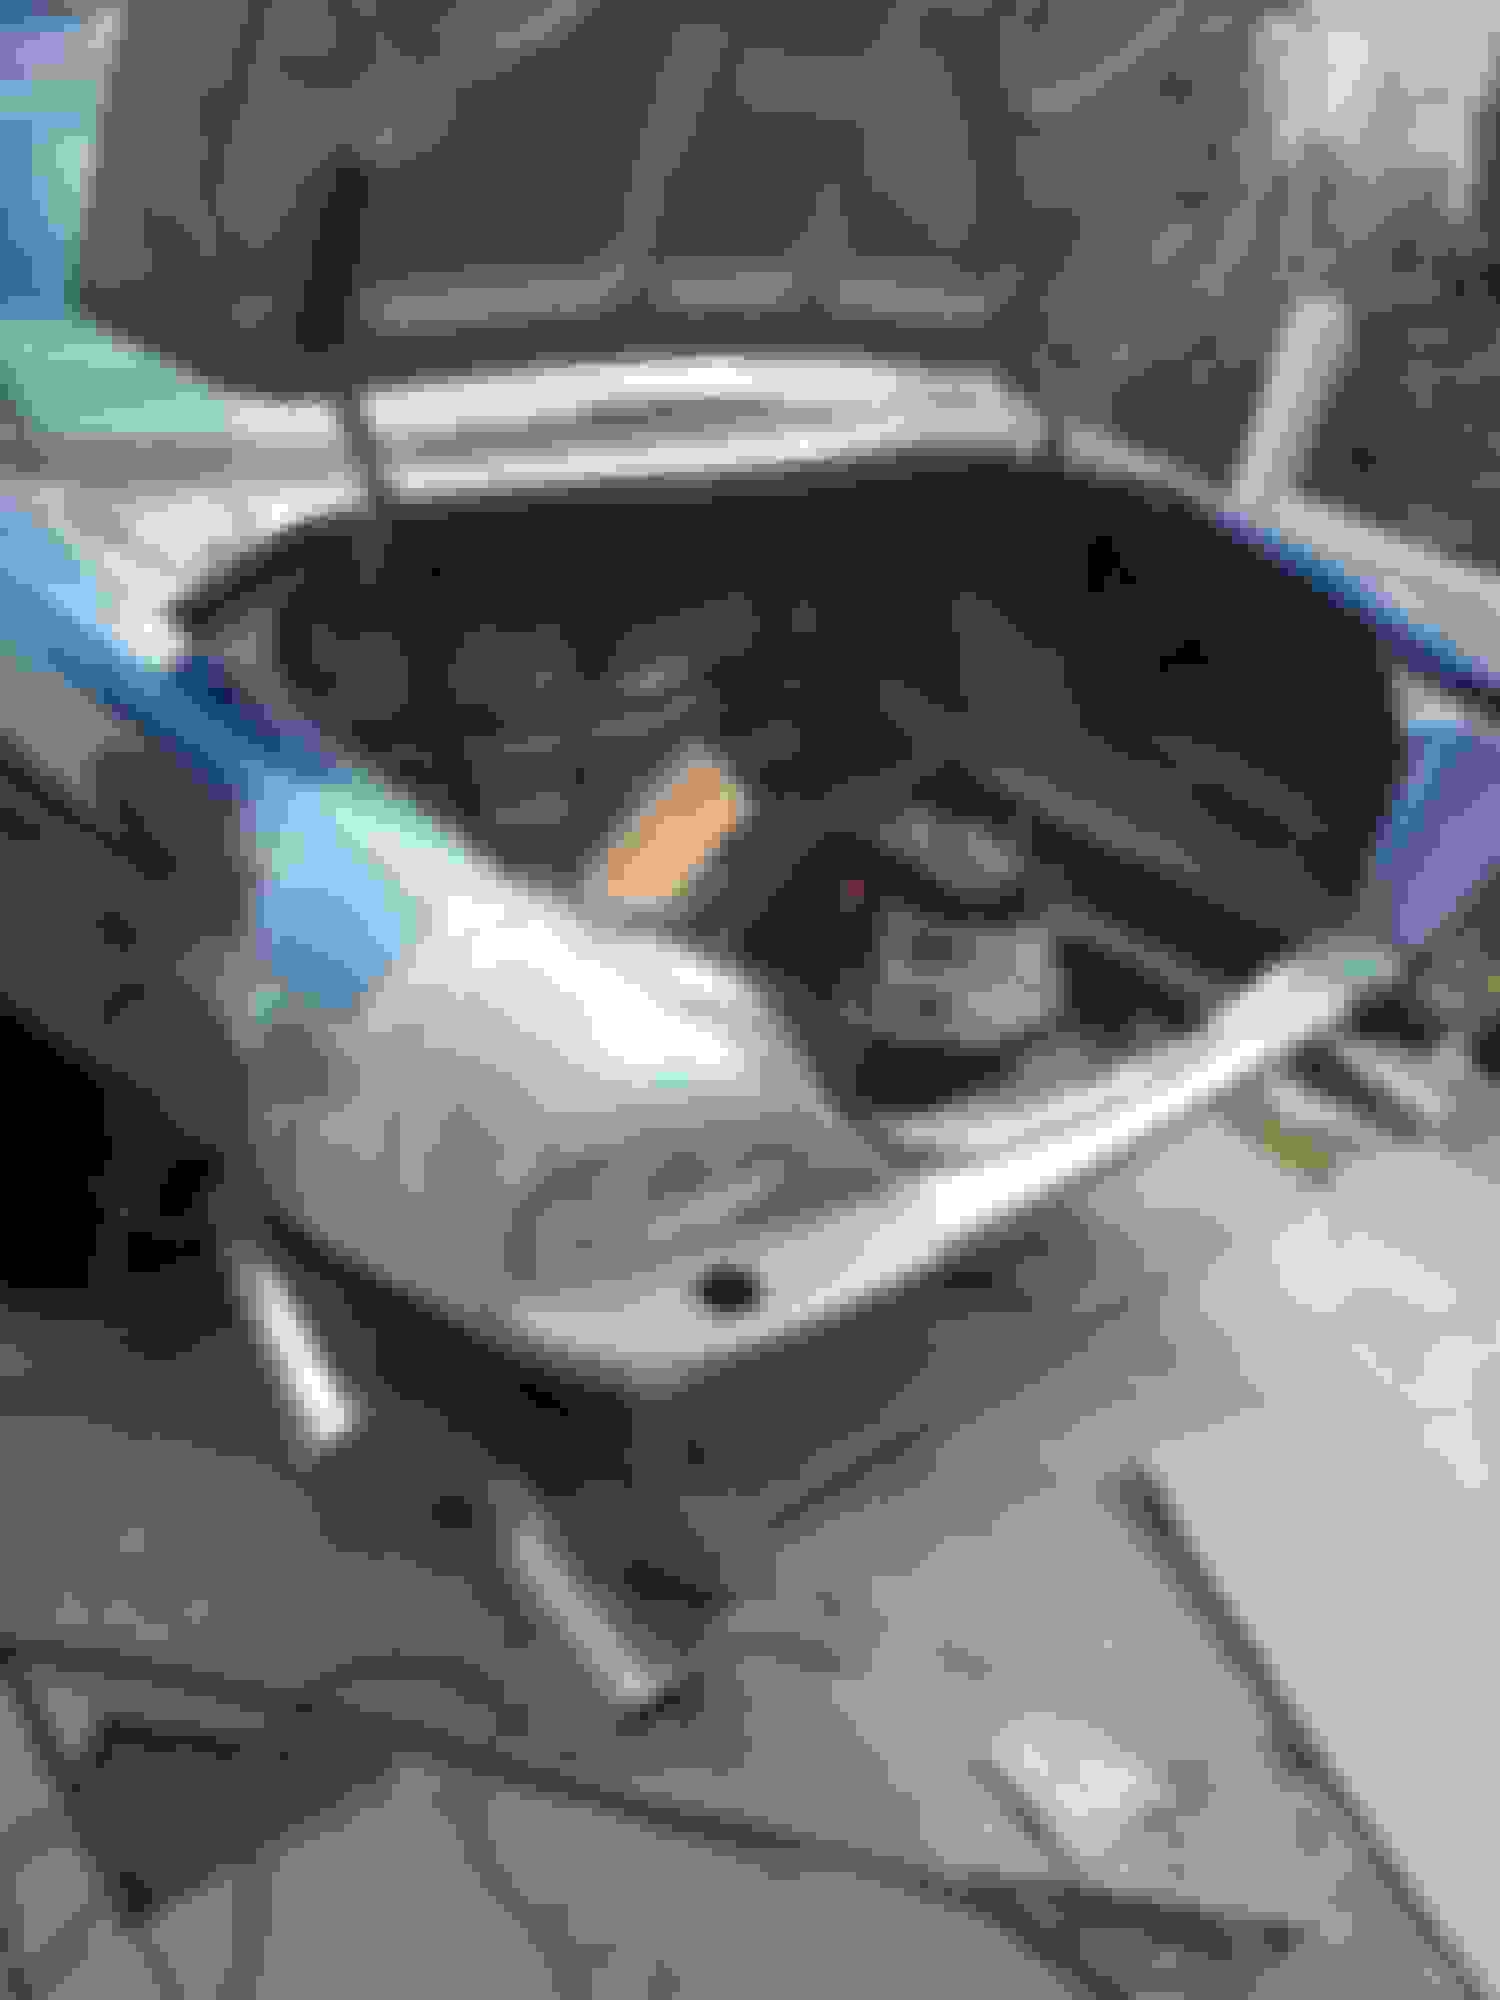
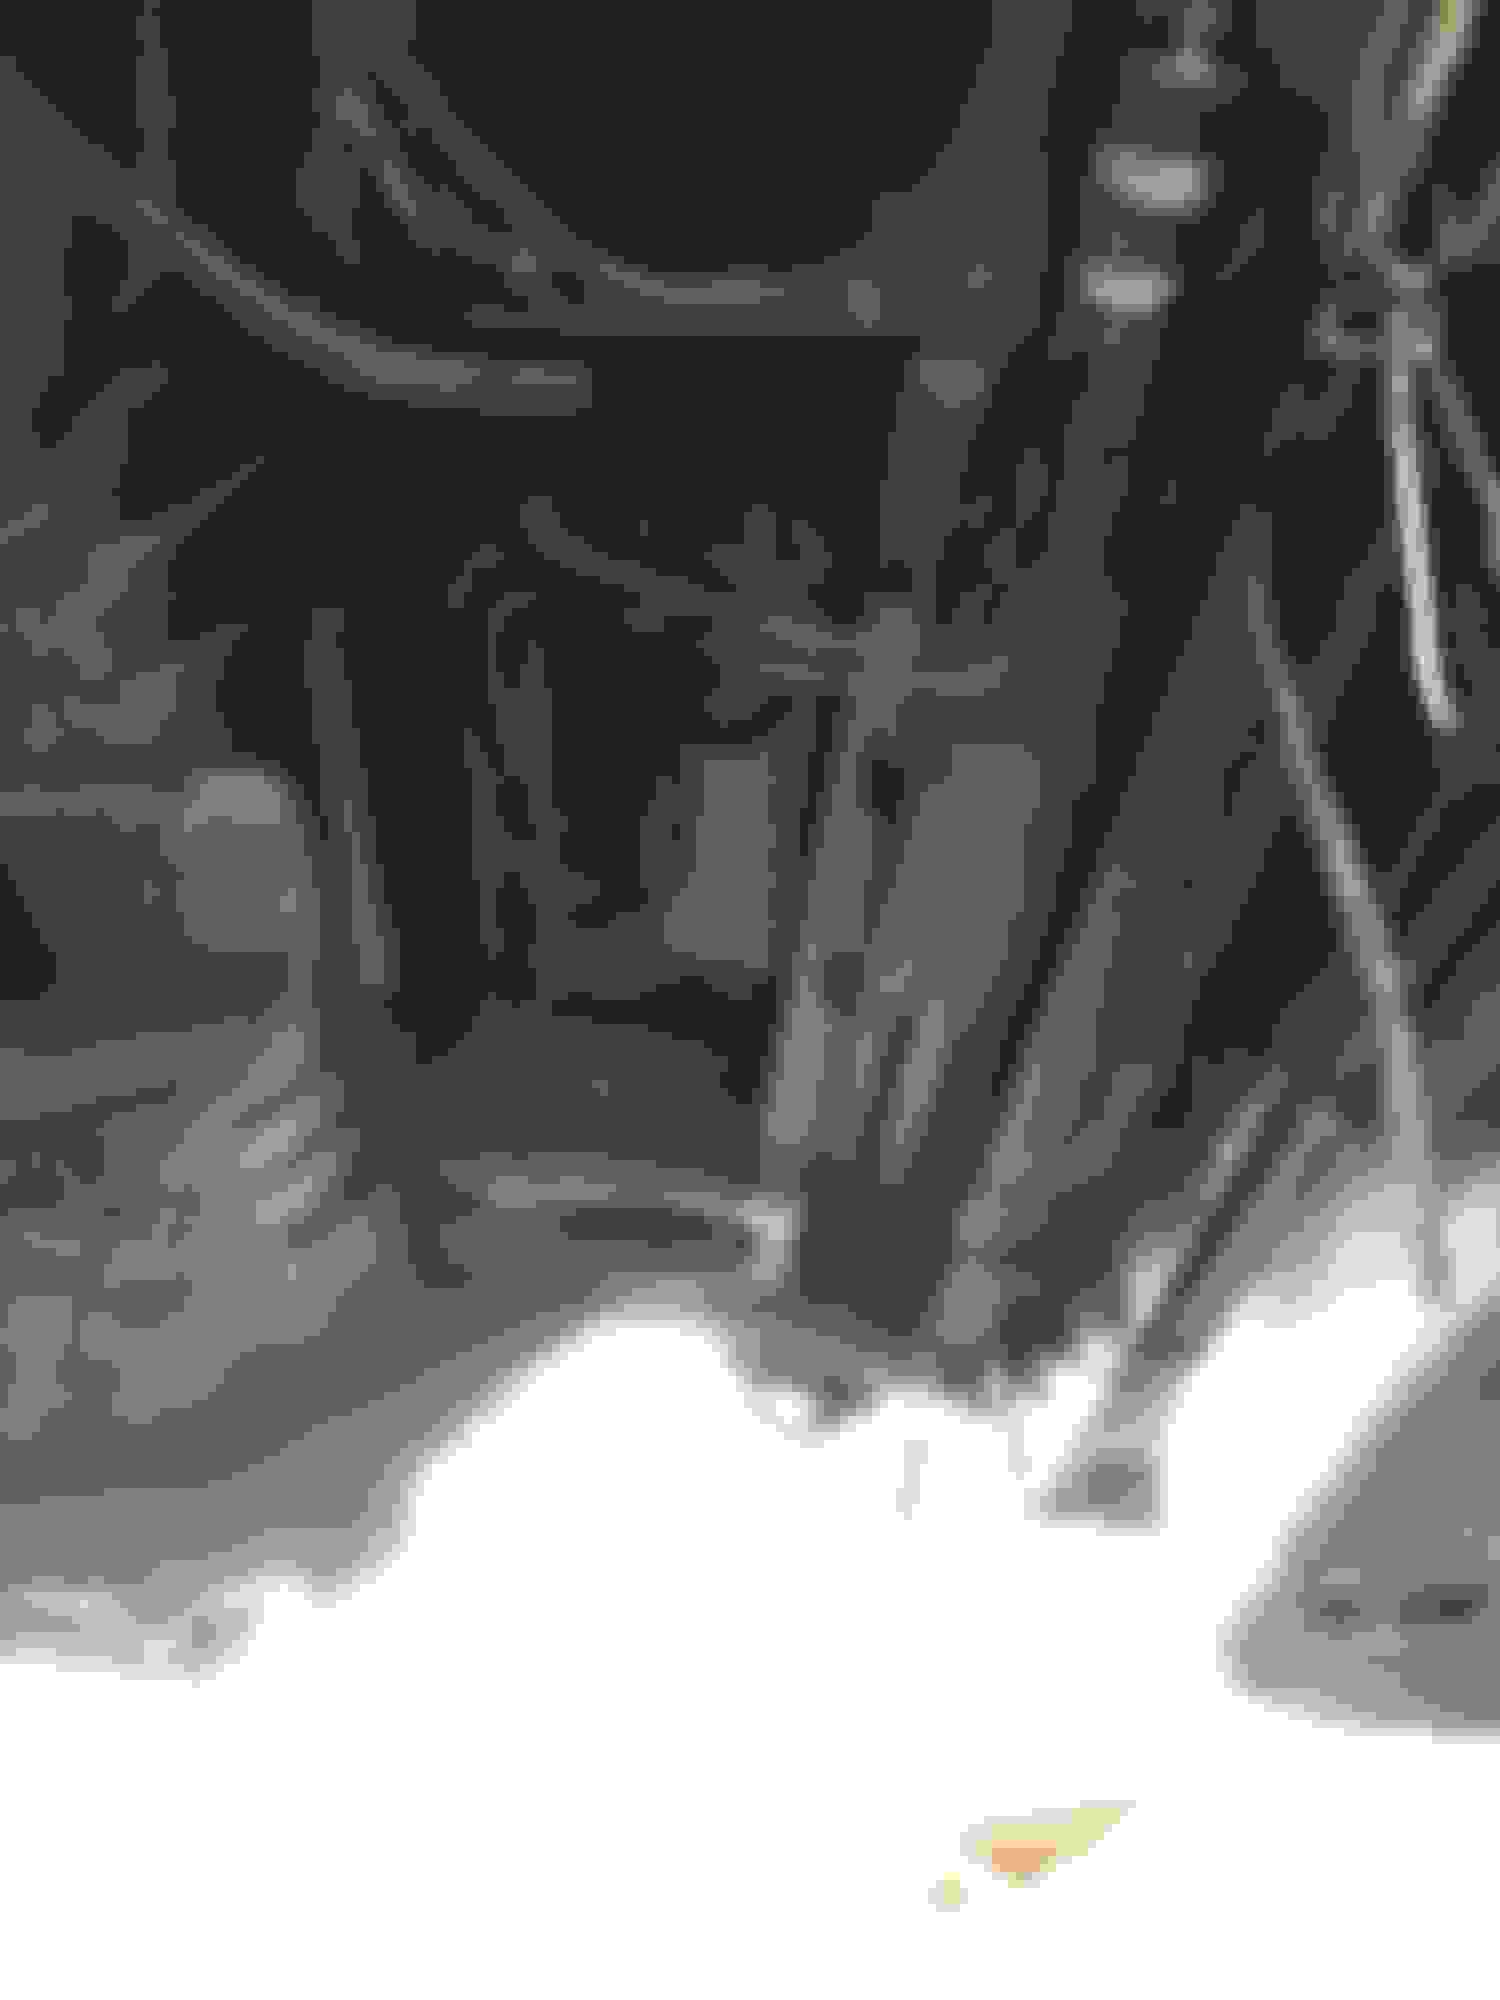
Next job is to clean the underside,
It looks worse in the photo but certainly not pretty under here, barely any protection.
This will all get a few coats of the same chassis paint once properly prepared.
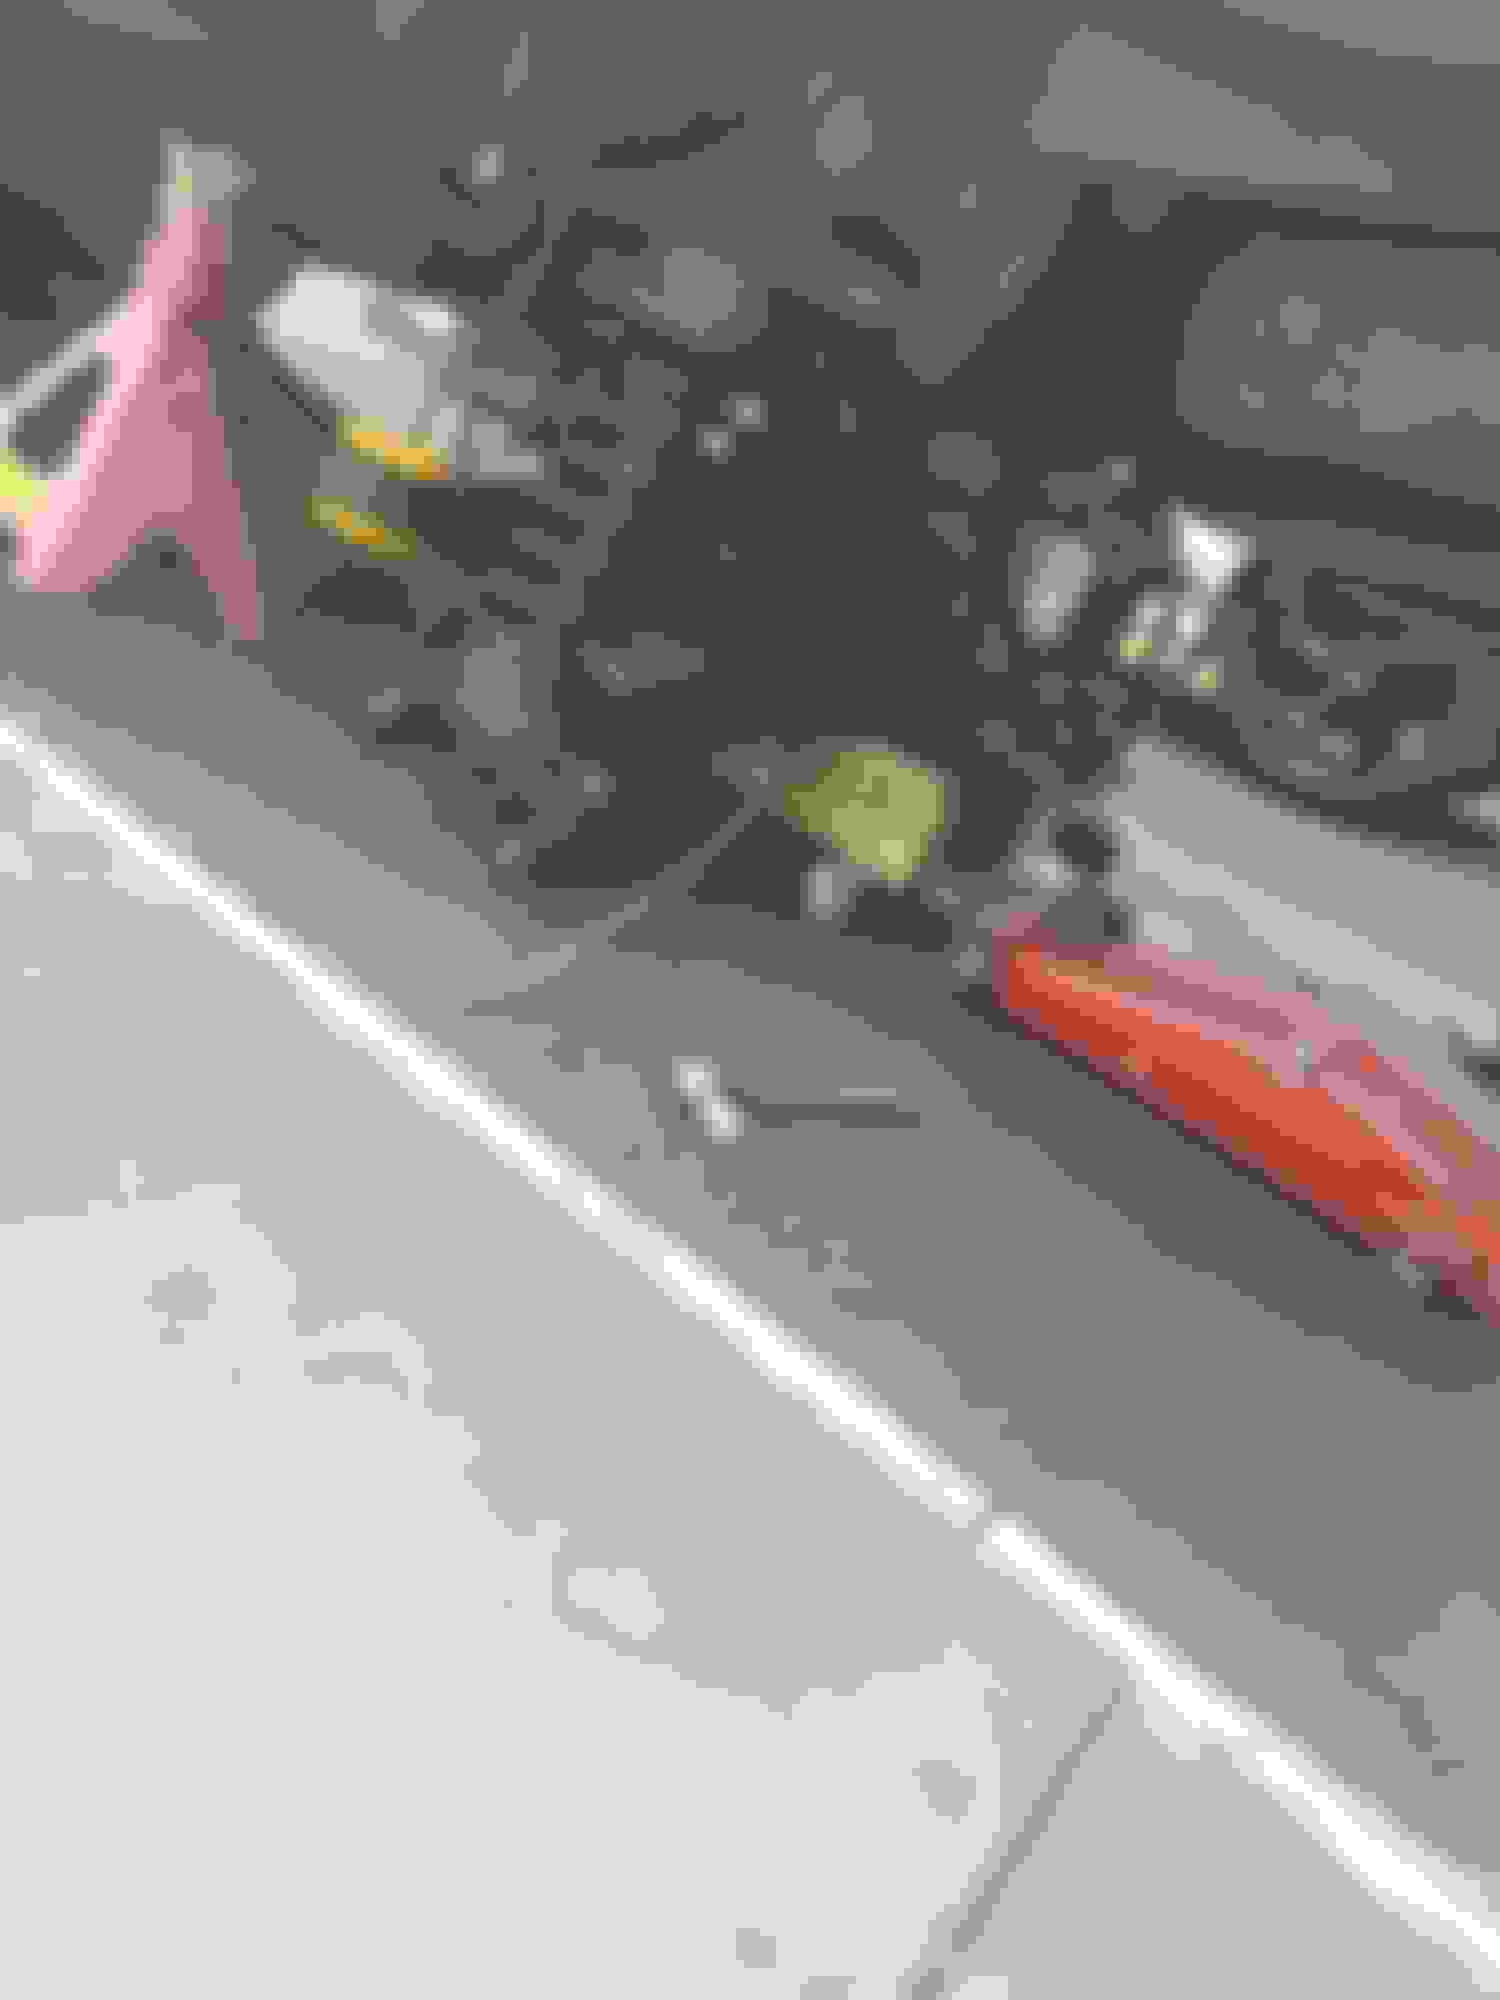
Managed a few hours today before it started raining again, I don't think we've had a dry day for a few weeks now!
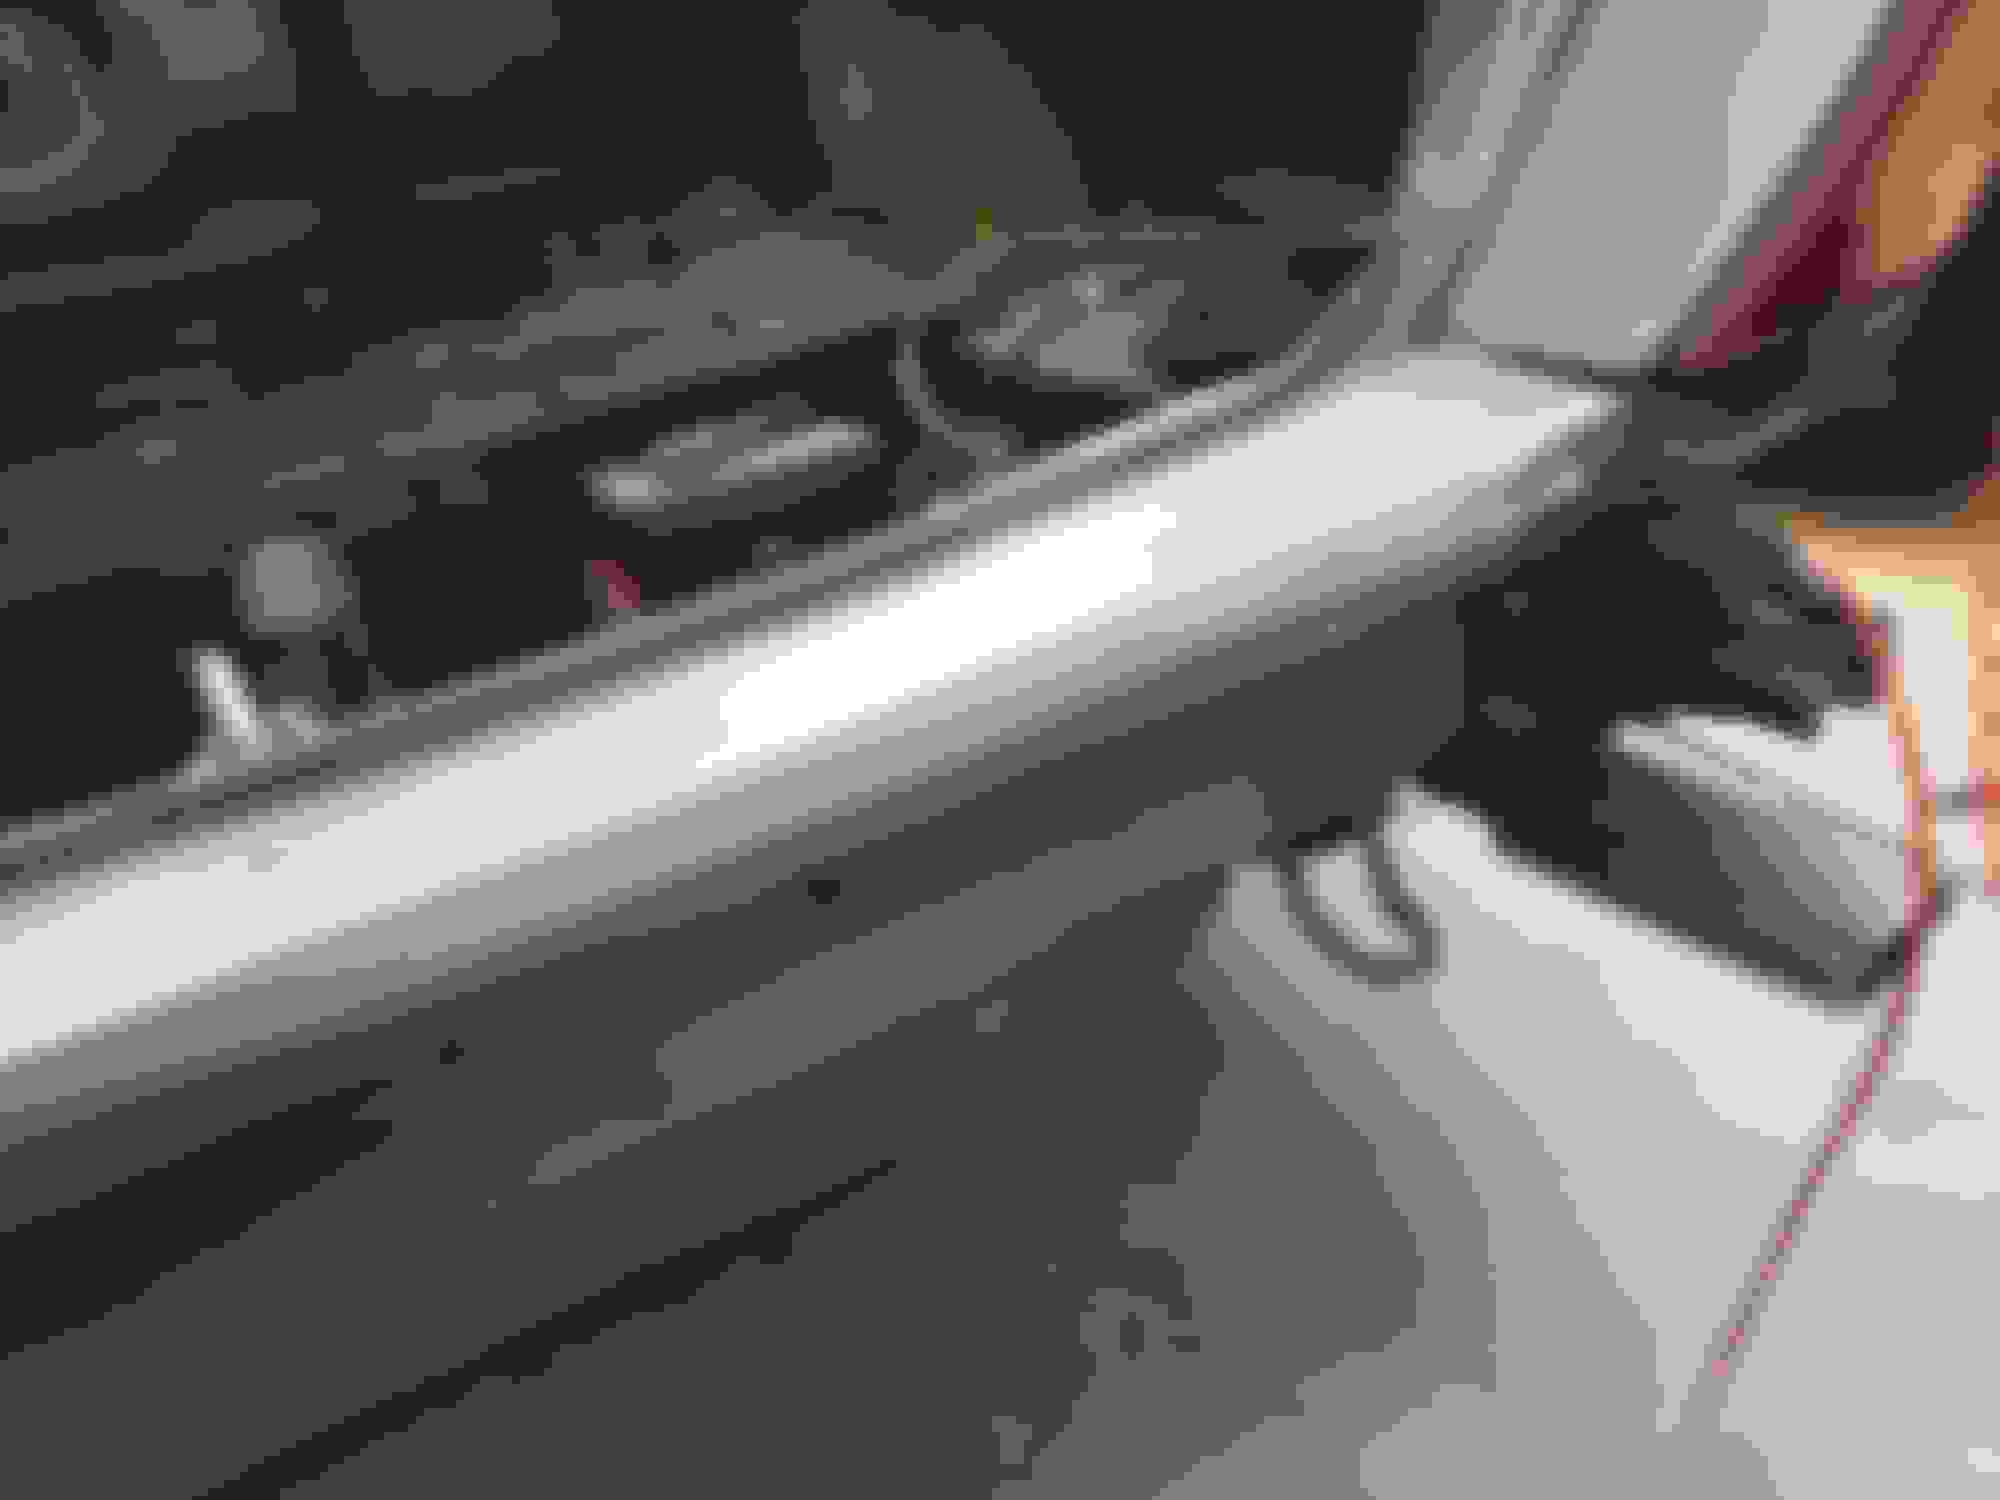
Not a nice job chiseling away old rubbery undercoating, heat gun+wood chisel +a lot of patience
All the bushings in the rear subframe have been replaced, other than one of the genuine pendulum bushes, it slides in and out of the hole, jaguar quality ay.
I'm going to guess your in the UK....with a yellow rear tag and white front? I have to ask, what do they put on the roads there for the winter to cause such corrosion?
Just an FYI, your fuel pumps are not too much easier to get to, but you can release the lines much easier to get the tank out. That is a heck of a project and I concur with CK's praising statement. I've found a healthy pressure washer can blast off that undercoating...water is a powerful tool.
Plenty of salt, but I assume the colder states are the same?
Once I've done propperly painting and protecting it all, I'll be getting krown protected every other year, won't be rusting again on my watch, but that's mainly because it's impossible for me to get to everything without properly stripping the entire car.
The fuel pumps are straight forward enough with no access issue to the pipes, not sure id even try with the subframe in place.
I'll have a look at the prop, was good when I was driving though so maybe a if it's not broke situation lol
Sprayed a lot of cavity wax into the chassis rails and the rear 'crossmember',
Just carrying on with the undercoating removal and im now fairly certain its first accident when it was only a few years old was quite a big one, the entire boot floor section seems to have been replaced, they did a much better job with the protection than jaguar did though, all good as new underneath it.
I've finally managed to get abit of time on this,
Changed both fuel pumps, they had both died while it's been sat.. Fired right into life once done, the V8 certainly sounds good with no back portion of the exhaust haha, everything down to the driveshaft center bearing has been cleaned and painted, anything I couldn't get to with a brush has been caked in cavity wax.
Subframe is now back together with all new bushes in everything (still need to rebuild the half shafts and hubs) it's time to go back in, fought with it for an hour yesterday and gave up, definitely not an easy thing to get everything lined up on your own! If anyone has any tips they would be most appreciated lol.
Looking great owas, wish I had some tips for you, but I think have a good handle on it. I like the urethane bushings as well, hopefully they don't start squeaking in a couple years.
Looking great owas, wish I had some tips for you, but I think have a good handle on it. I like the urethane bushings as well, hopefully they don't start squeaking in a couple years.
I had them already so I thought I'd give them a chance, plenly of grease applied so hopefully squeaking shouldn't be issue
what you have done looks amazing, hoping that when I get the chance to start mine it will start looking like yours.
With regards to the sub frame, have you got any hints for the removal of the sub frame? Did you do your own welding, i've never done it before, so would probably need to get someone in for mine.
I'm also quite the novice when it comes to cars, but love a project, the black stuff you have sprayed once you've removed the rust, what is it called?
Subframe is now back together with all new bushes in everything (still need to rebuild the half shafts and hubs) it's time to go back in, fought with it for an hour yesterday and gave up, definitely not an easy thing to get everything lined up on your own! If anyone has any tips they would be most appreciated lol.
Hi owas,
You're doing great work and we're all very grateful that you're taking the time to take photos and share your journey with us.
One tip for reinstalling the independent rear suspension by yourself is to take the damper/spring assemblies off and install them after you get the rest of the IRS in position and fasteners loosely installed. This considerably reduces the weight and bulk you have to deal with and makes it easier to get the other mounting points lined up without fighting the dampers/springs. It's relatively easy to get the dampers lined up and installed one at a time after the diff/subframe is in place. Also, leave the lower fasteners on the diagonal braces loose to make it easier to get the top ends lined up and fastened.