When you click on links to various merchants on this site and make a purchase, this can result in this site earning a commission. Affiliate programs and affiliations include, but are not limited to, the eBay Partner Network.
So I'm looking over the parts I've ordered and it does not look like the timing cover gasket I bought includes the crankshaft seal or harmonic balancer o-ring as I first thought. I've found this: part no XR81139 which I think is the o ring, can anyone please confirm. I'm struggling to find a part no for the crankshaft seal however. Does it go by any other name?
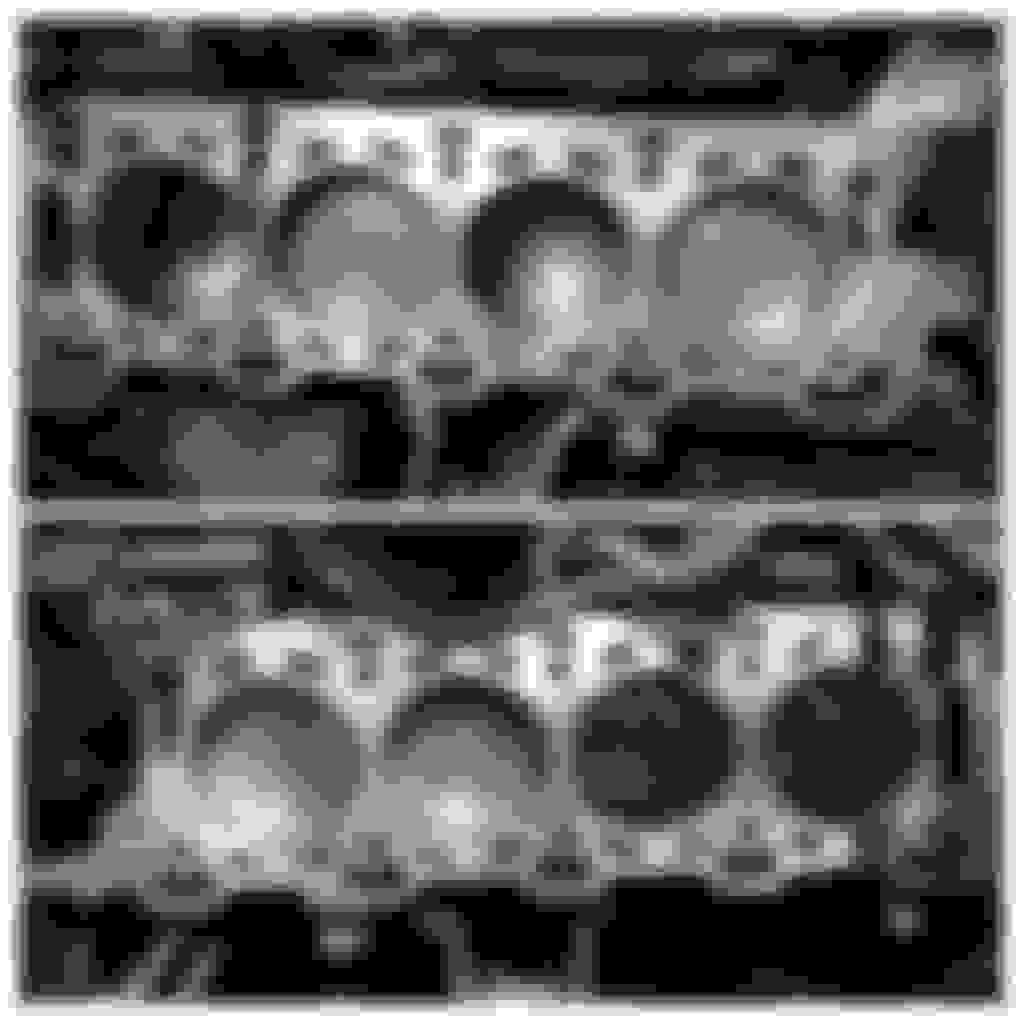
Just an update on my progress, currently I'm working on scrubbing off the carbon build up on the top of the pistons. Its slow going but I'm chipping away at it with scrubbing pads, a plastic razor and spray on gasket remover. At the rate I'm going its going to take awhile but I hope to have it done today and begin putting on the heads today or tomorrow.
Last edited by OUScooby; Nov 27, 2018 at 01:38 PM.
A couple of important points: clean/degrease the block and the head surfaces thoroughly (I use Zippo lighter fluid to degrease as it leaves no residue) and use new head bolts.
A couple of important points: clean/degrease the block and the head surfaces thoroughly (I use Zippo lighter fluid to degrease as it leaves no residue) and use new head bolts.
I was planning on using brake cleaner. And yes I've got new head bolts.
I think I've got everything ready to go! It took quite a bit longer than I expected but I finally got all the carbon off the pistons. Took quite a bit of scrubbing and scrapping an there was two or three really stubborn patches of build up that just wouldn't come up. But I've finally got it cleaned up then cleaned off the pistons and deck first with WD-40 then multiple passes of brake cleaner. I'm going to wait until tomorrow to install the heads to give time for any solvents that went down the oil and coolant passages time to evaporate, but I'll soon be putting this cat back together!
If you have it available, use compressed air to clean any debris that may have collected between the edge of the piston crowns and the top piston ring prior to putting the head(s) back on.
If you have it available, use compressed air to clean any debris that may have collected between the edge of the piston crowns and the top piston ring prior to putting the head(s) back on.
+1. I like to put a thin film of oil on the cylinder walls to help to with lubrication and compression on start up.
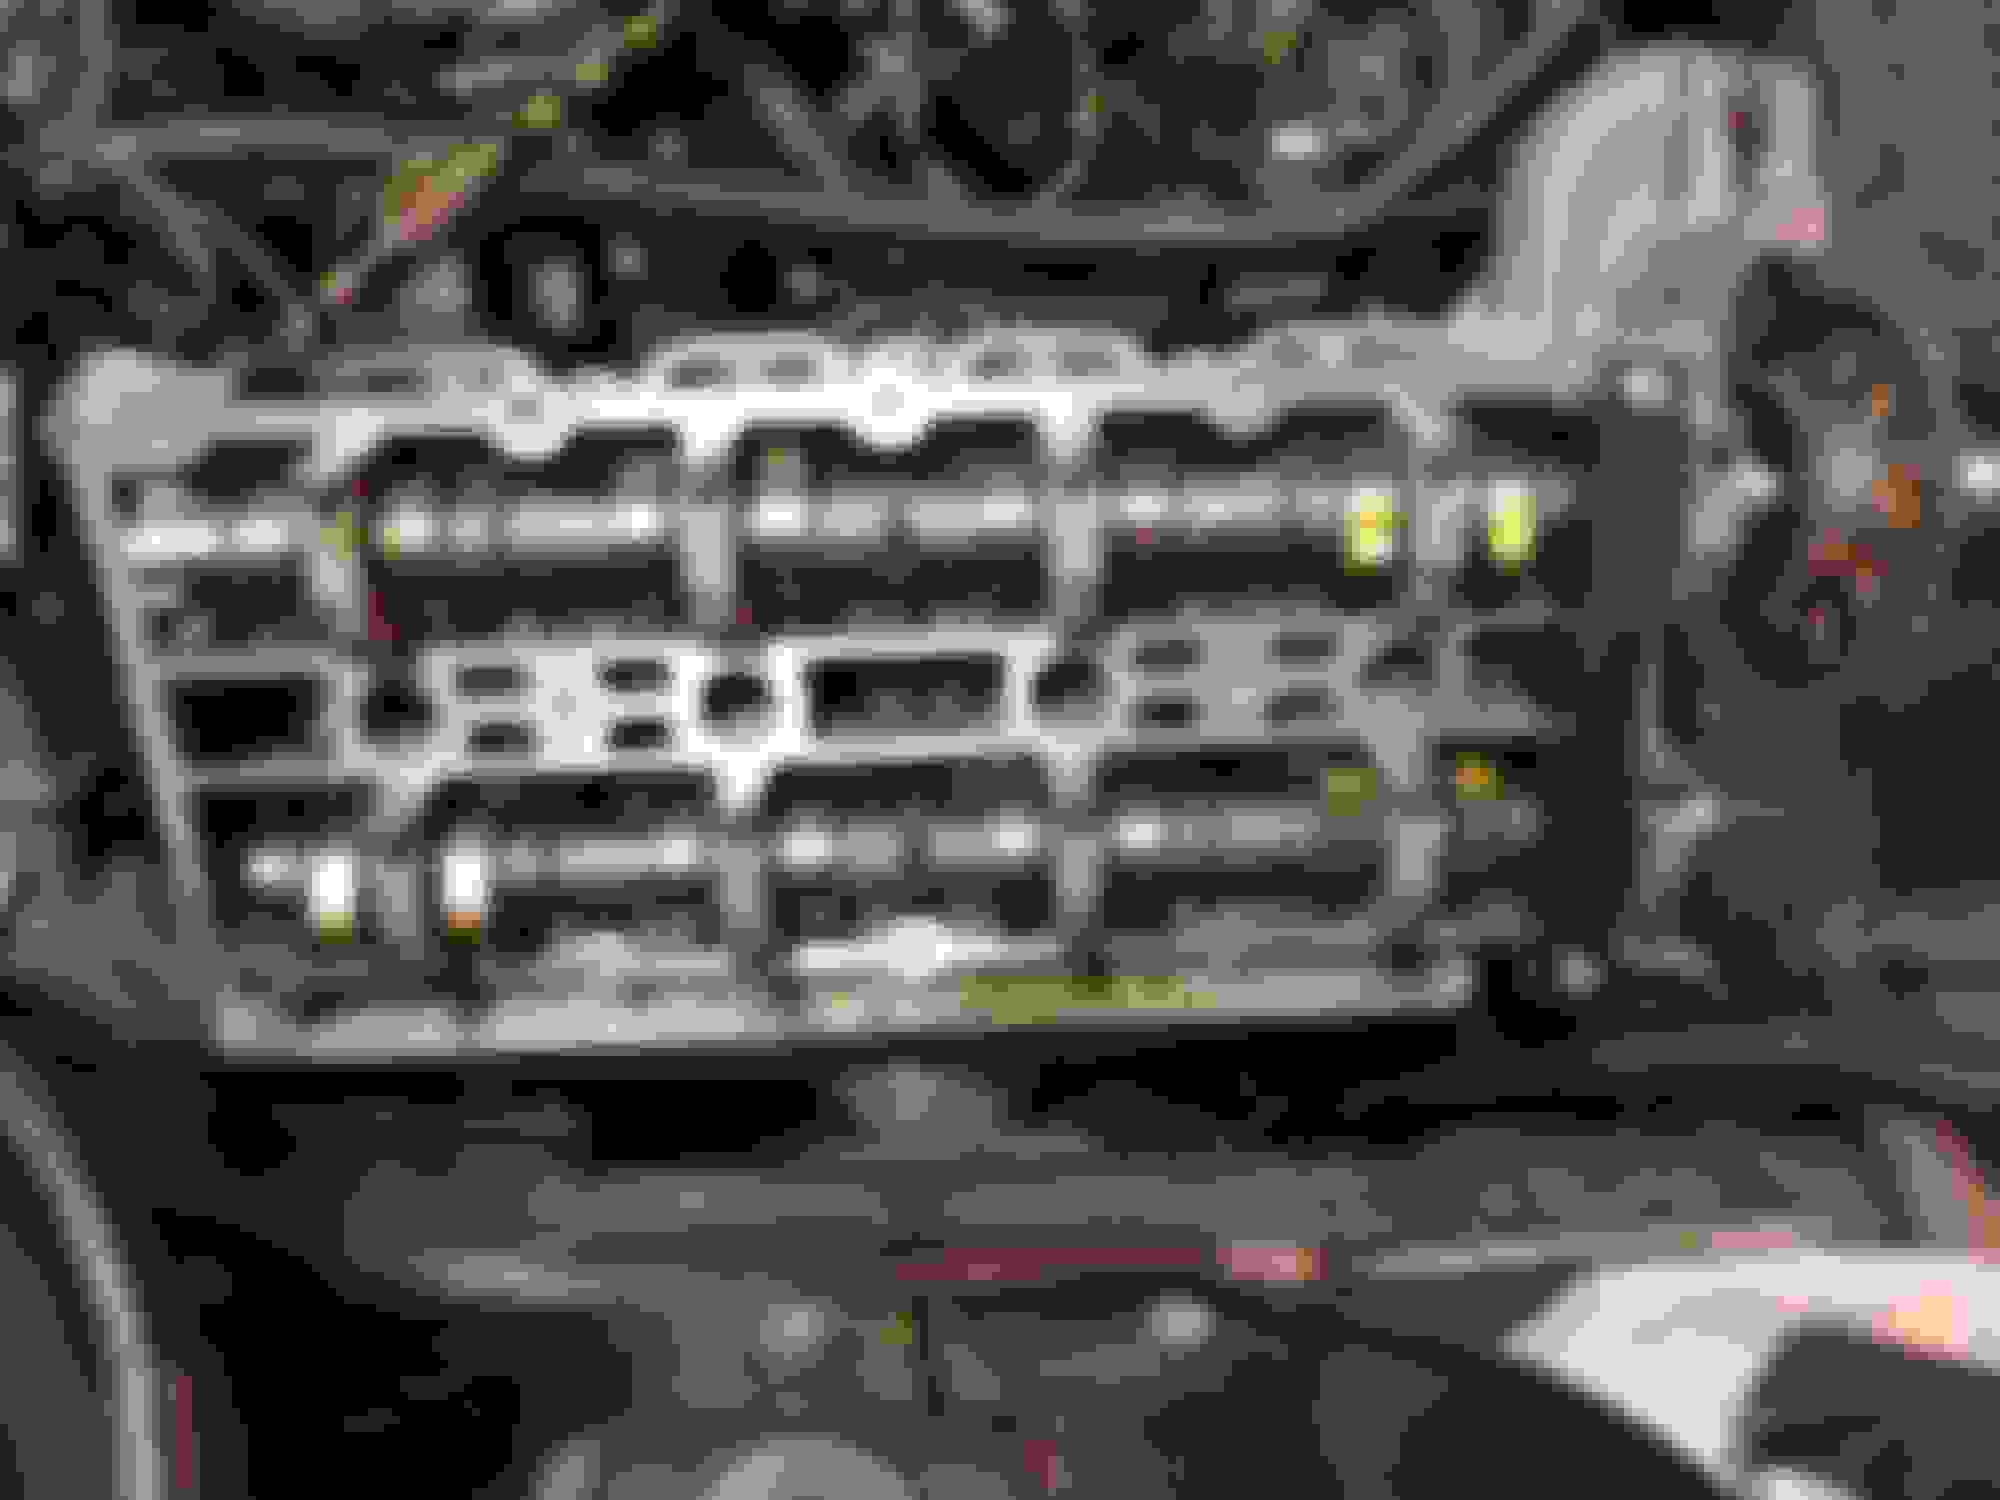
So I got one of the heads one today. I would have done the other one but I didn't realize until I opened the box that the head bolts I ordered were only for one side. I've ordered another set which should be here Saturday, but I got it one, torqued down and installed the cams and cam locking tool.
I'm following the workshop manual step by step until I reached the step that said to install the timing chain guides, thats when I noticed the cracks on the guides. Guess I'm going to have to get a new set of those too now.
There are a few little things I can do tomorrow, like installing the cam sensors and connecting the hoses that run beneath the supercharger, but other than that I think I've reached a stopping point until new parts arrive. I have a feeling that's how it going to go with this project, not realizing I need something until I get to it, but at least progress is being made slowly.
I recently purchased a set of guides recently from FCP Euro
Thank you for your business! We have received your order and it is currently being processed.Delivery Window
Here's the shipping window indicated for your order at checkout: delivery between 11/27 - 11/30.How to track an order
Tracking information will be sent to you as soon as your order ships.Returns
Please be sure to open all packages within 48 hours of receipt to confirm the order meets your expectation. We want to be sure you are 100% satisfied with your order. If you have any questions or concerns, please notify us within 48 hours of receipt by sending an email to service@fcpeuro.com?Subject=Order%20Question.Thank you for your business,
FCP Euro
I see you bought one each of two different part numbers, are these left/right specific? Cause looking at mine the two look identical, not mirrored images of each other.
EDIT: nevermind i figured it out.
Last edited by OUScooby; Nov 30, 2018 at 10:26 AM.
You may have already done this, but use clean shop rags or masking tape to cover the inlet openings on the heads until you're ready to install the inlet manifold.
You may have already done this, but use clean shop rags or masking tape to cover the inlet openings on the heads until you're ready to install the inlet manifold.
Yes I kow this is a good, idea but I havent yet, I need to do this before I continue on anything else. One loose bolt could ruin all this work!
So I guess the next question is what to do about the other chain guards? They look to be in good shape, no signs of cracking or ware. Do I replace them anyway as a preventative measure since I've already got it apart, or do I just reinstall them. How common is failure on these parts? What the typical lifespan? are they usually pretty durable?
From what I gather, the updated design is for use with a different timing chain that they gave to newer motor. The old design is for the older timing chain. Do I have this correct?
From what I gather, the updated design is for use with a different timing chain that they gave to newer motor. The old design is for the older timing chain. Do I have this correct?
The very latest crankshaft timing chain(s) was a multi-plate type, the earlier one a regular roller chain. You would order the latest guides for your model/VIN.
Didn't you order a complete upgrade kit? New guides, tensioners, gasket set, etc?
The very latest crankshaft timing chain(s) was a multi-plate type, the earlier one a regular roller chain. You would order the latest guides for your model/VIN.
Didn't you order a complete upgrade kit? New guides, tensioners, gasket set, etc?
.
Yeah the only updated part number is for the new style chain. I've got the older style chain. I probably should have just ordered a whole new set instead of ordering one piece at a time. I've already ordered the gaskets seals and one of the chain guides. My secondary tensioners look good and I believe are already the new stronger design, so I don't think I need to replace them.
Yes, I think it is better to buy the pre-built kit, that way everything is replaced, and I think it ends up being quite a lot cheaper too.
Your tensioners do look to be the later type, but if it were me I would replace them anyway, if only for peace of mind.
.
I'd change them too for piece of mind but unfortunately I'm already well over budget on this and I just cant afford to replace every piece just cause I've already got it removed. They seem in good shape as to the secondary tensioners so I think I'm going to reuse them.