When you click on links to various merchants on this site and make a purchase, this can result in this site earning a commission. Affiliate programs and affiliations include, but are not limited to, the eBay Partner Network.
easy way to change rear wheel bearings and cv u joint
i just changed the drivers side wheel bearings, seals, and outer half shaft u joint without removing anything from the car.
1. jack up rear wheel and insert jack stand
2. remove lug nuts and wheel
3. unbolt 2 13 15 mm bolts that hold the caliper assembly to the hub carrier.remove the entire caliper assembly in one piece, no need to remove pads, etc.
4. remove rotor from hub, it simply pulls out away from the hub.
5. i left my parking brake drum pads on, no need to remove them.
6. at the bottom of the hub carrier there is there is a bolt. this not only retains the hub/carrier assembly, but also controls alignment. hark the bolt head flange and the carrier body so you can align them int he same position on reassembly.
so far we have spent about 10 minutes on this....
7. loosen the bottom bolt. DO NOT REMOVE, just loosen.
8. you will need a hub puller. you can get one for free a the loan a tool deal from most chain stores. remove the nut from the center of the hub (27mm). Pull the hub out. As you do this the carrier assembly will begin leaning out towards you, rotating downward.
Once you pull the hub, the half shaft is now free, pull it up and out of the way. ( i used a small bungee)..
9, use a socket or punch and insert from the outside ( wheel side) and tap out the wheel speed sensor ring (looks like a gear with teeth on the outside.. once the carrier rotated downward you can see it by looking down into the backside of the carrier).
10. pull the seals and inner bearings from the carrier...NOTE WHICH IS WHICh.. they are different.
there will be a tube type spacer in the center of the carrier between the bearings.. note its position, the inner bearing has a smaller diameter face, the tube has two different size ends, each corresponding to the bearing is faces.
There will also be a small washer (shim) against the inner face of the outer bearing... don'r loose it.
11.Now clean the inside of the carrier...
12.you will see a channel cut out of the carrier between the two outer bearing races. use a punch and set it into this channel get to the back edge of the bearing race and tap it out with the punch and a hammer. there are 2 channels 180 degrees apart... tap one side then the other and the race will come out.. repeat for the other side going in the opposite direction.
installation is the opposite of removal..
1.After tapping the races in, install the seal then bearing on the hub shaft.
you will need to tap the bearing home on the shaft.
2.install the hub into the carrier and seat the seal into the carrier. let the carrier rotate downward. use a wood block to set the lug nut studs on... they will now be facing straight down.
3. You will need to drop in the spacer and shim from the inside (now facing up).
4. Now install the inner bearing. drop in onto the hub shaft and tap it home with either BIG socket, or a punch.
5. install the inner seal
6. drop the wheel speed sensor onto the hub shaft tap it onto the shaft and make sure it is seated..
once this assembly is in place, make sure there is no play by trying to pull the hub out then pushing it back in..there should be no play.
Make sure to grease the bearings before installing.. the same for the seal lips....
7. rotate the assembly up and in,inserting the half shaft inside the hub. When the shaft stops, start rotating the hub to align the splines of the hub and half shaft.. the half shaft will then slide all the way in.
8. install and tighten nut
9. align bottom bolt to mark and tighten nut
10. install rotor
11. drop brake assembly back onto rotor and tighten two bolts on backside of carrier/ caliper assembly.
12. plug in wheel speed sensor
13. re install wheel
14. raise vehicle, remove jack stand, and lower onto tire.
if you need to replace the outer u joint in the half shaft as i did it is easy..
while the hub carrier is facing down remove the clips from the outsides of the u joint cups. take a BIG c clamp and a socket large enough for the u joint cup to fit inside and use the clamp as a press... press the u joint out one side of the yoke.
remove the outer yoke, then repeat for the other two cups.
sue the same c clamp to press in the new u joint, then replace clips...
the rear wheel bearings took me a few hours.. now that i have done it once, i could do it again in about an hour and a half... MAX.. from start to finish,maybe in as fast as 30 min...
Thank you...Excellant detailed write up.. Prior to replacing the rear wheel bearing did you notice noise or did you detect some slack/play in the rear wheel.
I will be replaceing the bottom bushing/bearing on the passenger/right rear shock next week.
Should I check for slack/play in the rear wheels while I replace the rear shock bushing.
my rear driveline was making a scraping noise, dependant on roadspeed, not engine rpm.
I had my halfshaft ujoints replaced last year. so i thought it would have been another problem.
My pads and rotors were in VERY poor shape, so i thought that could be the problem. so i replaced them on both sides. Noise was still there.
I isolated it to the right side.
I had ordered the seals and bearings and began dis assembly. It was not until i had pulled the hub and removed (ruined) the outer seal that i found out the noise was the half shaft outer u joint was gone again.
at that point i figured i would go ahead and replace the bearings since most of the work was done already.
most of the time you can hear a bearing going. it makes a growl... like riding on rough asphalt.
the way these hubs are set up, you would not be able to feel play as the hub is pulled tight by the half shaft.
when you remove the wheel the nut you see in the middle of the hub is threaded onto the outer yoke of the half shaft.
Is there a trick to pulling the hub out of the carrier? My puller put the pressure on the splined end of the half shaft, but it just pushed the half shaft out easily since it was greased up good. The hub is still in the carrier though.
I saw a video on you tube where the guy just removed the axel nut and lowered the tire and hub assembly down as a complete unit when replacing the half shaft u joints. Since you have done this repair would you recommend this or should I follow your procedure?
Anyone still here to help from this Ole post?
I just replaced a bad front bearing (play) which was my first real thing I did on a car.
Now I still have this humming noise starting deep at around 30km h up to 70..then turning to a higher tone but always there.
When I was to check something else the mechanic said my rear bearings were bad, too. Not right away. But after turning the wheel a bit.
So now I'm afraid of doing them as I don't have a nice Youtube tutorial and I read that you have to somehow calibrate the rear bearings?
Are they much harder to replace as the front?
Hi gents, was using this writeup as my guide and need some help.. kinda stuck!
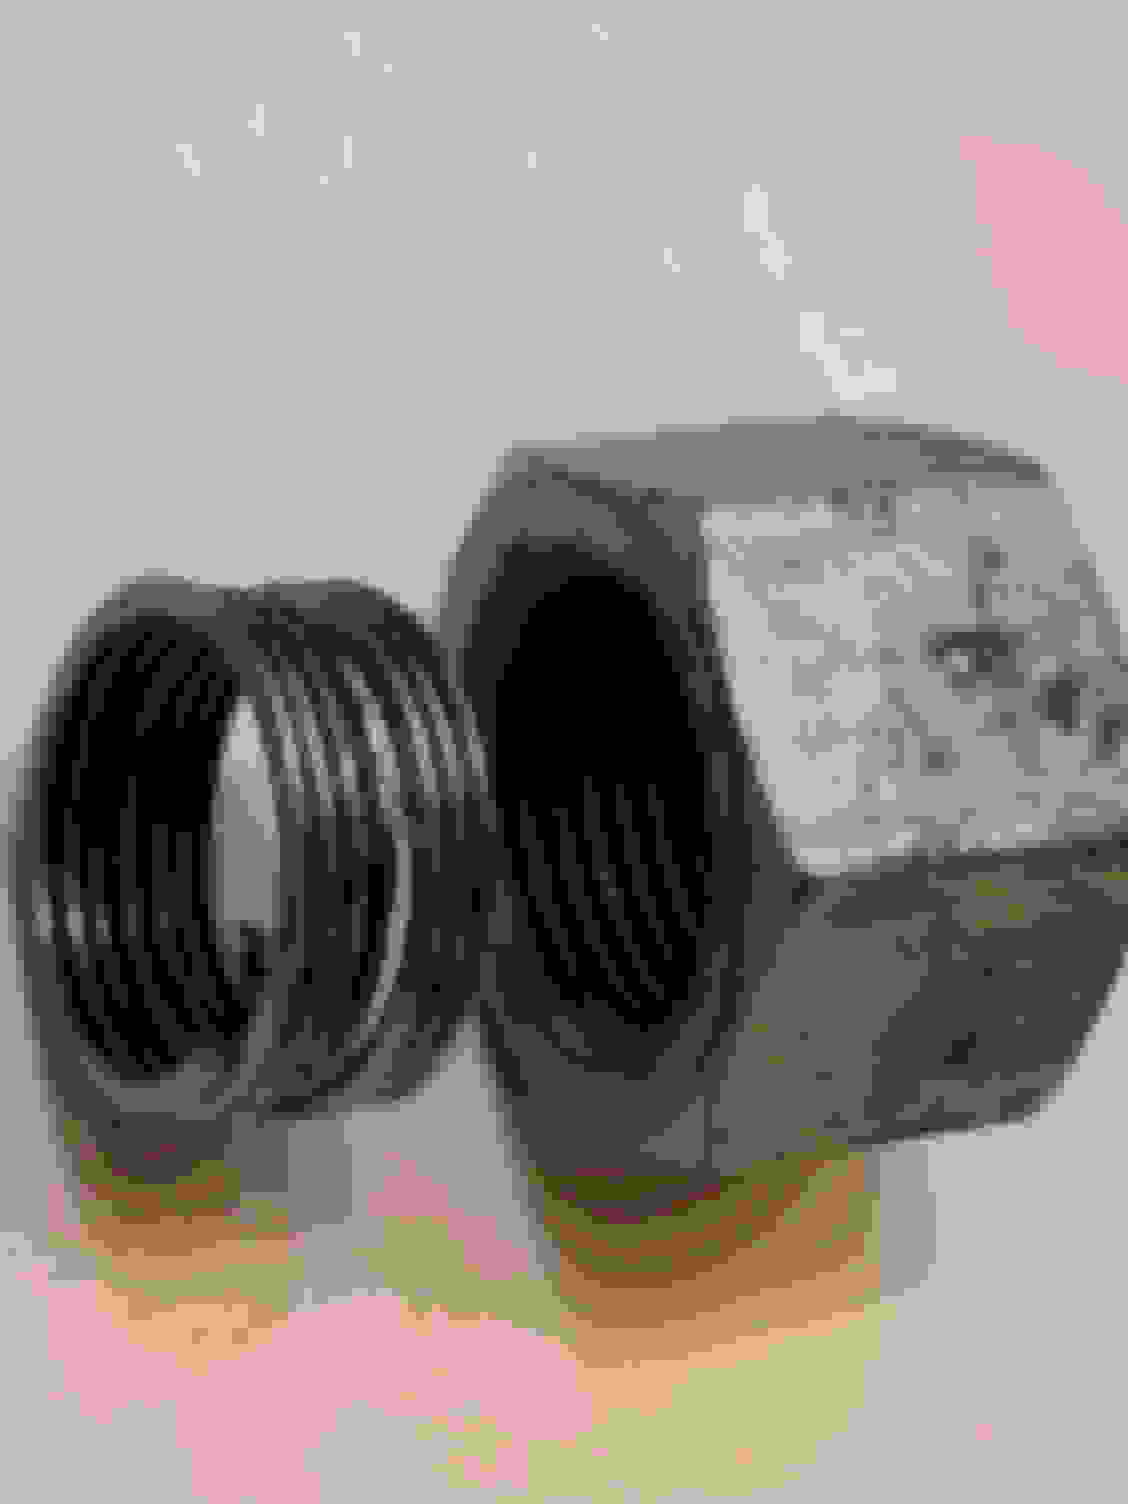
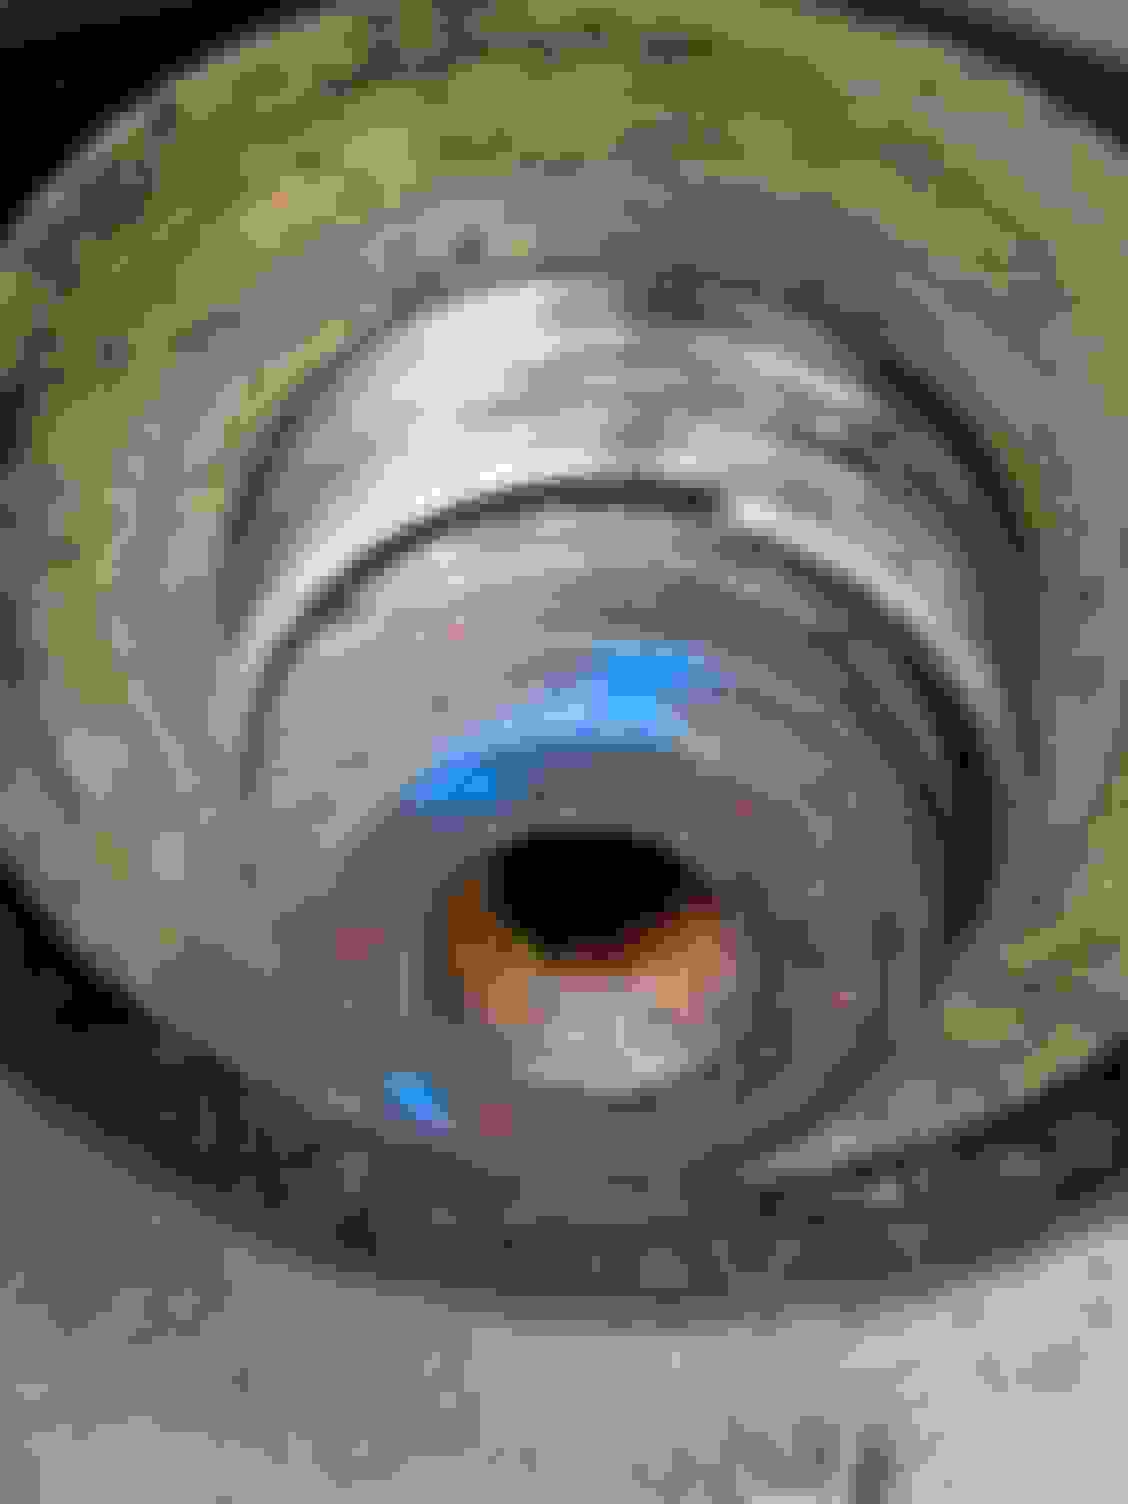
The nut (the 27mm nut in the step 8) was apparently sitting on a "thread insert" (looks like a little spring). When I removed nut the "spring" was on the shaft. I was able to unscrew it.
Now how do I put it back? The nut is obviously bigger size then shaft so this insert is required. If I put insert on - I can't get nut over it (maybe one loop goes in and the rest gets squished as I try to tighten. I've spent an hour now trying to screw it inside the nut first - so far no luck....
Any trick to it?
Last edited by NJ2003XJ8; Apr 1, 2022 at 09:47 PM.
Hi gents, was using this writeup as my guide and need some help.. kinda stuck!
The nut (the 27mm nut in the step 8) was apparently sitting on a "thread insert" (looks like a little spring). When I removed nut the "spring" was on the shaft. I was able to unscrew it.
Now how do I put it back? The nut is obviously bigger size them shaft so this insert is required. If I put insert on - I can't get nut over it (maybe one loop goes in and the rest gets squished as I try to tighten. I've spent an hour now trying to screw it inside the nut first - so far no luck....
Any trick to it?
This is not normal.. On mine there is just a conical washer and the nut on top.. Nothing like this spring.
By the way. You are supposed to exchange this not after you loosen it
. I just recalled. It is made to deform once toghtend. Is the official reading.. So. Maybe this is part of the mechanism...?
Bearing preload should be measured because they are both tighten up via halfshaft? We can assume that the new bearing is exactly same as old were when new? This setup differs this way from the normal front wheel bearing setup. Sometimes there is tiny bit of freeplay in the rear bearing and that is suggested be ok in these cars. My car do not have that play.