When you click on links to various merchants on this site and make a purchase, this can result in this site earning a commission. Affiliate programs and affiliations include, but are not limited to, the eBay Partner Network.
Installing a New Third "high" Brake Light and Housing
Hey Folks,
I managed to find a new Valeo third brake light for my 2001 XJ8. The existing one just splintered again and again but red lamp bar works. It has an original wire soldered on the red unit going down under the shelf to parts I cannot see even if I remove the panel inside the trunk/boot. The new one has a snap-in pin connector on the wiring.
Has anyone faced this?
Do I unbolt the car seat anchors to lift out the shelf? Might I find a clip-in connection below the shelf? How else can I get below? do I need to?
Do I cut the wires of the original wiring above the shelf and solder the new wires to it, shrink wrap the new one, cutting off the pin connector? Seems a shame to eliminate a new, clean, two pin connector unless it just doesn't exist below the surface.
Or, do I somehow extract the existing red unit from its aged housing and find a way to put it in the new housing?
If I were to figure out a way to get the new housing and lamp connected, anyone come up with a proven way to anchor the housing to the glass? Strong two sided tape? Mirror glue of a certain strength? Jag issued a bulletin on this some time ago but the adhesive is not made anymore, at least that I can find.
Can we write a chain letter to the architect of this bonehead design?
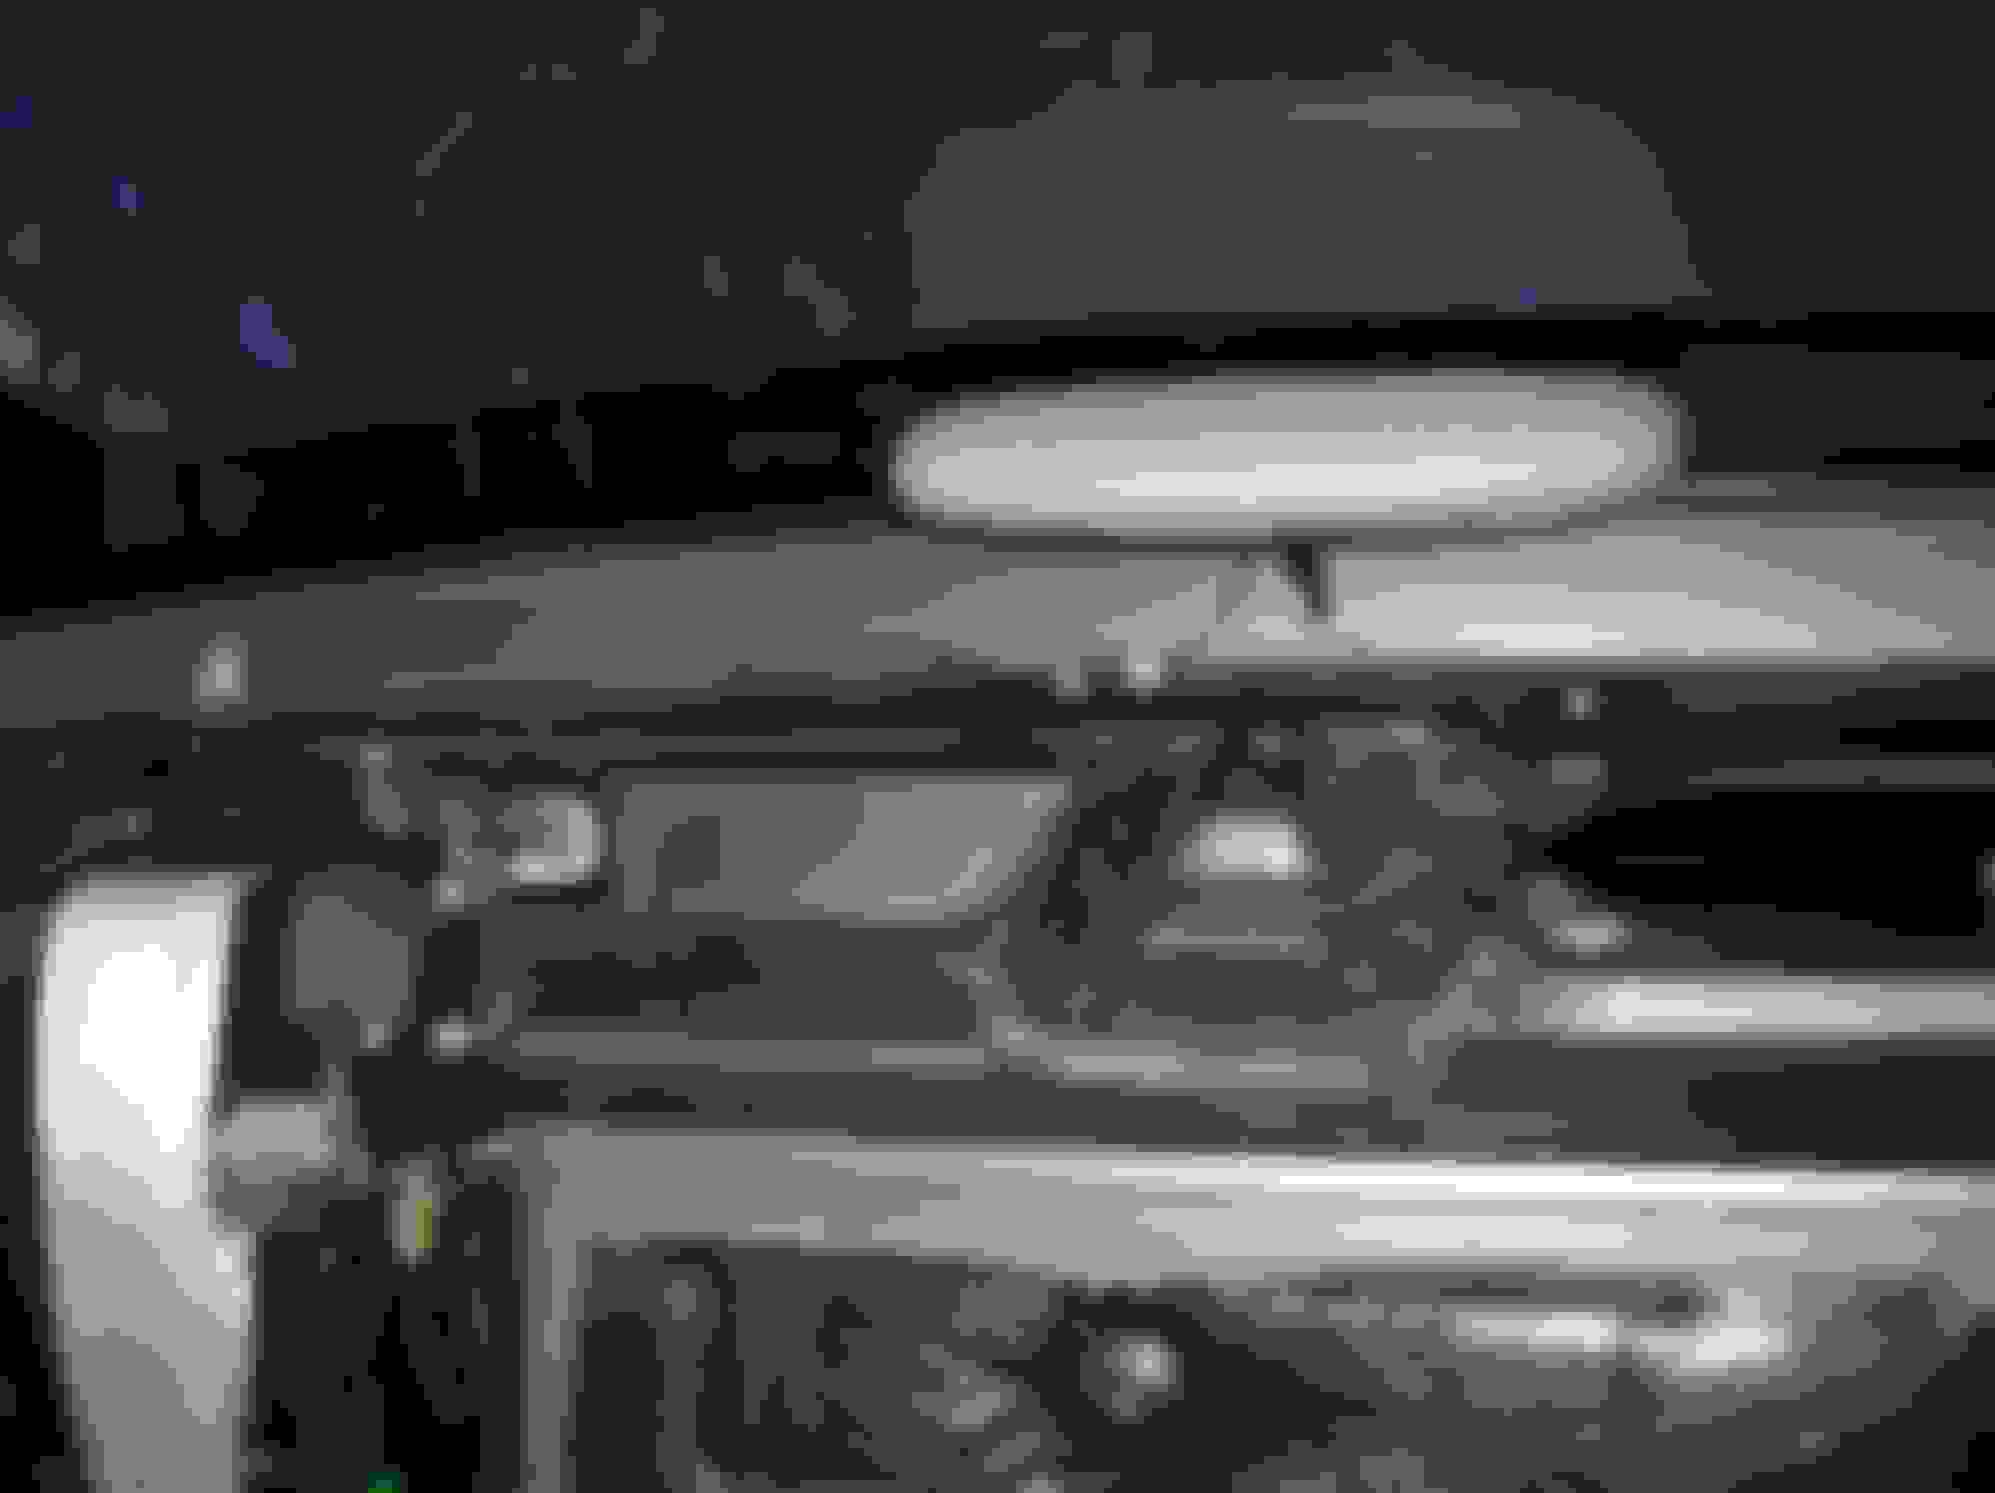
Might I find a clip-in connection below the shelf? How else can I get below? do I need to? Do I cut the wires of the original wiring above the shelf and solder the new wires to it, shrink wrap the new one, cutting off the pin connector? There is a connector under the shelf. I could feel it with my finger, but it was too big to come out without removing shelf. I cut and spliced.
Mirror glue of a certain strength? I used some mirror glue from local auto parts store. Held fine. Do you have the metal square buttons that glue to glass which the assembly clinks into?
Where did you find a new unit? I’d be thrilled to find something new into which i could recycle the existing light bar. My exterior cover sheds pieces if i so much as look at it from afar.
There's a plug under the shelf...see photo.. Remove seat bottom, seat back, ineria reels and seat belts, shelf finisher, shelf pad. speaker cover (I think)...I did this a long time ago
to gain access to XJR fuel pumps from the top.
You can also buy replacement original connectors off the shelf and crimp them on. I did this for my replacement 3d printed brake light design, so I have connector mpn's at home somewhere. I'll find them tonight if I remember.
Or just cut the factory connector on the brake light, and splice any 2 pin inline connector of your choice to the wires. That's probably the easiest route, if the connector isn't hidden under the parcel deck
Where did you find a new unit? I�d be thrilled to find something new into which i could recycle the existing light bar. My exterior cover sheds pieces if i so much as look at it from afar.
Agreed. First time I washed my 2003 I windexed the windows from the inside. I swear the paper towel just brushed the cover and it broke. When I tried to remove to fix it shattered. Same with hard plastic coolant lines.
I've said this before: "yellow jaguar plastic is an olde Anglo Saxon word for powder!" Thingys around the sun visors are equally fragile -- same plastic!
This latest car still has a reasonably good light -- not touching it; going no where near it no matter how dirty the rear window. What we need is someone of our members who knows how to do 3D printing to start making these covers . . . ready market, albeit fewer and fewer.
Prices have jumped as Jaguar stock has dwindled and it is listed as "discontinued" on many of the usual sites. Either that or the prices are higher.
I found a new one on Ebay and I think there's still one or two left. LNC5000 (then add your interior color codes.) Good luck
I read here a few years back that a bunch were purchased by resellers.
I've said this before: "yellow jaguar plastic is an olde Anglo Saxon word for powder!" Thingys around the sun visors are equally fragile -- same plastic!
This latest car still has a reasonably good light -- not touching it; going no where near it no matter how dirty the rear window. What we need is someone of our members who knows how to do 3D printing to start making these covers . . . ready market, albeit fewer and fewer.
I have a rough design completed for this. I wasn't able to match the curve of the windshield (and doing so adds extra considerations to printing). I'll try to package the design files together at some point and share them, I need to do some tweaks to the pcb design anyway before that's released.
Unfortunately the cover (oem latching style) is probably a bit out of my skill level (and free time tbh). Reproducing that sort of interlocking edge would be really tricky, and even then it's probably not ideal for the constraints of fdm 3d printing. The cover I made is designed to screw mate to the standoffs of my main frame for retention, rather than latching. But, the whole enclosure can probably be made to work with the oem incandescent reflector and lens assy.
Maybe someone with a 3d scanner setup could do it, or create a baseline to sculpt from, but that goes into the realm of 3d modeling rather than the CAD I know.
oh I totally missed this reply before. Yeah this looks like a better reproduction of oem (and it's sls so it'll be higher quality printing than my fdm parts)