When you click on links to various merchants on this site and make a purchase, this can result in this site earning a commission. Affiliate programs and affiliations include, but are not limited to, the eBay Partner Network.
When I bought my car it had a small hole in the drivers seat. I have contacted several local firms, but no one would take on the job, and some even said it was impossible to fix and that I had to find a leather replacement for the entire seat. As time went by it got really badly worn and I had to do something. Spending some time researching on Youtube, I decided I try it myself.
I was recommended to contact Furniture Clinic in UK (think they also got an US branch) as they make Jaguar color code dyes. I first tried a generic kit from ebay, but color matching is pretty close to impossible and threw that away. https://www.furnitureclinic.co.uk/
I ordered following items. 1 x Leather repair kit (glue, filler, scalpel, spatula etc) 1 x 250 ml Dye, Jaguar SDZ (Cashmere) 1 x 250 ml Dye, Jaguar AEK (Sable) 1 x 250 ml Dye fix, semi-gloss
In addition I used leather cleaner, several microfiber cloths, sandpaper (400, 800, 1200) and a hair dryer. (For degreasing steering wheel I used desaturated alcohol.) I think the whole kit with delivery was about �60, so quite cheap.
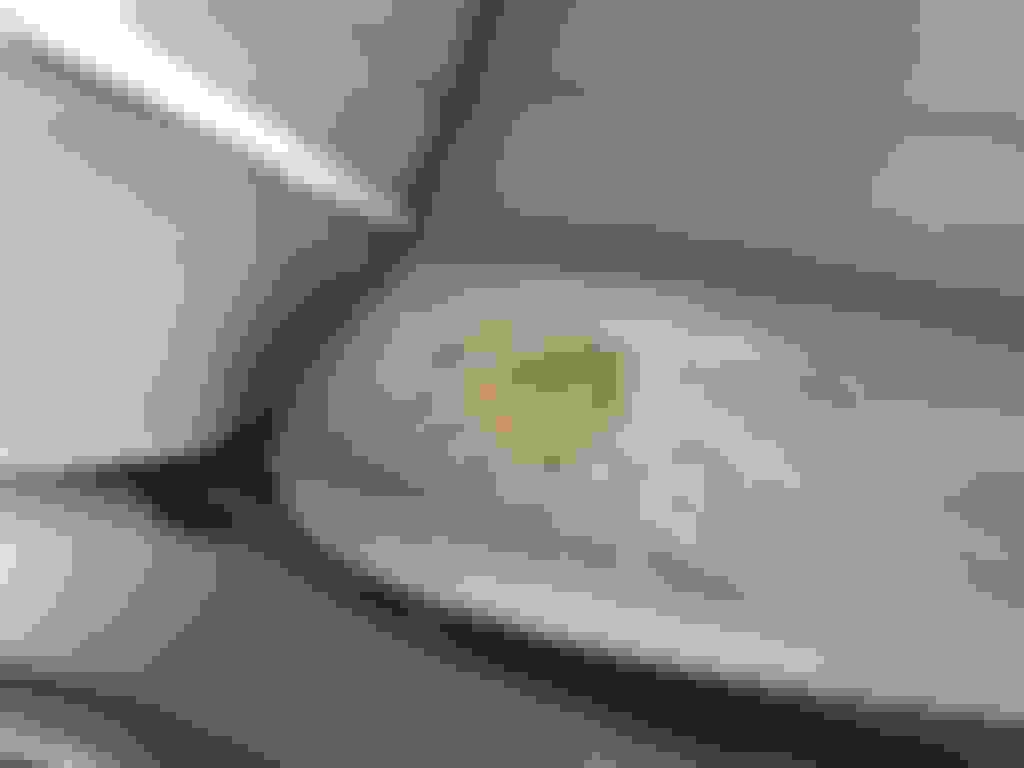
1. Preparation I had to cut leather that was worn and too thin to repair. I also had to glue in some worn away foam on the seat. I then applied strengthening cloth and glued to the foam and especially the leather edges earlier trimmed. This is very important because this will press the edges down towards the seat and make a better looking finish after filling. I sanded the leather around with 800 paper to smooth and prepare for filler to attach properly.
2. Filling I started to fill the hole with leather filler. Be careful not to apply to much, it takes some time to dry before it is ready for sanding and reapply filler. It is here you will make the basis for the result. The filler is somewhat “rubbery” and difficult to sand down, so be thorough and use time and effort at this stage.
3. Dye I was hoping the color match was close enough just to dye the two worn panels, and started by masking those of. Using a sponge I dab the panels carefully and evenly with dye. I dried between each layer with a hair dryer for 5-10 minutes and used in total six gentle layers of dye. (They also sell an airbrush kit, but I had no problem with even coloring using sponges).
4. Color fix After dying, I applied four layers of color fixing, drying between each.
Conclusion I am very happy about the result and can recommend this process for all that may have any scuffs or leather damage. The last picture lies a bit, because it is much closer in color to the naked eye. I guess the slightly more matte finish for the fixated area is to blame. Just to be perfect I will let the repaired area set for a week, and then slightly resand and redye. The repair will be unnoticeable. I’ve decided to clean both front seats and apply a couple of layers with dye and fix with semi-gloss for a smooth and consistent look.
I decided to take the steering wheel as well and the top area of dashboard that had a scuff after an earlier fitted stand of some sort. Sorry, forgot “before” pic of dashboard, but as you see – it is perfect color match.
I have no experience at all doing things like this before, so I guess this is manageable for everyone to do.
Hope you enjoyed
Last edited by Oddman; Sep 5, 2017 at 05:08 AM.
Reason: Spelling
Nice work, and the color match came out looking good. I have ordered a kit for myself, but haven't had time to get to it yet. Mine is not like yours, only the usual wear and seeing your pictures is giving me confidence to do mine.
Nice work, and the color match came out looking good. I have ordered a kit for myself, but haven't had time to get to it yet. Mine is not like yours, only the usual wear and seeing your pictures is giving me confidence to do mine.
Then it should be a breeze. The easiest part is to dye and fix. Thanks and good luck.
That's a good repair, I've not used furniture clinic but heard good things. Is their dye water based and can it be thinned with water? I ask this because the stuff I've used from Gliptone (liquid leather) can be thinned down.
I think once you've cleaned the seats etc it should be a very good match. A steam cleaner is a great bit of kit to lift dirt and grime from trim, it's surprising just how good the interior cleans up with a bit of effort.
Hi Sean B. Yes, according their web-site their dyes are water based. Very happy about the color matching. It is getting better everyday and are now close to identical. Yes a steamer will help lift grime and will surely help with matching. I used several cleaning agents and found AutoGlym leather cleaner to work very well.
Have to say what a great job Oddman, I did similar with products from Furniture Clinic. In answer to Sean B, yes they are water based but when I thinned the colour out it didn't cover very well. I got 2 front seats out of a Daimler from my local Jag breakers, had the full electronic switches and the car had the wiring already fitted, 'Plun n Play' so to speak and they worked a treat. Here's my seats before and after:
All in all Furniture Clinic do a great product, easy to use after getting the old covering off the leather. Just make sure you don't burn the seat when drying with a hair dryer/paint stripper.
The last picture lies a bit, because it is much closer in color to the naked eye. I guess the slightly more matte finish for the fixated area is to blame. Just to be perfect I will let the repaired area set for a week, and then slightly resand and redye.
That is a nice report about some impressive work Oddman, you beat them all!
And I know from experience that it is one of the more rewarding jobs, giving that feel of satisfaction every time you step in.
On your steering wheel, my set came with small bottles of gloss and matt additive.
I got the same matt results on doing my wheel, but added half of the gloss bottle for the final layer, which did the job.
On your steering wheel, my set came with small bottles of gloss and matt additive.
I got the same matt results on doing my wheel, but added half of the gloss bottle for the final layer, which did the job.
Thanks a lot, ericjansen - great feedback.
I just ordered semi-gloss, and I quite like the finish. I guess with future wear it will be less matte. But, splendid advice - I may get some gloss finish to try the result.
So I finally get around to ordering/inquiring from Furniture Clinic's US website it lists the kit I need as "In Stock & Ready to Send" yet I get this from email customer service.
We are sorry to inform you at this time we are currently are out of stock on our Machine Pigments which make up our Leather Colorants which are in our Leather Colorant Kits. However, while we wait to restock you can familiarize yourself with our recommended products for your leather below.
I then contact another branch of CS & get this.
The Machine Pigments are on order and hopefully it will not be too long. As mentioned previously we do not have the capability of removing our products that run out of stock on our website we ask for you to contact us in a few weeks to check the availability before placing any new orders online.
Never known a prominent company to have a website that can't reflect their stock accurately lol. So I went w/ a well rated eBay vendor whom carries Jaguar colors & it should be here next week. I will add on to this thread w/ my project & findings hopefully we have another entry into the quality leather restore kit companies for the forum.
KC, I used the "Seats Restore" product off eBay and it was excellent.
My interior is NED ivory and the dye was a perfect match
Awesome, yea I tried a local mobile guy who charged me $95 per seat when I first got the car. His job lasted less than a year, I gather he didn't clear/top coat it. Doing it myself it will surely be done meticulously lol
Doing it myself it will surely be done meticulously lol
Just remember that it is the old dye which is cracking, not the leather.
The time consuming part should be in the preparation, not the actual dying.
It is very much like attacking a dent in your paint, concentrate on the cracks first in stead of start plastering layers of dye on the bolster.
Only if the cracks are gone, a final layer of dye over the whole of the bolster to renew it.
The less layers, the better it will hold in the future.
Yea I wasn't even sure I'll need the filler but better safe than sorry. I've been reading up on the process(here on forum etc.) I plan on donning the glasses,headlight band & be surgeon-like lol.
Yea I wasn't even sure I'll need the filler but better safe than sorry. I've been reading up on the process(here on forum etc.) I plan on donning the glasses,headlight band & be surgeon-like lol.
I have used Seat Restore from ebay myself on both my Jags and was very well pleased with the results. Just make sure you prep properly and follow the instructions
If you look at the leather, you see it has a lot of profile on it, it is not flat.
So when you sandpaper, you want to rough up the surface with a light touch, but you don't want to flat the leather (bad jobs can be easily recognized this way).
However, I am sure I am repeating myself here all over, you really really need to brush / clean them before anything else, several times.
If you do that well, there is very little need for a lot of sanding.