
What did you do to your X308 Today?

Veteran Member
Joined: May 2014
Posts: 5,906
Likes: 2,182
From: Bremen, Germany
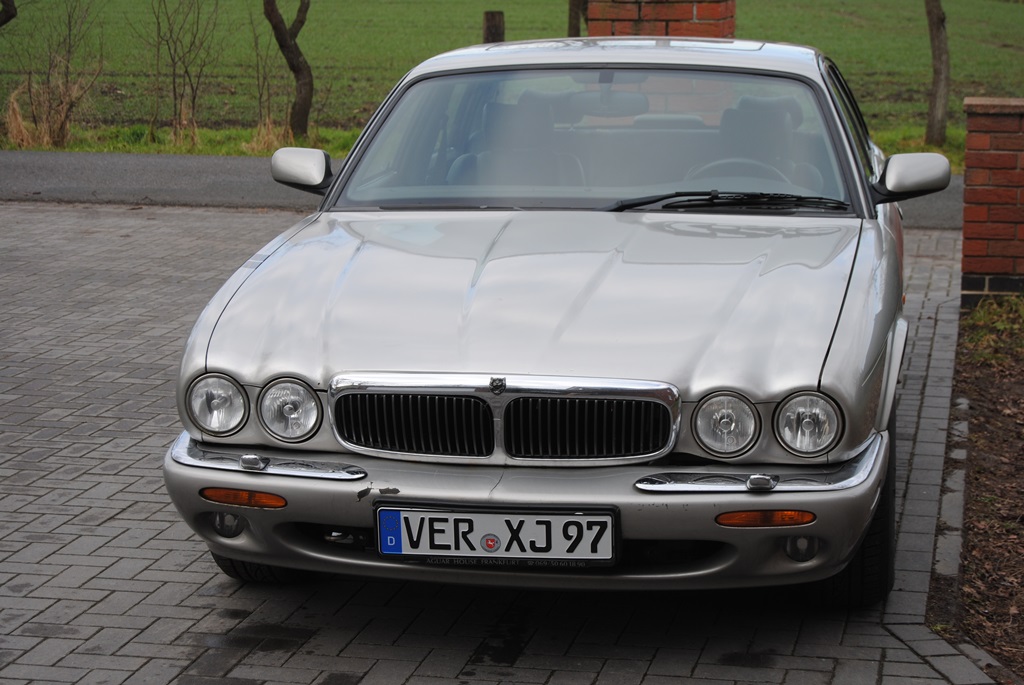
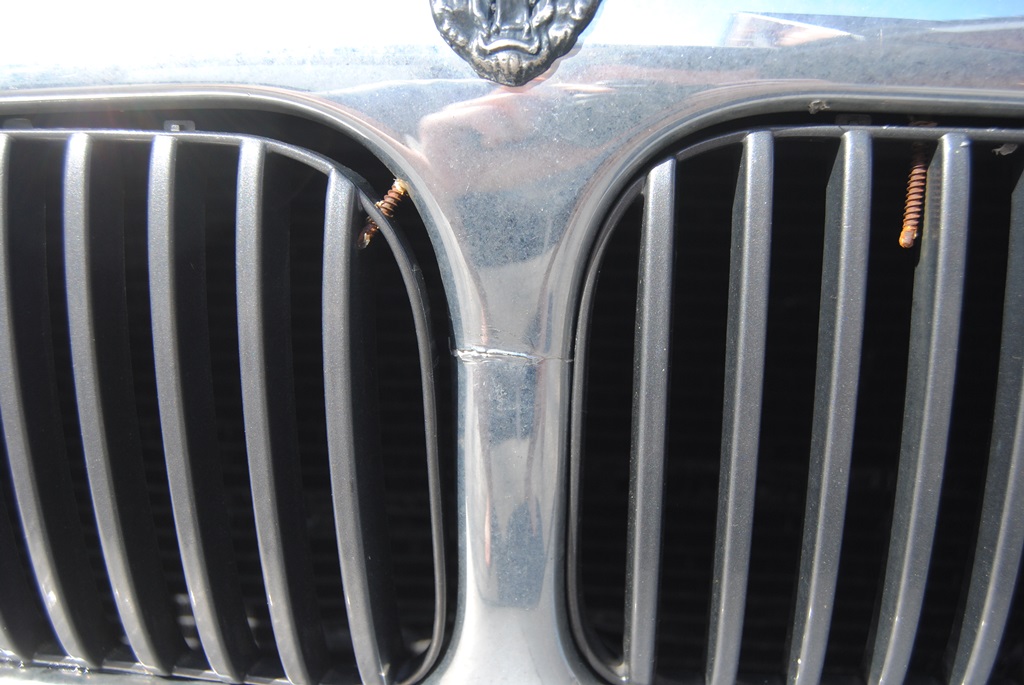
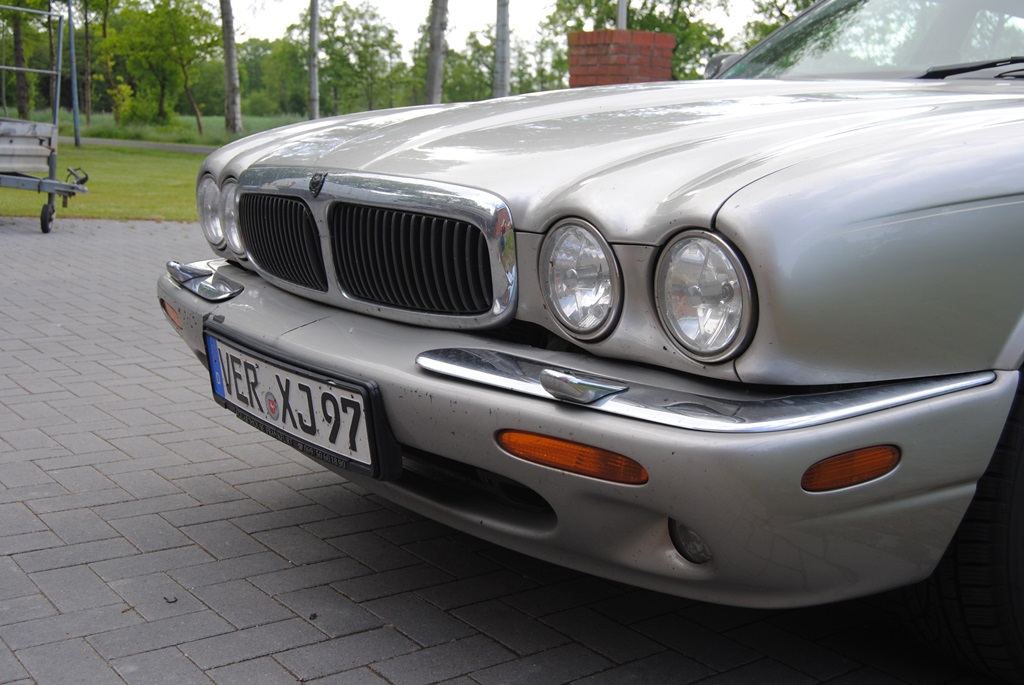
Rusty got a facelift today... Yes, a lift! The bumper was hanging. Result: bumper doesn't hang anymore, but now I have "Rusty the Clown" 
X300 grill and headlight panels and a stitched bumper
Before:

And replacement time:
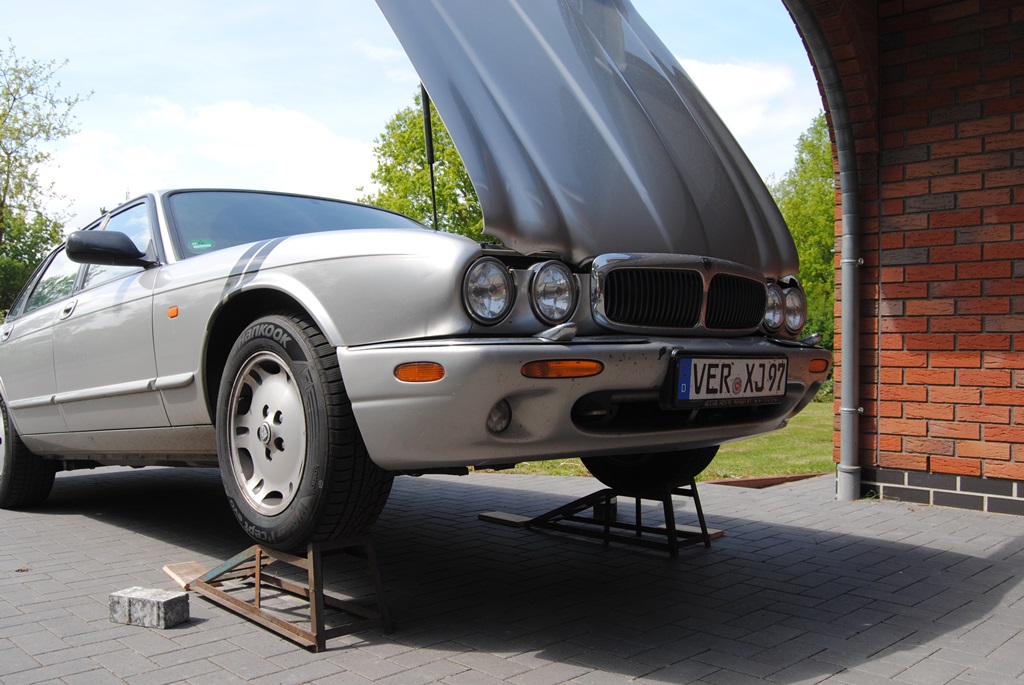
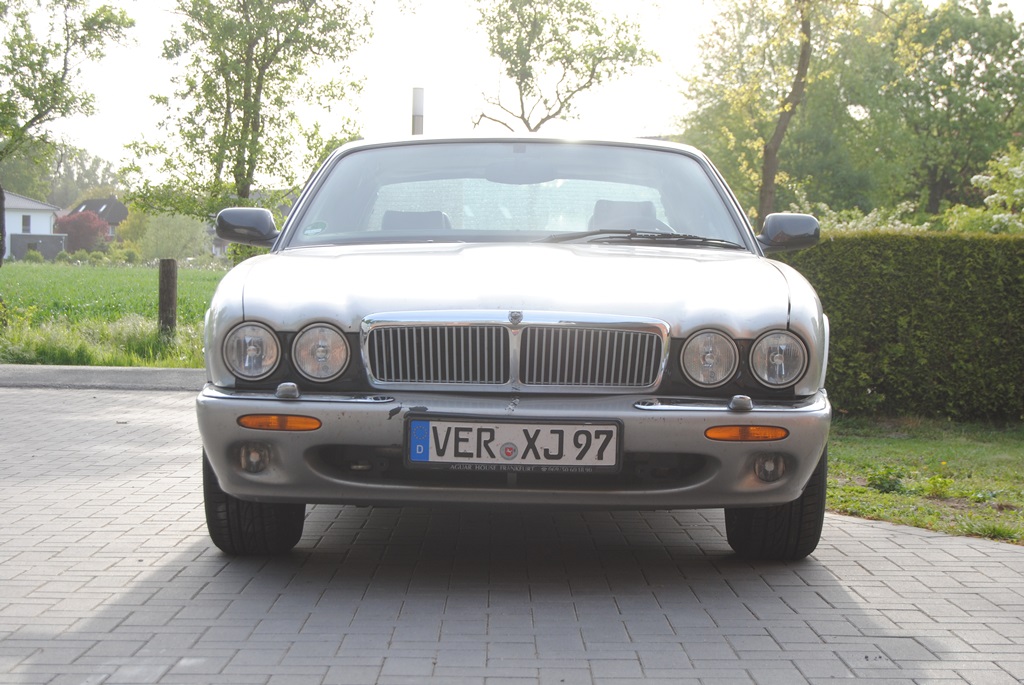

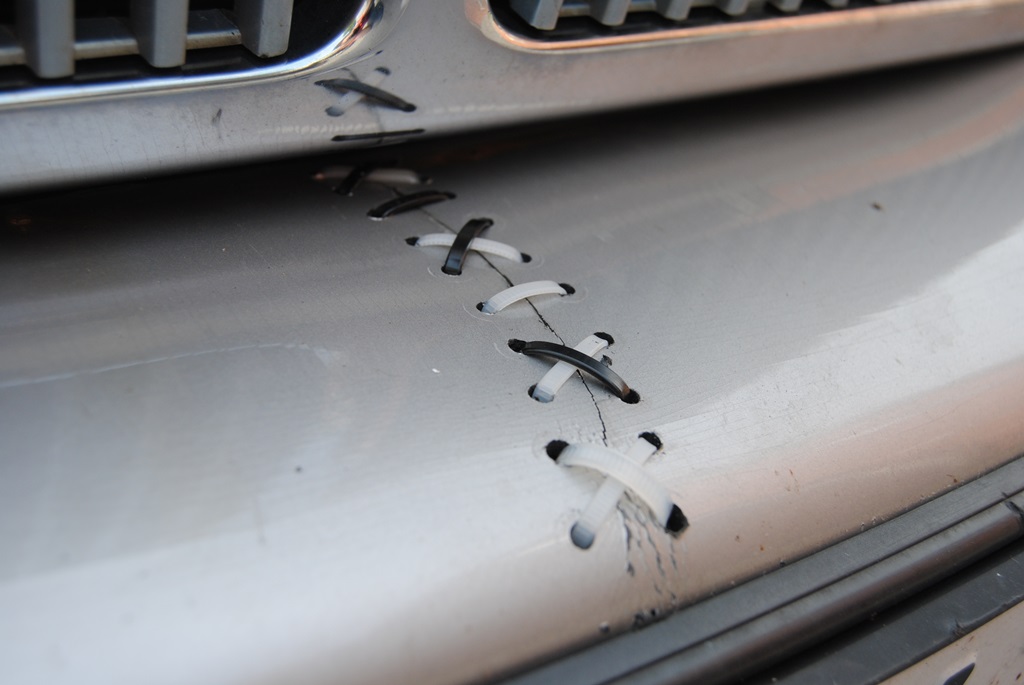


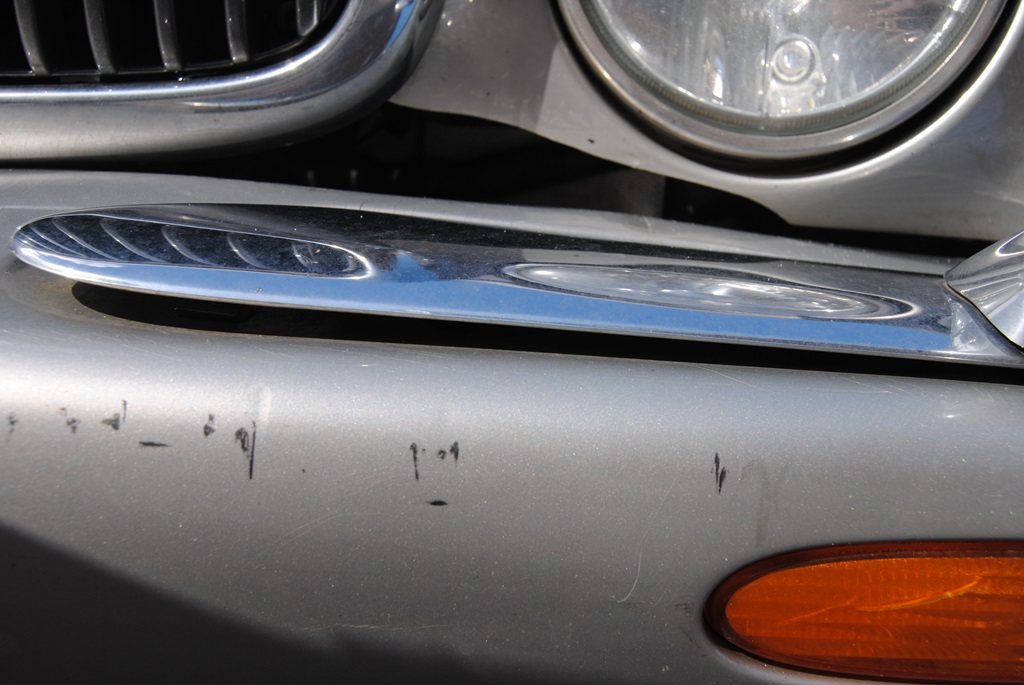
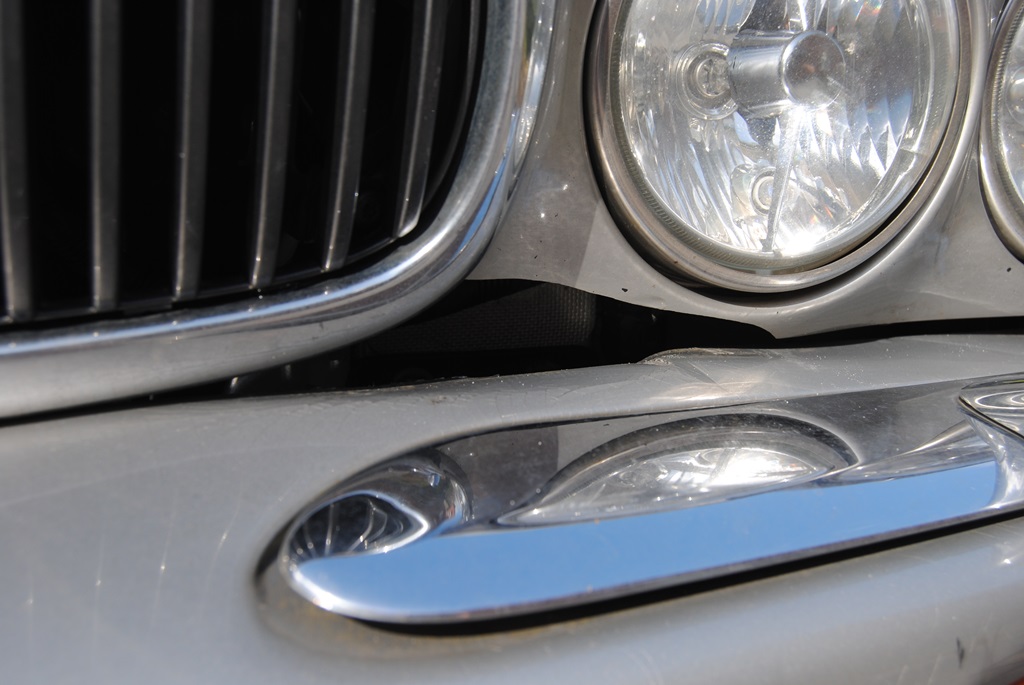
Yes, I did a "Ghetto repair" on my bumper but heck, I'll be ordering a new one soon. I just needed it strapped for the T�V soon
X300 grill and headlight panels and a stitched bumper
Before:
And replacement time:
Yes, I did a "Ghetto repair" on my bumper but heck, I'll be ordering a new one soon. I just needed it strapped for the T�V soon
Veteran Member
Joined: May 2014
Posts: 5,906
Likes: 2,182
From: Bremen, Germany
Today I decided to change the door cards as mine were quite shabby.
Result: I was expecting some cheap and nasty OEM speakers... But no... Some owner upgraded to an Ampire and Eton system. That does explain though why it has some beat and bass... The rattle was from the broken door holders...
Luckily all the clips I needed were on the cards. I have about 10 spares now
Yeehaw!
Last edited by Daim; May 24, 2015 at 10:43 AM.
Veteran Member


Joined: Dec 2013
Posts: 3,256
Likes: 1,370
From: Taiwan, R.O.C.
Installed lighting in the foot-wells, something I think should have come standard on at least a VDP.
It comes on, and fades out just like the overhead courtesy lights (pic is not the best, the lighting is much more spread and softer, but it gives an idea).
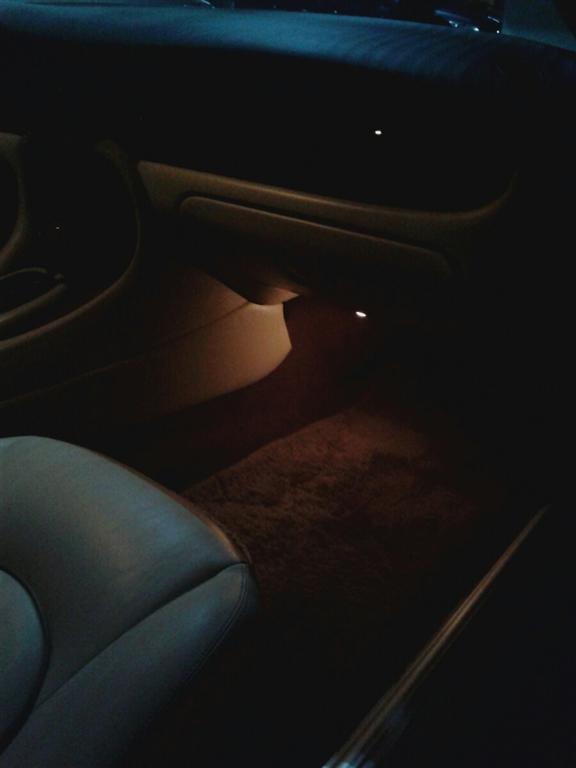
It comes on, and fades out just like the overhead courtesy lights (pic is not the best, the lighting is much more spread and softer, but it gives an idea).
Member
Joined: Jan 2015
Posts: 89
Likes: 51
From: Sydney, Australia
Eric
Was that using the standard wiring, or did you have to run wires for it?
Looks good, would like to do the same thing.
Or is there a thread on that here somewhere?
Lyndon
(Cold Sydney)
Edit: I found the thread you started in this Forum - all good. Did you buy particular light fittings, or just a bulb?
Last edited by Lyndon1116; Jun 2, 2015 at 01:20 AM.
Senior Member
Joined: Aug 2014
Posts: 692
Likes: 174
From: Fall River MA
Eric
Was that using the standard wiring, or did you have to run wires for it?
Looks good, would like to do the same thing.
Or is there a thread on that here somewhere?
Lyndon
(Cold Sydney)
Edit: I found the thread you started in this Forum - all good. Did you buy particular light fittings, or just a bulb?
Was that using the standard wiring, or did you have to run wires for it?
Looks good, would like to do the same thing.
Or is there a thread on that here somewhere?
Lyndon
(Cold Sydney)
Edit: I found the thread you started in this Forum - all good. Did you buy particular light fittings, or just a bulb?

#9 should work, and 1) is not that $$$, and 2) is a normal british fittment
YMMV; I kind of like using a heritage part in these cars...LOL.
Veteran Member
Joined: Dec 2013
Posts: 3,256
Likes: 1,370
From: Taiwan, R.O.C.
Eric
Was that using the standard wiring, or did you have to run wires for it?
Looks good, would like to do the same thing.
Or is there a thread on that here somewhere?
Lyndon
(Cold Sydney)
Edit: I found the thread you started in this Forum - all good. Did you buy particular light fittings, or just a bulb?
Was that using the standard wiring, or did you have to run wires for it?
Looks good, would like to do the same thing.
Or is there a thread on that here somewhere?
Lyndon
(Cold Sydney)
Edit: I found the thread you started in this Forum - all good. Did you buy particular light fittings, or just a bulb?
I used some left-over well lights from my Grand Cherokee, I think they are 9W.
I also read somewhere to use the rectangular x308 boot-lights (which I consider to use for the rear, and recess in the fuse covers).
Eric
Senior Member
Joined: Aug 2014
Posts: 692
Likes: 174
From: Fall River MA
Too busy with doing the spa treatment on the XF...but...I do pick up the XJ8 from the body shop tomorrow after the wheel arch rust repair, bumper repray/rectification, rear window removal and channel rust repair, and headliner replacement.
Oh, yeah, and buffing the body out. Still have some dings that need be rectified (PDR time), but, the big cat should be home tomorrow. Photos to follow.
Oh, yeah, and buffing the body out. Still have some dings that need be rectified (PDR time), but, the big cat should be home tomorrow. Photos to follow.
Veteran Member
Joined: May 2014
Posts: 5,906
Likes: 2,182
From: Bremen, Germany
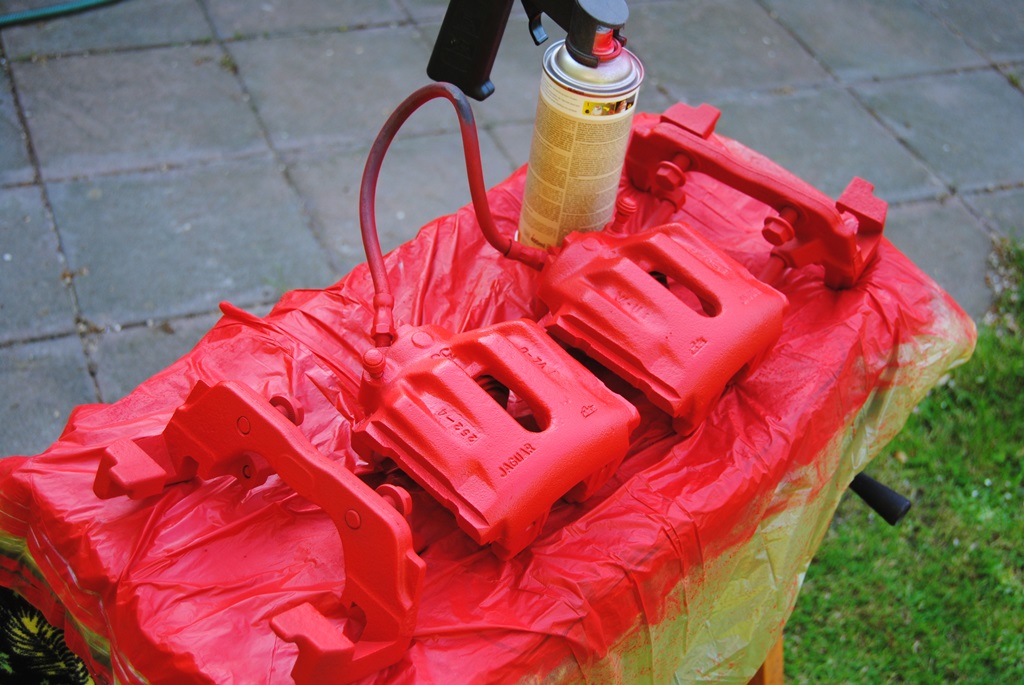
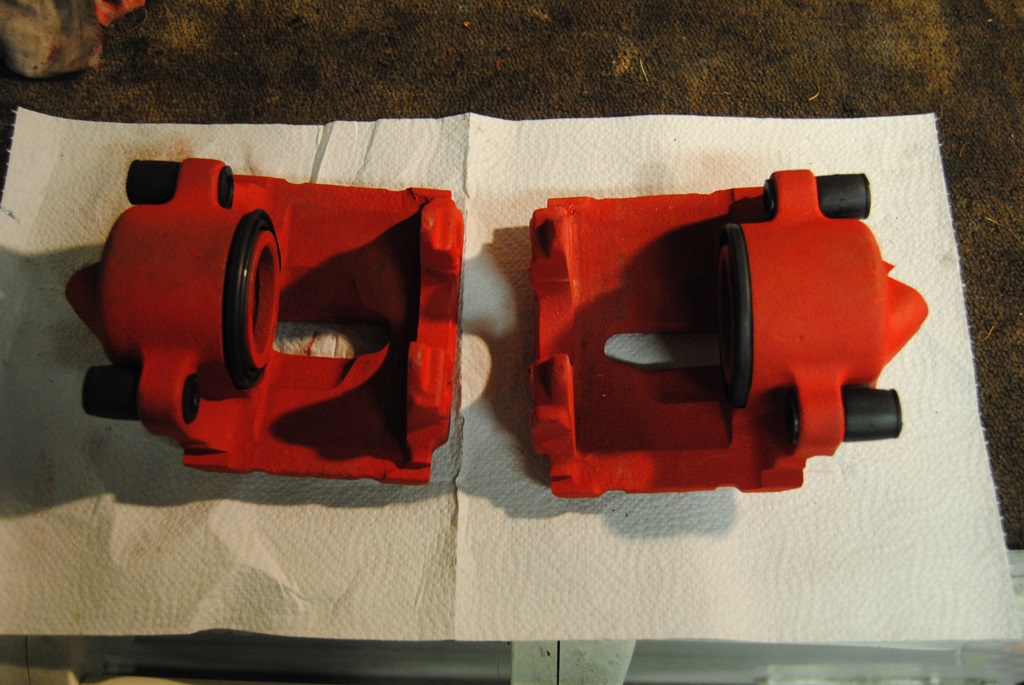
Very busy lately... Started off that my front left brake didn't work. So I had to replace that caliper. But I thought why do one if you can do two instead? So both front calipers were replaced by some from my old XJ6 (some of the few parts what are the same). Sandblast, respray, rebuild, refit
So, I started with rusty calipers and blasted them to look like this:

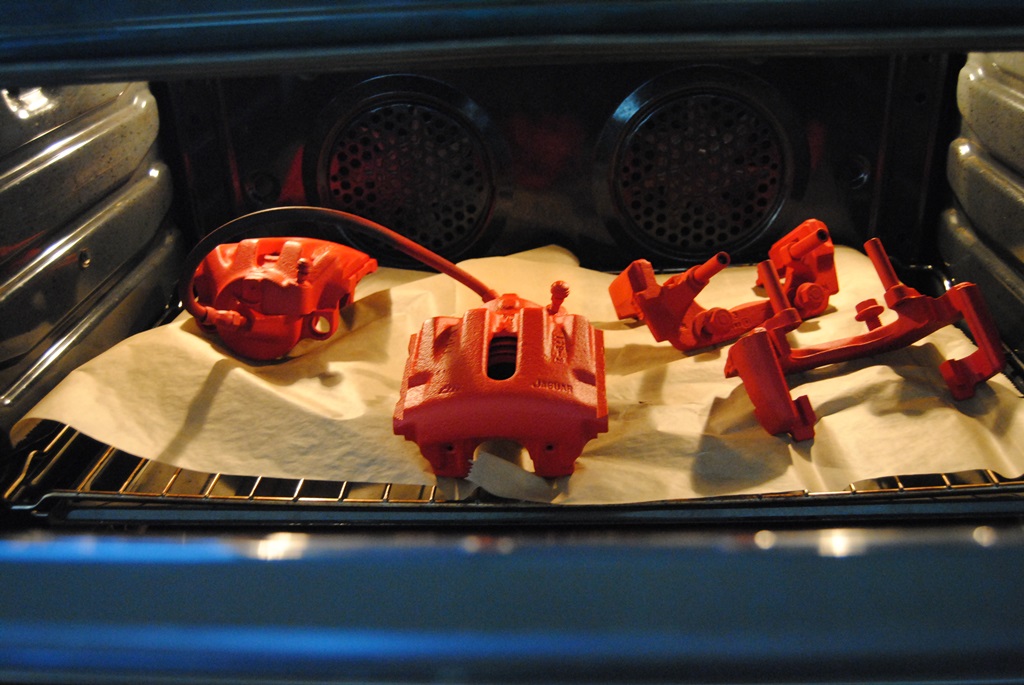
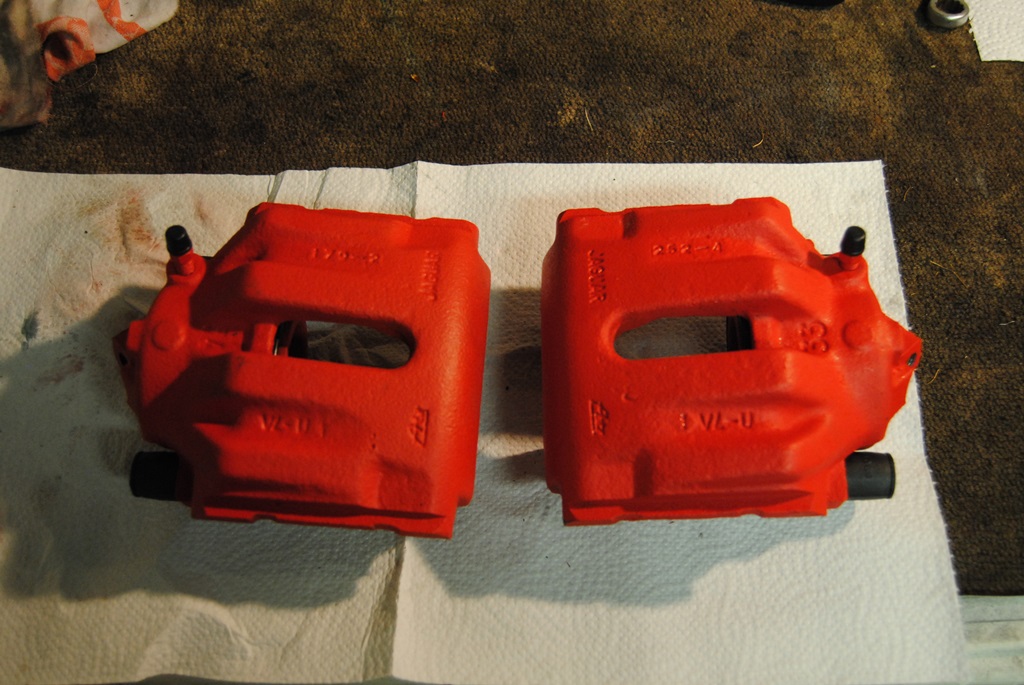
After rebuilding both calipers, I changed both... Especially because the front left wouldn't work
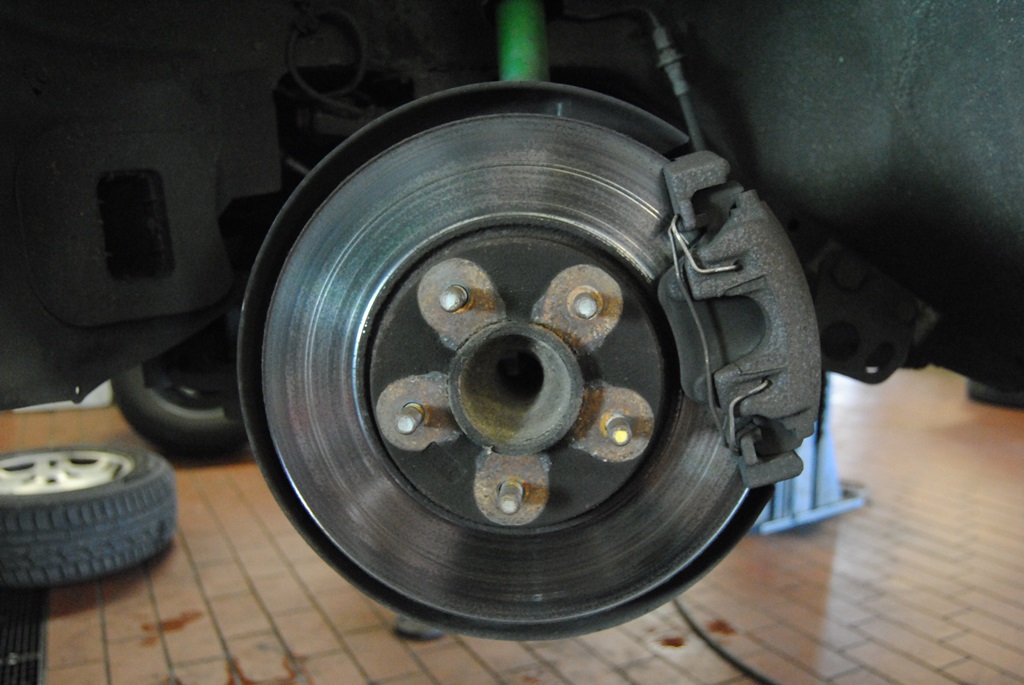
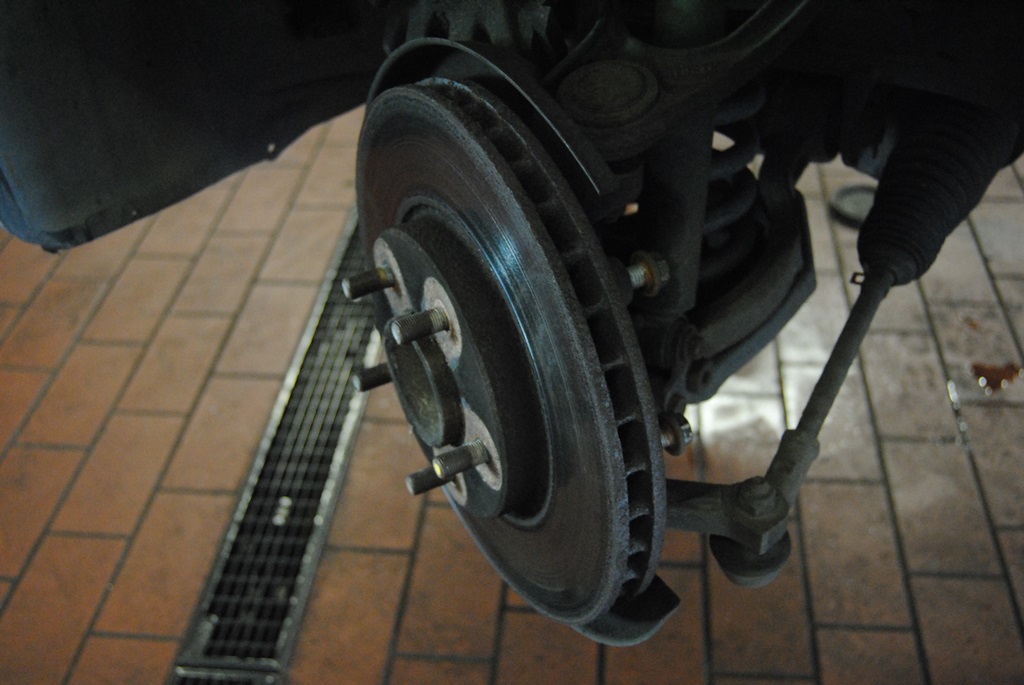

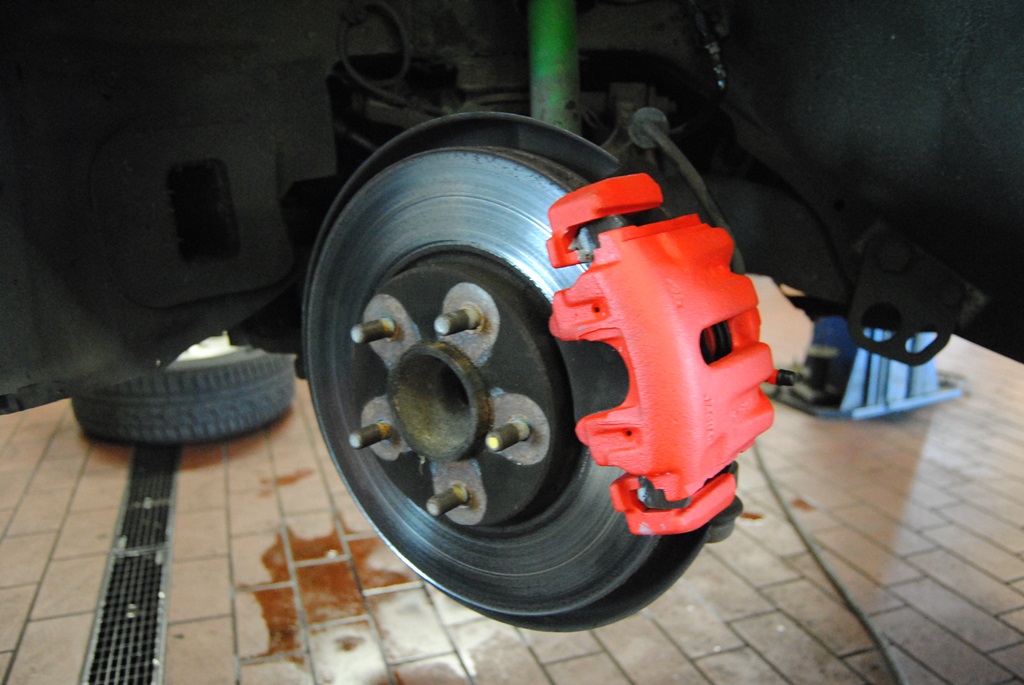
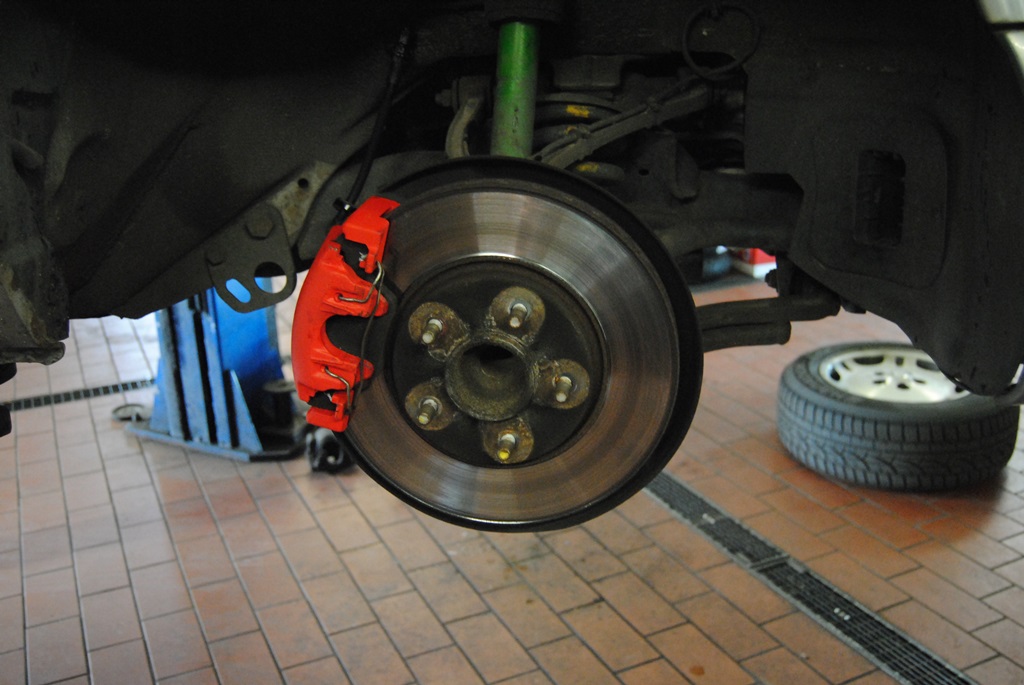
And after that was done, bleeding, and brake testing, it worked out to be perfectly sorted. I can now finally stop properly
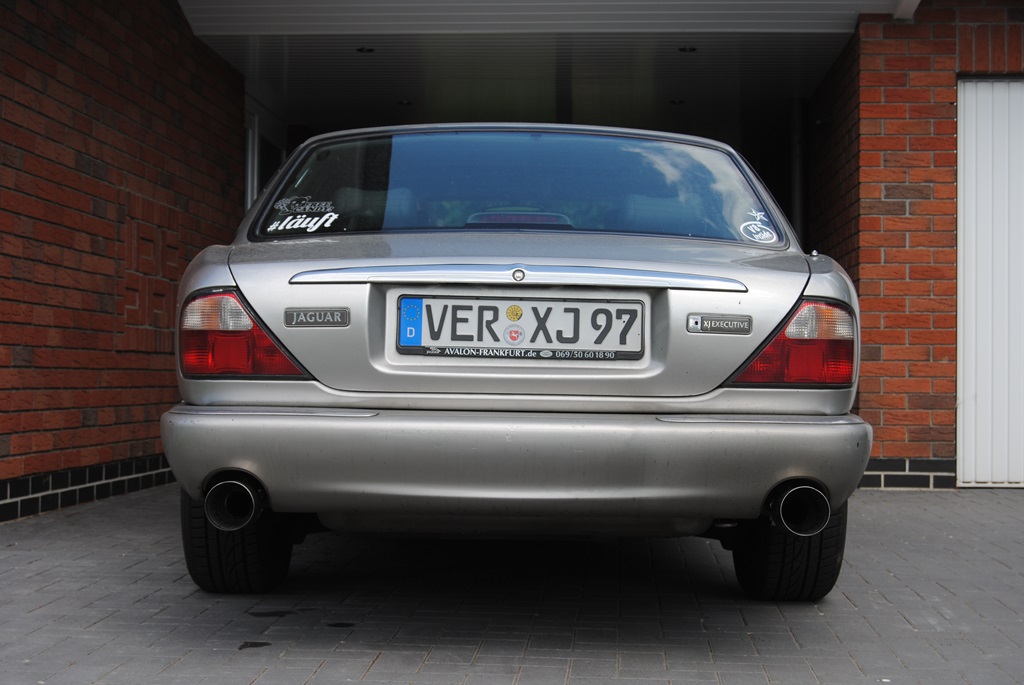
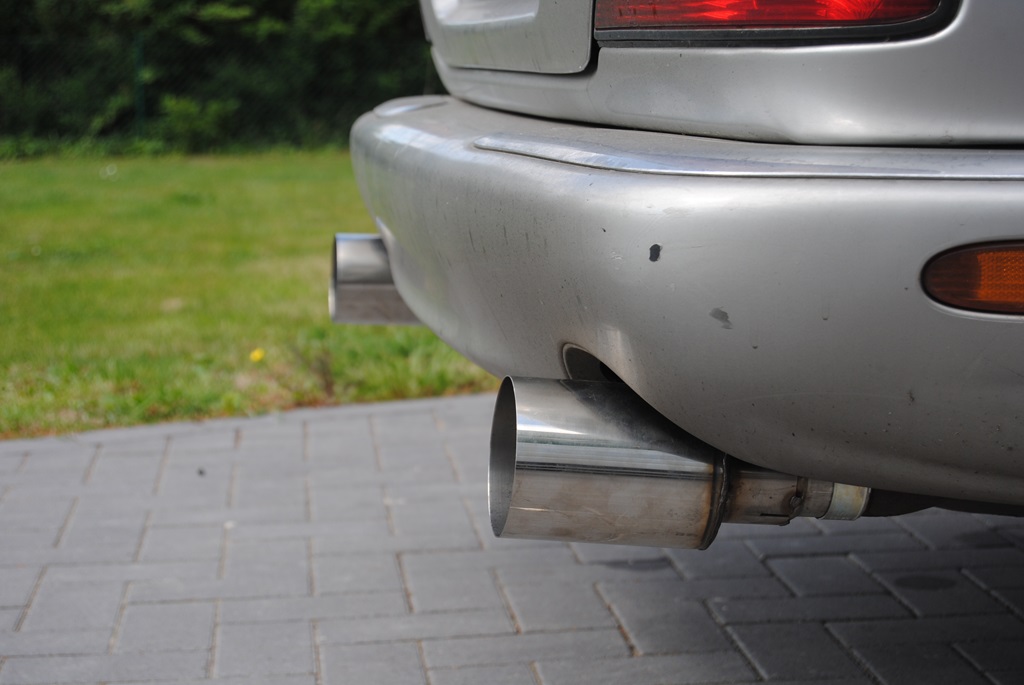
And while I was at it, I replaced the exhaust tailpipes...
So, I started with rusty calipers and blasted them to look like this:
After rebuilding both calipers, I changed both... Especially because the front left wouldn't work
And after that was done, bleeding, and brake testing, it worked out to be perfectly sorted. I can now finally stop properly
And while I was at it, I replaced the exhaust tailpipes...

Senior Member
Joined: Oct 2012
Posts: 256
Likes: 98
From: Michigan
I use ebay. I've picked up several sets (xenon blubs/power box/wiring) over the years, all for $40 or less. If the bulbs don't fit perfectly, just sand down the plastic ring surrounding the bulb until they do. It's an incredible difference. They are all plug in. Very easy to figure out.

Senior Member
Joined: Apr 2012
Posts: 168
Likes: 24
From: Jersey, CI.
Got her back from body repairer yesterday, took her for a drive. Great. Need to get electrics looked at as several things wrong there. Was in hospital for 2 weeks after the accident and door was wide open and although plastic sheeting was placed over the door hole, the door itself was open to the weather, and probably got soaked on rainy days. Drives brilliantly though. So good to have her back.


Veteran Member
Joined: May 2014
Posts: 5,906
Likes: 2,182
From: Bremen, Germany
It is a start to my "get rid of the chrome" plan
How can I put it without giving it away... Hmm... Lets say, the chrome will stay chrome but beneath a layer of other colours(!)...
More when the test object is ready
How can I put it without giving it away... Hmm... Lets say, the chrome will stay chrome but beneath a layer of other colours(!)...
More when the test object is ready