When you click on links to various merchants on this site and make a purchase, this can result in this site earning a commission. Affiliate programs and affiliations include, but are not limited to, the eBay Partner Network.
Since I haven't seen any other questions while searching (and if I have, I do apologize), I have an interesting question to the masses that might know. I just received my "new" - re-manufactured - throttle body in the mail. Looks all shiny and clean and it just HAS to be better than what I have, right? Right.
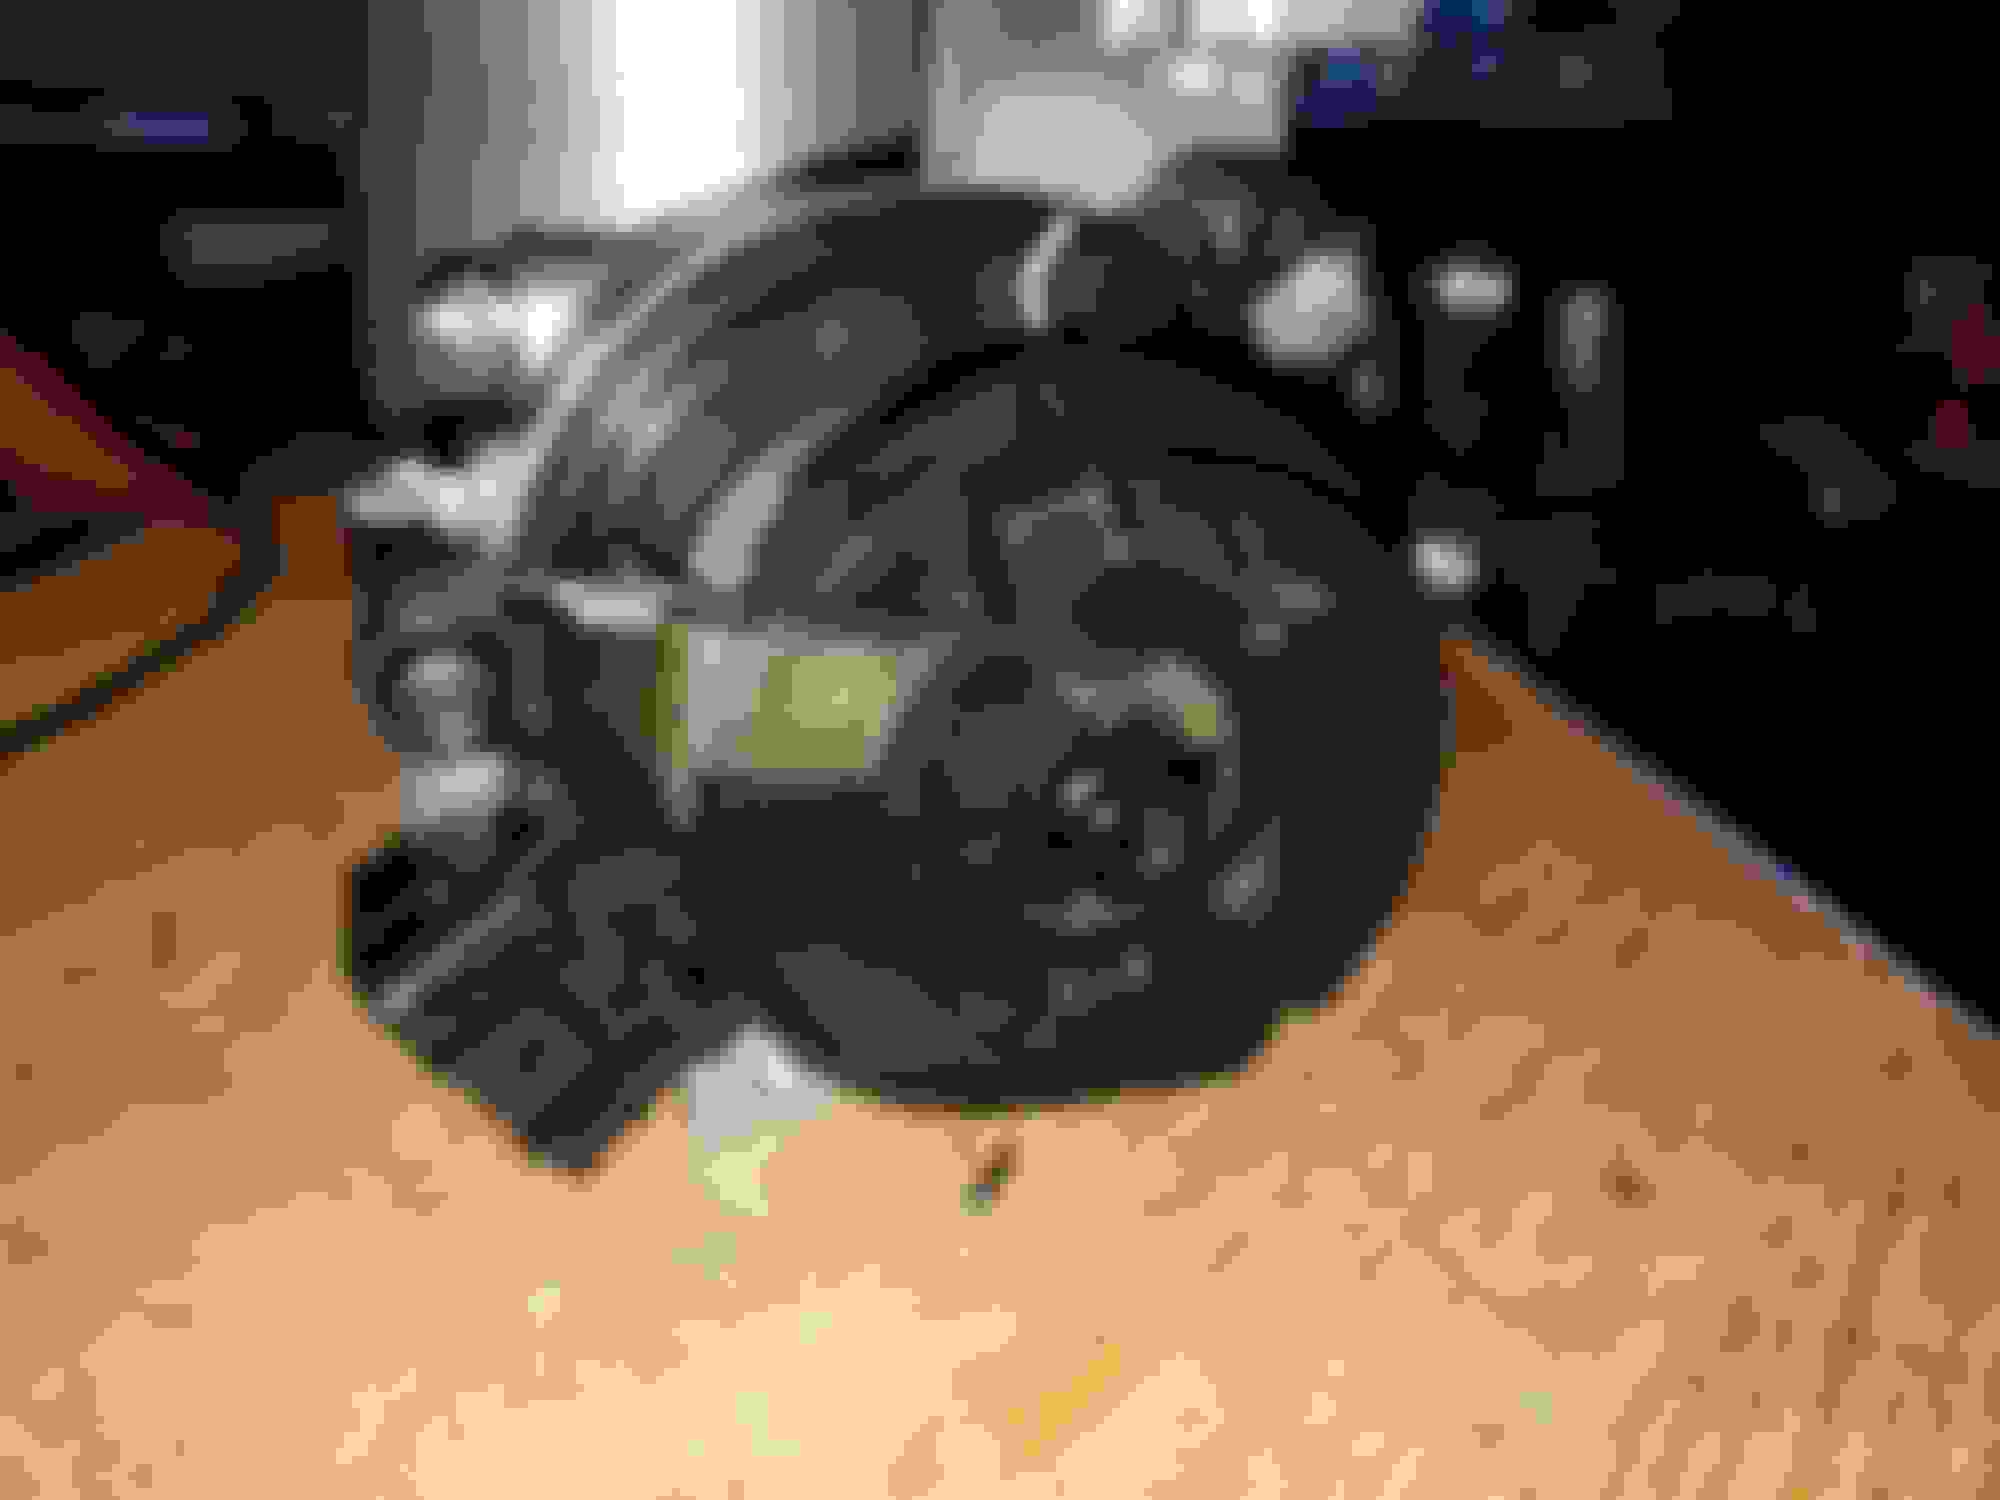
My question is though, in the picture below: This is taken as a side shot (I turned the flash on to try to capture more detail), showing the connection where the throttle cable goes, as the TB assembly would sit on the car. However, on MY car, I know the throttle cable curls around and the..I guess the bung end? sits more at about the 7-8 o'clock position on this assembly. This one sits more like noon. Now, I'm all for cable adjustment but I can't see there being what'll amount to almost two inches of slack? Plus, well, there's no way to start the pull from the top of the throw, and then "push" a slack cable down the side. So obviously there's something amiss. Has anyone had one of these apart for any reason, and can tell me if there's a way to re-orient this thing? I've tried comparing it, and it looks like the entire assembly itself might be turned one direction too far - it appears that it's a triangle of screws that could be removed, the whole thing rotated and then put back in, but I have zero inclination of what's behind this spring-loaded bunch, how it hooks to the butterfly, etc. And I'd much rather not mess it up by trying without knowledge. I'll be calling the company tomorrow to ask, but I thought in the meantime I'd throw it up here for debate. Annnd go!
Granted, when I get a chance to actually do this, I could always pull the end off the original and see if there's anything that would go bonkers if I tried to turn it. But then if I can't figure it out, or if it's nothing I can do to make it right, or screw it up, then I'm out not only the barely-working-but-still-working TB on the car now, as well as the new one being unable to be used.
Obviously, they have screwed-up. The whole black assembly should have been positioned 120 deg. anticlockwise in relation where it is now (see the diagrams). I doubt that the black assembly can just be unbolted, rotated anticlockwise 120 deg. and bolted on again but, as an alternative to sending it back (wasting time), you can ask the company whether you can do it yourself.
After looking at further TB diagrams, it appears that you can re-position the black assembly yourself. As shown on the diagram, there is no mechanical connection between the cable operated front shaft and the throttle shaft, except in the "limp home" mode. As your black assembly is positioned now, it is similar to where it is when in "limp home" (which is with the accelerator depressed about 60%) with the longer tab on the front shaft just contacting the tab on the throttle shaft. You can verify this by rotating the cable crank clockwise - you should be able to start opening the butterfly almost immediately from the start of rotation of the crank (which should not be the case when the black assembly is correctly positioned). It looks like you can just rotate the black assembly 120 deg. anticlockwise without causing any problem inside - it will just move the long tab of the input shaft away from the "limp home" tab and bring it close to its internal stop (the small black cube above it). In any case, talk to the company first.
Thanks both, and especially for those diagrams. How I couldn't pull up a view like that in searches is a mystery. I've put an e-mail out to the company to ask them as well, we'll see what they say. As it sits right now, I can turn the spring assembly about 15 degrees before the butterfly moves, and then another 15 or so until it seems to stop dead, and the butterfly is barely open at that point. Definitely needs to be turned, just a matter of how to do it. I had to order new bits anyway, they'll be here tomorrow. I lost my other set. So if it's something that they or someone can walk me through without totally busting something, then I'll be set. Also need the new gasket to get here too, so I have a couple days to get it sorted.
The company I ordered this from, and I can recommend not purchasing parts from Partspro-365 via E-bay - replied this morning to my question. My question was simply the same as I asked here, what would be involved, and would there be anything I need to do, in regards to rotating the assembly 1/3 turn counterclockwise. All I got was a canned response (that they had already sent when I purchased this):
Installation requires professional skills.
We've tested every throttle body before shipping, we guarantee that all throttle bodies shipped from us are 100% working and high quality!
If you are not a professional, we strongly suggest you to go for a mechanic!
The throttle body needs to be connected with the computer on your car.
Incompatibility may result:
1. Error codes on ECU.
2. ECU can't accurately control throttle opening, can't automatically adjust air-fuel ratio, which may result in high fuel consumption and backfire in exhaust pipes.
Please feel free to contact us if there is anything we can do for you.
Best Regards,
jim
I voiced my displeasure at getting a canned reply from what should be a simple question. Mind you, there's almost 6000 feedback for this company, 99.6% positive, so I had no real reservations about placing the order to start with. After all, they'er 100% tested. So my reply back was less positive, and Iv'e asked how they managed to test something that was put together incorrectly, and the throttle cannot be opened anywhere close to 100%. I'm not looking forward to "Jim's" reply this time. So looks like I'm just going to have to go ahead and bite the bullet, and crack it open when my security bits arrive. I can't afford the downtime to send mine out and wait, and I'm already hundreds into this "tested and working" unit already.
EDIT: reading a little further in the linked files, Part 01. page 5.21, it gives another view with the statement that there are no mechanical connections between them. By studying it, it looks like the only time there would be, is in limp mode when the tab from the PPS would reach over and kick open the butterfly just enough. So it must be that when I turn it by hand, that's what's happening and why I can only see the butterfly move ever slightly before I run out of play. As the gears on the other side are what actually turn the butterfly, per the diagram, then there really shouldn't be anything preventing me from rotating it. Granted, now I expect zero miracles of this thing working properly when installed, but.. I'll keep posted along the process if it comes to it.
As the gears on the other side are what actually turn the butterfly, per the diagram, then there really shouldn't be anything preventing me from rotating it.
I believe that the re-positioning will be easy. I suggest that you don't pull the black (input shaft) assembly away from the TB but just remove the 3 screws, rotate the assembly and bolt it back again, unless there are some notches that engage in which case you will have to pull it out a bit before rotating. Then, you can test it in the new (correct) position - when you rotate the crank, you should again be able to open somewhat the butterfly but this should happen somewhere towards the end of the crank rotation.
I believe that the re-positioning will be easy. I suggest that you don't pull the black (input shaft) assembly away from the TB but just remove the 3 screws, rotate the assembly and bolt it back again, unless there are some notches that engage in which case you will have to pull it out a bit before rotating. Then, you can test it in the new (correct) position - when you rotate the crank, you should again be able to open somewhat the butterfly but this should happen somewhere towards the end of the crank rotation.
Hoping so. Amazon dropped of the bits today, so that'll be the project on the desk tonight when I get home. Will post updates when I get there.
I can only add that the AJ27 TB's can be worked on and you should not have a problem setting the return spring housing back to the correct position.
I hope you have the correct security torx bits to remove the 3 bolts!
The pictures - great way to show the 'fly by wire' nature of the part - the next little issue you find on the initial startup is a very high idle or stall outs. This is due to the TPS sensor position in relation to the throttle plate. It might need a very light adjustment while the engine is running and can be quite hairy.
My advice would be to run the engine at idle to get the engine temp up prior to fitting the throttle, then go for gold and see how it runs. Reason being the cold start map can interfere with startup and the new TB.
If it goes straight to tick over 550-600rpm - done.
if it goes high revs locate the 2 TPS bolts, loosen and gingerly nudge the sensor body one way or the other (can't remember if its towards or away from the bulkhead, been a while) but you can see the bolts holes on the tps have adjustment and its very very small for a big difference in rpms.
After setting the TPS, consult the OBD reader for throttle percentage and adjust the cable to 95% ish.
Then carry out a hard reset, reason being give the new TB the base fuel map with the correct sensor positions.
It should then be a different car to drive. I had the same issue and it just gets more frequent until the car will not go out of limp mode with resets. The process above got me back to as near perfect throttle response as I could want.
Thanks for the tips Sean. I do have the bits - well, I have them again. I had previously purchased some as I replaced the TPS on this car a year and change ago, trying to stave off what appears to have become the inevitable. As luck would have it though, they disappeared as I got around to this, so I ordered another set. Just waiting on the gasket to get here to tackle this. Not chancing any extra leaks on this thing, it's already fussy as can be. I figure as long as I can get the spring assembly in the right place, than it can't possibly be any worse than how the current TB is acting. Granted, I would hate for it to be no better, but it would at least let me send my original off at convenience to be rebuilt by ASI without losing downtime for the car. As many issues as I've fought recently, I could really use a good bit of luck this go round. Pretty much at the make it or break it point with the car. This will determine if I keep it after I pay it off, or not. At some point, there's a much greater curve of diminishing returns on throwing money at it!
As it turns out, they used DIFFERENT security screws for the cable side assembly (and regular phillips on the TPS on the other side) - so the security bits that arrived today, no help at all. I'll stop at the Advanced Auto or whatever on my way home tomorrow night and see if I can come up with something that'll work. The only saving grace is that the gasket isn't here yet..
Very anti-climactic result on this. Granted, won't be installing it until Saturday, but at least for the moment, I'm ready. I picked up a cheap set of security bits from Autozone for 9 bucks, and pulled the three screws off. I thought it would just spin / slide in place, but nope. So, since I was already in it, I popped the whole assembly off the end. No drama, no bits flying everywhere. I turned it the right way, put it back together, and now the throttle - at least the spring assembly behaves as expected. I took a short video I'll throw up tomorrow in case anyone needs it for reference, but here's a picture below of the open moment.
It looks like you have an XJ8 throttle with the air assist valve. When you remove your original remove the R blanking plate and gasket and fit it to the new throttle. Or you'll be wondering what the extra connection is!
Good to know. In honesty, it hadn't even occurred to me at this point yet to sit them side by side and compare. I would've probably stumbled upon it when I got it on but it's a good reminder to do that beforehand. I'll probably go out on my lunch break today and take pictures as it sits now, just for reference. The gasket should be here tomorrow, so it looks like this is Saturday morning's project.
Just to close this off: I went out and replaced the existing with this thing, and I can confirm that all that was needed, was to pull the end off, rotate, pop it back in, and it behaves as expected. Throttle play, the butterfly only at max in limp mode is where it makes a physical contact. My guess is the company that sold it probably bought it elsewhere and just relisted it on ebay from their supplier's description, or else it would've taken ten seconds to answer the question. Oh well. It's on, brackets all were relocated, and I even found a vacuum line that I had missed, which could very well be the cause of my other issues too, so this might actually be a good day. We'll find out, as I'm about to go out and start driving around my roads to see if it trips anything, but at least for the time being, she idles normally, revs fine at least in the driveway, and isn't instantly going into limp mode. So I guess that's a plus. It has passed my requirement of being "at least as good as what's on it now". So mine will get cleaned up, and I might send it off to ASI either to have as a spare, or if this one seems to pan out, I may resell it to recover some costs. Gonna need money towards the down payment of the next car anyway :P