When you click on links to various merchants on this site and make a purchase, this can result in this site earning a commission. Affiliate programs and affiliations include, but are not limited to, the eBay Partner Network.
It's been a while but thankfully not to long. Just getting myself back in the swing of posting. With 'fair winds and following seas' my next project should be with either Saturday or Sunday...another 3.2s...with an interesting recent past.
If you followed the journey I took with my last XJ40 you will remember I wasn't always one for convention....well nothing has changed...can't bring myself to post any pictures or say anymore until I have the keys in my hand.
So the next 40 finally arrived,slightly sad-faced and road weary. I had seen her up close and personal a few weeks ago and had gone with the intention of driving her back the 111 miles. Unfortunately she'd been sat for a few months awaiting the repair of a broken alternator. When I arrived she had been started but refused to stay running....After a quick look round and a bit of prodding and poking, it was clear that the charging circuit wasn't doing its' job. Stuff happens and all that...I went home Jagless. Finally a deal was renegotiated and I recovered her back home.Today has been wet,windy and thoroughly miserable but I thought I could at least have a better investigation of the issue. At this point the battery was completely dead and neither a booster pack or jump leads were making any headway. Checked all the fuses first..all ok. I was actually wondering,at this point, if the starter motor may have stuck and almost got the hammer out..decided instead to check the wires etc. I found a thick black cable coming out form the starter and going...nowhere. Where it ran looked like it should be connected to the alternator, had a ring connector and protective rubber cap thing.Weird thing was that the alternator had all it nuts and connector in place. To make sure I wasn't going mad I phoned a friend and asked about the various connections to and from alternator/starter motor and although not all set-ups are the same it was entirely possible that this cable should be connected and at the same time would complete the charging circuit (dorrect me if I'm wrong,please)....Connected it onto the alternator,put the jump leads back on and after a couple of attempts she fired up...and stayed running after the jump leads came off....and the voltage gauge went up instead of down...Result. She's not running on all six yet but a combination of old fuel,being sat,damp, won't help matters.One step at a time.
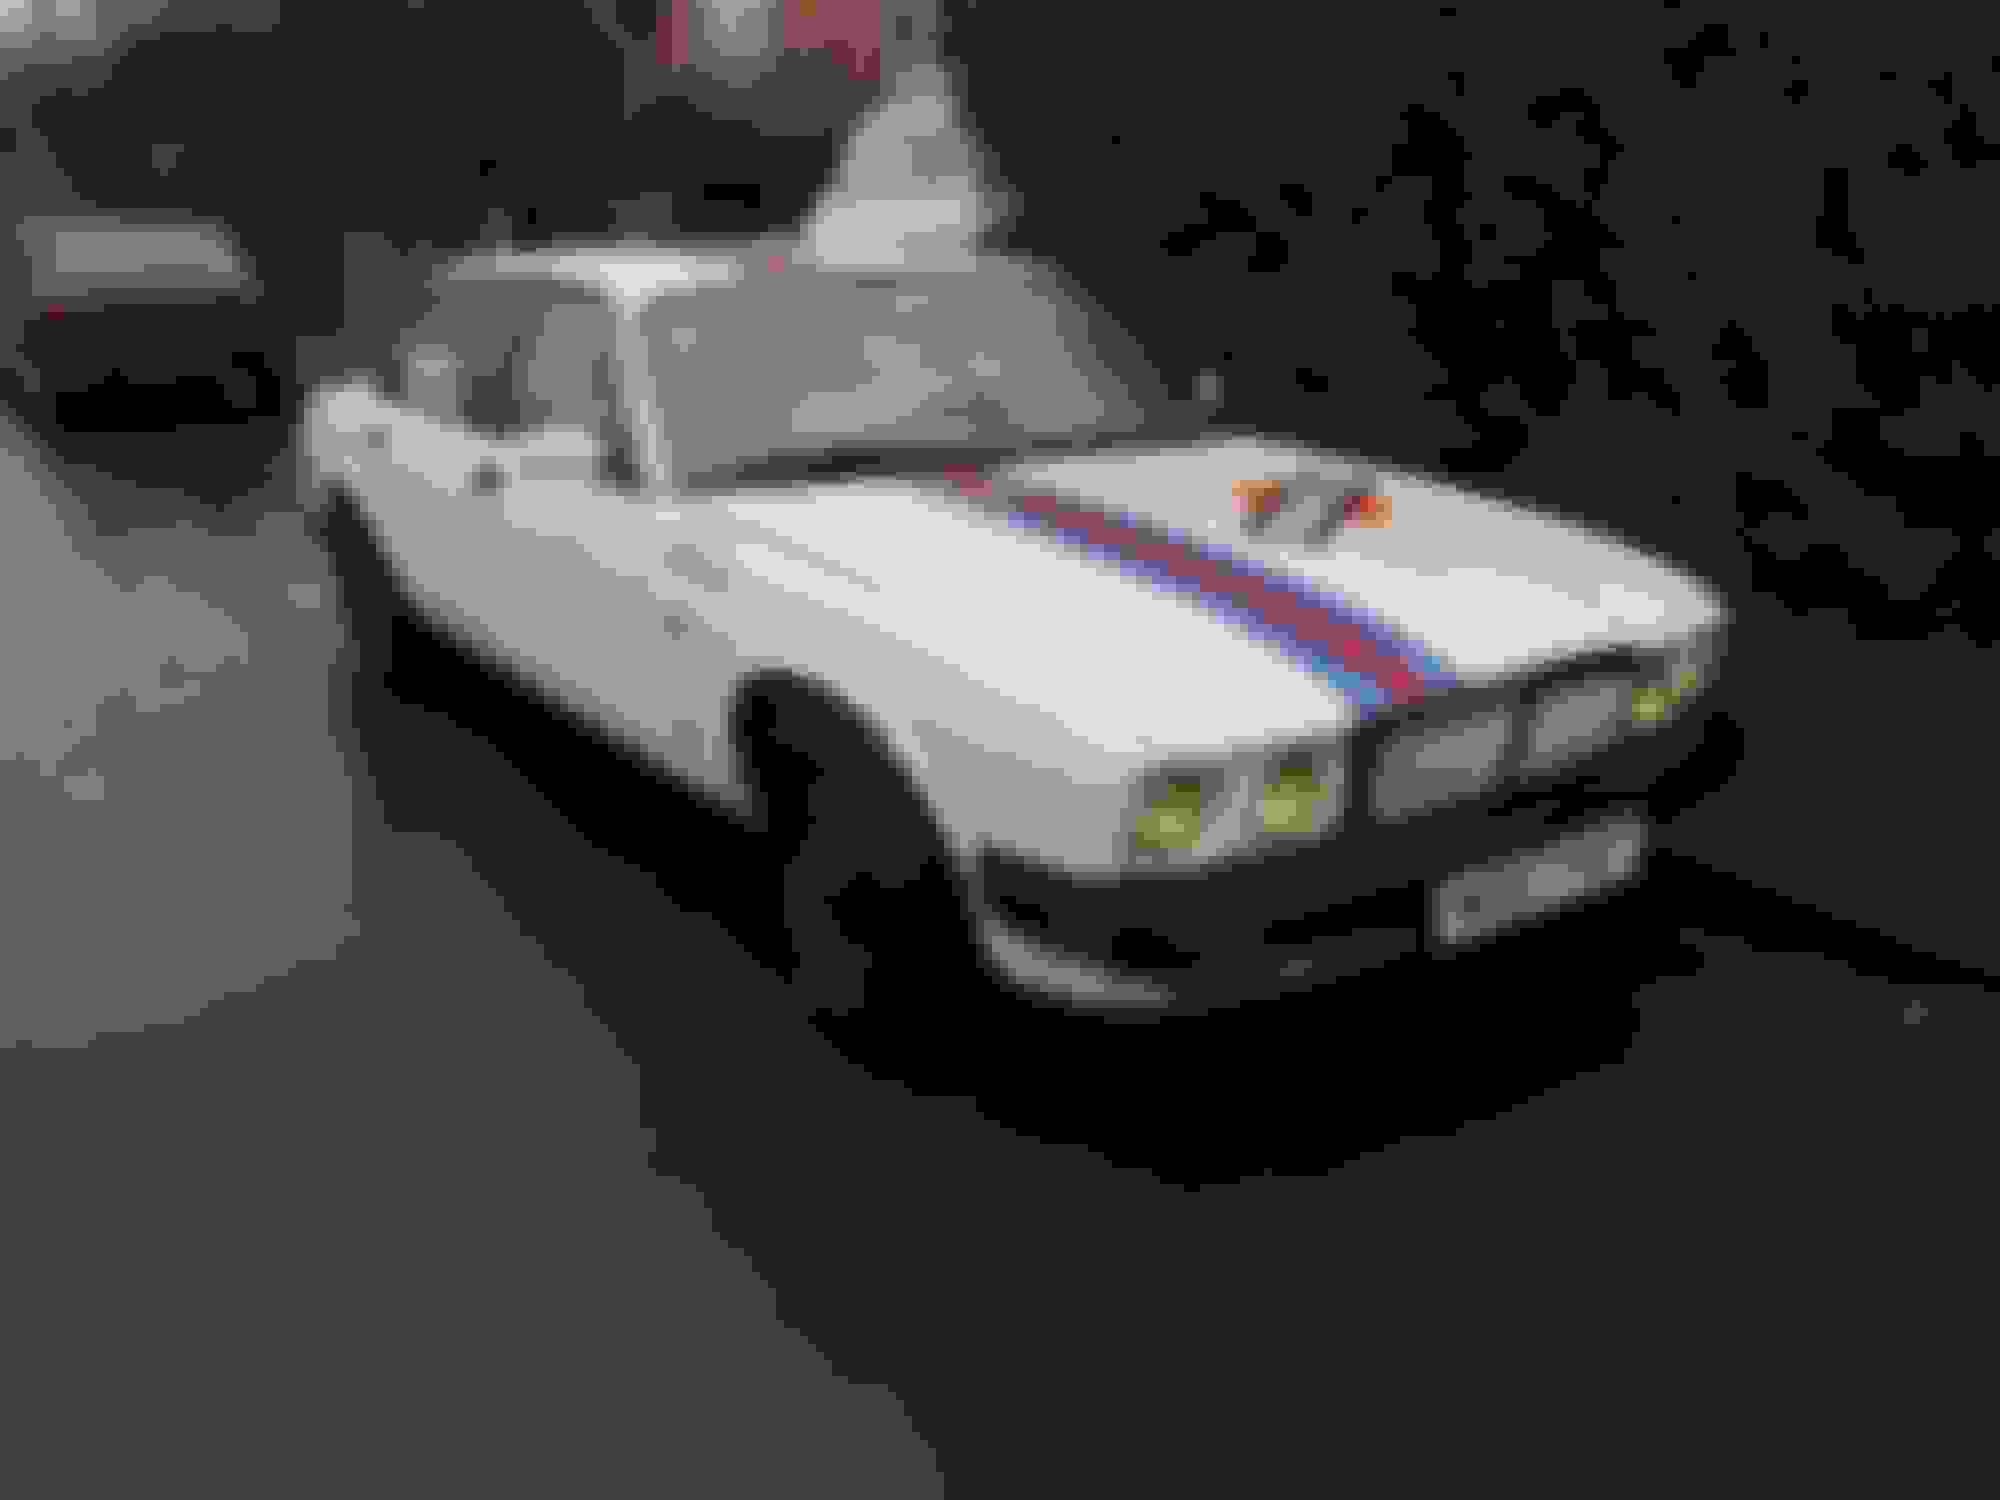
Anyway,here she is.
The livery may not be to everyones liking but she is what she is and hopefully she hasn't had her last Hoorah. I'd be interested if anyone knows this car so I could piece together some sort of history. So, another journey begins.
So there was loads on todays agenda and not much of it was Jag related. I did manage to squeeze an hour though which was reward in itself. After sorting the charging and staring issue I was also aware that the first time she ran in my possession there was probably only about 4 cylinders firing,so today I set about some remedial work to help her out. Now this isn't by the book as I haven't the luxury of being able to take her off the road and go through her with a fine tooth-comb. She needs to be running well enough to be used in the short term and then I can concentrate on getting the best out of her. On start up she runs fine then as she gets warm starts to miss,first thoughts are towards something breaking down as it gets warmer...number of things,plugs,leads,cap,rotor arm etc etc...So the petrol light was on so I put in 5 gallons of the decent stuff together with an injector and all round additive I have used before without issue,along with that I added a small amount of octane boost which should nullify the dead petrol still in the tank and system. The original battery turned out to be dead so I found a healthy one,popped it on and away we went...the miss returned but after about 15 minutes went away and didn't return whilst the car continued to run for another half an hour.Yay. One bulb out and the heater blower only works on full and the seats and carpets are a bit damp so all in all pretty good...
So before the car had arrived I had made contact with someone who was breaking an XJ40 and given him a list of items that I thought would be useful to have around..just in case. The alternator was a must at that stage as I thought maybe that might be at the root of the issues,now surplus to requirements but worth having.So today I made a 10 mile trip to collect,alternator,starter motor,water pump,coil,amp,crank sensor and bracket, bulkhead relays,set of HT leads and a nearly new distributor cap...all for �100,absolute bargain. I've managed to hold onto a number of X300 spares over time but not kept anything for the 40. For a minimal investment now is worth it as over time these types of spares will go up in price,crank senors alone have doubled in price over the last couple of years. So even if you don't need them right now it might be worth the investment.
So I managed to get another hour or so on the 40 today....trying to think of a name for her/him...think it might have to be 'Marti' also helps that it's unisex..yes,that'll do. Anyway today it was a new set of spark plugs going in...now I like,wherever possible,to use original parts especially when things aren't running as they should,however, on this occasion I was to impatient so instead of the recommended Champion RC9YC I went with NGK BCPR6ES which I have used before in other models without issue....as it happens,the ones coming out were the same NGK plugs.As a matter of course I drop a small amount of Redex down the bore just to help remove any build up of unwanted 'stuff',after changing the last plug I leave for about 20 minutes before starting up...then a satisfying puff of smoke out of the exhaust and we were firing very smoothly on all cylinders.I also, for good measure, I spray some contact cleaner on the end of the HT lead. So that was all good.
The previous owner had installed an isolation switch as there was a battery drain somewhere,however, I had noticed that as soon as I connected the power the one fan would run and only stop when the power had been terminated.Today once I put the power on and started the car the fan stayed off but did come as it should when the temperature was up....give a little and they give a little back..Nice one Marti.
Time seems to have a mind of its' own at the moment. Since my last post I have managed to move on a rather nice XJ8 to a new home,one which I think will lift her to the next level,which is always nice. As part of the deal an x300 came into my life,only briefly and again moved onto pastures new and a respray,which is also nice. So update on Marti. Managed to get her down to the garage to have a look underneath and found a few areas that will need the Mig,possibly a set of discs and pads on the rear and not much else. The cooling fans have continued to play up and I believe they were the cause of the battery drain as since I've put the new battery on,removed the isolator and manged to turn the car off whilst the fans were not rotating,there has been no drain. I would imagine that the previous owner possibly knew the fans were running on and put the isolator on to save any further investigation.Maybe they just didn't realise that they never turned off if they were running when the car was turned off. We do assume they will eventually turn off as we walk away. There are a load of threads about various fan issues, it's bewildering.(The fans are not on at start up and do come on at temperature) So I've opted in the first instance to look at the relay that controls both fans (DBC11617). I removed it today and cleaned the external connector and then took the relay apart and cleaned that up. I'll be honest, I don't which parts of the relay do what. So I cleaned and made sure all the contacts were being made when asked,put it back together and replaced it. After about half an hour the fans were running so I turned the car off,they stayed on.....rather than tempt fate I turned the car back on and after a while they turned off of there own accord as you would expect during normal operating conditions. So the jury is out at the moment but I will take her/him out for a run tomorrow and see what happens. If nothing has changed at least we can move onto the next suspect.
Few more photos...mainly to show that even after all the rain the footwells are still dry.
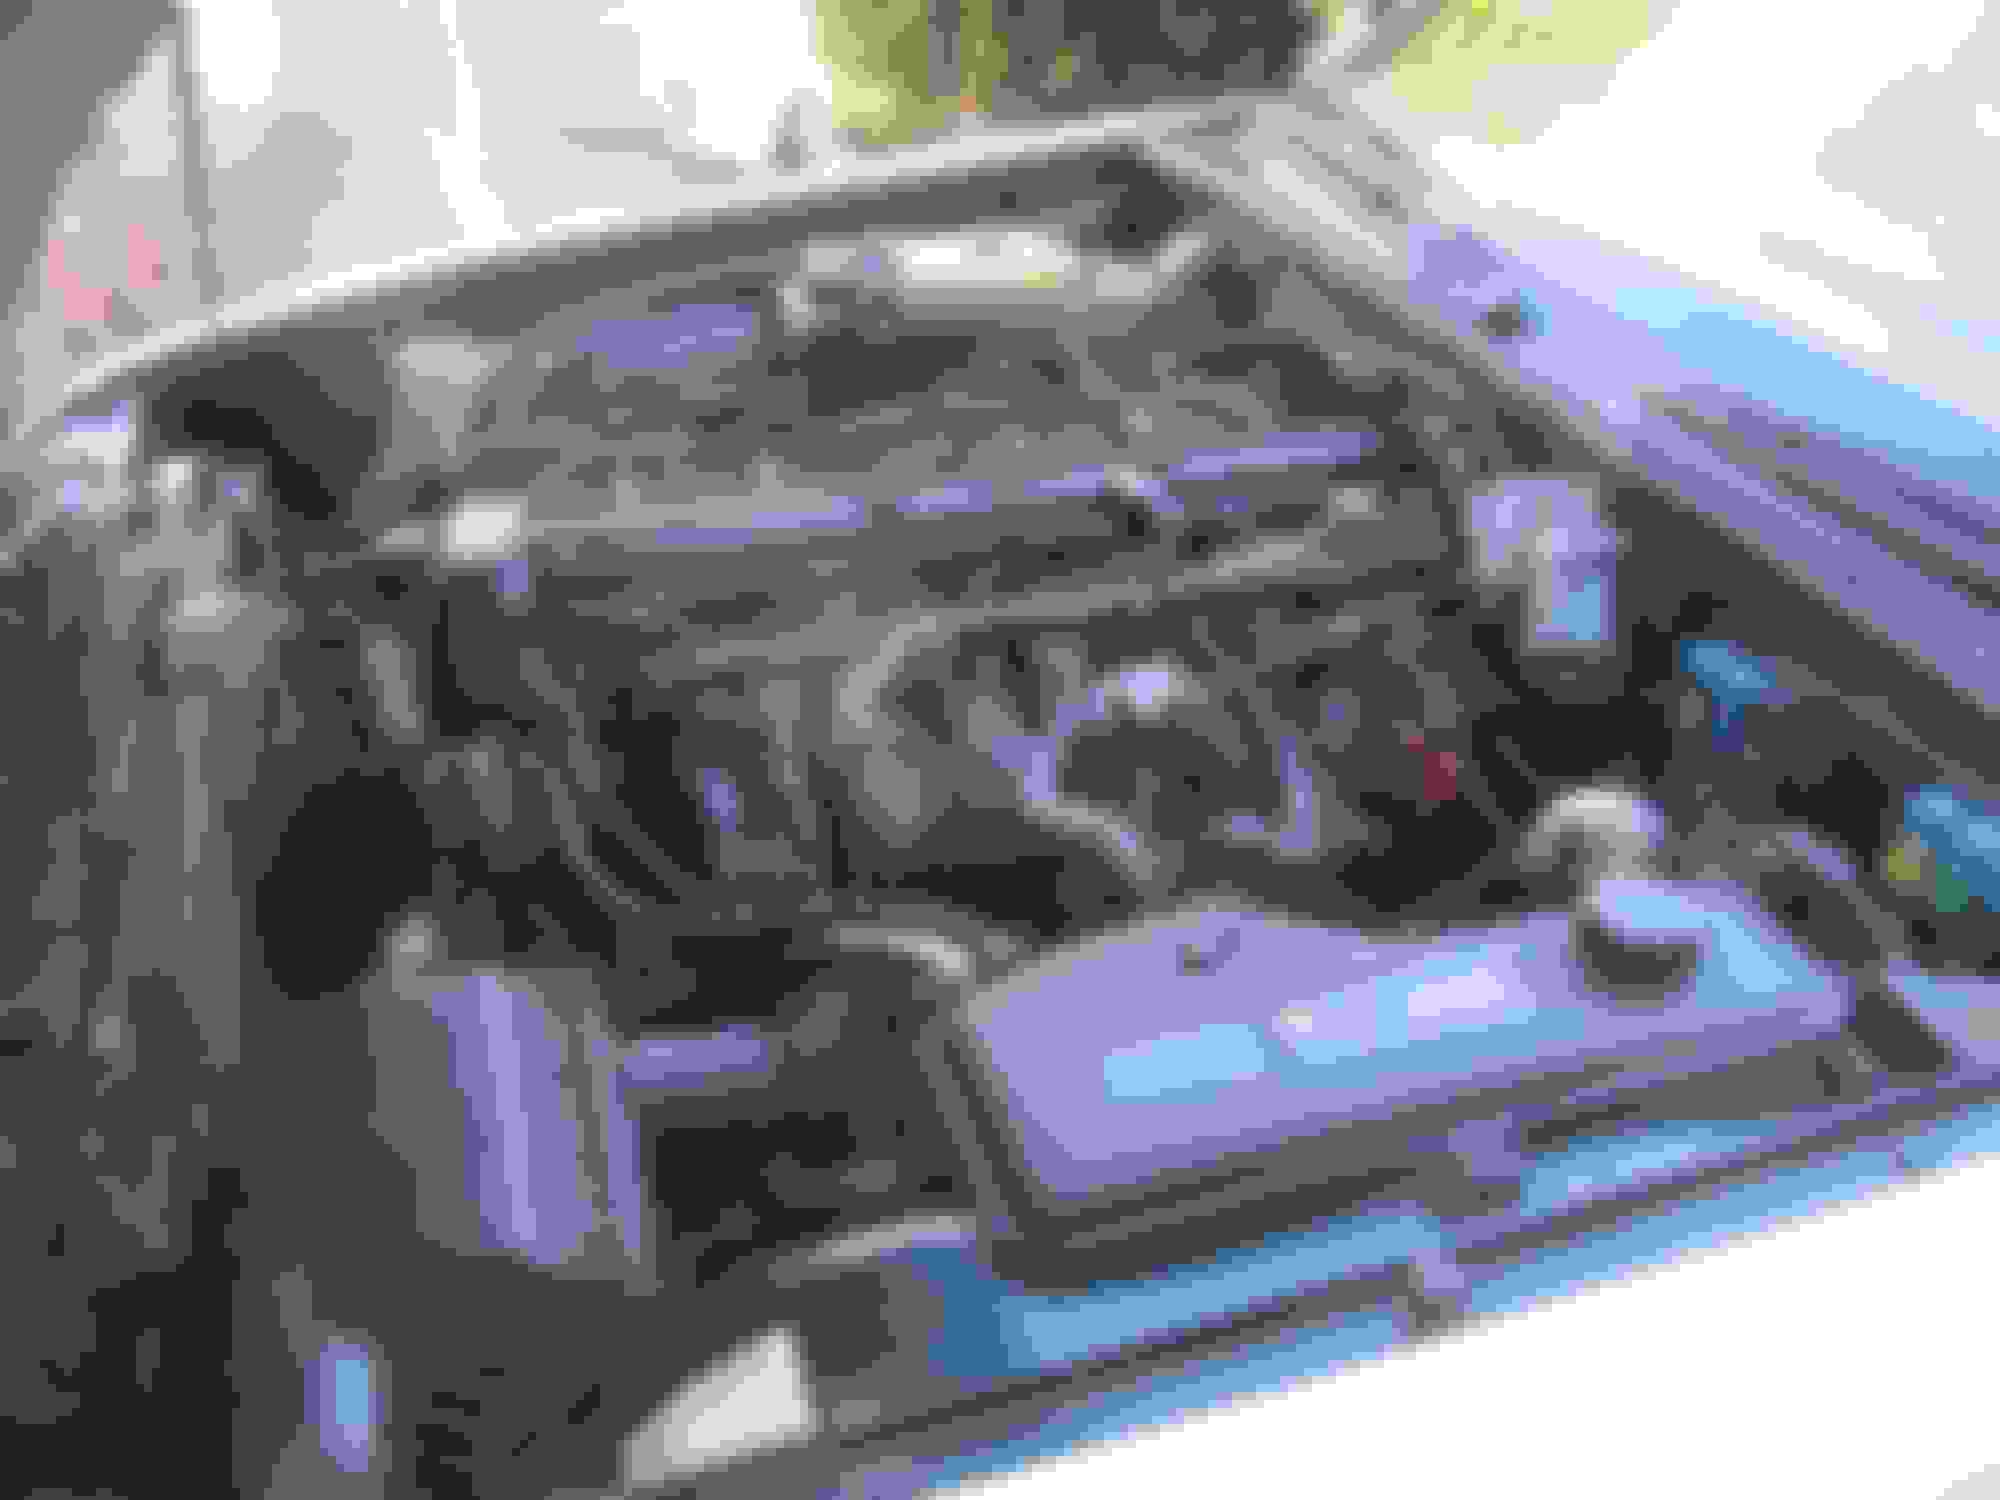
The carpets and underlay were soaked when I first had her, I was concerned of leaking but I think it was more to do with being sat doing nothing for a number of months...condensation,damp etc. Working my way through the engine bay clean, not finished yet.
Tried some deep dish 19" alloys on but they didn't do it for me. I like the current stance,just not sure of the wheels.
No joy on the relay,which is ok,good to rule it without having to shell out for another.Can't guarantee that it isn't the culprit but I'm going with the odds at the mo. Next was the fan switch,located at the bottom lefthand side of the radiator,DBC10013. Once the car has thawed out I'll give that a go and see what happens.
Poor old thing has been neglected for a coupe of weeks as I've been working towards finding homes for the last of the most recent Jaguars I've been working on. Certainly a chance to meet other enthusiasts. I took an X300 3.2 in part exchange against an XJ8,the buyer drove his over 200 miles to me and then drove the XJ8 back home again. Now that's dedication,passion and a love we all share for these mighty cars. Anyway,back to todays adventure. So having hopefully ruled out the relay mentioned earlier,that controls the fans, today I was replacing the Radiator fan switch DBC10013. Easiest to get to from underneath. Had to use a slip joint wrench thing to undo the switch as it is a big old nut 29/30mm and my socket wasn't deep enough. Once off and and all the coolant had drained out I stuck the hose pipe in the reservoir and gave it a good flush....I don't think there was very much coolant, just water, by the looks of what came out. Put the new switch in and cleaned the connector. Put fresh coolant/water back in and fired her up. Probably took close to half an hour for the fans to finally turn on but they did......and turned back off...and back on. Finally I turned the car off and the fans continued to run for just a short time and then stopped. All good. Very happy. I suspect and hope that will now be the end of the battery drain saga that had caused the previous owner to install an isolator switch. Time will tell.
Connector came off easy enough,bonus.
Old switch prior to removal.Access isn't the best but is possible,a deep 29 or 30mm socket would be best but slip joint adjustables worked.
Not the best looking coolant.
New switch fitted.
The switch I bought was a Cambiare at �14.98 (Ebay listing number:232417335082). Sometimes in the compatibility section it only lists for the 4.0 or 6.0 models, I think this is an oversight as the part number is the same.Anyway it fits and works.
So I have been guilty of neglect towards my '40'. She has sat outside the house with only the occasional run around the block for the last month.Truth be known she's been unreliable and I've been ignoring her and hoping she'd sort herself out,on her own. So that didn't work and I sold the S-type that had been fun for a couple of months and my son has been using the family car.....so I had to pull my finger out and try and lend a hand in self-healing. The only issue was that she kept cutting out...either whilst sat idling outside the house or out on a journey when pulling up to the lights or a junction...and it was never consistent enough to nail the problem outright. First off I gave the MAF a good clean using 'Electrical contact cleaner' whilst the engine was running and the airbox off. Then I removed all of the air intake and cleaned out the throttle body and idle air control valve.For this I used proper carb cleaner. Finally I replaced both the exhaust manifold gaskets as I knew one was leaking...turned out both were,bonus. Last but not least I replaced the airbox and filter with an old Pipercross 'Cone' type one I had lying around. The end result is that she now runs beautifully. Sorry I can't say which particular aspect of maintenance cured the issue...might well have been a combined effort. All good though as now I have a renewed enthusiasm which lead me to the next thread...which may surprise and please some and possibly upset others.
Unfortunately the rear valance is painted,not wrapped.
All the arches are like this one,which was a pleasant surprise.
So after a full day at it and some sore fingers we ended up with this....
Overall the bodywork was solid under the wrap,with only a couple of areas that have bubbled. There was a bit a lacquer peel here and there,mainly on the drivers door. The roof,however,deserved to be wrapped as it was one bgi mosaic,crazy paved mess. Hey ho,can't have it all. Next job will be to pull off the bumpers to get to lower parts that have been painted white. Overall,very happy.
Day two for as long as the weather held.Trying to finish off. Both front and rear spoiler/valance/skirt whatever you want to call it, had been painted white and not wrapped,which was a pain. The front bumper came off without a hitch so I was able to clean up the area and respray in satin black. The rear bumper was a git,manged to get the one bolt out but the other one snapped. So I did the rear with loads of masking tape and towels. I have pictures of the front but not yet the back. Both front and rear bumpers should be easy as they are only held on with two 19mm bolts. The bumper lights are connected in the boot so you do have to pull away a portion of the side carpeting to get at it. The front connectors are easily accessible once you start to pull the bumper away from the car..well they were on mine.
Etch primer is a much if you want the paint to stay on.
The little flaps you can see are to allow access,in my case to remove the bottom retaining screw for the foglights (and connectors)
Quite like the openess of the front without the grill.Have contemplated using mesh instead of the plastic inserts.
Temp fix on the fog light lense using all weather transparent tape.
Manged to finish of today,well this stage of things anyway. Overall very happy with the result,plenty more still to do and a couple of tiny niggles that I'll address soon so as not to draw attention to my DIY efforts. The two corner pieces that sit at the bottom of the rear pillars need sticking back on. There are also a couple of spots of white paint which will be sorted when I get the right green. She's in for some welding on Tuesday and then she's ready for the Mot. Once all that's done I shall start using her in earnest and will look forward to the next stage...Below are photos of the end result and a couple of the floor corrosion...no wonder the carpets were wet when I first had her.
So one photo says it all really. Sums up the story so far. Tomorrow is Mot day and then after that I'll be working on the exhaust and engine to see if we can't do something a bit different.
Part One complete...now onto the stuff you can't see.
So the day had finally come. A mornings worth of welding and then the Ministrys' test for another 12 months on the road. To cut costs I was on fire watch inside the car as the outside was was made good again. As this was not my or the garages first rodeo when it comes to welding Jags, the job was as to be expected,little fire,lots of smoke but no burnt wiring or upholstery. The pictures say it all. Seam sealed and undersealed afterwards as well as the rest of the underside. The test went smoothly with the brakes only showing 3% across both axles...first time I've had one with equal figures front and rear. Even the emissions played ball. We threw in an oil and filter change to finish off a great day. I shall tidy up the inside floor area over the next couple of days and then get ready for the next instalment.
Drivers side wasn't the worst
Passenger side extended back along the inner sill.
Everything tacked into place
Intricate pieces make the form.
Luckily I could move the wiring far enough away from the heat....touch and go in the corner though.
Seam sealed and undersealed.
Not going to have to do this one again.
Taking advantage of the ramp to get a good dose of underseal on,after a thorough wire-brushing. Think I might be getting rid of all those exhausts though....
The last time we played around with the exhaust on a Forty the results were pleasing but not cigar material. My friend the 'mechanic' has always said the key to good performance was to 'Get it in and out as quick as possible'...obviously it's a bit more complicated than that and can get expensive depending on how far you want to take it.Add to that...a sweet sound. So last time we had an amazing sound just by cutting off the pipes past the underfloor boxes....it was never going to stay like that but we just wanted to see what it sounded like,also there was not enough back pressure so top end was a bit flat.Subsequently we replaced the mid boxes with just pipes and emptied out the rear boxes and put a single pipe in them and wadded the box...Performance was back but we had lost the best of the sound. So with that in mind we tried a different approach. We left the rear most boxes alone and got rid of everything else....the pictures describe it better....underfloor boxes gone and replaced with 60mm pipe...that then went to a 'Y' piece (64mm to 50mm) replacing the mid boxes with 50mm pipe...and finally into the over the axle section which remained original. The end result was that we achieved a much better sound and lost no performance. I also kept hold of the underfloor section should it need to be put back in upon closer emission scrutiny. Personally I think she picks up a tad quicker now also....but I could be biased.
Almost only in as much as there are still the two pre-cats on the downpipes and there are two end boxes...but they're empty. Upto this point the end two boxes had remained untouched and the overall sound of the exhaust was nice but was still lacking that deep resonance that you can get with the V8's. My job was to prepare the back boxes for their make-over. So last weekend I cut both of them off about an inch past the join toward the rear,the join was pretty much non-existent due to corrosion. I was interested to see what difference it made...huge and horrible. It was loud,loads of vibration through the car and and a complete lack of performance above about 20 mph.
Cut same place both sides,ideal access for welding back in place.
My job was to do as much preparation as I could at home before having the job finished at the garage. The next four photos are from the last XJ40 rear box mods we did but the process was exactly the same this time round.
Under this wadding there are three pipes running in an 'S' shape.
Empty.
Perforated 50mm pipe tacked into place.
Standard exhaust wadding wrapped once round the pipe and secured with welding wire.
Once the internals had been sorted it was time to weld the boxes back together.
Same for both boxes.
Once that was done it was a case of putting them back in place and joining them back to the system. A there was really good access to the join area it was just as easy to weld the pipes but you could sleeve the join securing with a couple of clamps,that way you could more easily remove them.
The end result was way better than I was expecting,she now has a deep rumble at tickover and a much deeper overall sound throughout the range. Emptying and repacking the rear boxes has kept that much needed resistance in the exhaust flow and allowed the sound to resonate. Not everyones cup of tea,I know, but I'm smiling.
There is a rumour that one of my sons and a couple of his friends wouldn't mind a lift to their Prom in the Jag....Well,whether they decide to use it or not I shall have a crack at getting her bodywork sorted by the end of June...and I'm not just talking about a good polish. Best get to it.
So when I bought my first XJ40 I did so from a photo.Never went to see it just bought it over the phone and arranged transport etc etc. As it turned out the photo did the car alot of favours,that aside, the appeal was the way the front looked to be inclined,lowered. It wasn't,it was just the camera angle. So the plan on this one was to lower the front end just enough to create the 'look' I saw in the photo. Lowering springs are available but aren't in my budget so it was out with the angle grinder. The springs themselves are pretty scary looking so I did my due diligence and found a really good thread on here with regards to being able to remove the springs safely. I used the M8 thread as suggested and with the help of a jack managed to remove the springs without any issues. I've tried looking for the thread with all the info about the tools needed but can't seem to locate it again. I know DonB had some input with his replica tool.
The pictures below will help more. Basically,jack the car up to a good,stable height as the threads need to be approx 250mm and they fit under the bottom of the spring support.Remove wheel. Place jack under spring support making sure it still allows you access to all six securing nuts on the spring support. Remove the nuts,one at a time and replace with the M8 thread (not forgetting to thread a nut up to the plate) I used four threads just to save time. Once all the thread are in place and the nuts are tightened to the plate and the jack is supporting you can start to undo the nuts,about an inch at a time,with the jack in place you should be able to undo the nuts with your fingers for the most part.
There is plenty of load on these springs. Do not attempt to remove without taking the proper safety precautions.
Six bolts holding the support plate in place.
Threaded rod in place with securing nuts,put these in place one at a time.
Jack holds the spring tension in check as you undo the securing nuts.Pay attention to the threads so they don't undo at the same time as the nuts.
First one done.
So with the springs out the next step was to cut a modest amount off. I'm sure this procedure is not recommended and I accept that. I wasn't looking to 'slam' the car just add a subtle change to how the front was stanced. That being said I removed two rotations of the coil.
Remember if you take to much off you can't stick it back on.
That done,replacing the springs is the reverse of removal and again always ensuring that you are in control of the spring tension,small increments.
The end result was better than I had hoped for.The front 'dropped' about
1 1/4" inches. There was no noticeable difference in handling and nothing is interfering with anything it shouldn't. This is not a job to be undertaken lightly if at all. It took most of the afternoon to complete but,to me it was worth it.
The rears will remain untouched but I might see what a slightly bigger tyre on the rear does for the overall look.