When you click on links to various merchants on this site and make a purchase, this can result in this site earning a commission. Affiliate programs and affiliations include, but are not limited to, the eBay Partner Network.
So after all the excitement of the exhaust and then the front springs I was bought back down to earth with a small but annoying bump. I had heard a few squeaky belt sounds recently and had a feeling the water pump was on the way out. I had made provisions with a spare on hand. I thought I had a spare belt also but when it came time the trusty spares box was empty. The very first time I did a water pump I only replaced the front section...I believe I had sold the car and the pump went on the way home from the garage after putting an Mot on it, so time and availability of parts was an issue. This time (3rd or 4th) I had a complete pump and it gave me an opportunity to clean all the hose end and put the clips round the right way. I've put the photos in the best order with what I had. I took the belt off first,loosening the bolt on the alternator base and then slackening off the tensioner.
Loosening this bolt makes releasing the belt tension sooo much easier.....I didn't realise this the first time I did one.
Tensioner at the bottom of the picture. First couple of pipes removed.
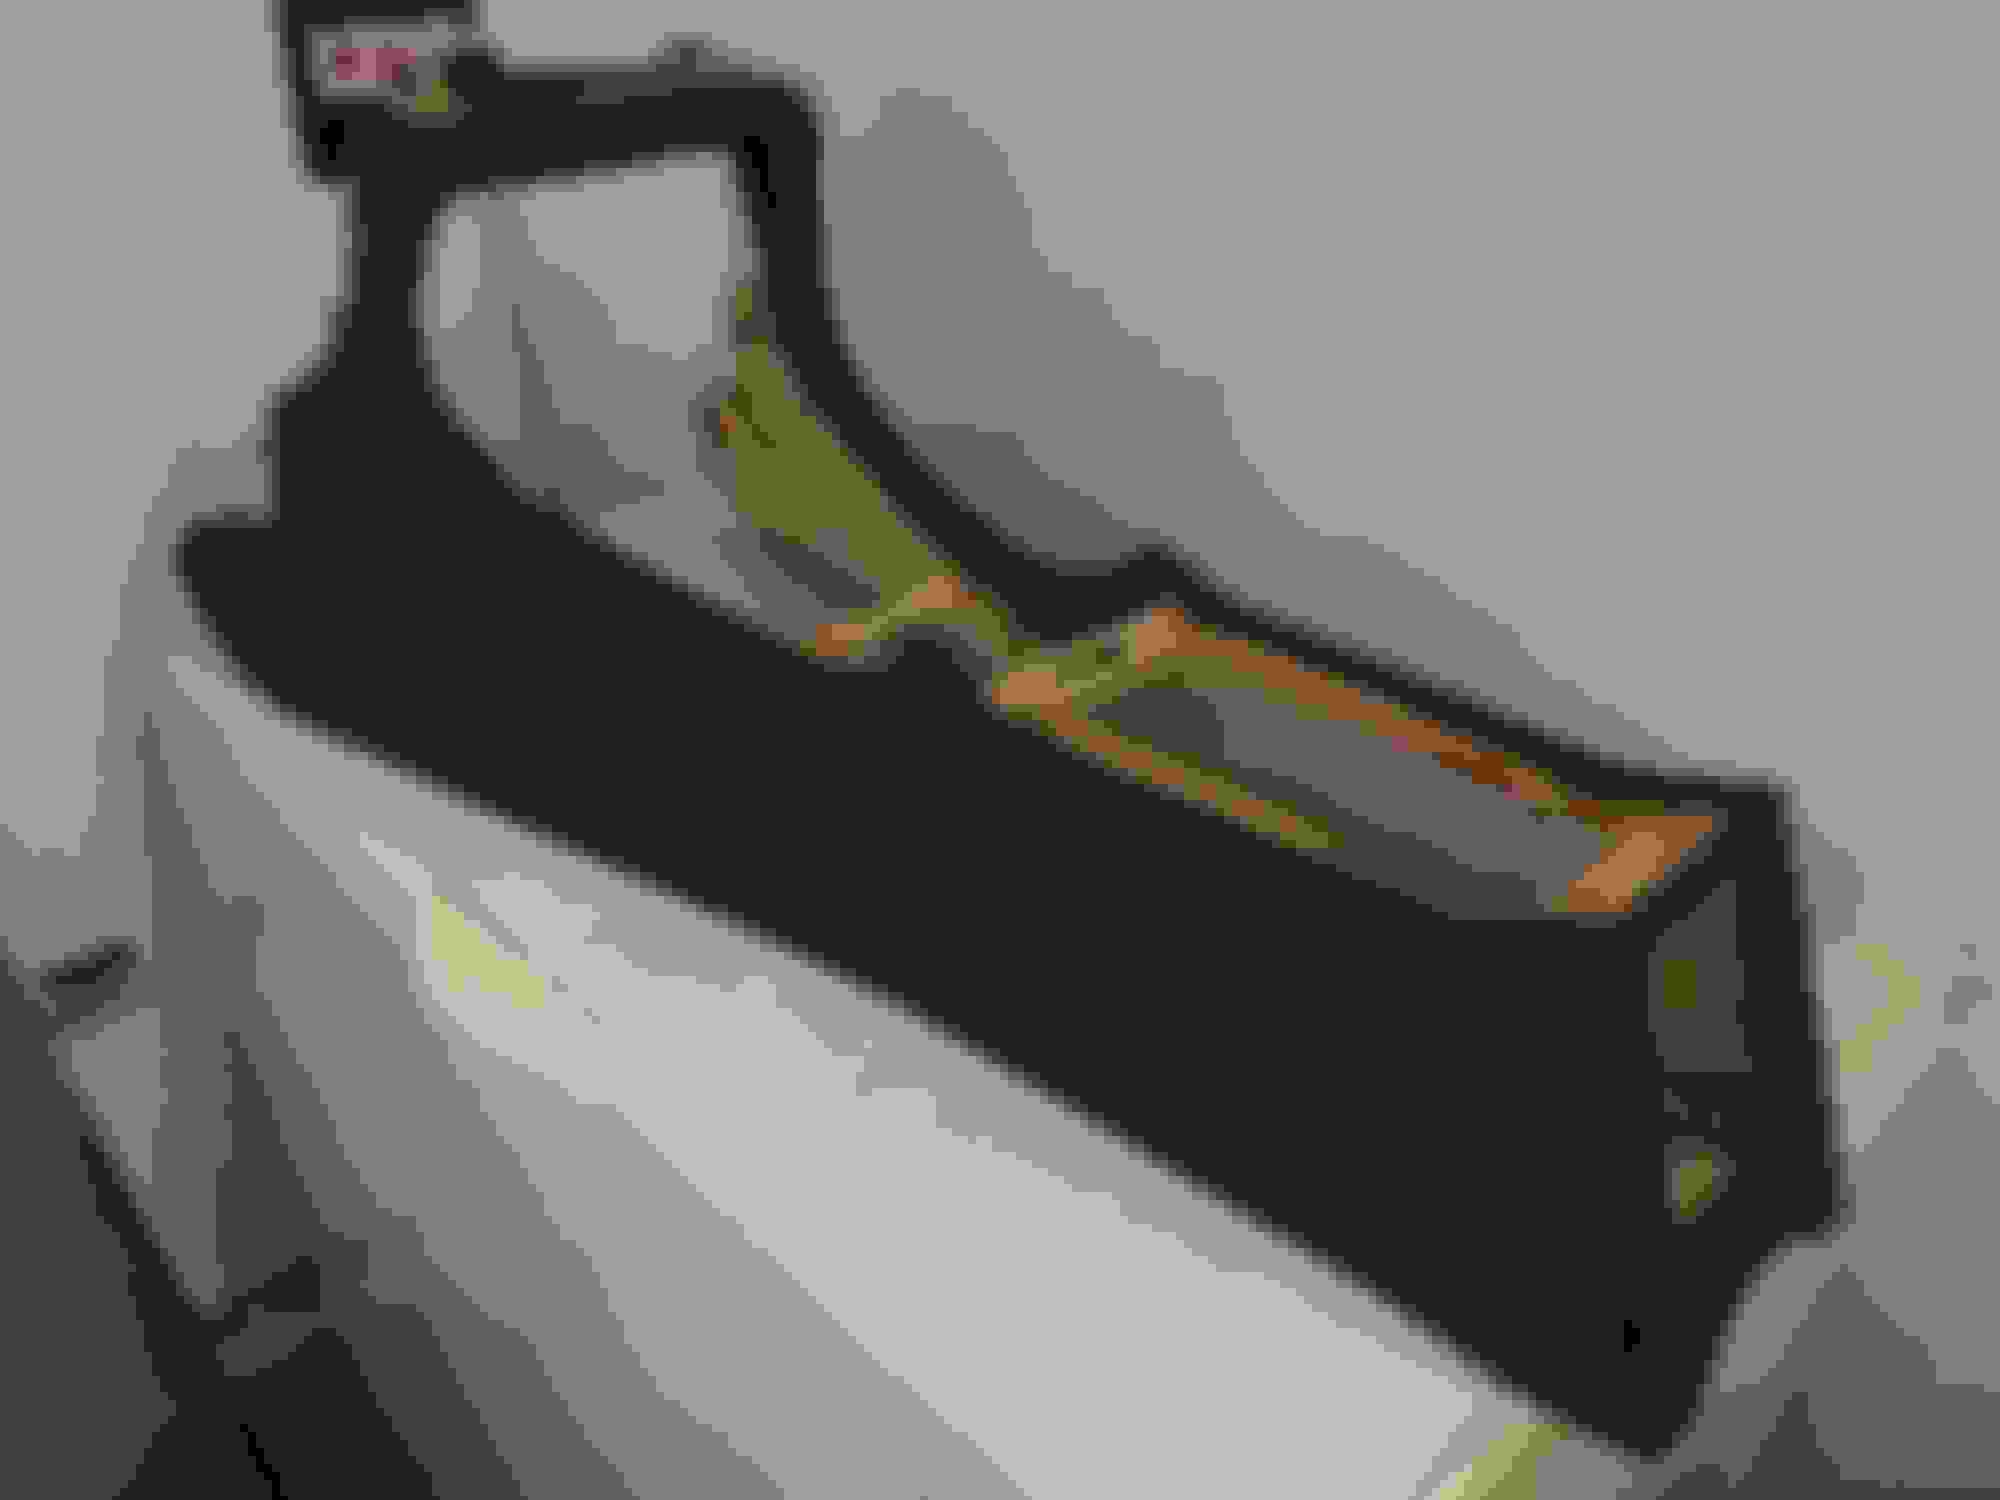
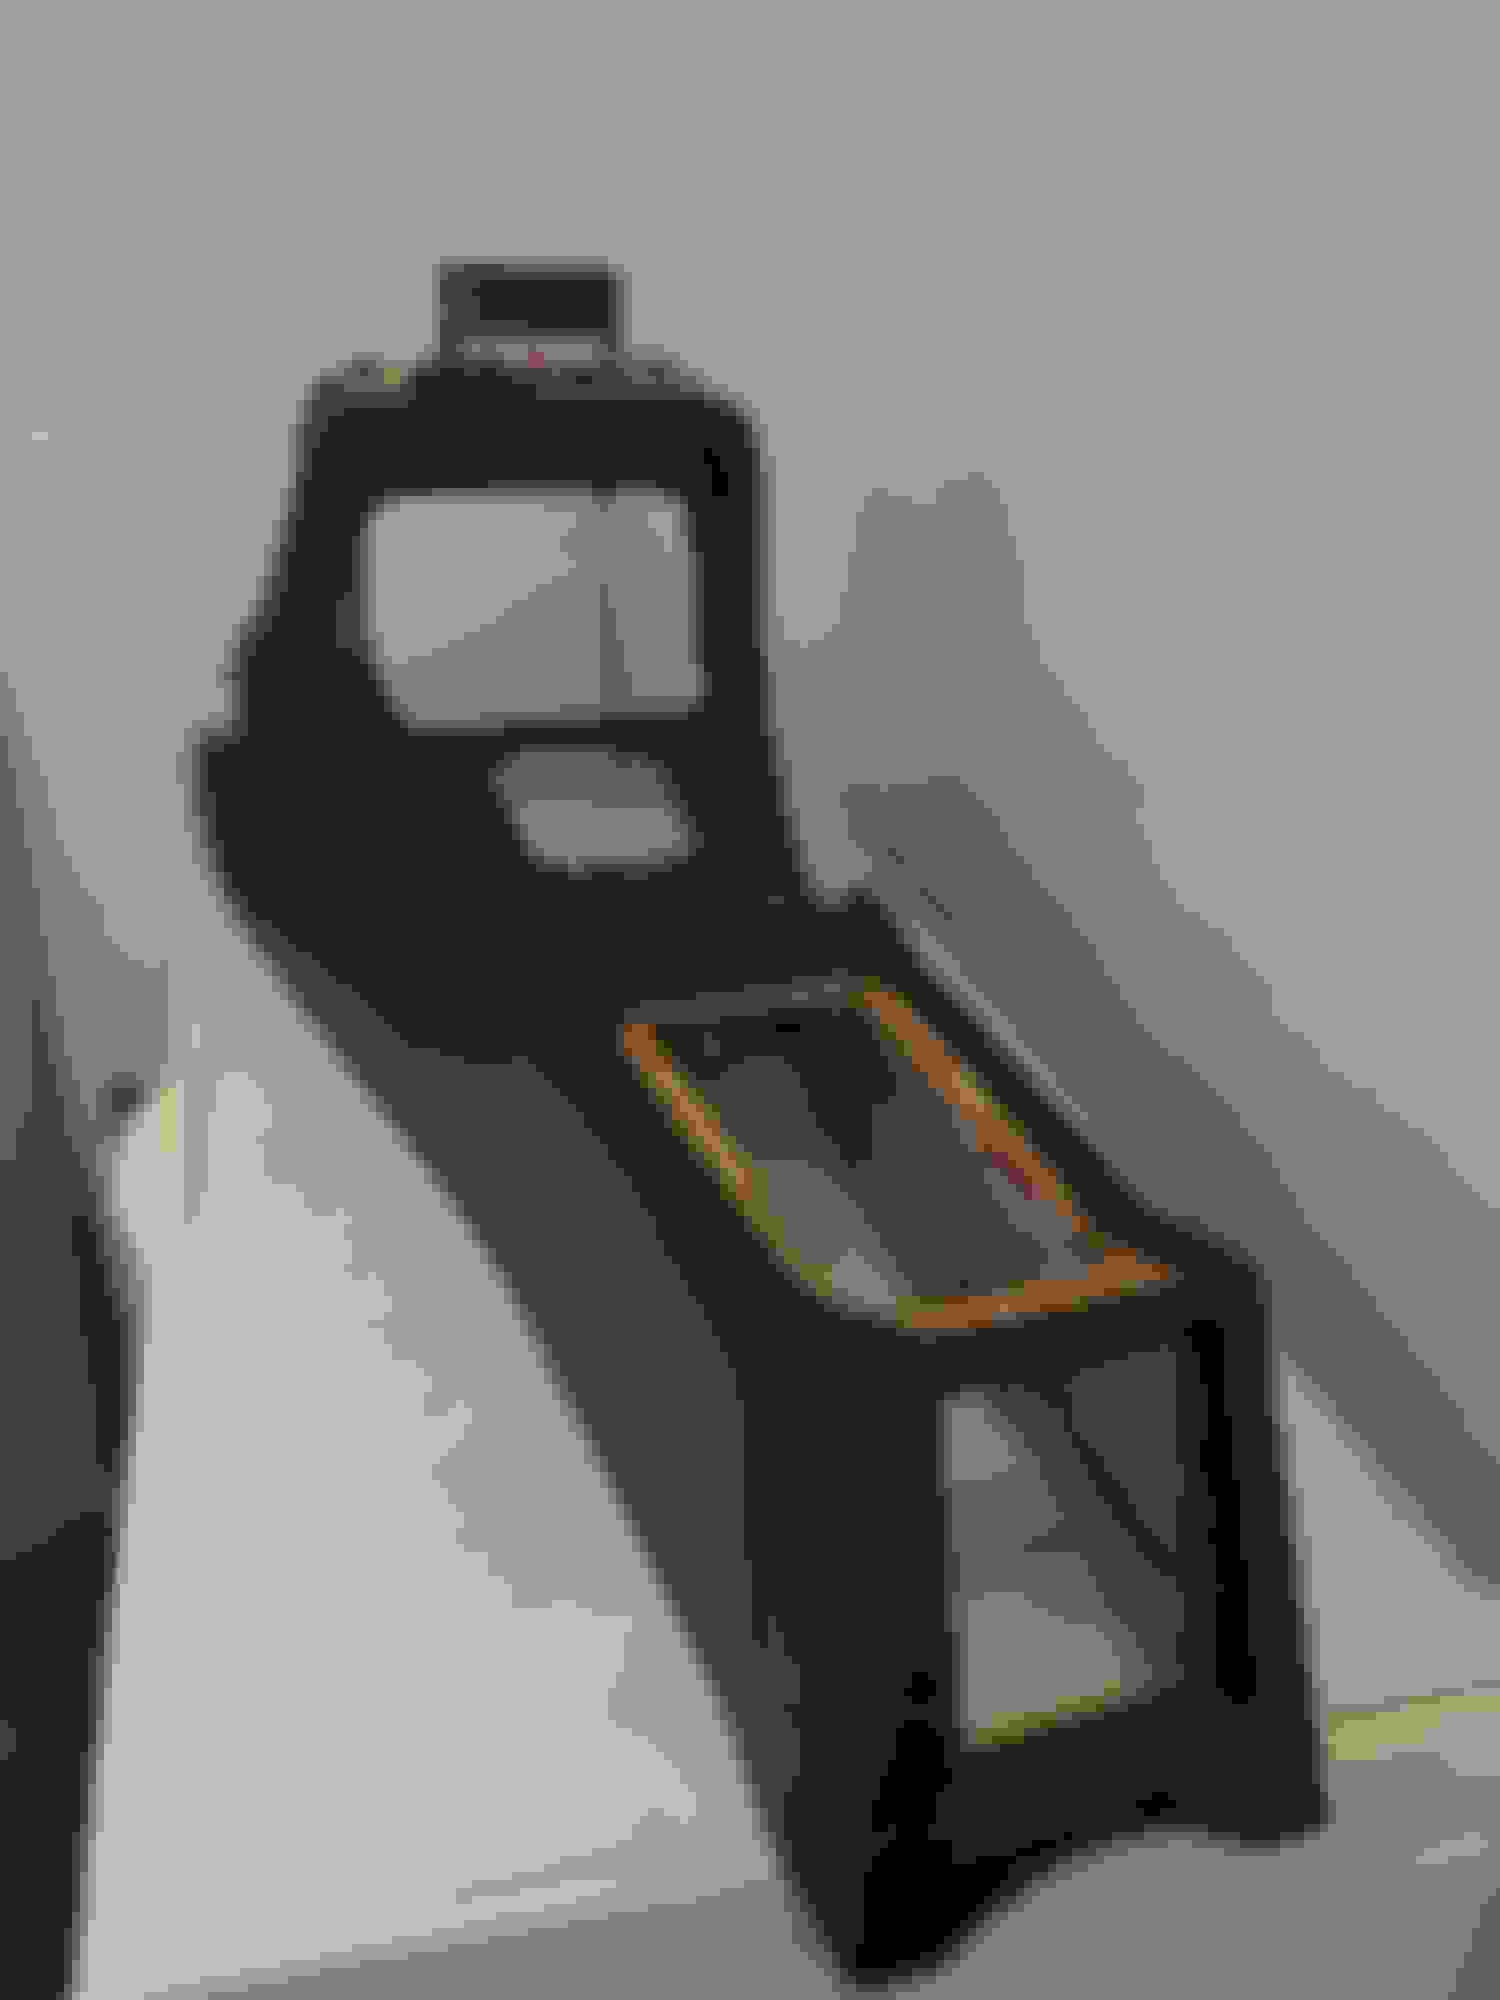
Once the belt was off it was a case of removing all the water pipes. After that I could start to remove the pump itself. You might have to correct me as it was about a month ago when I did this but I think there are only 3 bolts holding the pump to the block and they are all on the inner side of the pump,towards the centre of the engine and they are alternate with the other bolts on the pump....please feel free to step in if I'm wrong.. I do remember one of the bolts is quite long and butts up against the pulley as it comes out.
Old pump off.
Something was bound to leak at some point.
The rest is just the reverse...A tip I was given for the correct tension of the belt is that you should be able to twist it from horizontal to vertical....also check that your getting charge from the alternator and that there are no audible squeaks...Each to their own though,I guess. Once it was back together I topped up the coolant and fired her up....had one leak which a few turns on the jubilee clip sorted out.
So once again I have been remiss with keeping upto date with stuff. Since my last post I think I've had about four or five other cars come through my hands so I just haven't had chance to play with the 40. I did have a brief flirt with an after market stereo but after blowing a couple of fuses and getting some strange things going on with the headlights I though I would shelve that idea until I can find what is probably some dodgy wiring. So today I had a few hours spare and thought I would start on the interior. It's not a bad interior,just a bit tired and with a saggy headlining. I also don't get the red carpets,cream seats/trim and green paintwork...I'm sure it's classic in some eyes...just not mine. As I'm trying to keep the costs to a minimum I'm not up for buying a new headlining, best part of �200 and it's not that she not deserving of one its just I'd rather spend the money on keeping her on the road.
There seem to be loads of do's and don't and different opinions of what to do with your saggy lining and the various ways of taking them out and putting them in etc. The following will be how I did it,rightly or wrongly. I shall also be giving all the trim and seats a bit of a face-lift over the next month so it will be interesting to see what the end result will be. Rear seats came out first,won't bore you with the details,just look for the screws under the front edge of the base,once out,lift and pull. The back section has four screws now visible along the bottom edge,remove and lift the whole up.
The rear quarter trim has some sturdy trim fixings so they were easy to pry off but there is one screw that is slightly hidden until you take the back part of the seat out. The trim along either side above the doors was more problematic and I will have to replace the fixings as most of them broke when I removed the trim,very brittle. The sun visors are straight forward,just screws. The centre light unit is released with the obvious trim screw and then just pulls away from the front. So the fun part,by all accounts, is just beginning. I was originally intending to remove the headlining and use it as a template for some other material and replace as new. Also I had read of horror stories about the 'biscuit' breaking up or having to remove windows to get it out in one piece. Once I had lifted it off the supporting clips it looked like it wanted to come out as a whole...with a little massaging of course. It did bend and crease a bit but after I had laid both front seats flat it came out of the front passenger side door without ripping,tearing or generally falling apart. Once I have removed the loose,flaking debris on the lining I shall recover it and hopefully any creases will be covered. Material should be with me by the weekend and we'll go from there.
.
Last edited by twack; Jul 17, 2018 at 02:57 PM.
Reason: Typo
So the new material arrived quicker than I thought. After taking off the cloth I was left with the residue which needed to come off,a small pastic brush did the job admirably.Once that was done I just needed to stick the material on. The fabric came in 1.4m widths and you can get off Ebay for about �9 a metre,way cheaper than a new headlining.It is also 'Four-way stretch' so will easily go round contours.
Add a couple of inches either side, I mis-judge the length but it was unseen when fitted.
Took about 5 minutes to put on.
Ready to put back in the car.
Putting it back in was a reverse of it coming out,the small clips it sits on needed to be pulled out a touch to allow for the extra thickness of the fabric.
I managed to find some of the trim fixings so was able to put the side and rear trims back in place to help support the lining. The next set of photos show the end result after a few days of dying and painting,it's not the finished article yet but is certainly a step in the right direction. The red colour I've used for some of the plastic is actually 'Carnival Red' left over from one of my past attempts to repair an XJ8 front bumper,not a bad match.
Certainly better than before.
Waiting fir a colour match dye for the headrests.
All the roof trim really took the dye well.
Rear parcel shelf
I'll leave them for a few weeks and then use shoe polish to really finish them off.
A quick update. I've been waiting for an exhaust cut-out to arrive,which when installed will need to be wired up through into the cabin. It come with a cigarette lighter adapter for its power hook-up so we're going to put an extra lighter receiver in,out of sight and have the wiring hidden also. I've taken the panels under the dash out for re-colouring along the centre console/ski-slope and won't be putting it back until the new wiring is in place. Sooo whilst its been raining I had a go at the tunnel surround and ski-slope.Still waiting on the paint for the plastics but we're heading in the right direction,I think.
So some say there's nothing better than the sound of a V8 and to try and imitate is mere folly...and for the most part I agree,right up until this afternoon...I may try and do a video and upload but I'm sure it won't do it justice so for now you'll have to take my word for it. Basically the 'cut-out' is a stainless steel,fabricated insert, that when installed allows (with the aid of a remote fob operating a large valve that opens an aperture in the unit) the exhaust gases to exit the exhaust system much earlier.
How much earlier depends on how outrageous you are feeling. I'm not sure that this merits the claims of greater performance and higher Bhp...but all that is irrelevant...it is just a glorious sound.Each to their own I guess.
Before the hacking.
Did actually cut this section then realised there wasn't enough clearance either side.
Here was much better
The side pipe can be angled...ultimately we did point it to the ground.
One small incision in the gear shifter cable grommet allowed the cabling to enter up into the centre console,nicely hidden.
Just as an update today was spent in part tidying up the cut-out remote wiring so I could put the centre console back. The power connection comes in the form of a cigarette lighter adapter. I could have used the original one,which I did for testing,however, I didn't want any of the wiring on show.
I didn't have my camera with me,which was probably a good job as it looked a right mess but basically I just added another lighter and splice it into the existing wiring adding an extra inline fuse for good measure. Not pretty but it worked and is nicely hidden away. I also wrapped all the exhaust pipes I could get to with insulation bandage to reduce the heat loss through the pipes. I have noticed more recently that the fans have been cutting in a bit sooner. I also tightened up the auxiliary belt as when I changed the water pump I erred on the cautious side when adding tension back in so as not to put to much strain on the snout of the pump...Squeak gone,fans not coming on as soon and not getting too warm under the seats..sweet.
So the new material arrived quicker than I thought. After taking off the cloth I was left with the residue which needed to come off,a small pastic brush did the job admirably.Once that was done I just needed to stick the material on. The fabric came in 1.4m widths and you can get off Ebay for about �9 a metre,way cheaper than a new headlining.It is also 'Four-way stretch' so will easily go round contours.
I do have to do that headliner eventually too, so I would like to know what kind of adhesive did you use to glue the new headliner? I will probably try to get away by using the original one myself, or try to find matching beige color
Hi Kay,
I ended up getting this through a friend of a friend who knew a company that did van conversions and they used this to line the interiors. If they hadn't been able to source it I was going to get it from Ebay. The listing number is: 391792316888. This fabric was also ideal because of the extra width (1.4m) The actual material is self-adhesive so you just pull off the backing paper and stick it on. 4-way-stretch allows you to navigate the form of the lining 'biscuit'.
Hope this helps.
Nice work on the springs. Thats pretty clever as far as removing them.
Thanks Jeh but I can't take the credit. I found a couple of posts on here that showed how to do it. This forum is a wealth of knowledge and there's a good chance that if you want to know how to do something then someone will have already done it. Helped me out time after time.
So if truth be told I am procrastinating. I should really be getting on with finishing the interior...I'm scared of the front seats...I know the look I want is probably going to require some dismantling and it might not turn out how I envisage...so for now it's just going to sit on the back-burner. So instead I've done some other stuff but only have pictures of the boot for now.
Previously you will have seen the update on the banded steel wheels I have ready to be booted up and put on. I've sprayed them ready for tyres but hadn't actually put them on the car....so before I went ahead and sorted tyres I dry fitted then.so to speak, to make sure they actually went on the hub and cleared the calipers...they did...just. The were originally 7J and are now staggered at 8J and 9J,front and rear respectively. I prefer the big fat tyre look and think it sits well with the stance of the car....so I was looking for an optimal tyre size of 245/60/15...this would have given me an almost identical overall wheel/tyre size and thus not affecting the speedometer by more than 0.5 mph (So 30mph on the clock would actually be 29.4mph ish) Anyway,those in the know said that size would be difficult to get and a pain if I needed to replace at any point. Also there would more than likely be some wheel rub.So after playing around with a very cool online tool that allows you to compare tyre and wheel sizes and give you all the data you need.
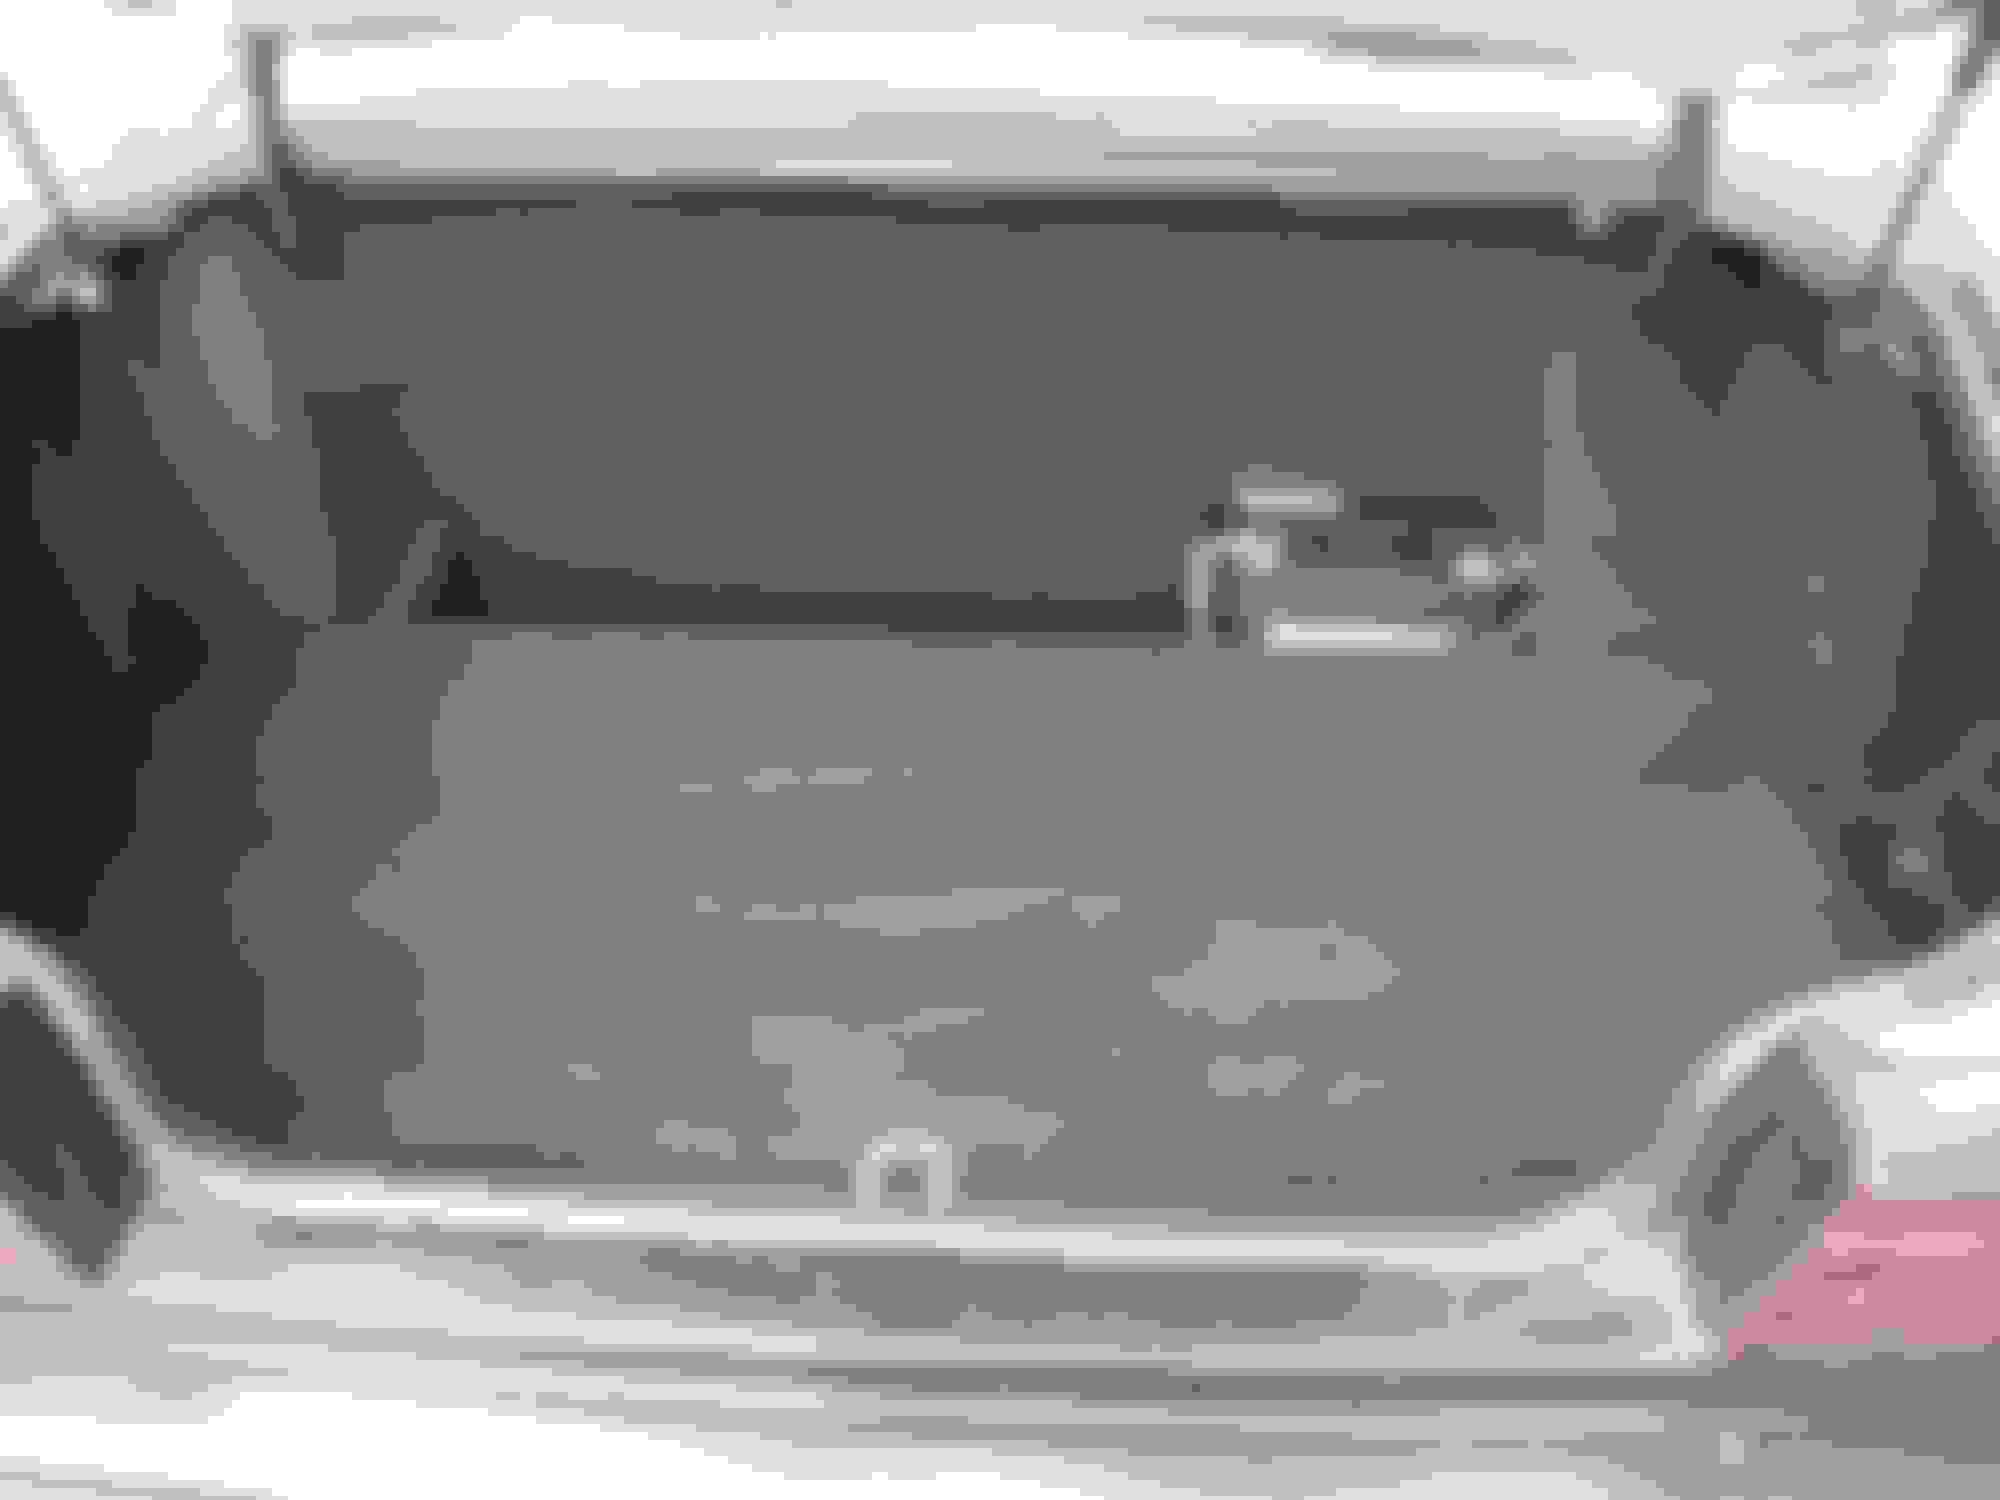
(Visual Tyre Size Calculator | Kouki Tech) Also seeing what was available and affordable I have gone for 225/60/15 on the front and 235/60/15 on the rear. These have now arrived (coming form two different 'part-worn suppliers) and have been fitted to the wheels....just waiting for some wheel nuts for steel wheels...when I get them they'll be on and then I can upload some pics. So along with sorting that out and still not doing the front seats I thought I would start on the boot space.Here's what we started with.
So neglected
Best place to start was to get rid of all that....beigey,light brown,dirty lining stuff.
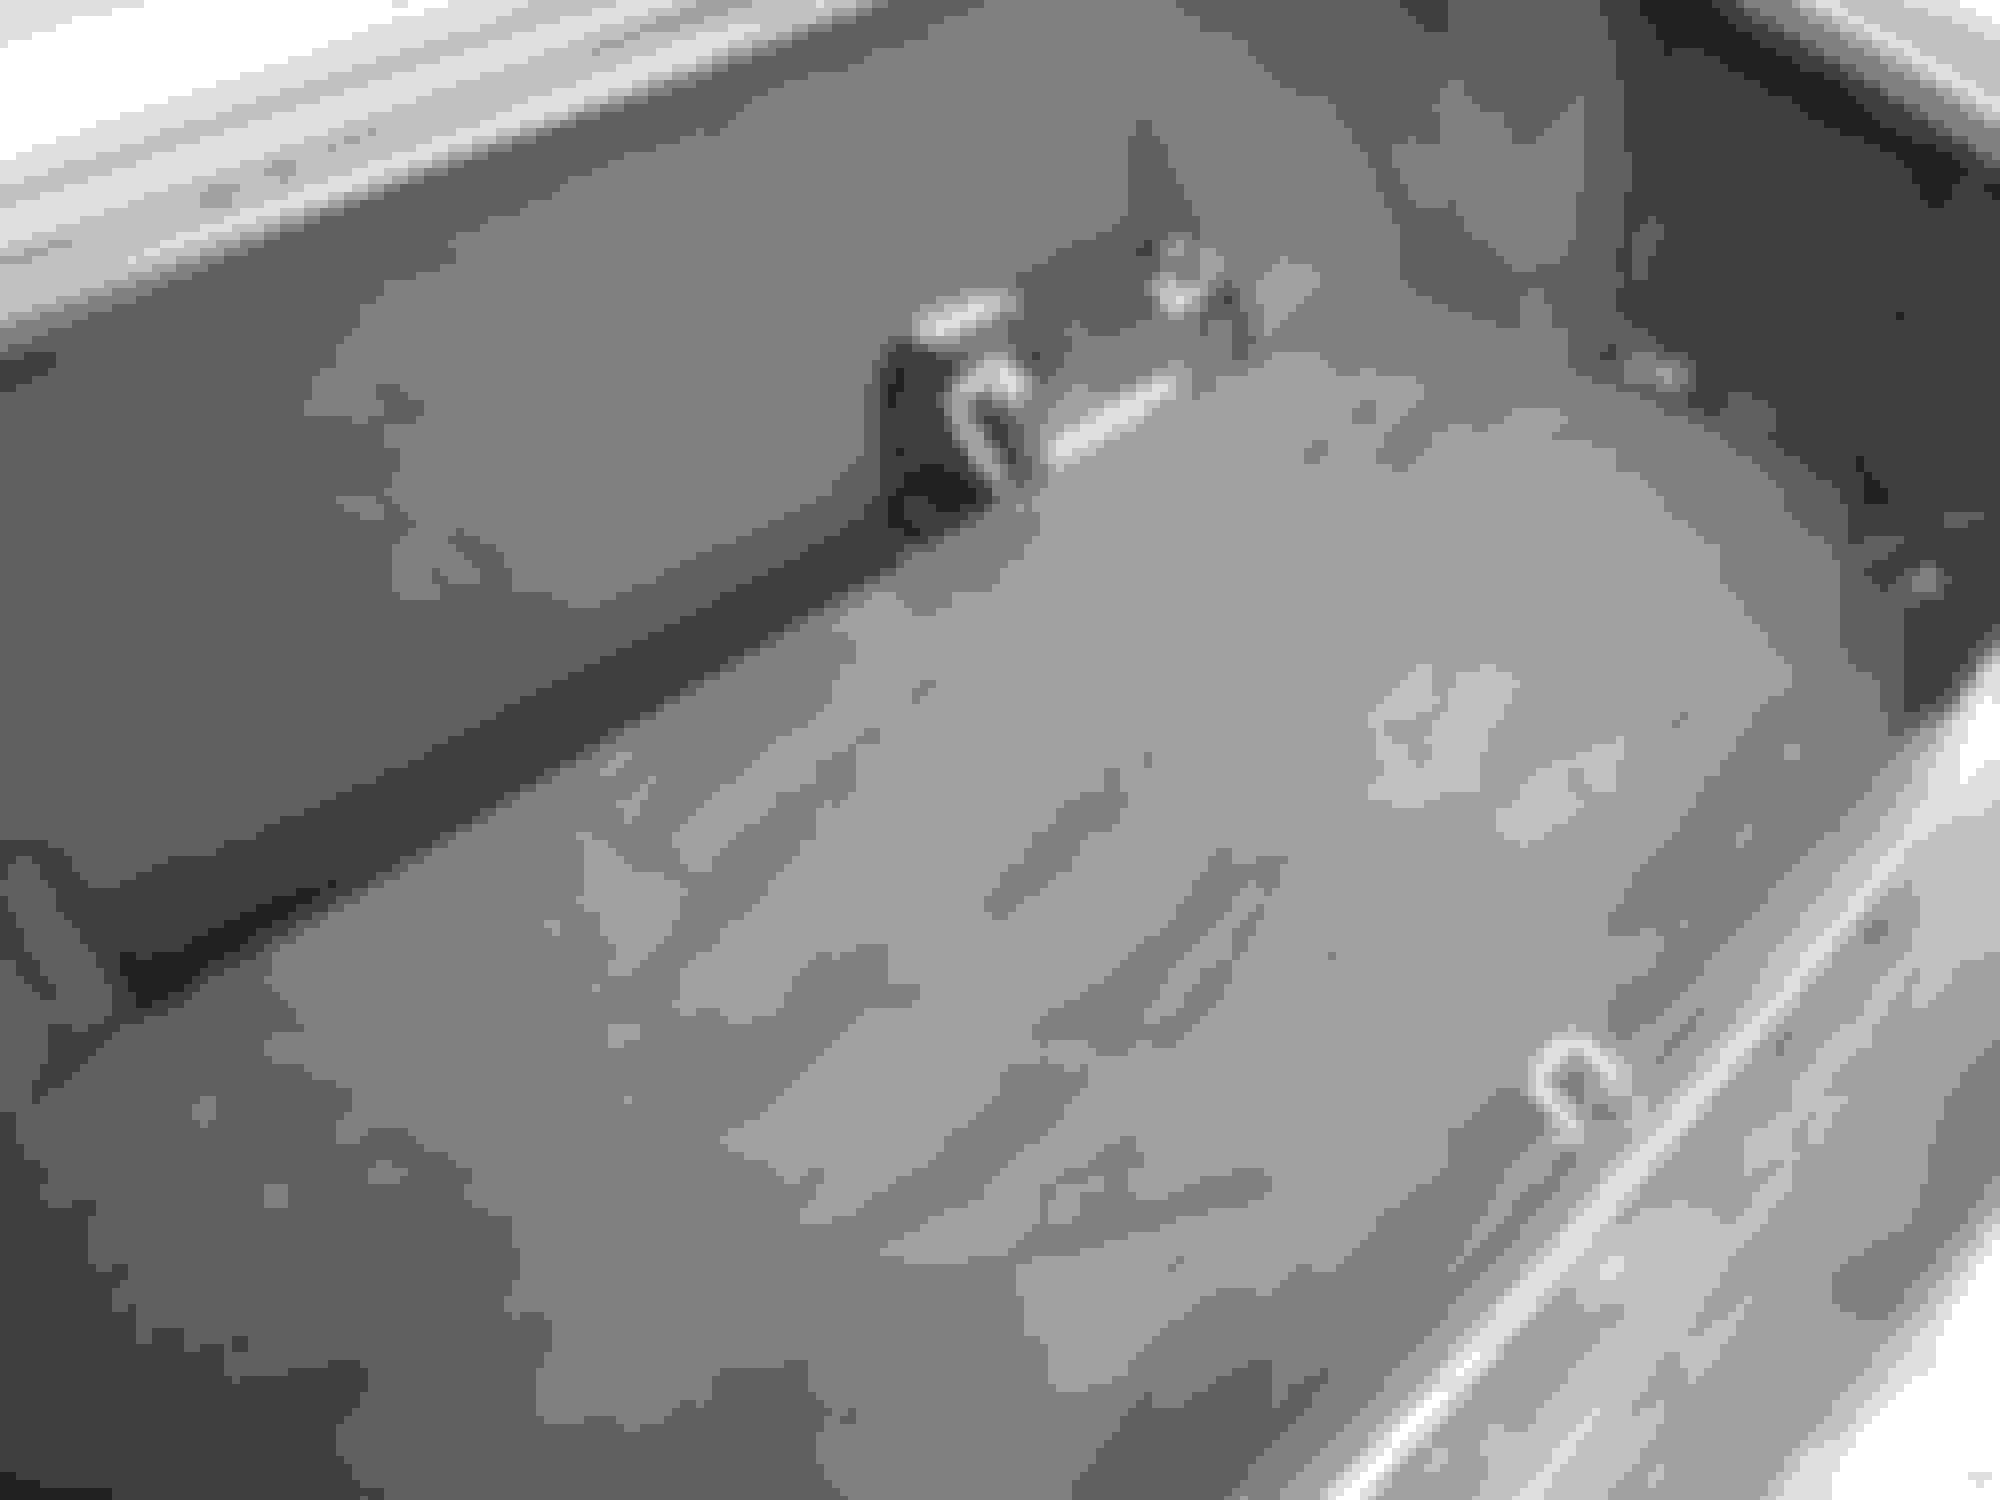
I like that better already.
So at this point I had an idea of where I wanted to go but wasn't quite sure of the end result. Sometime you just have to start and hope that inspiration decides to show its face....so then we had this.
4-way stretch,self-adhesive fabric,same as I used on the headlining.
So this cleaned the area up quite well and inspiration did show up. At some point I shall be putting a sub-woofer and amp in the boot area,the wiring is already there and power is not an issue due to the placement of the battery. I'm in two minds about the sub/amp...It's possible to put the speaker upright where the spare wheel used to go....or I might put a false floor,spanning across,using the the two shelve either side as support...hide everything under that,including the spare wheel or I might put that on top of the boot...like the old Rover P6's. Loads of options really. While I was in there it gave me a opportunity to play with the aerial. The radio has always been a bit temperamental but now it doesn't work at all.Also the aerial itself has to remain unplugged otherwise I start getting some strange gremlins popping up,like the main-beam not working and the 'Fuse 2' showing as blown when it's not....so after a few failed attempts at re-earthing the chances are the aerial has 'gone to ground' itself or something. I have a spare aerial and stereo so will try some swapping around over the next week or so...let you know what happens. Wheel nuts should be with me tomorrow,fingers crossed.
So I've managed to pull my finger out and get some things done. The boot has progressed and is a vast improvement on what was there before. I went with the false floor idea and will probably hinge it. No major issues fitting wise,just some trial fitting until both pieces went in and came out easily enough.
Trying a piece out for size.
I cut the base of the side trims and recovered what was left. Two pieces make up the false floor so they are easily removable.
The rear trim has been replaced with a sturdier boar but is still removable.
Battery cover left to do.
The space will allow me the option for a speaker housing or amp/sub unit complete.
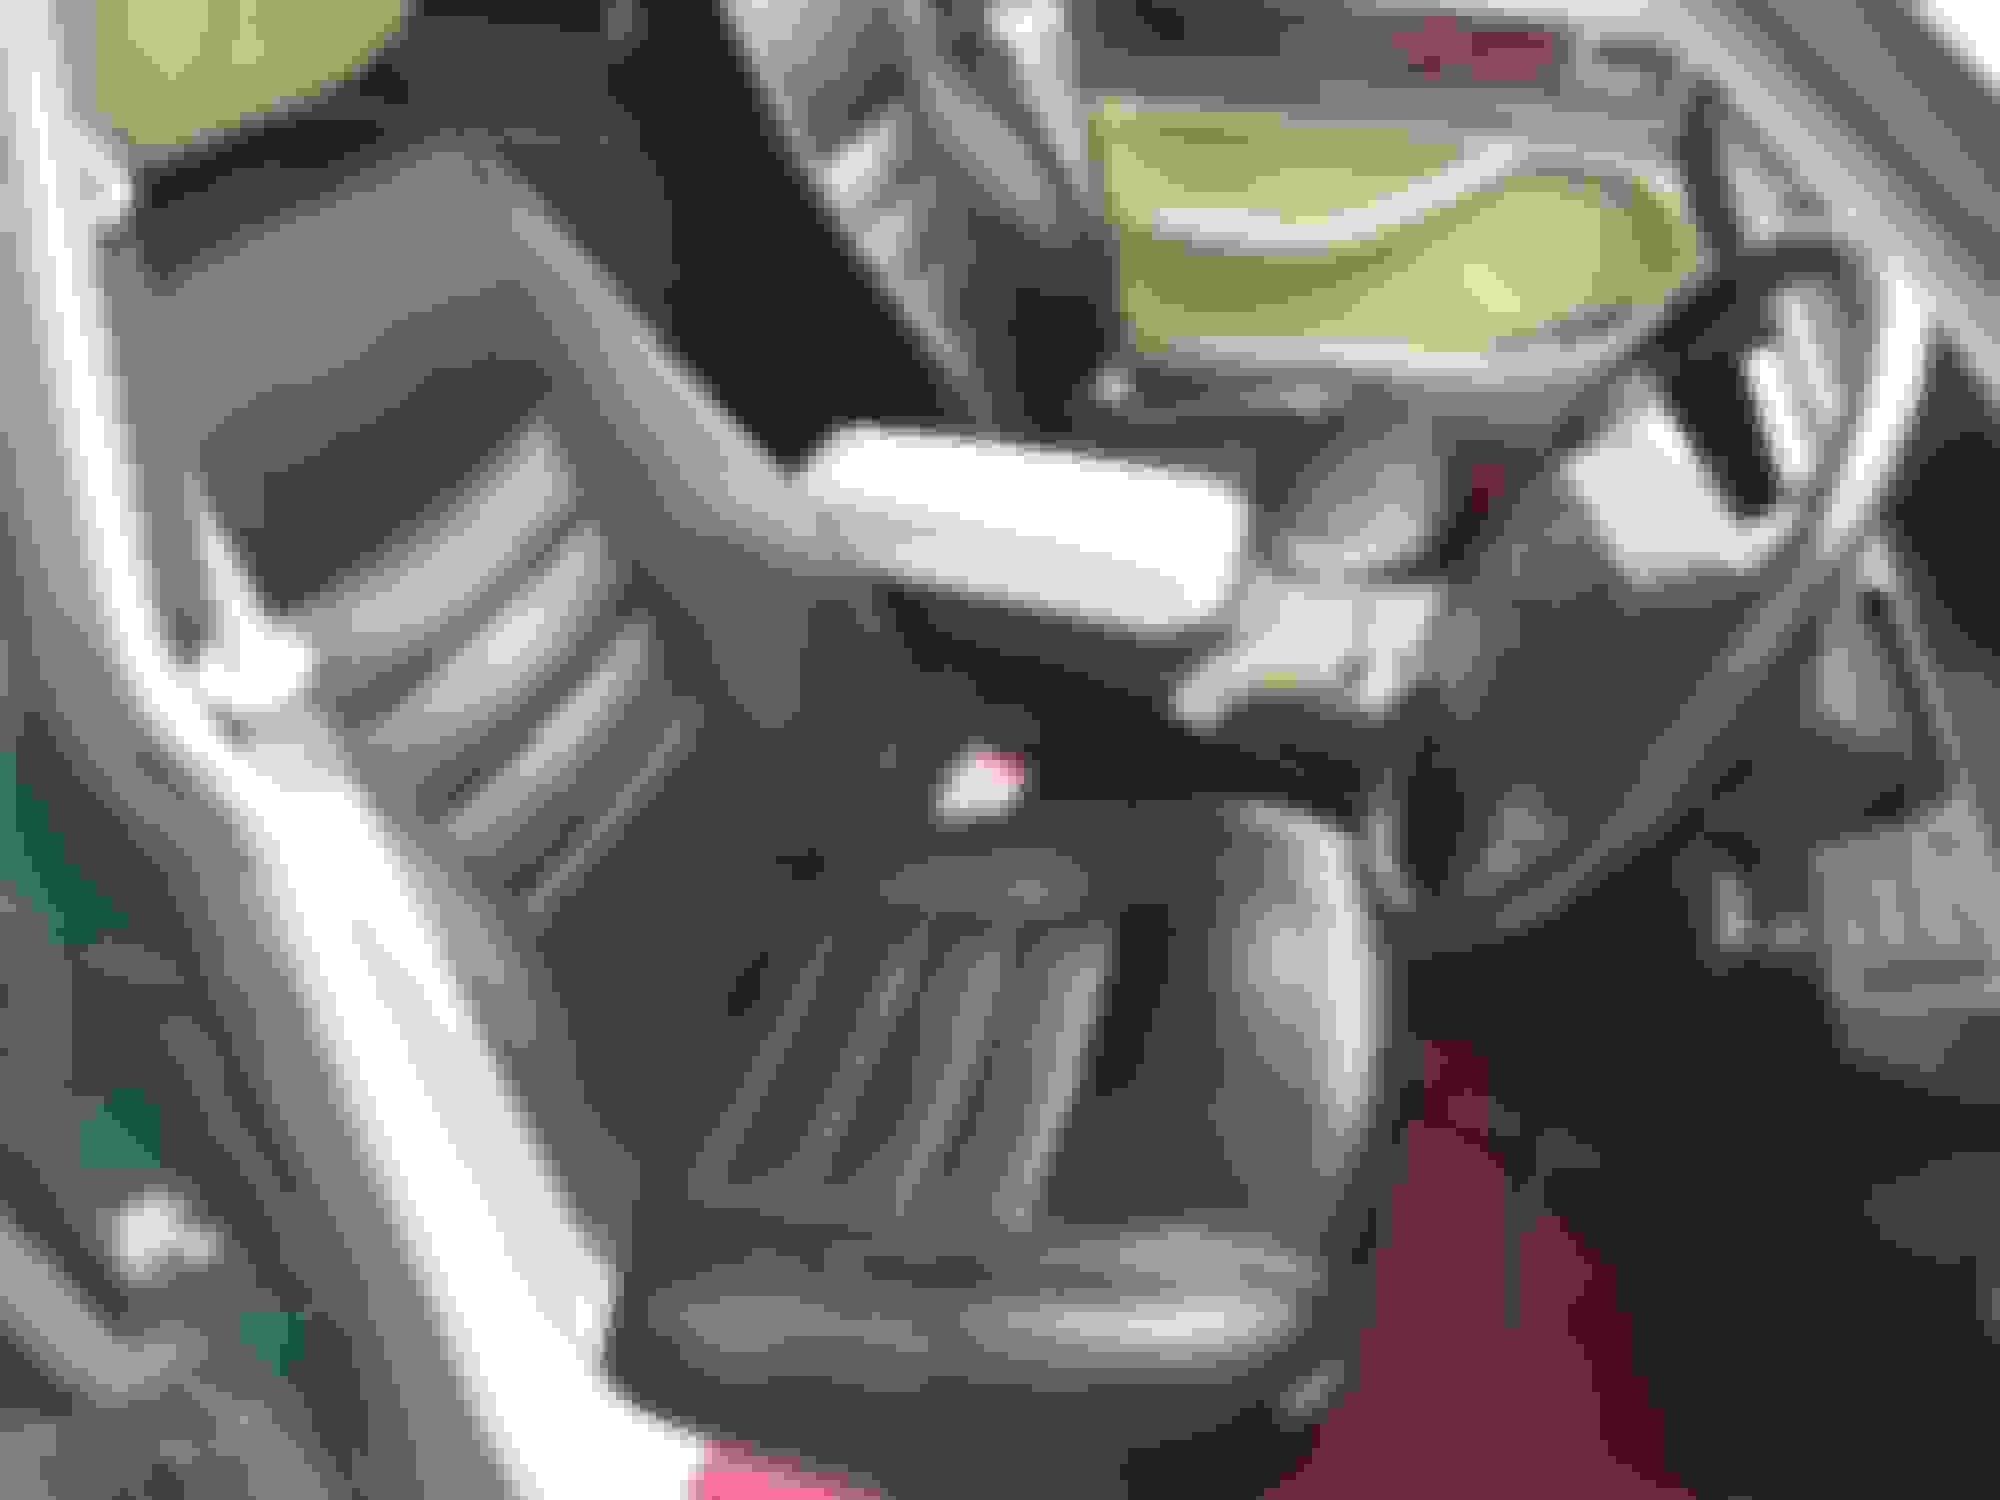
I've put more pictures in the 'Interior; section but here's an update on the front seats,finally.
Starting to come together.
This was done while I was waiting for the wheel nuts to arrive...and at last they did.
225/60/15's on the front and 235/60/15's on the rear. I've (Actually,my friend, who is very good with an angle grinder) had to trim the inner edge of the rear wheel arches. Any more than one person in the car would cause the tyres to rub when going over anything bar a flat surface.
Not sure exactly where the last four months have gone. In that time I seem to have been working on anything but my beloved,a couple of xj8's and an x300 have both crossed my path,the latter being a royal pain in the posterior,having a long drawn out registration issue with DVLA due to it being imported from the Isle of Man....no one actually bothered to do any paperwork,just bought it over...that being sorted it moved onto a new home and hopefully will be taking part in a run down to Monte Carlo next year. The one XJ8 has now relocated to Wales and the other down to London. So I'm back on the 40 for the next few months. I decided to save myself some money and have sprayed the bonnet and roof myself,not pretty but in keeping with the rest of the car and certainly better than the green.Just to keep me on my toes I found myself unable to get into the car the other day as the passenger door handle decide to break internally and at the same time the rear passenger door was unlocking and then locking in a millisecond...a good dose of WD40 down the scraper trim and a short wait and all was good but it does mean I am down to one working handle. The radio has never worked properly and now not at all so that will be another job for the New Year....think it might be more involved as when I've tried an aftermarket unit with an adapter I get weird electrical stuff going on like the headlights only work on main beam...and 'Fuse 2' pops up...so plenty to look forward to.
I enjoyed reading through the thread. That's quite a transformation, and I like what you've done with her. There's never enough time it seems, especially if you have multiple projects going. Are you staying with black steel wheel look? Good luck in 2019.
I enjoyed reading through the thread. That's quite a transformation, and I like what you've done with her. There's never enough time it seems, especially if you have multiple projects going. Are you staying with black steel wheel look? Good luck in 2019.
Thanks for the kind words Noah,much appreciated and here's hoping 2019 is another good year for all of us. I shall be keeping the banded steels on for the moment,I have the original alloys still and might put those back on should I ever sell her. I wanted the wheels to compliment the rest of the car and I think they work well with the lowered front. I had a set on one of my previous 40's and regretted selling them with the car as it took me a while to source another set....You're right about the time,now that the roof and bonnet are done I shall concentrate on the door handles and mechanisms then onto the audio system (all the wiring is in place for a boot sub) then the last few pieces of trim and the seatbelts.
Twack: Wow, what a journey you took me on. The documentation you provided in words and photos showed your mind's vision at the start come to life. You created a mean, gnarly looking beast. I can probably hear it in Detroit if you really gave it a good revving with your creative modifications to the exhaust. Fantastic work in the boot. How did you handle the battery cover? I have successfully used carpet paint. I also placed my amp and sub on a shelf with the spare laying below. I drilled port holes into the rear shelf to aid the thump of the base entering into the cabin. One suggestion, if I may, regarding the interior. You've taken pains to create a thoroughly consistent exterior (mono-chromatic paint, wheels, over-sized tires); I think the interior would look awesome if you "blackened" the few remaining bits of biscuit and red. Where the carpet and seatbelts are concerned, I would recommend fabric spray dye. I have successfully used SEM products. Here I am suggesting more work for you but I think you should go full on black beast mode. At any rate, I admire your conviction and inventiveness. It makes my XJ40 updates look like child's play. Cheers, Ren
PS: Install a black rubber aerial too!
Twack: Wow, what a journey you took me on. The documentation you provided in words and photos showed your mind's vision at the start come to life. You created a mean, gnarly looking beast. I can probably hear it in Detroit if you really gave it a good revving with your creative modifications to the exhaust. Fantastic work in the boot. How did you handle the battery cover? I have successfully used carpet paint. I also placed my amp and sub on a shelf with the spare laying below. I drilled port holes into the rear shelf to aid the thump of the base entering into the cabin. One suggestion, if I may, regarding the interior. You've taken pains to create a thoroughly consistent exterior (mono-chromatic paint, wheels, over-sized tires); I think the interior would look awesome if you "blackened" the few remaining bits of biscuit and red. Where the carpet and seat-belts are concerned, I would recommend fabric spray dye. I have successfully used SEM products. Here I am suggesting more work for you but I think you should go full on black beast mode. At any rate, I admire your conviction and inventiveness. It makes my XJ40 updates look like child's play. Cheers, Ren
PS: Install a black rubber aerial too!
Coming from an inhabitant of 'Motor City' I am humbled,thank you. I used the original battery cover and just shaved a few inches off the depth and then covered in in fabric. I have wrestled with the interior colour scheme and may well change it to full black but I quite like the red as a small concession,we'll see. Sorting out the stereo and sub will be the next big one,I think I'll have to run new wiring from the ignition and work out why I'm getting gremlins when I try and connect a different head unit. The wiring all there for the sub and the gap at the rear of the false shelf should allow for the resonance....Apart form that I might be having a crack at a turbo install....I have a spare set of manifolds just in case it goes pear shaped but as long as I'm not to greedy it should be ok...just a little extra mid range pick-up.
Needless to say I shall try and put it all on here.Thanks again for your comments.
Twack: Having the gas tank spooning the rear seat back doesn't help much for acoustics. Pushing sound through liquids isn't easy. I opted to bring a little more base inside (see my post from a few days ago). It's not the best sound solution but it's an improvement. I wish I had the 5" door speakers that you have. Maybe a '94 will show up at a salvage yard near me and I can upgrade. As far as the head unit, I had my auto stereo shop run new wires for everything, including speakers, at the time they had the dash apart to install the remote start, alarm, door and trunk controls. It cost me a little cash but I avoided the gremlins so far. Good luck with the turbo upgrade if and when you do it. I wish I lived on that side of the pond so I could see your car in person. Great job and again I admire your "just do it" approach. Ren