Greetings to all. I have a 1977 XJ6 with a rear door which is out of adjustment, and I have been trying to adjust. I searched the threads here, but do not see any details on the proper procedure. I was hoping to get some detailed tips as to the best way to do this job. Some pics:
The rear door sticks out on the rear side where it latches: It is also sitting too low.
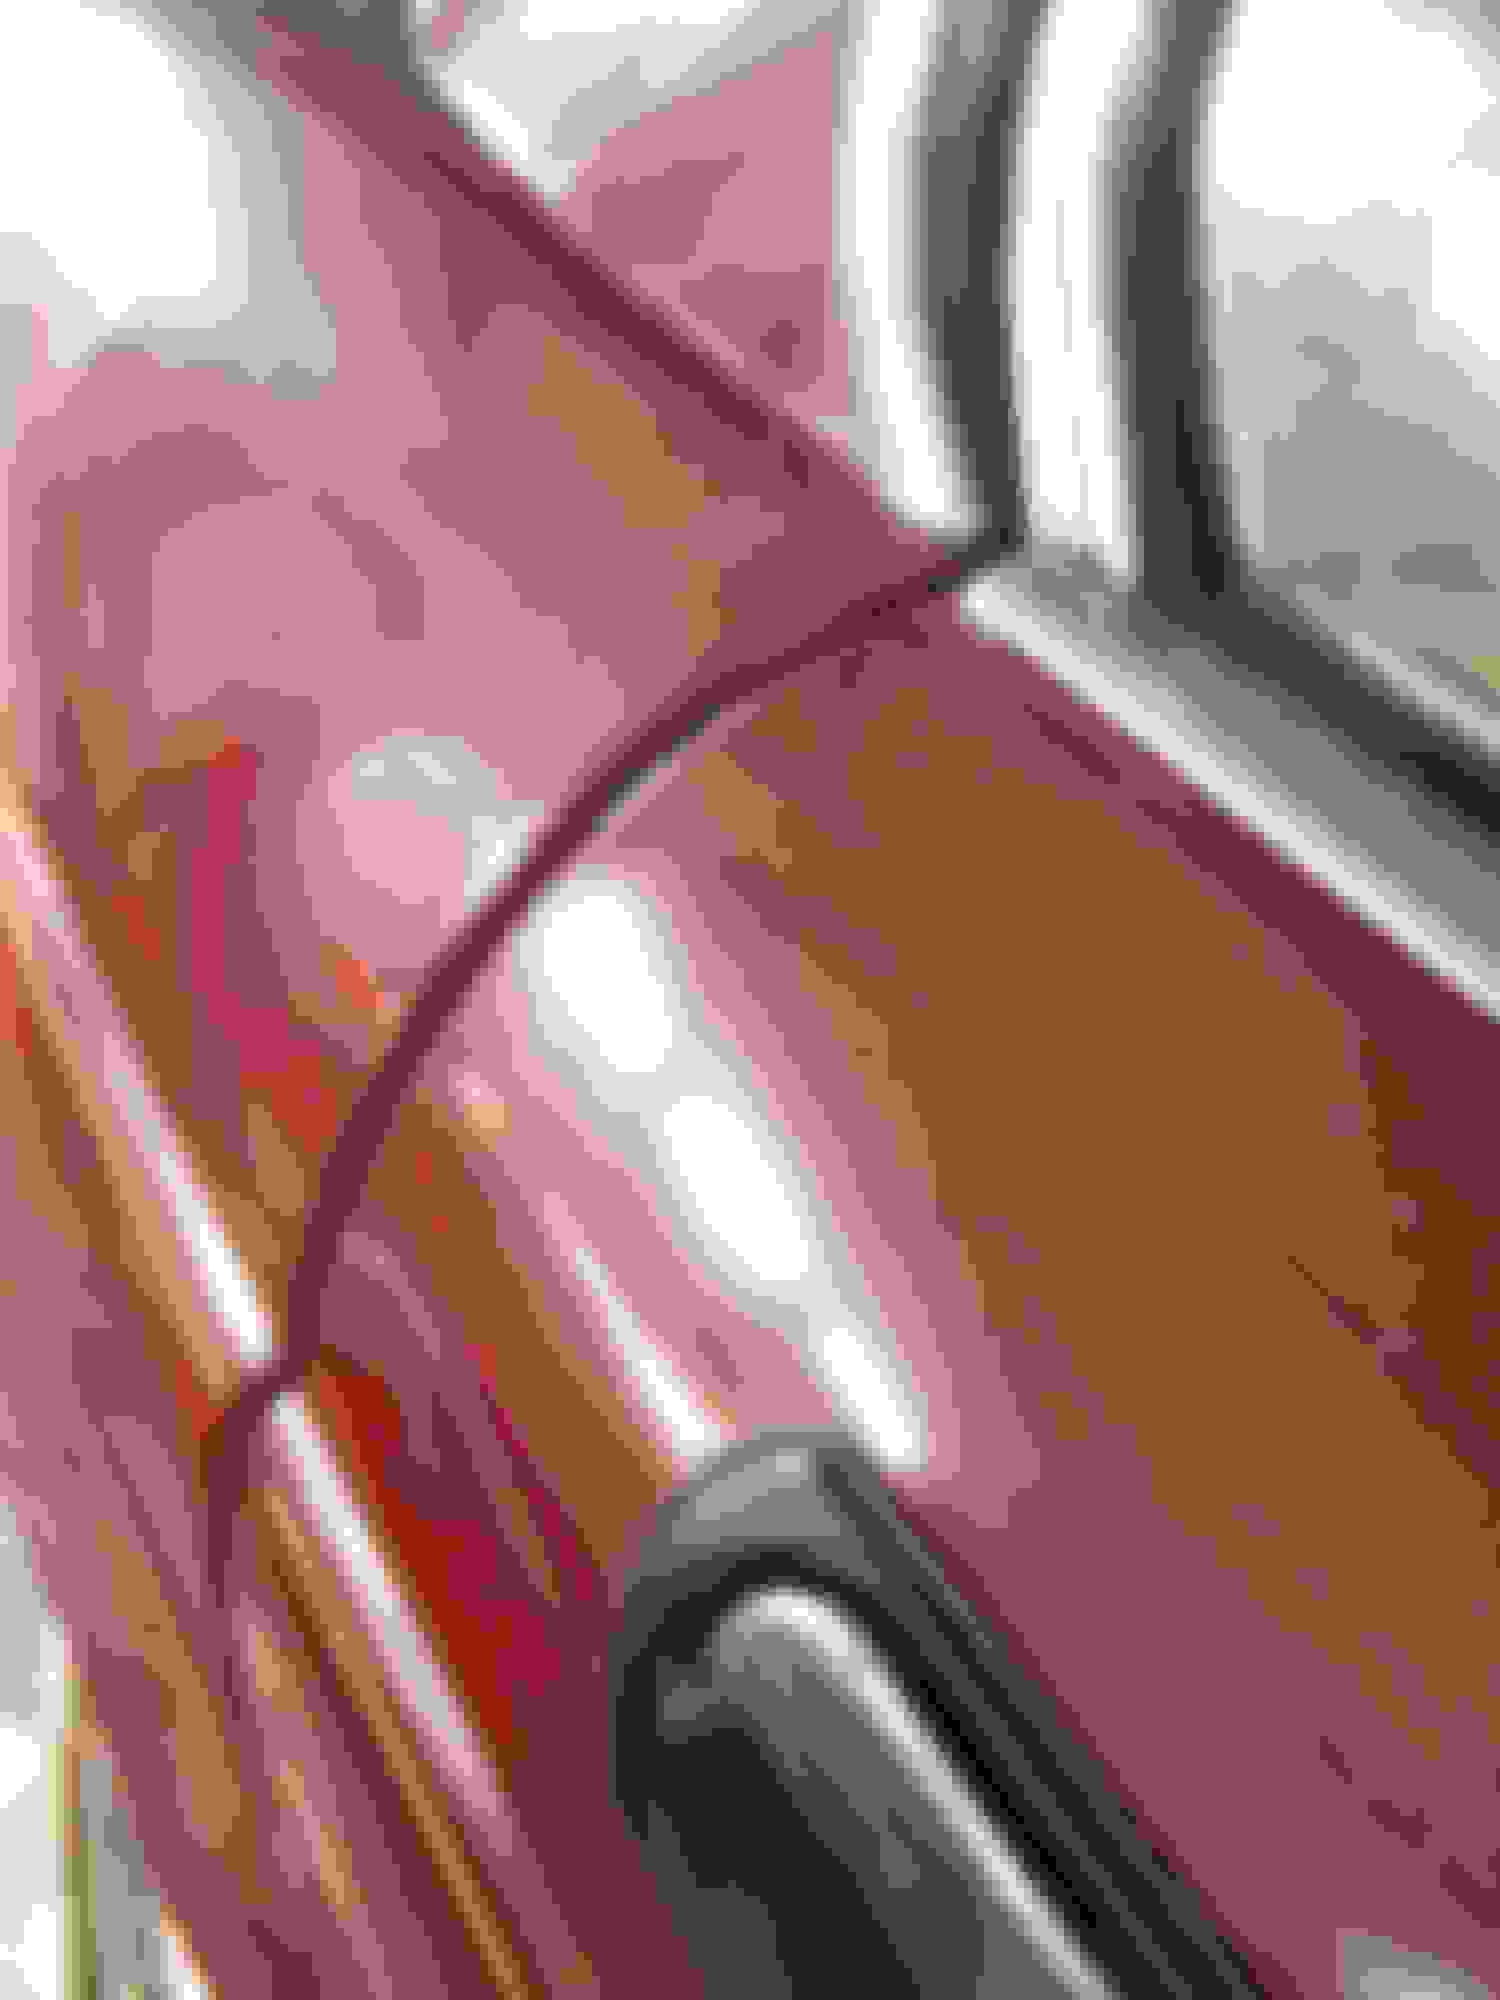
Here are the two hinges: Door can be adjusted at these hinge points, and there are also adjusting bolts on the inner part of the door (with 3 bolts per hinge). These inner bolts are a challenge to get too......door must be opened to access a couple of the bolts, and the door must be shut to get to the other bolts.
I used a floor jack to ensure the door did not slip down as I loosened the bolts to attempt to raise it up and tap it back a bit:
I still cant get it right, and wanted a few tips from those experts here.
Thanks for all input.
I have adjusted the "plane" by loosening the rear door Catch, there is some inwards adjustment there. (the "catch" is shown in your third picture above).
In your case, I don't think it is the hinges, but the rear door Catch. Start there. I am assuming you are trying to adjust the door so it matches the rear wing plane, correct?
Jose......Actually the top of the door is sitting too low, and it is also a bitt too forward and rubbs against the front door on the chrome edge. So I was first trying to raise the door a bit, and push it rearward a bit. Good point about the door catch.....I had not yet gotten to that adjustment.
Is there a standard "Door Adjustment Guide" to show the proper steps, or does everyone just keep loosening bolts, tapping, shifting, grunting, and repeating over and over?
Thanks.
I have read in the past that when the door "collapses" like you describe, it is the result of the Hinge Pin wearing out.
As far as I know there is no guide to door setting or adjusting. It requires two persons lifting and holding the door into its opening, inserting wood or plastic shims covered with masking tape, to set the gaps properly and seat the door, and THEN tightening the hinges. Usually 1/8" to 1/4" is the gap you want between front and rear. Top of door to aluminum strip, around 3/8" or less. But mostly, let your eyes tell you.
Jose........I had thought that you had said that the "latch" could be removed, and the back plate would not "fall in". My 77 only has two large Phillips screws securing the Latch to the door frame. I came very close to taking the two screws totally out, but then saw that the backing plate was going to fall inward and be impossible to retrieve. So, I had a few threads left on the second screw, and with a sigh of relief, I screwed that screw back in, and replaced the other one. Big sigh of relief, as there is no access to that area.....not sure how they install it at the factory. So, I just adjusted that back and up, and along with some frustrating adjustments to the 12 hinge bolts, I got the door looking better, but not as good as I want. I see that the front hinges need tweeking also, but that entails removing the front fender to access the bolts.....so, that job can wait.
Pics before and after of the rear door:
Before adjustment:
After adjusting:
This is a pretty difficult and frustrating job, and it would be very helpful if someone with experience would post a very detailed "how to" with numerous pictures.
I refer to the CATCH as the part that is bolted to the door jamb / opening. Looks like an upside down "U" and is bolted with two torx screws, that's how it is in my 1984. Yes, if you remove the surface plate it will fall into a recess but it can be pulled out again.
the LATCH is the part that is bolted to the door itself. It is bolted with 5 large Phillips screws to the door. This is the part I suggested you remove.
Maybe it is different in your 1977 ? but I think they are the same.
Jose.....10-4.....My mistake.....It is easy to read instructions and then assume something else, in this case I screwed up "Catch" vs. "Latch". But no big deal.....I did not loose the catch down in the black hole of the Jag, never to be retrieved again. (Speak of retrieval, how is that done? There is no access from the inner fender well, and not from below.....so, I guess the seat has to be removed, and there is a small access hole in that area?)
I adjusted this Catch plate inward and upward, and it took a few tries, then closed the door until it was pretty close....then I loosened the hinges and made final adustments. I do not completely understand how the 6 "inner hinge" bolts are adjustable.....I loosened those, and tried to push the door inward, but could not see any change....so my final adjustments were just with the other 6 "outter" hinge bolts.
yes to both questions, but easier than going through the seat removal, just get a powerful magnet positively attached to a clothes hanger and you can pull it out. I'm always finding and pulling things with magnets, when I lose a screw, etc.
Even the factory assemblers lost hardware when assembling these cars.
the rear edge of the door needs to be flusher with the rear fender / wing. Did you change the rubber seals by any chance?
Is something else preventing the door from going in further? The Draft Excluder maybe? Assuming you have reached maximum adjustment of the CATCH at the door jamb. And assuming that is the original door to the car, Investigate before forcing the door. It should not be that difficult to readjust.
obviously you cannot adjust the center door pillar's outside hinges other than up / down.
any adjustment for in / out must be at the DOOR itself. Either at the CATCH for rear-of-door adjustment, or where the hinge attaches to the DOOR for front-of-door adjustment.
Have you compared with the opposite side door ? If it closes correctly, then copy the measurements from the opposite door.
Yep.....strong magnets are a mechanic's friend......but I would prefer not dropping it down the black hole in the first place......maybe if I supercharge the magnet with my flux-capacitor, then I could retrieve it. ha ha.
Actually the door is now flush to the rear fender/wing.....the pic just distorts it some. This pic shows the gap looking pretty good, pin stripe lining up.....not bad.
Rubber seals....nope, I did not replace. They are still the original ones, but now the rubber seal is actually rubbing a bit on the door jamb when closing the door. I put some grease on it to help reduce the pain. When I get the chance to tweek the front door forward, then I can then tweek the rear door forward a hair to prevent the rubbing of the molding.
Original rear door that came with the car? It appears to be, but one can never tell for sure.......are there serial numbers or identification on them to match to the other doors? But this rear door panel had been removed years ago, and some monky used rivots instead of the correct bottom screws on the lower door panel. I want to remove and inspect for prior damage on the inside and give a good lube.
Yep.....the other rear door fits perfect, and I was comparing those measurements during the adjustment.
I suspected damage to the door which I THINK are longer in the L model. It is possible the door is out of specs. Who knows. I still think they are too far out. In my 1984 they are further in, almost deeper than the rear fender plane. Almost. If you put
ruler on the rear fender, I have a tiny gap between the ruler and the door surface and I did it on purpose so the door closes tighter. But one thing is certain, the doors will sag
after years of use. They are heavy.
Jose.......Thanks again for all the comments.....very helpful. I will let you know if I see signs of dent repairs when I take the inner door panel off and look inside....you could be right...either banged up real bad, or replaced with a different door.
Pretty cool......we both have 84s also. My other one is a 84 XJ6 which I am in the process of dropping the rear box assembly to properly access the brakes.....all 4 brakes are stuck...front and back. The neat thing is that the original owner bought it from the Coventry plant in 84, then shipped it to the US, and then removed the 6 and installed a V12. Engine runs great, but those brakes need redoing, and some rust issues since it was up in road salt territory Mass until I bought it a couple months ago. I will put a ruler on the 84 and see if the rear doors are flush, or "in" a hair......just checked, and the rear door was "flush" to the rear fender at the top portion, just below the chrome window trim, but as you said, it was recessed a bit to the left of the door handle and above the pin stripe......a good 3-4 hairs, or about 1/32". Front and rear door gap planes were flush.
this adjustment is done with the door resting on a work table. Trial and error. Lots of measuring before and after. Two hinge bolts are the ones controlling this in-out adjustment for THE FRONT of the rear doors. I was not able to get a picture of the bottom bolt, only the top bolt.
Jose.....I just took a few pics of my 84.....the drivers side door is like yours, the top face is slightly inward of the rear panel at the top, but it is flush as you go down toward the pinstripe: The red paint has rubbed off where the window chrome rubber rubbs the jamb...Im guessing the door has dropped a hair, or the rubbing of the rubber insulation is just standard protocal.
The passenger side has the door completely flat/level to the rear panel, at the top portion, and as you go down to the pinstripe: Could be that this door did not get the wear/tear like the one behind the driver's door, as a driver normally uses that door more to load/unload stuff.
Good to know the Latch can be removed easily....I guess you can just put some light pencil marks around the corners so you can put it back where it was after spraying lube inside.
Front of Rear Door Adjusting: When you say that the door should be sitting on a worktable, do you mean that the door is removed from the car and then sat on a padded surface to adjust the hinges? Or were you implying that a floor jack is used as the "worktable" to hold the door in place? These are the inner bolts which I loosened, and then put a soft towell on the exterior door face, and tryed tapping with a rubber mallet, but the door did not move. I had the upper and lower hinge bolts loose.....but she did not want to move.
1977JagwireXJ6, the '84 rear doors look just like mine, well adjusted.
the rubber seals always seem to rub against the jambs. but being hollow seals, they compress as you close the doors to prevent wind noise, something which these cars are known for, especially at the two front doors. Your idea of lubricating the seal is a good one.
yes.you would need to remove the door from the car and rest the door flat on a work table. Then you mark / scribe the actual position of the hinges at the door, then loosen the bolts. then with a wood hammer and a piece of wood, smack the hinges so they move. If you look at the picture of my hinge bolt, you can see there is room for movement under the hinge. Maybe the hinge and backing support plate are seized in place and need a good smack. The hinge should move. I always use wood since metal tools always cause secondary damage.
Also, no need to mark / scribe the position of the LATCH, the screw nuts are welded in place so the latch always goes on in the same place it was before removal.
Jose.......Its easy to get those two mixed up......"Latch" and "Catch". Got it.....the Latch (on door) is fixed in position, but the Catch (in door frame) is adjustable. But if you take the door off, its probably a good idea to mark the current position of the hinge with a pencil before loosening and moving. But that process seems like a huge pain.....will have to fit the door back on, adjust again, check allignment, and probably have to remove several times to get it right.
Funny you mentioned "wind noise". The rear door on the 77 that I was adjusting.....if you recall, it was sticking out too much. In the process, I noticed some rubber molding getting loose and kinda flopping, needing re-glueing. This was about a 2 foot long strip someone had glued from the base of the chrome window trim and up about half way along the upper edge of the door jamb. Apparently someone did not like the "wind noise" which was due to the door not being alligned (sticking out), and their solution was to glue some more molding to the jamb. So, I yanked it off after seeing that the other door did not have it. (I guess this guy was the same one who rebuilt the transmission twice......ha ha......maybe that 2 foot strip of molding was actually a piece of a transmission band that he forgot to put back???)
yes, I might even have the wrong terms for Catch and Latch, haha!
remove that piece of added molding, it must be interfering with the door adjustment. just like I thought. You should not need to add anything.
Removing the door in one piece is a pita. You have to disconnect the wiring that runs inside the rubber neck for the window motor and lock. Then remove the 6 bolts after scribing the hinges position. And you need two people for this, one supporting the entire door. it is very heavy, easy to cause damage to the door skin. Glass must be in the UP / CLOSED position to avoid stressing the window frame. Very delicate work. The work table must have a thick soft fabric over it to avoid paint scratches. Best to avoid this job!!