When you click on links to various merchants on this site and make a purchase, this can result in this site earning a commission. Affiliate programs and affiliations include, but are not limited to, the eBay Partner Network.
New Member, detailing plans for S1 XJ12 SWB restomod
Hello everyone, I've been a lurker here on the forums for the better part of 2 years. I bought a 1973 XJ12 SWB in December of 2012 and have been slowly taking it apart ever since, getting a feel for the way everything is put together in these cars.
I don't really like the word restomod because it usually implies gaudy modifications or changes that contradict the character of a car; I will try to avoid this. I am going to keep the car as original as possible except for all the go-fast and reliability bits I add.
I will be doing the standard take-car-down-to-unibody and weld in metal/patch panels to all rusted spots and then rust proof (epoxy primer for everything but the bottom of the car and then por15 for the bottom) restoration. I will be replacing all bearings, rubber bushings and wear items on the car as well. I'd rather over do it with the parts replacement than under do it.
Some of the more interesting things I will be doing:
- I plan on using 2 123ignition electronic distributors using the jackshaft from what I believe to be a jaguar pre-production V12 (like the XJ13's jackshaft) that has 2 distributor drive gears on it and is longer than the standard jackshaft. Unfortunately I didn't get the matching valley cover that the distributors would mount to with the shaft so I will have to make that myself; the throttle linkage tower that is part of the valley cover will have to be relocated because that it roughly where the second distributor winds up being, This is okay because I won't be using the stock intake manifold anyways. The "tune" models of the 123 ignition distributors are really cool, they have a centrifugal advance curve and a vacuum advance/boost retard curve that can be edited in software (no more vacuum actuator living on the distributor, instead a map sensor which tend to be more reliable in my experience). One more interesting thing about the extended jackshaft, anyone ever notice the fourth jackshaft bearing hole in the block that lines up perfectly with the standard jackshaft but is unused? I guess jaguar never removed that feature from their casting.
- I also plan on adding a roll cage/chassis reinforcement integrated into the sheet metal of the car, the majority of it is going to be .095 wall thickness 1.5" diameter 4130 steel tubing cut down the middle (lengthwise) and welded so that only a half circle profile extrudes from the sheet metal. I know this won't meet any race safety specifications but I think it will significantly stiffen up the car, I am about 1/3 done with this and will post some pictures to give a better idea of what I'm doing because it�s kind of hard to understand from words. This modification will cause some of the old interior panels not to fix anymore (mostly just the a, b and c pillar's cladding).
- I am going to add an o2 sensor based AFR gauge to the car (one for each bank); I found the perfect one that has a typeface that is very close to the original smith's gauges found in these cars so that it won't look out of place. This will be a big help to me because I am going to keep the car carbureted and we all know that a certain amount of tinkering is needed to keep carbs tuned properly, especially when dealing with elevation changes.
Stuff I am on the fence about: - Transmission. I still can't decide between a 700r4 or a TKO600, 4 speed lock-up auto versus 5 speed manual. I know the auto will fit the character of the car more but I would probably enjoy driving the manual more. I plan to daily drive the car once it�s done (well at least when I'm not on my bike) so in traffic the auto would be less of a handful. I think the manual transmission would be less headache down the road with reliability though, no TV cable or lockup solenoid to go bad/out of adjustment. I need to decide on the transmission before I get my radiator because the auto transmission requires a radiator with extra inlets for the transmission cooling loop, that�s another negative for the auto transmission - extra heat.
-Full flow vs bypass flow oil cooler. The car came with a bypass flow oil cooler, and I know full flow is better but I'm having a hard time grasping how much better and if it�s worth the cost to upgrade.
- I was contemplating a sort of auto-tune system for the carburetors, since I will already have a AFR readout voltage from the o2 sensors I could use an ADC to take that signal into a microcontroller and then use the microcontroller to drive little tiny stepper motors (maybe like a nema 11 size) to adjust each bank of carburetors.
The best mod you could make is to punt the V12. Its heavy, unreliable, failure prone, anemic, inefficient and non-economical in everyway. Installing a TKO or 700r4 is not straight forward with the V12. A engine and transmission combo designed to work together from a donor car, automatic or manual that isn't cobbled together and will offer smoothness, performance and serviceability is what really fits these cars. Removing the extra weight of a small elephant from between the shock towers is the single best performance mod you could make, it improves acceleration, handling, braking, serviceability, reliability and economy all at the same time.
I've done most of what you've mentioned. I've reinforced the chassis with steel tubing and it needs it. I've installed a 406, 700R4, rear sway bar, 17" wheels and performance tires, upgraded the IRS mounting and added 3:54 diff with an Auburn limited slip. I've added Wilwood brakes up front and the huge vented XJS convertible rear outboard brakes and retrofitted fuel injection and Bosche ABS while keeping the Jaguar ideals of grace, pace and space in mind.
Just one mans opinion...have fun with it what ever you do, that's what's really important. I do and fell I am truly blessed and privileged to have the opportunity to carry on as I do.
.....Yeah the V12 isn't the lightest engine around but it seems to be made very stout, with virtually every wear item on it being replaceable, for that I give it some leeway in weight. I do agree with you that a SBC engine can outperform the Jag V12 and for a fraction of the price, and as long as its not iron block and head be lighter at the same time.
I've heard the reason the XJ coupes all came from the factory with a vinyl top was because the amount of flex in the pillars and roof caused the paint of the time to crack, the XJ sedan wasn't that far off from the coupe structurally minus the b pillars. Rigidity from the factory wasn't its strong point, but I suppose it was never meant to be.
I noticed Jaguar didn't put a rear sway bar in the v12 cars but did in the 6 cylinder in the 70's, when you added the rear sway bar did you notice a big difference?
What did you do to help with the IRS mounting? I got some of the harder shore rubber mounts for the IRS but I still feel like it could be more firmly attached to the car, The later cars (XJ40s I think) ended up getting a tie plate for the IRS instead of the trailing arms which I think would be a big help to combating drive-line torquing.
Now for some pictures:
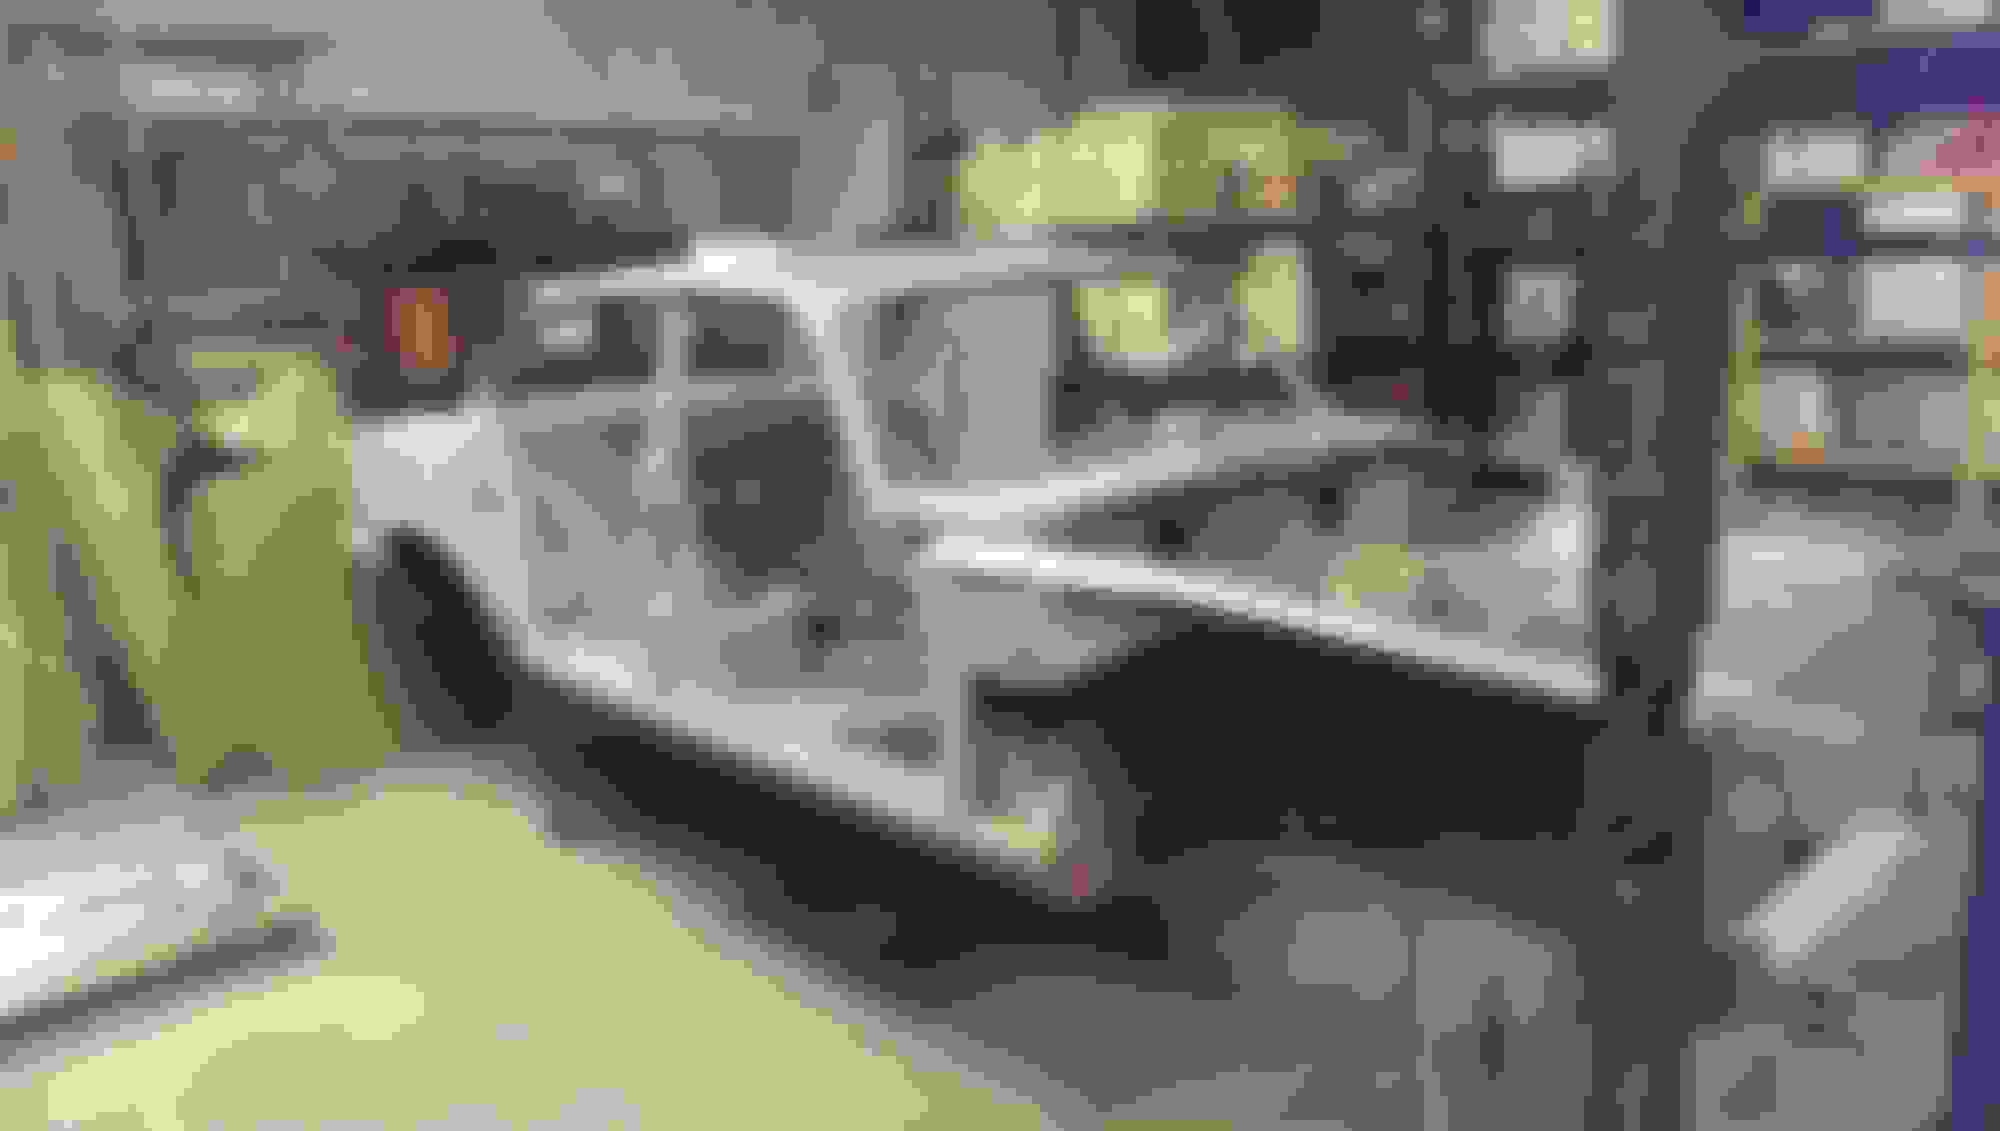
The car when I first got it
The next day I had already taken the hood off
The AFR gauge I mentioned in my first post
Lapping new valves in, notice these heads are the original flat head design
Heads all clean and assembled
Washing the engine block in a kiddie pool full of diesel.
The engine block after being cleaned up with walnut media
The bare block (well it still had the main studs on it) actually weighs in at less than 100lbs
Some passenger side rear fender rust repair
The patch panel for the fender
Patch panel tacked on
After the welds were ground down and I accidentally allowed some surface rust to accumulate
This is the oil clearance for the front most journal in the engine, 1.5 thou clearance after 70k miles is not bad at all
After I got the crank home from having the piston, rods, crank and harmonic damper balanced at a machine shop, they said it was pretty unbalanced as I gave it to them.
4" diameter. 0.083" wall steel tube used to strengthen the inner sill of the car
B pillar reinforcement connects to the inner still reinforcement
Where the B pillar reinforcement ties into the reinforcement that goes around the roof's perimeter
I had to make the roof perimeter in many segments to have it curve along with the car and stay out of the way; this won't be as strong as a real roll cage, but it won't be nearly as noticeable
Last edited by twin_savage; Aug 18, 2014 at 08:08 PM.
Restomod is not a dirty word. I love what you're doing there (25% more than I would if you were using a non-Jag engine). Manual transmission alllll day long.
I really like what you're doing and find it fascinating. I agree with Greg, "Restmod" isn't a dirty word. It's YOUR car and you have the right to do whatever YOU want to do with it.
I disagree with Greg about the trans, though. I have a 700R4 in my car and I absolutely Love it! It's the best auto trans I've ever had. That Stump Pulling first gear is Awesome getting such a heavy car moving.
Besides that, I get quite enough clutching with my work truck which has a 4-speed granny tranny. (Put that thing in Granny Compound Low and it will literally pull stumps.)
(';')
Elinor, it's just that I need more involvement with the car than the auto gives me, so I get bored and the speed creeps up. I seem to enjoy the manual more at any speed. I'm Gemini, if that helps.
Its been a little while since I posted on this thread; Here's an update of some of what I have been working on:
Bought a newer front crossmember that was in better shape than what was original (the rust is just surface rust)
Here is The front frame assembly all completed
The steering rack I'm using is out of a '94 XJS so the steering ratio will be quicker than the stock rack's. Also the torsion bar is is thicker in this rack so there will be less power assist.
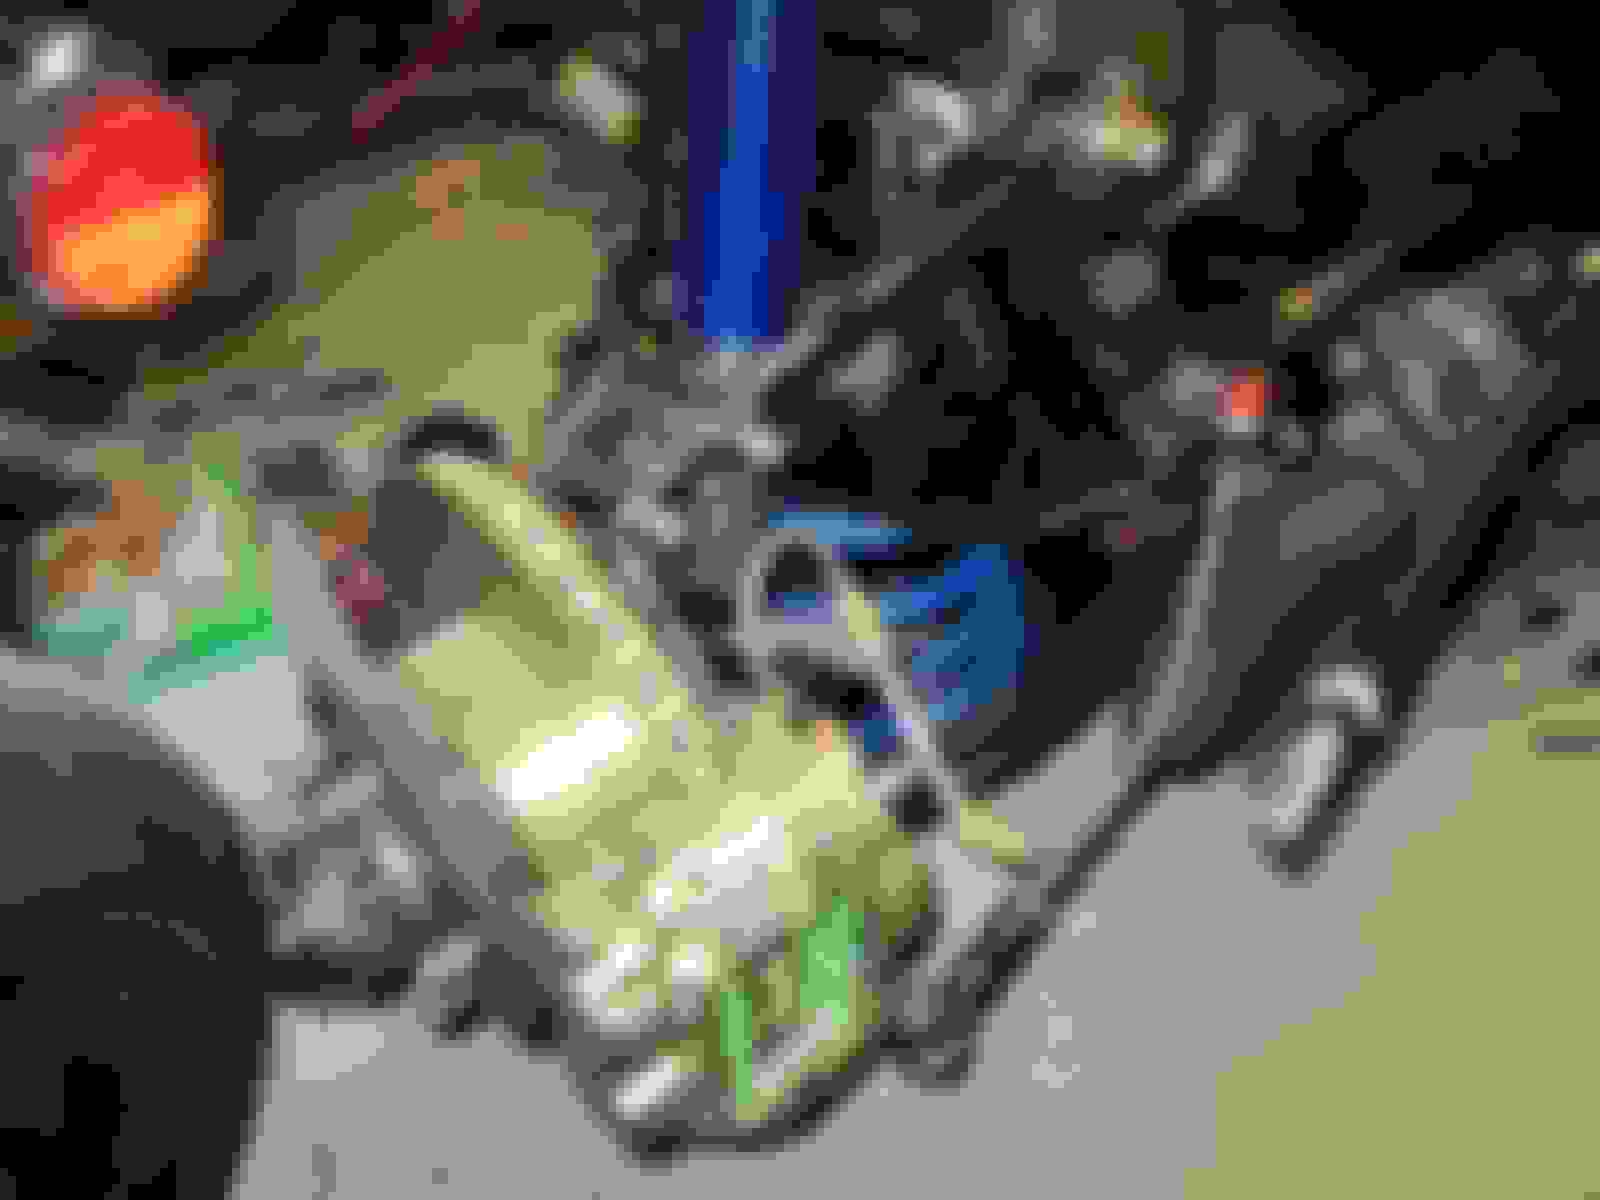
I had all the brake hardware and rotors zinc plated and then yellow chromated. I ended up with single way adjustable Gaz dampers on the front and the lower/stiffer springs the driven man sells. I'm not sure yet if I will change out the sway bar, for now I'm going to keep the stock one up front and see how it feels (no rear sway bar on these XJ12s).
Here is the Rear suspension all completed, it looks kind of dirty but it is all just dust. Same treatment as the front suspension with the yellow finish on bare metal parts and the Gaz dampers/stiffer springs. All the bearings (Probably didn't actually need to do that), seals and bushings were replaced along with the limited slip's clutch pack. I also got one of those finned aluminum rear covers for it.
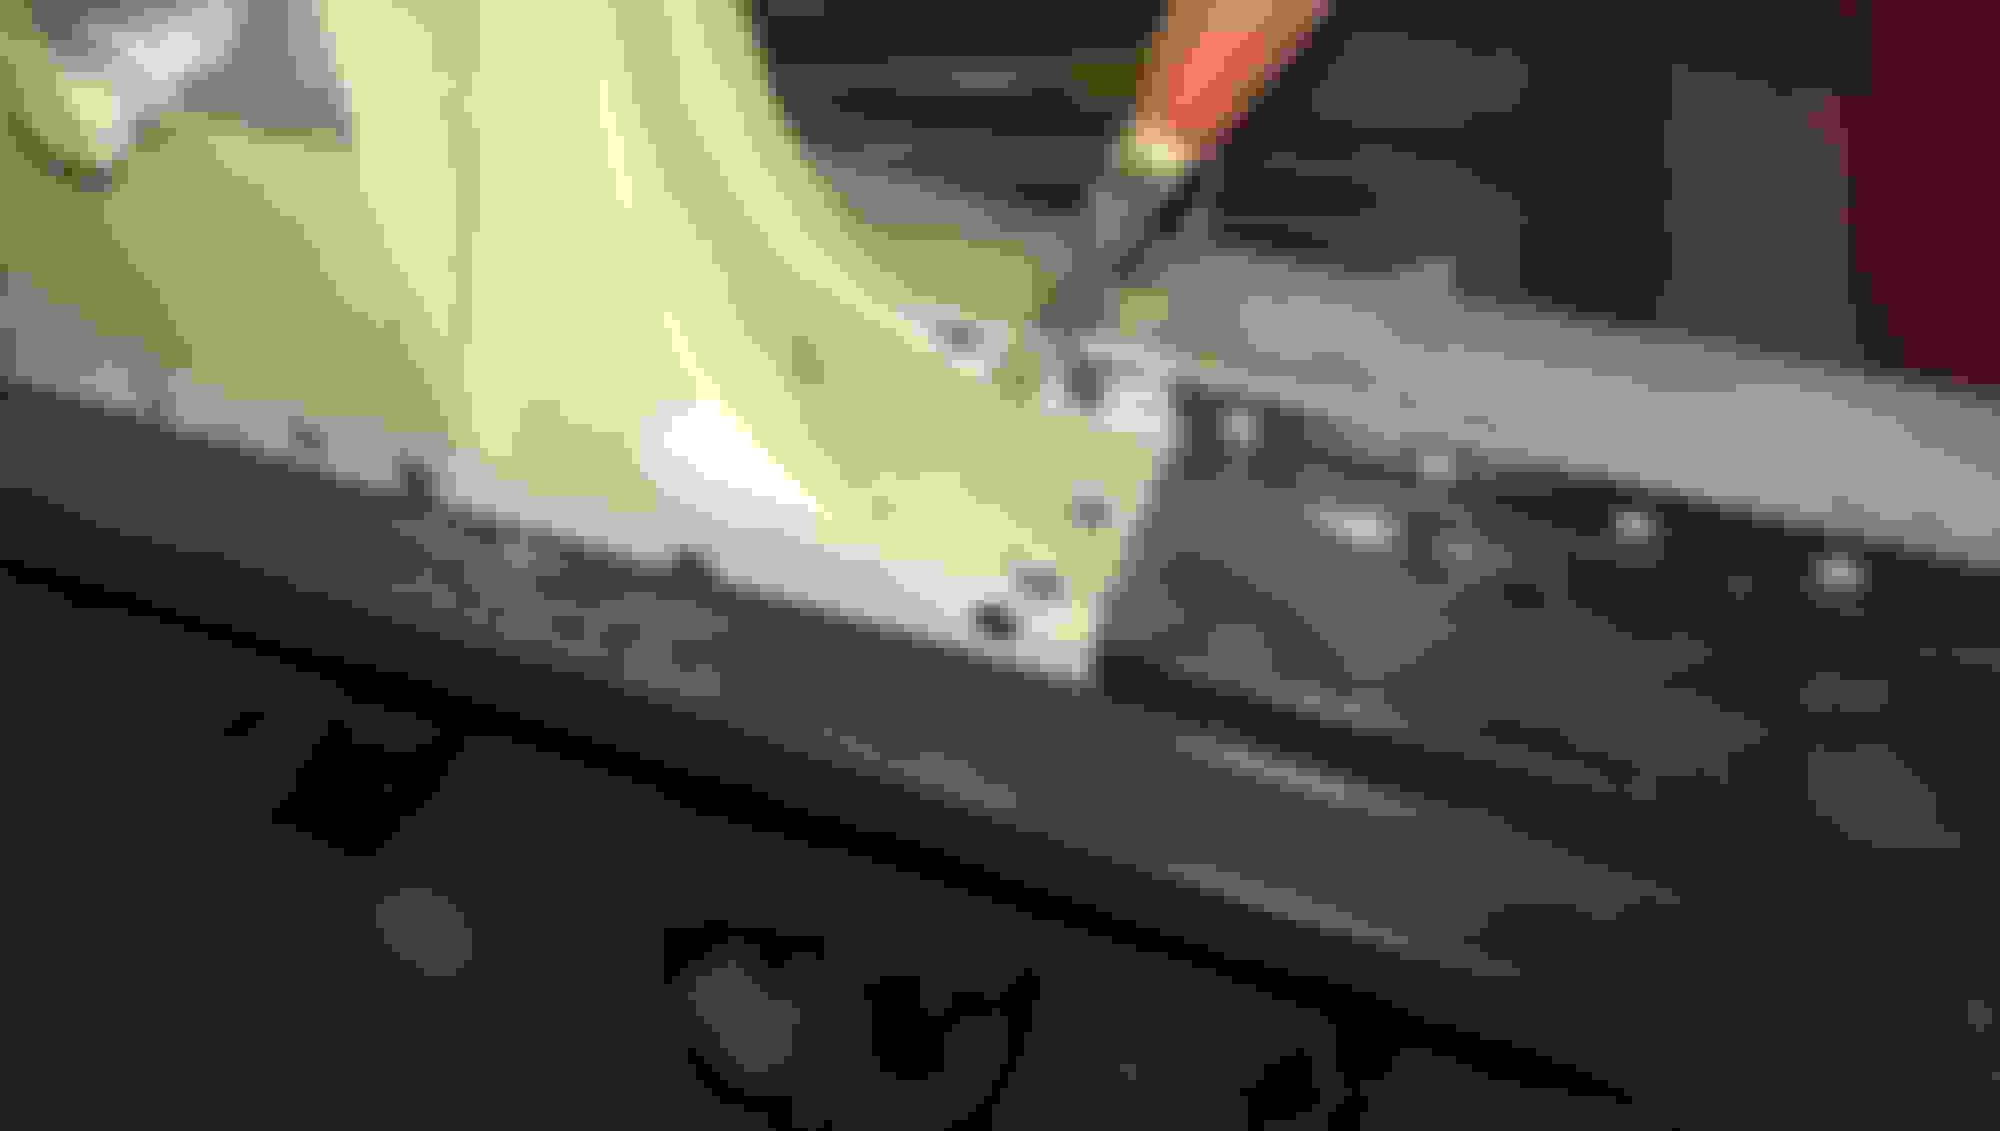
Here I'm installing a new rocker panel, the A pillar is closest in this picture.
The fitment of these reproduction panels is surprisingly good. The only niggle about installing the rocker panels was that the reproductions were for a long wheelbase car, so I had to cut about 4" out of the panels. The B pillar is what we're looking at in this picture.
Looking at the A pillar after welding, it is important to put the front fenders on for test fitment before welding the rocker panels on so that you can make sure the rocker panel's end lines up with the start of the fender; because I did this I was able to achieve better fitment between the two than original.
Here is where I was joining the two sections of the rocker panel I had to cut; the B pillar can be seen off in the distance.
After I for the two sections of rocker panel joined and ground down most of the weld, the join is not perfect but it is definitely not that noticeable.
Here is how I had my roll cage integrate into the C pillar and then go into the trunk and tie to the frame rail in back of the car.
Here is some support I'm adding in the engine bay that ties the frame rails and the shock towers together more rigidly and will serve as a strong mounting point for a strut tower brace. The holes in those plates are for some heavy duty plug welds, welding the plate along its edges would not have been sufficient.
Once the majority of the metal work had been done it was time to trailer the car off to get blasted and then powdered/primed.
Noticed I got a reproduction rear valence panel as well, there were so many spot welds along its top edge. You can also kind of see the way the roll cage terminates in the rear in this picture as well, it will need an X brace in the trunk in order to be very effective; I made mounting points for an X brace so I can decide to make one later and remove it and install it as many times as I like since it will simply bolt on.
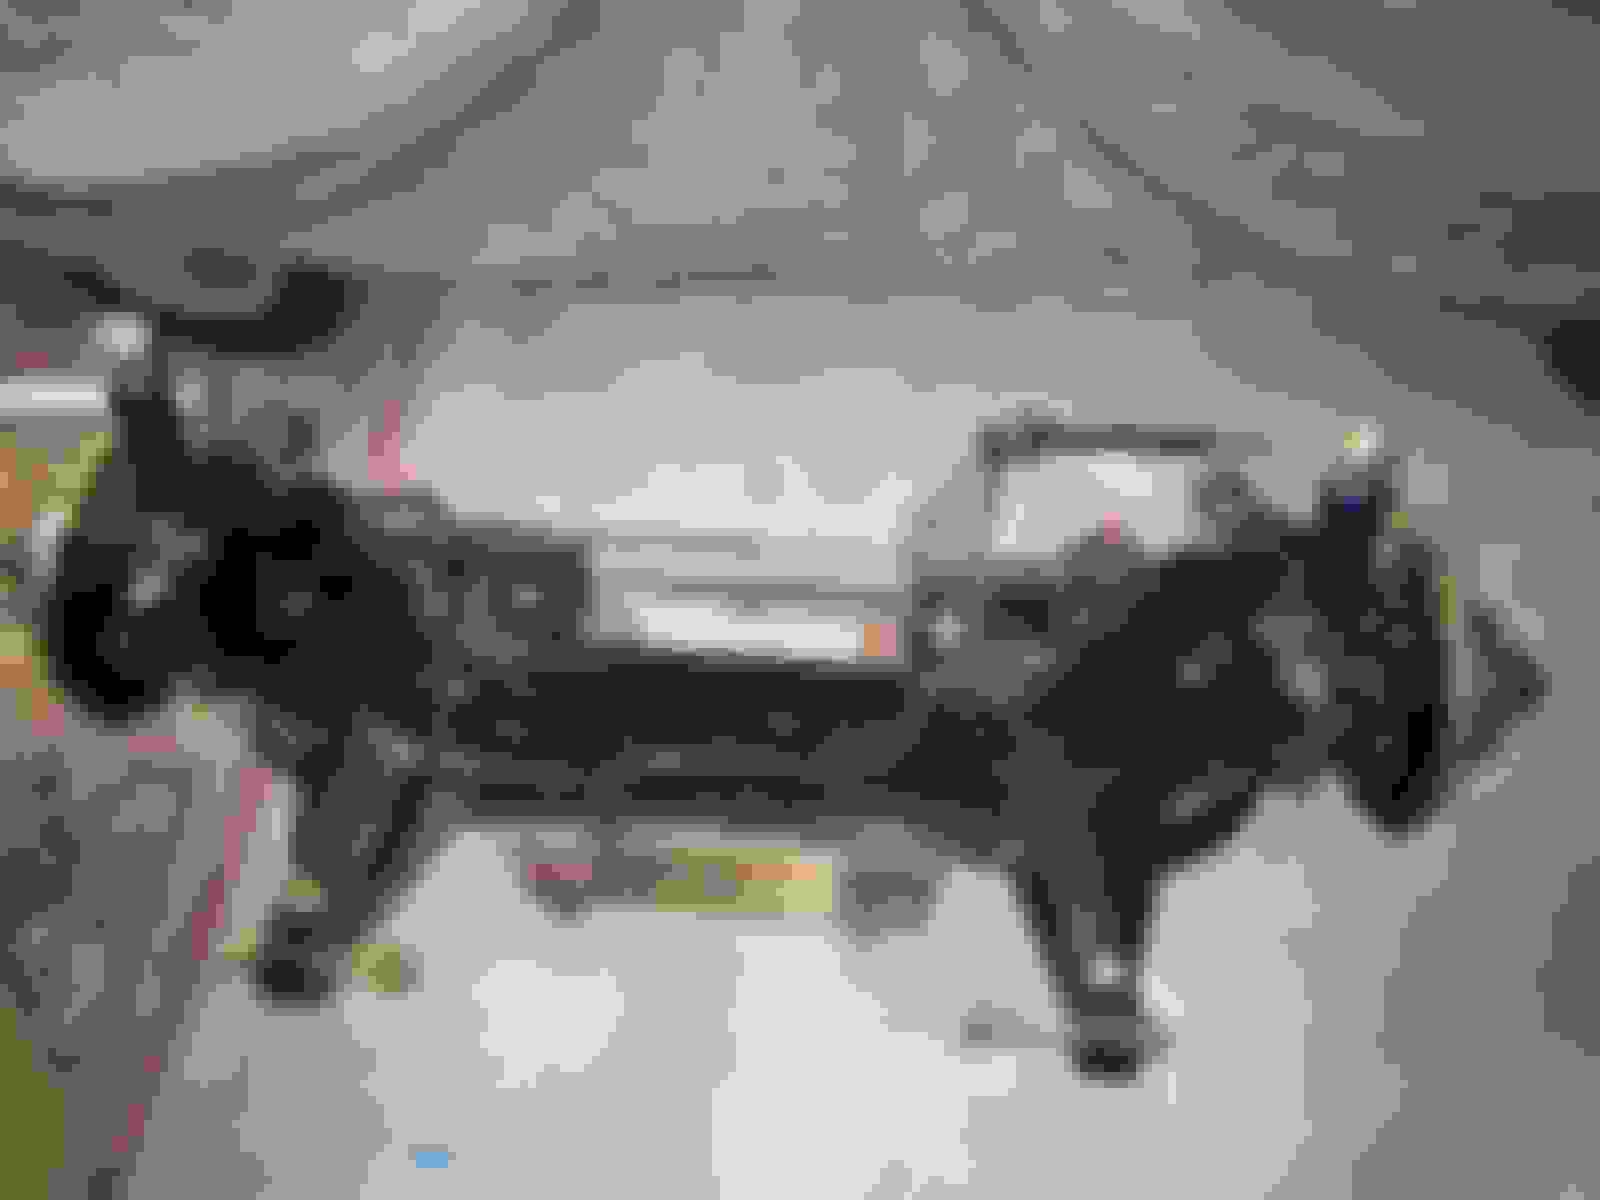
Here is the car after being sandblasted
You can see where I welded in the extra metal in the engine bay
I'm really glad I got most all the rust fixed before sending it off to be sand blasted
When I was tearing down the engine I noticed a strange wear mark on one of the connecting rod big end journals, when I removed the bearing from the rod I found these little chunks of metal between the rod and the bearing. The little pieces of metal came off easy enough.
All the pistons and connecting rods being weight matched
You can see in the valley the jackshaft with the two gears to drive 2 distributors I talked about earlier. I had to make bearings for the jackshafts journals because I couldn't find any available for sale (I need 3 now instead of 2).
You can see the way the cam chain is routed; and why this engine is only ever supposed to be rotated clockwise, since the cam chain tensioner is on the left.
After the head gasket was installed
After the heads were installed
Mocking up a new intake manifold that will house the original carbs
A close up of one of the runners. I had to braze the intake runner pipe to the intake flange because a flange this thin would have warped if I would have welded it. All that crusty looking stuff is flux that I hadn't cleaned off yet.
Here's a shot that shows off part of the oiling system; Once I get this car running I want to get one of the spin off oil filter adapters, the originals make for a messy oil change.
Last edited by twin_savage; Jan 12, 2016 at 02:53 PM.