When you click on links to various merchants on this site and make a purchase, this can result in this site earning a commission. Affiliate programs and affiliations include, but are not limited to, the eBay Partner Network.
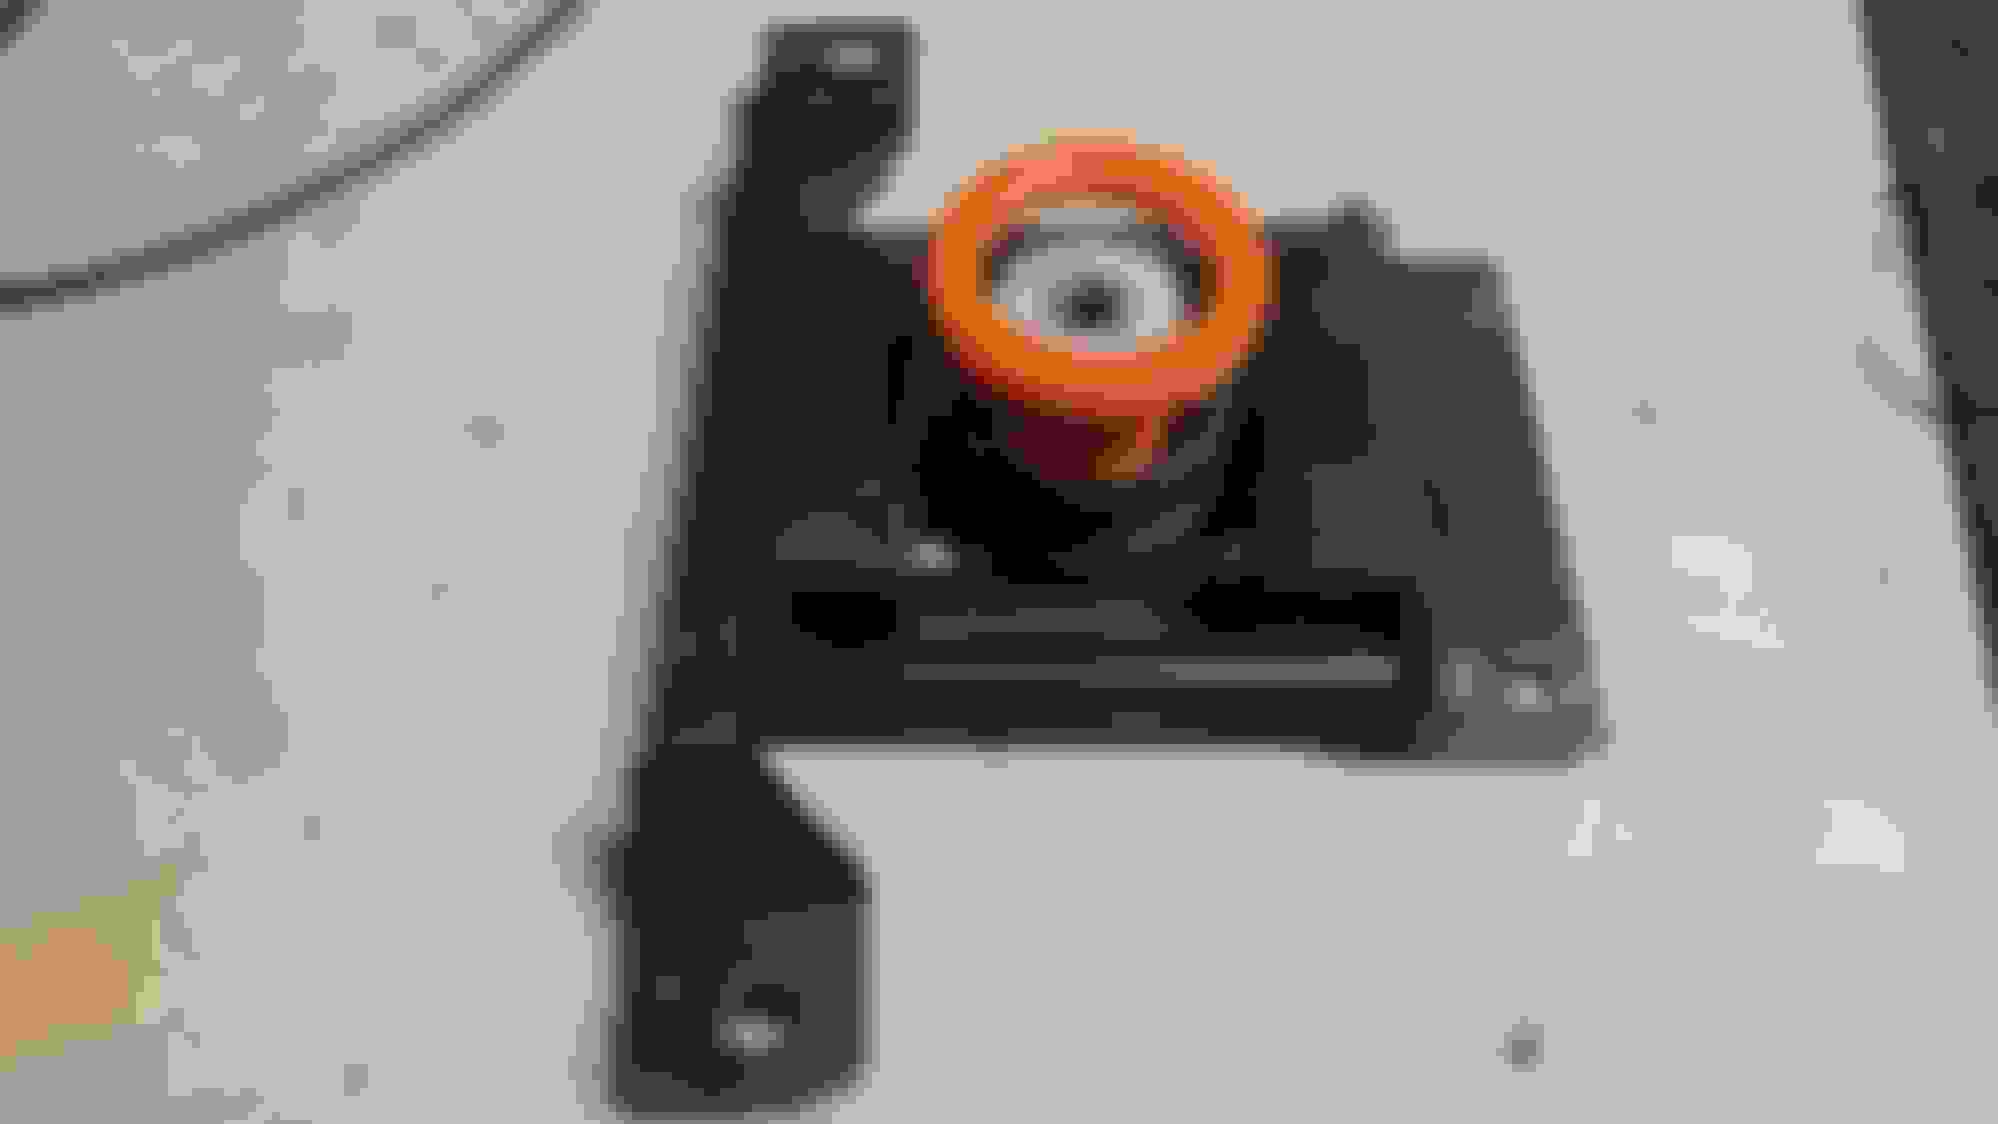
Just did my rear transmission mount, replacing the gooey old mount and ring. I used John's Cars poly bushing and ring. The parts manual does NOT show a ring for this style transmission mount, but believe me it's there. I also replaced the two large black rubber/steel mounts at the same time. The old ones were sagging. A few tricks and tips:
Ensure you use the parts manual to make sure on assembly of this fairly (over)complicated unit has all the parts facing in the correct direction. Don't ask!
Mine didn't have the washer in-between the two steel inserts so I made one out of a spare washer and ground it to size. I have no idea what its function is but I figured the Engineers knew what they were doing (insert "yea right" smiley face).
I used a bottle jack that I just purchased at HF as my primary lift for the transmission to raise it to take the load off the spring in the mount. Trust me when I say, if you are leaving the job for any extended period of time, put a jack stand as a secondary support under the transmission pan. That's a recommendation I followed from some other blog and mine did leak down.
All the hype about the power and punch that the spring has was unfounded in my case. Once the transmission was up there wasn't any load on that spring. So the whole unit lowered very easily via a floor jack. And... if fact... I didn't even use the floor jack to put it back up in place when I was re-assembling. Yes it was heavy but not so heavy I couldn't handle it. There are four 9/16" bolts that hold it in place - two forward and two rearward. The two rearward have 1" spacers - be sure they go back in.
The whole assembly has slotted holes for these 9/16" bolts so some alignment is necessary - don't fully tighten these four bolts till the alignment is done. All can be done by eye. When you slowly lower the transmission back down, you will be lowering the large threaded bolt that runs through the new bushing and through the bottom of the transmission mount. This bolt needs to be centered in its hole. Easy enough to do by moving the entire mount around just a bit - then tightened the four bolts on the mount. Then put the L shaped bracket back on the rear of the transmission. It's an 11/16" nut that then goes onto this aforementioned, now centered, bolt. Job done!