When you click on links to various merchants on this site and make a purchase, this can result in this site earning a commission. Affiliate programs and affiliations include, but are not limited to, the eBay Partner Network.
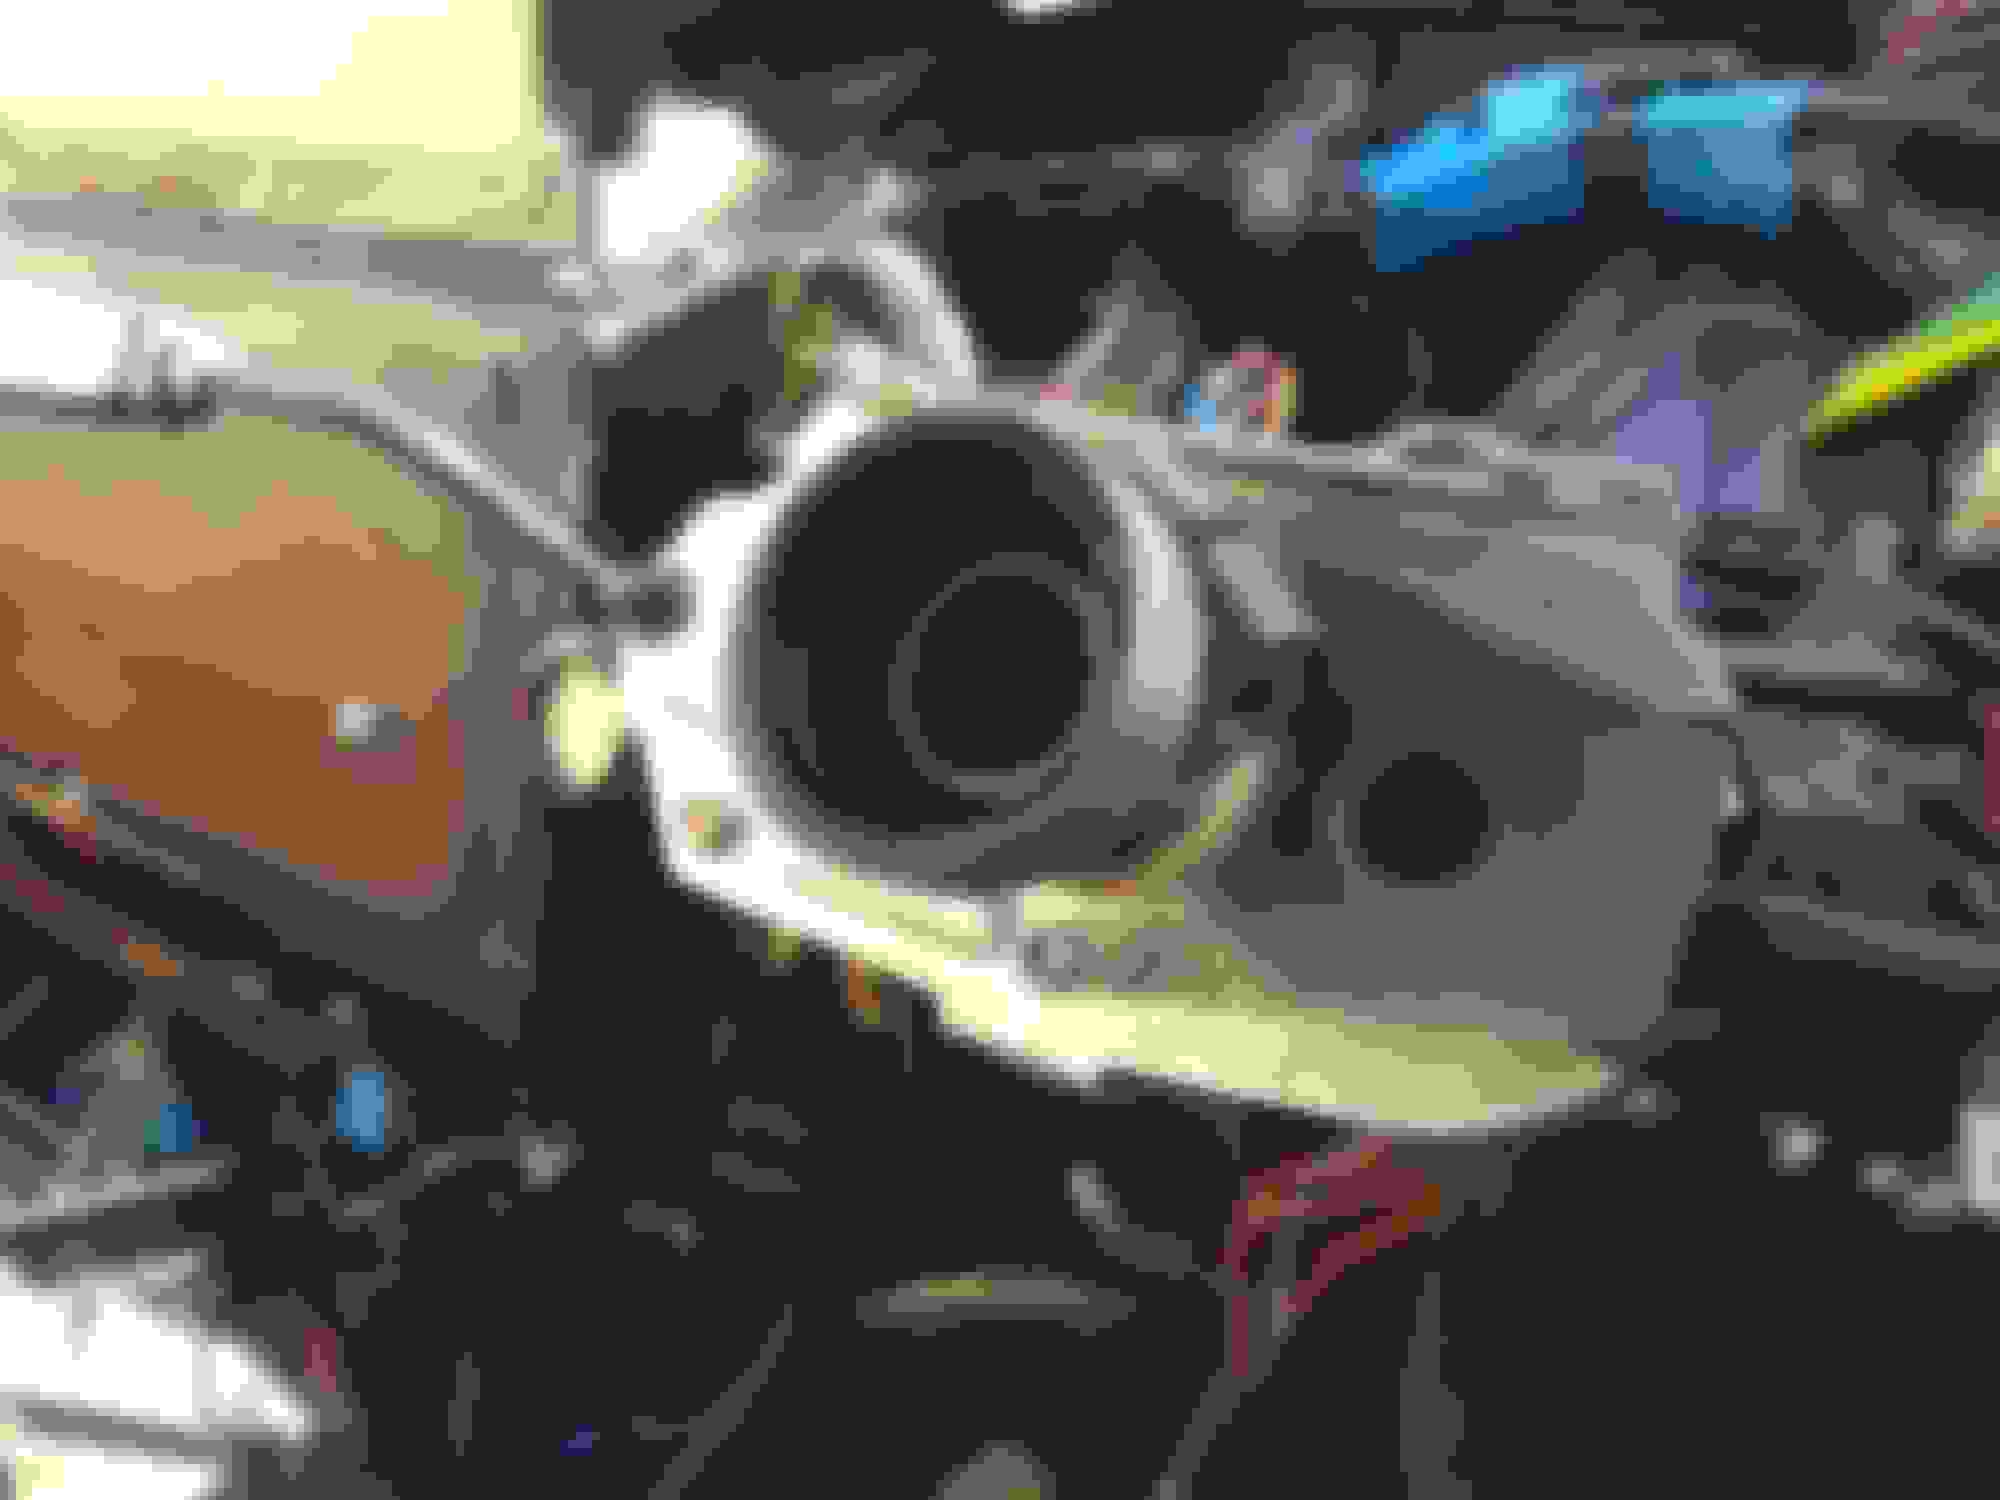
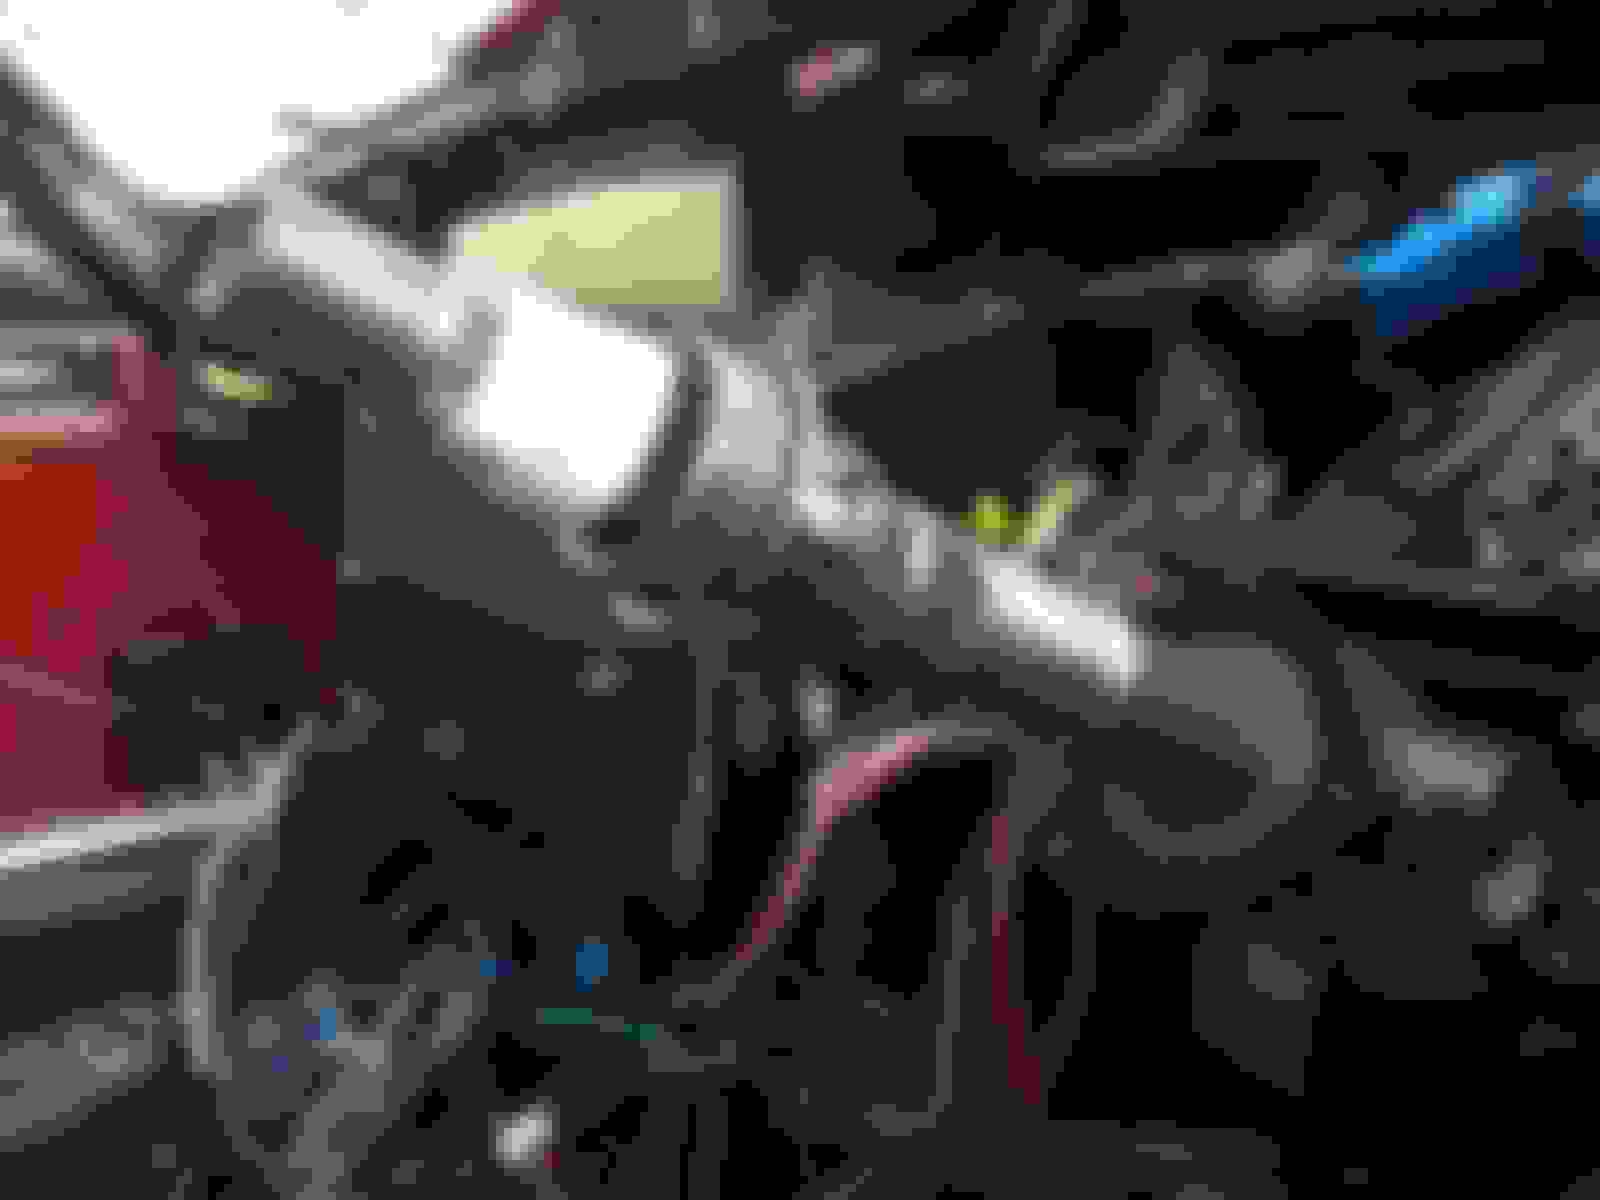
I try to take more picture records now as taking stuff off is easier than putting it back on, BUT even after examining my Hayes manual and photos I cannot figure there two pieces from lower way down on the steering column. I know they branch under one of the bigger bolts but which one and which directions do they face when doing so? Any guesses?
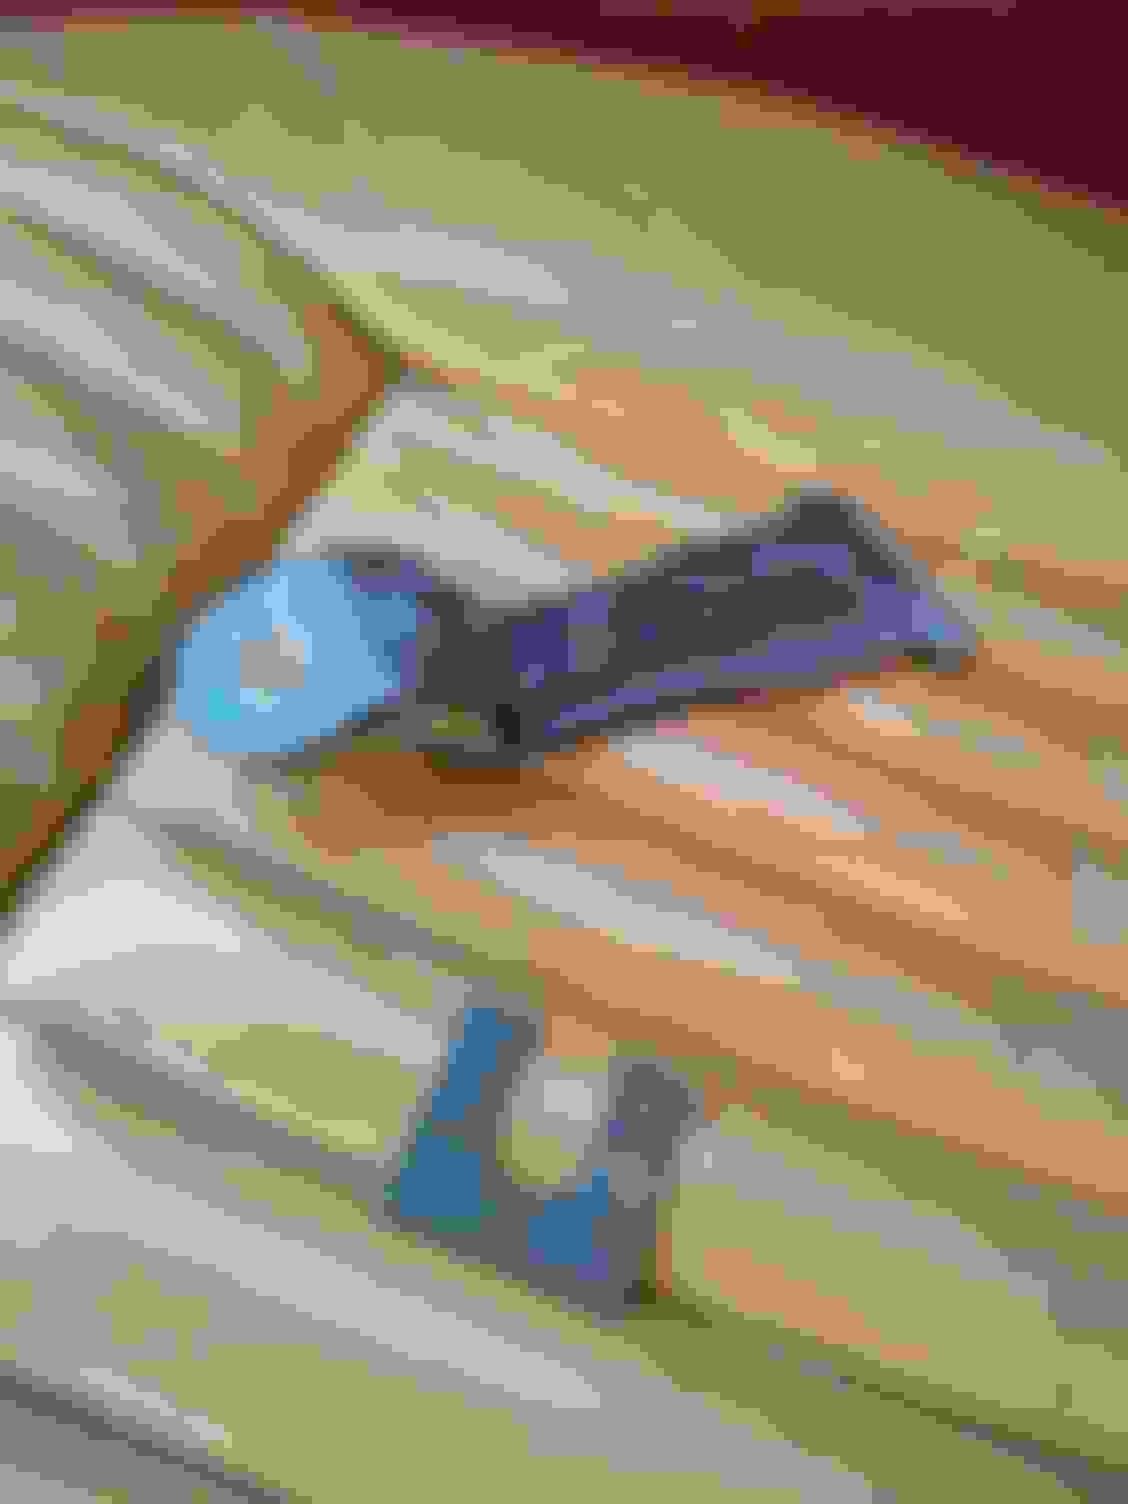
I don't recognize the upper one in your picture, but the lower one is a shim that goes round the bolts holding the column to the dash, between the U-shaped column mount and the body.
These are used to adjust the relative height of the column and keep from crushing the plastic nacelle against the wood dash but yet to keep the column steady and secure. At least in my car that's what they do.
I can also tell you, they are a Mongrel to keep in place/get back in place, because they're quick to slip out unnoticed as soon as you loosen the column, and they leave no trace where they've been. I resorted to a small drop of weatherstrip adhesive on each one.
I only discovered it because one of them was sort of stuck in place (also gave me the idea to glue them).There should be equal shims on each bolt, each side of the column.
(';')
just crazy glue them. I am not sure there are the same number of shims on each side, I think there is one less shim on one side, at least at the top clamp. Who knows. I gave up and just tightened the bolts.
No progress on figuring this out. The shim fell from under the bar thing which was held in place by one of the bolts. Really wish I'd photo'd it before taking it apart.... hate to leave anything out..
Well, one thing is for sure. that part of the car isn't all that hard to get to and replace whatever you forgot to put back.
As long as numbers 24 and 31 (column mounting brackets) in the picture are firmly attached to the body, and the column assembly is firmly attached to those, at least the column won't come out in your hands while negotiating a vigorous curve.
Maybe that part is market specific to New Zealand.
(';')
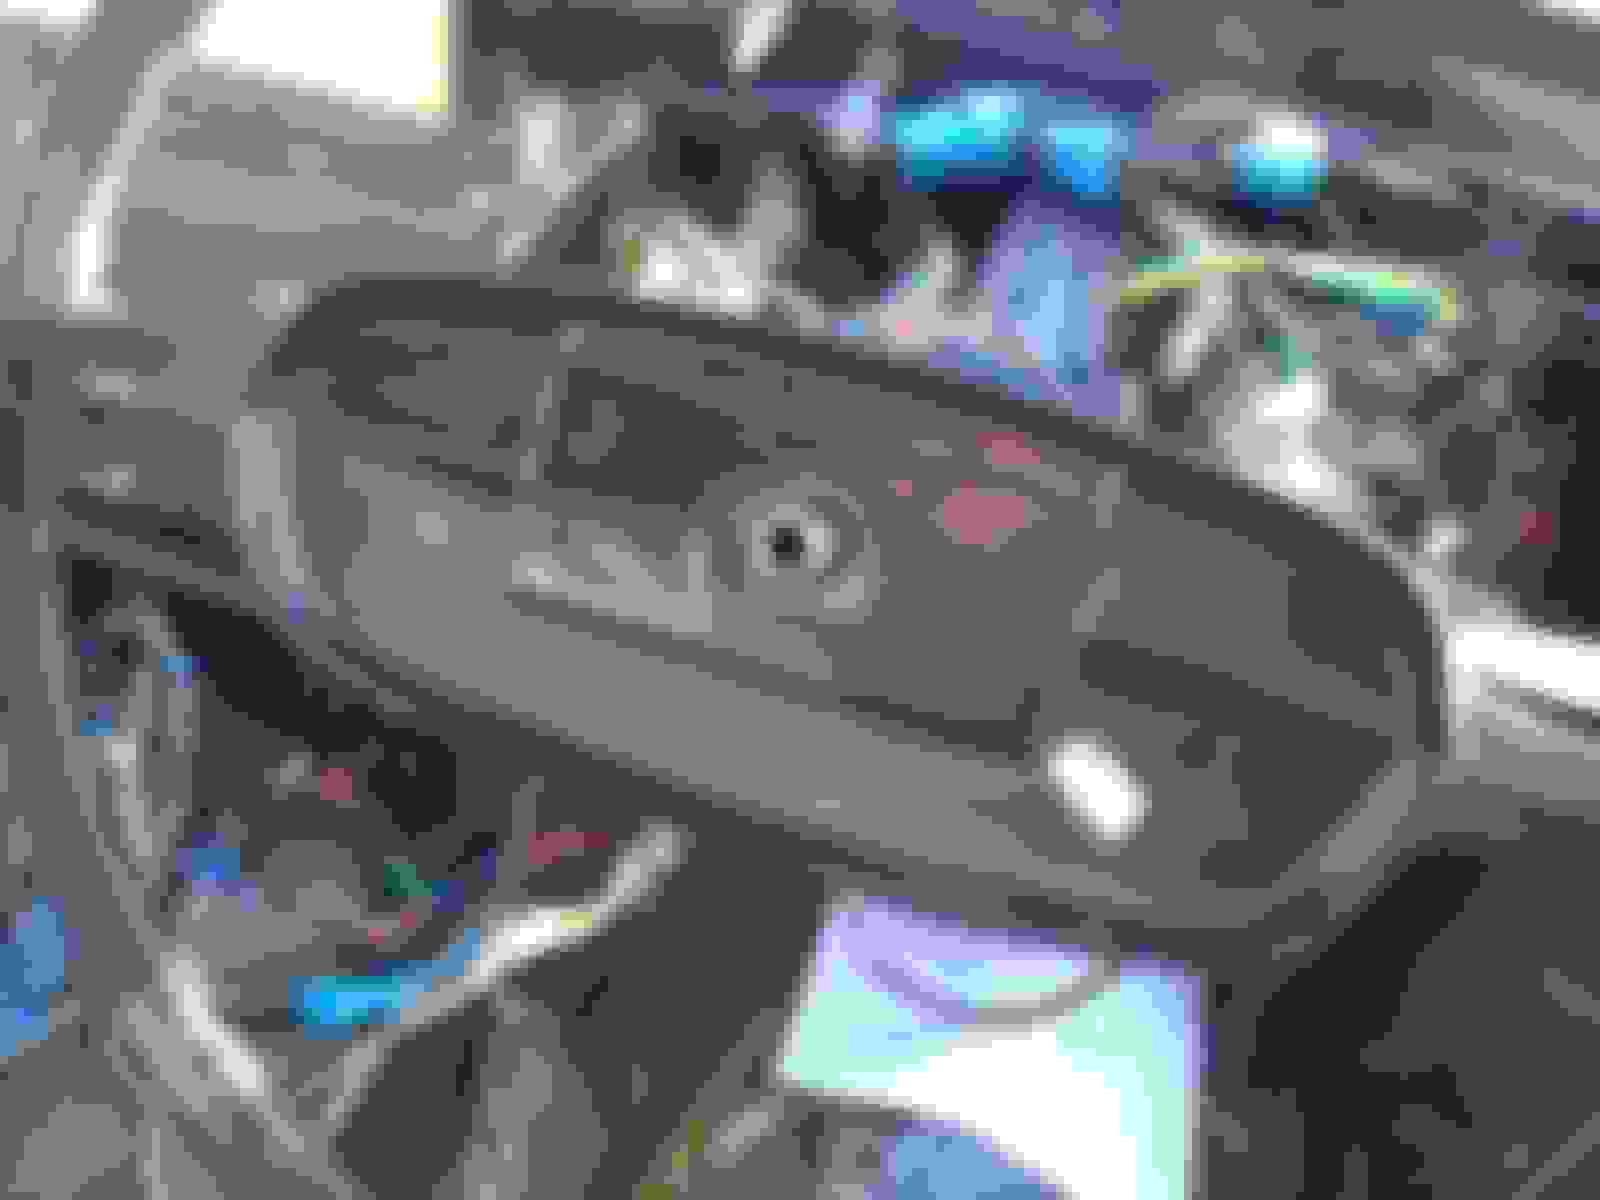
there should be a "footprint" or scratch marks on the column exactly where that tongued bracket came from. The shims are obvious, they are used at the top dash bracket and at the bottom firewall bracket.
When releasing the top bracket bolts, the shims slip down over the column to the firewall or they fall to the floor.
where that tongue bracket came from? It can only go to one place. Use a bright light to look for any markings.
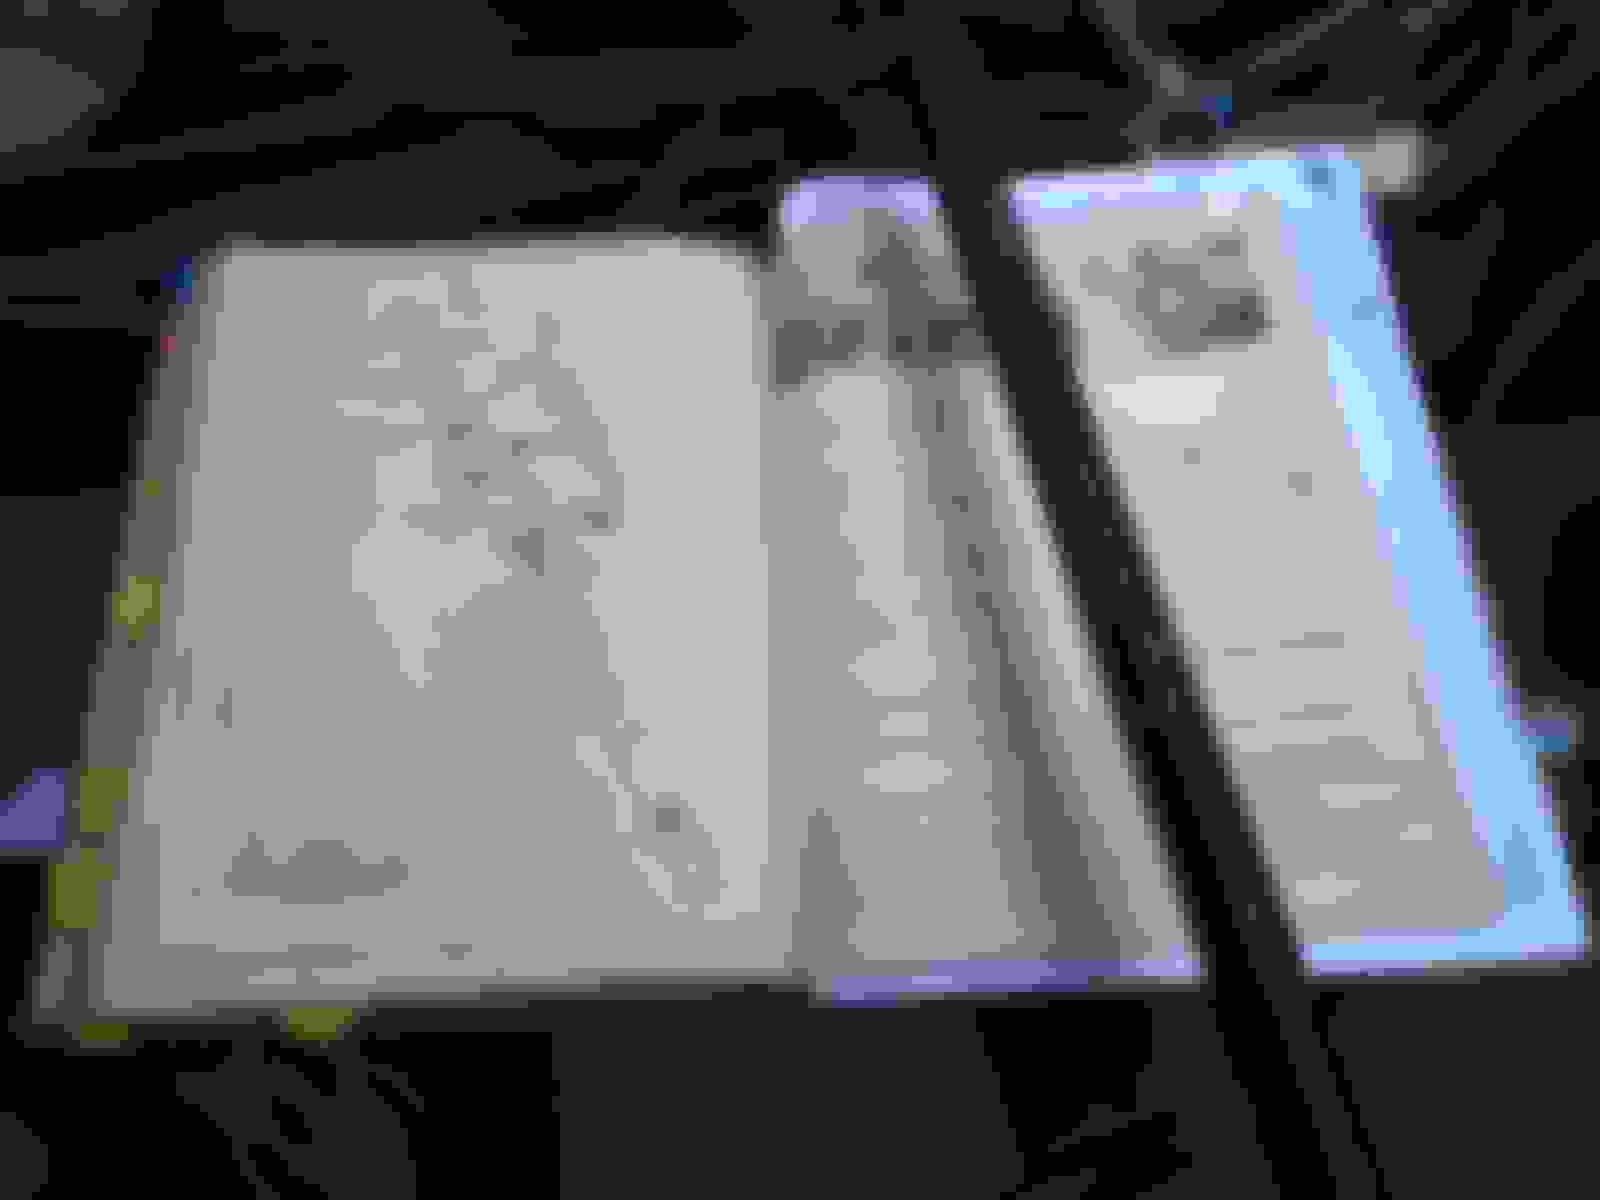
With the aid of four diagrams I had a go today as putting back what I once extracted. It quickly felt like an airplane disaster analysis scene.
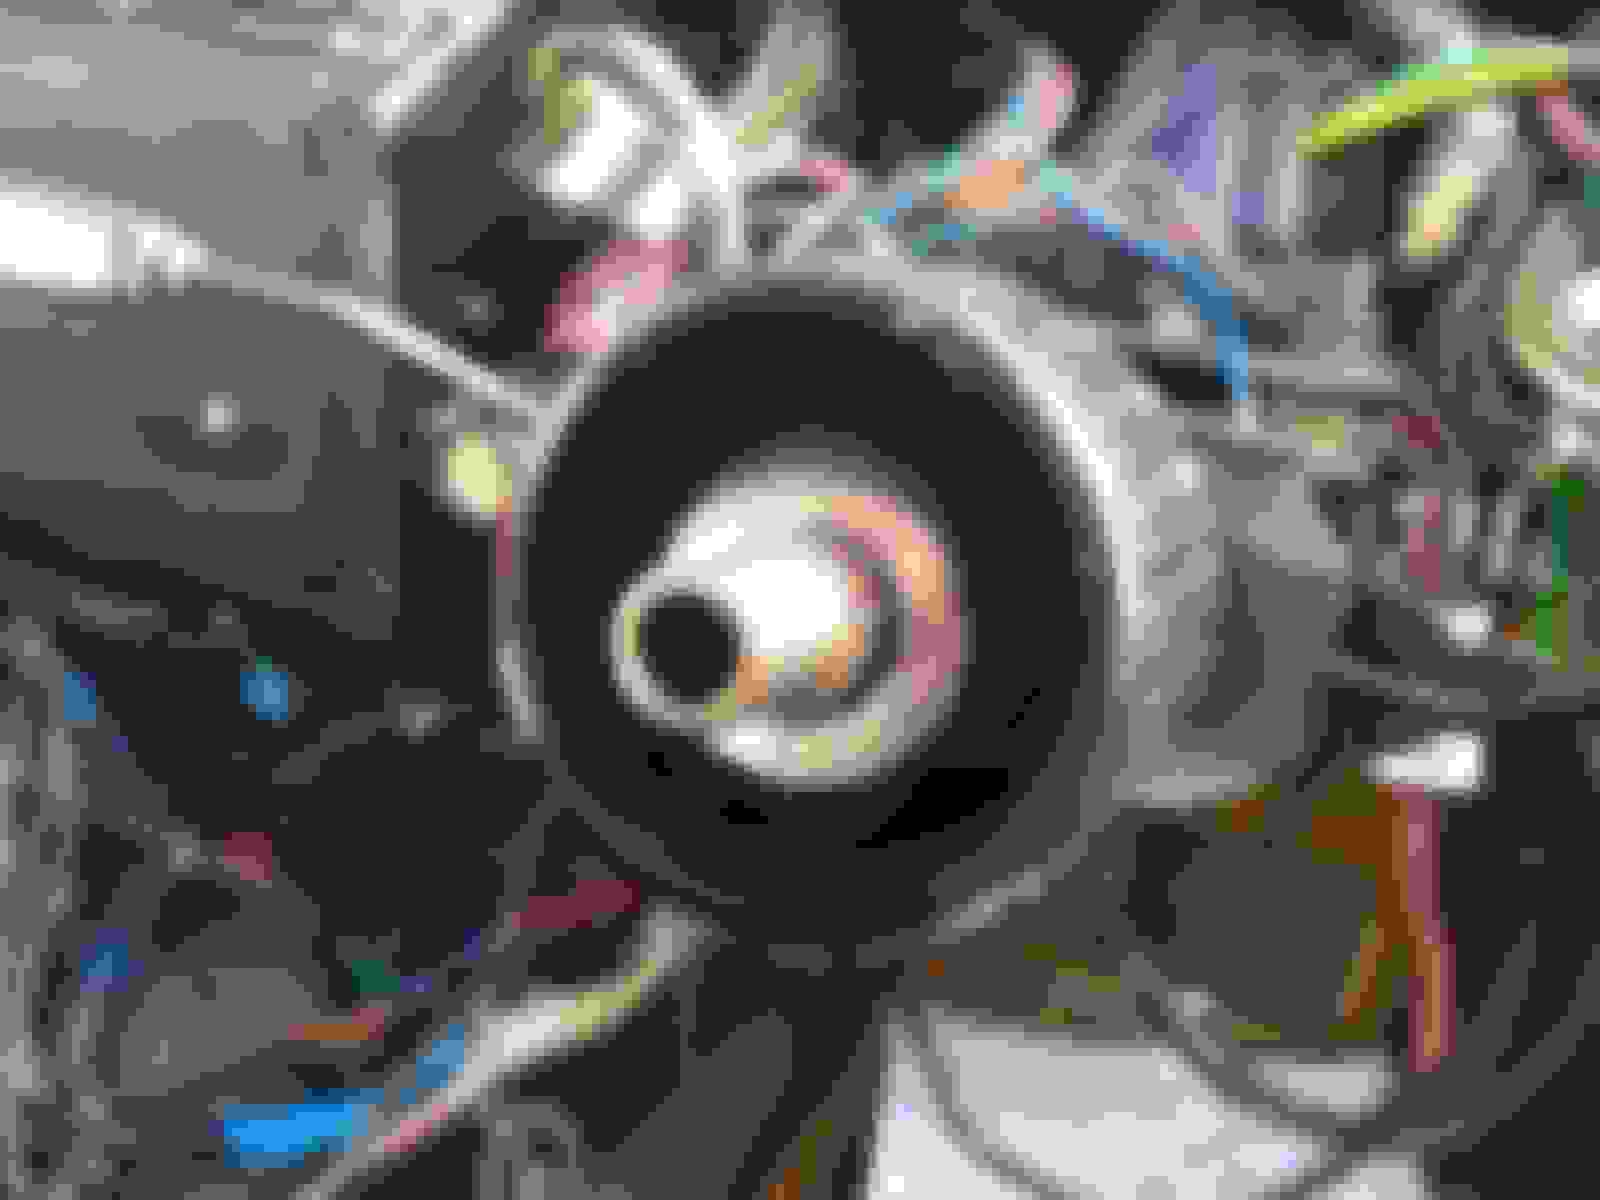
But I seem to have got the stripey steely bit into the other steely bit and slid the cooper horn bit in the middle more easily than expected (technical talk there..)
exploded diagrams aside, not absolutely sure of my next jigsaw piece. Have to watch for those *note different entirely backwards etc on Series 2 warnings. found at the airplane crash site and the Bible doth sayeth the stripey steel bit went onto the other one with the cooper sticky horn thing in the middle ok there are many of these left over.........
reminds me of my Grandfather's mantle clock in 1980. he was so annoyed, but in fairness I put t all back together and made it lighter by removing 8 bolts 2 screws and a winder that where surplus to requirement.
Yah those diagrams make sense ~ all the bits are there but the order is a mix and match at moments
every so many steps i figure the next piece was four steps ago...
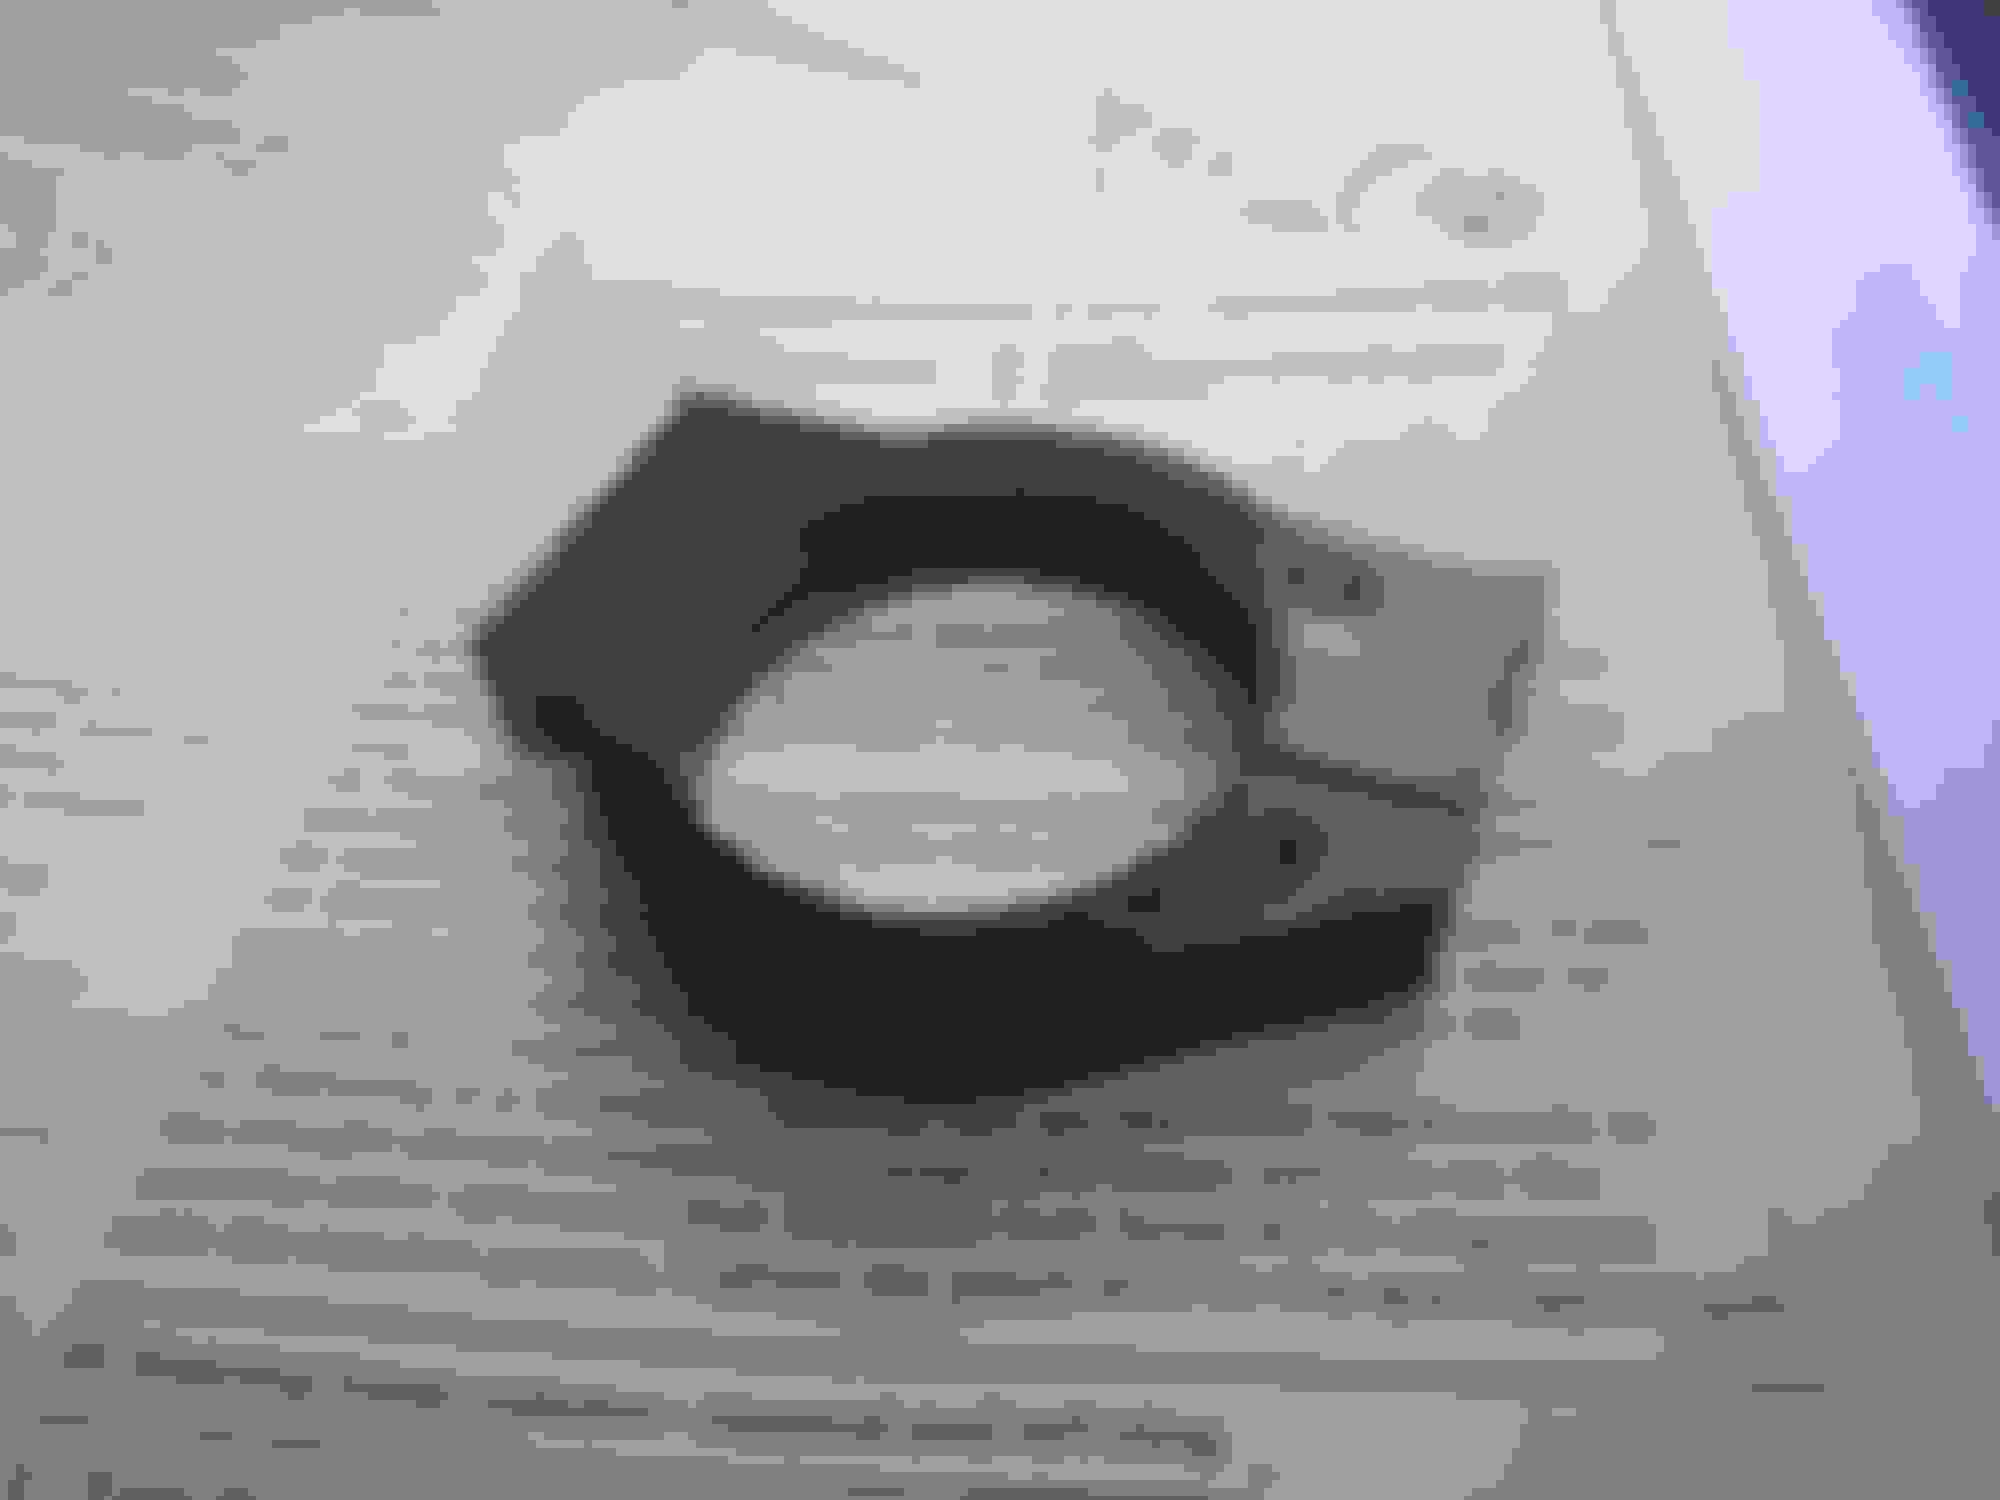
the retainer plate has three holes and the ring has four holes so i have one spare
about this stage the retainer attaches to the back of this section, but before or after it is attached to the column. this bit. ah. no clue. and this bit latter.
Once the stuff 'above' has been affixed is there anyway once it is hidden in there to know if it attached right? It's Schr�dinger's cat in a way, cause you can't look or peek without killing it all again.
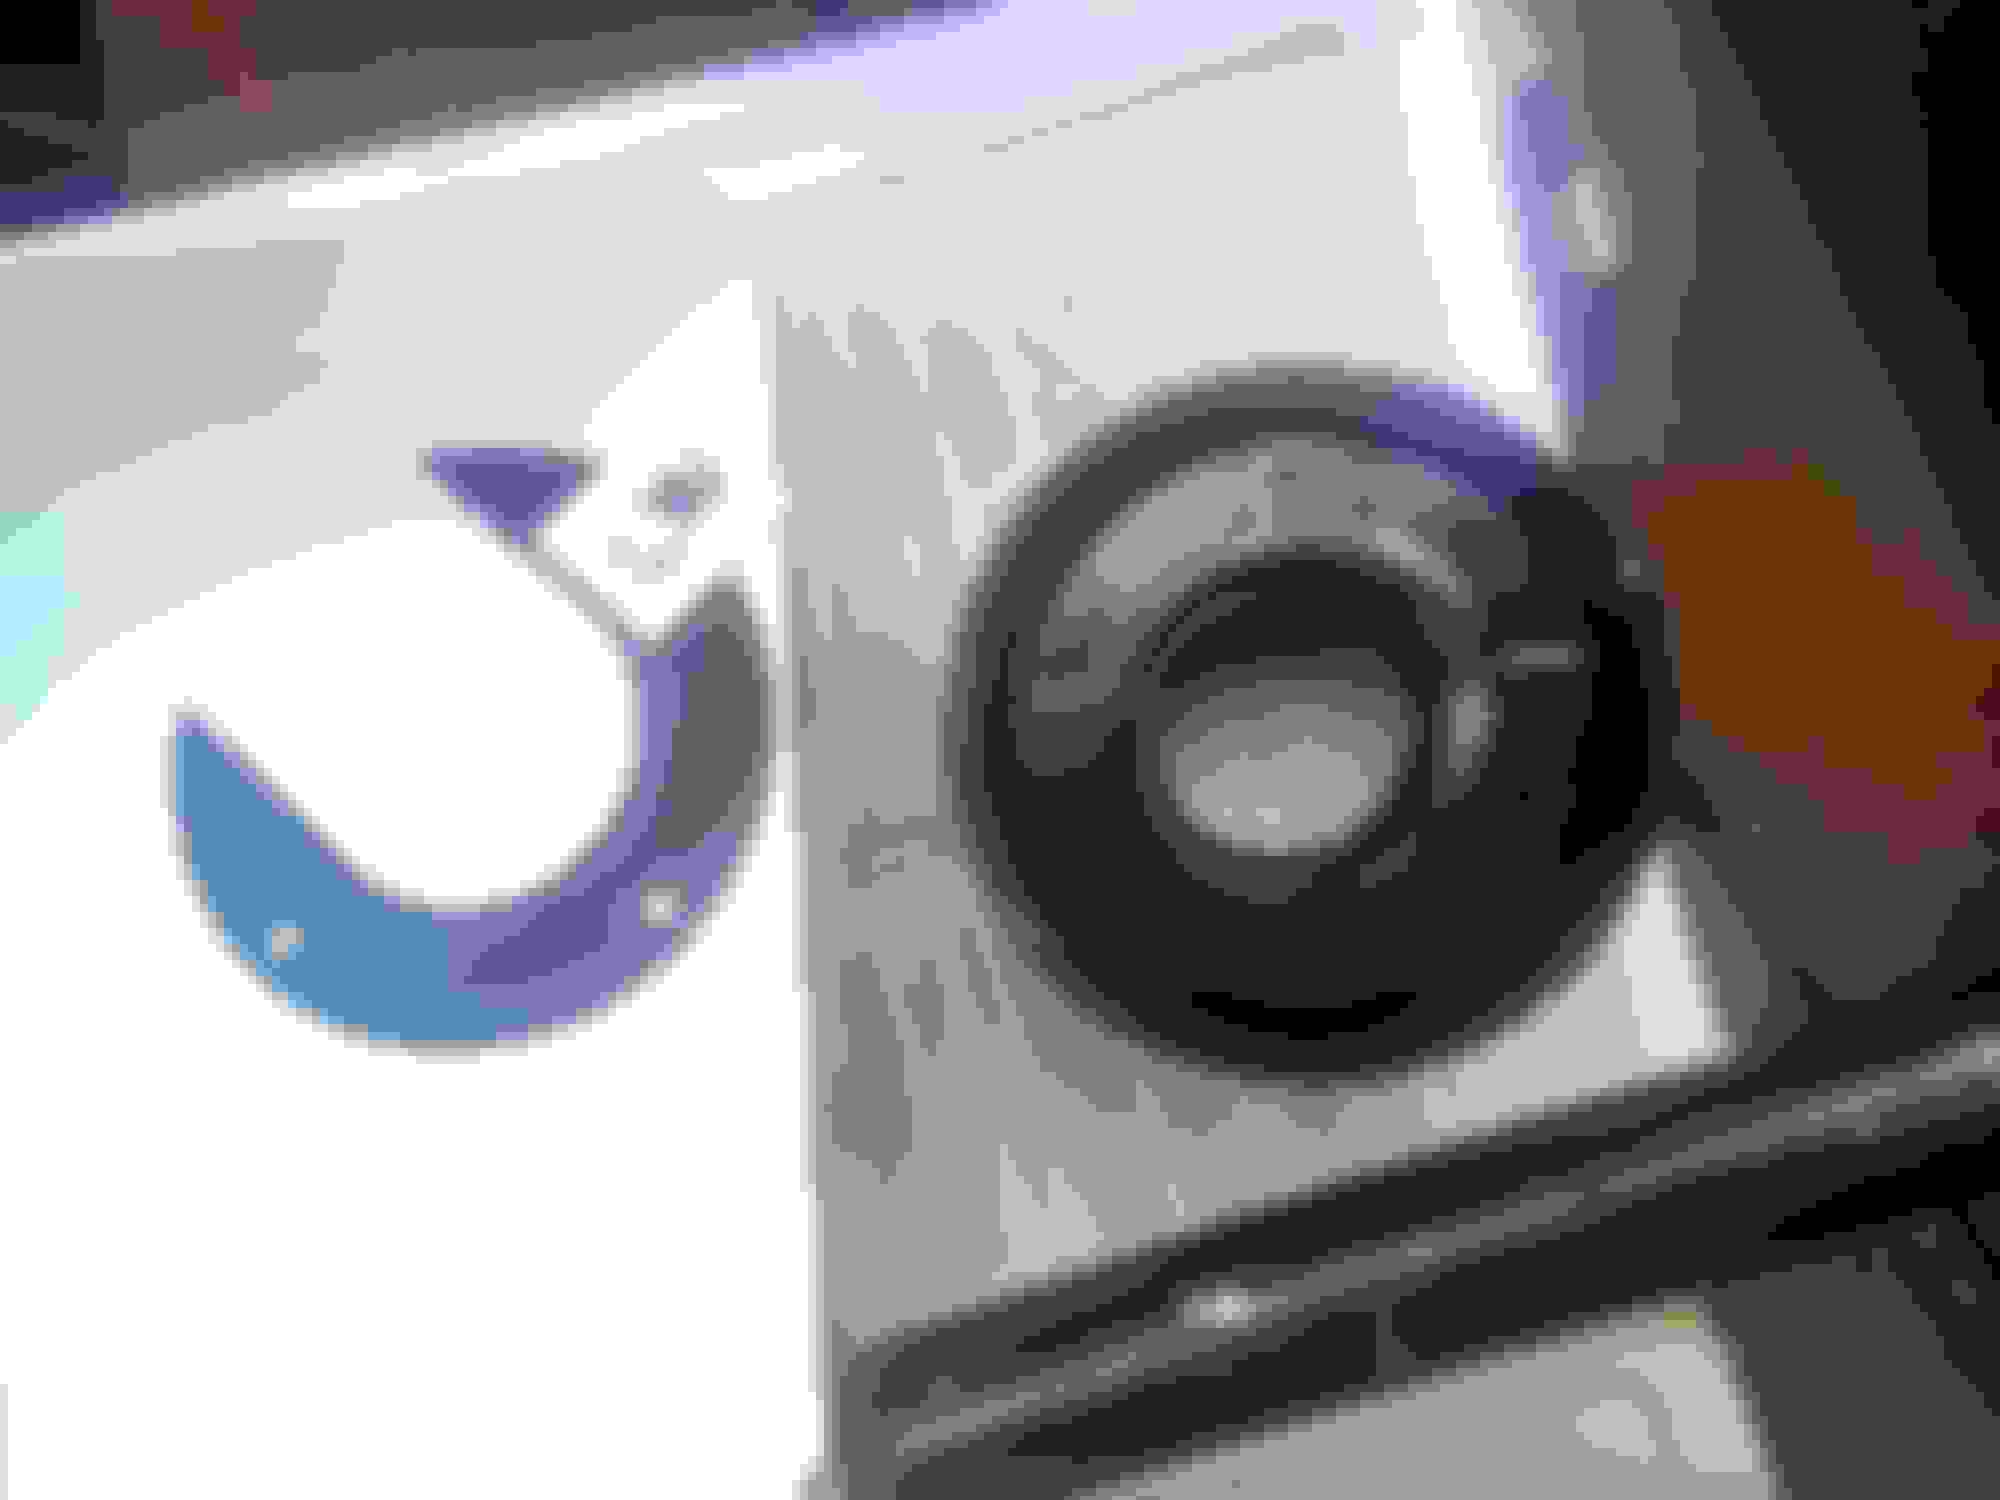
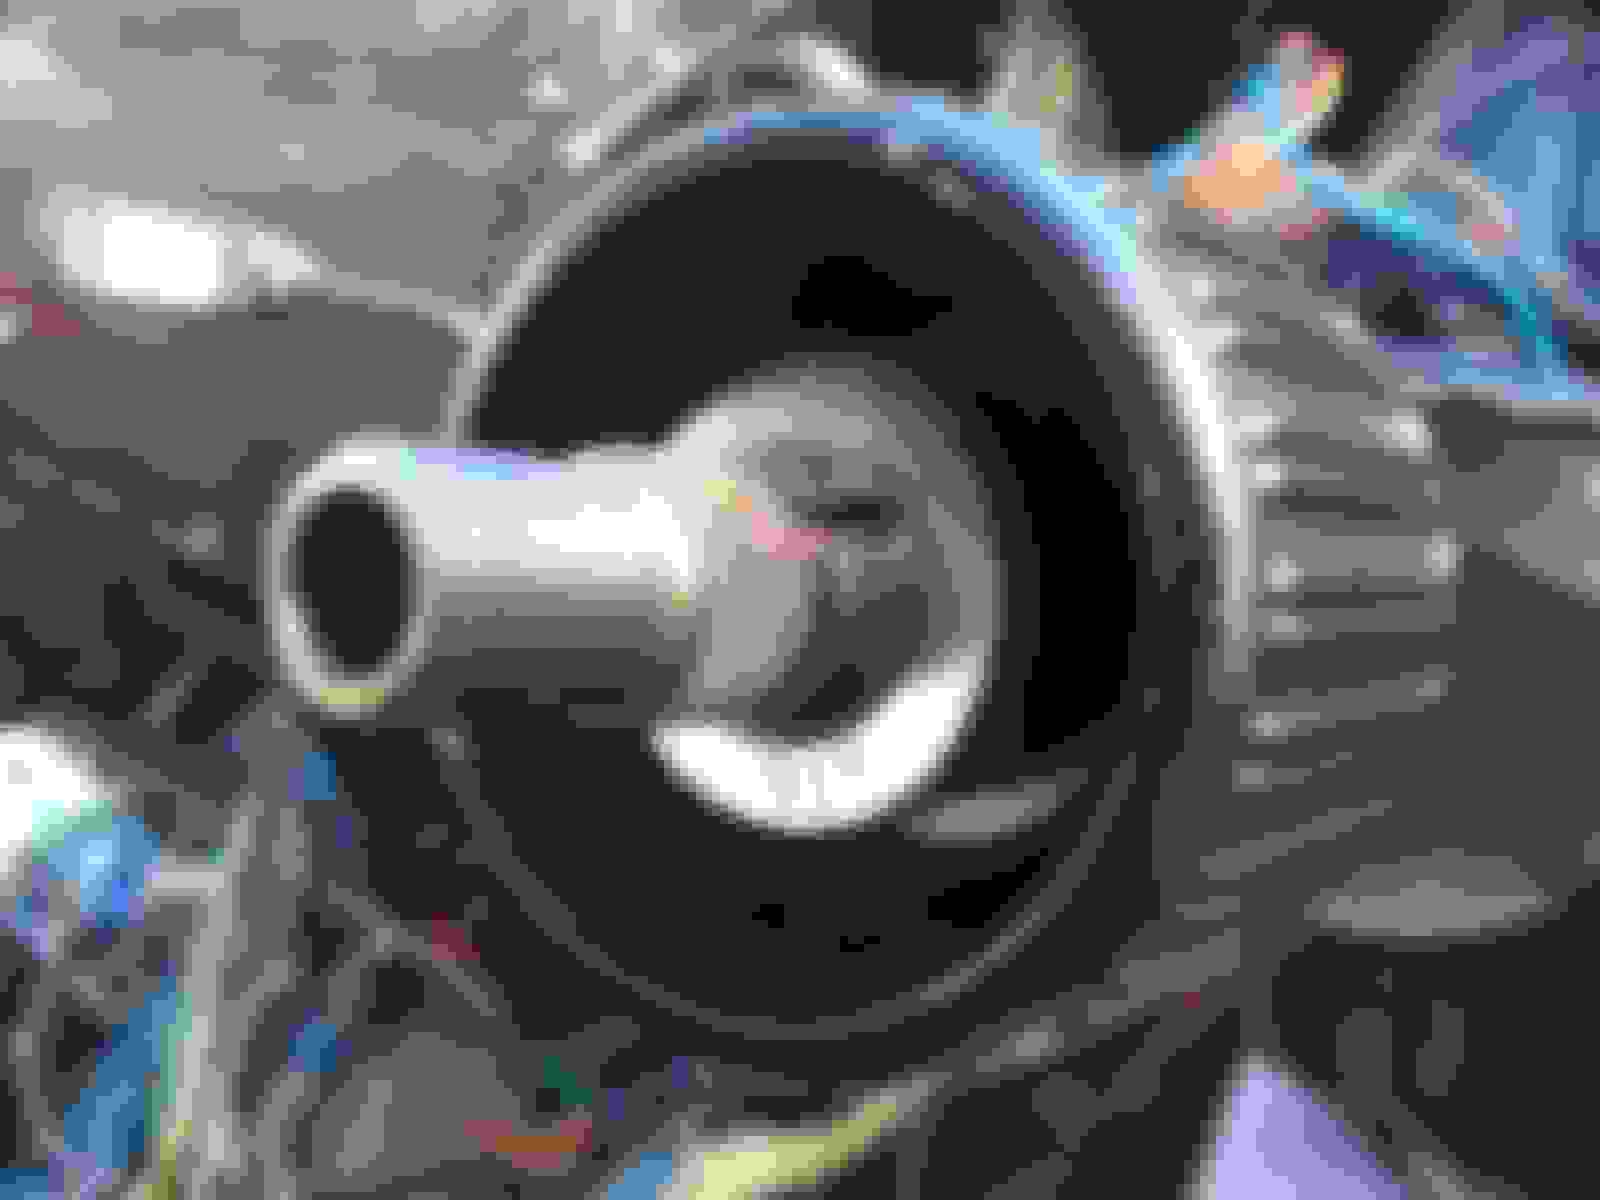
The horn rod HAS to go down the center of the column AFTER the wheel is in place (the last things to do before the horn pad is attached).
The nylon cup thingy on the end seats Over the contact deep down in the center. That's why it has an internal taper, to help with finding the target. You'll know when you have it right.
I didn't find it hard to get centered correctly, Then it screws in Only finger tight.
(';')
Got a couple of thin washers to go either side of the rubber rushing as there were marks indicating the absence of one in the past, good the split cone to sit where it was meant to and following the EverydayXJ guide I planted the steering wheel itself over the top. It didn't exact snap tightly and neatly into place and I heard no team of angels sing either. is there a test to know if it is positioned/located right? should the wheel extension be in it's lower or upper position for relocation or does not matter.? should the split cones face a particular way if the steering is aligned straight.?


 thanks