When you click on links to various merchants on this site and make a purchase, this can result in this site earning a commission. Affiliate programs and affiliations include, but are not limited to, the eBay Partner Network.
My guys test the footbrake setup using the Tapley meter and they measure the handbrake setup from a static position in Drive with an acceptable high idle load. That's the standard method for a car with mechanical 4x4 or a car with a mechanical lsd.
I absolutely appreciate that you don't want to spoil your relationship with your guys. But you do need to tell them that the XJS has a mechanical limited slip diff. It is very likely that they won't know this. If you they don't have an intelligent electronic rolling road, it can be damaging to put a mechanical lsd car on it. A rolling road will cause axle windup on an lsd car. No decent garage will risk putting an lsd car on traditional rollers for that reason.
So at least tell them, and ask them how they will avoid axle windup and damage?
Alex
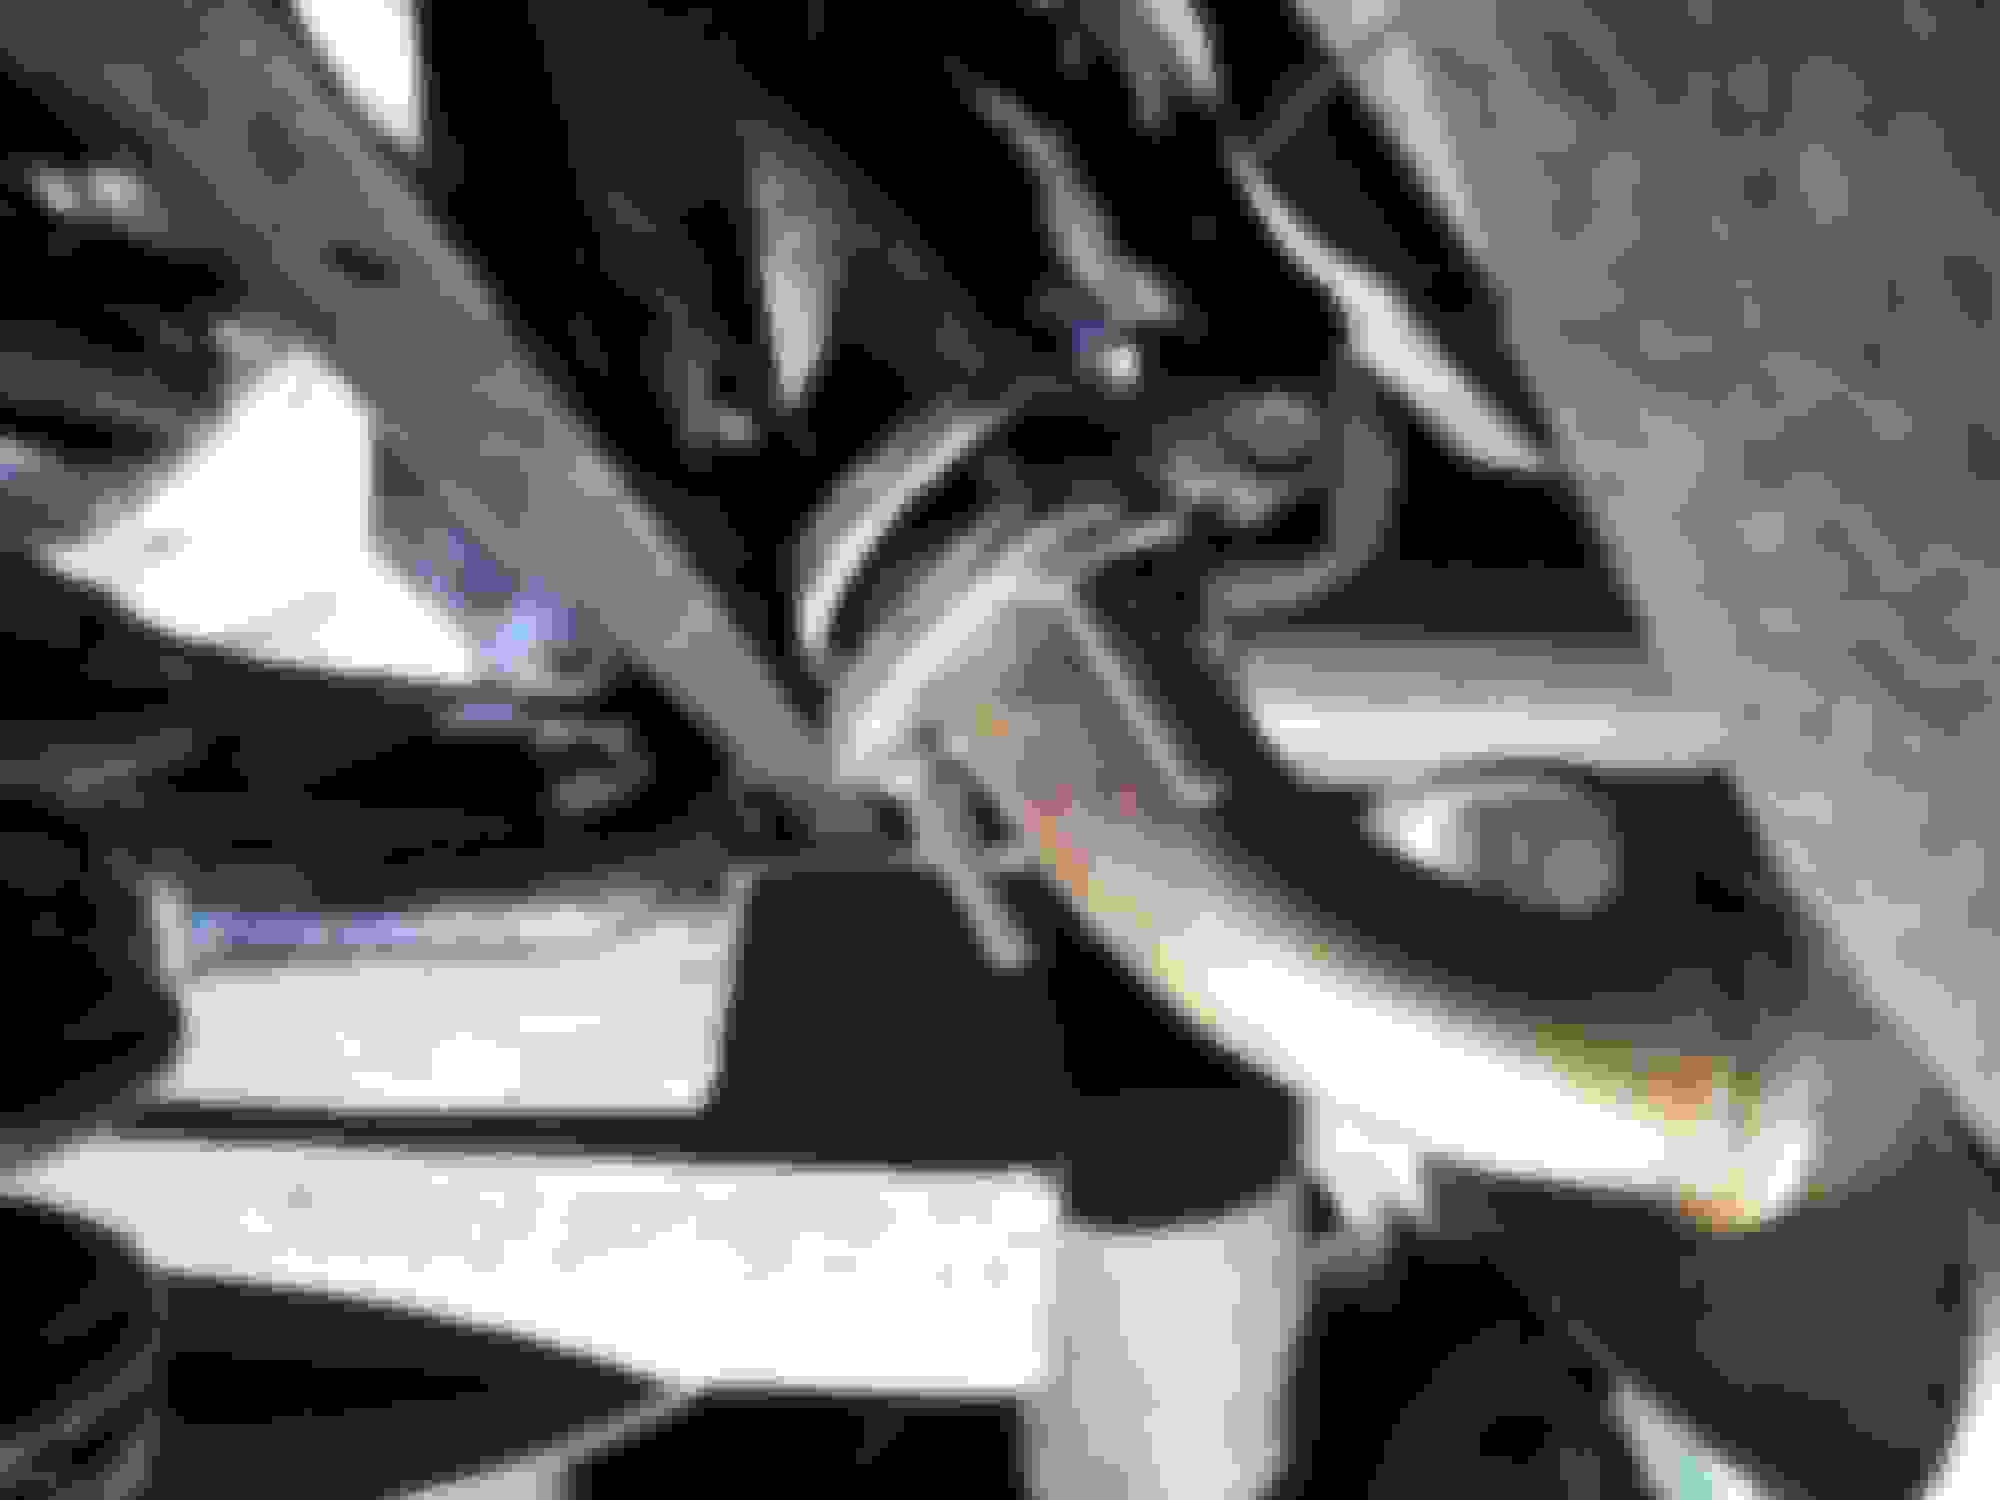
In this photo:
As you know, the flanges are triangular, and the factory design means they are very close, far too close in my view, to the cage edge. Just in case it had not occurred to you when finally aligning everything, make sure a flat side of the flange triangle is nearest the cage edge, rather then a point, as this gives a vital few more mm of clearance.
Is it just the exhaust hanger bracket you are worried about in the tunnel, or do you have actual rust in the tunnel sides?
As for the Flange on the Exhaust, I was intending to turn it round like you said as the Bolts you see in the Photo, are only finger tight and over long for the purpose of getting it into position, without the need to use both hands while supporting it with your foot!
There is no rust in the Tunnel, so only needs a really good clean and some paint, although the support bracket which is right at the end does look a bit rusty and needs a good wire brushing and then a coat of Hammerite to restore it
So its just the Exhaust and the Wheel Speed Sensors that are left to do
But it has taken me ages to find a Garage like this and once having done so, it feels like I've been going there for ever which I probably have and mentioned the LSD when I first found them but apparently they Test all their LSD Cars this way and since its full of state of the art equipment
And is about as far away from any back street garage as it gets, then I would rather 'roll the dice' and stick with the devil I know, as even if they are fully booked as they often are, they know me so well now that they always find a way to fit me in and so I'd rather take my chances with them
As unlike some other Garages that I've gone to in the past, they are never knowingly trying to fail my Car and are always willing to go the extra mile to help out someone like me
Although no doubt it will probably fail now I've said that! which would be the first time ever!
Where as this will be her first MOT with a rebuilt Cage anything can happen, which I think could either be the Hand Brake, which may need adjusting or else the Exhaust, which is a bit noisy, as I think that one of the baffles may be gone
Although it sounds Amazing! so we will have to see!
I've also found a Problem with the OEM Exhaust on 'Cherry Blossom' and am working on a 'MOD' to put this right, as I think the XJS Exhaust is not the best design they could have come up with as those hooped pipes seem far to close to the drive shafts
I've also found a Problem with the OEM Exhaust on 'Cherry Blossom' and am working on a 'MOD' to put this right, as I think the XJS Exhaust is not the best design they could have come up with as those hooped pipes seem far to close to the drive shafts
I can't wait for the results of the legendary OB creativity!
If I am ever allowed back to visit my native country, where such things can be done easily, I would love to re-route the pipes under the cage instead of through it!
'50 Shades' My Grey XJS Goes In For Her First MOT Test
With Her Rebuilt And Refitted IRS Cage
As far as rebuilding the Cage was concerned, I really thought that I had done all that I could do, as being as Paranoid as I am I took my time to try and get it right, as this was the very first Cage rebuild that I had ever attempted
And while I was extremely pleased at turning what looked like a bag of old Spanners into a Beautiful thing, looks alone are not enough to pass an MOT Test which tend to be quite strict in the UK
Where it was very obvious at least to me anyway, that though She Passed the last time I know that I got lucky, as on further inspection the Rolling Road had gone and ripped the Handbrake Pads to bits and knocked a great big chip out of one of the Rotors
Which meant that a Cage Rebuild was no longer an option, so either I could do this myself or pay someone a fortune to do it for me and so I thought that I would have a go, as my main concern were the Rotors and the Handbrake Pads and since everything else was looking ok, I thought I would leave it at that
So having rebuilt and refitted the Cage with both New Rotors and Calipers which I had rebuilt myself for the very first time, I also did 'Gregs' Handbrake Mod by making some New Handbrake Pads out of some Footbrake Pads, that were going to sit in a hollowed out groove that I cut in the Handbrake Levers
After drilling some holes to fasten them with some heavy duty bolts to really try and make them 'Bullet Proof' and then once having done so, felt confident enough to take her out on Picnic Trips which we did with what was left of a very poor Summer (as is almost par for the course for Summers in the UK)
Where to my surprise and delight, everything was working as I hoped it would and '50 Shades' was driving like a dream and even the Handbrake was holding the Car at 1500 RPM although I never use it and prefer to leave her in Park or just pull it on for the Minimum Clicks that are needed whenever I was to put the Top up or Down
Though none of this day tripping would guarantee She'd Pass the MOT especially since I'd also had a bit of a major problem with the Exhaust, where when bashing it with a FBH to get the Rear Silencer on, I think I broke one of the Baffles inside that made a bit of a difference to the Exhaust note!
So now with the Day of the MOT approaching with the Speed of light, I have to say that I was feeling nervous, especially as far as the Handbrake Pads were concerned as if they got torn off again during the Rolling Road Brake Test, then that could mean that I would have to drop the Cage again so I could fix it
Where though I did enjoy doing the Cage, which turned out to be easier than I had ever dared hope I didn't want to make a habit of it, or at least a habit of it on the same Car, although having said that I have nearly finished doing another one on 'Cherry Blossom' and am now in the process of refitting the Exhaust
Though as of now I found myself with my heart in my mouth, as I entered the Testing Bay for the MOT or the dreaded MOT as I prefer to call it, where I was trying to look normal which is never easy when you have nervous beads of Sweat cascading down your face
So after handing over a bit of paperwork the Tester drove her on the ramp and gave her the once over with an inspection Light, at which point I heard him say 'Who on earth did this'
OMG! what could be wrong as at this point I was almost on the verge of Tears, at the thought of all my hard work going down the drain and my dreams quickly turning into dust, as when you drive an XJS you need to be prepared for Pain except that no one ever seemed to mention Mental Torture!
Wha, wha, wha, what do you mean, I started to nervously reply
The Cage said the Tester, who did this?
I did, I replied
You didn't said he
'Yes I did' as I thought I would fall on my Sword and Fess up!
At which point I started thinking what on earth could have gone wrong
'Nice Job' said the Tester, really nice! did you really do this on your own?
'er yes' I mean his comment had knocked me so sideways that I didn't know what else to say
And then with a Satisfied look in his eyes, '50 Shades' went on the Rolling Road, at which point I clearly remember I wanted to die! as the Rolling Road Brake Test must have been especially designed to Shred your Nerves!
So all I could do was to stare at the dials and just pray!
Front Brakes Perfect! OMG!
And now onto the rear! which was the part that I was really dreading! where once again to my complete Surprise and Delight they were Perfect!
But now it was time to Test the Handbrake, which really was the part of the Test that I always dreaded most of all
Tell you what said the Tester, lets do a Static Test because those little Brake Pads can't seem to take the Torque and you don't want to rebuild that lot all over again
I really didn't know what to say as I just stood there Speechless though 'Gob Smacked' is the Word I'm looking for!
'Yup' said the Tester, that'll do me, so She's Passed!
OMG! Yass! She's gone and Passed the Test with Flying Colours and now I wanted to Hug him just like a long lost Brother!
So lets just hope that 'Cherry Blossom' gets the same result, we will have to see, although I will be 'Mothballing' both Cars until the 'Spring'
Rebuilding The Cage On 'Cherry Blossom' My V12 XJS
Under Sealing 'Cherry Blossom' Before Fitting The Exhaust
It might be Raining 'Cats and Dogs' but I'm so close to the Finishing Line that absolutely Nothing, is going to stop me now, so after Cleaning the Underside which was already so clean that it didn't need cleaning, it was off to the Shops to get a Big Tin 5Ltr of Hammerite Waxoyl
Or at least that is what I was planning to do, except that everywhere I went they had all sold out! OMG! and so at this point I wasn't quite sure to be happy or sad, as the last time I bought some of this it was �45 for 5Ltrs!
But thankfully the GF had the Answer and although I hate to admit it She is nearly always right nearly all of the time Lol or maybe not so Lol as you will see, as She went out and then came back with 5Ltrs of Tetroseal Black Wax Oil for only �28 OMG! but this time in a really good way
I'd never used this Stuff before and so I wasn't sure, except I couldn't tell the difference between these two products, so after loosening the Lid and standing the Can in a Bucket of Hot Water 'as you do' to make it nice and runny I got to work
5Ltrs of Tetroseal �28 after a bit of persuading to give her a discount!
First Job was to pour some into a Container and then go round all the awkward and hard to reach places by hand
Compressor ON and Shutz Gun OUT to hopefully give a nice finish and protect her from any Corrosion
The Tetroseal was Amazing and did an excellent job!
I was really well please with that and once it has dried itself out, then the next job is going to be refitting the Exhaust, only this time with a Minor 'Mod' as this Factory Fitted OEM seems to have a design fault that has been driving me Crazy and needs to be fixed
Rebuilding The Cage On 'Cherry Blossom' My V12 XJS
Exhausted!
To be absolutely Honest things didn't exactly go according to plan!
As Today was going to be the day to refit the Exhaust and if you've ever tried to do this on an XJS the very first words that come to mind could be 'What were they Thinking' for as much as I love Jaguar and my XJS a more complicated set up would be hard for me to imagine, when a very simple design could have done the job
Where for me the worst part of this design has to be those Tubular Hoops, that not only go right through the Cage but also over the drive shafts, that in my case are held in place by a Spigot that forms a Support, except it seems a bit too short to do what it was intended to do which is to support the Full length of the Exhaust Pipe
The reason being this Spigot goes through a hole in a mounting block on the inside of the Cage, or at least its supposed to but on my OEM Factory Set up that has never been pulled apart or altered in any way, since it left the Factory 25,000 Miles ago, this Spigot of which we are speaking only goes into the mounting by about a 1/4 inch!
Which means that should it come adrift, then the Exhaust could come crashing down on Top of the moving drive shafts and then send the rear Silencer flying down the road together with whats left of the rear Pipes
This is also the same on my other Car which always makes me nervous if I go across a Hump Back Bridge, as if that Spigot comes adrift then it could be Curtains and Thank You And Goodnight
The Length of that Spigot is far too short to give me peace of mind that it won't come adrift, as it only pokes in that mounting block about 1/4 inch
That Spigot was far too short for my liking and so I 'Fabbed' some longer ones from a couple of pieces of M8 Studding
The Longer 'Fabbed Up' Spigots were the Perfect answer to this problem, although I have only managed to get one side done, as refitting the Exhaust turned into a bit of a Nightmare and was in fact a lot harder to do than I ever thought possible, as everything is such a perfect fit
Alex, You will find that once on the ground, the pin goes far further into the bracket. When my car us on the lift, I have the same thing happen; but once on the ground it does go much further in. It must be that when the weight is on the wheels the cage alters its position somehow.
Nothing wrong with extending the pin though, it cannot do any harm, and will make the exhaust much more secure at that point.
One word of caution though: I would use UNthreaded rod not threaded. The bracket has a ceramic insulator pressed into a rubber bush, and I think that the threads may well bite into and fracture the ceramic as the car goes over bumps etc. Then it will fall out and then the hot pin will soon knacker the rubber, and then the exhaust will bang about.
That's a very good point I never thought of that, although I did have to smooth the Threads off, quite a lot to get them to go through the holes in the mounting brackets, though even in my other Car that still has the OEM Spigots, they don't poke into those rubber bushes anywhere near enough for my own liking
Where I've had situations when going over Road Humps which were pretty much non existent when the Car was made or certainly not as plentiful as they are today, where going over these you really cannot help but wonder if the Spigot in the Cage may have just pulled out and then left the whole system hanging by the rear one
Where in the event that might happen, then its only a matter of time, before the whole system decides to fall down on the drive shaft to then send the whole system flying off into the path of the Car behind
If my OEM Exhaust was not in such good condition, I would have made one up that goes under the Cage, which I am still planning to do, on my other XJS which is Car number (3) 'The Ice Princess' as the Exhaust on that one has seen better days
OB - great idea about making one of the pins longer, when fitting the exhaust both pins enter the rubber mounts at the same time making lining them up and getting both in at the same time a pain in the ***.
Having 1 x pin longer would make fitting the exhaust soooo much easier. Simple line up one pin, followed by the other,
Not two at once.
Perfect!
The Exhaust seems to be the worst bit to refit, what with those pins being of the same length and you can't see those Pins both at once, so while what I came up with has made it a little bit easier, its still a bit of a 'Nightmare' Job to do in Weather like this
Where you start to know its getting Cold, when a bucket of Water beside you starts to Freeze over!
Today I almost got one side done, with the Bolts on Finger Tight but then it just got so Cold that my hands started sticking to the metal, at which point I decided to call it a day for today
The way the Pipes are looping over the driveshaft, seems a 'bonkers' idea to me, as I could have designed a better one in my Sleep (which I have) although the Exhaust on this Car, is a bit too good to throw away
And you're right what you said on your Blog Duke, 'It just never Stops' although I'm sure we'll get there in the end
Rebuilding The Cage On 'Cherry Blossom' My V12 XJS
'If Something Sounds Too Good To Be True Then It Probably Is'
Or In This Case Maybe Not!
If something sounds too good to be True then it probably is and that is why I stay away from all those 'Snake Oil Salesmen' except when it comes from Amazon who can do no wrong in my eyes, which is why I really love those Guys!
As they were offering me a deal that wasn't just too good to be True but was actually True! and so I thought at Christmas Time, I wouldn't just keep this to myself but would 'Share The Love' among you Guys
As I bought a Cordless Impact Wrench for just 99p and here it is!
The most unbelievable Bargain I have ever Cast eyes on, that I bought off Amazon for just 99 pence!
As they were offering me a deal that wasn't just 'To Good To Be True' but was actually 'True' where the last time my mind was blown to anything like this degree was when the GF her GF's and Me opened a Bottle of Absinthe
Which is such headbanging stuff, that it was no real wonder that Van Gogh cut his ear off! So just say No and stick to the JD or you could get so hammered, that you could well be off your face for days!
Anyway to Continue with this Amazing Amazon deal
The only thing I had to do was to Sign up for Amazons 'New Day' Credit Card and if you've already got a Credit Card or some reasonable Credit Card History then you should be able to get one without any problems and in return for doing that Amazon will give you a �40 Gift Card!
Which you can Spend on almost anything you like from Amazon, except don't spend it just yet as there's more! as if you Top that Gift Card up by another �50 then Amazon will give you another �6
There are certain Terms and Conditions to do with this being your first Top up in so many years, so best make sure you qualify before you hit the Button although you still get the �40 Gift Card for Signing Up to 'New Days' Classic Credit Card (which you also don't have to use if you don't really want to)
Not sure how long this offer is on for so Check before you Sign Up! which was easy peasy Lemon Squeezy to do
Ok so having done that I now had a FREE �46 to Spend with no Strings attached, which I could have Spent on almost anything! OMG! Amazing!
So in my Case although I have a Mains Powered Impact Wrench, it isn't very portable and is a bit too big to use for the smaller stuff, like running Nuts and Changing Wheels etc, so I decided that I would use this FREE �46 to buy a smaller Cordless Impact Wrench
And so I opted to get one for as near to the �46 mark as I could and bought the one you see in the Photo for �46-99p which included FREE DELIVERY which some of the others who sell these don't include (lots of different badges on these as you can imagine!)
At which point I realized that I'd just bought this piece of Kit for only 99 Pence! including FREE DELIVERY! OMG! and OMG again!
These things are so incredible that you will start to wonder how you ever did without one in your life!
And while I would have preferred a more well known make that may have cost a lot more, the object of the exercise was to get it as close to FREE! as I possibly could
where from the time of Ordering it took just 4 days to arrive!
So all things considered I'm very pleased with this purchase, which is fast becoming one of those Tools that I will always Carry around in the Boot/Trunk of my Car. in case I have to Change a Wheel or do a running repair, as its such a small (ish) and dinky thing, that its just like having an extra pair of hands!
Though I could have Spent that FREE! �46 on almost anything else that Amazon sell
My (Almost Free) Impact Driver really 'Whizzed' my Exhaust System on a Treat!
So that is another big problem that is now out of the way, although I expect it will need some Minor Adjustments
So just the Speedo Cable and the Wheel Speed Sensors to go on now
Except for the Trailing Arm Bushes, which I am Penciling in as a Separate Job that can wait for a while
As for the Impact Wrench itself, I haven't Tested it out enough to make any recommendations and also as yet I cannot say if you could use Generic Fit Lion Batteries, as if you could then I would get one of the 2 Amp Hour Ones, that would make the handle much shorter for getting in those really awkward places
Then put the bigger Battery on for when I'm Changing Road Wheels, though so far so good and I'm very pleased with this purchase
Last edited by orangeblossom; 12-12-2021 at 02:03 AM.
Rebuilding The Cage In 'Cherry Blossom' My V12 XJS
Nearly Done And Dusted!
I have to admit that I wasn't expecting to wake up to such a nice day, where it was a lot more like Spring than Mid Winter and as such the ideal time to do the last jobs on what now was a very short list
(1) Reconnect 'The Speedo'
(2) Fit the Wheel Speed Sensors
Where apart from doing the Trailing Arm Bushes, that was about it!
The Biggest hold up so far was refitting the Exhaust, which I managed to do Yesterday and a PIA it was too although I finally got there in the end, save for some final adjustments when She is back on the ground
Though as of now the next job was the Speedo, which in order to remove the cable when I took it out, also seemed to include undoing a good many bolts on the baffle in order to get to the Plug that had got trapped behind it
As the quality of the build had been so precise that there was not a mill of 'wiggle room'
Getting that Speedo Cable out from behind that Baffle was a Nightmare, which involved undoing many bolts and so I wasn't intending to put it back that way!
With a long reach into the Boot/Trunk my Cordless Impact Wrench turned out to be the perfect tool to help me do this job
Re-routing the Speedo Cable, to make it so much easier to get to, just in case I needed to remove it at some future time
I'd also Re-sited the Fuel Pump (no change to the Plumbing required!) so that I could change it by the side of the road if I had to, as I now always carry a spare!
A quick 'Snap' of the ECU just in case anyone doesn't know where to find it
The 'Speedo Plug' and the ECU are both behind that piece of Carpet Trim up and over the internal Fender/Wing
All back in place and good to go, although I decided to leave the Wheel Speed Sensors (a ten minute job) as the Cables might be in the way when bleeding the Brakes
That's a great deal on the Impact Wrench! Well done!
Just one thought (and I'm sure others may have differing viewpoints to me!):
I wouldn't use an Impact Wrench to tighten anything, particularly small nuts or bolts. 3 reasons:
- Even at the lowest setting, it's likely that the torque force will be greater than that applicable to many small fixings. So it's quite possible to overtighten the fixing
- If you had any damaged or cross-threads, it's far easier to damage them further by tightening with an Impact Wrench rather than a straight electric driver or manual ratchet
- When undoing nuts, you're quite likely to have it on the highest setting. It's extremely easy to forget that it's on that setting when you change over to tighten mode. And then you can end up applying a huge amount of excess torque when you tighten the fixing.
I do agree that they are great tools for undoing stubborn nuts! But I'd always use a straight electric driver if you want assisted power for tightening nuts. And then a torque wrench to get them at the correct setting.
Before I got to work on the Car, I had been having a practice on some bolts that don't matter on my old Ride on Lawnmower that I broke up for spares to use on my New One or should I say newer (ish) one that was actually given to me by a friend and if he wasn't a friend before he certainly is now!
And you are absolutely Spot on with what you say (as usual Lol) and so can well appreciate how people can get into trouble using these things, by over tightening bolts and stripping the threads
But this one has an infinite speed trigger that can go from Zero, all the way up to what ever is most suitable for the job, and so I start by gently squeezing the Trigger so the Socket revolves so slowly, that you can see the moment when the Bolt has just started to run out of thread
Where this is the ideal moment to stop and then once having done so, just snug it up with a Ring Spanner if you need to which is especially important on anything other than Steel or Very Small Bolts, which I would rather do by hand instead of using something like an Impact Wrench
So really I just use it just to run the Nuts or Bolts up, saving multiple turns of a Spanner in ultra Confined spaces and never let its Anvil Hammer cut in! except perhaps in a situation where you want to tighten a Bolt that is going to have a Nut on the end, which you want really tight
Its 'Horses for Courses' really where you have to use a bit of common sense and not just mindlessly pull the trigger and hope for the best, where the most important thing is to get a feel for what you are doing
As for the actual impact wrench, I'm very please with it especially since I'm pretty sure it has a Brushless Motor which is sort of becoming the holy grail for these types of tool and I've also got an adapter that goes on the end that converts the Impact Wrench into an Impact Driver, which is ideal for driving things like Screws
Even if I'd paid full price, I wouldn't begrudge the Money as its really a great piece of Kit that now I find I cannot do without
If you've ever tried using the Scissor Jack that comes with an XJS then you may not need reminding what an absolutely Total PIA this can be, as its almost as if you need the muscles of 'Arnie' to turn it with the Handle that is supplied
Where I for one would hate to have to try and change a Spare Wheel at the side of the road using something like this and that is why it seems like many of us also carry a small Trolley Jack in the Boot/Trunk which is also handy for lots of other jobs around your Shop
And herein lies the problem, as despite my best efforts I've sometimes gone out for a Trip and left my little Trolley Jack behind, at which point Paranoia kicks in and then I start to wonder how I will ever manage to Change a Wheel with that OEM Jack
Which always does stay in the Car, in case the worst should happen and since I'm not built like 'Arnie' its at times like this I wonder what on earth I would, as while the OEM Jack is Ok in an Ok-ish sort of a way, the handle that comes with it has you starting to wonder 'what were they thinking!'
And so with all my 3 ton Trolley Jacks, holding up 'Cherry Blossom' my V12 XKS and small but beautifully put together little Trolley Jack being used to support the Exhaust, when I had to lift my Trailer in order to Change a Wheel, the Scissor Jack was all that I had left
So have a look at the Video and see what I did there
Not much point as this works just as well and doesn't need any welding, as I'm using my Cordless rattle gun with a short extension and a Socket on the end
Having said that I haven't tried lifting the Jag yet, as this is still a bit of a work in progress but I will give that I try when the Weather improves
 11-20-2021, 06:09 PM