When you click on links to various merchants on this site and make a purchase, this can result in this site earning a commission. Affiliate programs and affiliations include, but are not limited to, the eBay Partner Network.
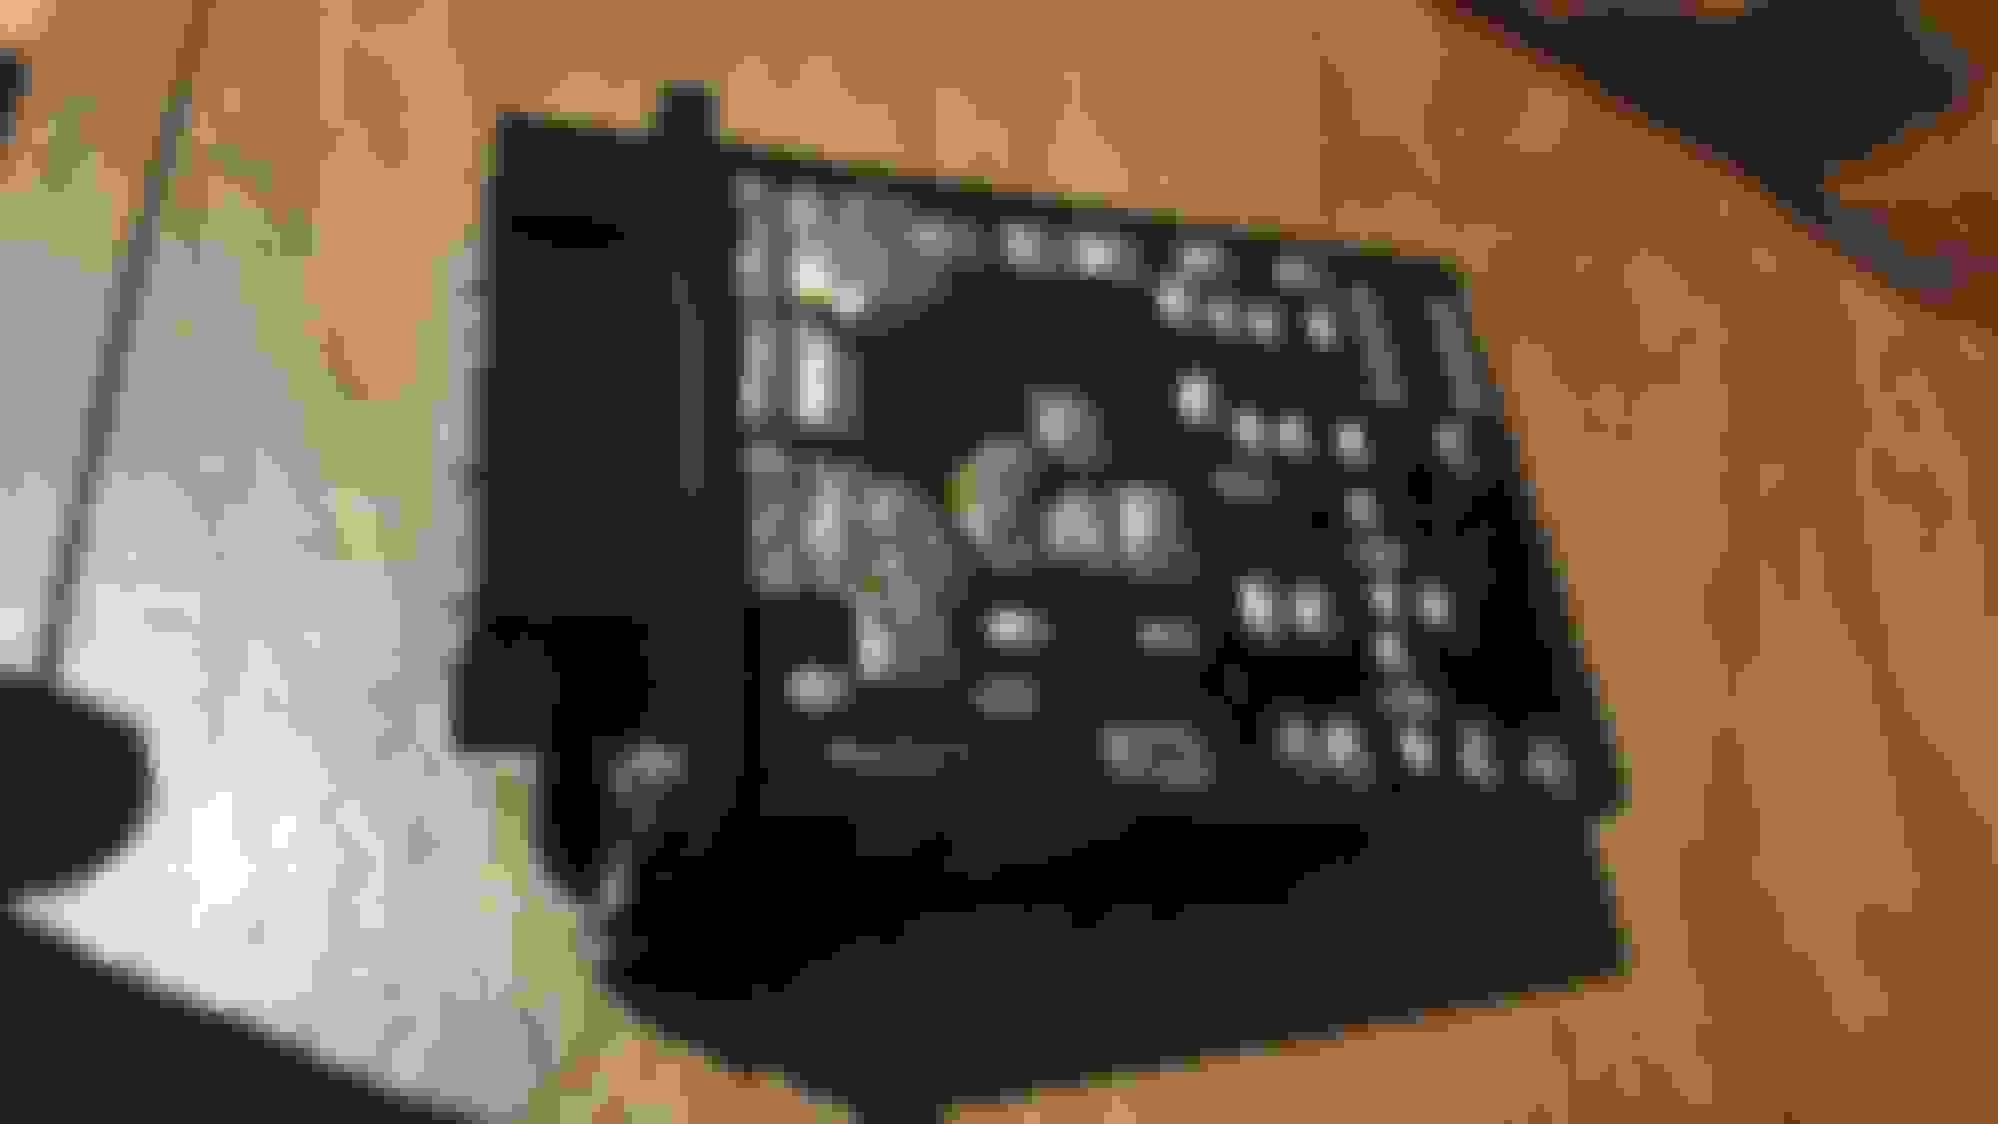
I have been having issues with my headlights... low beam not working on passenger side. I have looked at the grounds, tried new bulb, etc. etc. and I am now inspecting the Headlamp Module.
It pulled apart nearly effortlessly. I's amazing how little there is to this thing and how expensive they are new ($200).
The relays look perfect. No pitting or oven tarnishing on the connections. All thats left are some resistors which all check out ok, a few diodes which rarely go bad, a coupe transistors, and a capacitor. We are talking about $2 in parts if I replaced everything, minus the relays which can probably be found for $1 each.
I am going to put a new capacitor in there. Its a typical 100uf 63v low esr cap found it just about every guitar pedal device out there. I have bunch of 100uf 100v lying around. You can get an exact NOS replacement for $5 here (Phillips 40v 100uf 118). This one would probably be an upgrade and you get 12 of them.
The two transistors are just BC337 40v standard transistors, also used extensively in audio equipment. $0.265 each from newark.com
Upon further inspection, I do not think it needs any parts. There are a ton of cold solders which can be seen under better light. I will try resoldering this first.
This is an extremely easy part to fix. Even if you do not know anything about electronics, you can match the part numbers and purchase them for pennies. The only slightly difficult part may be the relay (2). Though I think its just a standard automotive circuit board relay. My module was sealed well, as I think most of them should be, so the relays look like they are brand new.
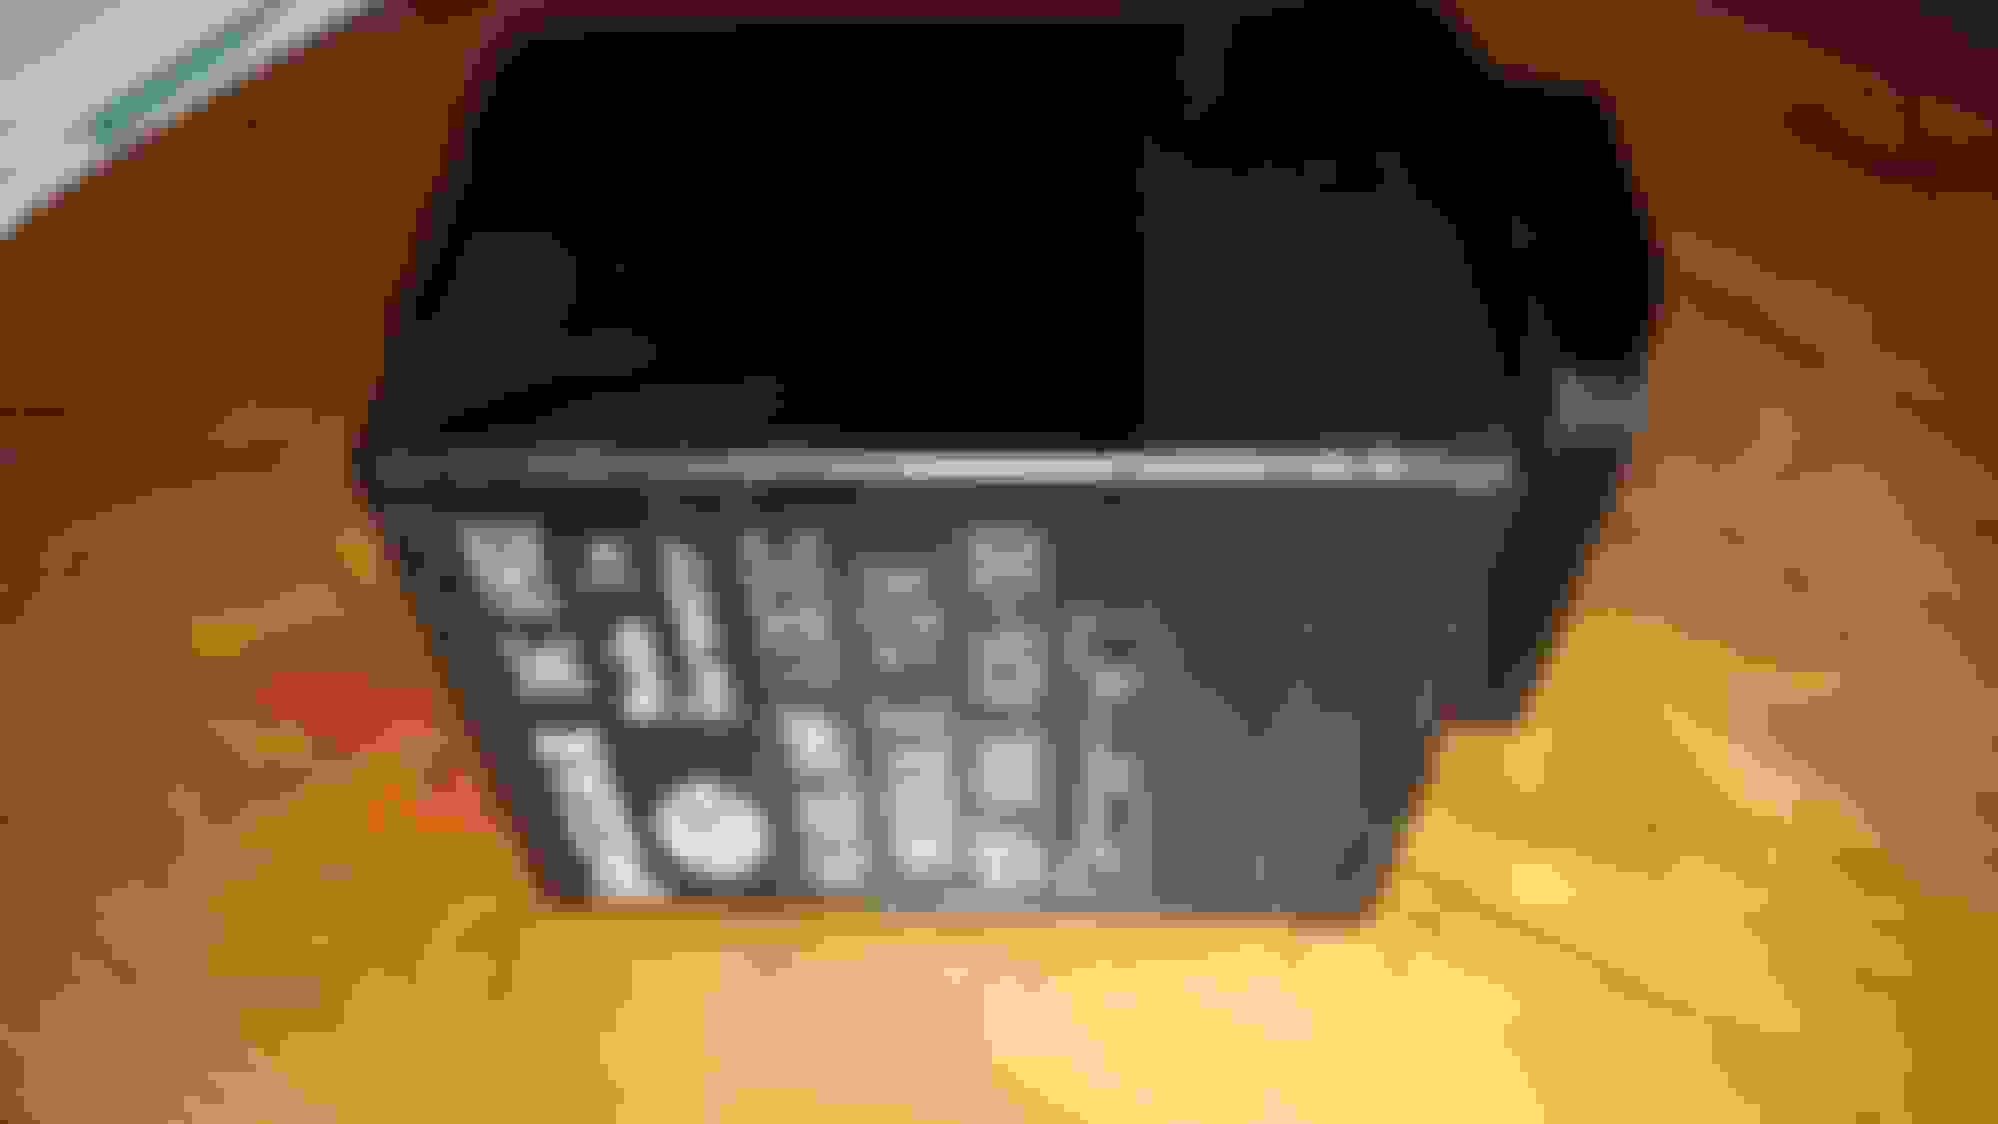
To make the repair last, it will be necessary to reseal the module somehow. Even if its just some electrical tape.
Prior to this I was not getting any low beam passenger light. Just high beam. I've been driving around like this for months and received a fix it ticket for it... Tried redoing the grounds, changing bulbs, etc. So needless to say, I am happy to have working lights again.
I just used electrical to reseal this. I could not think of anything that would not be more permanent. So it can be easily serviced again, if ever needed. Maybe some rv sealant? ...I think electrical tape will work ok:
Conclusion
If your module is not working, check the solder joints first!
note: You can easily pry the plastic away from the circuit board by sticking a thin screwdriver on the longer part of the rectangle at the bottom and pry it off.
If its not the solder joints it should be obvious if a resistor is blown or a capacitor is leaking, etc. If you are still having issues figuring out which part is bad in the electronics, start with a cheap cap, and the transistors, as they are the things most likely to go bad if ever the wrong voltage go in the wrong pin. Or relays getting corroded from poor sealing could cause malfunction.
Of course you could use a multimeter and test things to figure out the issue, though, you really do not have to know much about electronics, the parts cost pennies and are mostly identifiable. These module circuit boards are mapped out and labeled. Repairing them is relatively easy.
I think I'm going to use that saved $200 to pay someone to finish the wet sanding...
Good job, its always satisfying when you fix something yourself.
A tip for everyone on re-soldering - use a very hot iron quickly. I always use my iron set on 400�C, unless I'm doing surface mount.
Put the tip on the pad just long enough to melt the solder apply a little new solder and withdraw. Also leaded solder is far more reliable, easier to use and less likely to fail again. We are not allowed to use it but still keep a secret stash for own use, and those difficult jobs.
These PCB's are wave soldered, this type of cracking (dry joints in the trade) are extremely common. I have repaired some VERY expensive Fluke laboratory test gear with dry joints this bad.
Hi...i think you can match the part numbers and purchase them for pennies. The only slightly difficult part may be the relay. Its just a standard automotive circuit board relay.
when it works it works, but most of the time now I have high-beam only, and it can switch itself on when the car is turned off. the local jaguar dealer has supplied two new dac 6902 but neither of them latch the high-beam, so I can flash but would have to hold the stalk in to drive with high-beams on. the garage electrician has checked everything in the headlamp circuit. when the old module is working flashing the high-beam with the headlamps on latches the high-beam on, flashing again unlatches the high-beam; replacing the old module with one of the new modules gives only flashing and no latching. can anyone think of anything other than a bad batch of modules to explain this behaviour? thanks.
Have you used a test meter on the terminals of the modules to see whether they are actually switching correctly? I think I'd start with that so you can rule it out definitively. It's easy enough to pull the connectors down far enough that you can get a meter onto the terminals whilst in-situ.
thanks for the reply.
please bear with me, I'm a novice and a software engineer.
everything I reported was by observation, at dusk, so the difference between dipped and high-beam was apparent. I infer that 81a (dip switch), 31 (earth), 56a (high-beam out) and 56b (dipped out) perform as intended. both 56 (headlamp relay) and 30 (battery post) could supply power if I understand the circuit diagram correctly.
I've returned the new modules, but I'll put a multi-meter on the old module to see what happens in the various scenarios; probably tomorrow when I shall have a third hand.