When you click on links to various merchants on this site and make a purchase, this can result in this site earning a commission. Affiliate programs and affiliations include, but are not limited to, the eBay Partner Network.
Show us a photo of the end of those plugs marked 2 & 3 in your first photo. You will be able to find a really cheap adapter plug which will interface to an ISO adapter, which is what the Blaupunkt unit uses. It's a simple neat way that avoids any wiring issues and is then reversible for you or the next owner.
Although my later car had a different wiring connector to yours, I found an adapter plug for $5 on eBay that enabled me to just plug in the new alpine unit. See my pics below. There will be an equivalent that you can find for yours.
Cheers
Paul
The Jaguar community is awesome! Thanks for reaching out Paul. Definitely open to the iso adapter route too! I am completely new to car audio so I really appreciate everyone's help.
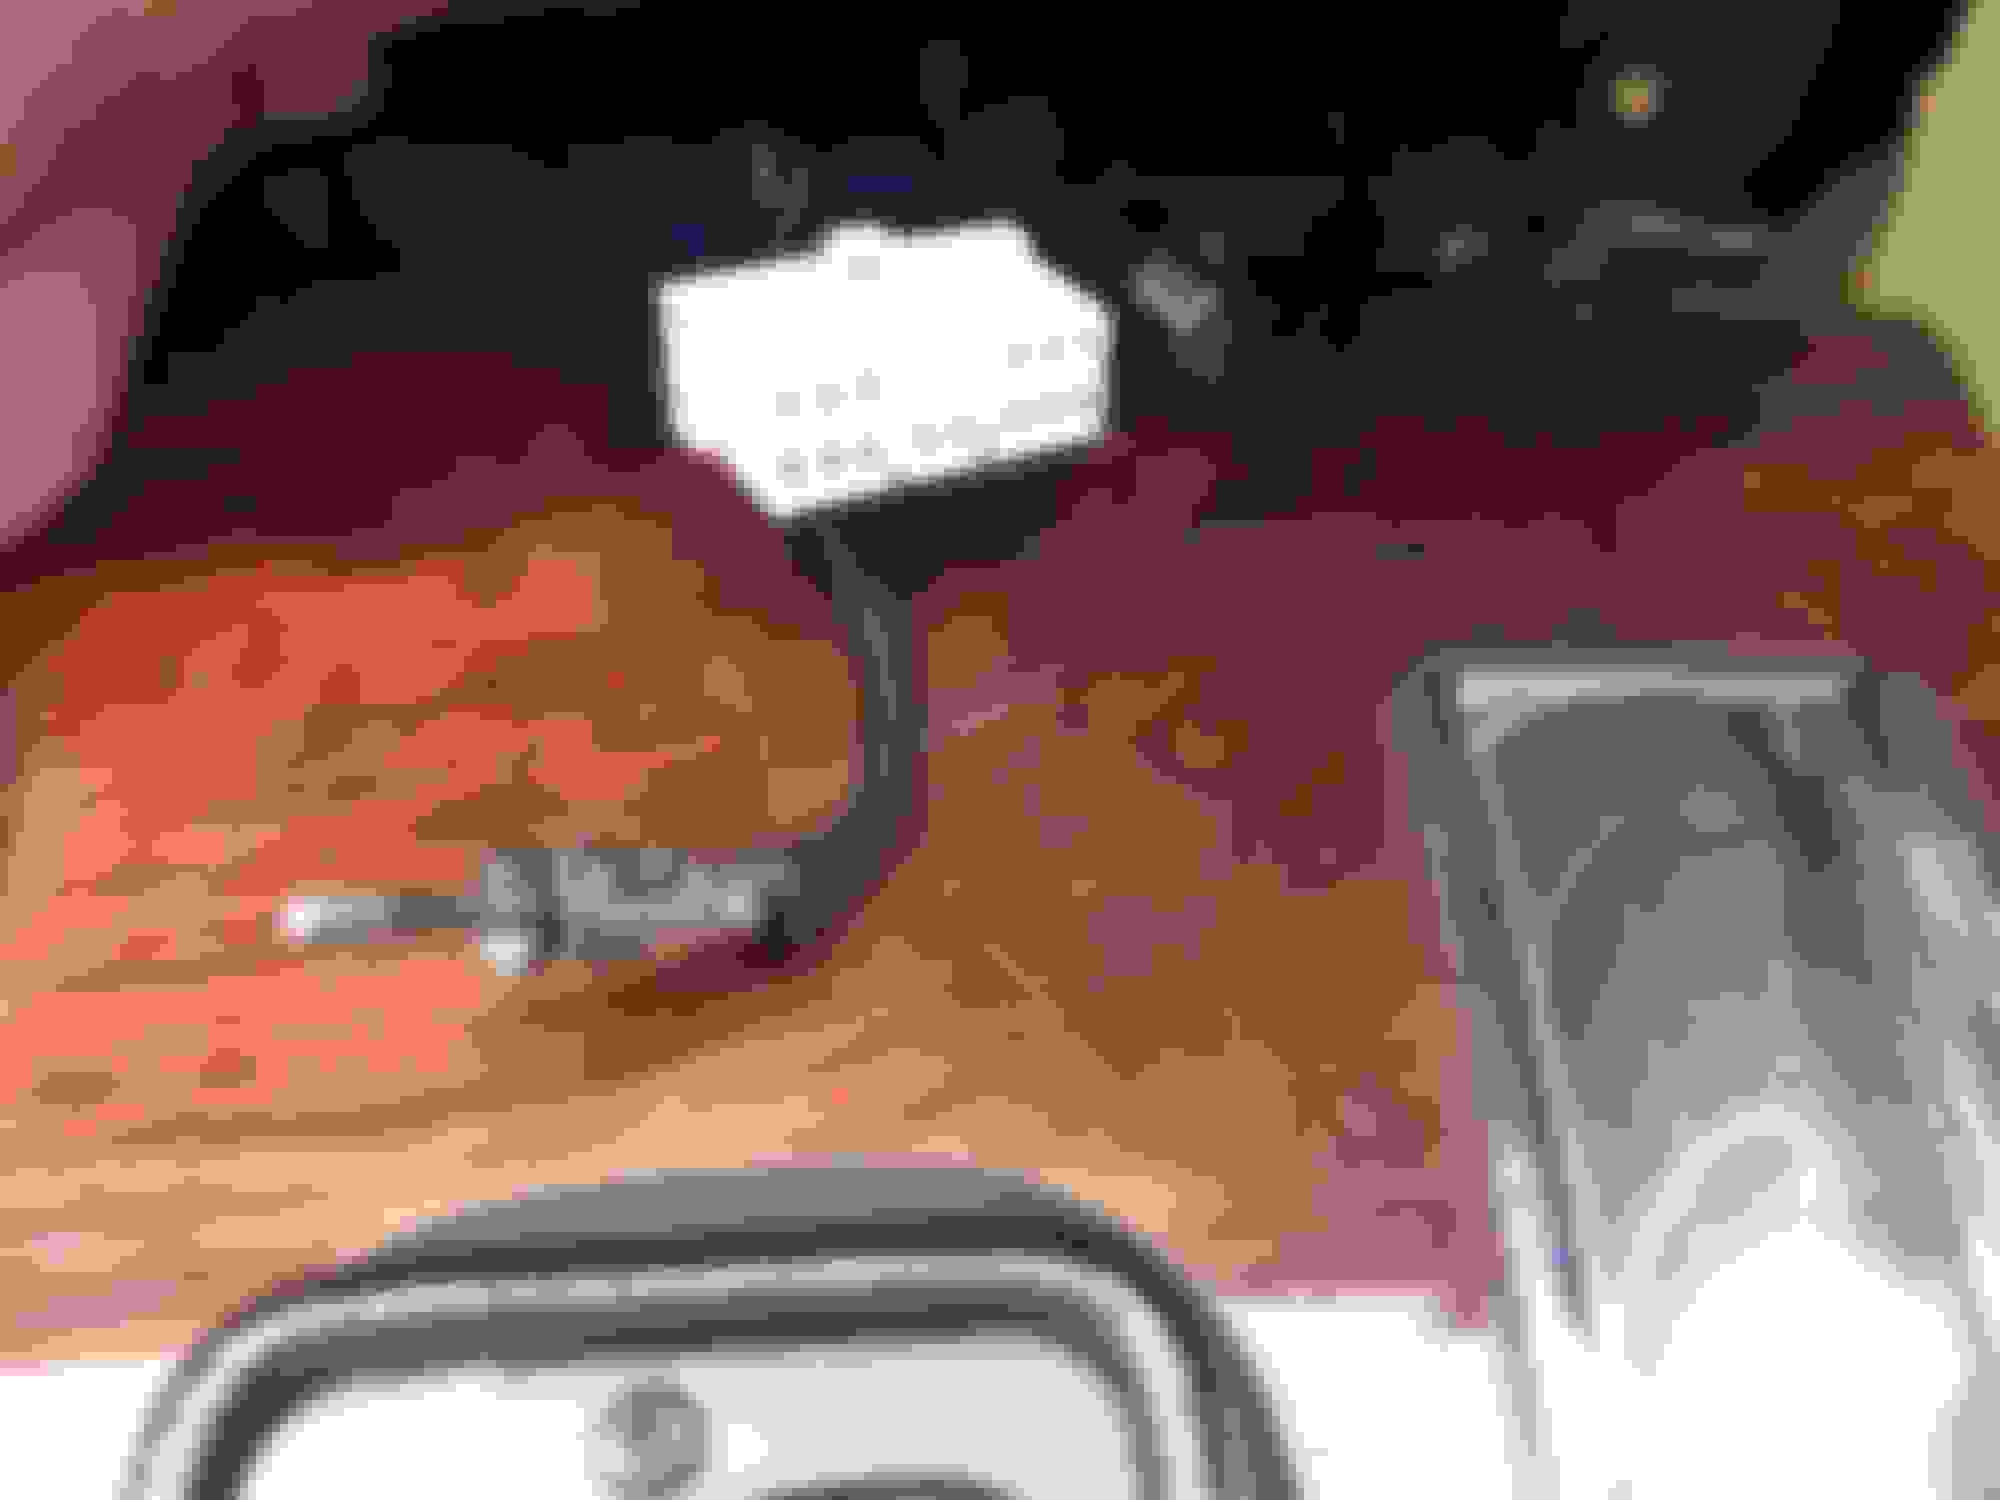
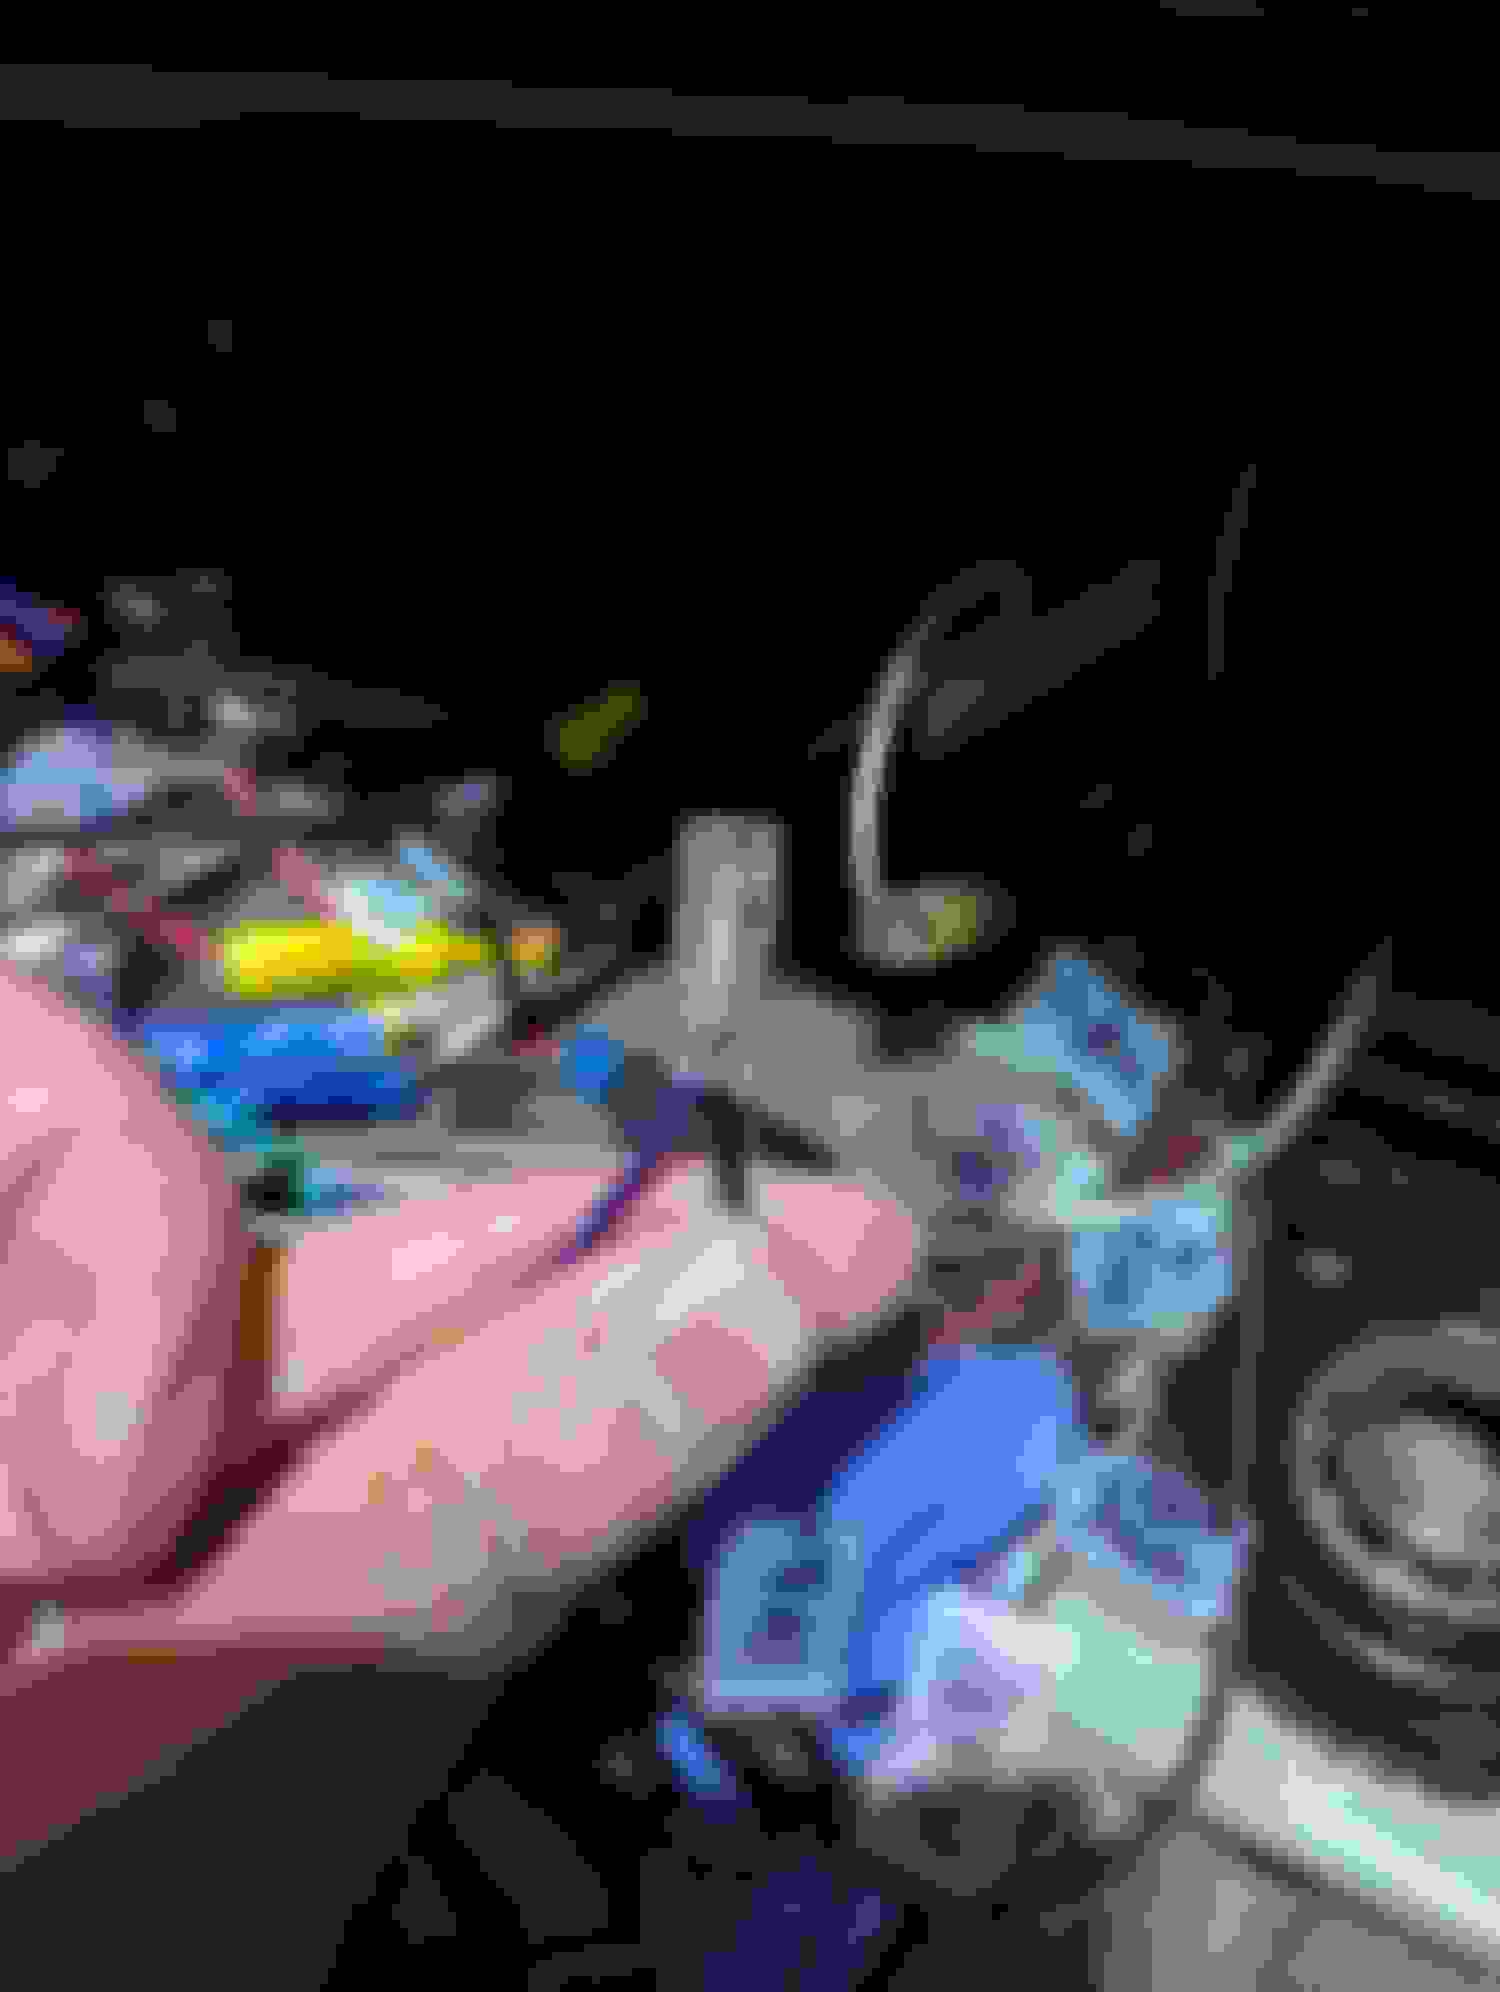
Here is a photo of the plug 2 (speaker harness) and plug 3 (radio harness).
Here is a close up of plug 2 (8 of 9 connections utilized).
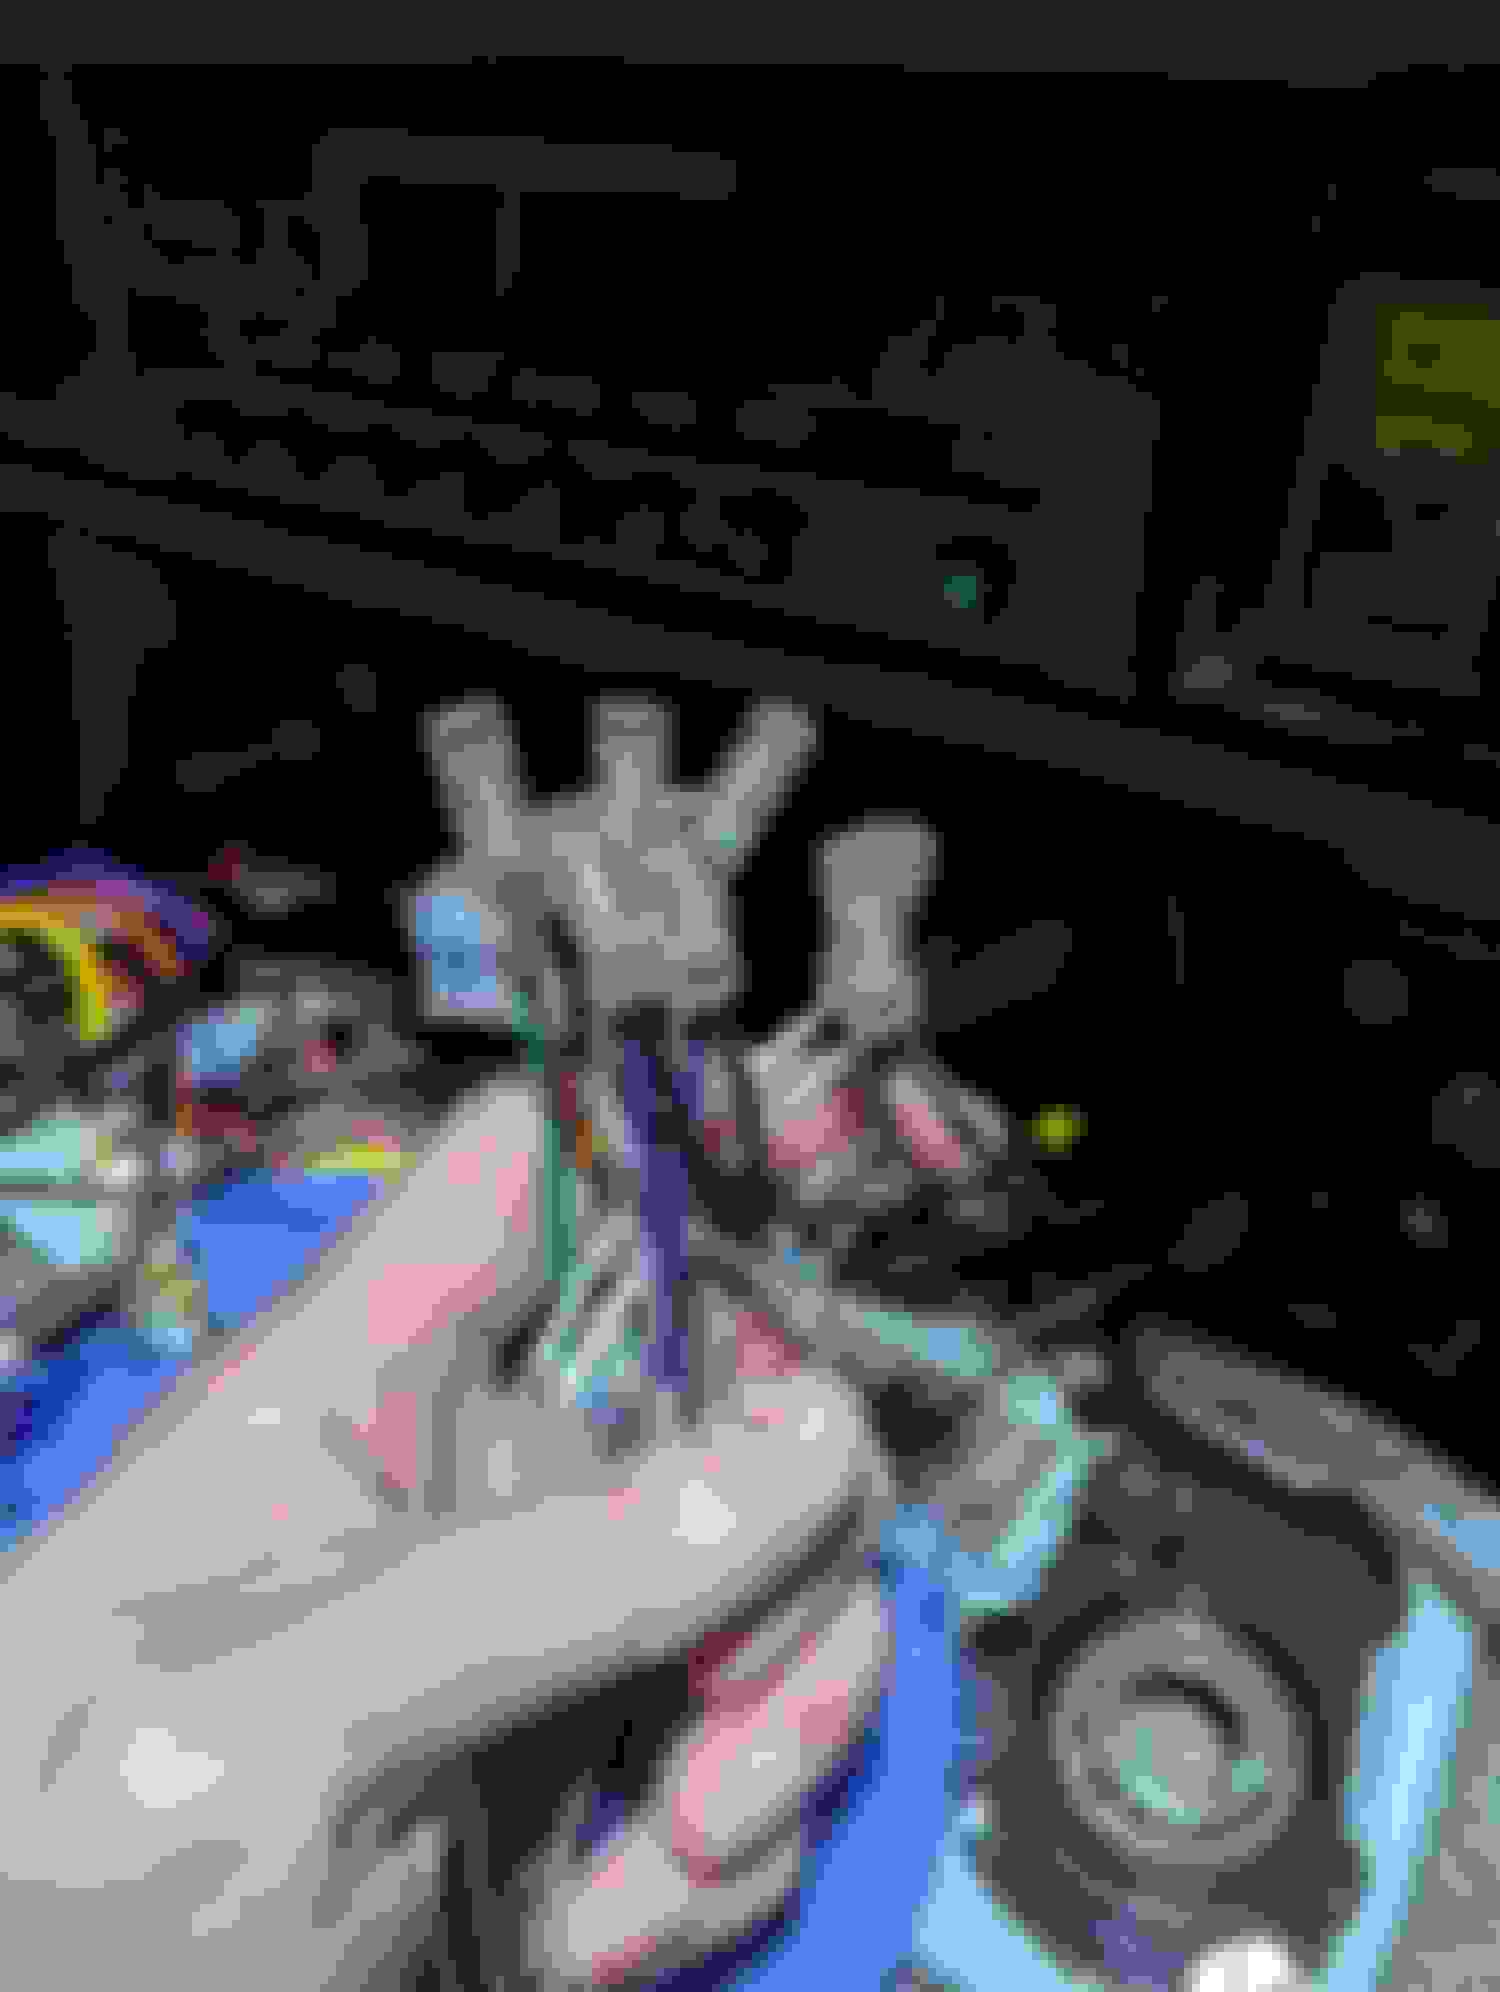
Albertajag, I had a radio with connectors like yours. I was never able to find adapters for them. But in your earlier pictures, those black tubular things over the wires are bullet connectors. They just pull apart. Get bullet connectors to match, and use connect your new harness with them. I've marked up your picture below. No need to cut them open, they should just pull apart.
Be sure to mark the wires going to each speaker and the power connector. Jaguar didn't use industry standard colors. And the wire colors on each side of the bullet connectors don't always match either.
I suppose I can answer yes. The mounting project stalled when I found out my car is too old to have the DIN radio mounting, so I need a new radio plate�
Albertajag, I had a radio with connectors like yours. I was never able to find adapters for them. But in your earlier pictures, those black tubular things over the wires are bullet connectors. They just pull apart. Get bullet connectors to match, and use connect your new harness with them. I've marked up your picture below. No need to cut them open, they should just pull apart.
Be sure to mark the wires going to each speaker and the power connector. Jaguar didn't use industry standard colors. And the wire colors on each side of the bullet connectors don't always match either.
Jon
Hey Jon and orangeblossom,
Thank you for the reply. I followed your advice and was able to disconnect the bullet connectors (8 in total) for the speaker harness (plug 2).
The radio harness (plug 3) however, does not have any bullet connectors. Did you need to cut the four wires of the radio harness and splice them to your new aftermarket stereo harness?
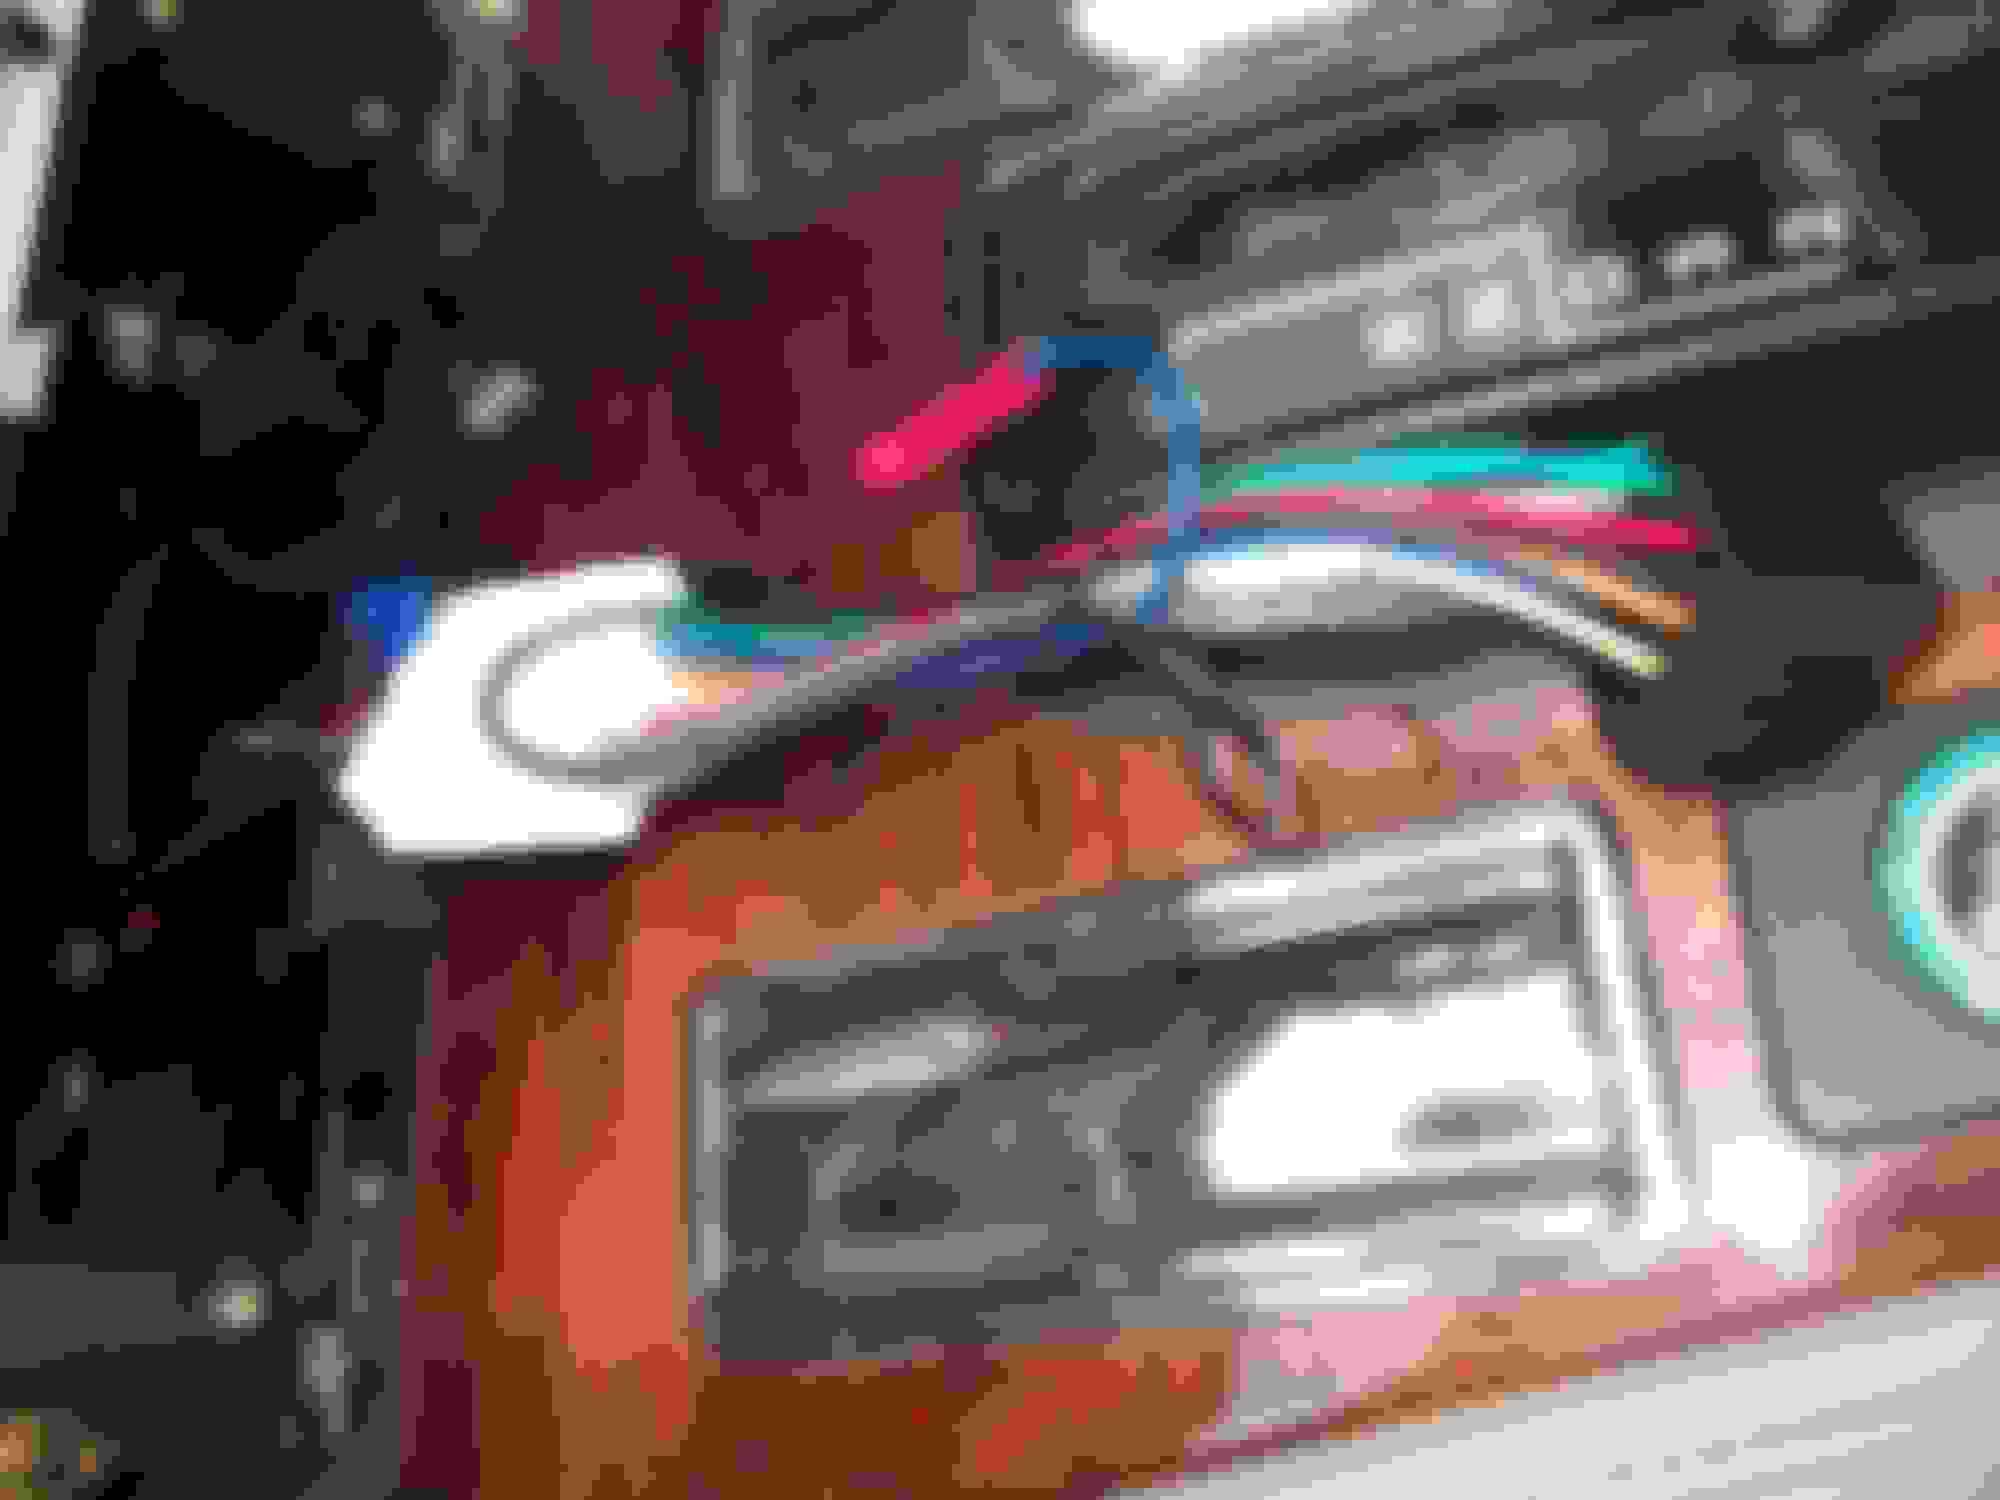
Here is a photo of plug 3. I drew purple lines to show it was a four single wire with no bullet connectors.
Thank you for the reply. I followed your advice and was able to disconnect the bullet connectors (8 in total) for the speaker harness (plug 2).
The radio harness (plug 3) however, does not have any bullet connectors. Did you need to cut the four wires of the radio harness and splice them to your new aftermarket stereo harness?
Yes, I forgot about that.
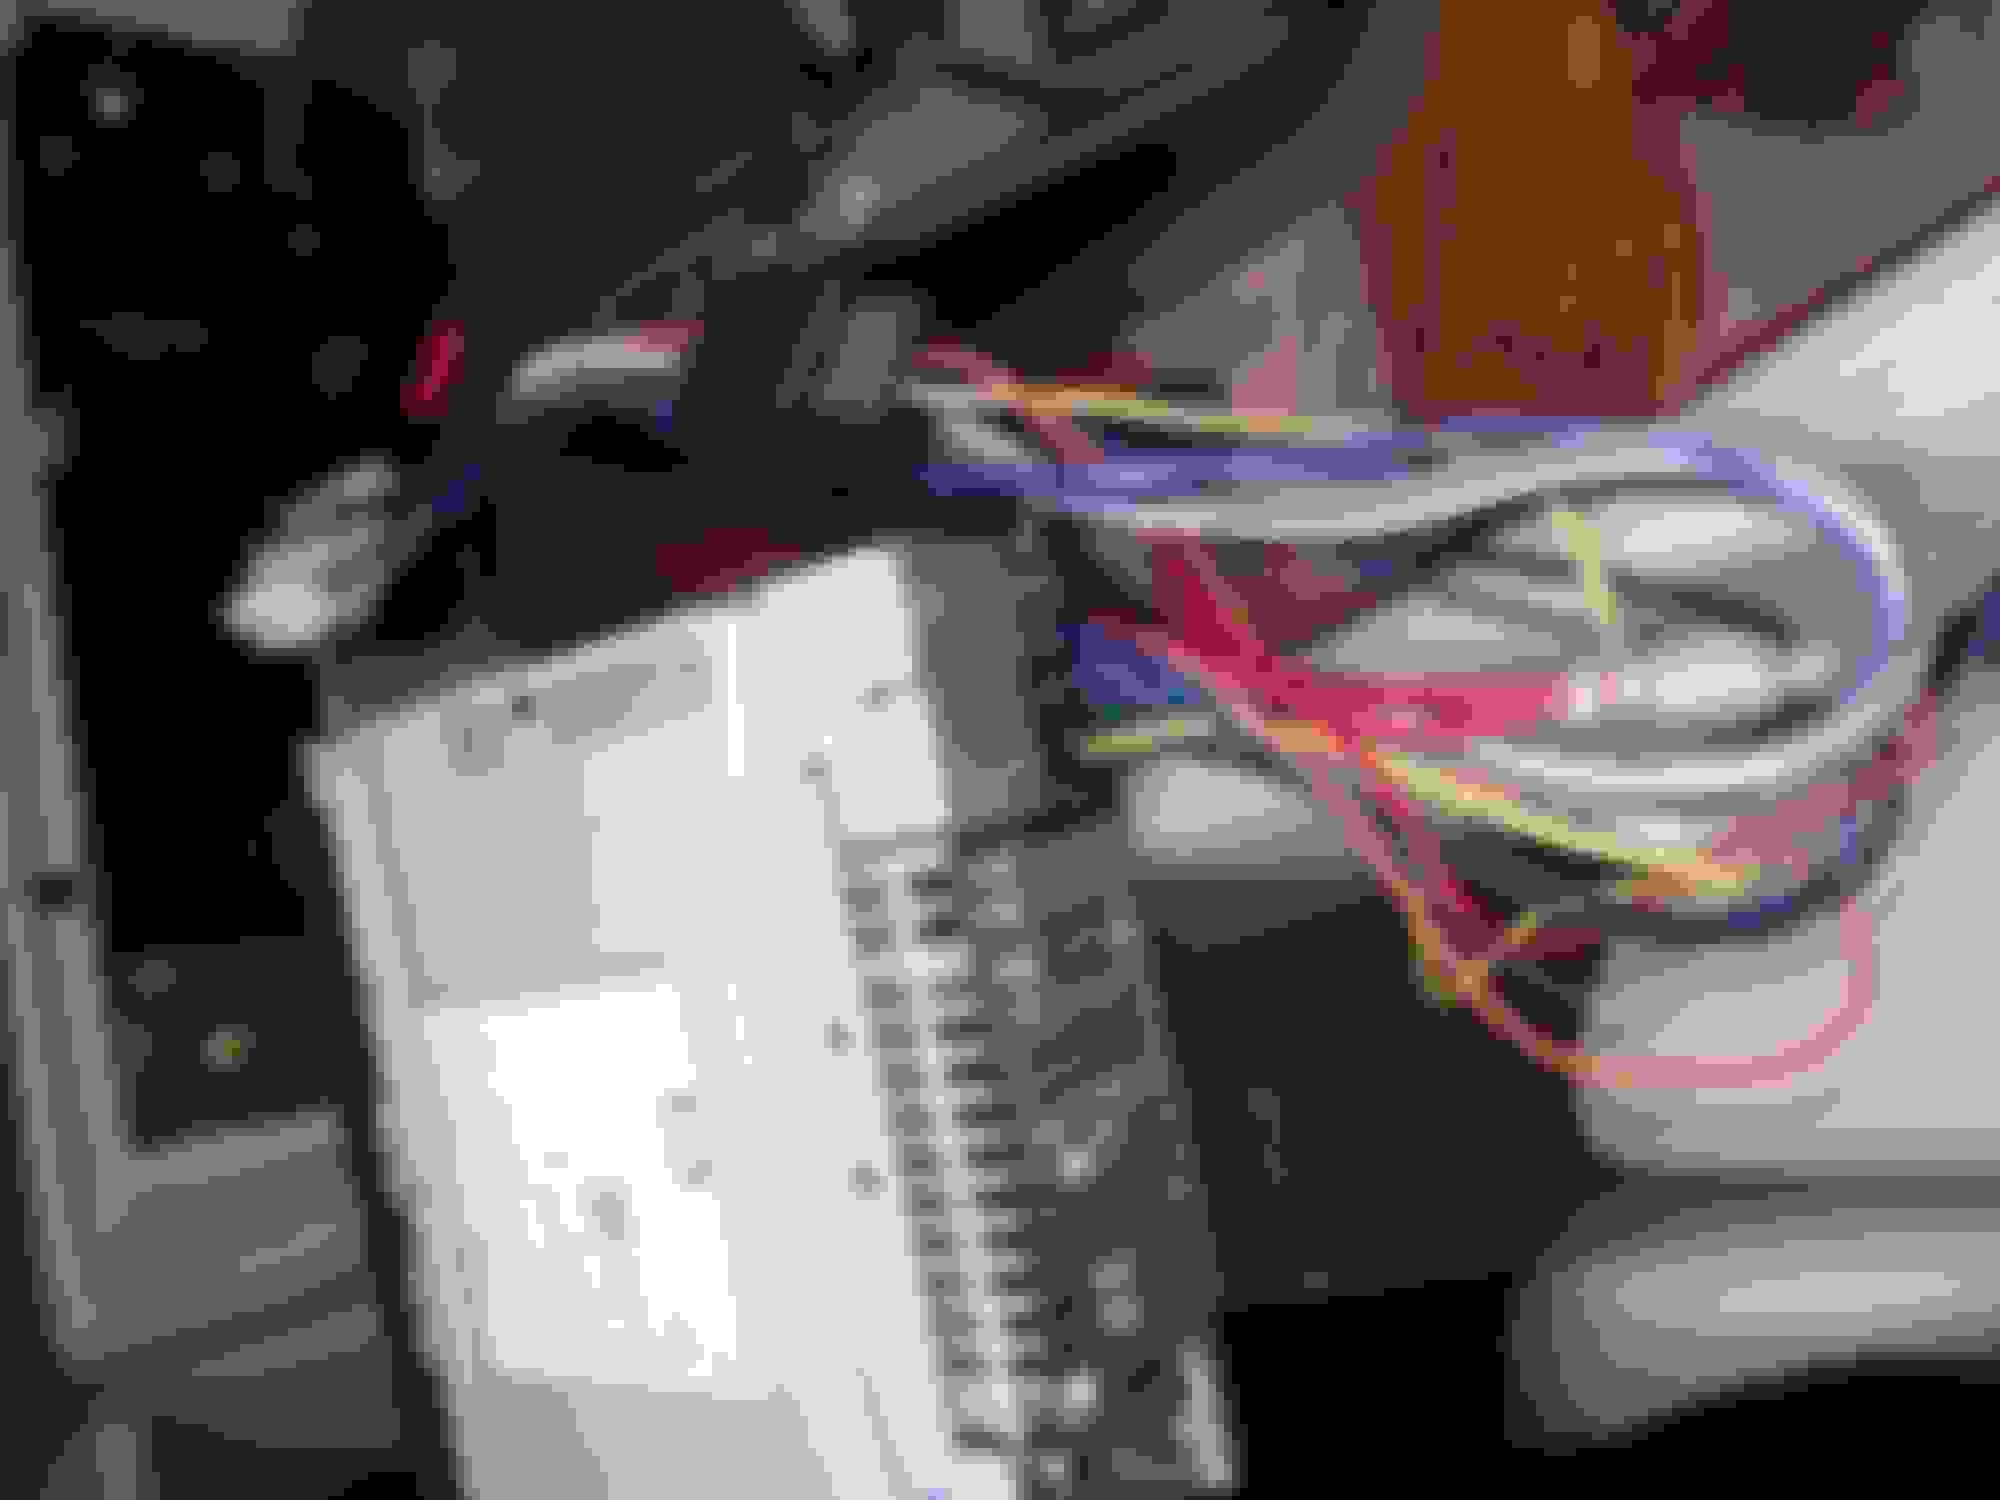
This paper MAY also help you. I found it online, and marked it up to match my car. YMMV.
Even though your speaker grounds may have been tied together at the harness, separate them when you wire in your new system. You can momentarily put a 1.5v battery between the signal wire and the speaker ground and the speaker will crackle when you have the xorrect ground wire for that speaker.
I didn't use the Black or the Red/white wire on the power connector. I'm not sure what they are for. Black seems to be switched power out of the radio(?).
Yes, I forgot about that.
This paper MAY also help you. I found it online, and marked it up to match my car. YMMV.
Even though your speaker grounds may have been tied together at the harness, separate them when you wire in your new system. You can momentarily put a 1.5v battery between the signal wire and the speaker ground and the speaker will crackle when you have the xorrect ground wire for that speaker.
I didn't use the Black or the Red/white wire on the power connector. I'm not sure what they are for. Black seems to be switched power out of the radio(?).
Hey Jon,
I appreciate the quick reply!
Funny enough that picture was very helpful. It matches the wires on my radio harness. I was searching the forum and I saw other members had radio harness colors that were nothing like mine (blue?!). Funny how Jaguar varied their wiring so much for the same radios!
I was very lucky that Jaguar labeled my speaker wires (8) very straight forward:
LHF+ Black
LHF- Black/White
RHF+ Black
RHF- Black/White
LHR+ Black
LHR- Black/Red
RHR+ Black
RHR- Black/Red
Sorry I didn't quite understand how you connected the Jaguar radio harness wires (4) to your aftermarket stereo harness. Did your Jaguar radio harness utilize bullet connectors or did you have to cut and splice?
One thing I forgot to mention. There is not a ground wire in the original harness. Either attach the ground wire on the new radio harness to the braided ground strap, or extend the wire with a round lug on the end and attach it to the place the ground strap is attached to the car.
Thanks for the message. The adapter you posted is actually included with my aftermarket radio (minus the bullet connectors). They work with plug 2 as plug 2 consists of bullet connectors which can be disconnected and reconnected with the after market adapter.
However plug 3 is a solid wire. I suppose if I purchase a 6x2 pin adapter I could avoid any cutting but I really don't see any advantage of the old radio compared to the feature of the new radio besides originality. I don't see myself going back, but if I do, I can always reverse the cutting with butt connectors.
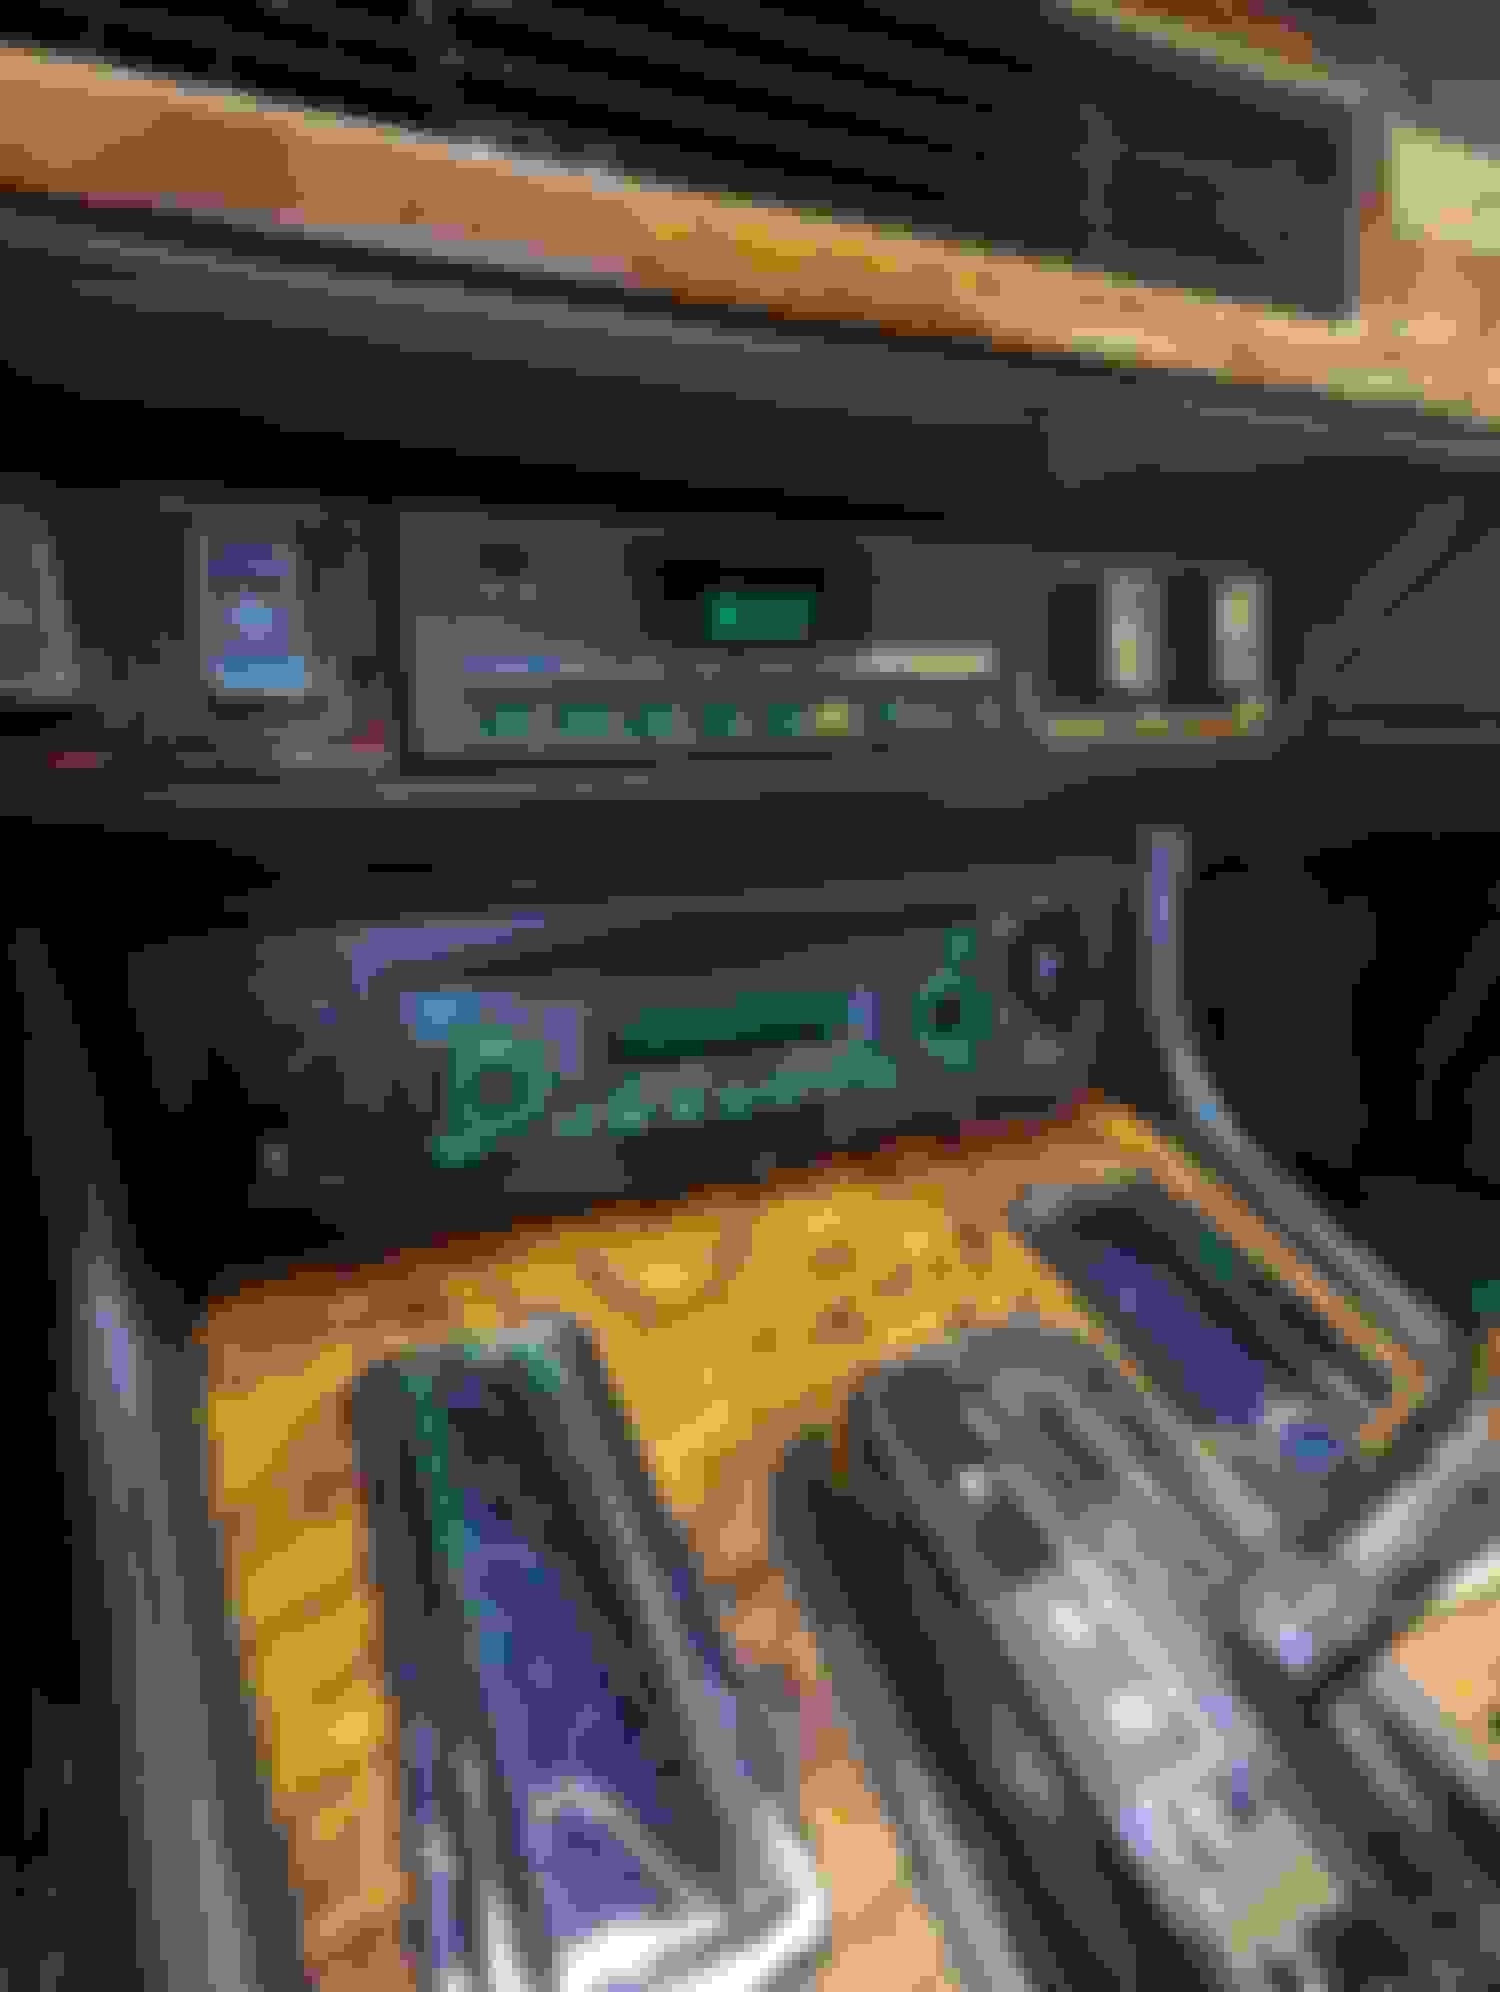
I bought Blaupunkt RCM 82 DAB.
Price about 400 �.
It looks very good, has all the features of a modern radio and a retro look. Connection is simple, it can also extend the antenna. The sound is good 4x50 W, I just changed the speakers to more modern "two-way, center" ones with a plastic membrane. I am satisfied
No problems with the connection, it fits into the hole without any further modifications.
Hello roman_mg,
Hoping you could help me out. I purchased a similar stereo (Blaupunkt Skagen 400) and was curious how you got your stereo to fit? I cant' get the stereo housing to clear the jaguar radio face plate. It appears the housing is a few mm too large (funny enough my stereo dimensions are smaller than yours!)
Did you need to modify the Jaguar radio faceplate? I am forcing the radio in pretty hard and it is not getting through, I don't want to break my new radio!
You've still got the outer mounting cage on the radio. It comes off after releasing tabs on the sides. You need to pull off the heater control face plate (pull off knobs, unscrew nuts underneath, and move it to the side), mount the cage in the hole retaining it by bending the appropriate tabs on it to secure it, put the heater control faceplate back on, then slide in the radio. Your radio should have come with the appropriate release tools to remove it from the cage when necessary.
Hey Jon,
Can you tell it's my first stereo job Always appreciate your prompt replies, will update this forum once I get another chance to work on the car
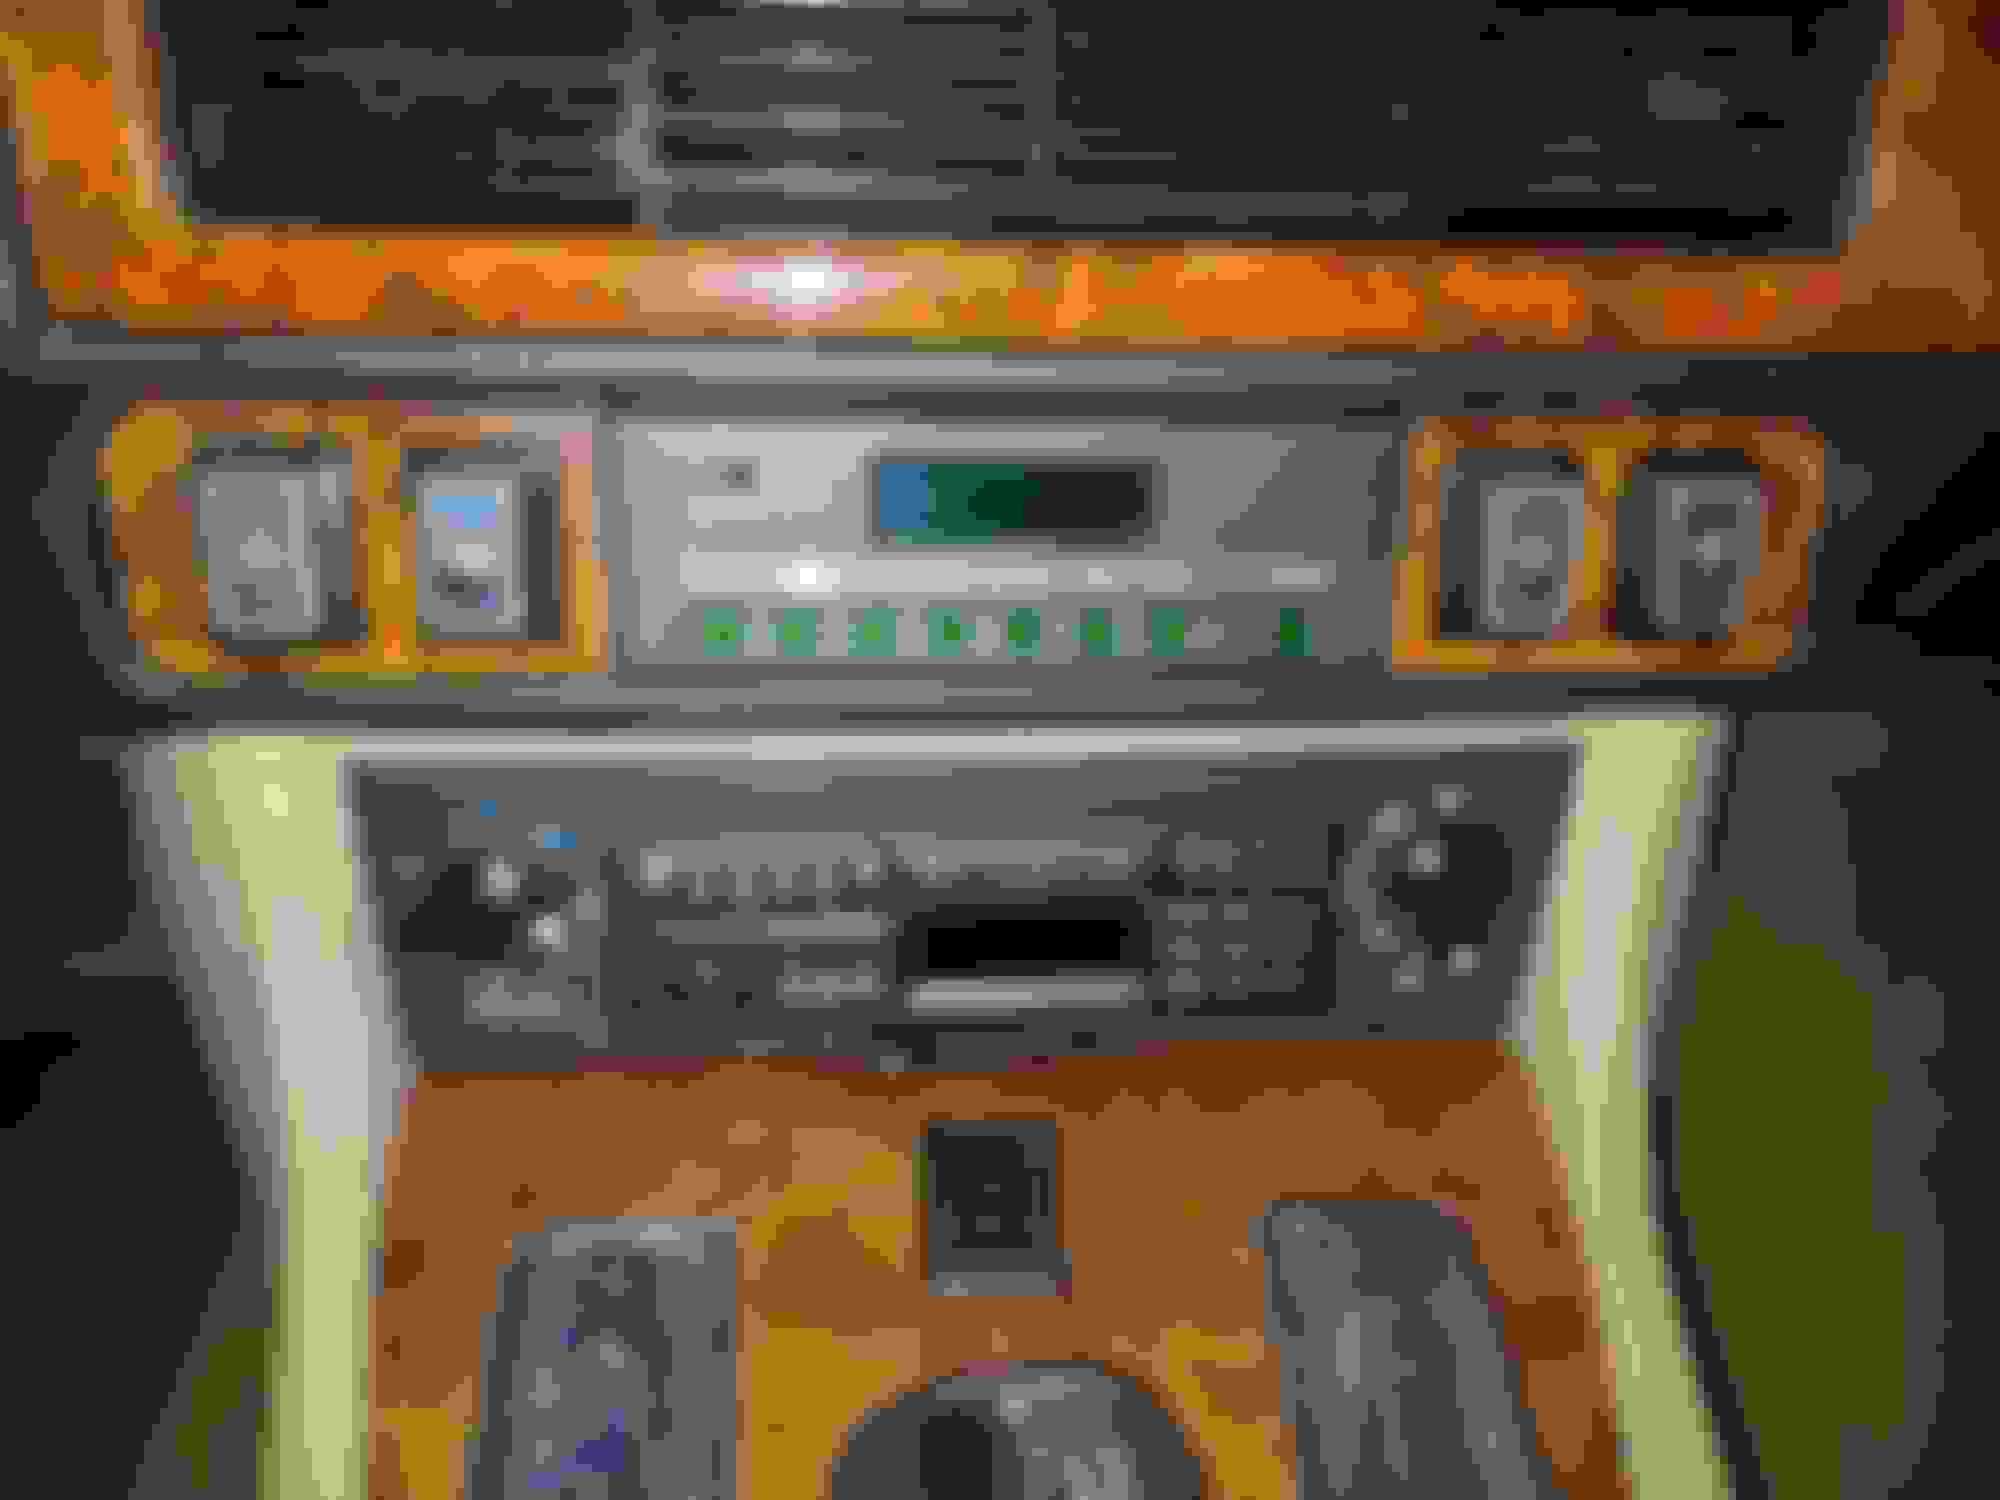
Both radios have the same mounting hole (178 x 52 mm, 1DIN car radios have standard dimensions, usually 180 x 50 mm (width x height)). So your radio should fit into the hole without any problems. As it is written, it is necessary to remove the mounting frame, insert it into the hole, secure it with pawls, and only then insert the radio. Try to measure the hole in the dashboard, it should be 1DIN by default. And the old frame has to be pulled out, of course. I can't remember if I had the A/C panel outside, but it's possible. I just didn't adjust anything in the dimensions. I connected the cables without any problems to the connectors I already had in the car, again I did not modify anything. I am sending a photo.
I appreciate the heads up on this radio. Previous owners to my jag installed a quite horrible looking Red LED'ed Kenwood unit. I'm not happy with its operation. Sadly for my wallet, I'm quite enamored with that beautiful Jaguar radio and plan to order it soon (After repainting)
Following up on this, I've installed the new OEM Jaguar unit and quite pleased!
Took longer than anticipated after popping an inline fuse and having to figure out all those wires. But it's quite functional and looks great imo! Especially pleased JLR classic allowed their discounts to apply. I'm happy to answer any questions anyone may have on it
The radio looks amazing! Very unique, I haven't seen an xjs with the classic jlr radio yet.
This was also my first radio job and I learned a lot from it. I would recommend replacing the front and rear speakers when time allows. I went with 4" speakers which did not require any modifications to the original speaker panels. I went with Infinity reference speakers and was really happy with the results. I think I paid $150 for all 4 speakers. The speakers were a really easy job to do, especially after learning how to do the radio.