When you click on links to various merchants on this site and make a purchase, this can result in this site earning a commission. Affiliate programs and affiliations include, but are not limited to, the eBay Partner Network.
Jeeezzzz l'm still looking for this part.....twice now I've waited for it to come through the door only to find that is part 5578 again (even though its clearly marked as such on the bag...!!!).
I had two of the last JAguar-supplied ones and they were also very hard. I soaked them in hot water and then they pushed in easier.
Good luck
Paul
Paul,
If by any chance you have a photo of them properly installed as a reference for me, I'd much appreciate it if you could post it. I want to make sure I install them with the correct orientation.
I have just fitted 2 of these from Aston Workshop Parts here in the UK. Fitted perfectly. Part no for the LH 83-123811-BA. RH is 83-123810-BA. �4.36 +VAT each. https://www.astonparts.com/
Rob.
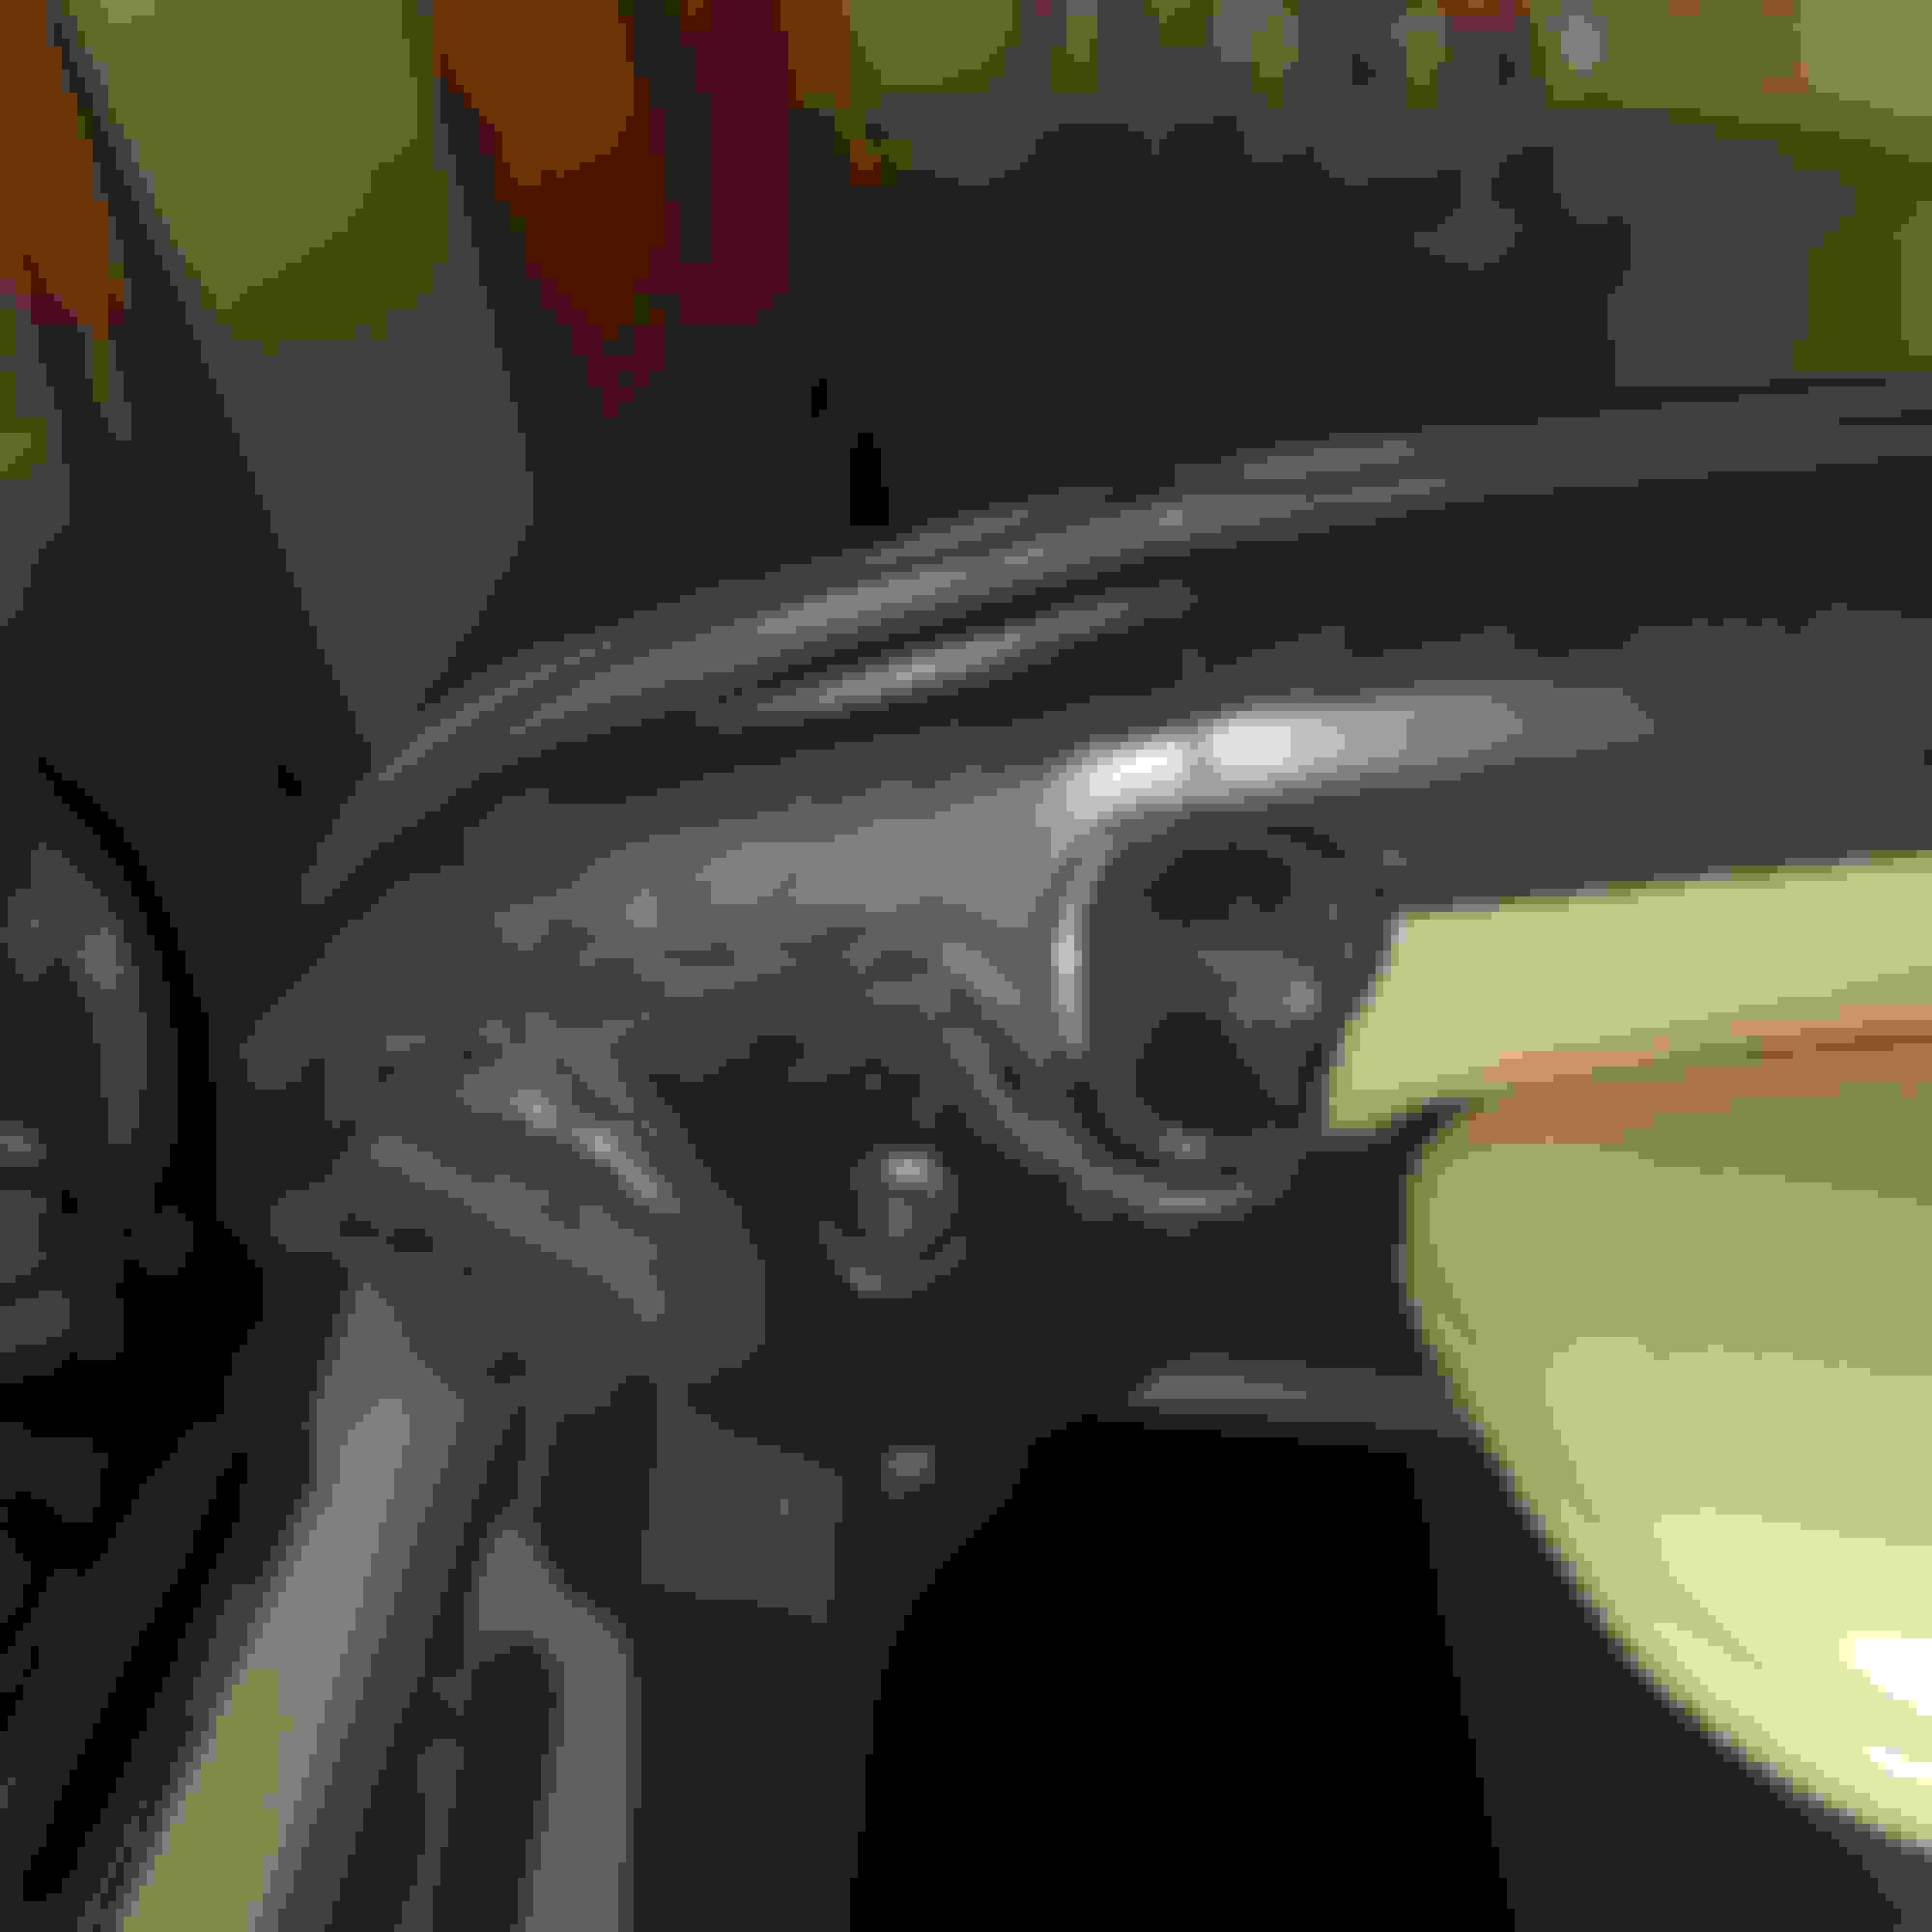
I wanted to go and roll the wheels forward on the XJSs this morning as they've been sitting for a few months, so I got a few pics of the roof locating pin cups.
You should be able to see the orientation of the offset on the rubber cups. The one on the right hand side of the car shows the positioning the best.
Holy cow, I have soaked them it hot water, softened with a heat gun and I just can't get them pressed in. Any tips. These are the Aston Martin ones and may be a little harder from what the post says
Holy cow, I have soaked them it hot water, softened with a heat gun and I just can't get them pressed in. Any tips. These are the Aston Martin ones and may be a little harder from what the post says
After warming, I used the round end of a ball peen hammer to tap them in.
Holy cow, I have soaked them it hot water, softened with a heat gun and I just can't get them pressed in. Any tips. These are the Aston Martin ones and may be a little harder from what the post says
jnporcello,
Knowing how a little about AM operated re. the Jaguar-derived parts for the DB7, I would guess they came from the same OEM supplier of the Jaguar part. It wouldn't make sense for AM to get these parts produced elsewhere.
I found that the trick was to carefully push down the bottom seat of the insert to pull the whole thing in without distorting the top part. Just be careful not to split it as you push it in. As Mac says, try and use something round that fits the profile of the bottom of the insert.
Thanks guys. What worked for me was a heat gun to soften them and then the round end of a screw driver to push down while I used a flat end screw driver to try to push the tabs in. Thanks for all your help and advice.
Thanks guys. What worked for me was a heat gun to soften them and then the round end of a screw driver to push down while I used a flat end screw driver to try to push the tabs in. Thanks for all your help and advice.
Just wanted to say thanks to all, for ALL of the information on this thread. This is an amazing forum. I have been looking for these grommets for 2 weeks solid. I am hoping the wind noise is cut down when installed. I saw mine coming apart and they literally crumbled when I touched them. Once they were out the wind noise went up about 10x. We will see...